7 Best Cross-training Shoes in 2025

We buy shoes ourselves. We earn commissions when you buy through us, at no extra cost. Why trust us
Lift heavy, jump higher, and strengthen those targeted muscle groups with a new pair of cross-training shoes. Yes, you can do all those workout regimens wearing just one dependable hybrid training kick. It is great for athletes and enthusiasts alike who want the best value for their money.
Hundreds of cross-training shoes have been introduced to the market to meet the growing demands of the fitness community. Giant brands like Nike, Adidas, and Reebok, just to name a few, are producing new and improved models with the latest techs for cross-training style workouts.
To help you save time, we’ve rounded up the best cross-training shoes that we've scrutinized. After testing all of them to their full potential, both in the gym and in our lab, we’ve highlighted our top picks in different categories.


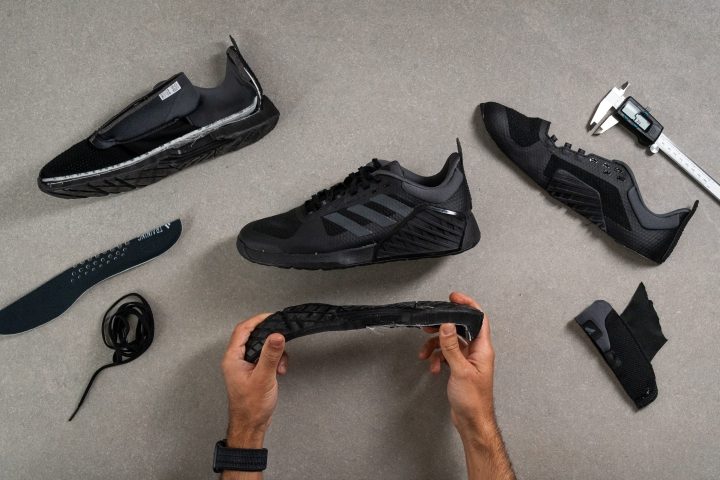
How we test cross-training shoes
To filter out the best cross-trainers among hundreds of models, we put each one of them to meticulous performance and lab tests.
Our selection protocols include the following:
- We buy cross-training shoes from different brands for our wear tests. We invest our own money to ensure our 100% objectivity and bias-free approach.
- We take each model through a series of workouts to assess its on-foot feel and performance.
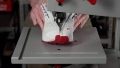
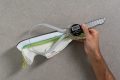
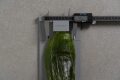
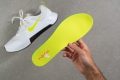
- We test the shoes in our lab. We slice them into pieces to not only dive deeper into all of their elements but to carefully measure different characteristics, including stack height and drop. We also test their durability, energy return, shock absorption, rigidity, breathability, and other important features.
Best cross-training shoes overall


What makes it the best?
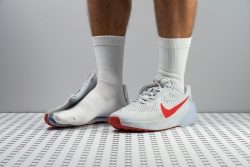
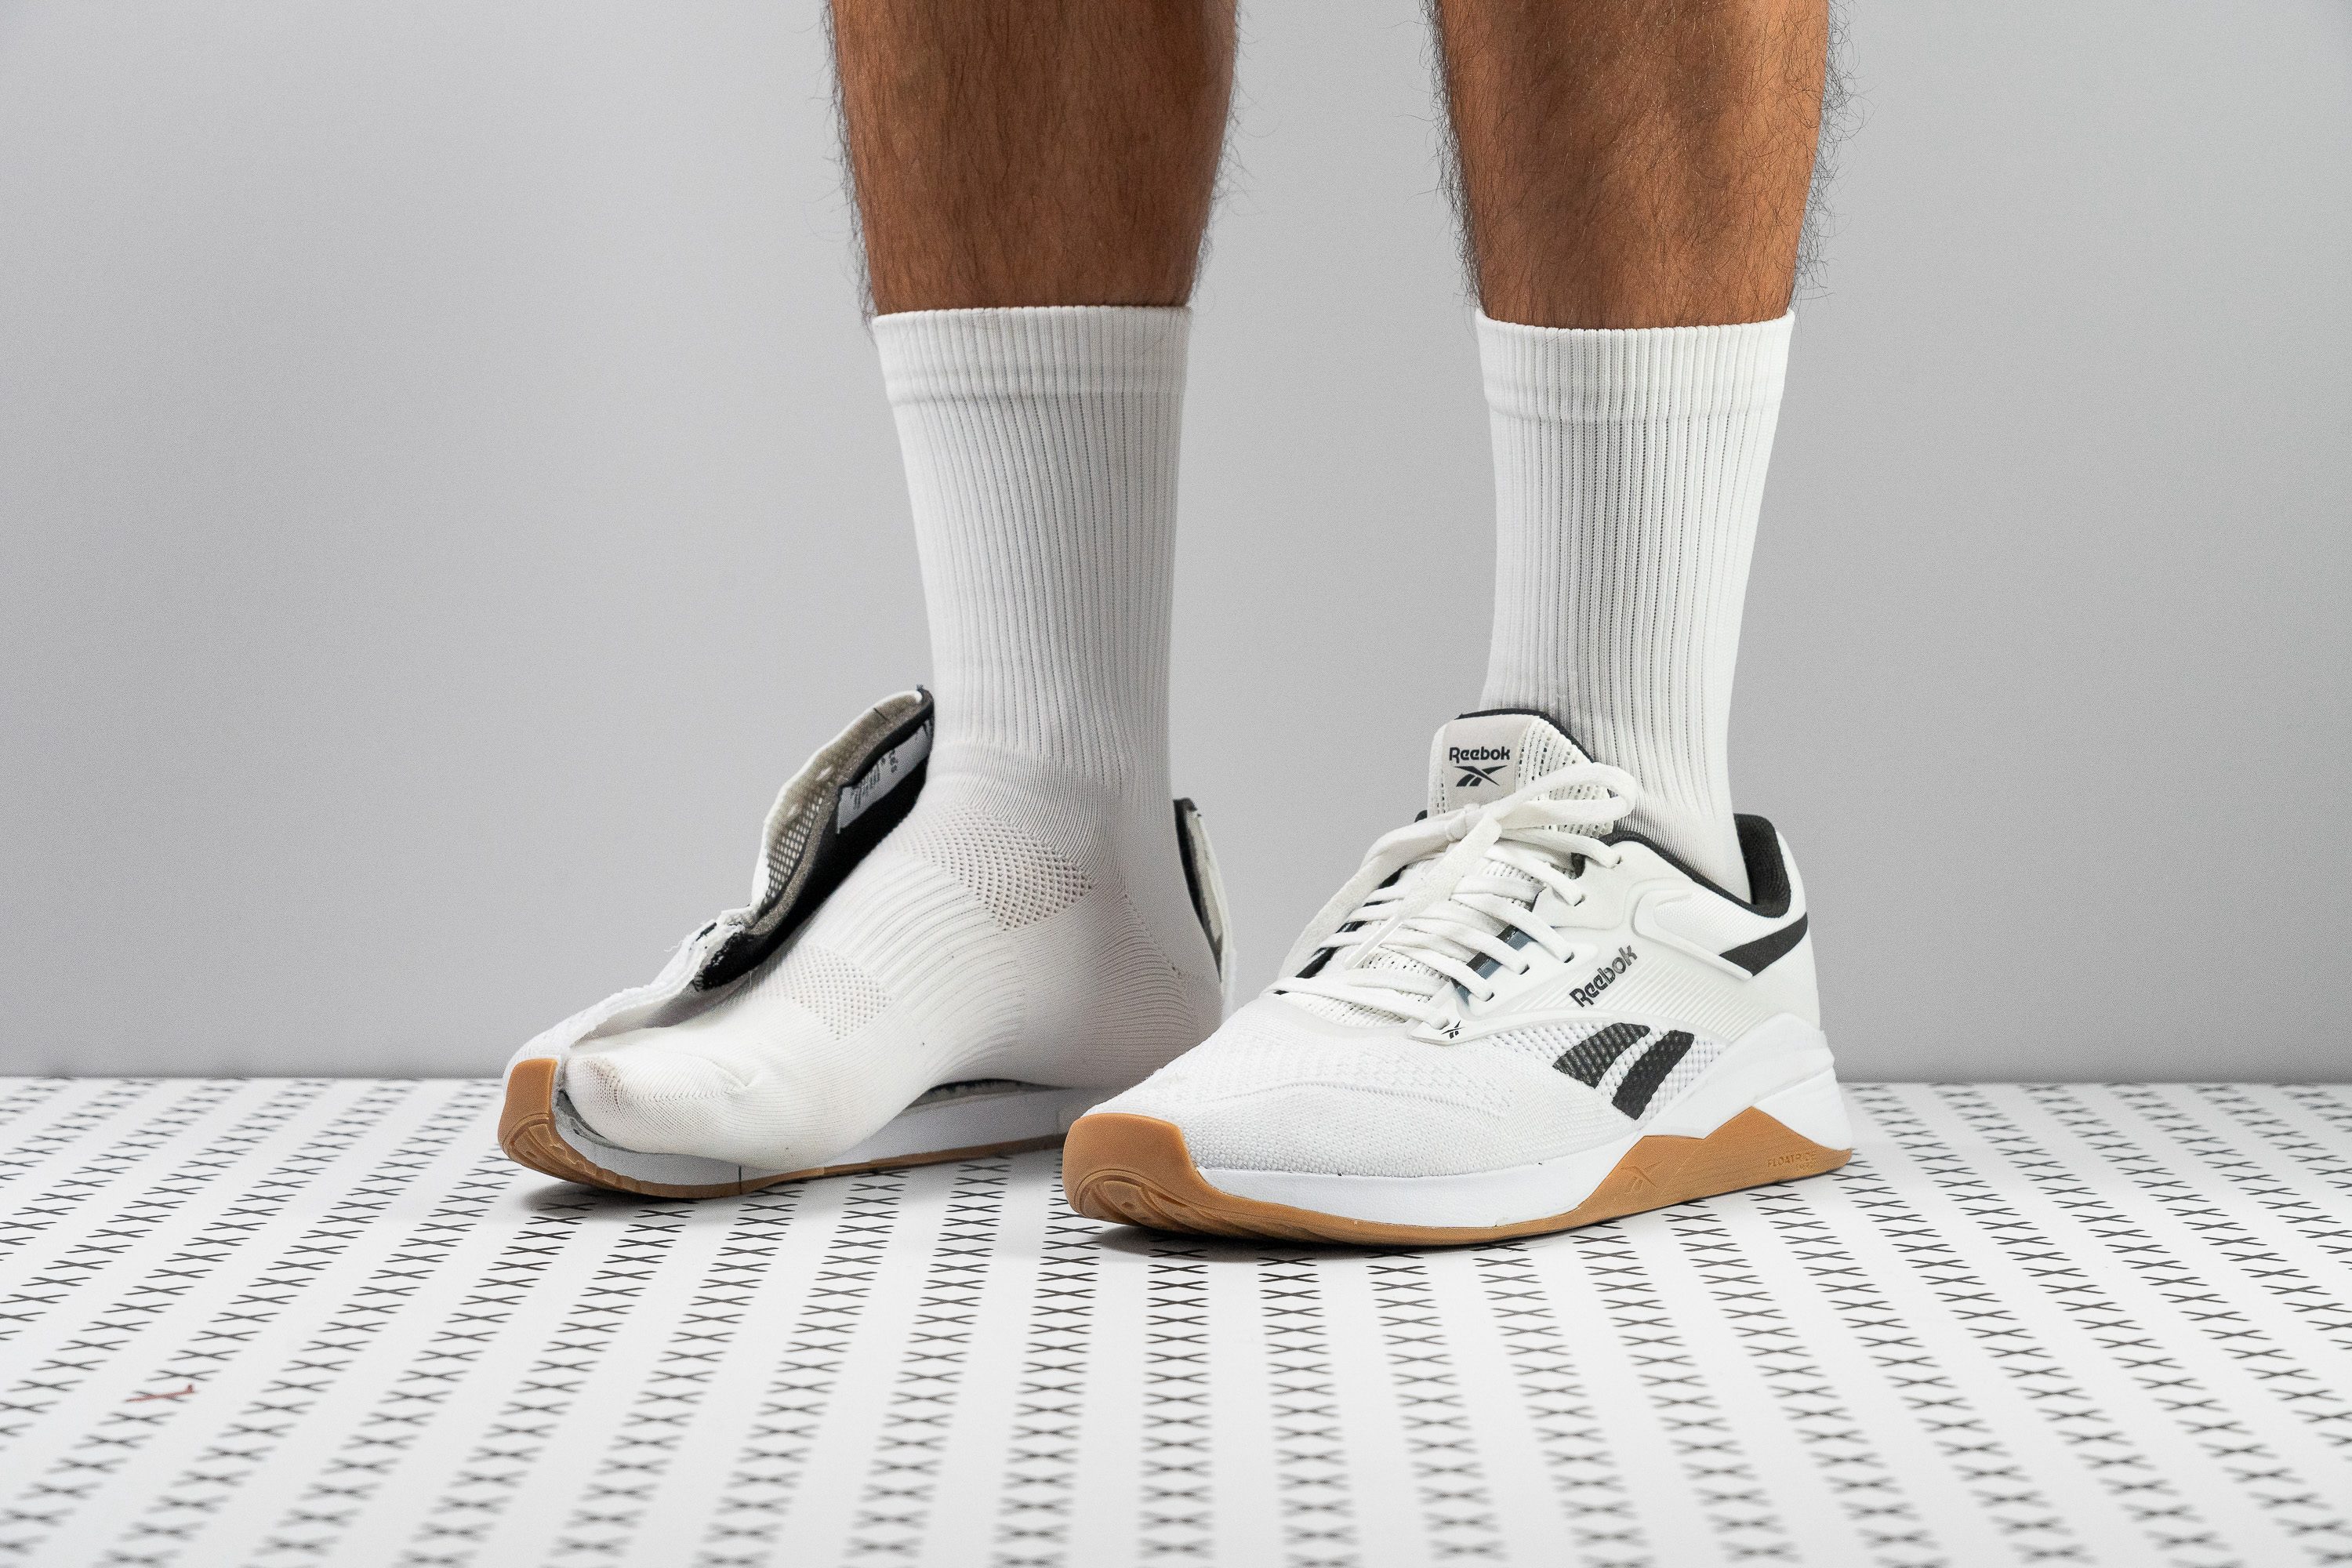
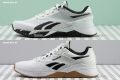
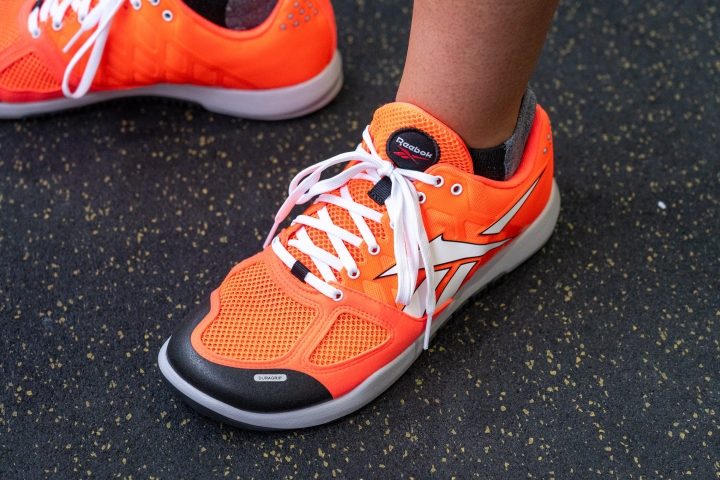
A star performer across our various workouts is the Reebok Nano X4. It seamlessly blends comfort for jumps, support for lifting, and agility for dynamic exercises all in one shoe—making it our ultimate cross-trainer in the lab. When it comes to versatility, no other shoe comes close.
The platform strikes the balance between ground feel and cushioning. Our durometer shows the forefoot is notably firmer at 30.0 HA compared to the softer 27.0 of the heel. The former enhances agility and provides finer control over foot movements, while the latter dampens the impact of repetitive jumps.
Besides the balanced foam, Nano X4 has excellent foot containment with the Lift and Run Chassis firmly embracing our heels. Stiff in the right places, we felt confident to go all out during lifts and intense bursts of exercises knowing we’d remain stable. Our lab tests show a firm heel and a high level of torsional rigidity, both with a 4/5 score.
Balancing off the stiffness is a bendable shoe that allows us to easily perform lunges, planks, and burpees. Our bend test confirms a similar flexibility score vs. the average trainer, proving its free-flowing nature.
Unfortunately, those with wide feet can’t enjoy the same comfort we felt because the midsole is slightly narrower than average. Those who prefer more breathing room can explore alternatives.
Pros
- Fantastic wear resistance
- Great balance of cushioning and stability
- Feels grounded and supportive
- Secure foot lockdown
- A fully-gusseted tongue (finally)
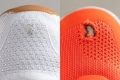
- Nice breathability
- Lighter than the X3
- Great grip on gym floors
Cons
- Not for heavy lifting
- Not for wide feet
Best cross-training shoes for Crossfit


What makes it the best?
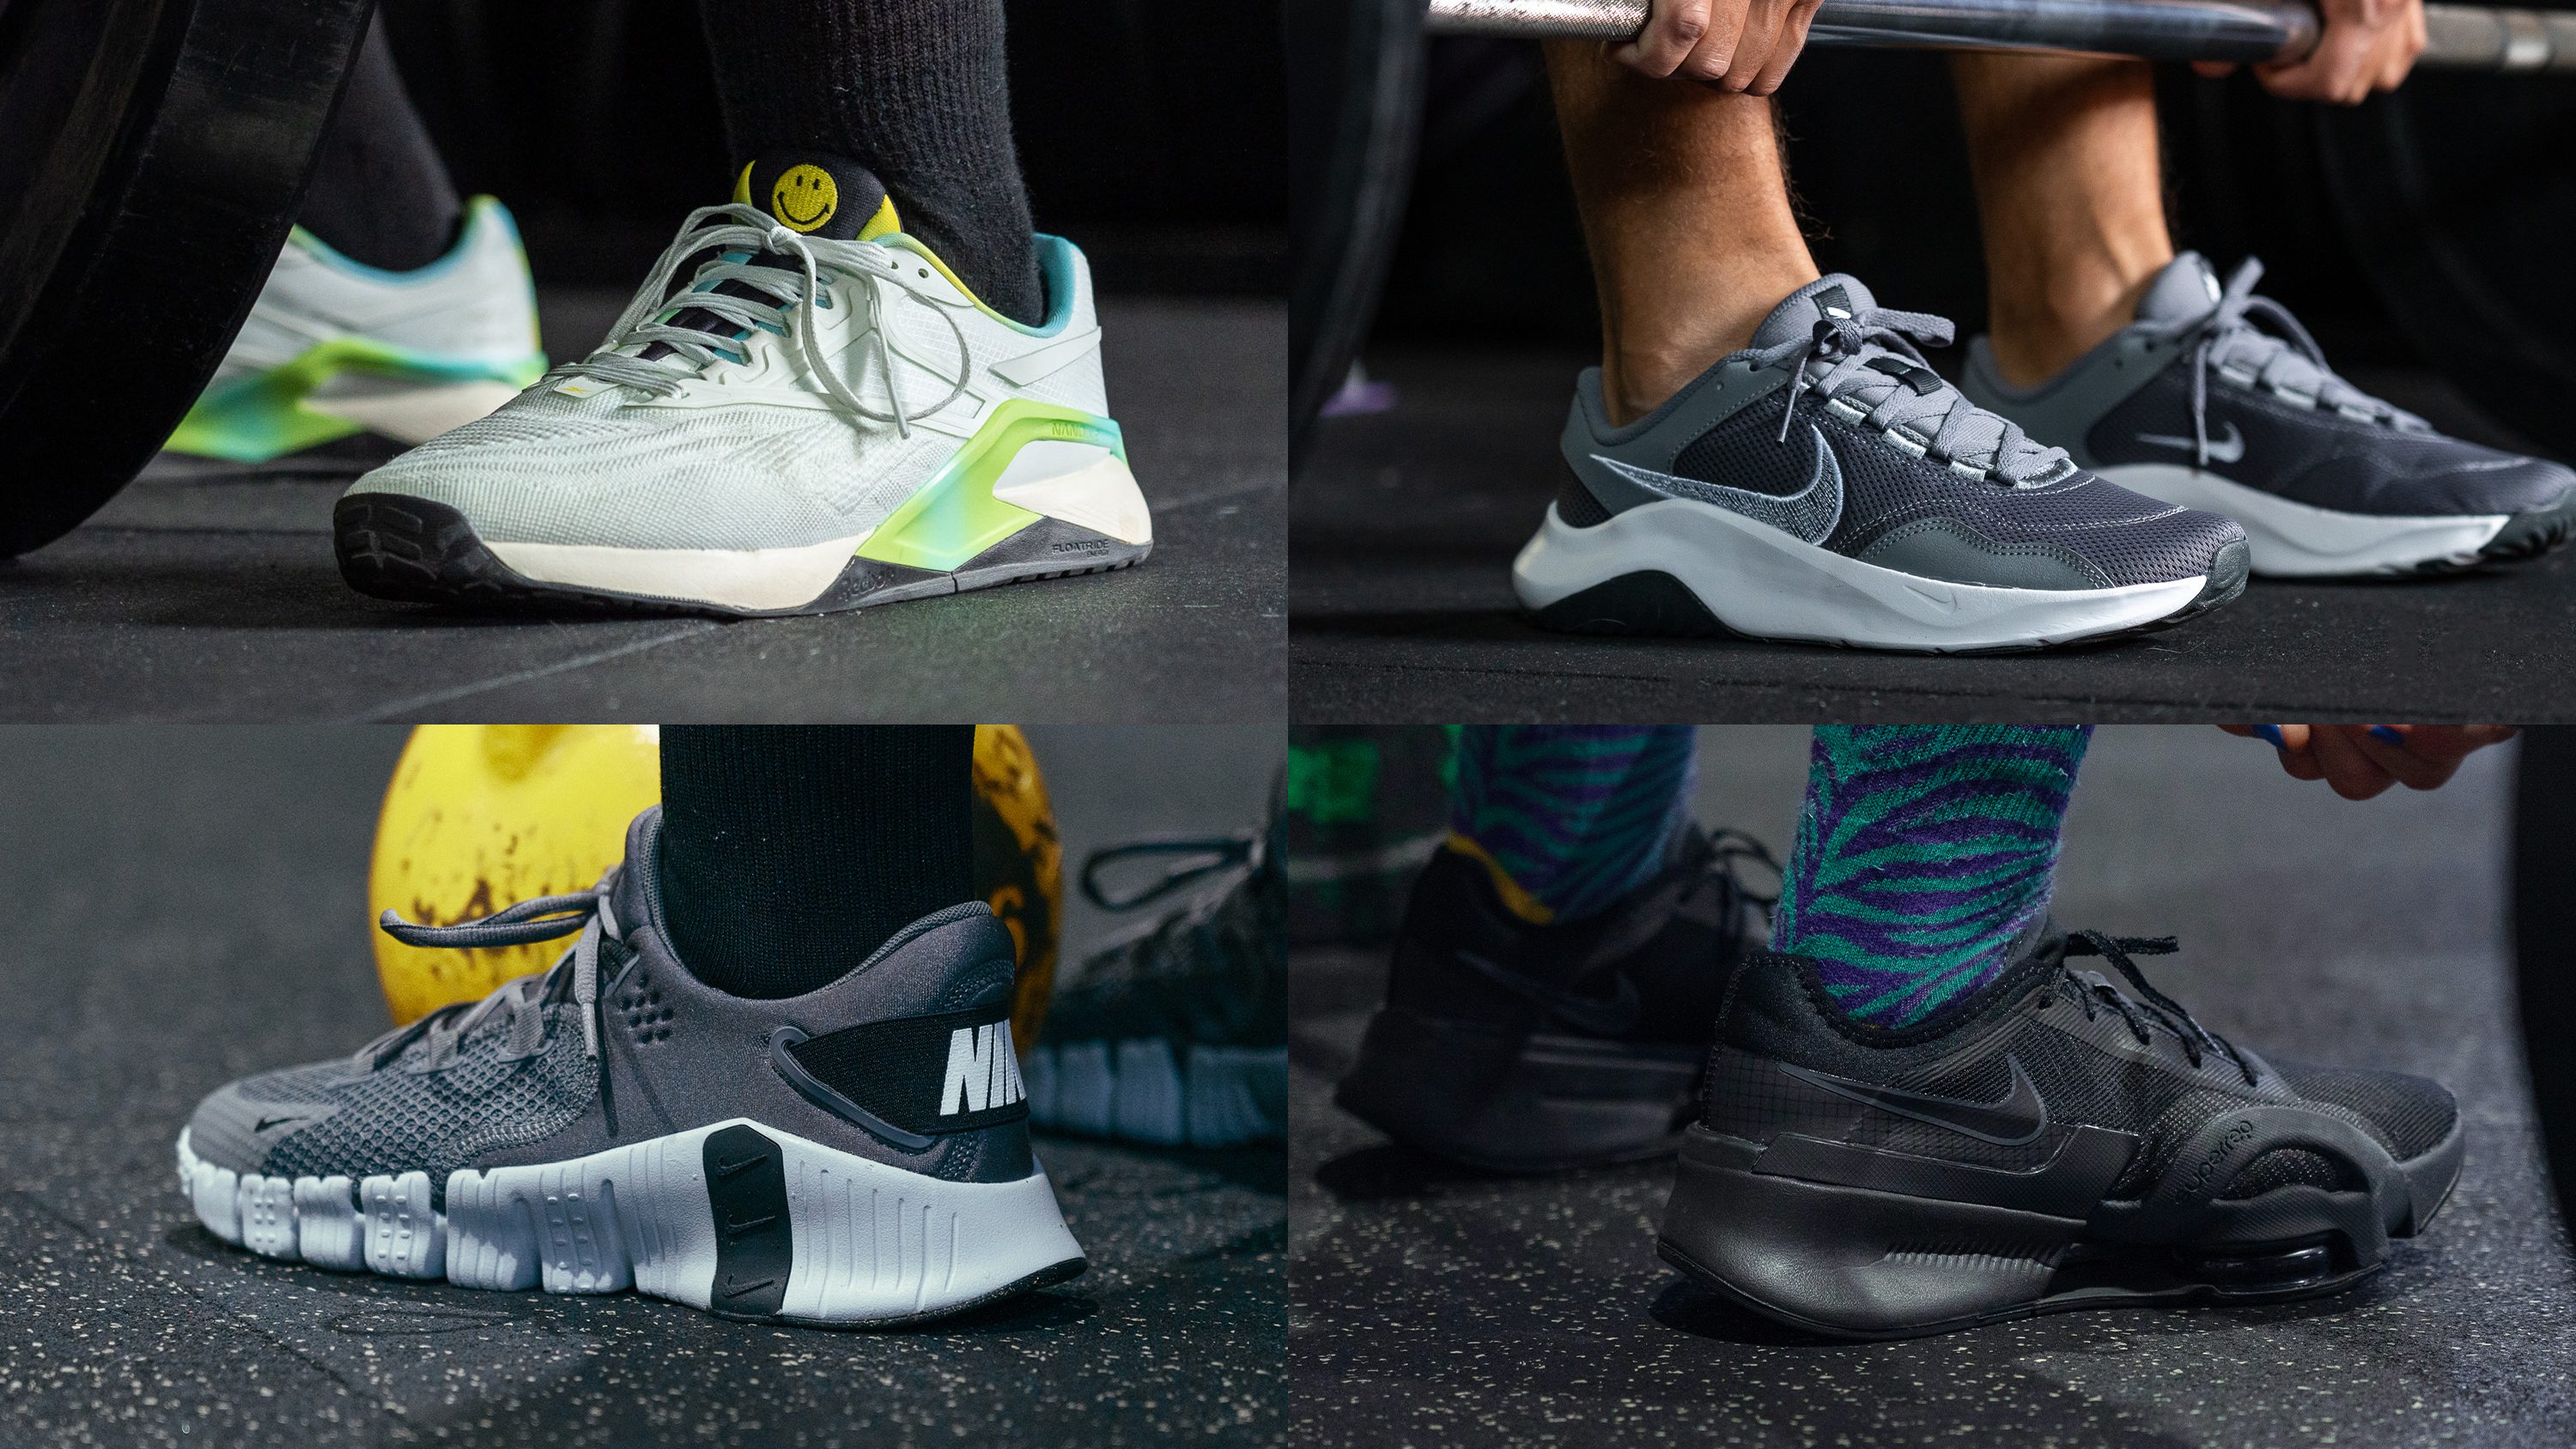
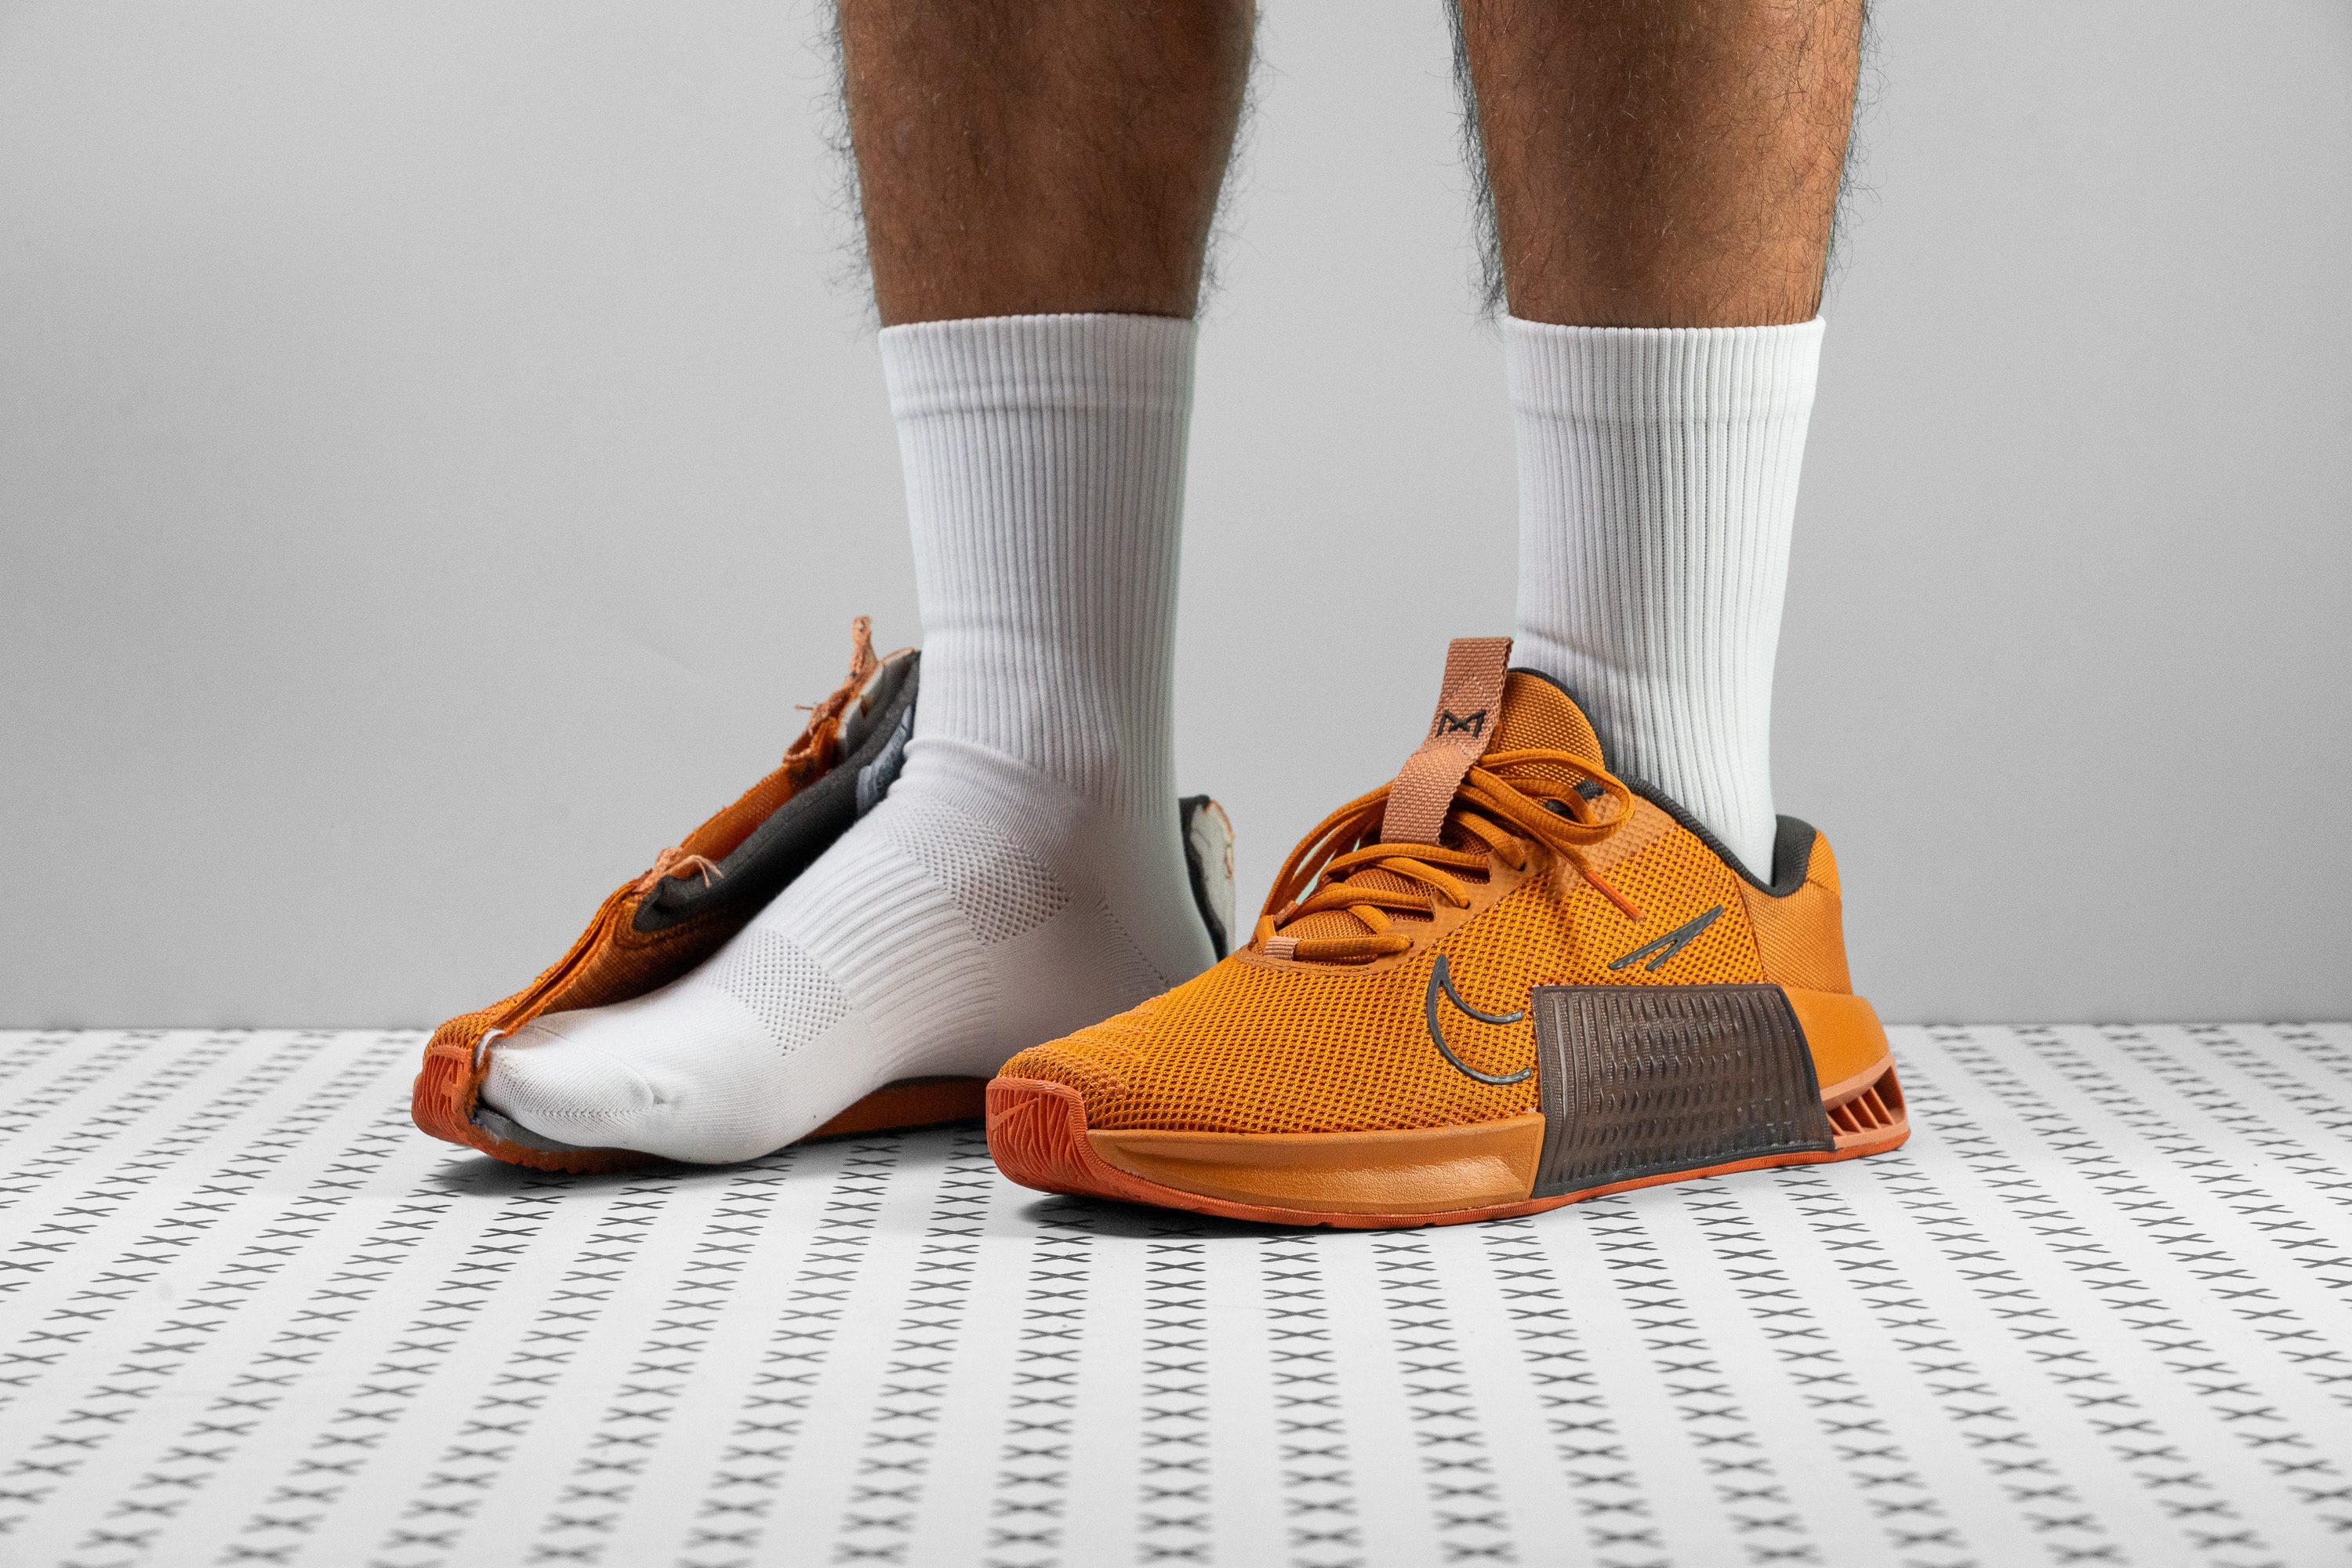
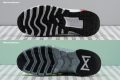
We’ve rounded up over a hundred of the best cross-training shoes and discovered the shoe most targeted for Crossfit — Nike’s Metcon 9. Our lab results and workouts confirm that its wide base, supportive build, and grippy outsole support every exercise in this demanding regimen.
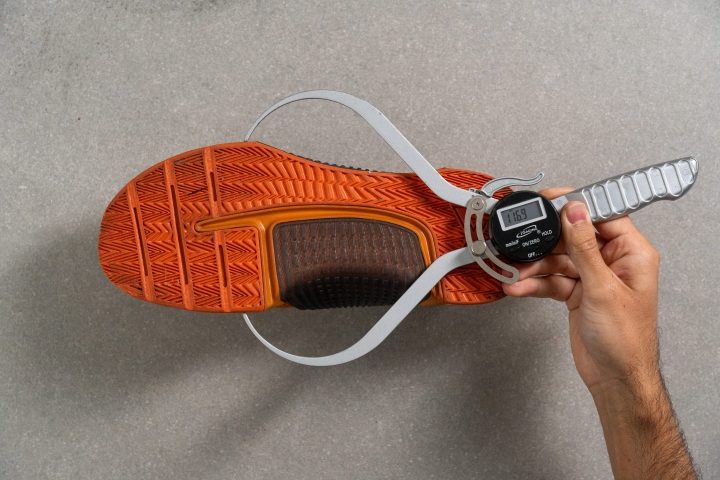
Despite the absence of the typical raised heel of weightlifting trainers, Metcon 9 offers unwavering stability. It has a vast platform and wide toebox where our toes can splay naturally for more control and better balance. Our caliper shows the midsole is 6.9/7.7 mm wider than average in the forefoot and heel, while the toebox has an extra 8.1 mm space. Such a large area of ground contact stabilizes our form.
Paired with raised sidewalls and a protective upper, it delivers a strong and secure lockdown that keeps us in place. Under the heel is a sturdy and non-compressible Hyperlift plastic that avoids wobbles when lifting heavier loads.
Further enhancing our stability is the excellent traction on gym mats, avoiding slips during jumps and jerks. This is crucial in activating the right muscle groups and avoiding mishaps and injuries.
What Metcon 9 lacks is ventilation for humid days. We found it a good place to be in on cooler days.
Pros
- Exceptionally stable for weightlifting
- One of the most durable cross-trainers
- The best shoe for rope climbs
- Reliable foot containment
- Very comfortable in-shoe feel
- Nice grip on gym floors
- Accommodates wide feet (finally!)
- Surprisingly flexible
Cons
- Heavier than average (and previous Metcons)
- Not great for cardio workouts and rope jumps
- So-so breathability
Best cross-training shoes for HIIT


What makes it the best?
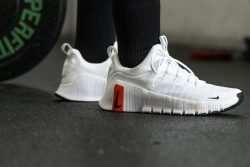
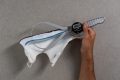
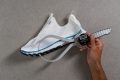
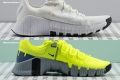
Among cross trainers we’ve tried, the Nike Free Metcon 6 hits all the essentials of a HIIT shoe and rose to the top of this category. Proven by our lab, it excels in lightness, flexibility, and stability, allowing us to do intense sessions more gracefully.
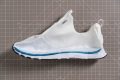
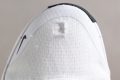
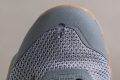
It felt like a breeze to move in this shoe, literally! Our scales show it’s only 9.7 oz (274g), 10.5% below average. Moreover, the finely woven mesh upper provides outstanding ventilation, ensuring a consistently refreshing experience. Our lab confirms this with a perfect breathability score.
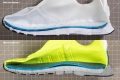
Besides its weightlessness, FM6’s high level of flexibility adds to its natural feel. From twisting to bending during lunges, planks, and burpees, the midsole gave in. We awarded it a low 2/5 torsional rigidity score in our manual assessment. Meanwhile, in our bend test, it emerged a whopping 76.9% more flexible than average!
This agile trainer proves a shoe doesn’t have to be rigid to be stable. FM6 delivers surefootedness by widening its midsole to 113.9/94.4 mm and inserting a small 27.8 HA foam under the heel, firmer than the whole 22.5 HA cushioning.
However, we find that FM6 lacks cushioning for repetitive jumps and heavy cardio. Those who need more impact protection should check more options.
Pros
- Fantastic breathability
- Very light on foot (lighter than average too)
- Better cushioned for HIIT
- Most flexible cross-trainer ever
- Excellent stability for moderate weightlifting
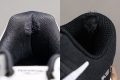
- Sock-like fit in a bootie upper
- Accommodating toebox (for medium feet)
- Great grip on gym surfaces
Cons
- NOT for rope climbs (lacks protection)
- Can be hard to put on (narrow opening)
Best cross-training shoes for cardio


What makes it the best?
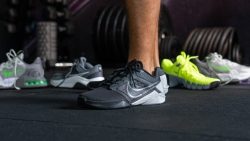
Among cross-trainers we tested in the lab and the gym, the Nike Air Zoom TR 1 dominated the cardio category. It delivers a delicate balance of explosive energy and control, which are both crucial in performing intense exercises effectively and safely.
Starting with the main element already featured in its name: the midsole includes the Air Zoom unit that provides pleasant responsiveness and soft landings, confirmed by its 26.3% softer composition than our lab average.
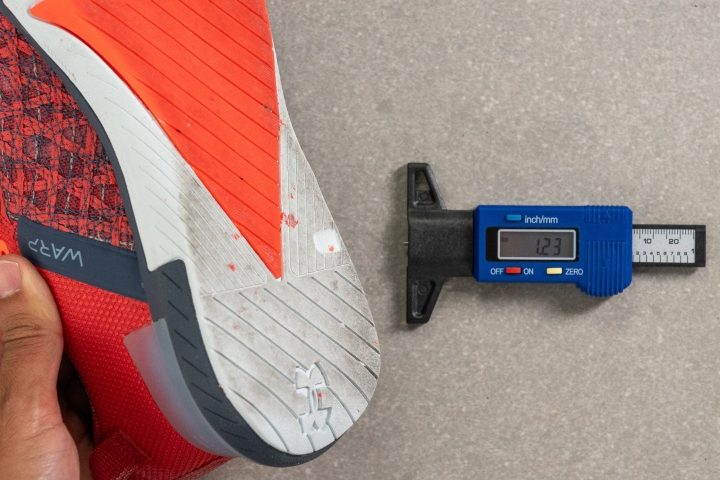
To maintain our surefootedness across lateral and quick movements, the heel offers support without being overly firm, evidenced by its 4/5 rigidity score in our assessment. Additionally, the sticky outsole displays solid magnetic force to the ground, which our durometer confirms with a reading 8.8% softer than average.
The upper is also well-structured and helps in keeping us centered. It excelled in our abrasion test and secured a perfect rating for toebox durability. However, this comes at the expense of ventilation, making it less suitable for hot and humid weather.
Pros
- Dependable bite on gym floors
- Pretty durable toebox
- Good impact protection
- Nice lateral stability
- Secure heel hold
- Smooth heel-to-toe transitions
- OK for occasional outdoor use
Cons
- Not breathable at all
- Not for heavy lifting
Best minimalist cross-training shoes


What makes it the best?
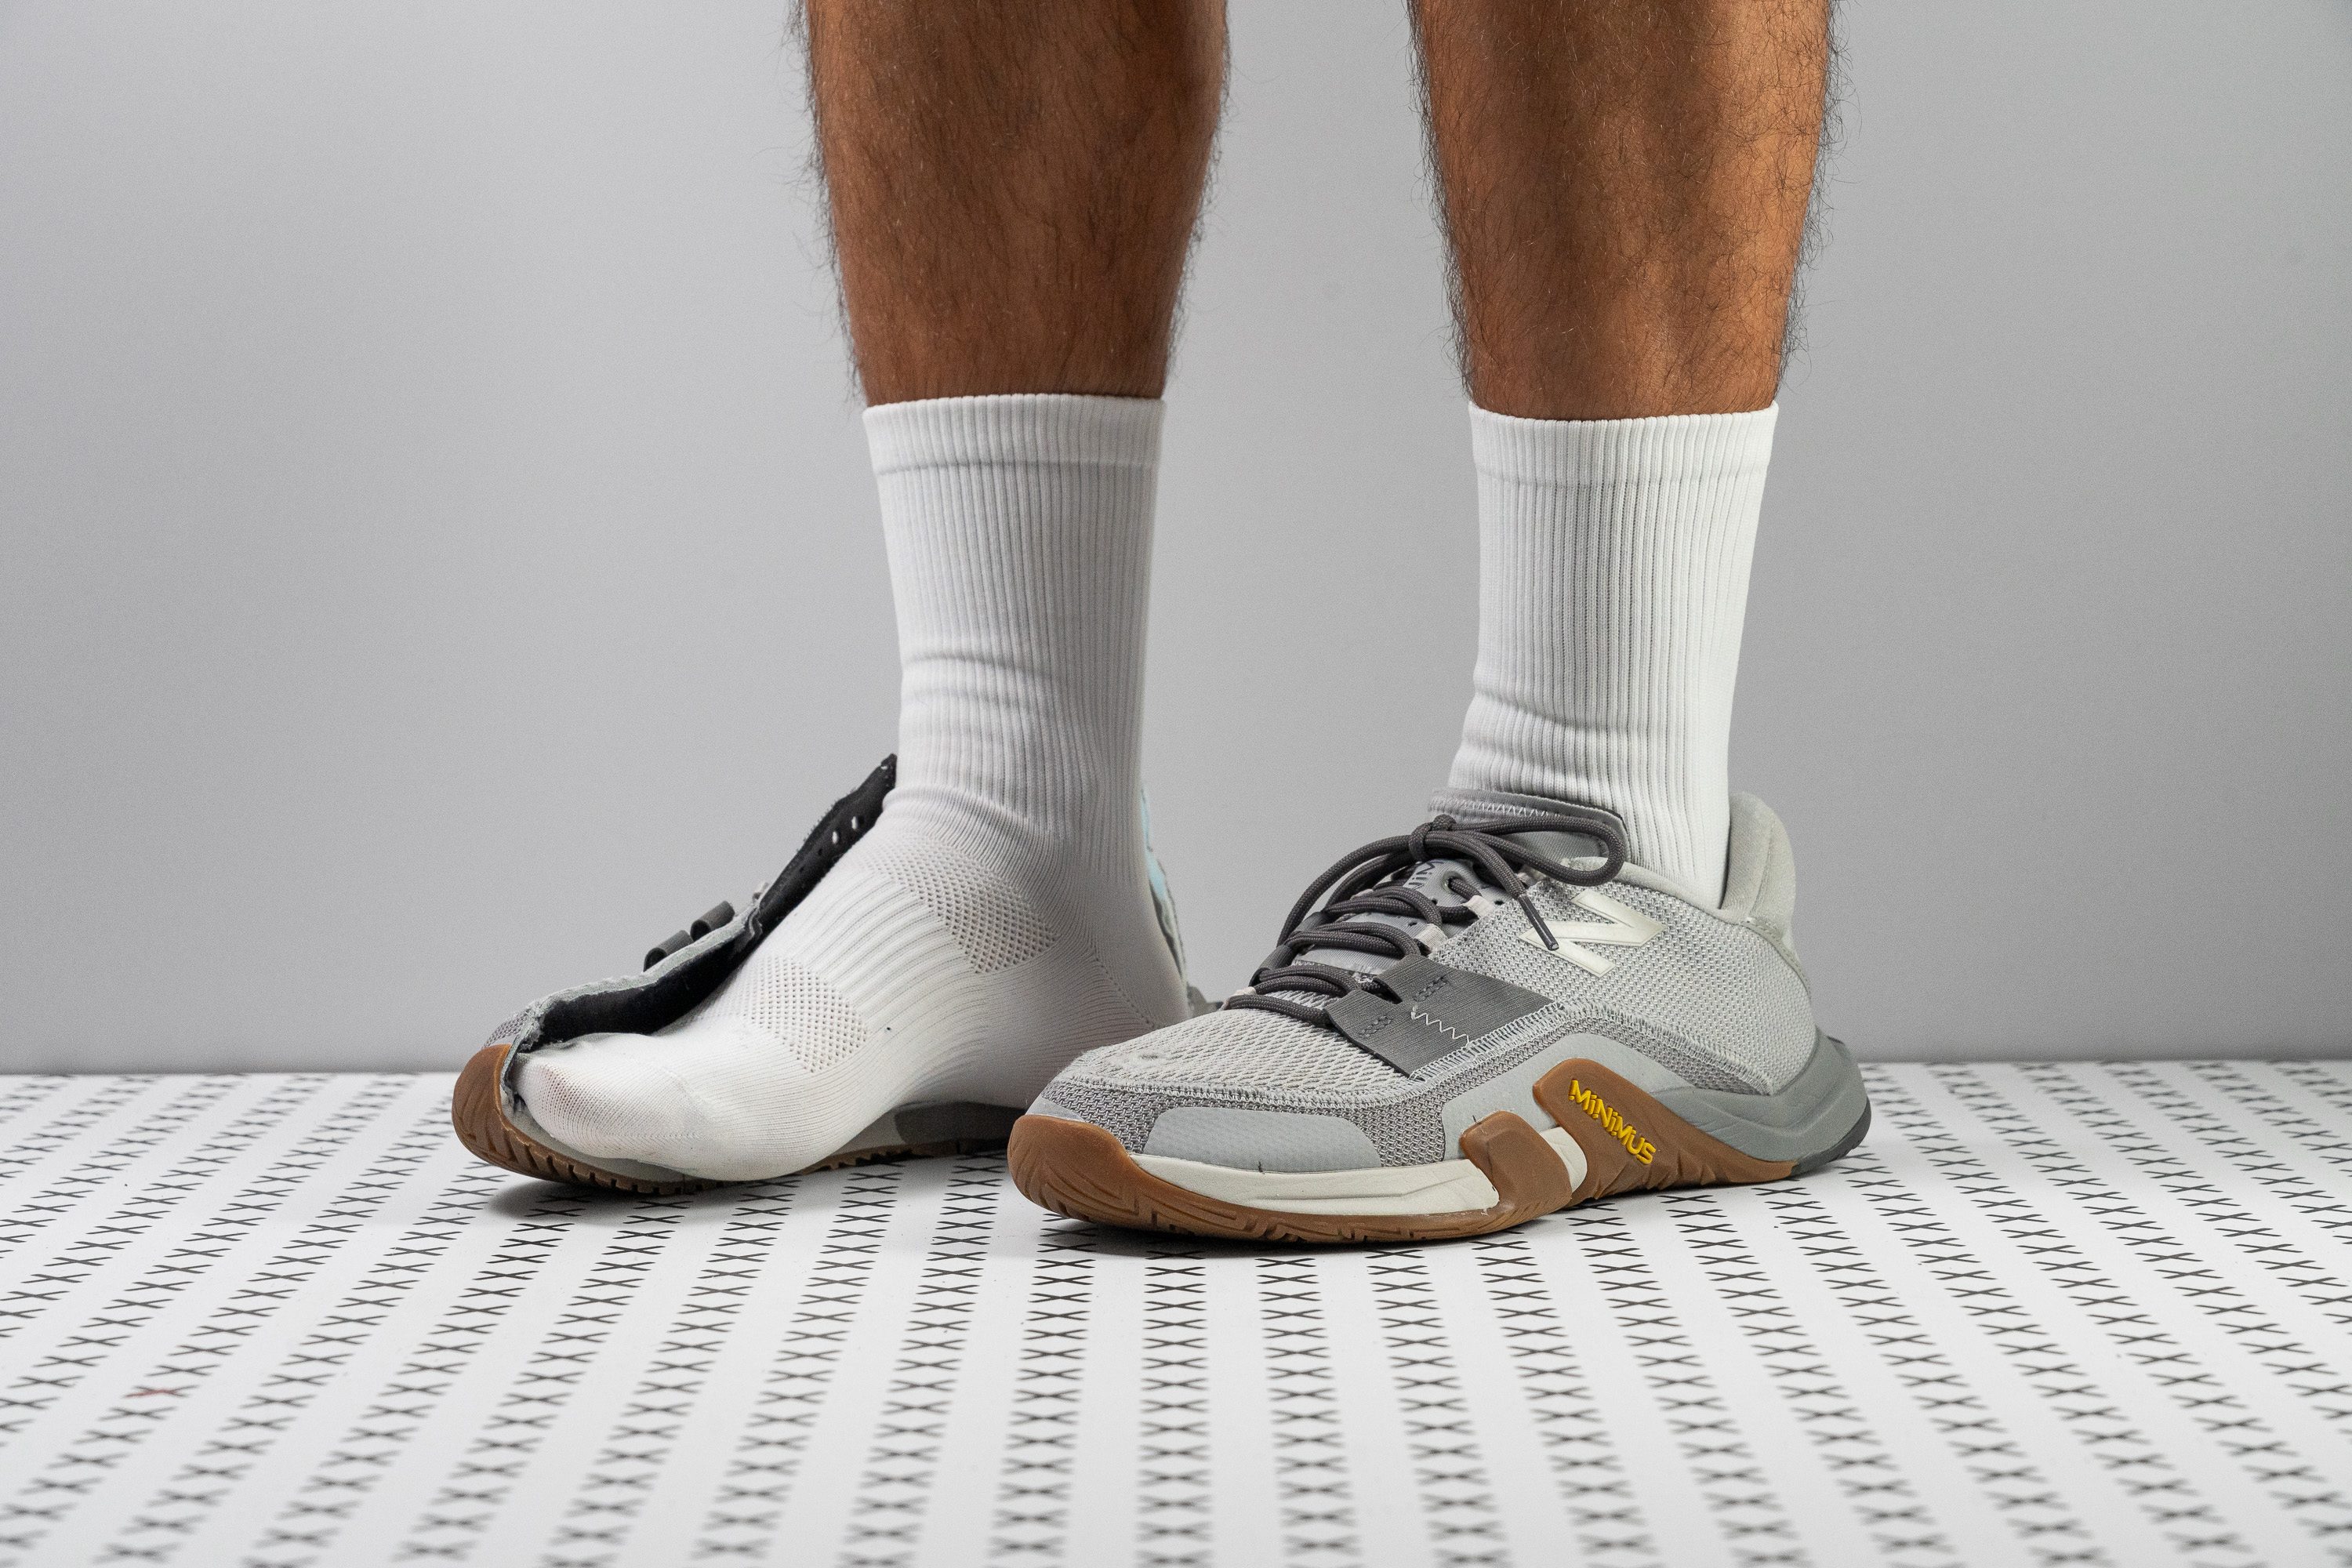
With an almost barefoot feel, the New Balance Minimus TR v2 clinched the top minimalist cross-training shoe title, offering versatility across various exercises. Our lab reveals its light and flexible build boosts our agility. Meanwhile, its low-profile design enhances control, improving stability and precision in jumps and plyometric movements.
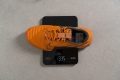
During our workouts, we didn’t feel like we had any shoes on. Minimus TR v2 feels extremely weightless and our scales confirm it’s a feathery 8.9 oz (251g), 17.4% below average, making us feel quick on our feet.
Adding to its lightness is its unresisting build from all directions. Whether we needed to bend or twist our feet in lunges, planks, or stretches, Minimus TR v2 surrendered freely to our movements. Our manual assessment awarded it the lowest torsional rigidity score of 1/5, while our bend test confirms it’s 38.8% more flexible than average. These insanely low figures prove the shoe’s emphasis on versatility and freedom of movement.
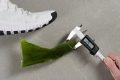
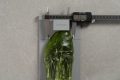
The shoe feels grounded, which our caliper confirms with the lowest stack height we’ve ever measured for a trainer: 14.0/11.8 mm. Together with its minimal 2.2 mm drop, we experienced better control and secured stability. However, we don’t recommend this pair for workouts heavily focused on repetitive and intense impact since the lack of cushioning will feel harsh on the foot.
Pros
- Grounded minimalist platform
- Basic impact protection for HIIT
- Planted and stable for lifting
- Comfortable for sockless wear
- Highly flexible for planks, lunges, etc.
- Very lightweight
- Excellent breathability
- Protection for rope climbs
Cons
- Fiddly tonge (thin, long, shifty)
- Rockered sole feels unsteady for deadlifts
- Heel bumper protrudes too much
- Not very durable
Best cross-training shoes for lifting


What makes it the best?
Among the cross-trainers we brought to the gym and tested in the lab, the 3rd version of the Adidas Dropset is our top shoe for lifting. We never dropped a set because this trainer made us feel so stable and secure with its high ground feel and massive base, and impressively does so without making its structure extremely rigid.
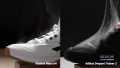
The midsole has a low profile and a dual-density composition that perfectly sets it up for lifting. Our caliper shows a 22.6/14.8 mm stack height, lower than the 24.7/18.4 mm average, enhancing our surefootedness. Our durometer shows a firm 41.0 HA heel so that it doesn’t collapse under heavy loads, and a softer 21.5 HA forefoot for gentler landings.
The Dropset 3 also features a vast 116.9/88.9 mm base, which helps us find our footing securely. We felt well-planted during our sessions, allowing us to add more weight. Plus, the GeoFit Sensepods held our ankles snugly, avoiding any imbalances.
We’re in awe of how the Dropset 3 stabilizes us without adding too much rigidity to its structure. Our attempts to twist the shoe got it an average 3/5 rating. Meanwhile, it emerged 30.3% more flexible than the average trainer in our bend test.
However, its effective support pulled the weight department down to a hefty 12.1 oz (343g). Those who prefer more agility should find lighter shoes.
Pros
- Exceptional stability for lifting and lateral movements
- Very wide and grounded platform
- Extra durable and grippy outsole
- Very secure foothold
- Flexible enough for plyometrics
- Fantastic breathability
- Accommodating toebox
Cons
- Not great for running and walking (clunky heel)
- Can't be worn outside because of sole apertures
Best budget cross-training shoes


What makes it the best?
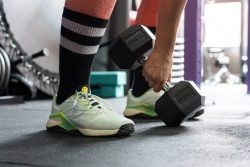
Cross-training demands versatility, agility, and comfort, and that’s exactly what the Nike MC Trainer 3 delivered in our exercises. Our lab numbers back up the pleasurable and seamless experience we had through its light build, abundant cushioning, and seamless ventilation. With its $80 price tag, it’s our best budget cross-trainer.
On average, its counterparts cost $116 but the MC Trainer 3 can keep up in terms of performance. When we needed speed or the energy to do more reps, this shoe allowed us to do so with ease. Its light 10.4 oz (296g) never felt like a burden, while the flex grooves in the outsole allowed us to bend freely during lunges and planks.
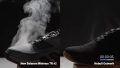
Its breathable upper adds to its effortless feel, never allowing body heat or sweat to build up. Its 5/5 rating in our smoke test reflected the seamless airflow we experienced.
When it was time to perform repetitive jumps or do miles of runs, our feet were highly protected from landing impact. Our caliper measurement reveals the stack height is above the average at 30.6/21.8 mm. Meanwhile, our durometer confirms its gentle touch with a 24.1 HA reading, 13.0% softer than average.
However, we cannot recommend this trainer to serious weightlifters or those with overpronation. We suggest finding a more stable shoe.
Pros
- Fantastic value for money
- Highly breathable
- Doesn't drag the foot down
- Better cushioned than v2
- Heel bevel is better for running and walking
- Decent stability for moderate workouts
- Good flexibility for lunges and planks
- Accommodating toebox
- Comfortable padded interiors
Cons
- Not for flat and wide feet (narrow midfoot)
- Upper lacks wear resistance
- Weak outsole grip
What is a cross-training shoe?
A cross-training shoe is a type of athletic shoe designed for multi-disciplinary workouts and activities. Cross-training shoes are versatile and can be used for a variety of exercises, including weightlifting, running, jumping, and other high-intensity workouts.
These shoes are designed to provide support, stability, and comfort for the feet during intense workouts. They typically have a cushioned yet stable sole to help absorb shock and reduce the impact on the joints.
Type of workouts handled by cross-training shoes
Cross-training shoes are designed to be versatile and support a variety of different physical activities. Here are some of the types of workouts that are well-suited for cross-training shoes:
|
High-intensity interval training (HIIT) and cardio |
Most cross-training shoes have enough cushioning, lateral support, and flexibility to handle high-impact exercises like jumps. |
| Circuit training | Cross-trainers are versatile enough to handle the various types of movements involved in circuit training, including weightlifting, plyometrics, and bodyweight exercises. |
| Weightlifting* | Cross-training shoes typically provide adequate stability and support for weightlifting exercises, including squats, deadlifts, and other strength training movements. |
*For heavy Olympic weightlifting and squats, you may want to consider a dedicated pair of lifters. The elevated heels and non-compressible platforms of these shoes promote the most efficient posture for lifting heavy.
Can you run in cross-training shoes?
While cross-training shoes can be used for running, they do not provide the same level of support and performance as running shoes. But most cross-trainers can handle short runs of 1-3 miles.
If you're a frequent runner, it's recommended to use shoes specifically designed for running to reduce the risk of injury and improve your performance.
The difference in cushioning, energy return, and even midsole design is striking.
If you're only an occasional runner or do a variety of activities, cross-training shoes can be a suitable option. Ultimately, it's important to choose shoes that fit well, provide the right level of support and cushioning, and are comfortable for the type of activities you will be doing.
Cross-training shoes vs. Crossfit shoes
Cross-training shoes are a broader category of gym footwear that includes CrossFit shoes. So, in a way, they are the same.
But here is what characterizes Crossfit-oriented shoes:
Stability: These shoes provide extra stability for weightlifting exercises, especially during heavy lifting, while other cross-training shoes may not have the same level of stability.
Cushioning: They often have minimal cushioning and a low profile to promote a more natural feel for weightlifting and lateral movements.
Durability: Crossfit shoes have sturdier and more abrasion-resistant materials to match the higher demands of this workout regimen. In particular, these shoes have reinforced sidewalls to protect the upper during rope climbs.

Ultimately, the type of shoe you choose will depend on the specific demands of your workout routine and the types of activities you engage in. If you are primarily engaged in weightlifting and CrossFit-style workouts, a CrossFit shoe might be the better option, while if you participate in a wider range of activities, a more general-purpose cross-trainer might be more appropriate.
How to choose the right cross-trainer for you
Aside from the shoe aesthetics, there are several characteristics that you should pay attention to when choosing a pair of cross-trainers:
- Heel stack and drop
- Midsole firmness
- Flexibility of the shoe
- Lateral support and stability
- Durability of the shoe
- Breathability of the upper
- Shoe size and toebox fit
It may seem overwhelming at first but getting these parameters right will make your future trainer feel like it's been fine-tuned to your feet.
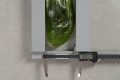
Heel stack and drop: how to choose
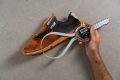
Heel stack refers to the amount of material stacked underneath your heel (insole, midsole, and outsole combined). As for the drop, it indicates how much the heel is elevated above the toes inside the shoe.
| Low heel stack (<24 mm) and drop (<8) | High heel stack (>24 mm) and drop (>8 mm) |
| creates a more grounded platform for Crossfit or any other exercises that call for a stable basis | offers more support and impact protection if you're engaging in lots of jumping or running |
Midsole firmness in cross-trainers
Made of foam, midsoles provide cushioning and support for the feet. In cross-training shoes, it is typically firmer in the heel and softer in the forefoot. This difference in density provides a balance of stability for weight training and responsiveness for jumping.
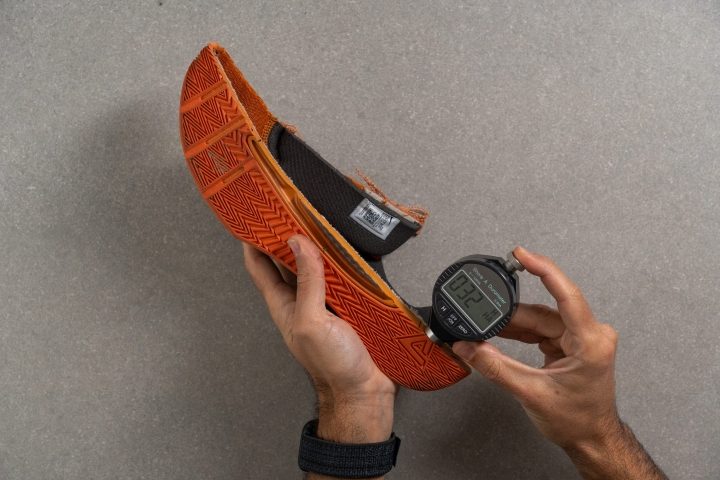
And yet, some midsoles are overall firmer than others which makes them better for certain types of exercise:
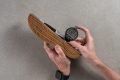
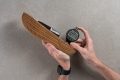
| Firmer midsole (>28 HA*) | Softer midsole (<28 HA) |
| better for weightlifting | better for cardio, HIIT, aerobics, treadmill, etc. |
Example of a firmer midsole in a Crossfit shoe (Reebok Nano X1)
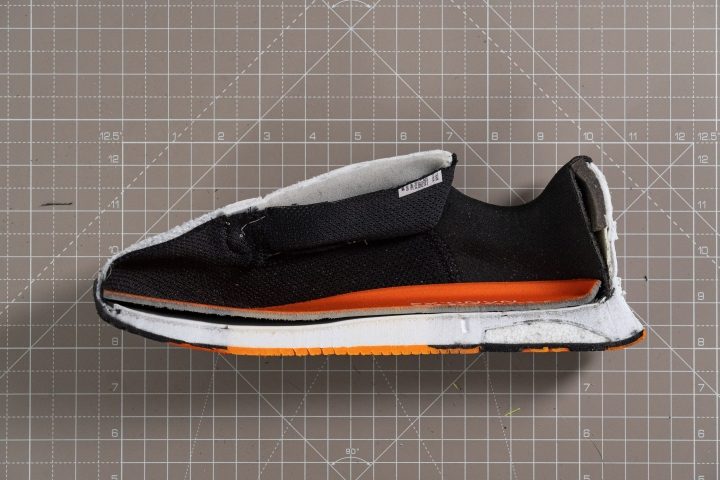
Example of a softer midsole in an HIIT shoe (Nike Air Zoom SuperRep 3)
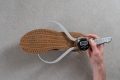
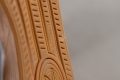
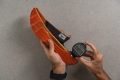
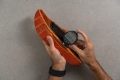
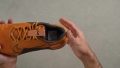
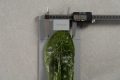
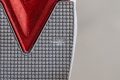
Flexibility of cross-training shoes
A cross-training shoe should be flexible enough for exercises like jumps, runs, lunges, and planks. However, some trainers are made significantly more flexible than others.
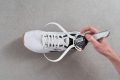
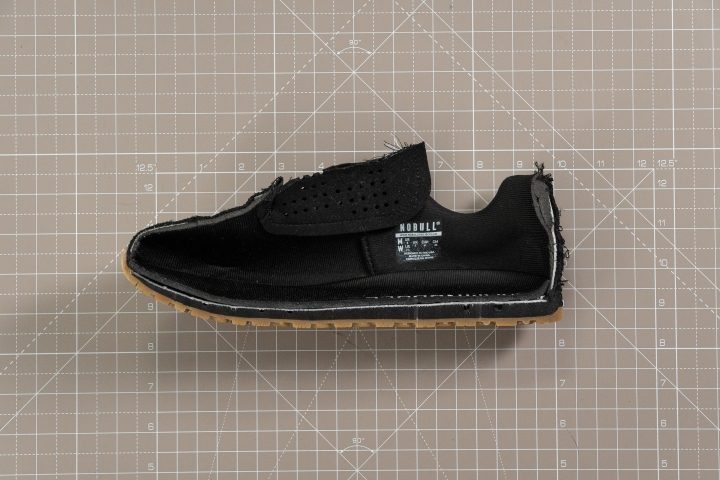
Example of a stiffer Crossfit shoe (NOBULL Impact)
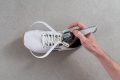
Example of a highly flexible cross-trainer (Nike Free Metcon 4)
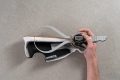
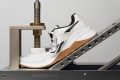
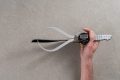
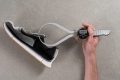
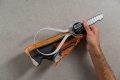
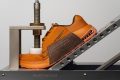
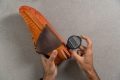
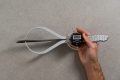
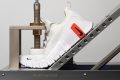
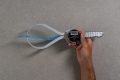
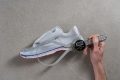
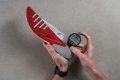
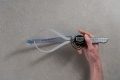
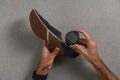
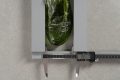
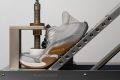
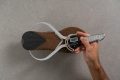
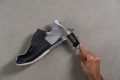
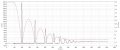
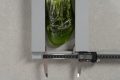
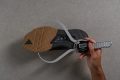
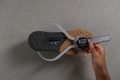
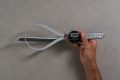
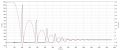
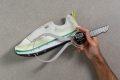
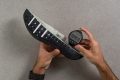
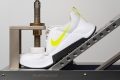
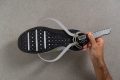
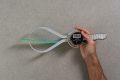
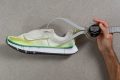
We use a gauge to measure how much force it takes to bend a shoe to a 90-degree angle
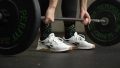
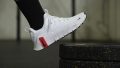
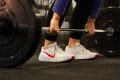
Lateral support and stability
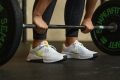
Whether you are squatting with a heavy barbell or moving forcefully side-to-side, a good pair of cross-trainers will never make you feel wobbly.
In our lab, we measure a few parameters that indicate a highly stable trainer:
- midsole firmness
- torsional rigidity
- heel counter stiffness
- midsole width in the widest parts (both forefoot and heel)
Checking the durability of cross-training shoes
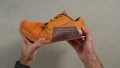
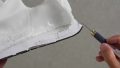
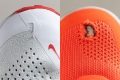
Cross-training shoes must be able to withstand the various types of physical activity that you engage in during your workouts. Their uppers should not easily rip or tear and the rubber outsole should be resistant to abrasion.
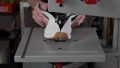
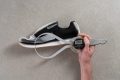
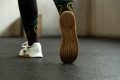
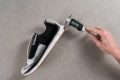
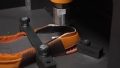
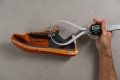
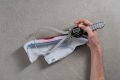
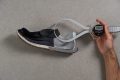
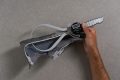
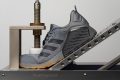
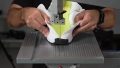
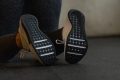
We put each cross-trainer through a series of demanding durability tests with a Dremel.
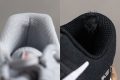
We assess each shoe's toebox and heel padding durability on a 1-5 scale based on the damage.
We evaluate outsole durability based on the depth of the dent created by the Dremel.
*Outsole durability: a lower number means more durable. It refers to the depth of the dent left by the Dremel.
Planning to wear cross-trainers outside? Check the outsole
And if you plan to wear your future cross-trainer outside the gym, you must be especially demanding in the durability department. Asphalt and other abrasive outdoor surfaces can eat through the outsole much faster. Thus, you should look for the following:
- a full-length rubber outsole
- a thick layer of rubber (at least 4 mm)
- a hard rubber compound (at least 80 HC)
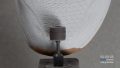
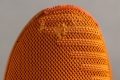
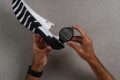
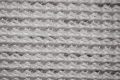
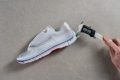
Consider breathability
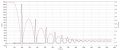
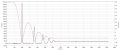
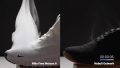
A cross-trainer with sufficient ventilation will keep your feet cool and comfortable during intense workouts.
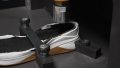
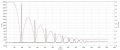
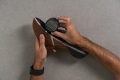
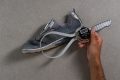
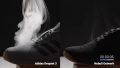
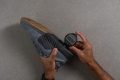
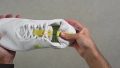
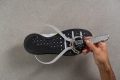
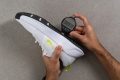
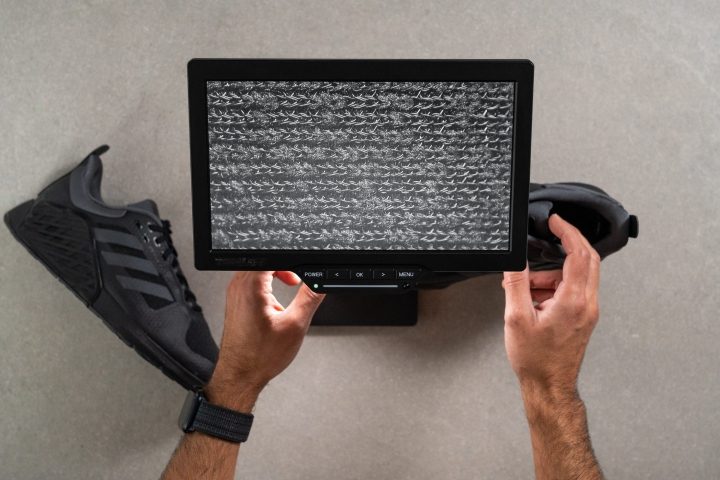
We use a series of tests with a smoke-pumping machine, a flashlight, and even a microscope to assess each shoe's ventilation capacity.
Shoe size and toebox fit in cross-trainers
In most cases, getting a cross-trainer in your regular athletic shoe size works just fine.
But if you are ordering online and it's been a while since you last purchased a pair, then we recommend taking the following steps to ensure the right size:
- measure your foot length precisely
- consult the corresponding brand's size chart
- check if the shoe you want runs true to size and width (e.g., in our lab reviews or user reviews online)
Getting the right size length-wise is great, but you must also consider the internal space provided in a given cross-trainer.
A toebox is the front part of the shoe that provides room for the toes to move and helps protect them from injury. A good toebox should provide enough room for your toes to move freely and comfortably, without feeling cramped or restricted. Being able to splay your toes is essential for feeling stable when lifting or balancing on one foot.
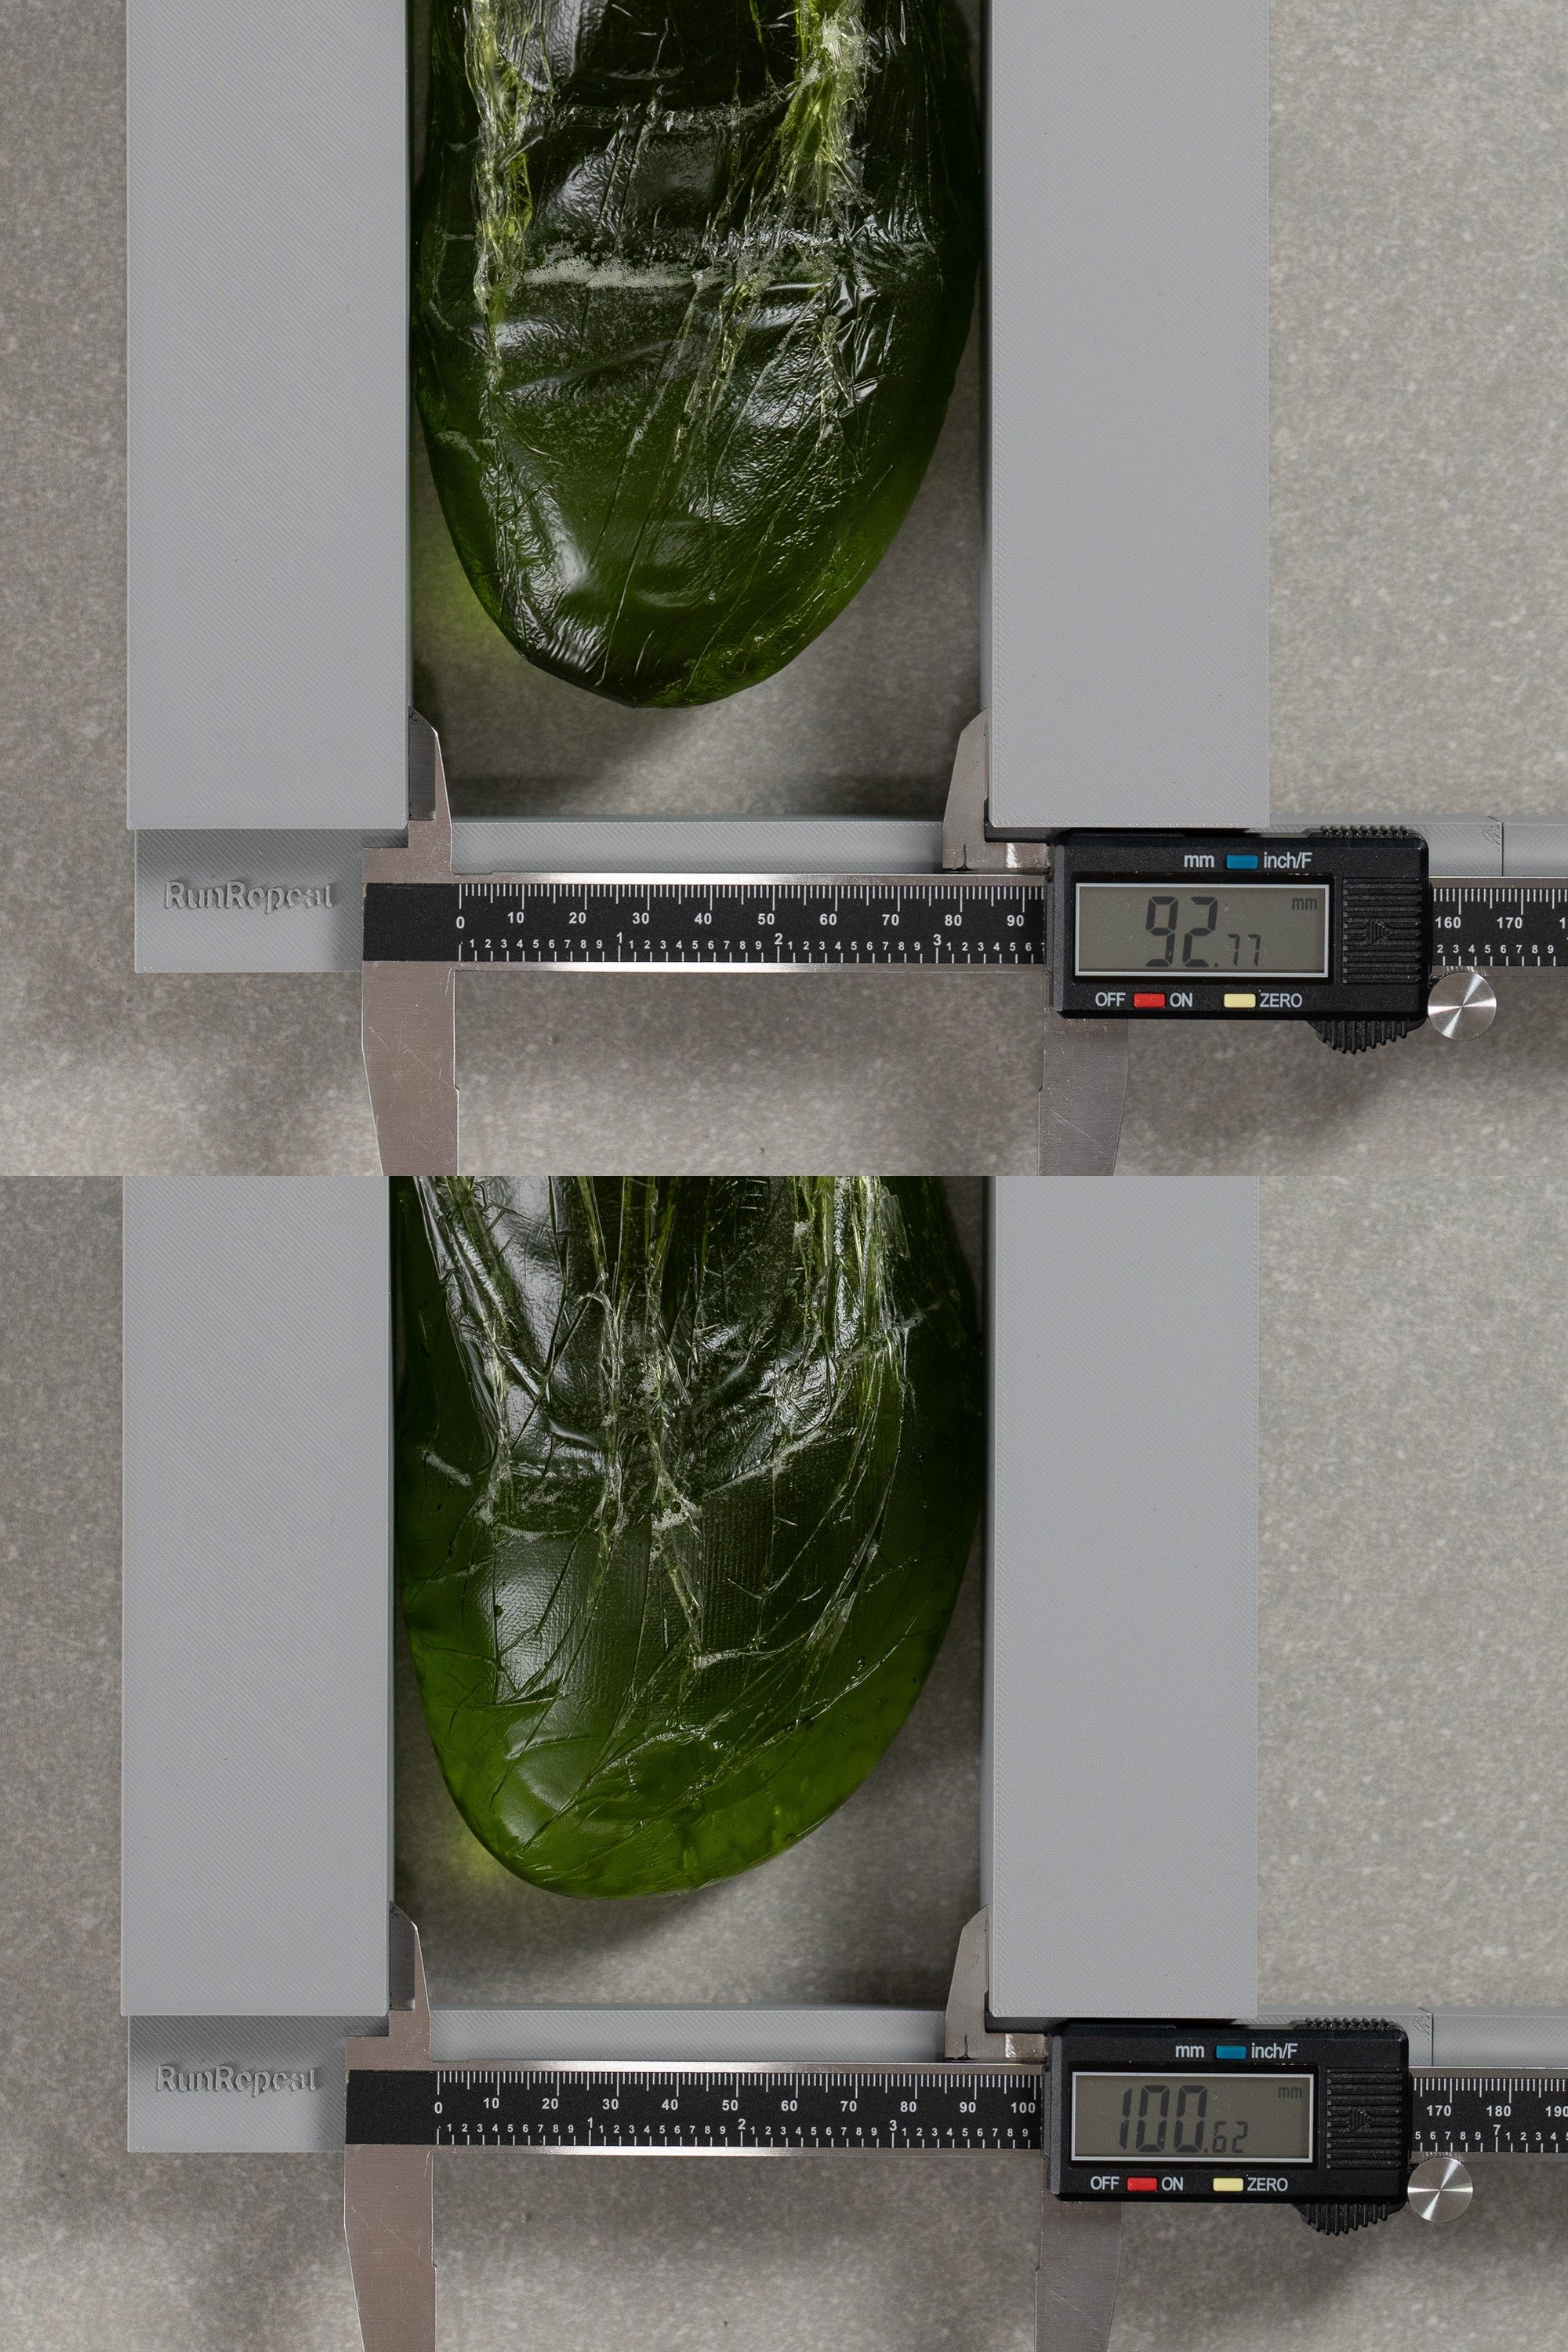
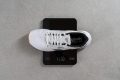
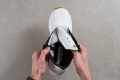
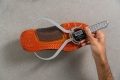
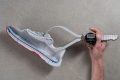
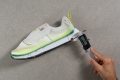
We measure the width of each cross-trainer in both the widest part and at the big toe. This gives a better idea of a shoe's dimensions and whether its toebox is tapered or not.
Similar buying guides