7 Best Shoes For Walking On Concrete in 2026

We buy shoes ourselves. We earn commissions when you buy through us, at no extra cost. Why trust us
Standing long hours on hard surfaces will essentially take its toll on your feet and whole body. To help alleviate this pain, you should wear a good pair of walking shoes suitable for concrete.
To help you out, we have gathered several recommendations that you can use for your difficult days at work or your next walking session. We subjected these walking shoes to intensive testing before we vouched for them. Read over our life-changing suggestions to make your walks and standing on concrete more fun and enjoyable.


How we test shoes for walking on concrete
We have meticulously assessed and tested more than 80 walking shoes to help you find the best one. For honest and fair reviews, here is our approach:
- We buy walking shoes using our money.
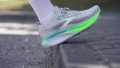
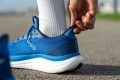
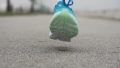
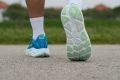
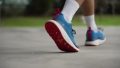
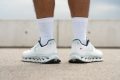
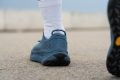
- We put these shoes through a series of wear tests to determine their comfort, durability, flexibility, and many other parameters. We walk, stand, and even lightly jog in them on various surfaces, focusing on cemented or concrete ones both indoors and outdoors.
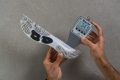
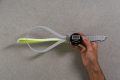
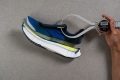
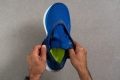
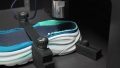
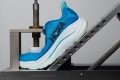
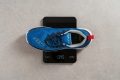
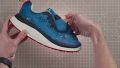
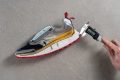
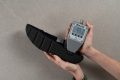
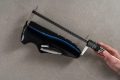
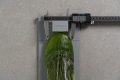
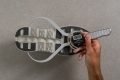
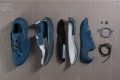
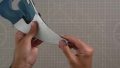
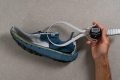
- We also do tests in our lab. We cut the walking shoes in half to examine every little detail properly. One essential characteristic we look for in the best walking shoes on concrete is cushioning. We measure the heel and forefoot stack height, shock absorption, platform width, stability, and flexibility.
Best shoes for walking on concrete overall


What makes it the best?
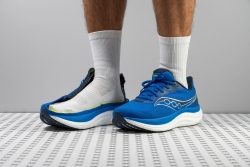
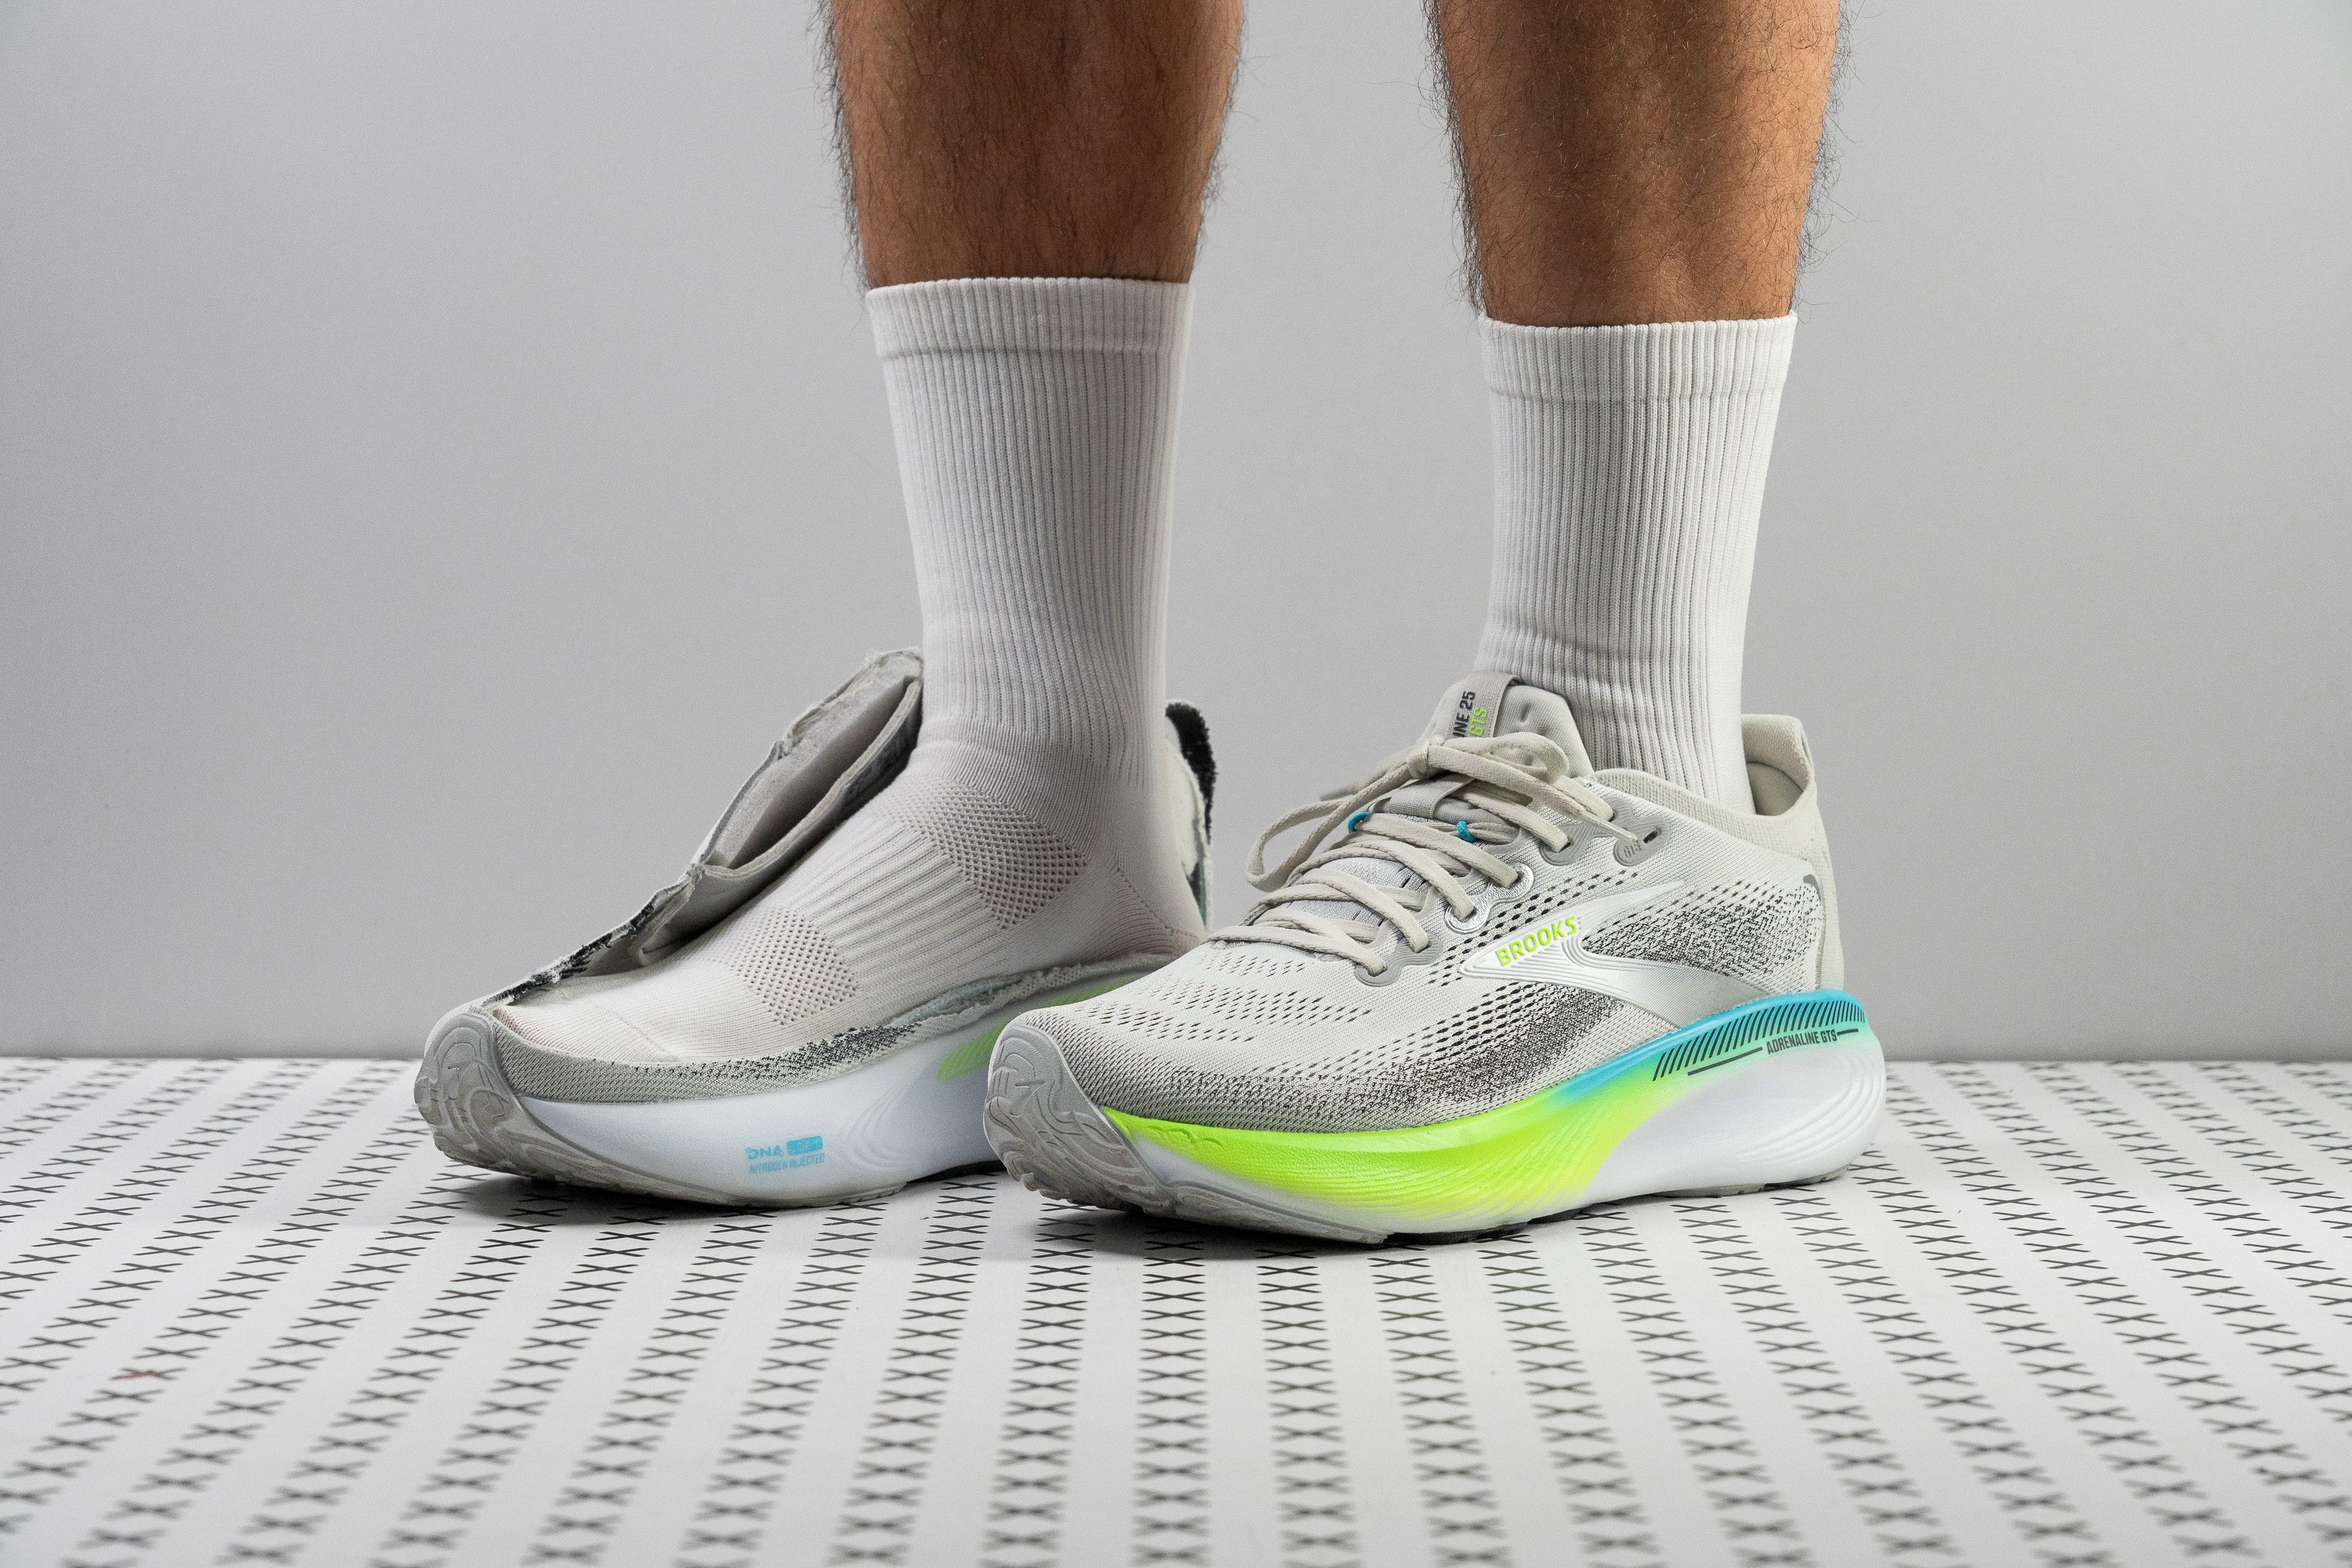
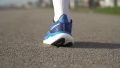
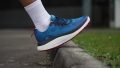
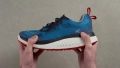
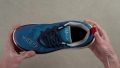
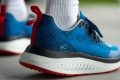
We walked and pounded the streets for long hours and found that the Brooks Adrenaline GTS 25’s plush nature erases the harshness of concrete ground, making it our best walking shoe for this type of surface. Our lab numbers show why: it has generous and leg-saving cushioning, a surprisingly stable platform, and a hardwearing outsole.
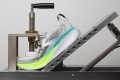
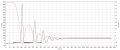
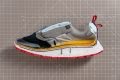
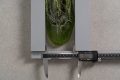
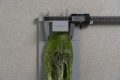
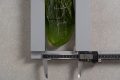
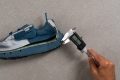
Adrenaline GTS 25 brought the clouds to the street through its above-average stack height. Our caliper shows a 36.1 mm heel that absorbs much of the repetitive landing impact, confirmed by our impressive shock absorption result of 138 SA. Being 24% above average explains the midsole’s all-day comfort.
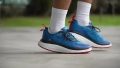
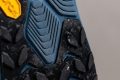
When it comes to lateral movements and pronation, the midsole is not so forgiving, courtesy of its GuideRails system. Together with its broad 117.7/100.7 mm base, our feet were locked in and centered, enhancing the shoe’s stability.
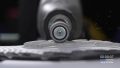
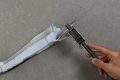
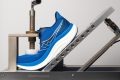
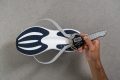
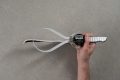
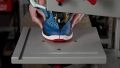
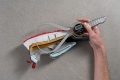
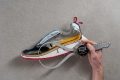
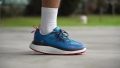
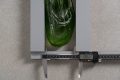
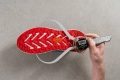
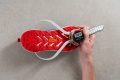
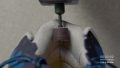
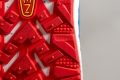
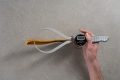
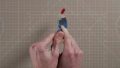
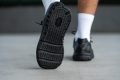
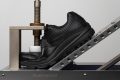
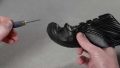
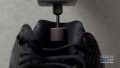
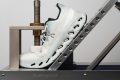
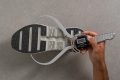
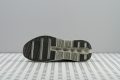
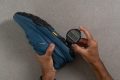
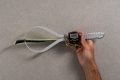
Beneath the shoe is an outsole that can handle rough surfaces. We pounded the pavement endlessly, and the shoes barely had any wear. Our Dremel test confirms its compound is tough, creating only a tiny 0.5 mm dent and indicating a long lifespan.
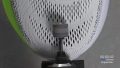
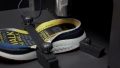
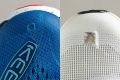
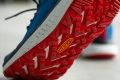
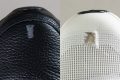
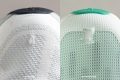
Unfortunately, taking this shoe out on a hot and humid day isn’t the best idea because of its subpar breathability. Best to use this pair during cooler seasons.
Pros
- Excellent stability with subtle support
- Softer midsole foam
- Improved shock absorption
- World-class outsole durability
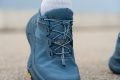
- Excellent upper comfort
- Better traction
- Reduced drop adds versatility
- Still ideal for heel strikers
- Comfy and durable for daily wear
Cons
- Needs to lose weight ASAP
- Modest energy return in the heel
- Minor price increase
Concrete walking shoes with the best shock absorption


What makes it the best?
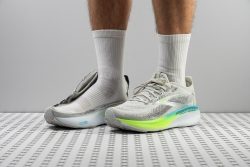
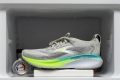
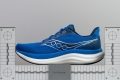
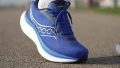
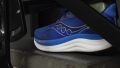
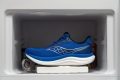
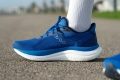
Among the concrete walking shoes we tested, the Saucony Triumph 23 triumphed in shock absorption. Our legs felt at home with its superior combination of thick and plush cushioning, along with superior grip and a surprisingly stable platform, allowing us to stay steady and comfortable for long hours.
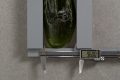
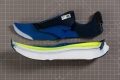
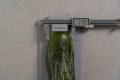
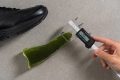
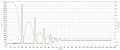
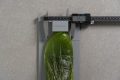
Upon cutting the shoe open, Triumph 23 proves its maximalist status with caliper measurements of 42.3/32.3 mm, muting out all the harshness of the surface. Testing for its protective nature, the heel returned a heavenly shock absorption score of 149 SA, which makes each step feel soothing and delightful.
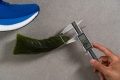
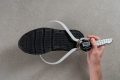
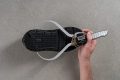
To ensure our muscles don’t overwork to stay stable, the midsole has supportive sidewalls and a broad base that keep us centered. We measured a solid width of 124.0/98.9 mm, making it impossible to spillover the shoe.
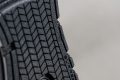
Another stabilizing factor is the outsole’s reliable grip, backed up by a high result of 0.62 in our traction test. The rubber has an aggressive pattern with lugs that enhance ground contact and control across various surfaces.
With the shoe’s vast platform, people with narrow feet may not achieve the snug fit they prefer.
Pros
- Amazing energy return
- Lighter than previous version
- Huge cushioning for long runs
- Wide platform makes it really stable
- Full PWRRUN PB midsole
- Premium sockliner
- Durable build overall
- Versatile enough for daily wear
- Consistent performance in cold temps
- Excellent grip
Cons
- Price increase
- PWRRUN PB may feel firm to some
- Bulkier build limits agility
Best shoes for walking on concrete all day


What makes it the best?
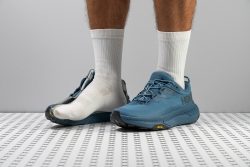
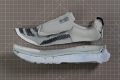
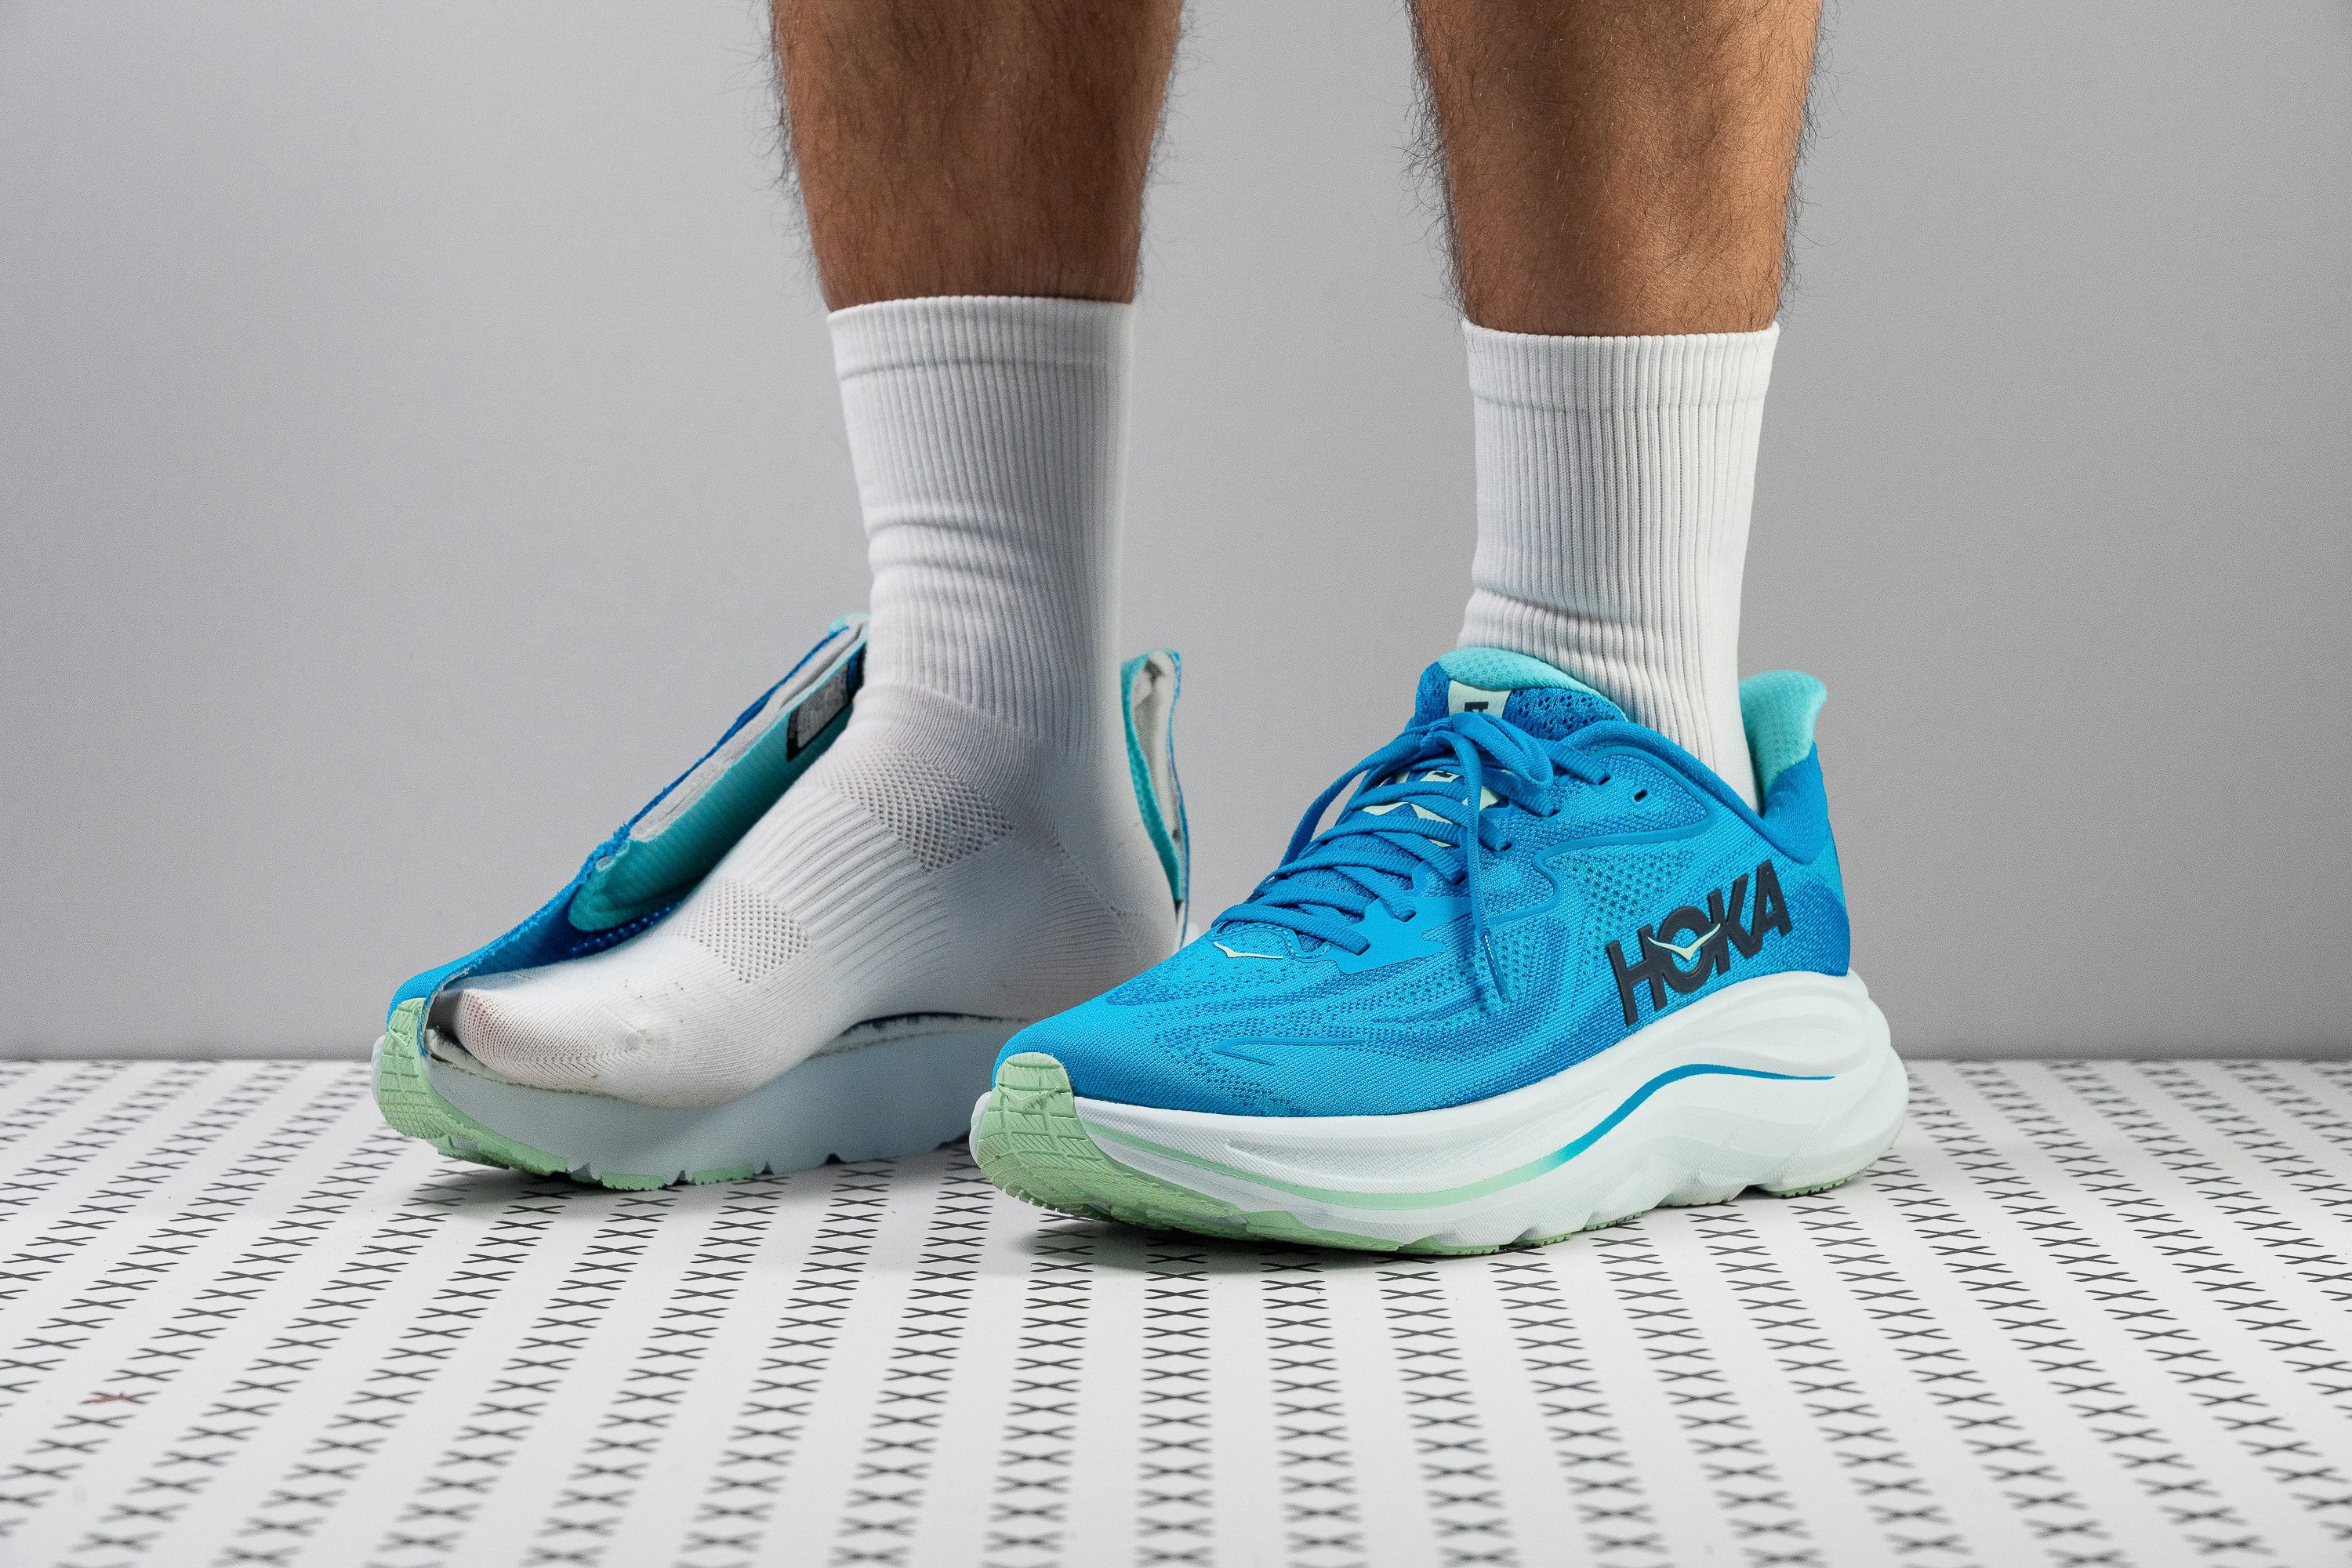
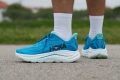
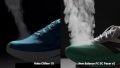
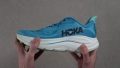
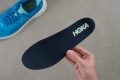
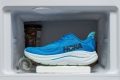
HOKA Clifton 10 gave us exactly what we’re looking for when standing on hard surfaces for extended periods—an utterly cushioned, supportive, and spacious platform. We wore and lab-tested the best concrete walking shoes and confirmed Clifton 10 is the best for all-day wear.
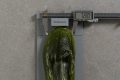
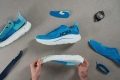
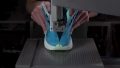
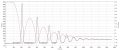
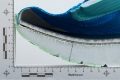
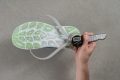
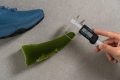
Our feet can’t get enough of the generous foam that protects our legs from solid surface impact. We measured the stack with our caliper at a massive 44.4/32.0 mm. It offers unmatched cushioning and protection, especially since we also recorded elite levels of shock absorption at 147 SA in the heel and 122 SA in the forefoot.
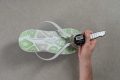
Surprisingly, this monstrous beast feels steady on foot. It’s soft for all-day wear, yet sturdy enough not to collapse easily when we move laterally. The midsole features high sidewalls and offers a very generous 116.9/94.5 mm landing platform, adding to our surefootedness.
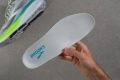
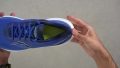
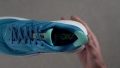
The shoe’s widest part near the ball of our foot is very accommodating as well. Even when our feet became swollen from long hours of standing, we rested comfortably inside the shoe. Using our gel mold, we verified its spaciousness at 97.2 mm.
With all the cushioning, Clifton 10 tipped the scales to 9.7 oz (275g). Those looking for an even lighter shoe can explore other options.
Pros
- Superb joint protection
- Wider toebox improves toe splay
- Comfortable upper
- Stable ride despite its high stack height
- Works well for heel strikers
- Ideal for long runs
- Versatile for daily walking or jogging
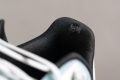
- Achilles-friendly heel collar design
- Traction improvements
Cons
- Needs a better foam ASAP
- Notable weight gain from v9
- Feels more Bondi than Clifton
- Non-gusseted tongue
Best rocker-bottom shoes for walking on concrete


What makes it the best?
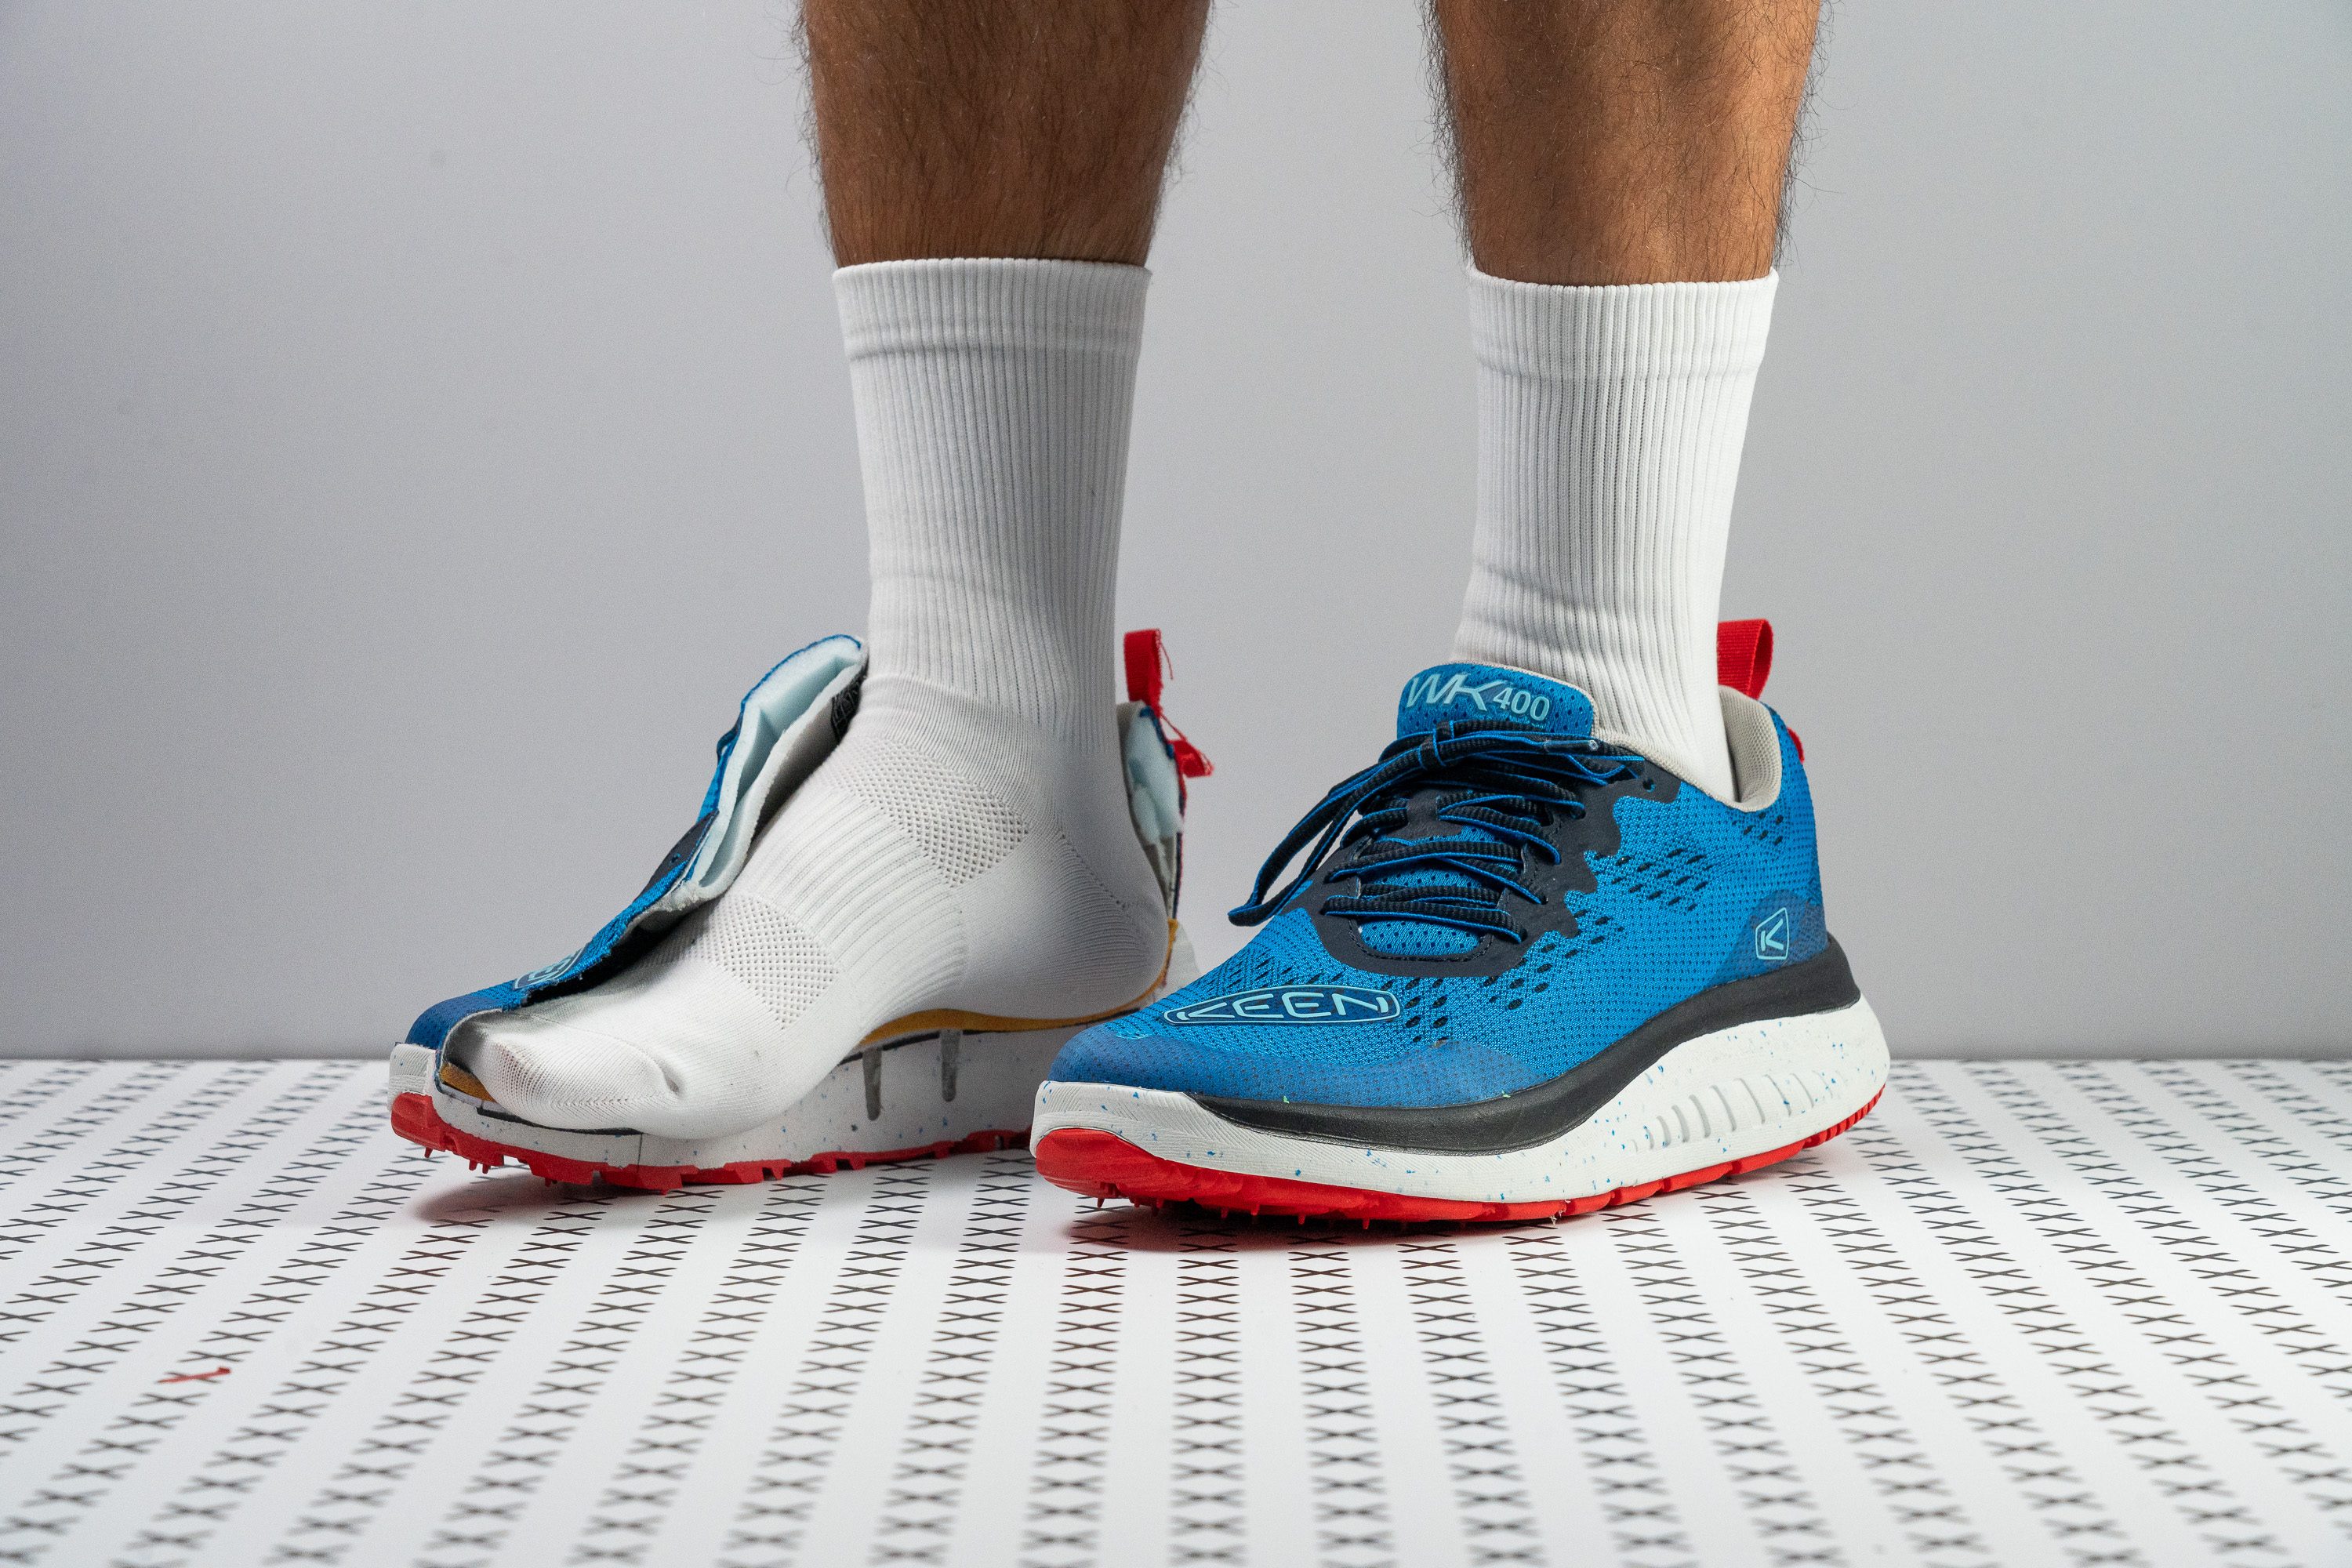
Among walking shoes we tested on concrete, the KEEN WK400 proves it’s the best-rockered shoe. It paves the way for seamless and effortless strides, packed with luxurious comfort and toughness in its outsole.
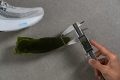
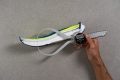
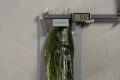
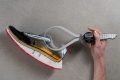
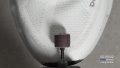
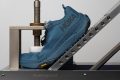
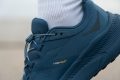
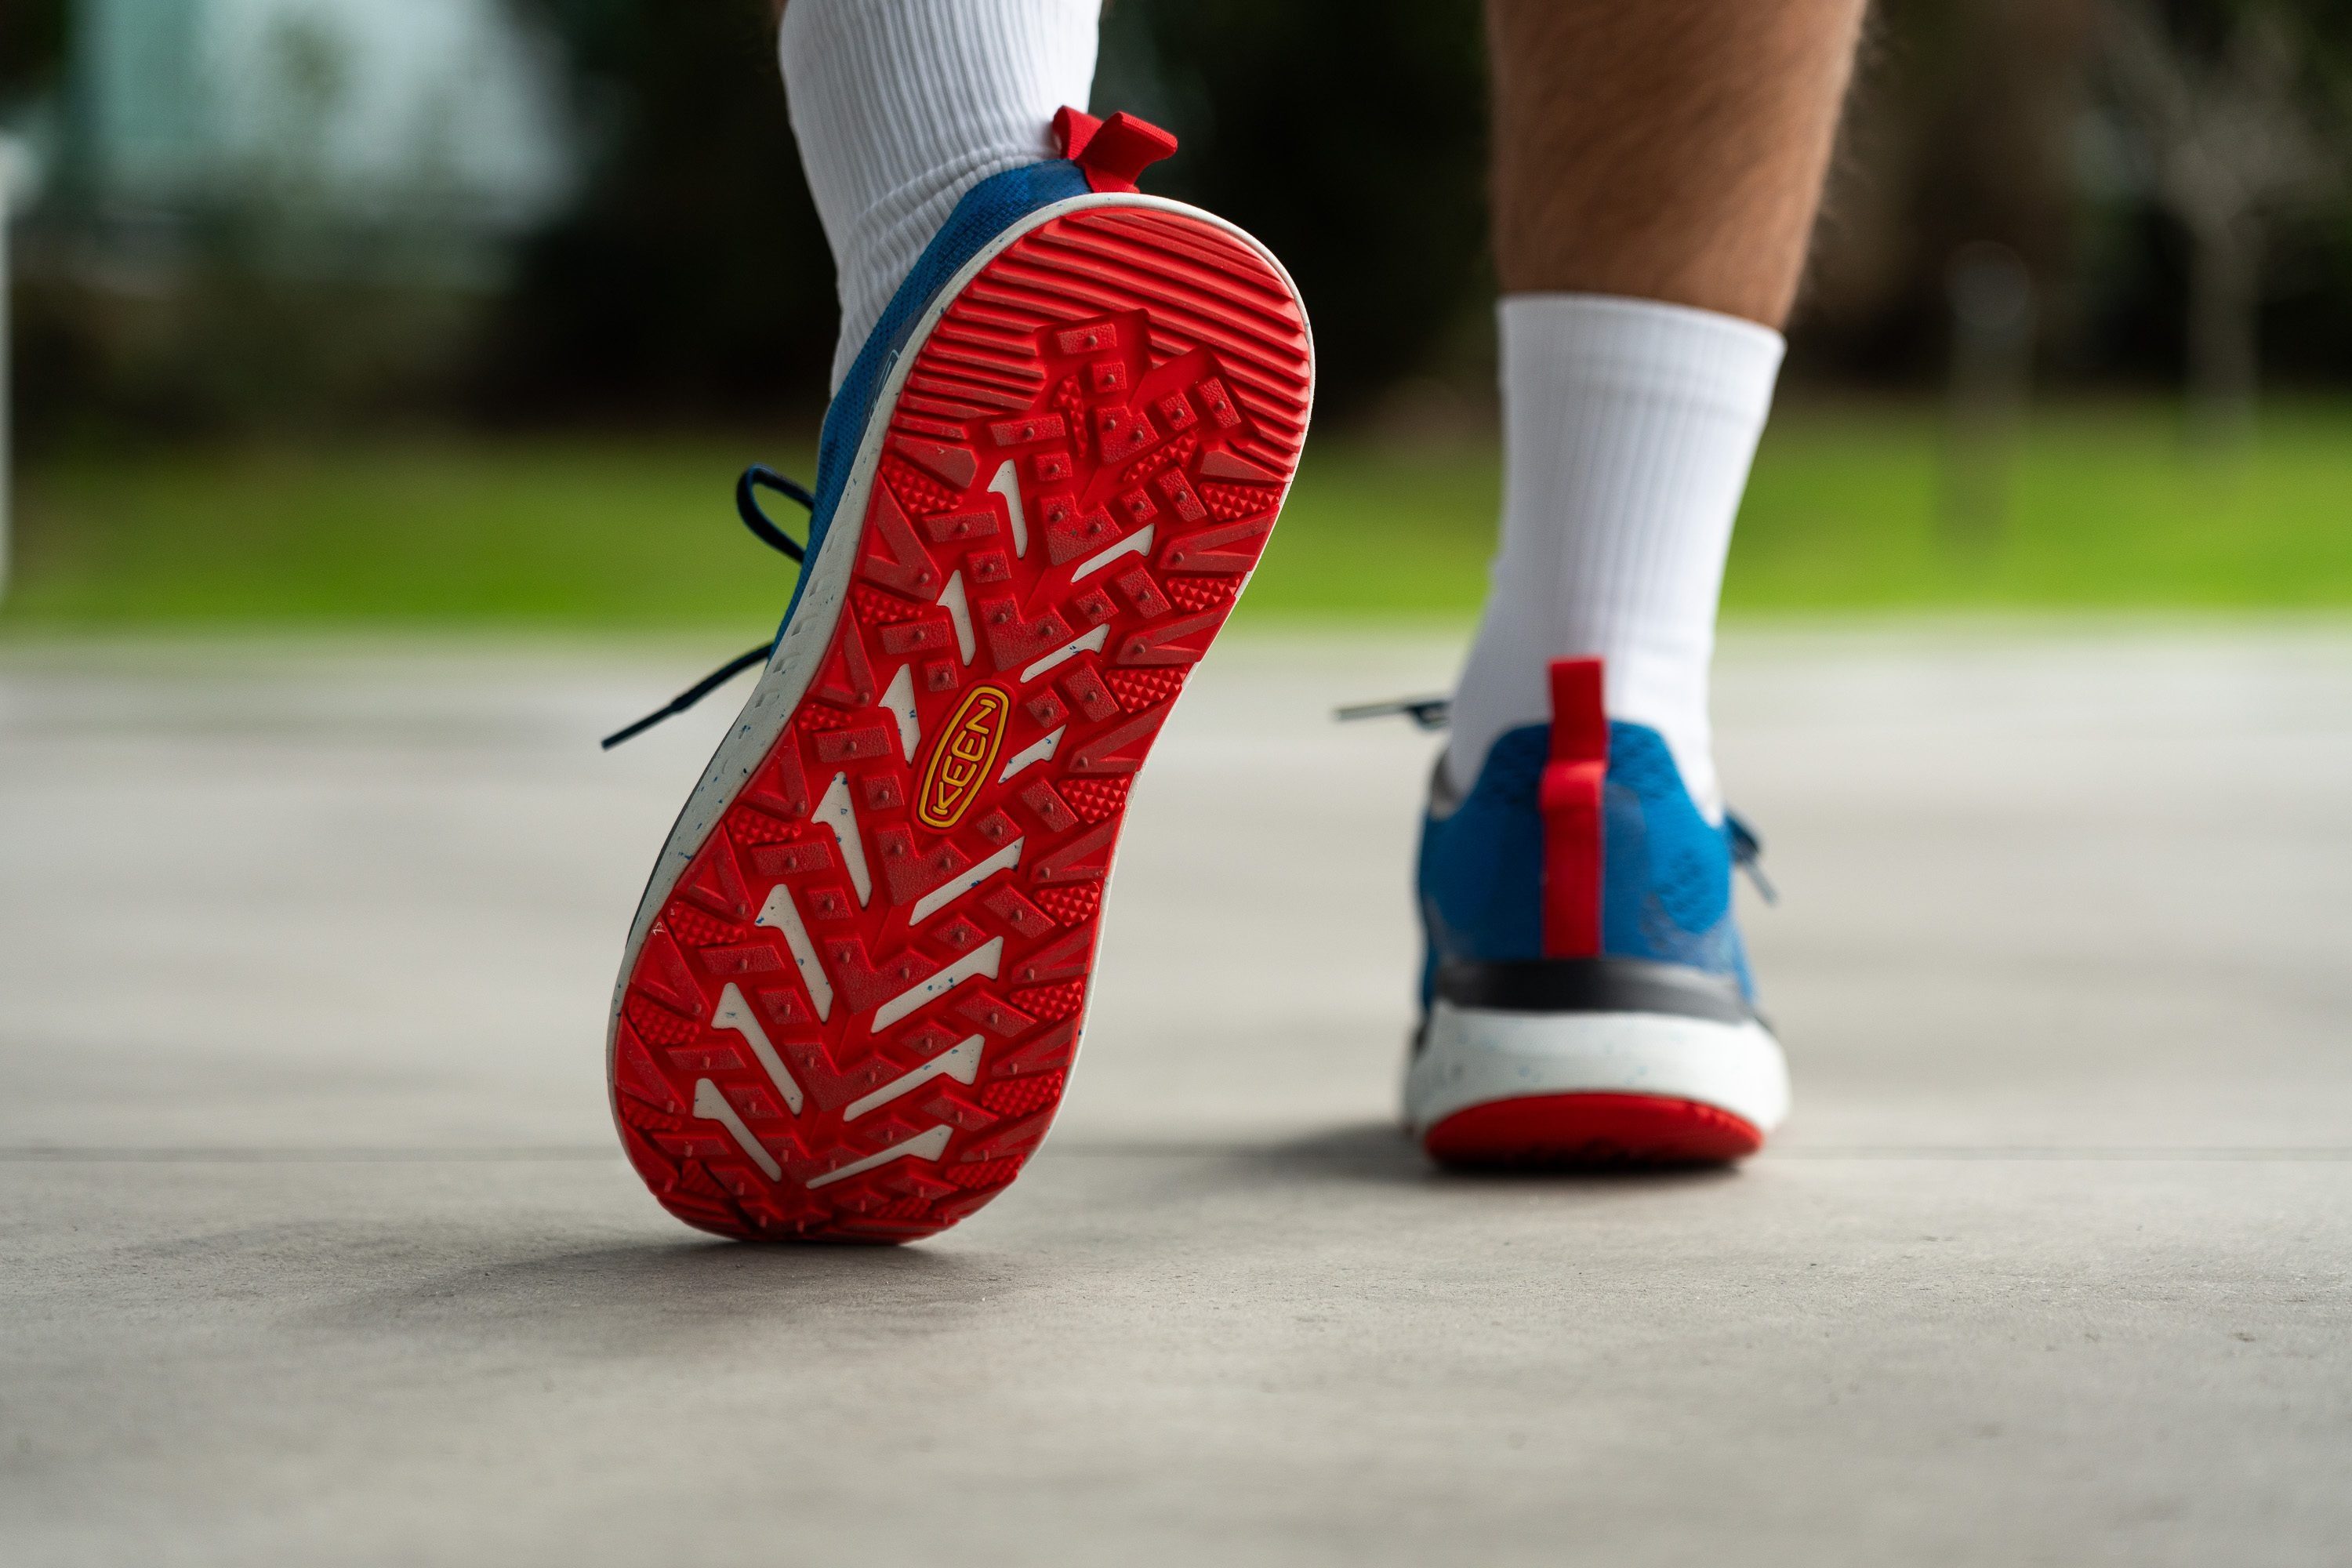
The ride feels enjoyable thanks to its plush and responsive cushion. Our durometer reveals it’s 12.0% softer than average. Further delivering impact protection is its very generous 45.7 mm heel—one of the tallest we’ve ever seen. On the other end is a modest forefoot that leads to a staggering 21.4 mm drop. A steeper incline translates to smooth forward motions and less pressure on our Achilles and feet.
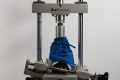
To boost stability, WK400 has a rigid plate beneath the midsole that also helps retain the KEEN CURVE's shape. This stiffness is essential in maintaining our forward momentum, and our bend test reveals it’s 60.8% more resistant than average.
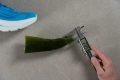
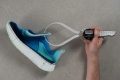
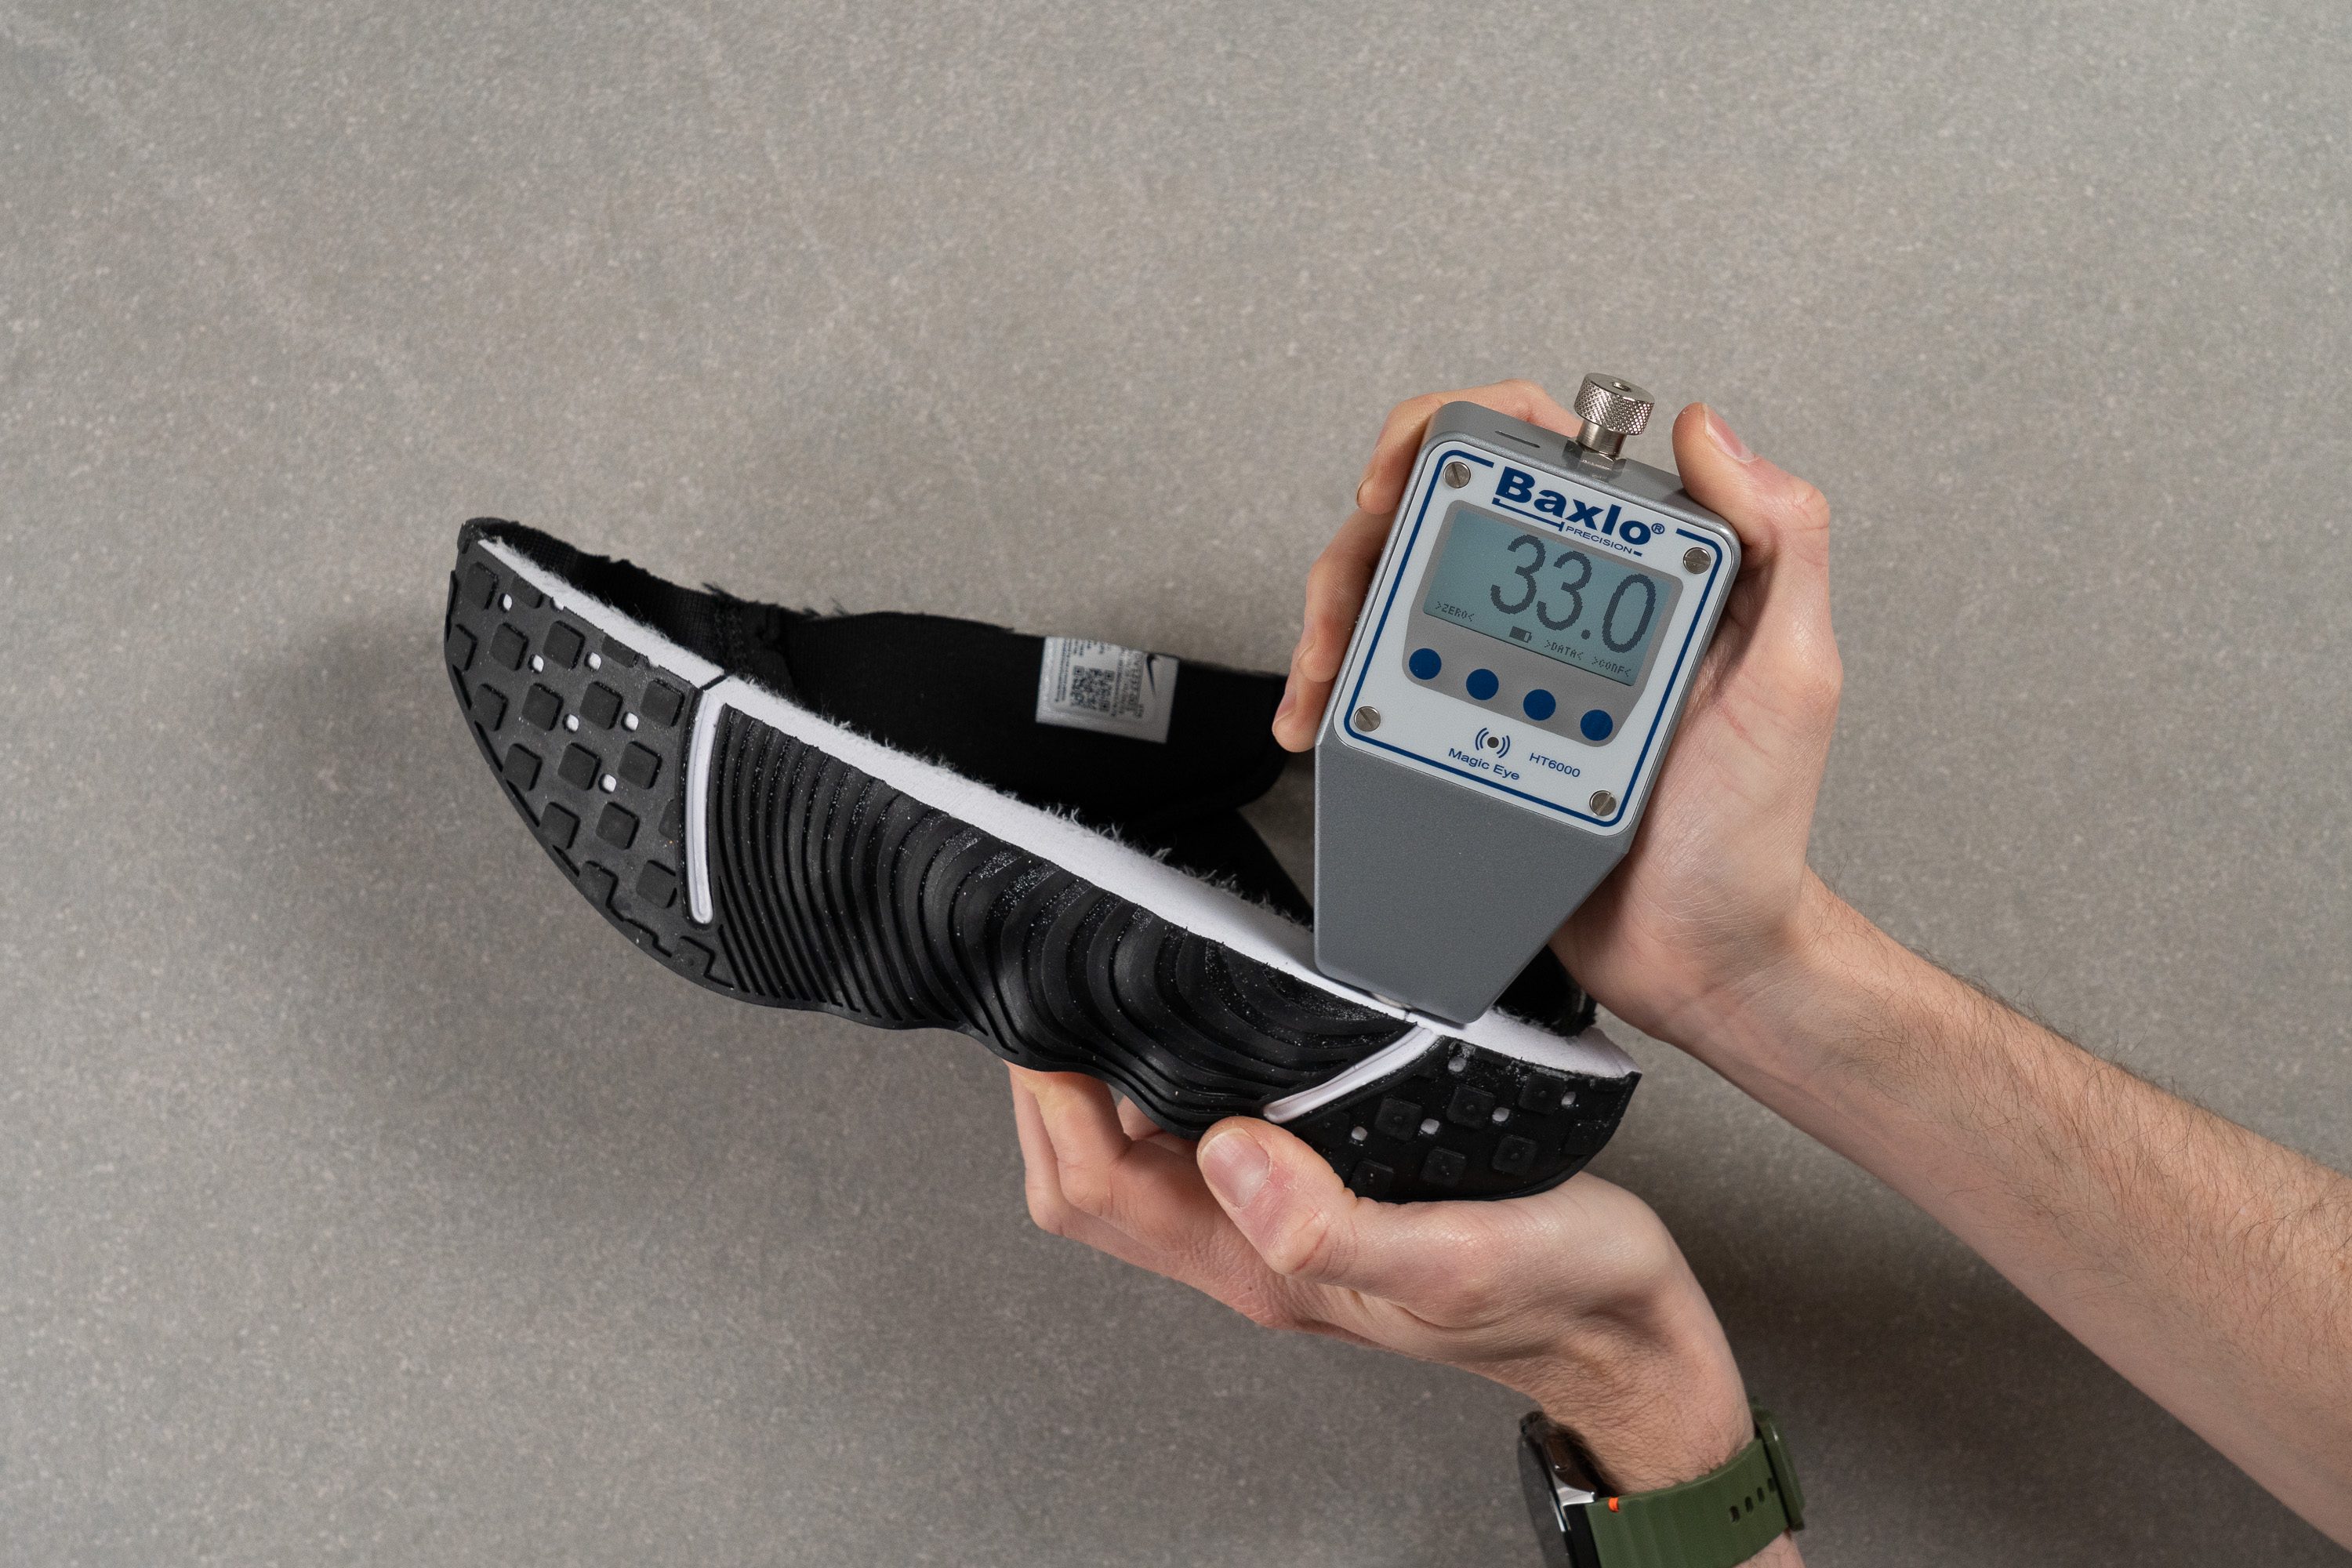
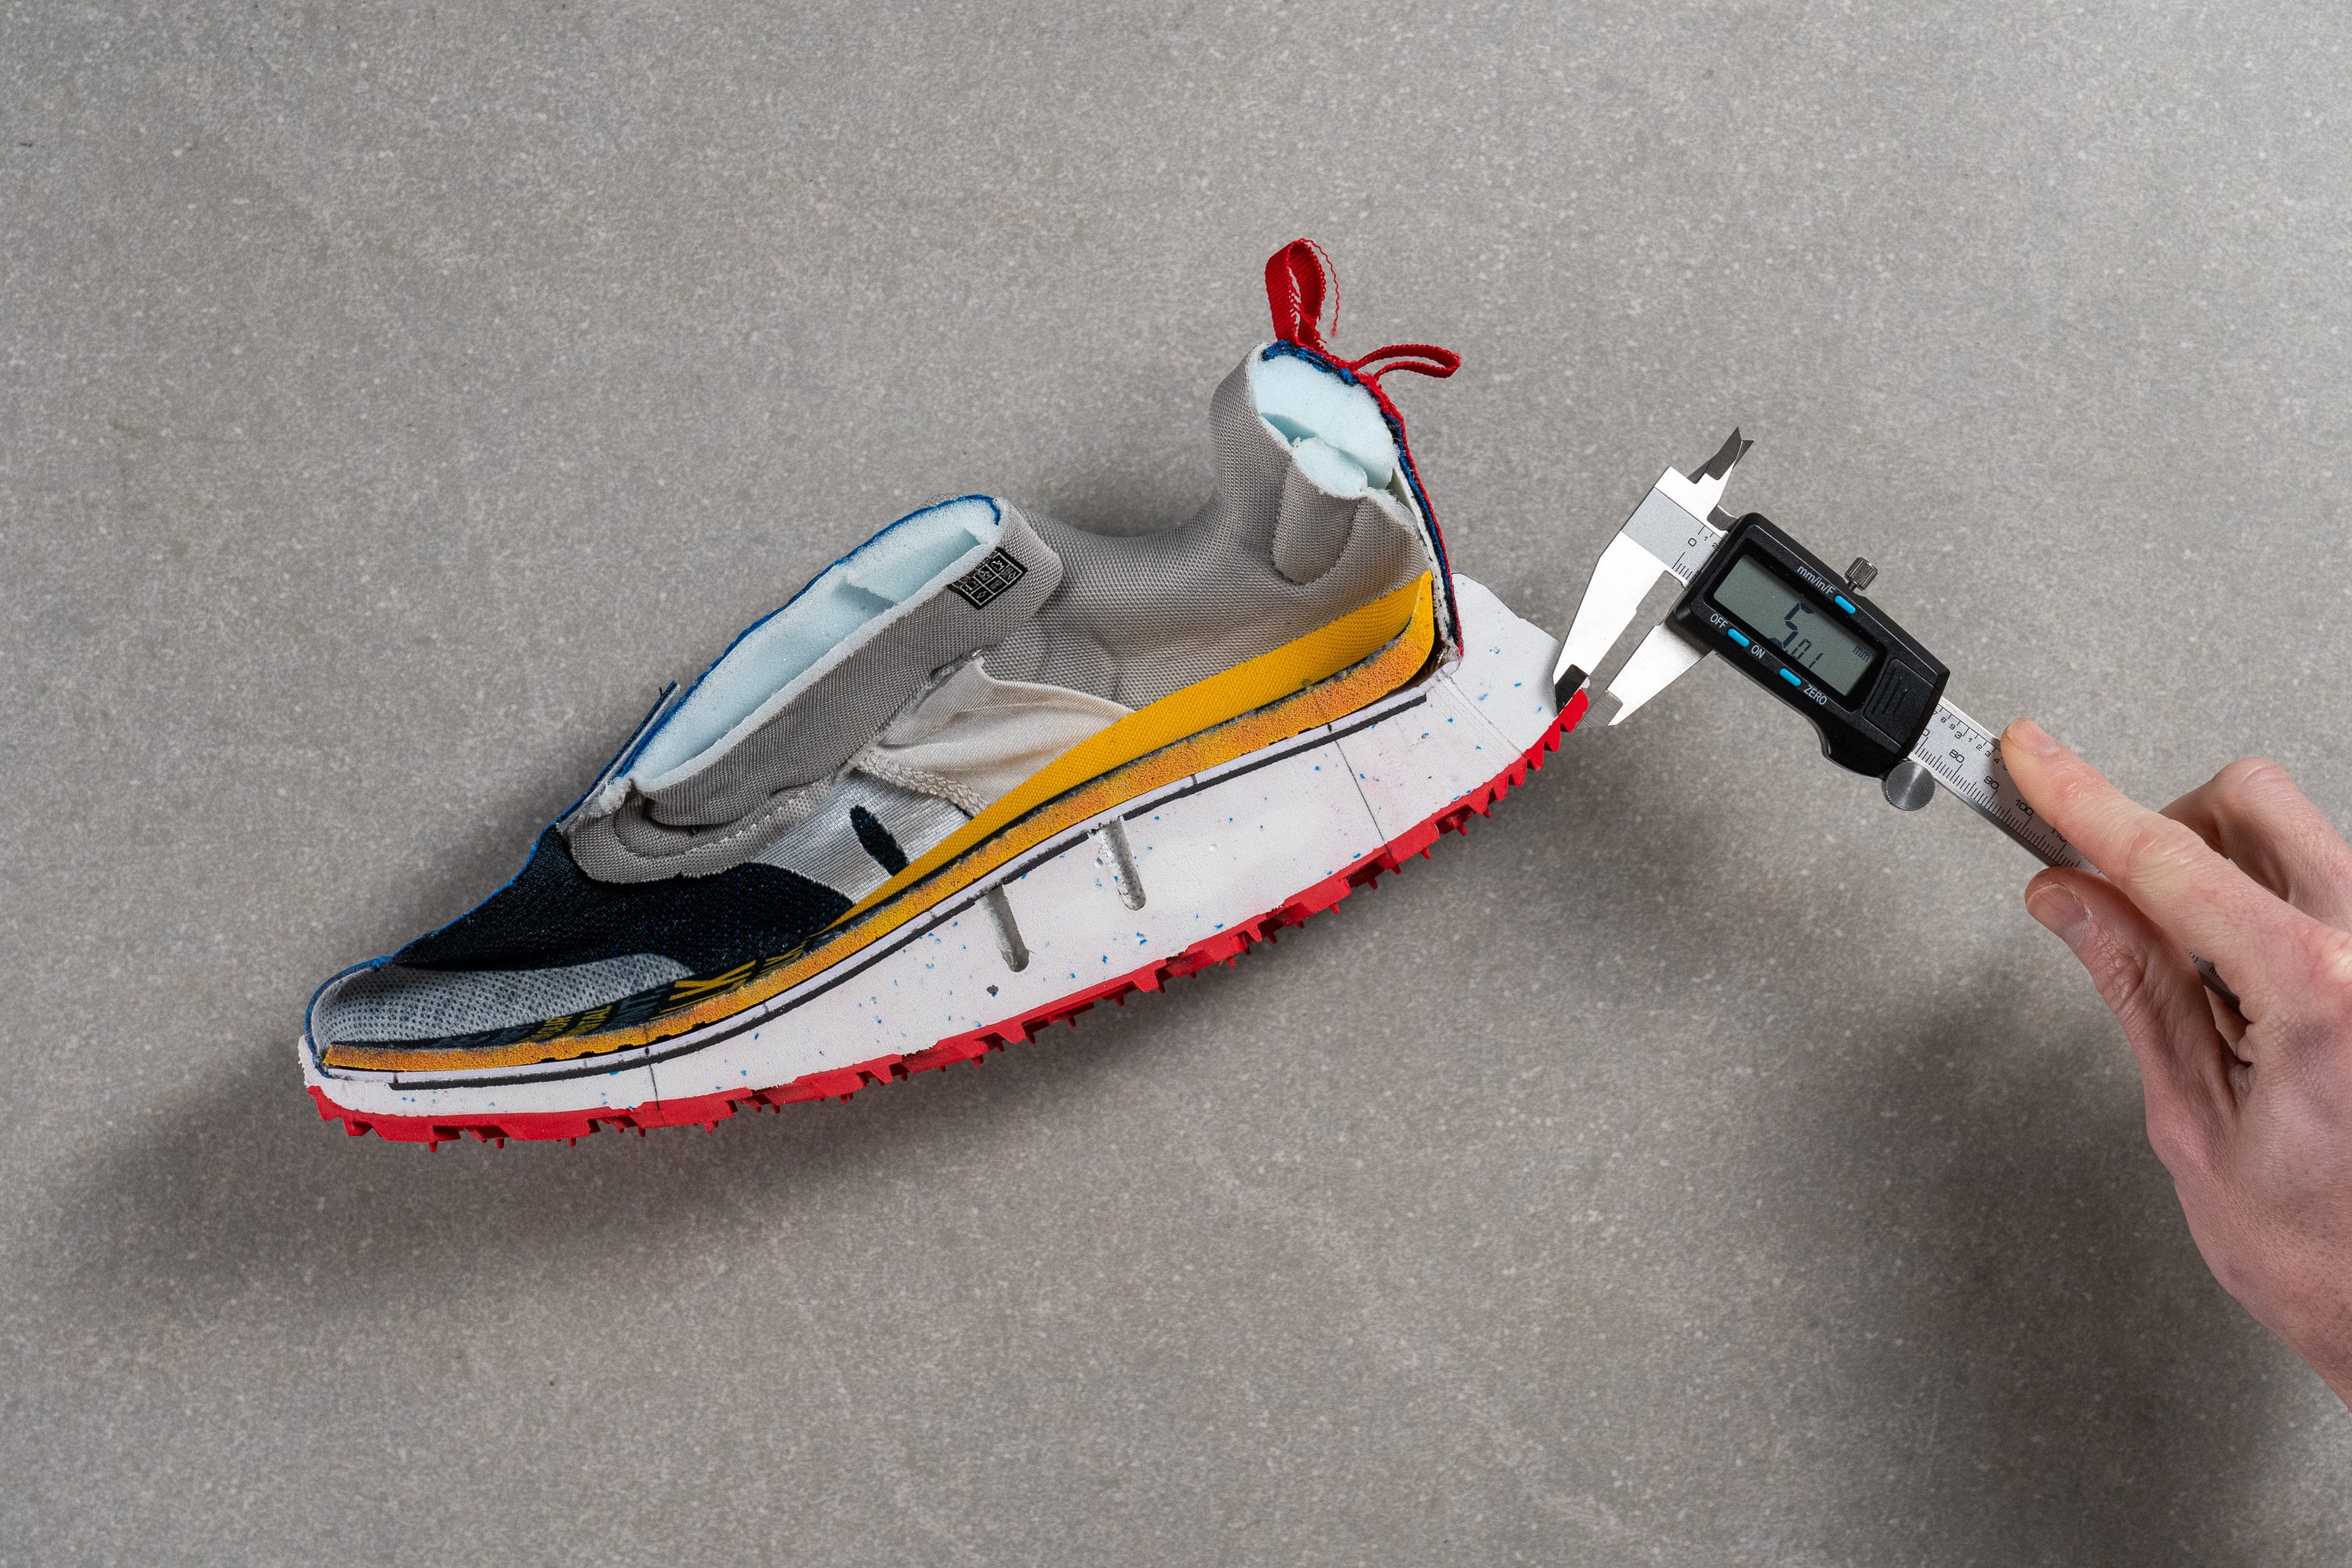
Our lab tests show the rubber in the outsole is 12.7% harder and 2.4 mm thicker than average. Our observations further support its durability since it looked new despite rigorous testing. We also found it to be grippy and protective enough for moderate trails.
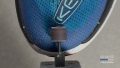
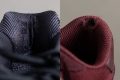
Our cut-in-half shoe reveals a dual-layer fabric in the upper, which explains why it lacks airflow on hot and humid days. Best to use this pair in moderate to cooler temperatures.
Pros
- Rocker sole propels you forward
- Copious amount of cushioning
- Amazingly comfortable step-in feel
- Highly durable and abrasion-resistant
- More stable than it seems!
- Can go from road to trail
- Accommodating toebox
Cons
- Needs some getting used to
- Heavier than average
- Slippery when wet
Shoes for walking on concrete with the best arch support


What makes it the best?
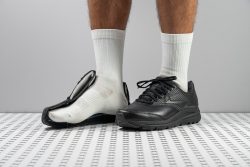
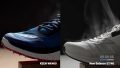
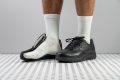
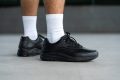
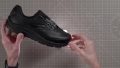
The Brooks Addiction Walker 2 delivered exceptional stability in our trials and comfort for prolonged wear, making it our concrete walking shoe with the best arch support. It displayed remarkable durability in our lab and sturdiness in its platform that promotes foot health, earning the approval of podiatrists.
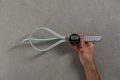
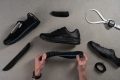
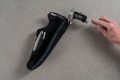
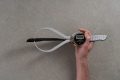
The AW2 inspires surefooted strides even as our feet get tired. An Extended Progressive Diagonal Bar enhances support and minimizes excessive movements, earning a 5/5 in stiffness, which helps maintain control. The midsole, measuring a balanced, moderately firm reading of 48.7 AC, provides comfort without bottoming out.
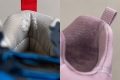
The AW2 features a resilient framework, from its all-leather upper to its tougher-than-average 84.5 HC outsole. It bravely resisted our abrasion test, earning a 5/5 in toebox durability and sustaining 40.0% less damage than average in the outsole. As if that wasn’t enough, the rubber is 5.5 mm thick! It feels impossible to wear this shoe down.
Unfortunately, its durable build comes at the expense of weight. At 13.7 oz (388g), it felt like a drag vs. the 9.8 oz (277g) average walking shoe.
Pros
- Unmatched stability and arch support
- Broadly recommended by podiatrists
- Incredible abrasion resistance and durability
- Thick and lasting cushioning
- Wide and steady platform
- Great for cold and drizzly days
- Comfortable in-shoe feel
- True to size and fit
- Can match formal work attire
Cons
- Heavier than average
- Quite stiff, needs breaking on
- Not as slip-resistant as claimed
- Not breathable
Concrete walking shoes with the best energy return


What makes it the best?
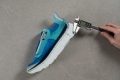
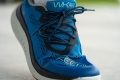
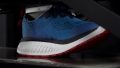
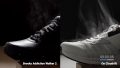
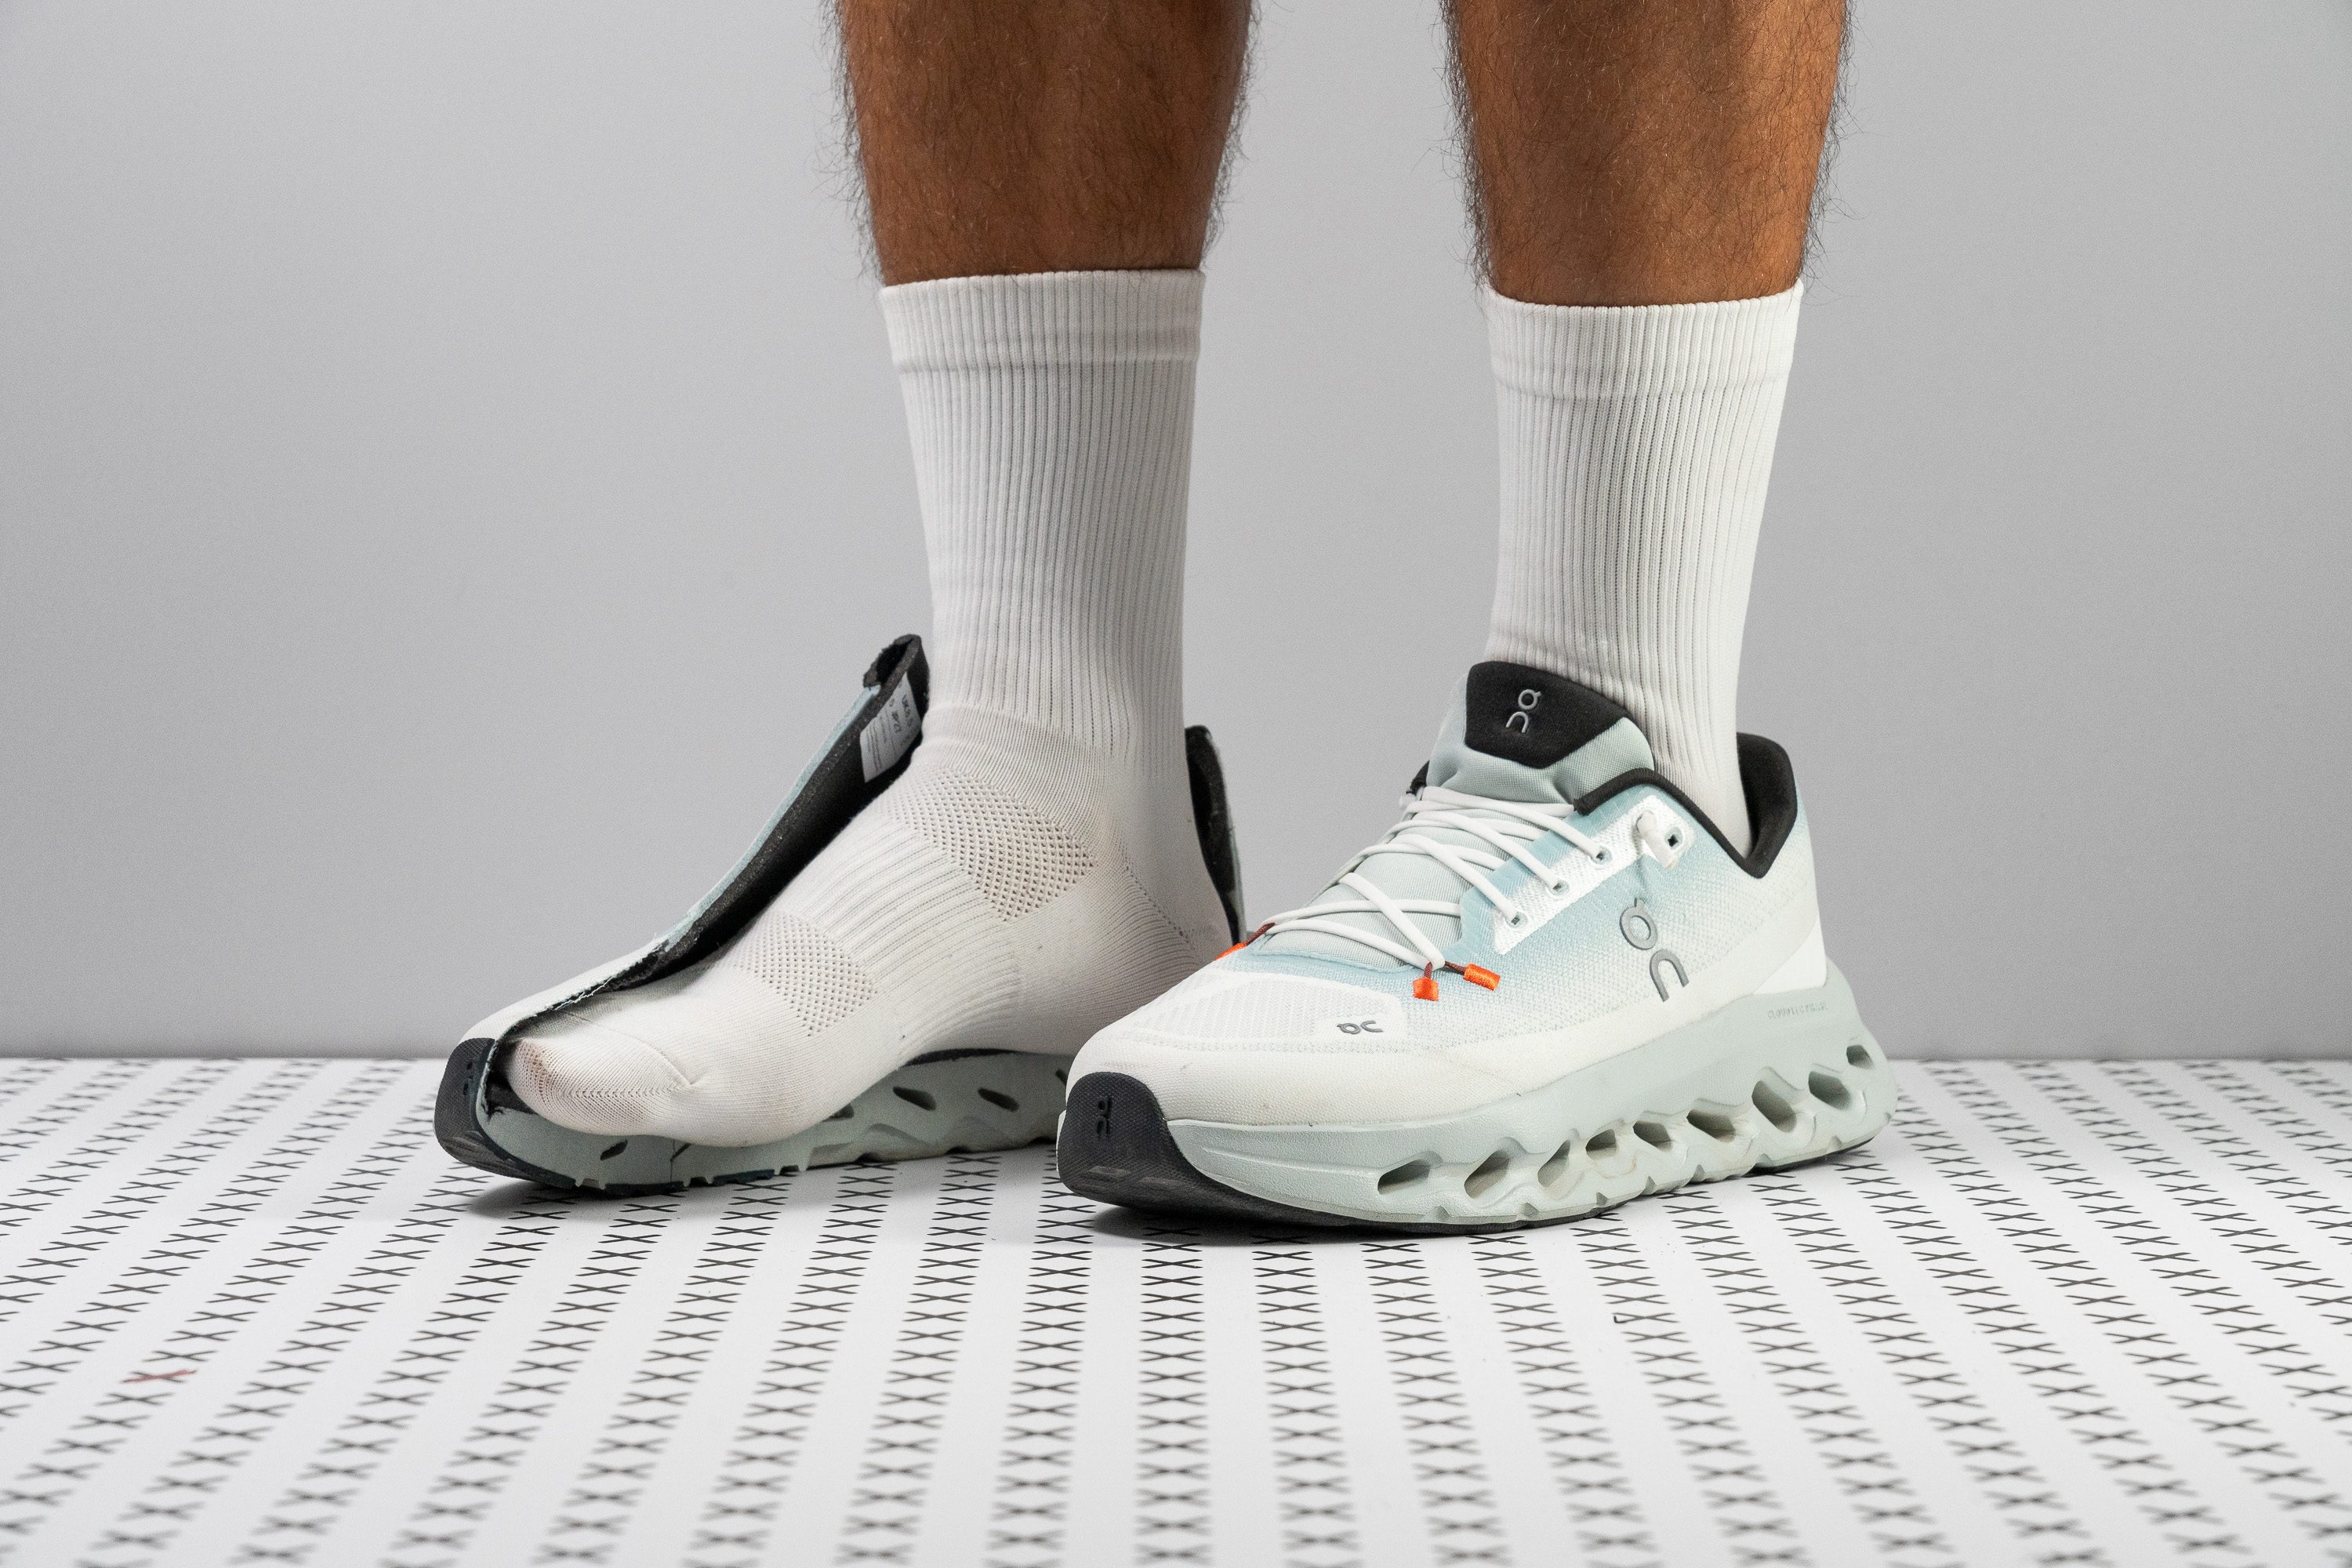
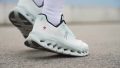
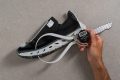
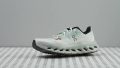
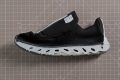
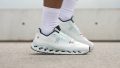
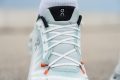
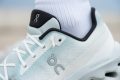
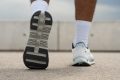
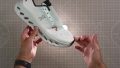
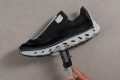
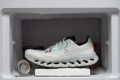
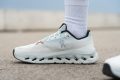
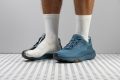
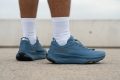
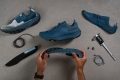
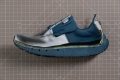
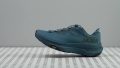
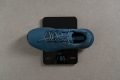
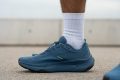
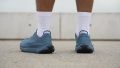
Pillowy landings and springy takeoffs are what we experienced in the On Cloudtilt. Our feet can confirm that it offers the best energy return among concrete walking shoes, further validated by our lab tests. Moreover, it even shows that the outsole is durable enough for abrasive surfaces.
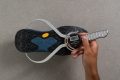
The midsole offers a lot of excitement underfoot, so we tested it immediately for energy return. Its solid 58.1% score confirmed our sensations because it’s 13.9% bouncier than the average.
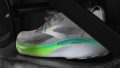
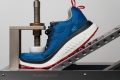
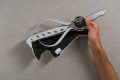
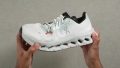
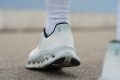
Our shock absorption test confirms the heavenly bliss our feet experienced with a remarkable 132 SA score, which means it reduces stress on the legs by 18.9% vs. the average. Moreover, Cloudtilt stands at a generous 35.5/26.8 mm for unmatched impact protection. The CloudTec compression takes comfort to the next level by making the shoe feel softer than it is.
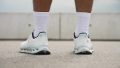
Despite its height, Cloudtilt feels light. Our scales show it’s only 9.4 oz (266g), feeling effortless on foot compared to the average walking shoe (10.1 oz/286g).
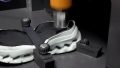
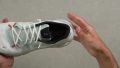
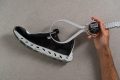
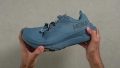
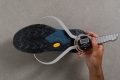
The tough 81.6 HC rubber covers the shoe’s high-wear areas in the outsole. It resisted our abrasion test fiercely and sustained 57.1% less damage than average, cementing its durability.
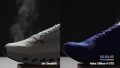
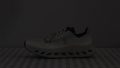
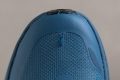
However, we can only recommend this pair in cool weather because of the woven upper's lack of ventilation. Those who need more breathability should check other options.
Pros
- Plenty of cushioning for long hours on feet
- Soft yet bouncy ride
- Feels nice and light on foot
- Abrasion-resistant upper and outsole
- Wide and steady platform
- Excellent outsole grip
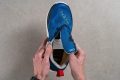
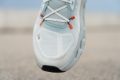
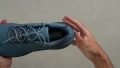
- Easy on-and-off with bungee laces
- Upper made of recycled material
Cons
- Not very breathable
- Flimsy inner lining and insole
Best waterproof shoes for walking on concrete


What makes it the best?
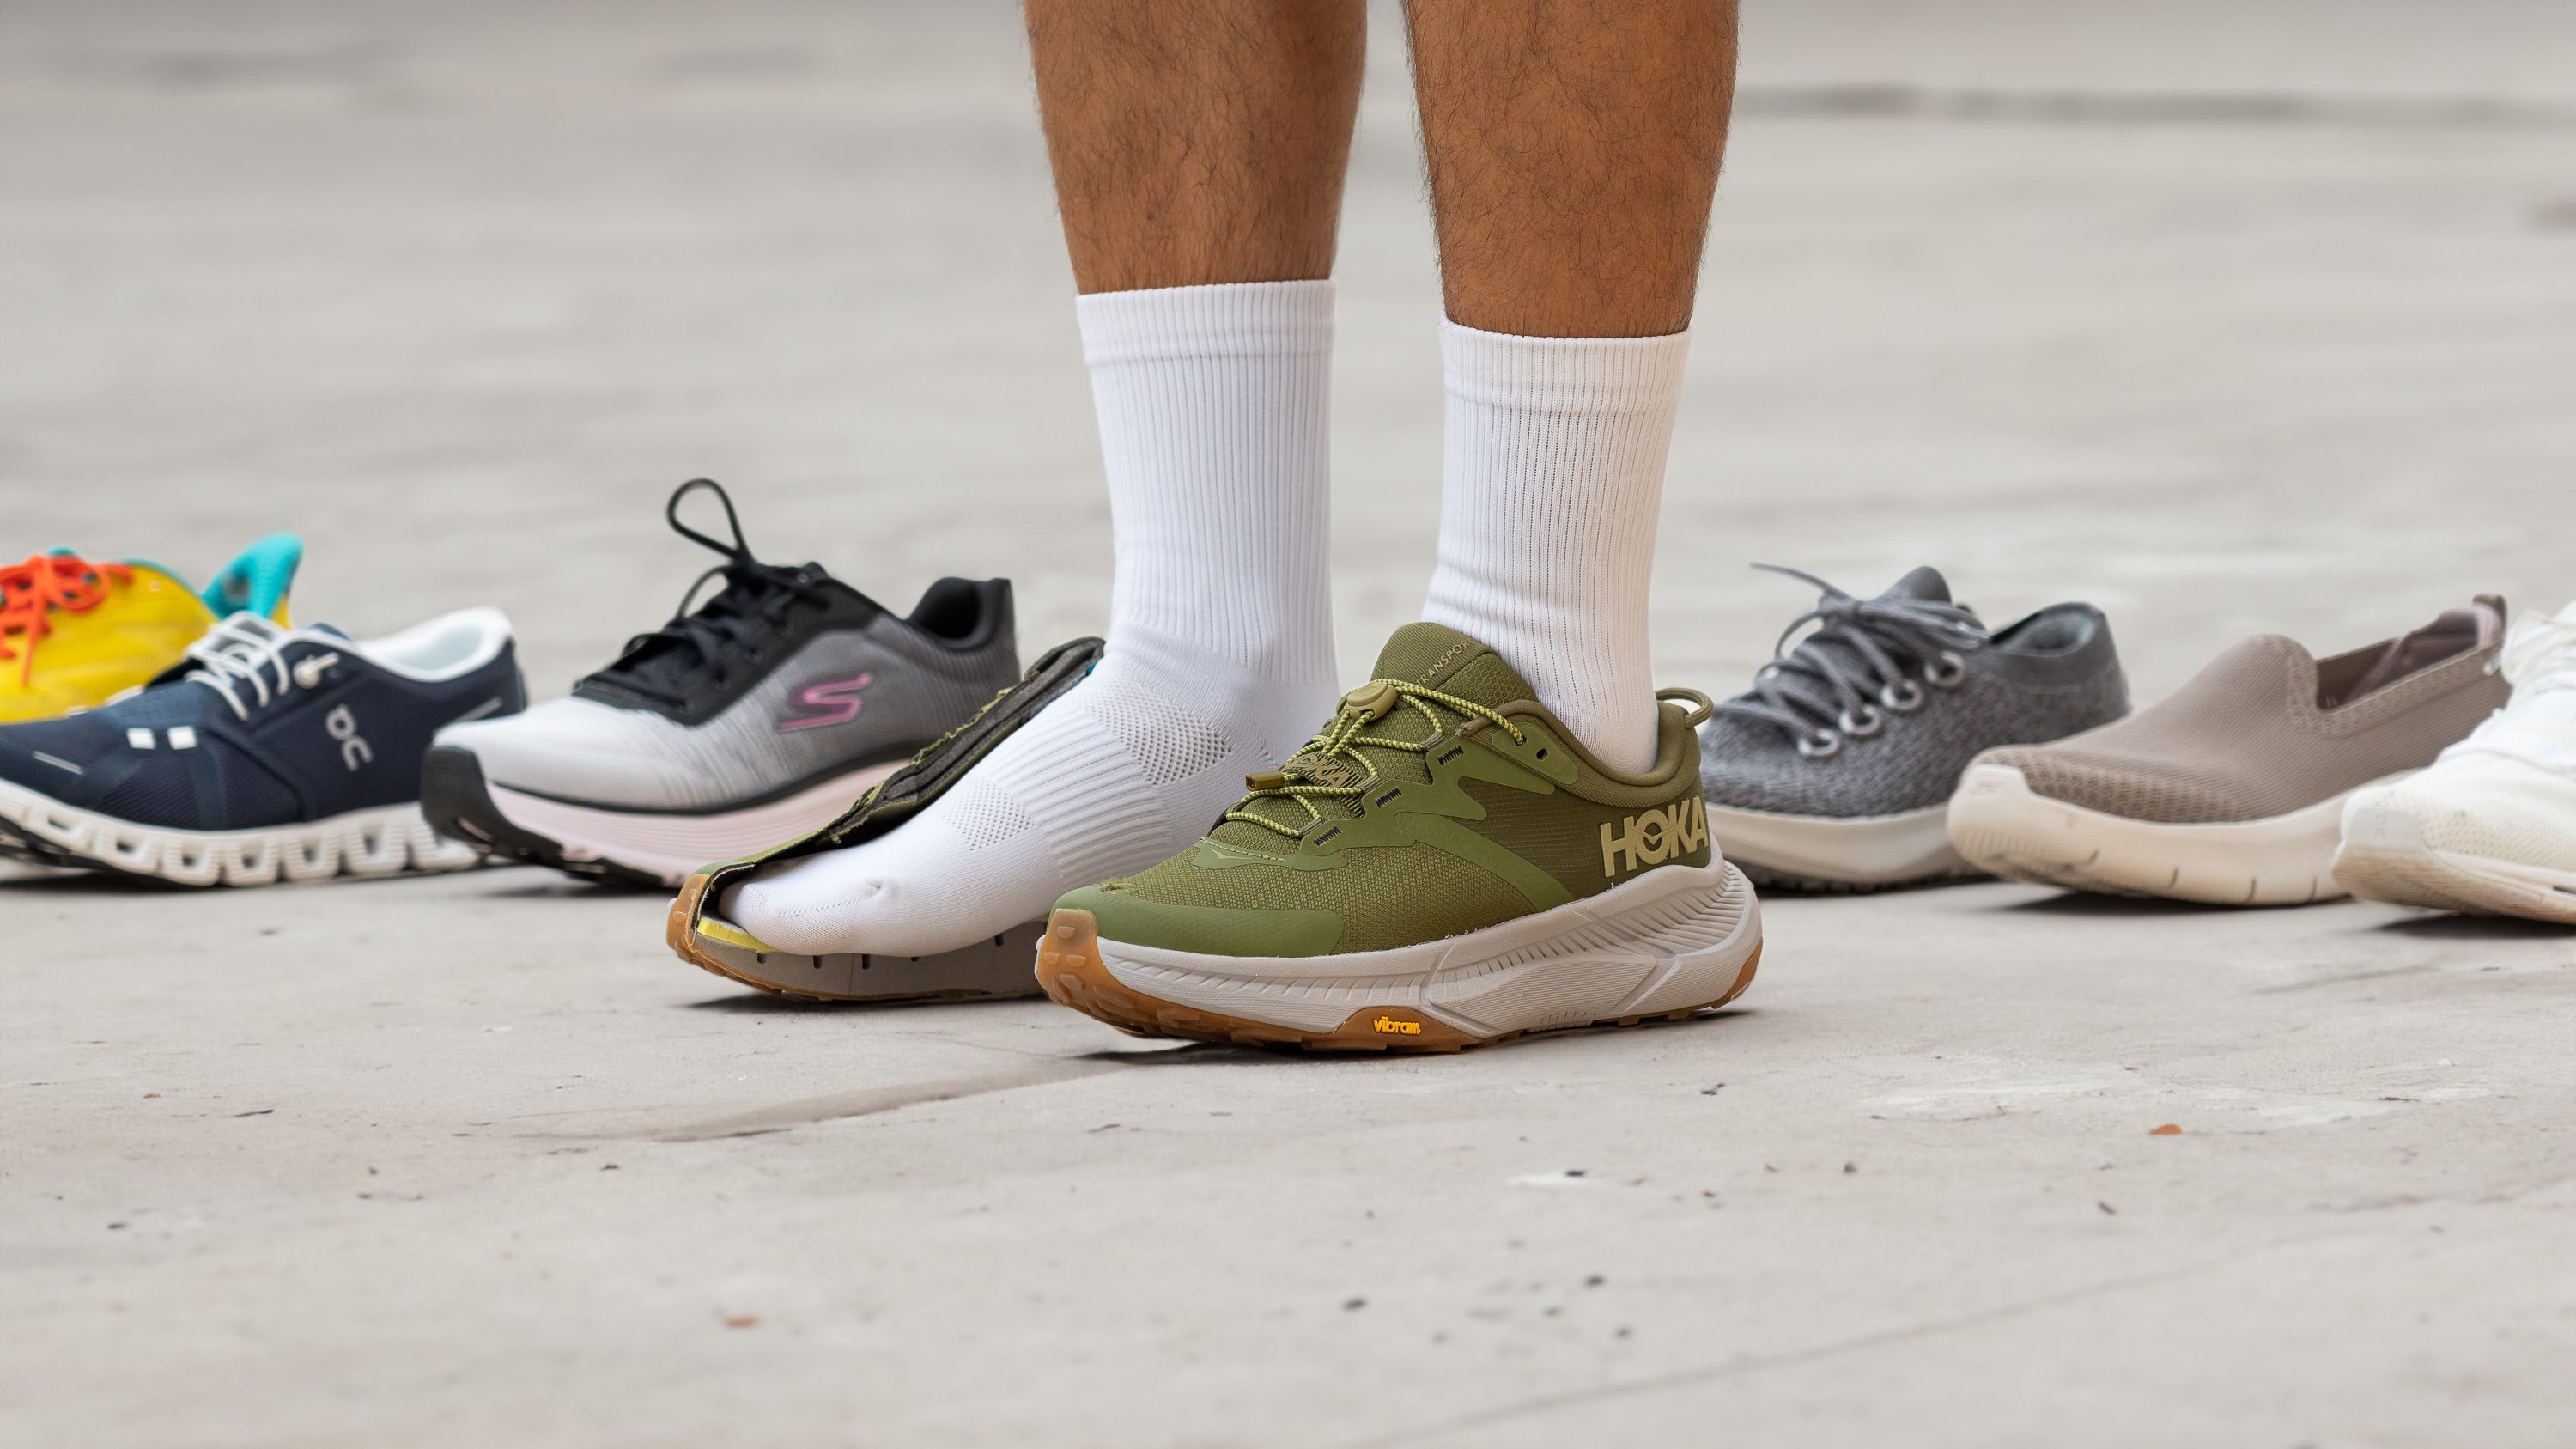
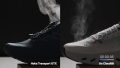
We felt ultimately protected in our strolls while wearing the HOKA Transport GTX. It has a robust framework—from its tough Cordura upper to its rugged Vibram outsole—that can withstand any road and weather conditions while securing our strides. Based on our lab results, it’s the best waterproof concrete walking shoe.
Besides the effective Gore-Tex membrane, Transport GTX adds a tough fabric called Cordura. Combining the two creates an impenetrable barrier, as confirmed by our breathability test with the lowest 1/5 score. This makes it highly effective in keeping us warm and dry. Additionally, its 4/5 durability score makes it our shield.
The shoe’s tough construction enhances stability by containing unwanted twists and ankle rolls. Our manual assessment proves it strongly resists movement torsionally, earning the highest 5/5 score. Even in our bend test, it emerged 22.8% stiffer than average.
Beneath the midsole, the Vibram outsole does the dirty work. Our lab confirms its solid defense with an above-average 81.0 HC durometer reading and a thickness of 3.4 mm. Furthermore, it showed 33.3% less damage than average in our Dremel test, cementing its durability.
However, its solid build is a heavy 11.6 oz (330g), 19.1% above average. If weightlessness is a priority, best to look elsewhere.
Pros
- Top-class waterproofing
- Cushioned and supportive for all-day wear
- Smooth strides thanks to rockered shape
- Very stable platform
- Highly durable construction
- Excellent grip on dry and wet city streets
- Quick and easy lacing system (regular laces included in the box as well)
- Reflective elements all throughout the upper
- Sustainable materials in almost every shoe part
Cons
- A bit heavier than average
- Major stack and drop discrepancy with official specs
Choosing the best shoes for walking on concrete
Let’s face facts: human feet did not evolve to walk on hard surfaces like concrete. Proper footwear is an essential adaptation tool to keep your feet comfortable, protected, and injury-free.
Walking shoes designed for concrete surfaces offer abundant cushioning and support that not all shoe types possess. They also have the right kind of rubber outsole that can handle long-term abrasion from this unforgiving surface.
Cushioning and shock absorption in walking shoes for concrete
Walking on concrete – or other hard, manufactured surfaces – subjects your feet to repetitive, unforgiving impact forces, leading to discomfort and fatigue.
The best concrete walking shoes feature relatively thick midsoles and insoles to provide lasting shock absorption for your feet and joints. Look for at least 100 SA of shock absorption in the shoe's heel for long hours of walking and standing on hard surfaces.
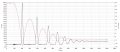
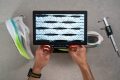
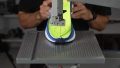
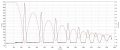
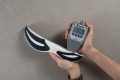
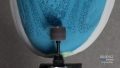
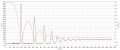
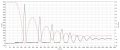
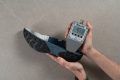
We measure the shock absorption of every shoe in our lab in accordance with the ASTM F1976 protocol to find out exactly how much impact protection you can expect underfoot.
There is no rule about how soft the midsole cushioning should be in a walking shoe for concrete. It all depends on your personal preference.
To let you know what to expect in a given shoe, we use an Asker C durometer to measure the softness of each midsole as precisely as possible in AC units. The smaller the AC reading, the softer the midsole:
- soft: < 33 AC
- balanced: 33-42 AC
- firm: > 42 AC
Choose a softer shoe if:
- you just want that nice and plush underfoot experience
- you want to keep your feet free from fatigue after hours of standing and walking
Choose a firmer shoe if:
- you need a more stable and supportive platform
- you have foot conditions like flat feet, overpronation, or plantar fasciitis
Concrete requires a durable shoe outsole
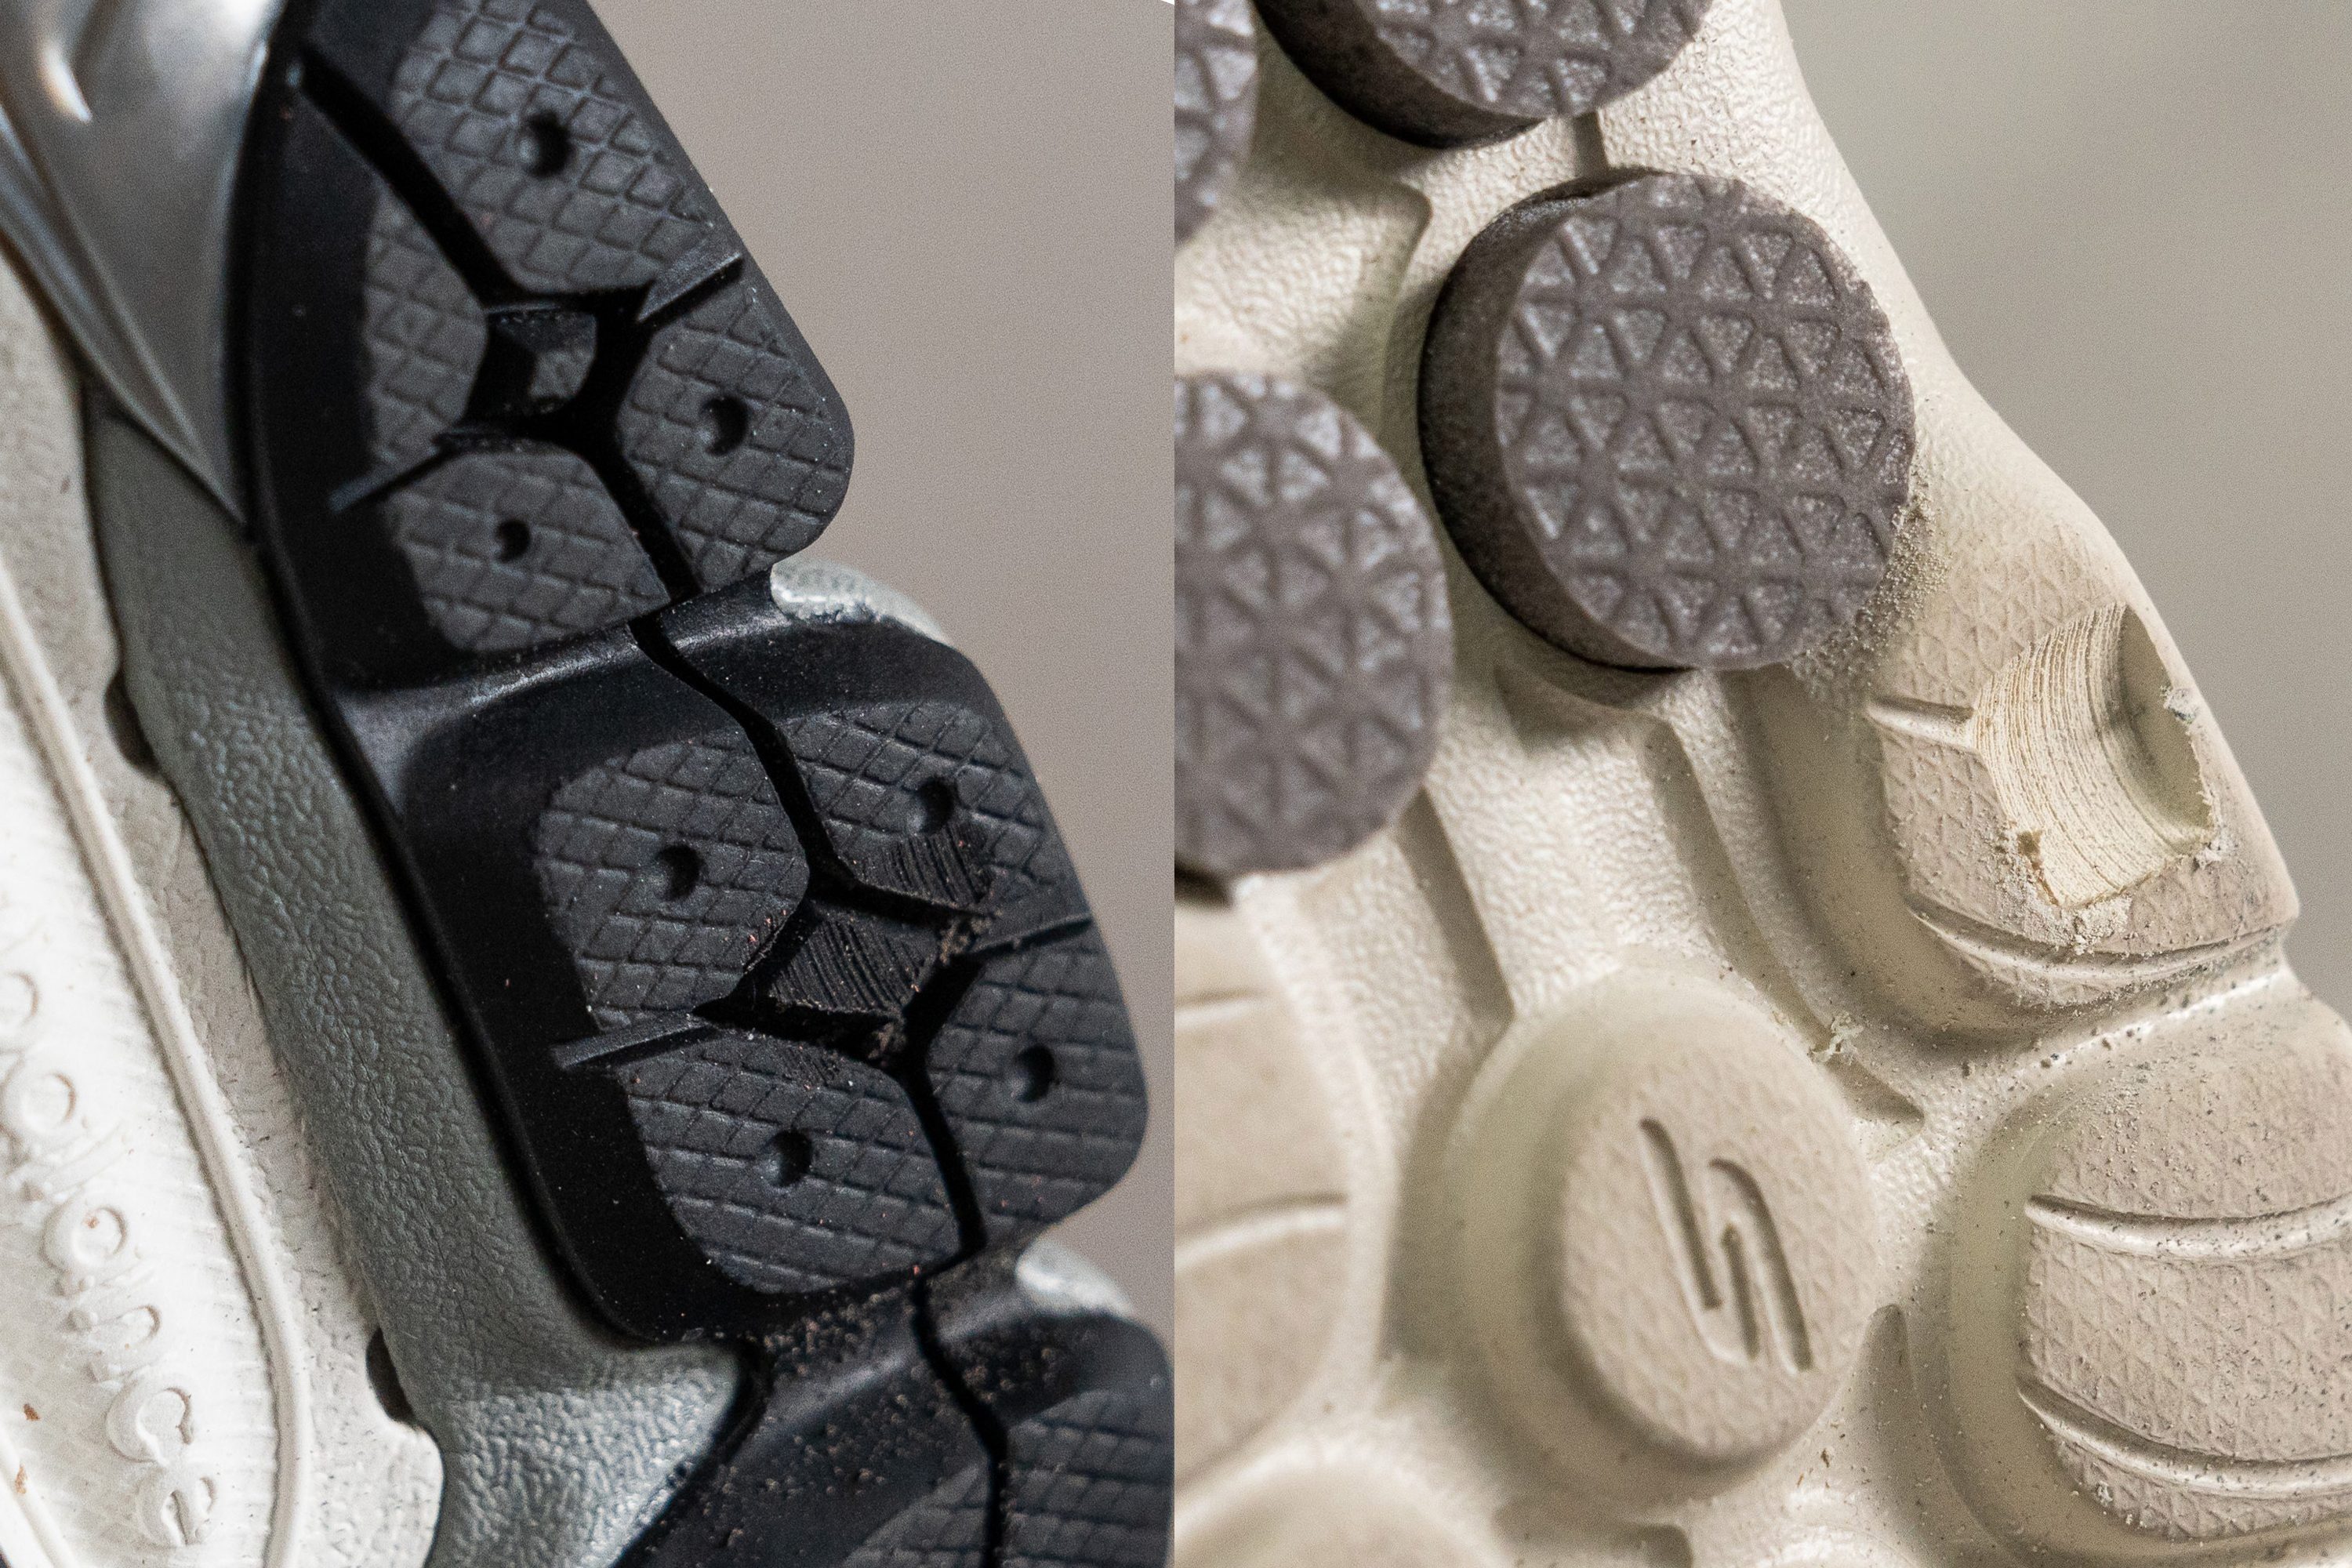
The outsoles of concrete walking shoes are engineered for durability. Rugged outsole compounds and a thicker construction will help your shoes withstand the abrasiveness of concrete surfaces without wearing them out quickly.
TIP: For concrete, choose shoes with a full-length rubber outsole, or at least make sure that rubber covers 2/3 of the shoe's bottom.
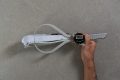
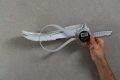
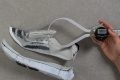
We also recommend that the rubber layer be at least 3 mm thick to ensure its longevity.
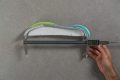
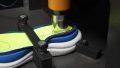
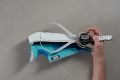
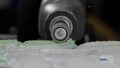
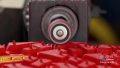
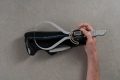
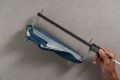
But not all walking shoes with hard rubbers pass our demanding Dremel test, where we apply sandpaper at a high speed of 10K RPM.
If the depth of the dent exceeds 1.2 mm, we don't tag the shoe as concrete-ready. This doesn't mean that the shoe can't be worn on concrete at all, but we can't recommend it for extensive wear on this type of surface because of limited rubber durability.
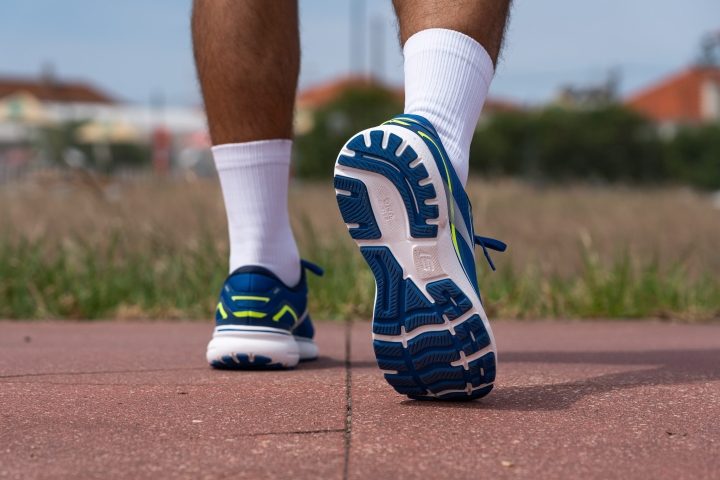
What are the grippiest walking shoes for concrete?
Dry concrete is rarely a slipping hazard, but it can become one in wet conditions.
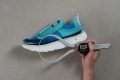
That's why we measure the friction coefficient of all shoes on a wet slab of concrete, following the industry's acclaimed SATRA TM144 standard.
If you frequent wet concrete or any other potentially slippery surface, we recommend choosing shoes with a heel friction of at least 0.45.
How often should I replace my concrete walking shoes?
It's generally recommended to replace walking shoes every 500 miles as that's when cushioning starts to lose its original properties. However, signs of wear and reduced cushioning can be indicators for a replacement.
Can I use running shoes for walking on concrete?
As long as a running shoe meets the criteria mentioned in this guide, it can easily double as a walking shoe for concrete!
Because we perform the same midsole and outsole measurements across all categories, we can pick out the top 10 running shoes for walking on concrete too:
Similar buying guides