7 Best Running Shoes For High Arches in 2026
We buy shoes ourselves. We earn commissions when you buy through us, at no extra cost. Why trust us
The high-arched feet, or cavus feet, have arches (soles) that are higher than normal. This leads to uneven pressure distribution in the feet, which might cause pain and balance issues. Not every high-arched condition should be treated, it depends on how you experience the symptoms, if at all.
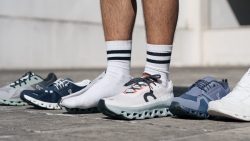
The most suitable type of running shoes for high arches is neutral running shoes, those that don’t have any supportive elements (like stability and motion control shoes). We are fully aware that it is quite a selection since they make up 85% of all running shoes on the market. So we are here to come to your aid! Enjoy our top picks for high arches, they are a result of rigorous testing both in the lab and on the test runs.
NOTE: If you’re experiencing severe pain caused by high arches, consult a physiotherapist or podiatrist instead of reading this guide.
Disclaimer: The purpose of this guide is to educate, not to make any medical diagnosis or recommendation.


How we test running shoes for high arches
We spend hours on each shoe review to save you time in finding the best match for your running needs.
With our independent shoe testing lab and a team of dedicated runners, we never miss a shoe release. Here is how we test each pair of running shoes before claiming it the best for high arches:
- We run in each shoe to get a good feel of its support, comfort, and performance in a variety of conditions.
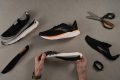
- We take the shoe back to our lab, cut it into pieces, and measure every imaginable parameter, including shock absorption, energy return, weight, stack, drop, softness at room temperature and in cold weather, and flexibility, among 30 others.
- We receive no free shoes from the brands and purchase them with our own money to stay transparent.
Best running shoes for high arches overall


What makes it the best?
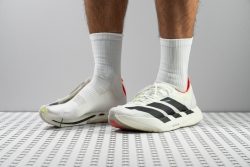
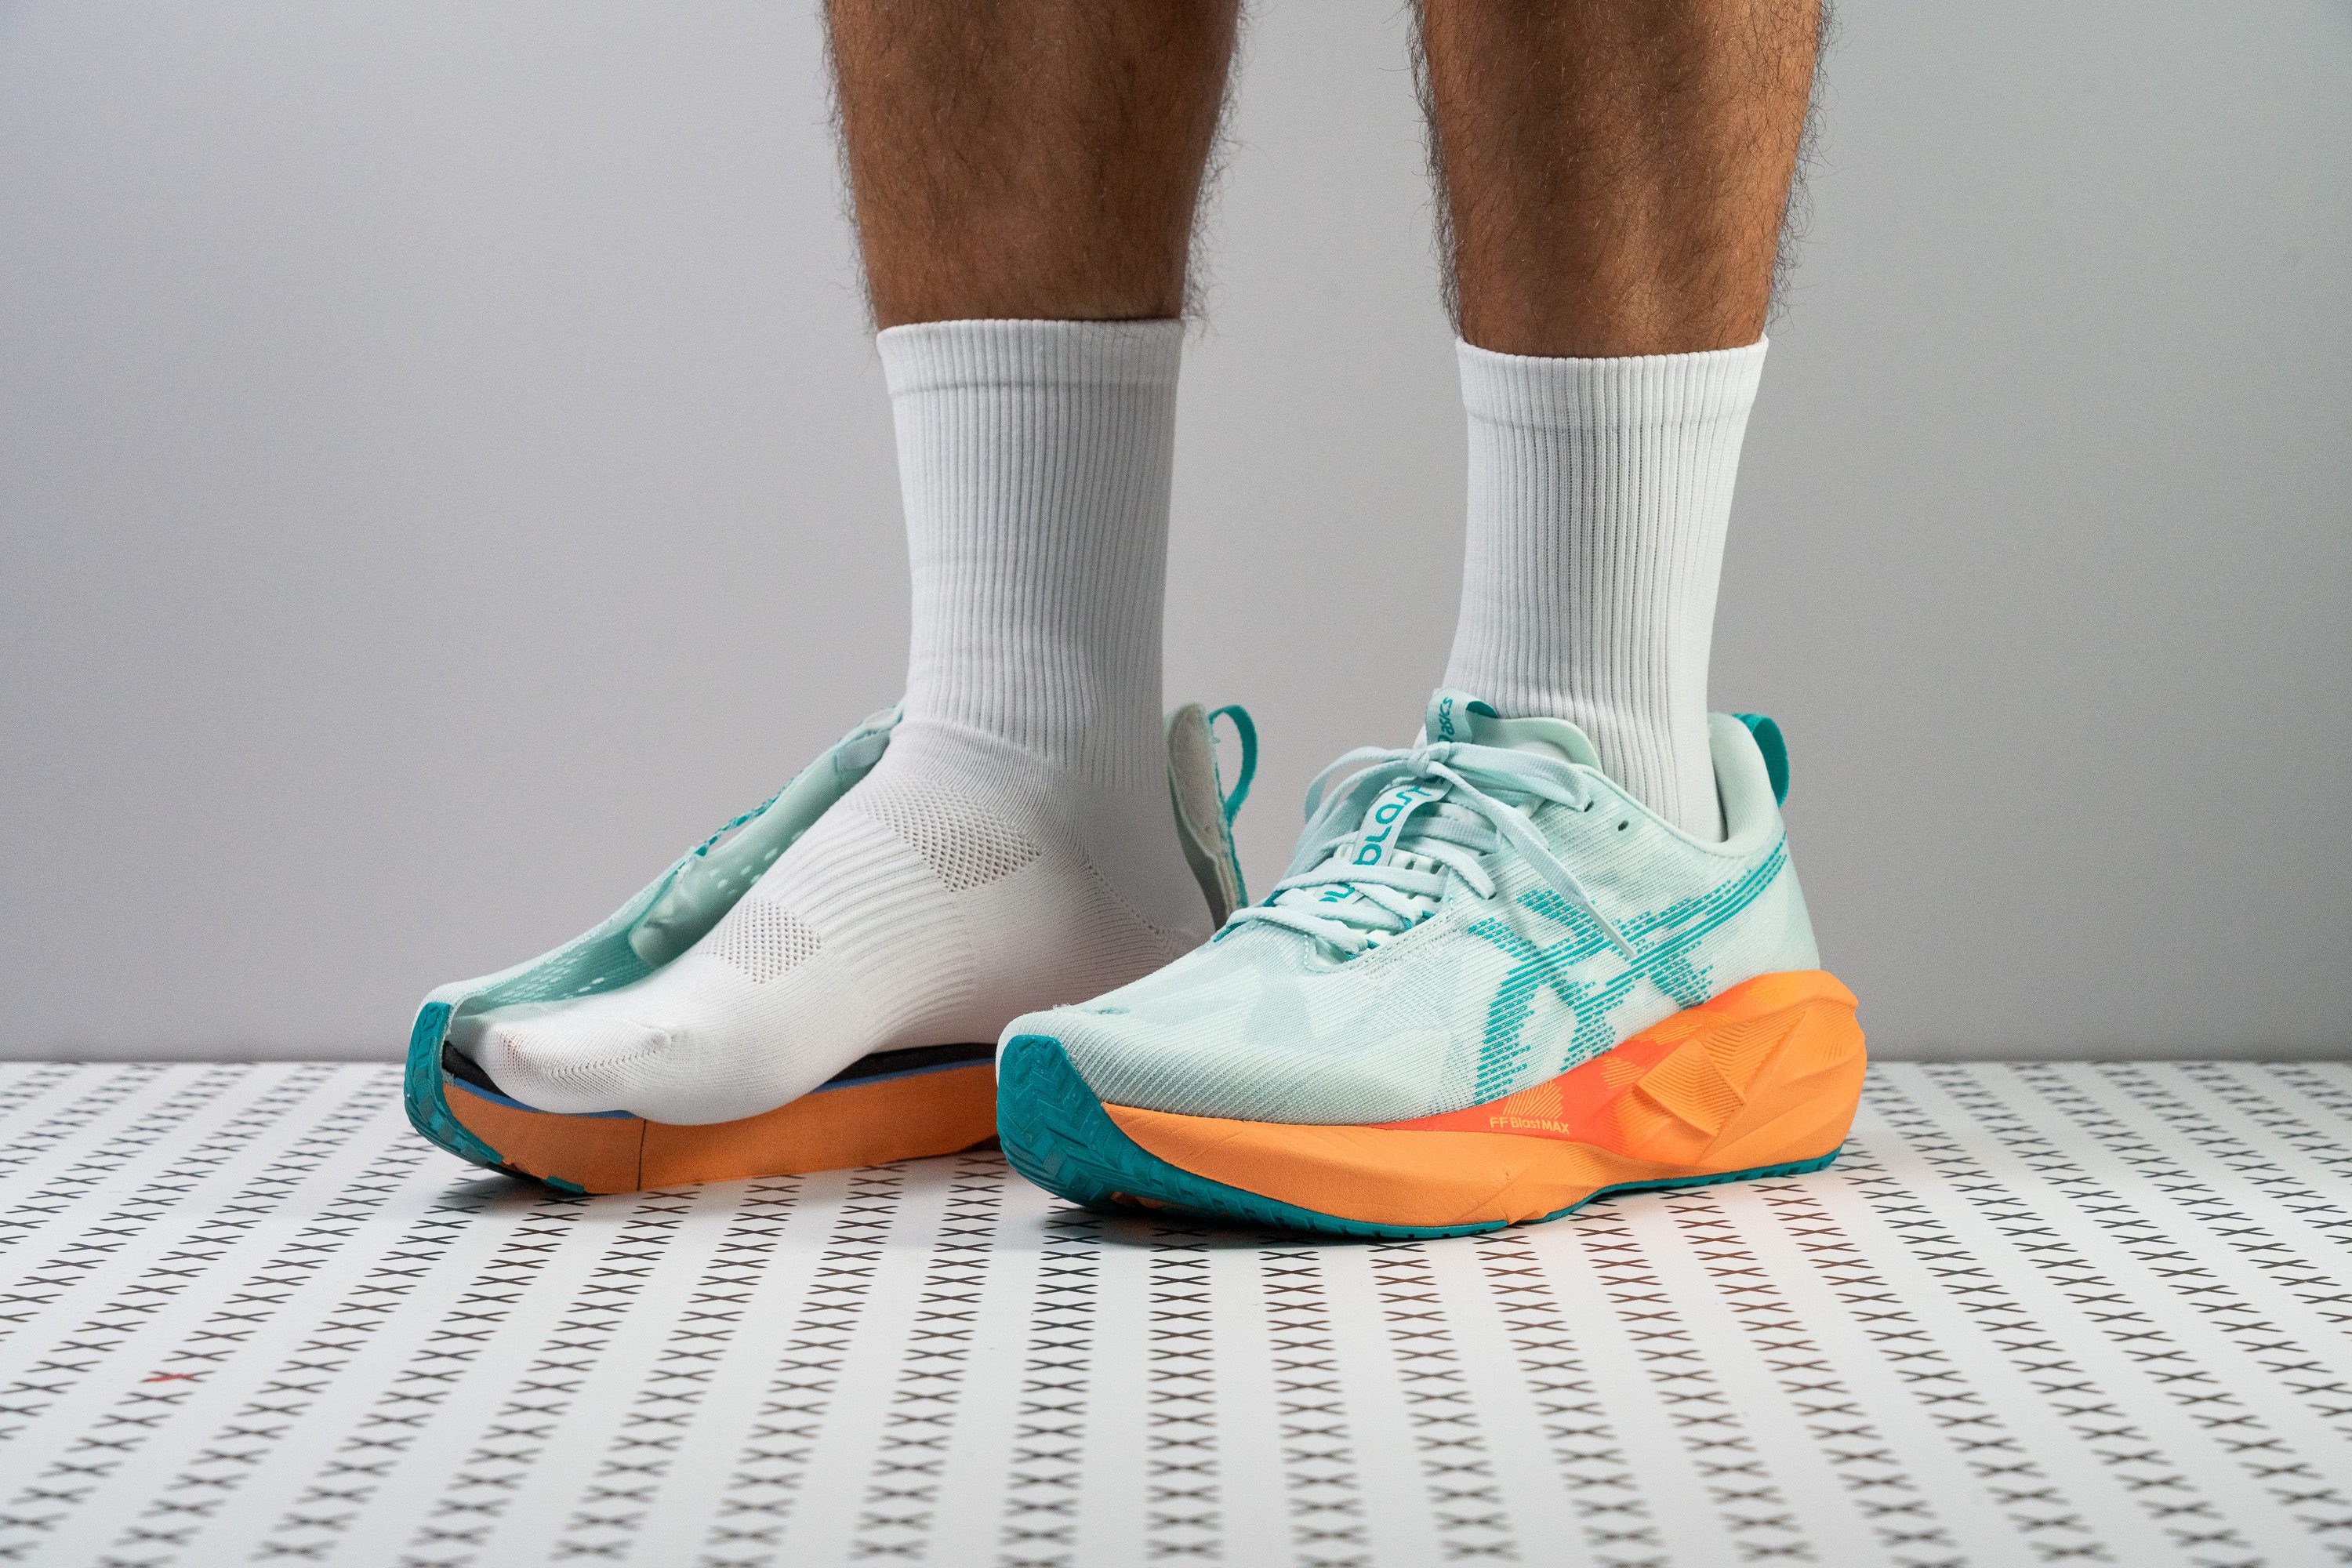
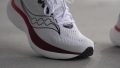
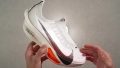
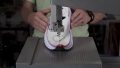
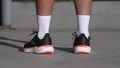
After intensive lab tests and runs, we chose the fifth version of ASICS Novablast as the top high-arch running shoe. It’s a well-rounded pair that emphasizes comfort through its cushioning, flexibility, and lightness while offering a great combination of support and energy so we can face whatever run training we have for the day.
With soaring stack heights reaching 40.9 mm in the heel (vs. 33.9 mm average) and 33.5 mm in the forefoot (vs. 25.3 mm average), the maximum cushion gives us immense comfort and a pleasant spring to bounce forward. This carries us through easy paces and even tempo workouts when we want to pick up the pace.
Our arches feel supported at any point in the run since we feel like we’re running on clouds! We had to test its plushness in the lab, and our durometer confirms it's 17% softer than average. Novablast 5 also provides a generous landing platform that naturally keeps us balanced.
As a non-plated shoe, it’s easy to maneuver the midsole, which is ideal for a daily trainer. Our bend test confirms it’s 27% more flexible than average — a crucial element for comfort. It’s also really light despite its maximum cushioning, weighing only 9.0 oz (254g).
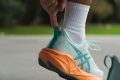
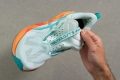
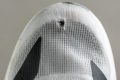
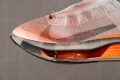
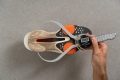
However, the jacquard mesh upper offers little ventilation. We recommend those who prefer maximum airflow to explore more breathable shoes.
Pros
- Improved energy return with FF Blast MAX foam
- Plushiest foam in a Novablast yet
- Keeps the same price as v4
- Higher stack height for extra cushioning
- Enhanced flexibility
- Lighter than its predecessor
- Best Novablast ever for wide feet
- Exceptional weight-to-cushion balance
- Works for short, medium and long runs
Cons
- Breathability could be improved
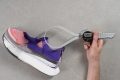
- Toebox durability
Best daily running shoes for high arches


What makes it the best?
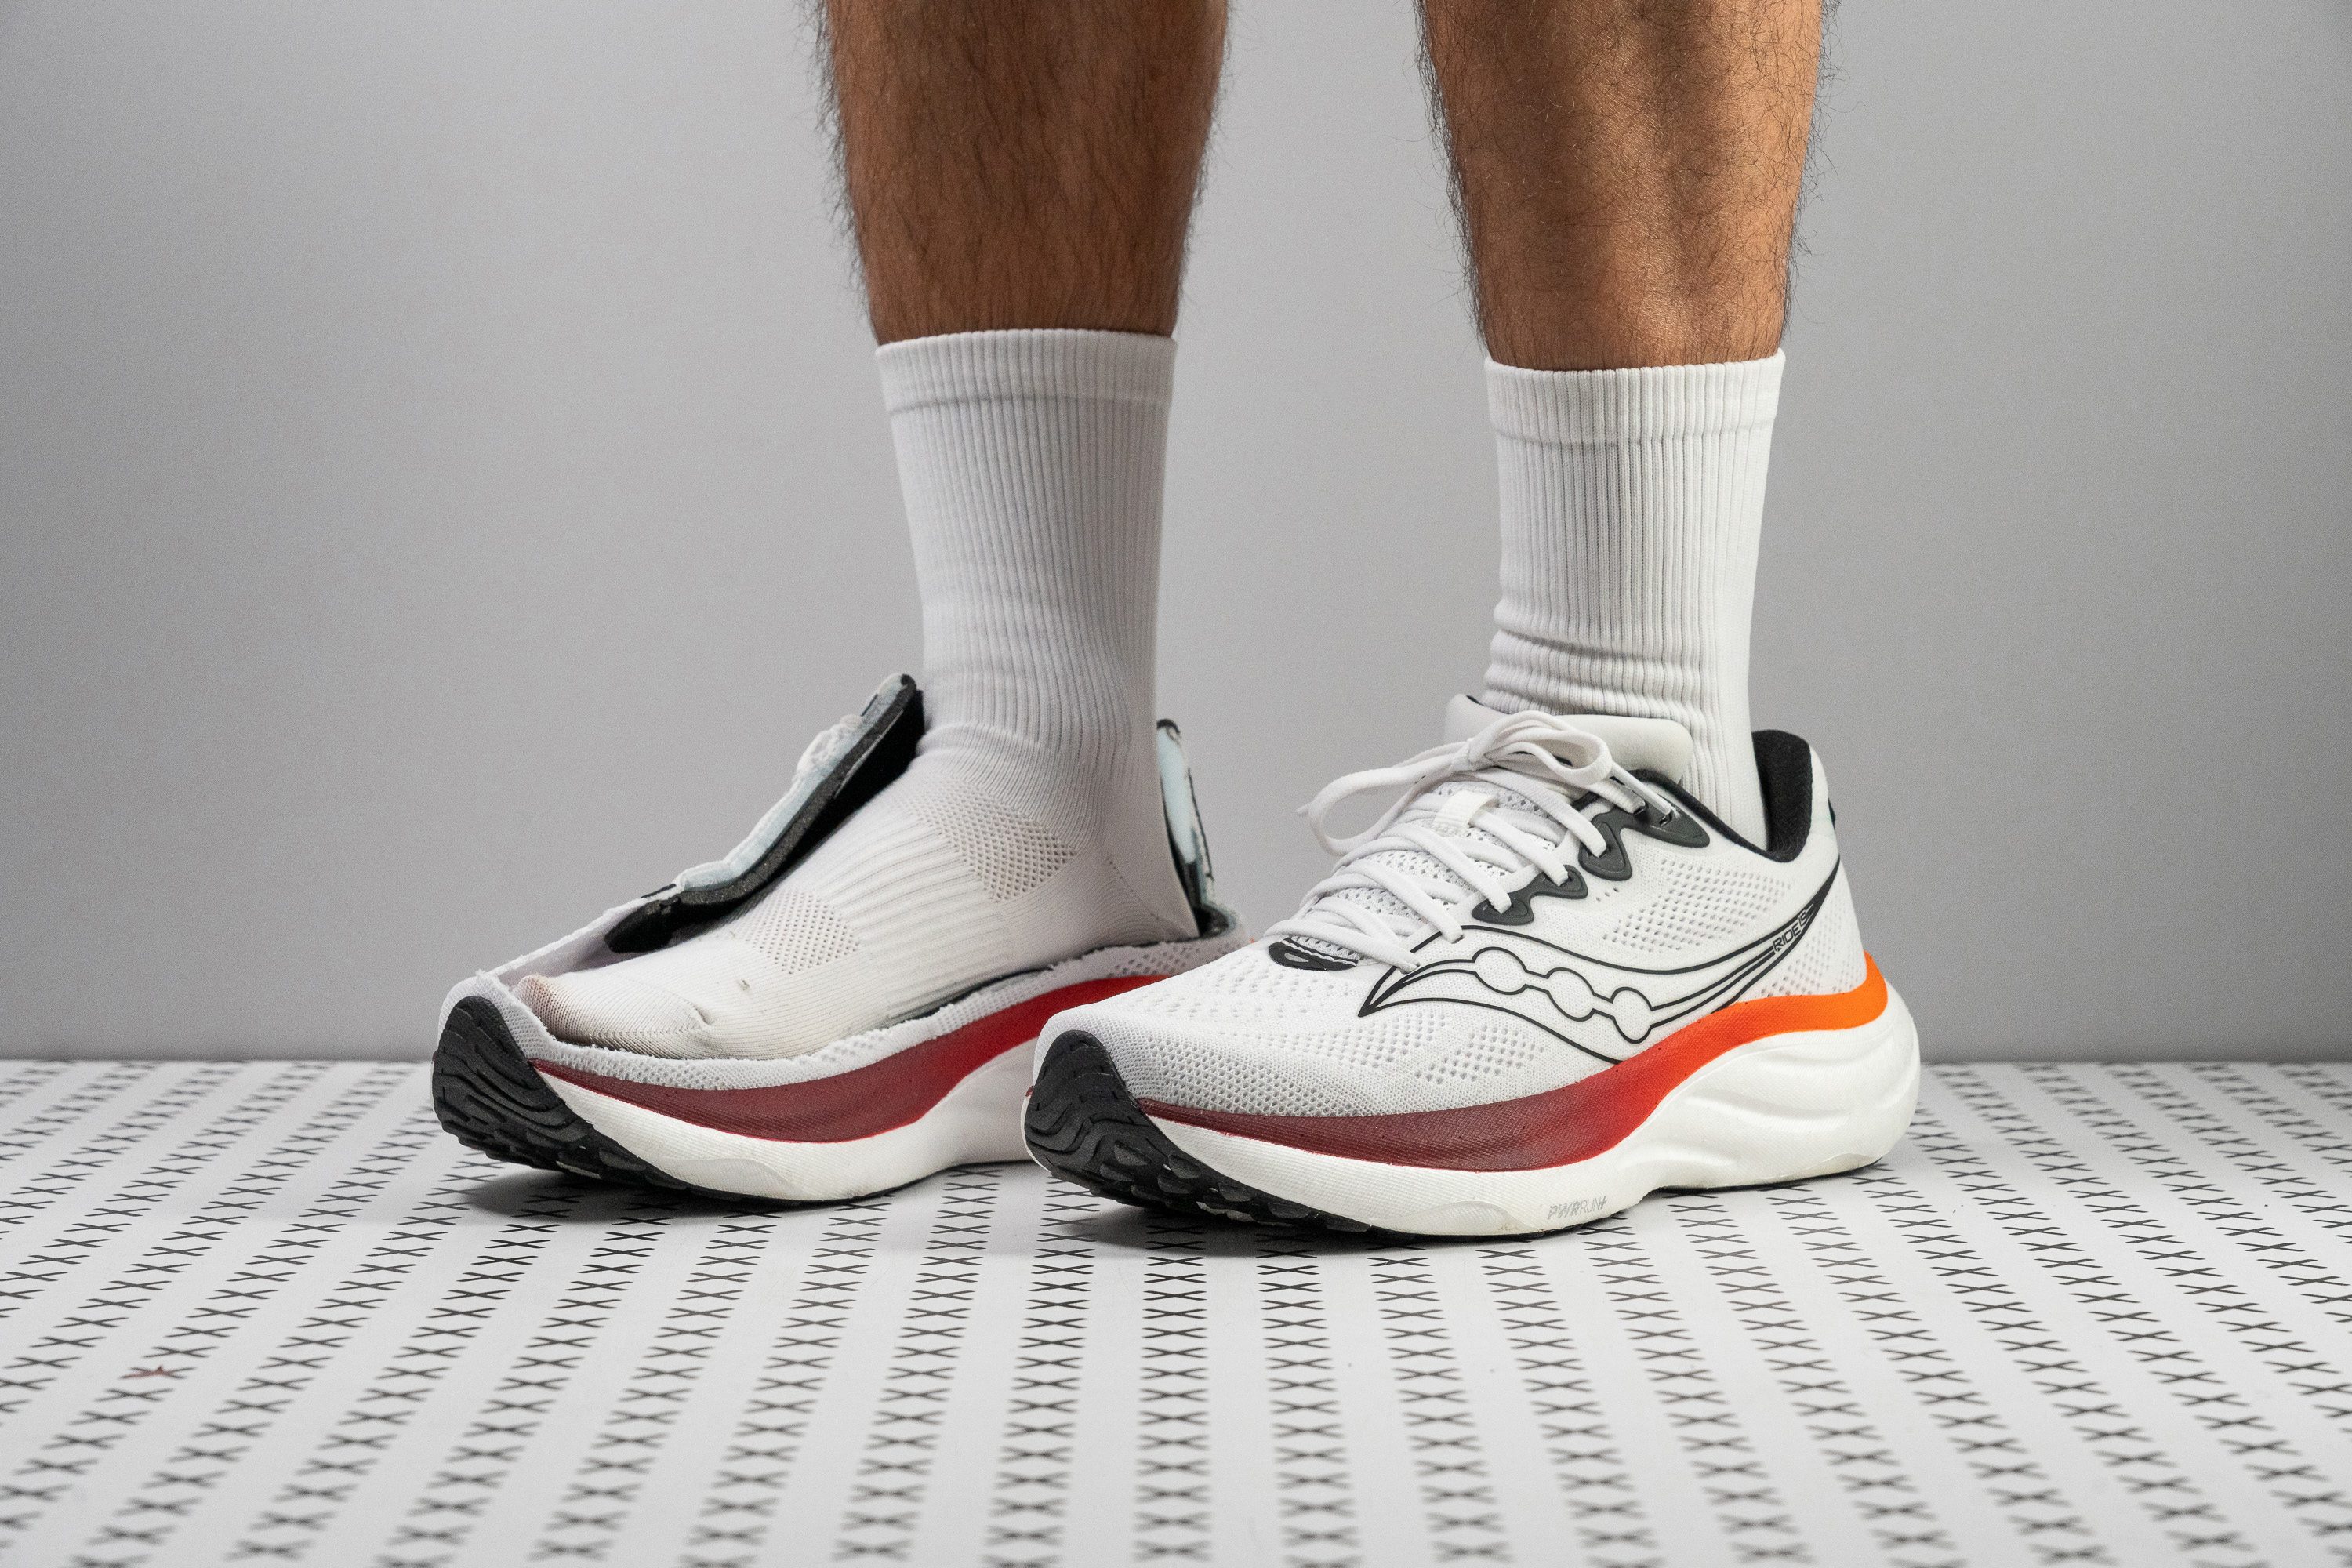
Following rigorous lab and field tests, the Saucony Ride 19 emerges as our top daily trainer for high-arch runners. Perfecting its formula through numerous editions, the Ride 19 has captured the essence of a daily trainer with its well-cushioned and dynamic midsole and subtly stable ride. As a well-rounded pair, we faced whatever run training we had effortlessly.
The Ride 19 boasts strong muscle and joint protection, which is ideal for a daily trainer. We measured an impressive stack height of 38.7/30.2 mm, with above-average shock absorption scores of 132 SA in the heel and 118 SA in the forefoot—crucial elements for lasting comfort.
Moreover, the ride feels very energetic, and our energy return test verifies high scores of 66.7% in the rear and 70.7% up front. At this rate, it handles tempo runs effortlessly. This edition also offers impressive support through its structured heel counter and broad base. In our manual assessment, the heel had very little give, so we awarded it the maximum 5/5 stiffness rating. Meanwhile, our caliper measures the midsole at 127.1/100.7 mm, giving us enough space to find our footing safely.
Unfortunately, in this age of featherweight trainers, this trainer is still 9.8 oz (278g). While not overly heavy, other runners prefer having more weight savings.
Pros
- High energy return
- Even more foam underfoot than v18
- Excellent durability overall
- Keeps its dependable DNA
- Outstanding breathability
- Wide and stable platform
- XT-900 rubber delivers good grip
- Secure fit with semi-gusseted tongue
- Excellent value
- Clean, improved aesthetics
Cons
- Heavier than previous version
- Limited rubber coverage
- Minor price increase
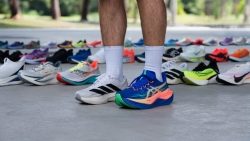
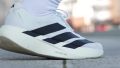
Best tempo shoes for high arches


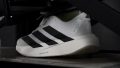


What makes it the best?
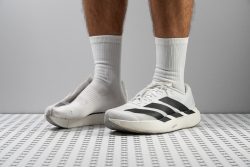
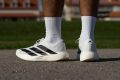
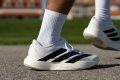
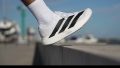
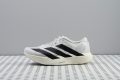
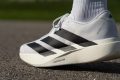
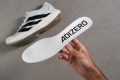
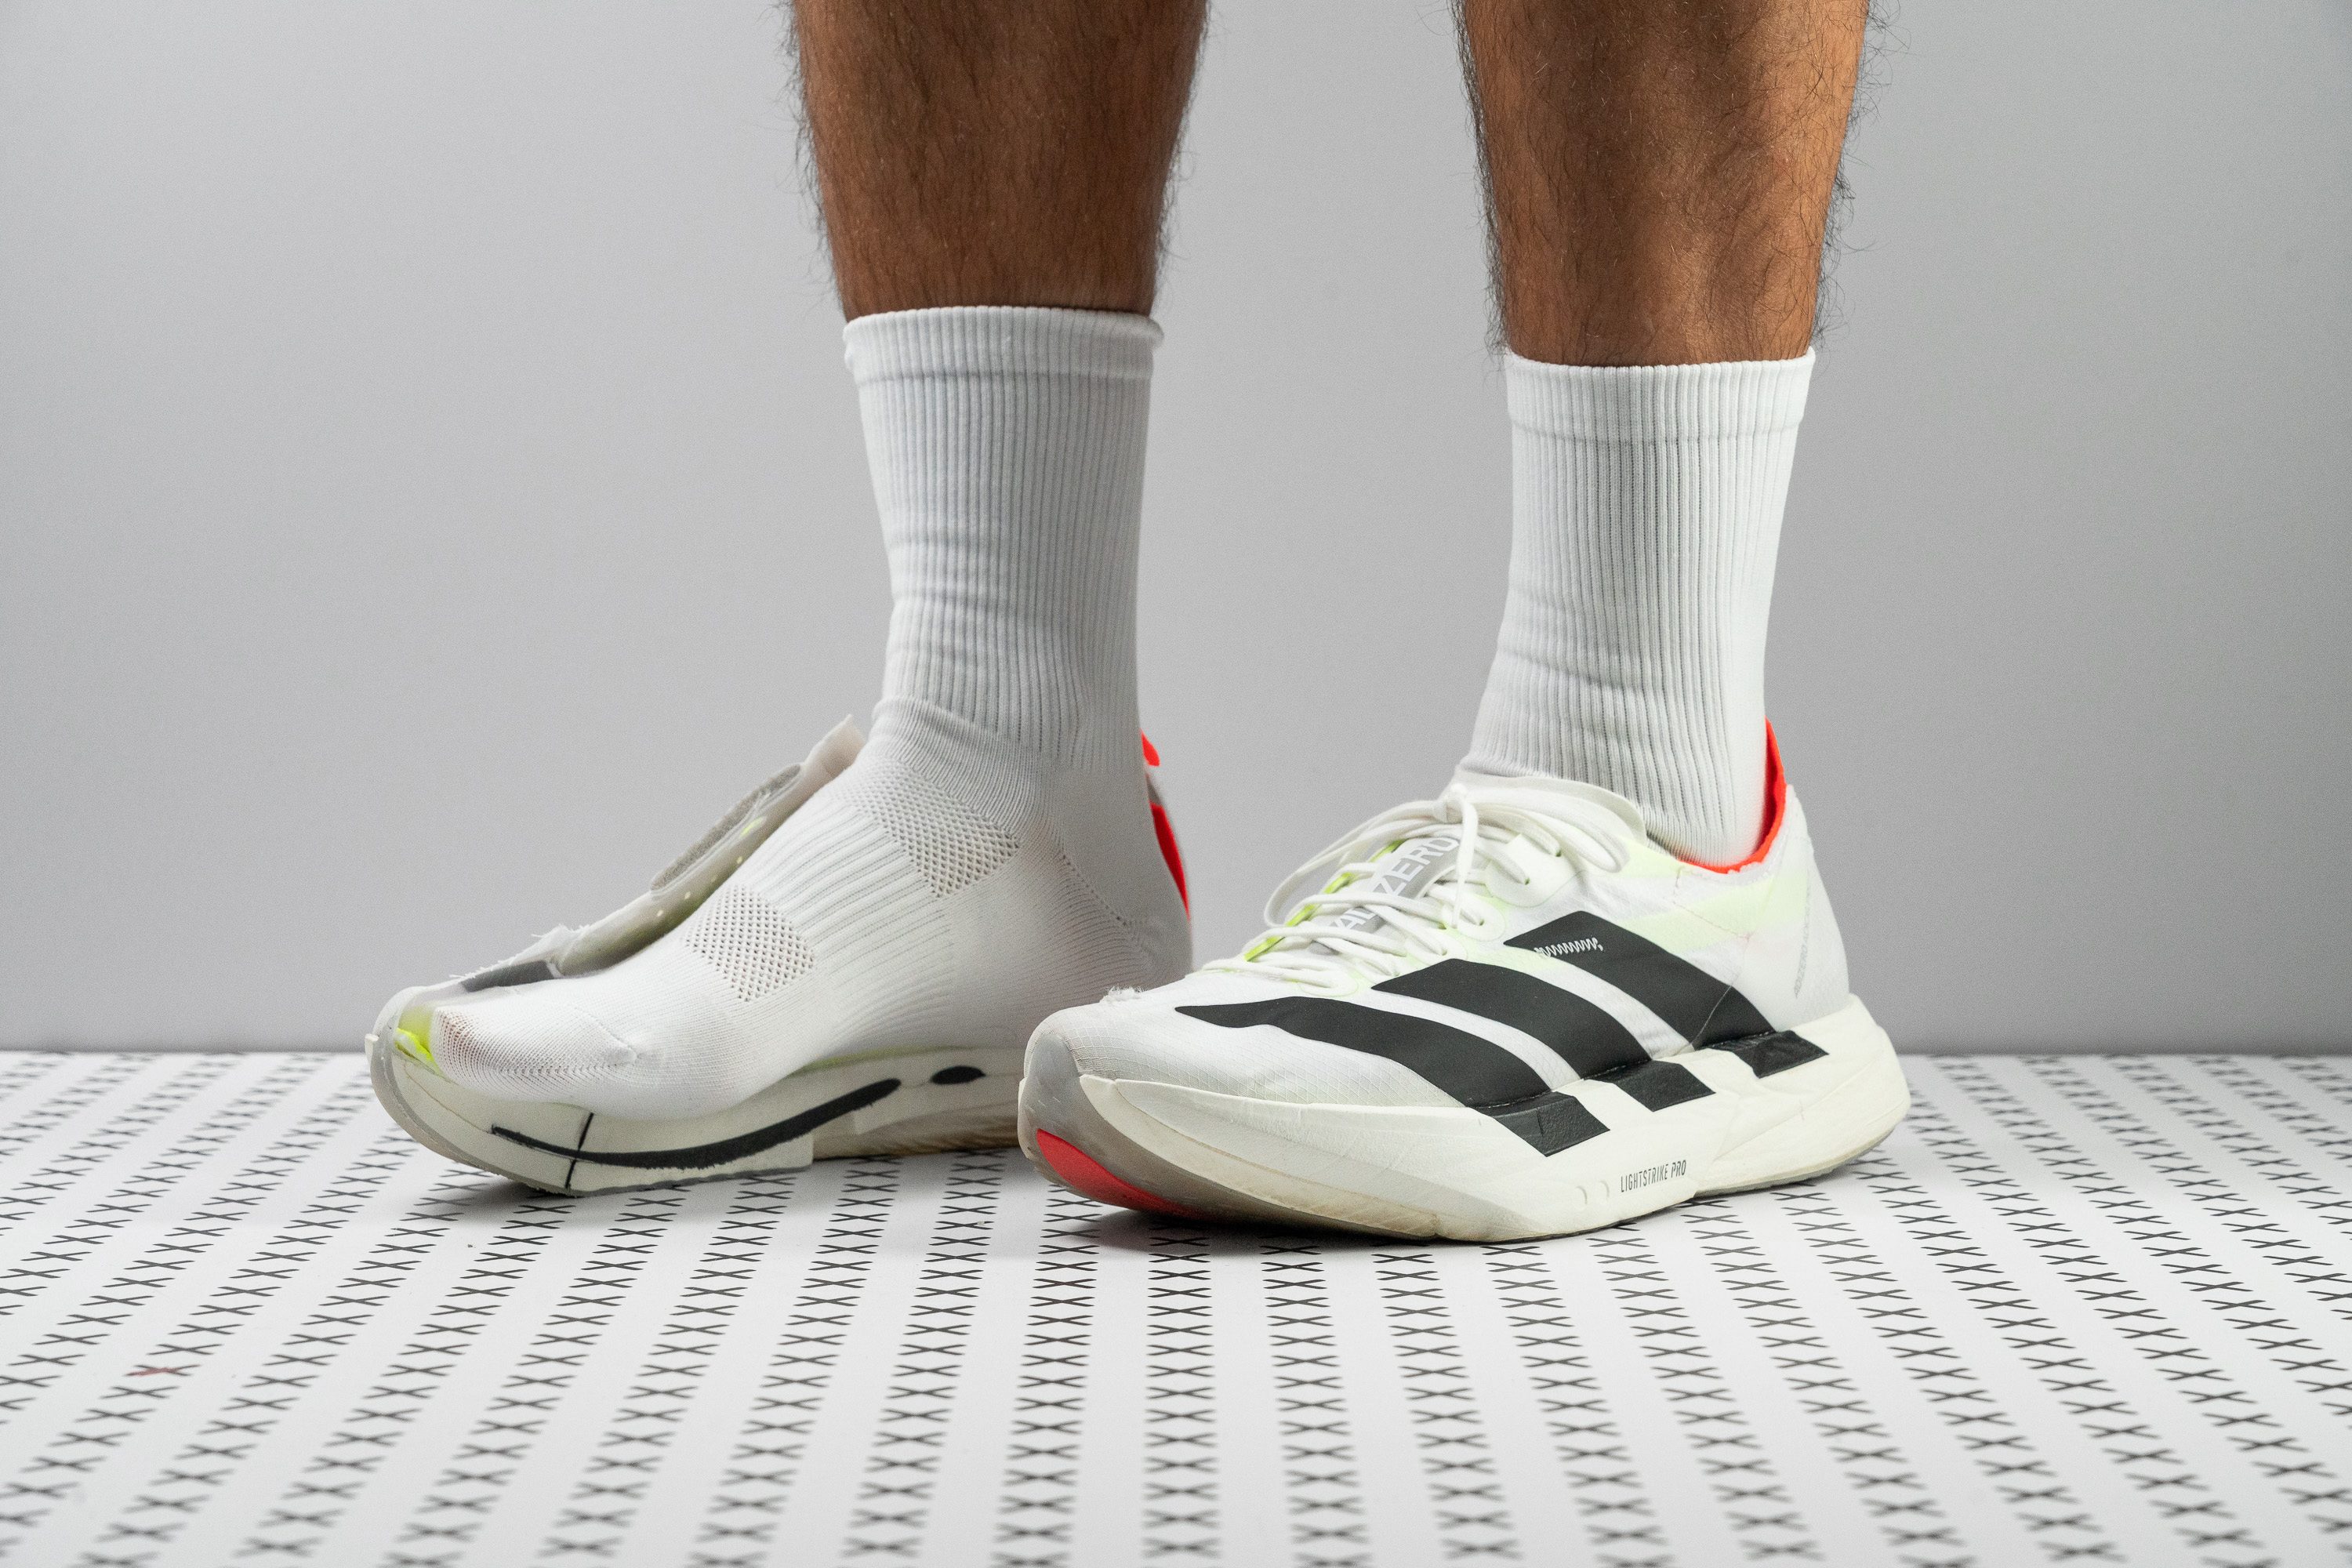
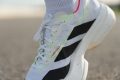
We experienced the best of both worlds with the adidas Adizero EVO SL. It seamlessly blends responsiveness and leg-saving comfort in a lightweight and flexible package—a great companion from training sessions to race day. Even our lab findings can’t deny it’s the best tempo trainer for high-arched runners.
Running with the EVO SL made us feel incredibly quick and agile, thanks to its feather-light 7.9 oz (223g) that disappears as the miles go by.
While most speedy shoes are plated, this trainer doesn't need one. Still, it’s as responsive as we could dream of, gracefully powering our strides through its Lightstrike Pro midsole. We confirmed in the lab that it offers a solid energy return of 74.3% and 70.3% in the heel and forefoot, respectively.
Because it doesn’t have a plate, it has room for foot-bending, which helps boost comfort regardless of pace or distance. Our flex test validates its natural feel as it emerged 36% more malleable than average. It has the speed of a racer but the gentleness of a daily trainer.
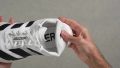
A small nitpick is the absence of a gusseted tongue. Those who want to avoid any possibilities of tongue-shifting should secure the laces well or find another pair.
Pros
- 100% Lightstrike Pro superfoam
- Exceptional value-to-performance ratio
- Low weight
- Ultra-breathable upper
- Unmatched versatility
- Agile and fun ride
- Handles short and long runs with ease
- Striking Evo 1-inspired aesthetics
Cons
- Poor-quality laces
- Short, non-gusseted tongue
- Toebox durability
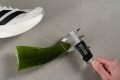
Best race running shoes for high arches


What makes it the best?
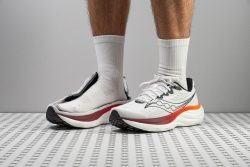
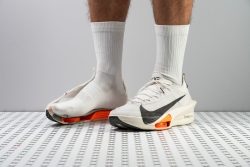
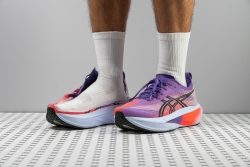
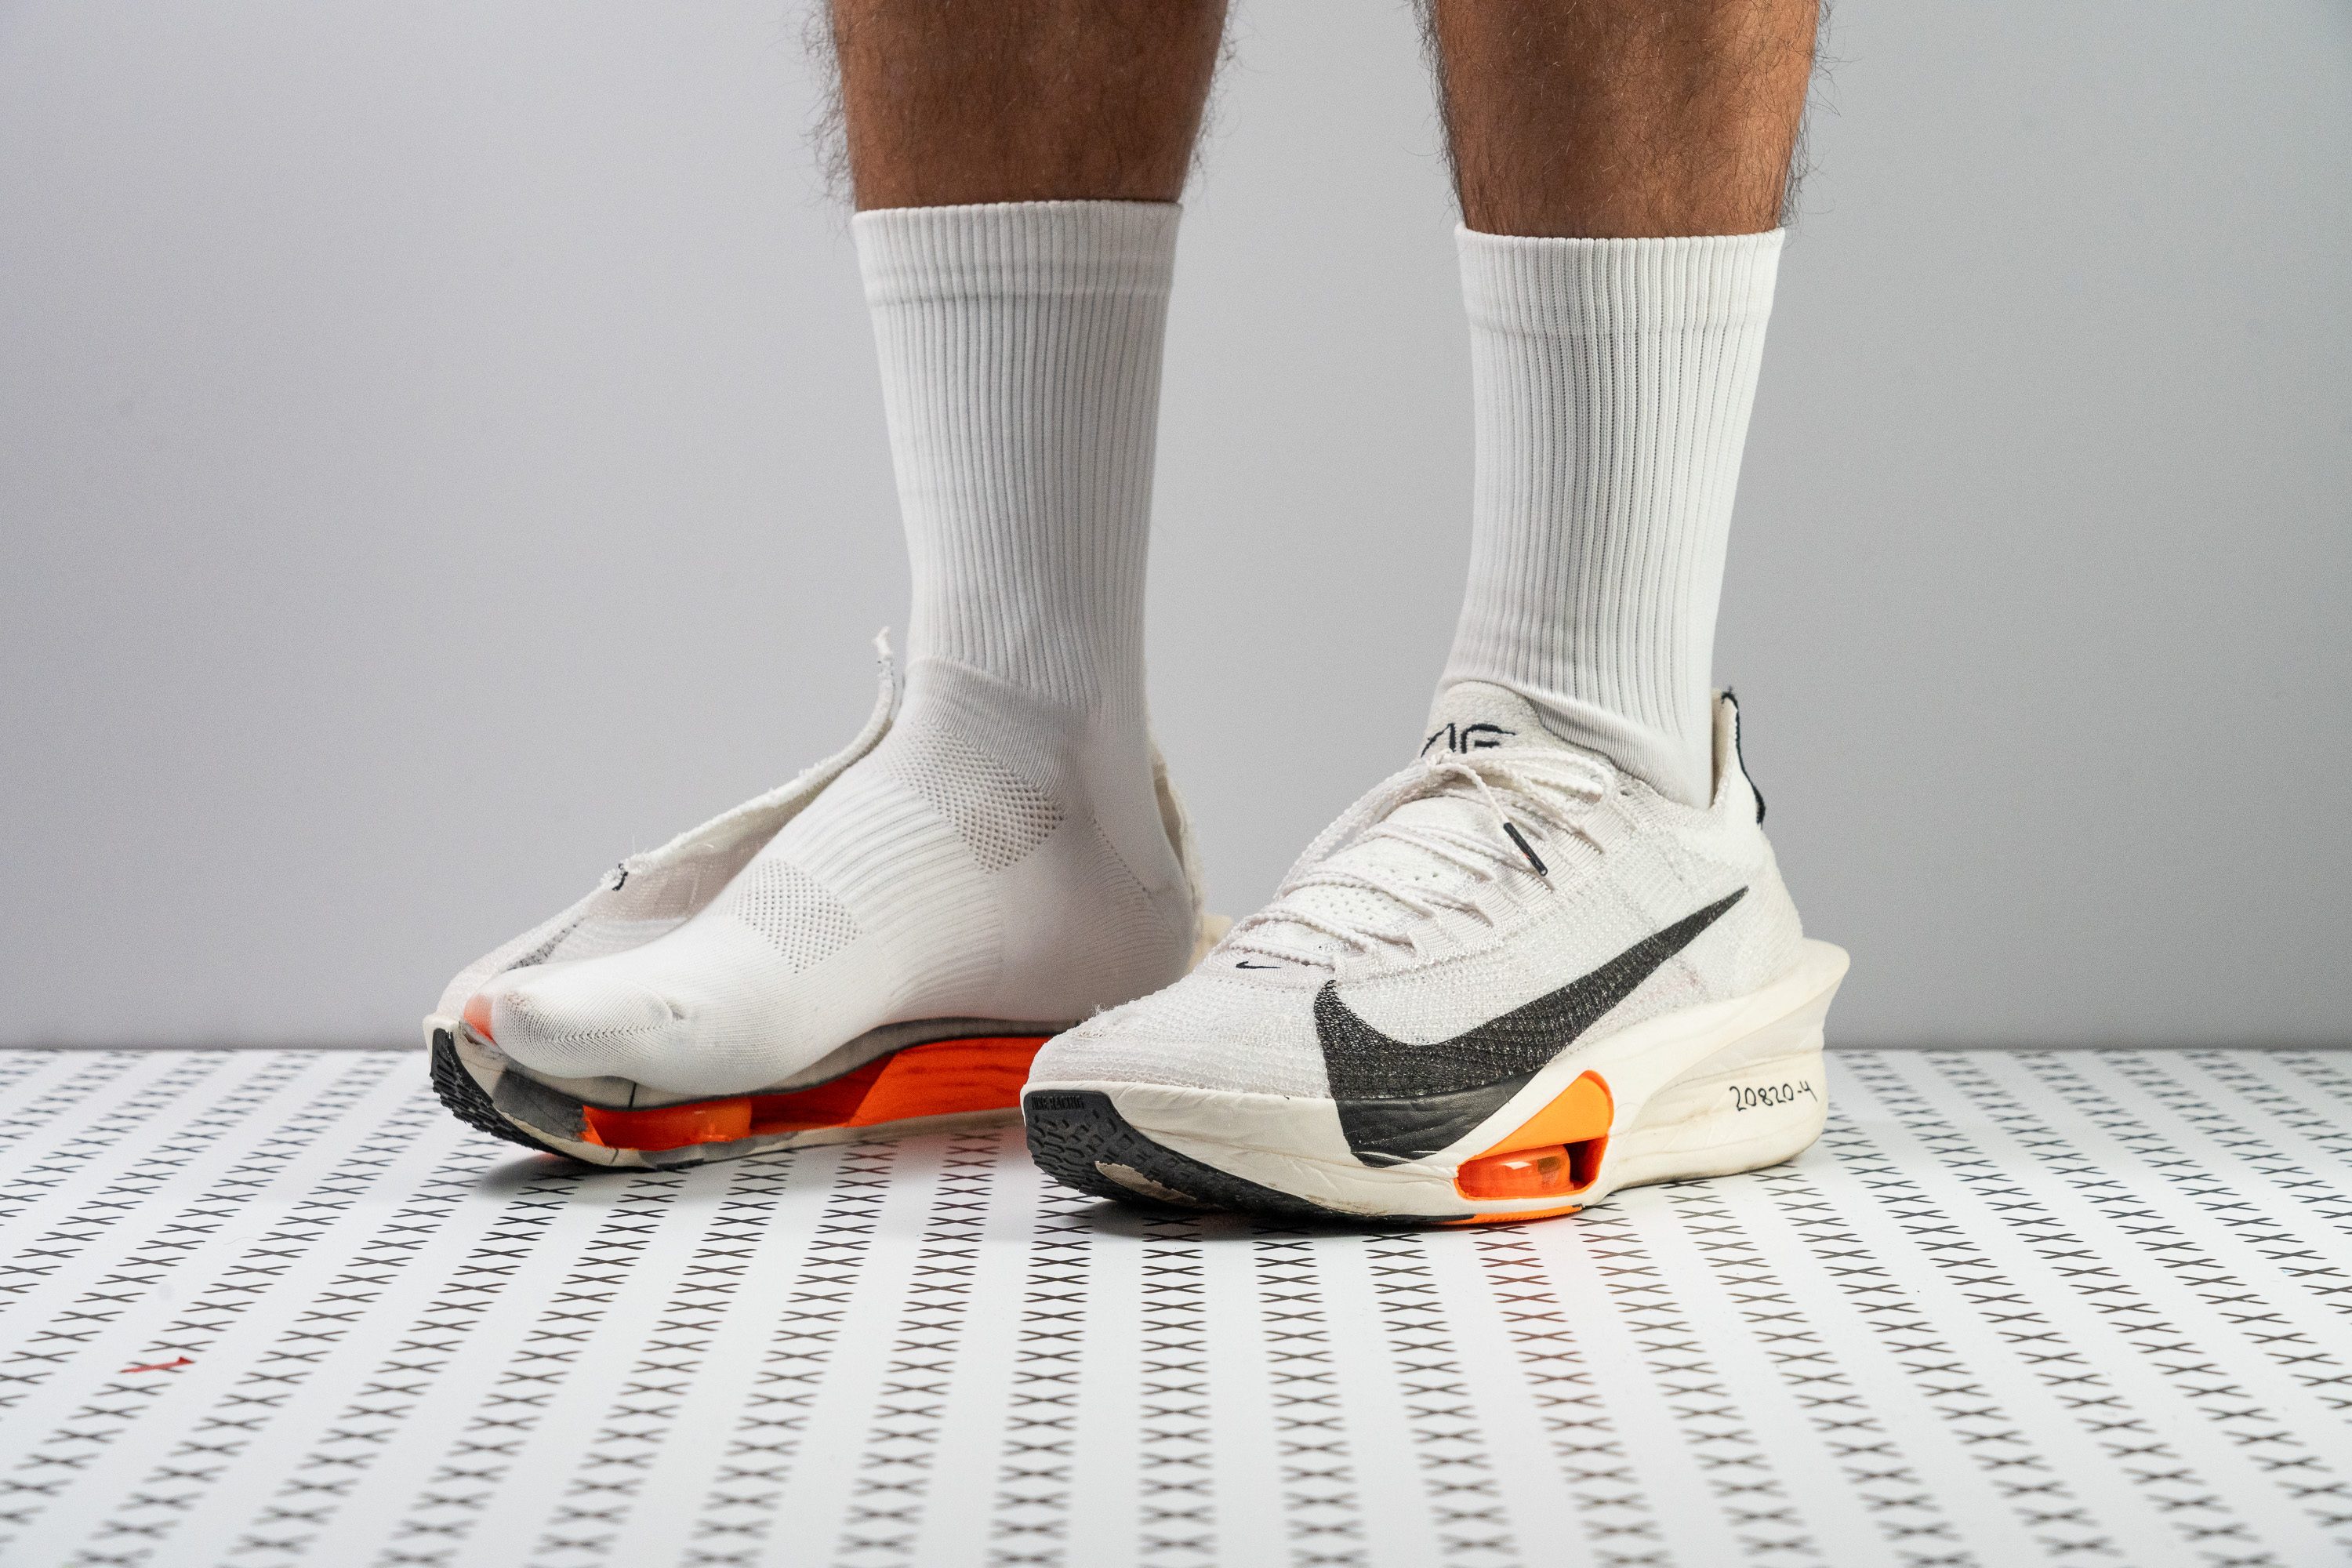
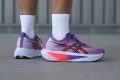
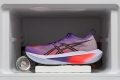
The Alphafly 3 is everything speed-oriented with its massive energy return, otherworldly comfort, enhanced arch fit, and refreshing aura, securing its position as the ultimate racer among high-arch running. Adding to its charm is the revolutionary stable ride it provides.
Built for speed, it thrives at faster paces attributed to the FlyPlate and Air Pods in the midsole. These elements work in harmony to deliver a steady stream of power and responsiveness. In our bend test, it boldly exceeds the average stiffness by 144.7%, unleashing boundless energy with every stride.
The dynamic ZoomX midsole is a masterpiece, featuring a tall stack with two layers for enhanced stability and impact protection. The 29.3 HA firm top layer ensures surefootedness, while the bottom layer is a very soft 18.1 HA for relief. We enjoyed the bouncy and forgiving ride the Alphafly 3 offers.
This shoe defies expectations by maintaining a light build even with its height. Our scales reveal it’s only 7.1 oz (201g), allowing us to fly without the burden of foot weights. What also feels like a breath of fresh air is the well-ventilated upper that scored a 5/5 on our breathability test.
However, indulging in its glory requires a $285 investment. We recommend budget-conscious runners to explore other options.
Pros
- Remarkably lightweight despite its broad size
- Best-in-class breathability
- Excels in the marathon distance
- Repositioned Air Pods offer a better ride than the v2
- ZoomX foam delivers massive energy return
- Aids in forward momentum, especially when legs begin to fatigue
- Better than ever for 5K/10K racing
- Finally smooth transitions!
Cons
- Heel strikers might wear down the outsole quickly
- The arch could still be a challenge for some
- The sock-like tongue might not suit everyone
Running shoes for high arches with the best energy return


What makes it the best?
Delivering exceptional responsiveness, serious muscle protection, grippy traction, and wear resistance—all in a streamlined design—the adidas Adizero Adios Pro 4 is a clear star in our lab. Yet among high-arch running shoes, it took the lead for energy return, and our feet couldn’t deny its highly responsive ride.
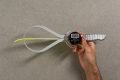
We sliced the midsole in half and discovered Energy Rods 2.0 in the midsole, which are meant to add some spring without making the shoe too rigid. We tested for the foam’s capacity to return the energy we put in, and it didn’t disappoint with high scores of 80.4% and 80.3% in the heel and forefoot, significantly higher than the 58.6% and 60.9% average.
With every takeoff, a soothing cushion awaits. Even during the latter miles of our run, our legs felt well taken care of. Testing for shock absorption in the lab, the heel returned a high 142 SA, and the forefoot also an impressive 117 SA, proving its ability to reduce impact.
The LIGHTTRAXION is sensational for a reason: it’s exceptionally grippy with a solid 0.55 rating in our traction test. Its strong bite on the ground keeps us in control even when running fast corners.
While most soft rubbers aren't durable, AP4 showed only a 0.8 mm dent vs. the 1.0 mm average. Because of its wear resistance, the rubber was kept to a minimum of 1.0 mm. The thin rubber lowered the shoe’s weight to 7.1 oz (200g).
However, we caution that the midsole loses its magic after 100 miles, just like other super shoes. We recommend using the mileage wisely before racing with AP4.
Pros
- Softer, bouncier Lightstrike Pro foam
- Maintains the same price
- No more heel slippage
- Versatile from 5K to marathon distances
- Durable outsole with outstanding grip
- Fantastic for midfoot and forefoot strikers
- Improved for faster runners
- Comfortable, gusseted tongue
- Lighter than Adios Pro 3
Cons
- Unstable for every heel striker
- Narrow, tapered toebox
- Upper lacks breathability
- Midsole loses bounce quicker than AP3
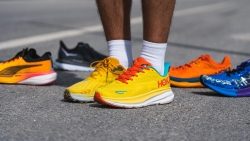
Running shoes for high arches with the best shock absorption


What makes it the best?
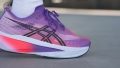
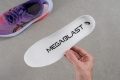
Hours of running and lab tests led us to discover the ultimate shock-absorbing running shoe that supported our high arches—and it’s none other than the ASICS Megablast. This trainer spoiled us with maximum cushioning and solid impact protection without compromising weight, responsiveness, and stability.
Beneath our feet lies a plush and thick stack that feels like home. It welcomes us with a warm embrace, muting out any sense of the ground. Our caliper shows it rises to a whopping 45.1/35.2 mm, exceeding the average in both areas.
Further facilitating gentle landings is its high level of shock absorption, smashing the standard with 160 SA in the heel and 144 SA in the forefoot. For context, that feels 24.0% and 35.8% more cushioned than average, respectively.
Despite its soft and stacked nature, the midsole offers undeniable support by raising its midsole sidewalls and widening its landing base. Every stride feels surefooted and secure in this pair, which measures 117.9/95.4 mm.
Another pleasant surprise is its ultra-light 7.8 oz (218g) construction, weighing a mind-boggling 17.7% below average.
With its above-average height, the shoe feels quite stiff. Those who prefer a relaxed and natural sensation should find a more flexible alternative.
Pros
- Outstanding energy return
- Exceptional impact protection
- Durable, grippy outsole rubber
- Astonishingly low weight
- Performs at any pace and distance
- Breathable, lightweight upper
- High-quality materials from heel to toe
- Suitable for all footstrikes
- Top performance without a carbon plate
Cons
- Extremely expensive for a training shoe
- Limited outsole coverage
- Poor toebox durability
Best budget running shoes for high arches


What makes it the best?
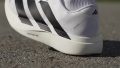
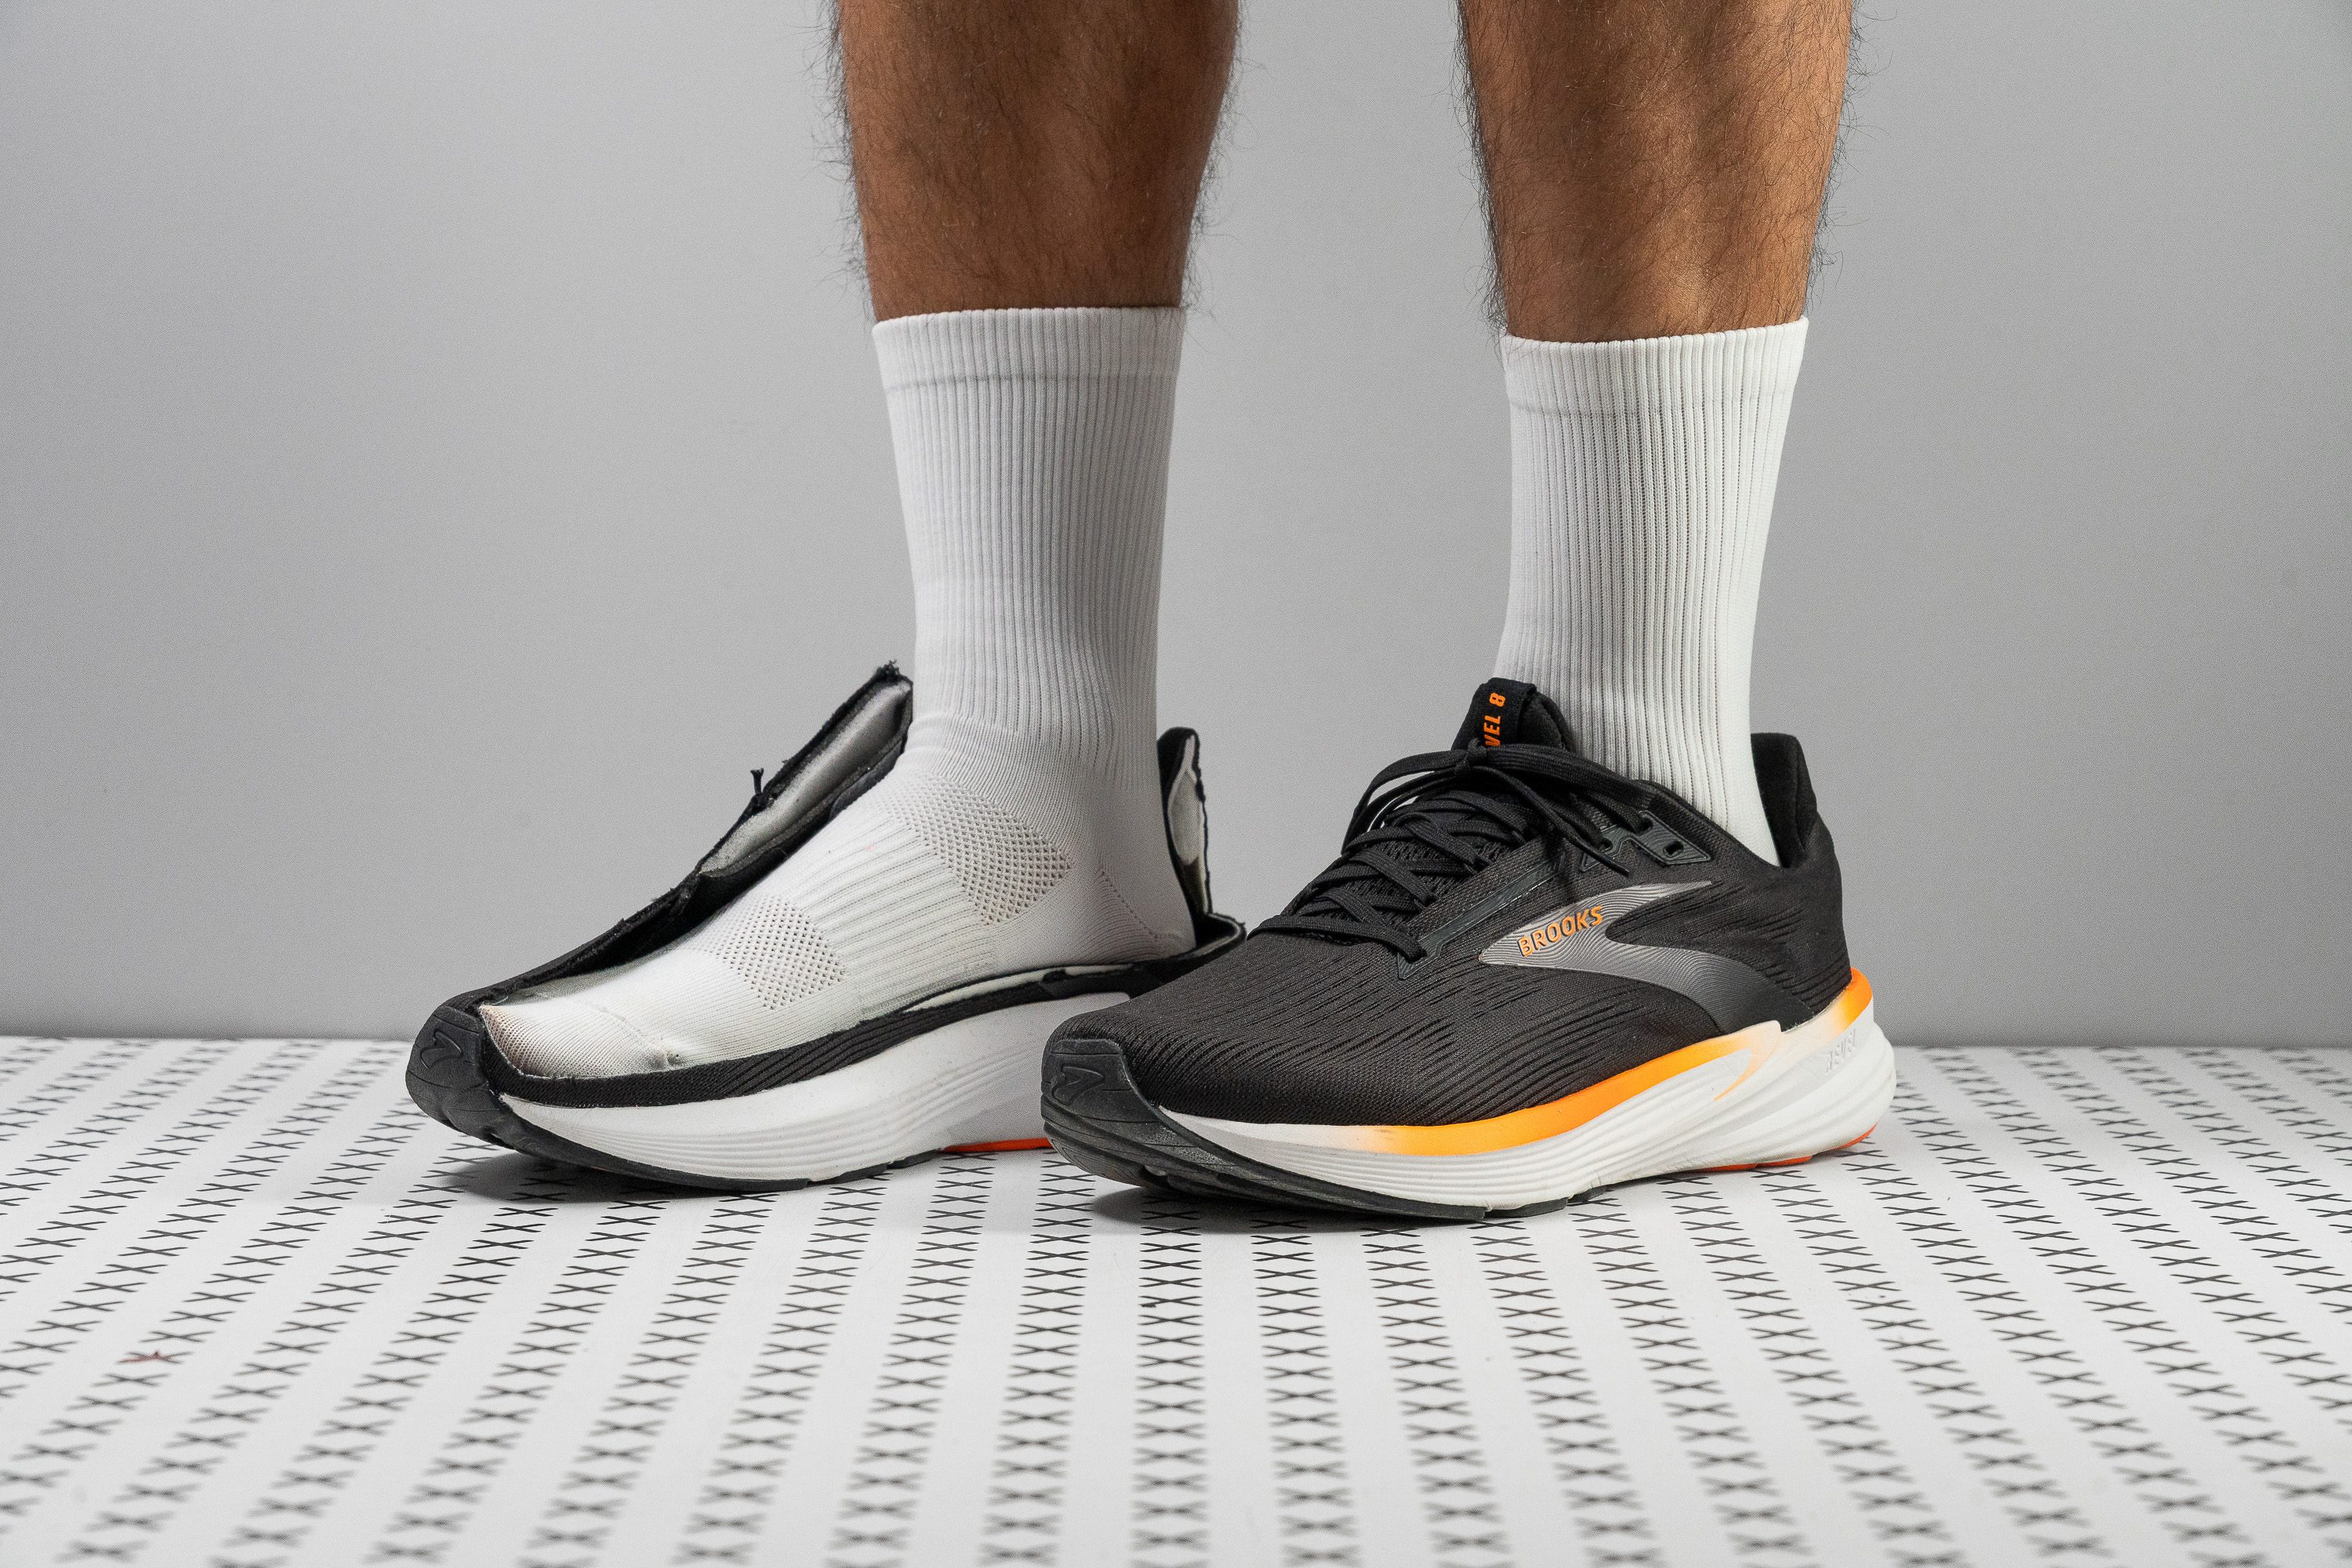
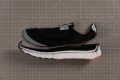
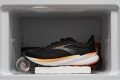
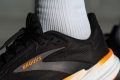
We have the streets and the lab results as our witnesses: Brooks Revel 8 delivers agility and durability that make every cent worth it. At only $100, it’s 35% cheaper than the average road running shoe, making it our best budget pick for those with high arches.
The midsole promotes free and natural movement, further amplified by the strategic cutouts in the outsole. Our bend test shows it’s 15% more flexible than average, which explains why the shoe feels easy to maneuver.
Revel 8 features a streamlined 111.5/88.5 mm midsole, which promotes agility and freedom of movement. Our scales show it’s only 8.6 oz (244g), making it 6% lighter than average.
Underfoot, the outsole boasted of its excellent quality, showing minimal signs of use after extensive testing. With only 1.0 mm of damage in our Dremel test, it proves its longevity even with its low price tag.
However, its muscle and joint protection is limited, so we only advise using this pair in short or casual runs. Those who need more serious cushioning for long runs require more support than Revel 8 can offer.
Pros
- Keeps the same price as last year
- Upgraded to DNA Loft v2 foam
- Much better grip than version 7
- Excellent value
- Good pick for beginners
- Solid durability
- Flexible and versatile design
- Lightweight feel
Cons
- Still not very energetic
- Not ideal for forefoot strikers
- Only for short distances
High arches in runners
You’re here because you have high arches (so called Pes Cavus). Some even call it claw foot, as the toes change from a flat to a clawing position.
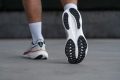
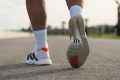
Runners with high arches usually place too much weight and stress on the heel and on the ball of the foot. When arches are “normal” or medium, they absorb the shock and stabilize the body. When they are high, the stress is redistributed to the forefoot and the heel.
Having high arches might be accompanied by toe clawing, arch pain, plantar fascia pain or injury, metatarsalgia, calluses, weakness of lateral ankle ligaments (so runners roll their ankles), posterior shin splints, lower limb stress fractures, ITBS.
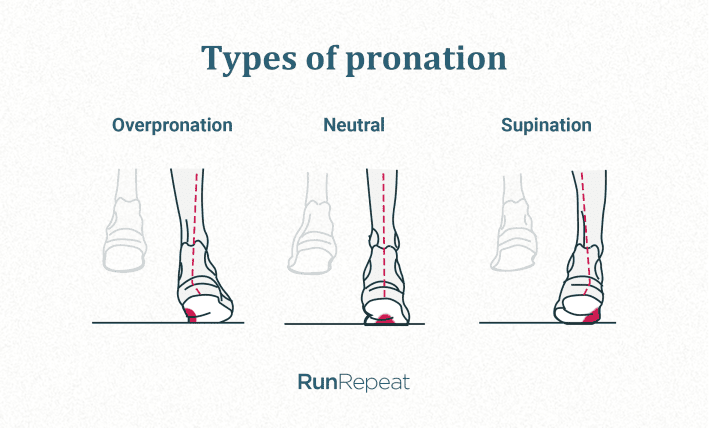
High arches usually mean that runners are underpronating (supinating) and landing on the forefoot or the midfoot.
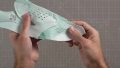
High arches: double check
Do you think you have high arches, or do you know it for a fact? Best to be sure. If you’re running pain-free and are just curious, great.
If, however, you’re experiencing pain while running, we wholeheartedly recommend visiting a specialist (orthopedist, biomechanic specialist, etc.) for a proper exam and assessment.
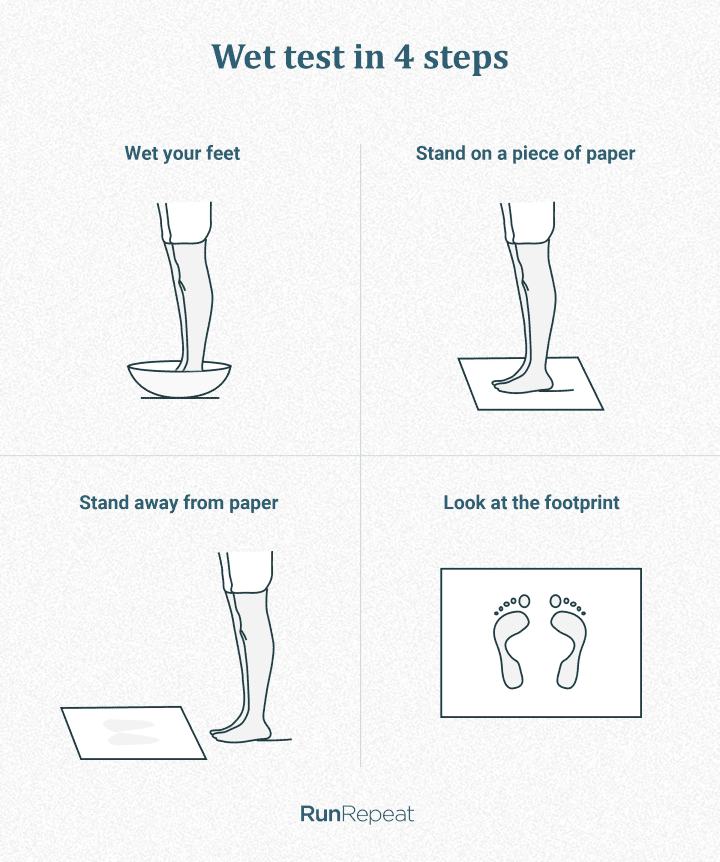
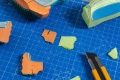
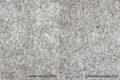
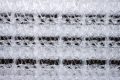
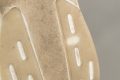
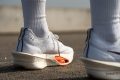
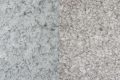
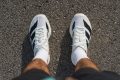
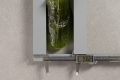
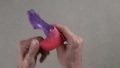
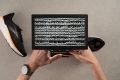
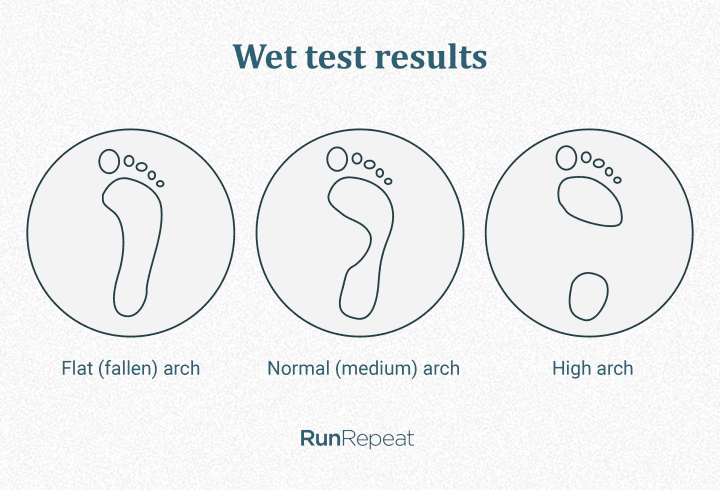
Here’s how high arches look like on the wet test. You can see a very small footprint.
Running shoes for high arches: 5 things to look for
Always prioritize comfort. Nothing in the running shoe should feel obtrusive, especially not the arch support.
Also, this guide focuses on what most runners with high arches need.
Having said that, there are 5 things to pay attention to when looking for running shoes for high arches:
- Cushioned ride. Avoid minimalist shoes. Avoid very soft shoes. Best to find the midsole that makes the landings easy and the way to do this is to look for a shock absorption of at least 110 SA.
- Focus on the forefoot cushioning if you tend to land on the forefoot or midfoot. Focus on the heel if you're a heel striker.
- Usually, we recommend a heel drop of 10mm or less for forefoot strikers and 8mm and higher for heel strikers.
- Neutral and stable ride. Look for shoes that do not overcorrect the gait, so there’s no arch support. This is found in neutral shoes.
- Good outsole coverage and grip where you land. While some shoes are made for forefoot strikers only (they have no or very little rubber at the heel), there are no shoes that have heel-strike-only outsole designs. This is a big differentiator between heel-striking shoes and shoes for forefoot/midfoot or all strikes.
Remember that comfort comes first. Try many pairs before deciding on one.
Cushioning: foot strike matters
Landing on the forefoot or midfoot means you want a lot of impact protection in that area. Of course, that’s subjective as some runners prefer minimalist shoes and others cushioned. Overall, minimalist shoes are used less, so we’d recommend something that’s higher off the ground, especially for beginners.
Some high-arched runners land on the heel so they should focus on that area.
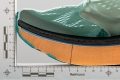
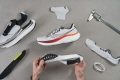
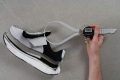
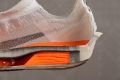
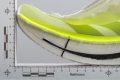
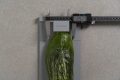
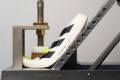
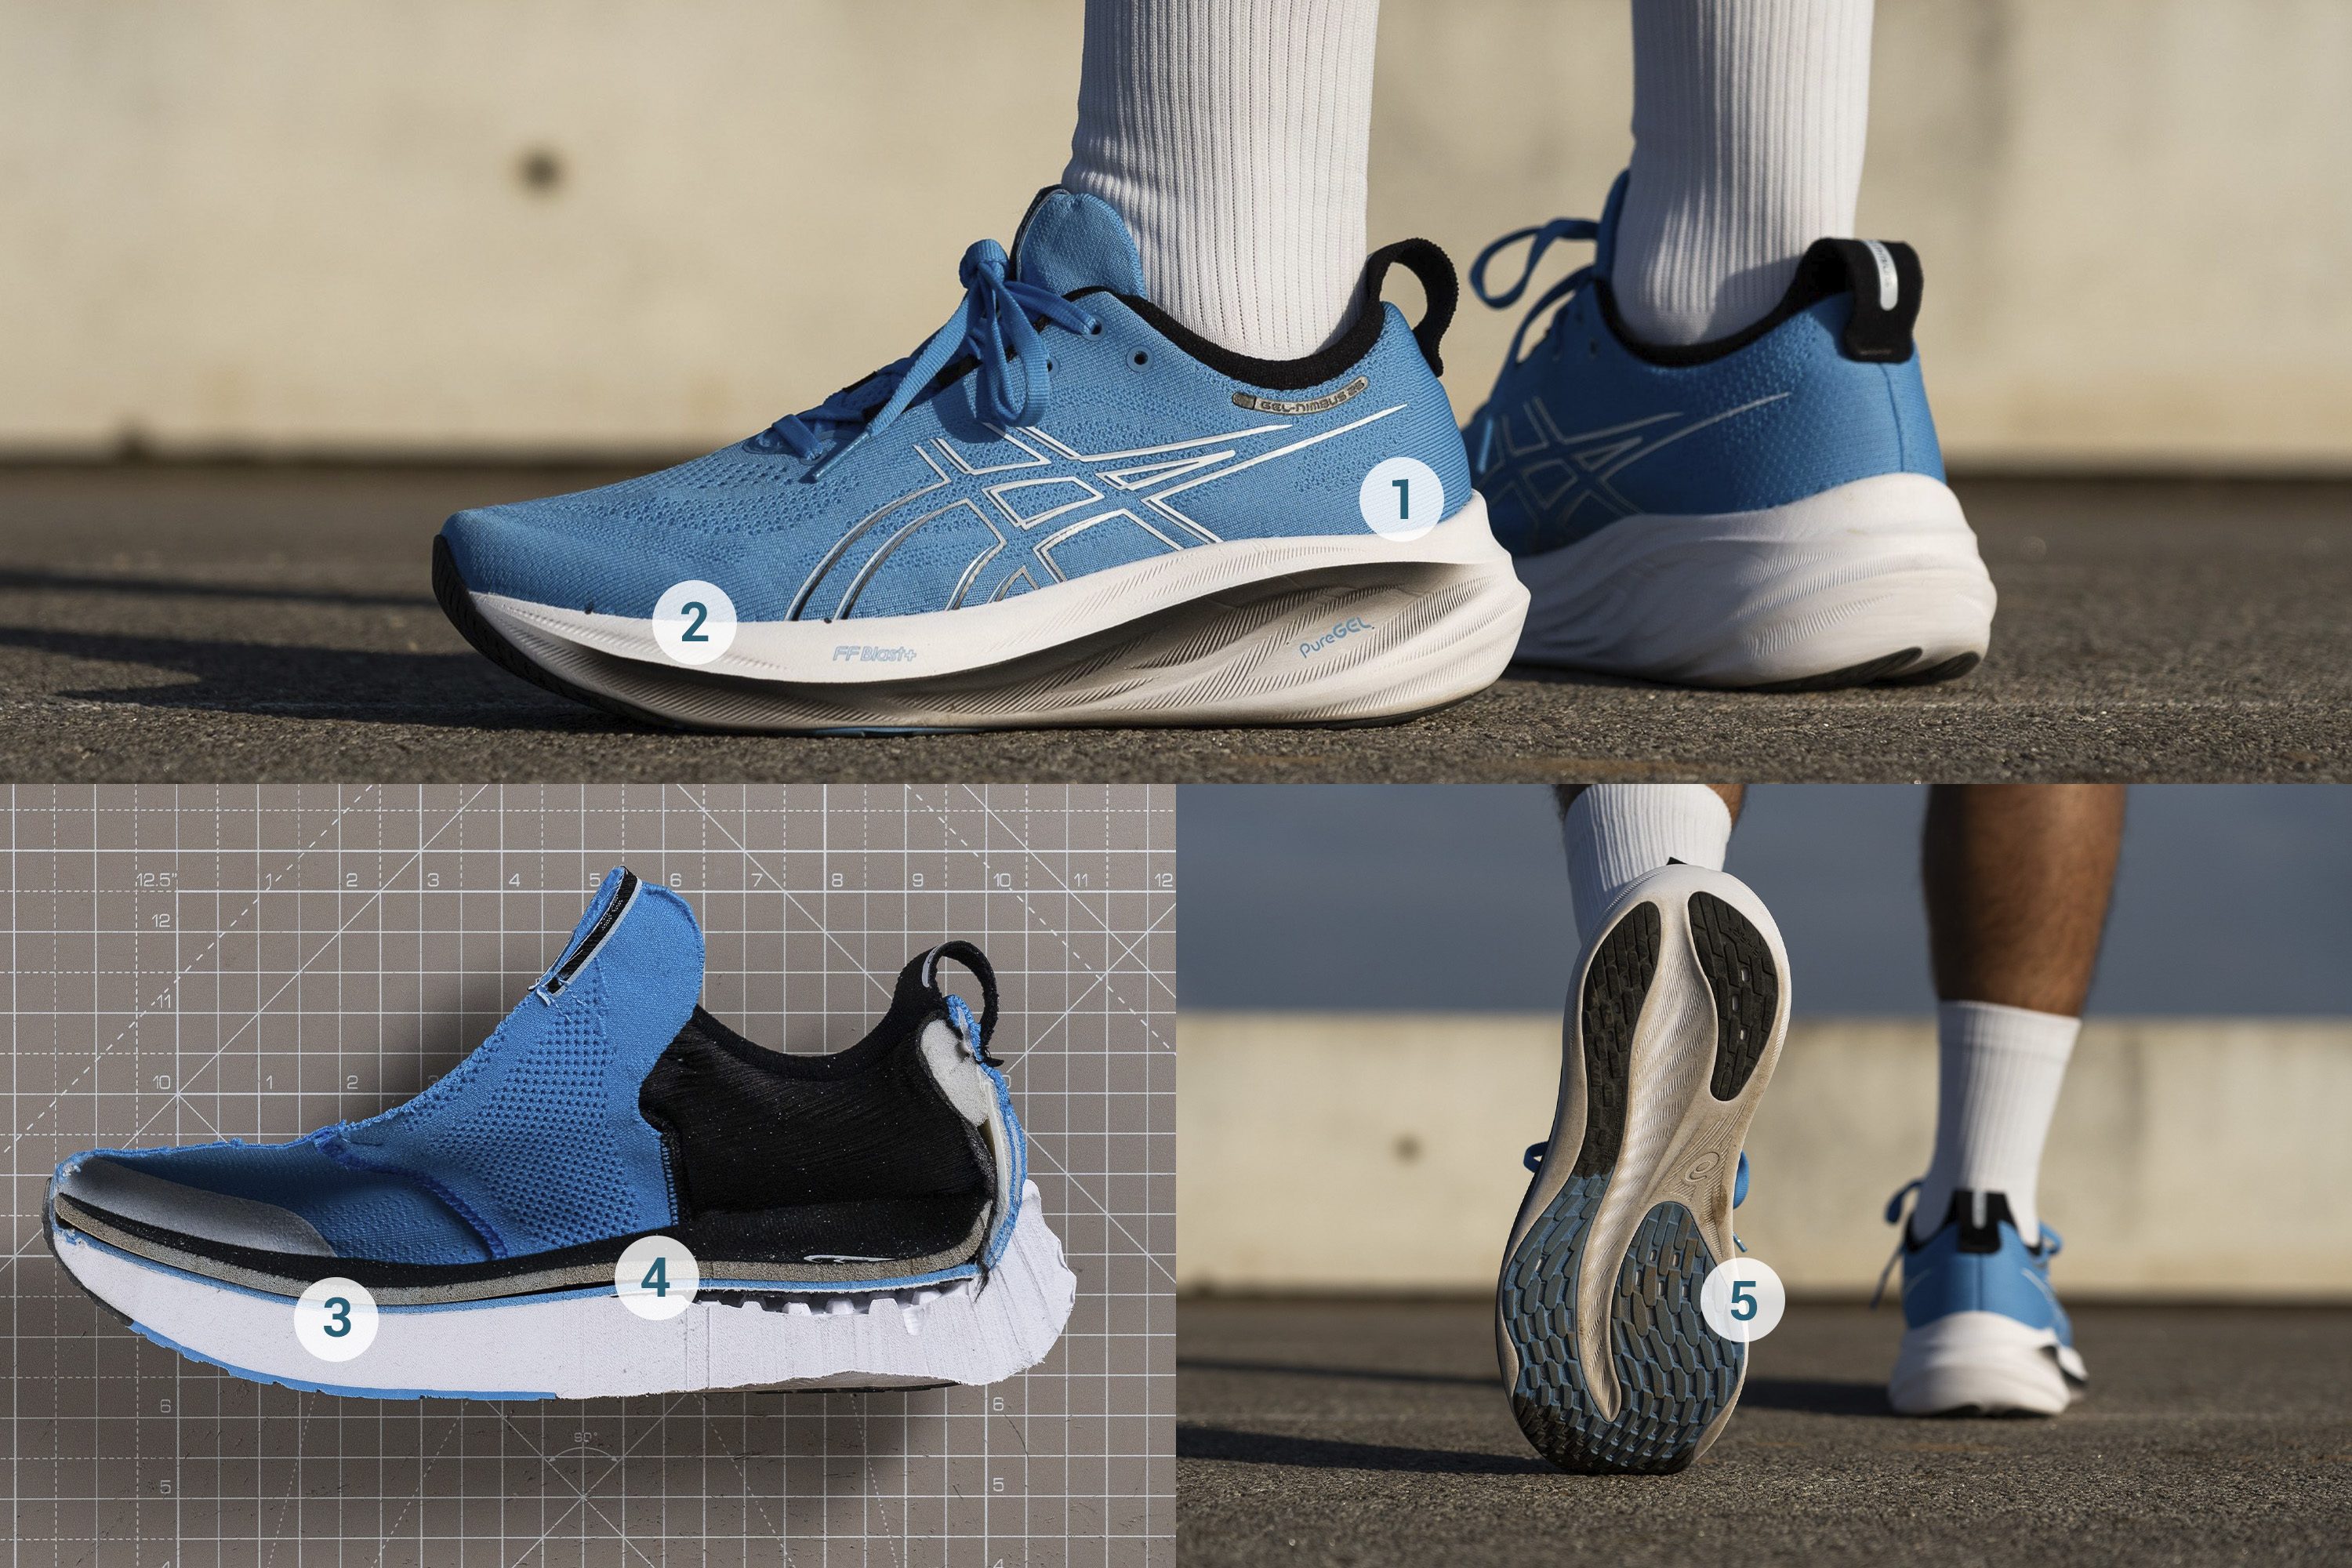
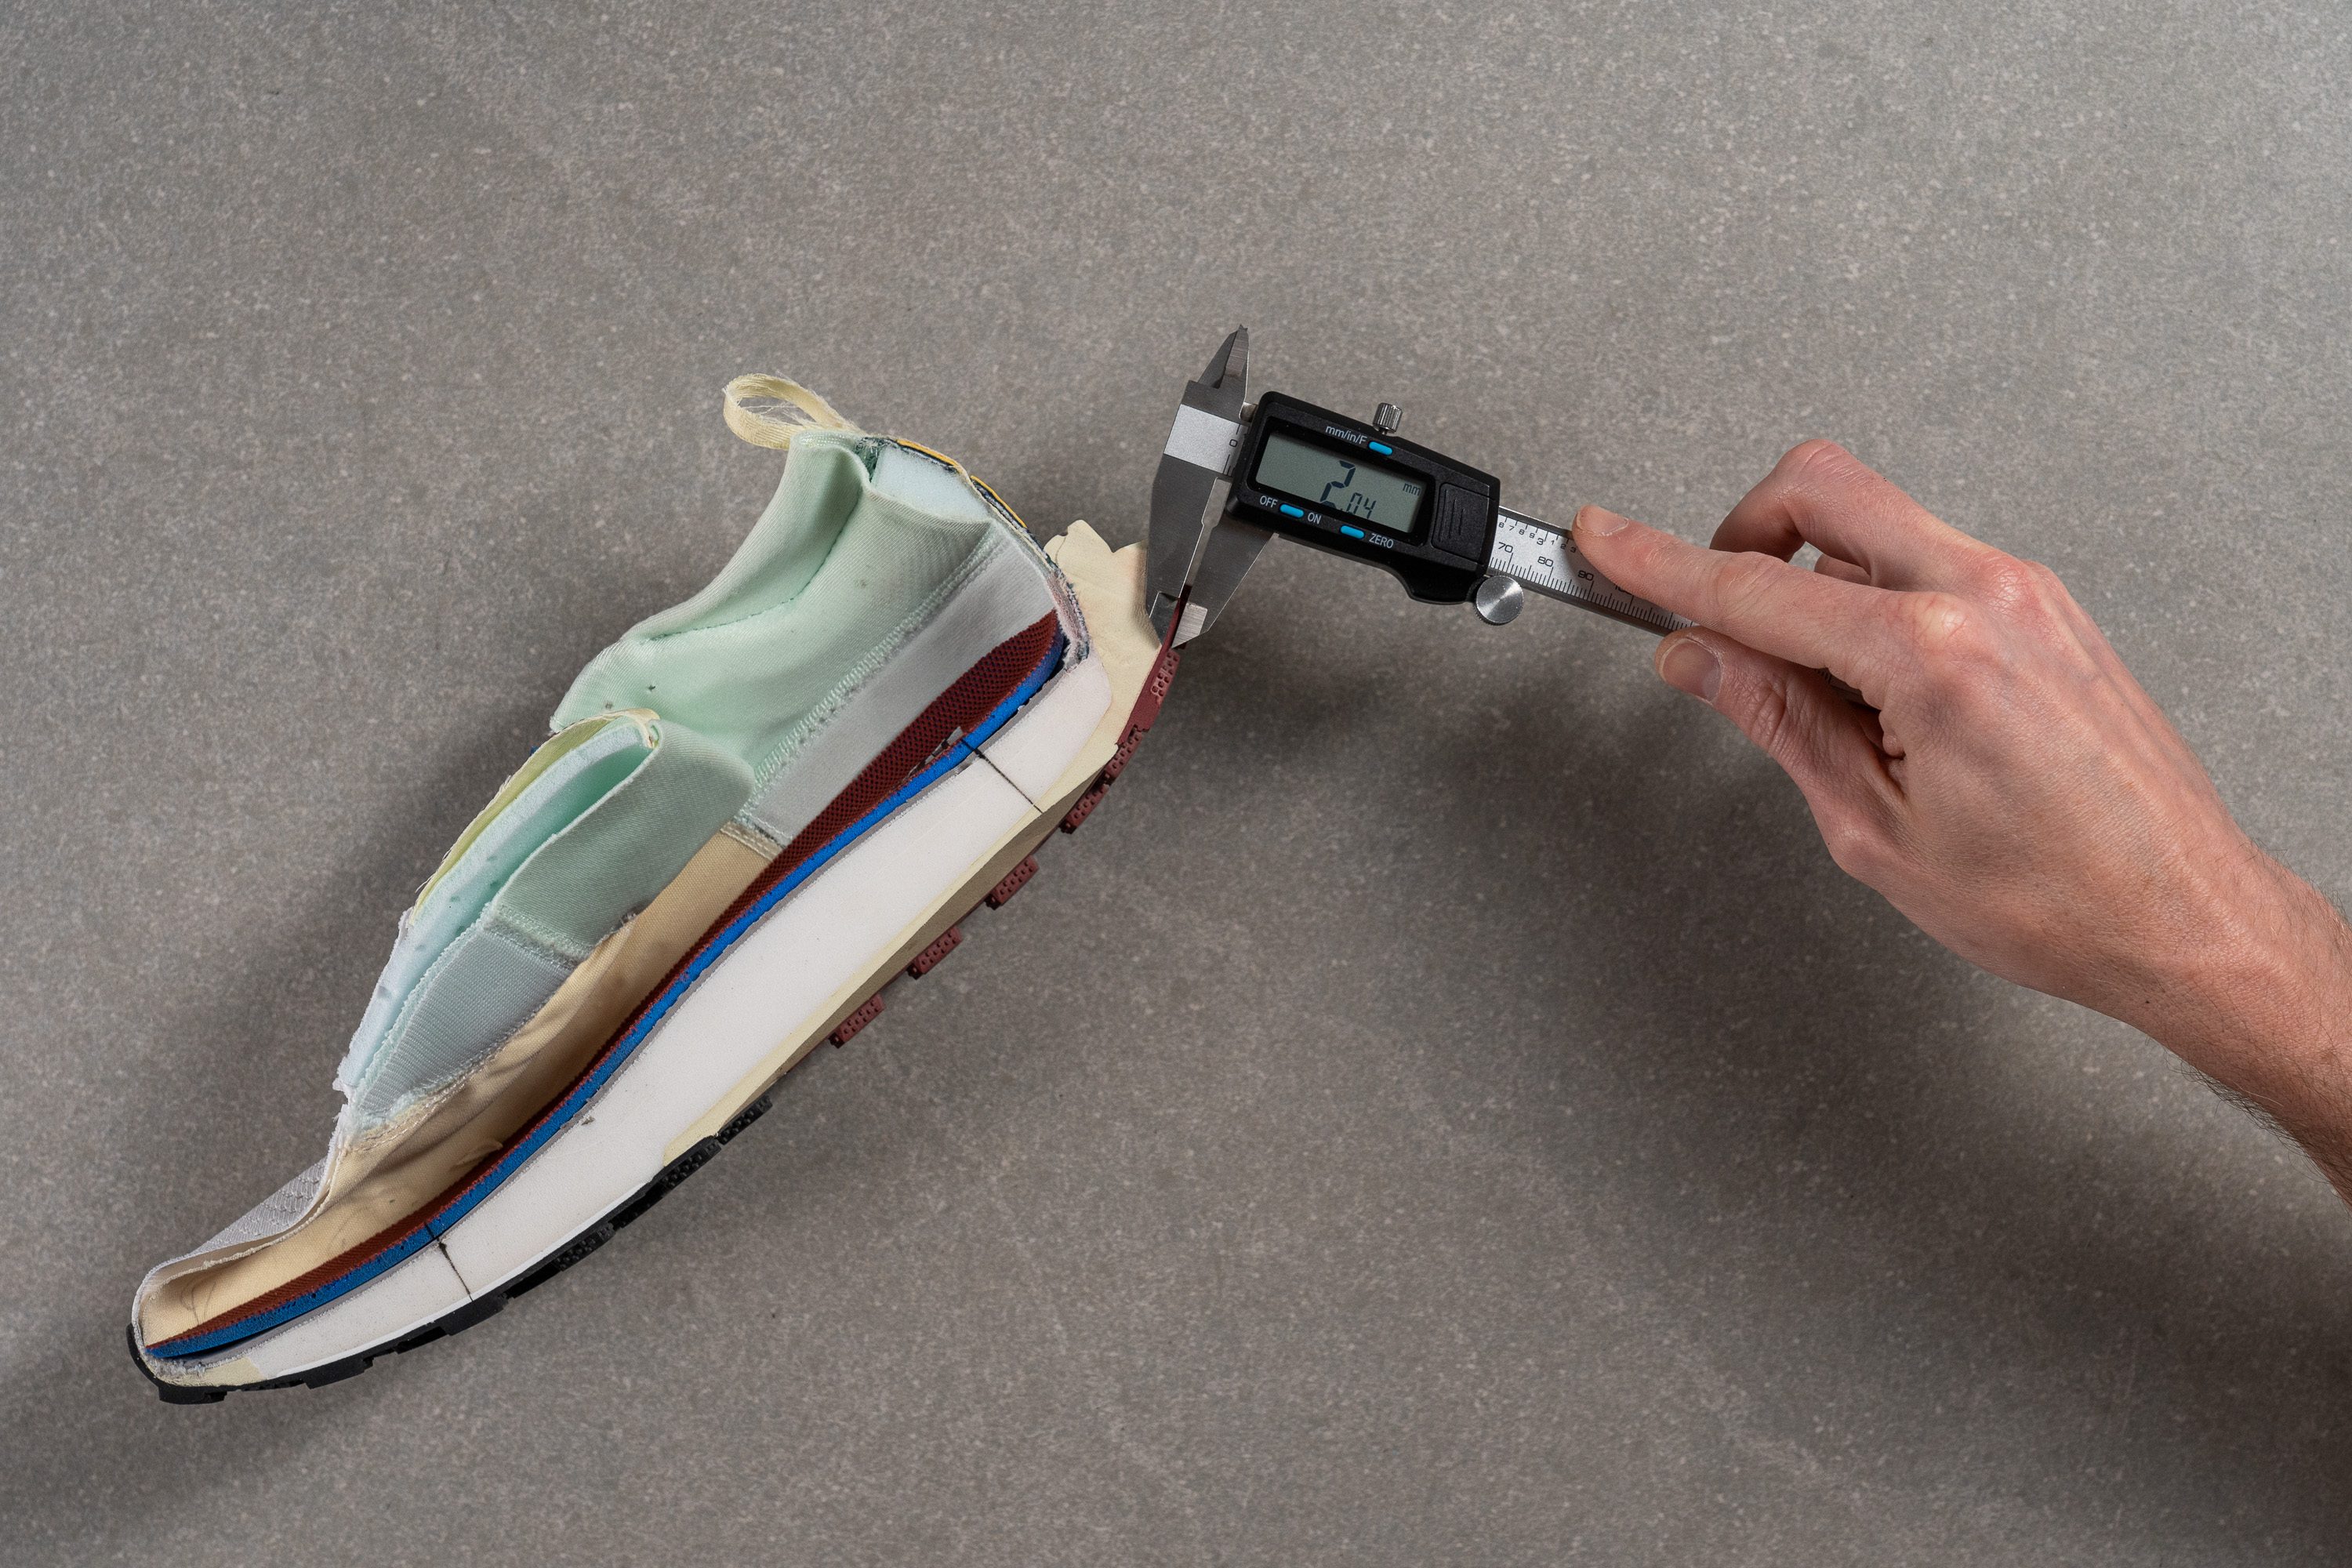
Official stack heights promoted by brands are often wrong. In our shoe lab, we measure the stack heights as instructed by WorldAthletics (you can read more about how we test shoes on our Methodology page). For this to be properly done, shoes must be cut in half, and of course, it’s what we do as well.
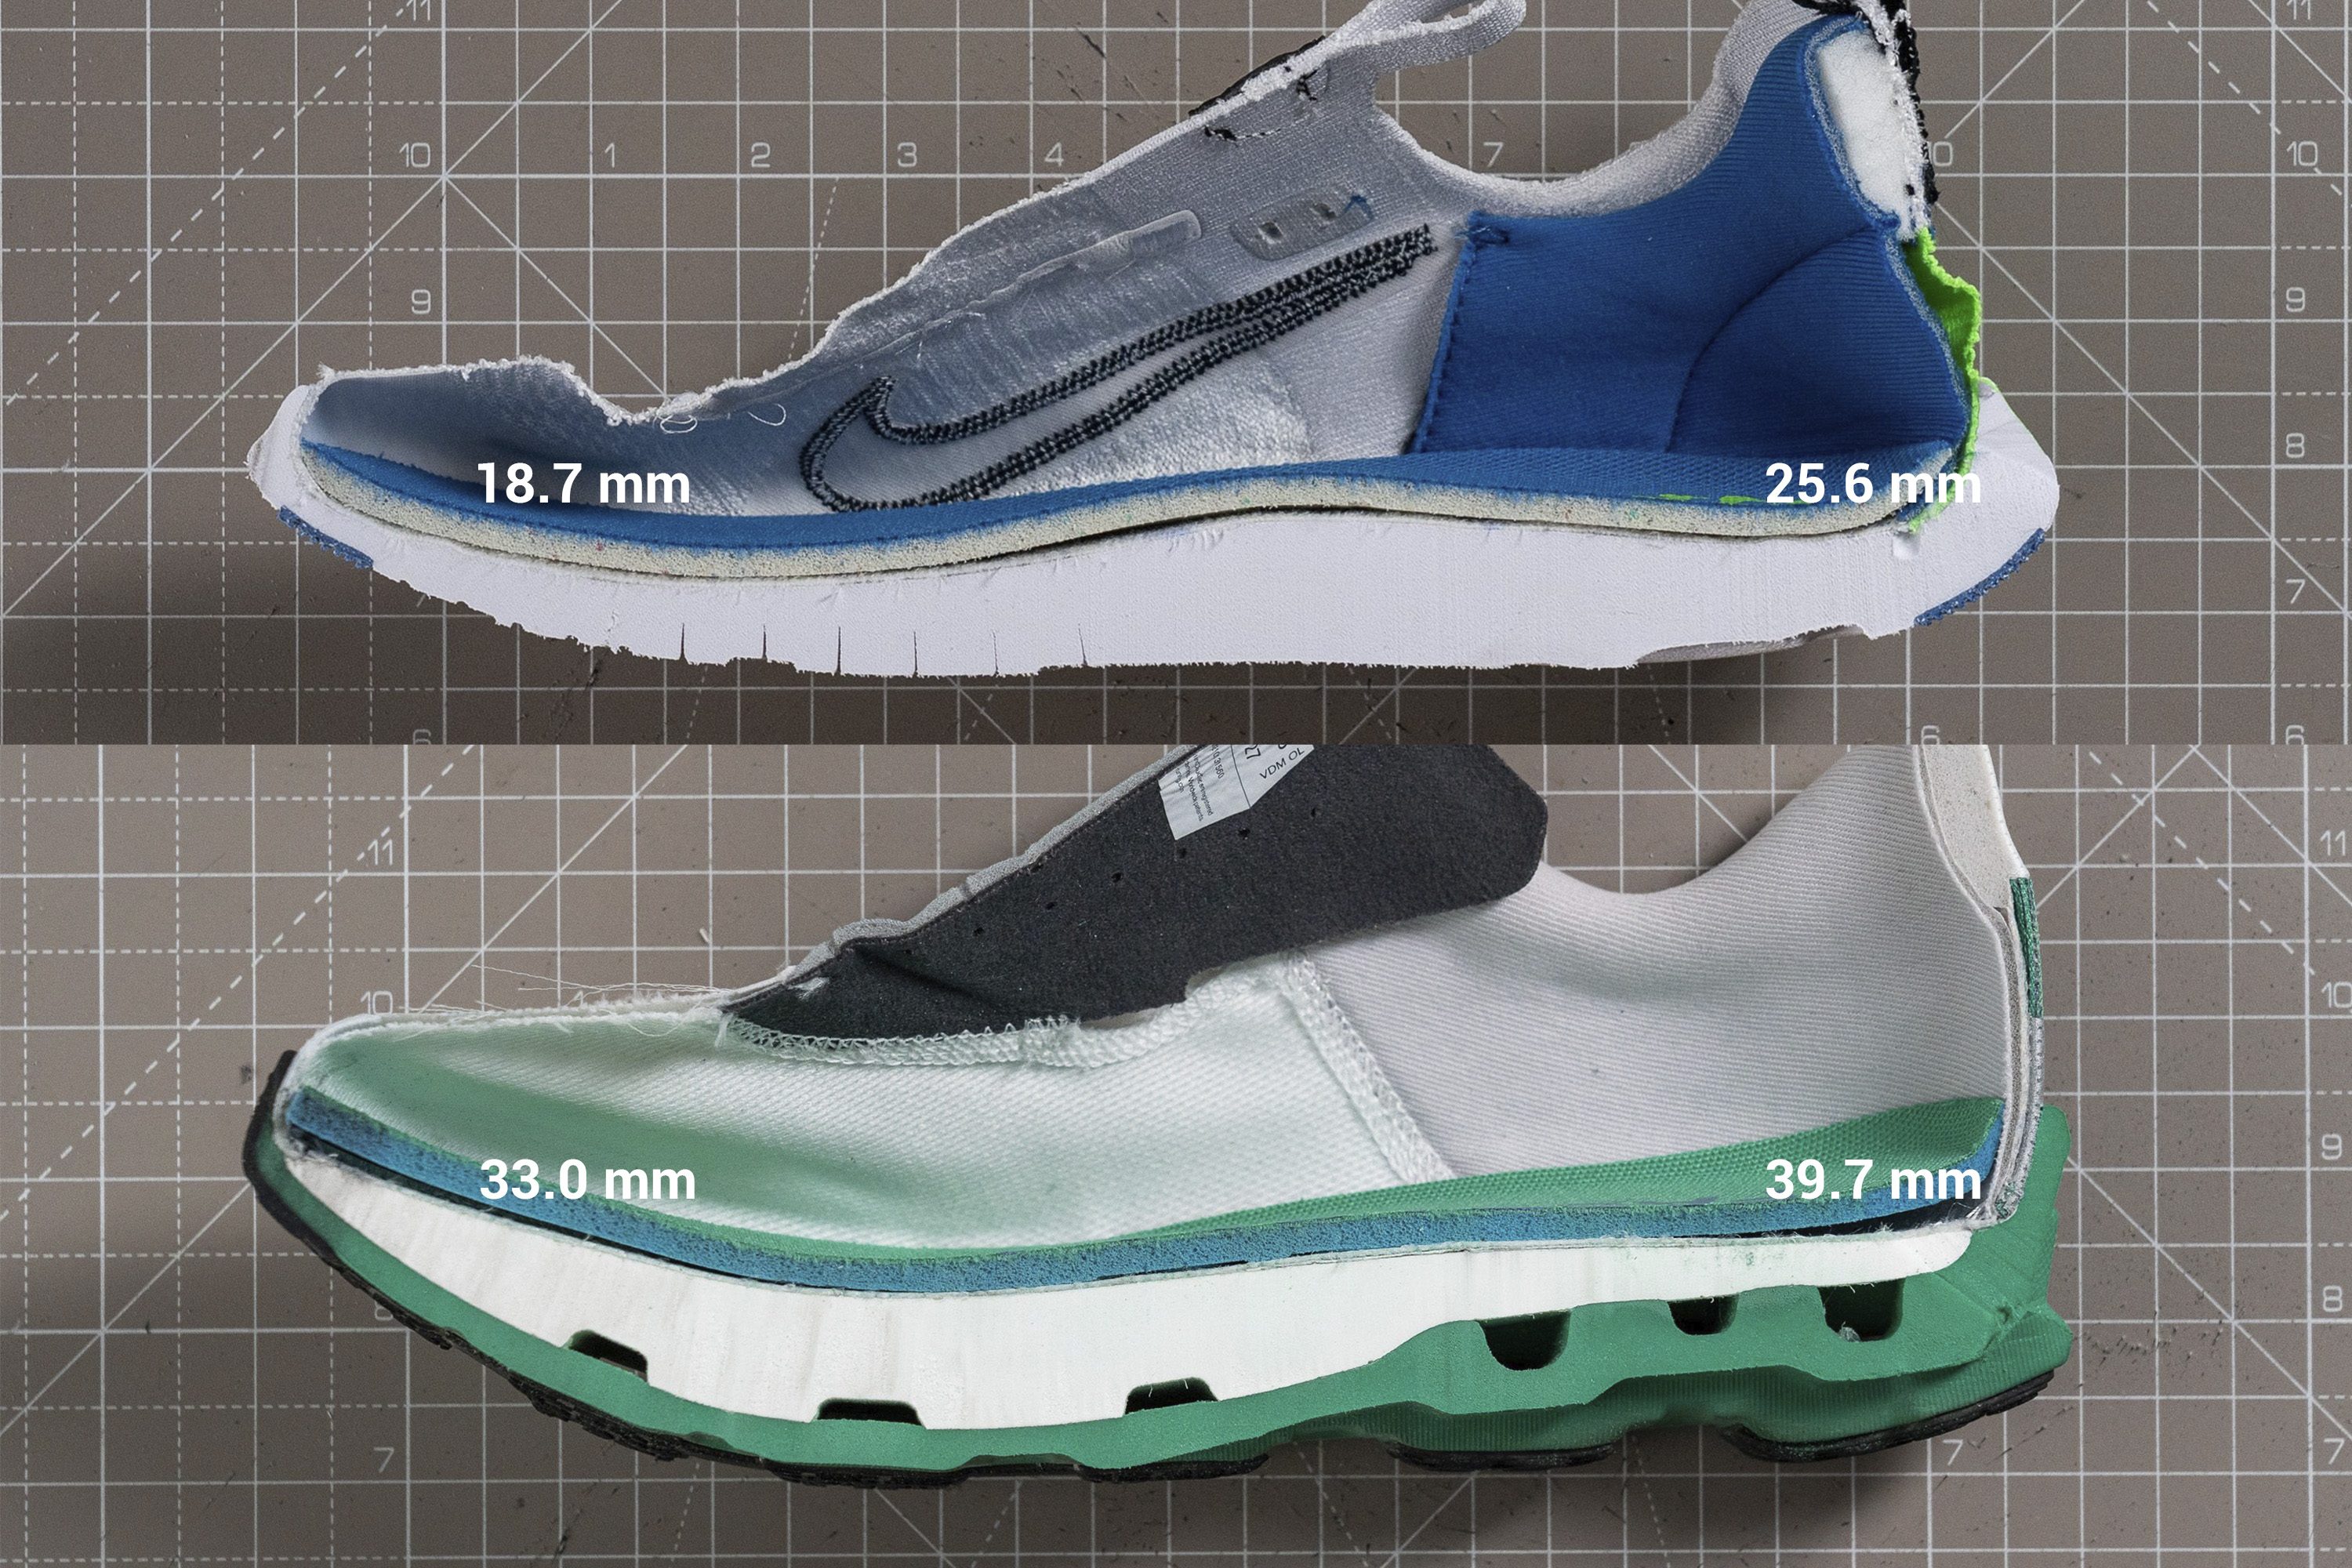
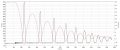
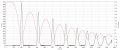
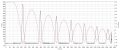
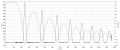
To get some context into how much forefoot cushioning is enough, here’s how high the forefoot and heel stack height are in the best-rated running shoes for high arches:
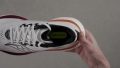
Best heel drop for high arches
Heel-to-toe drop is often overlooked, yet it can significantly affect your run and your legs. If you’re ladning on the forefoot or midfoot, we suggest choosing a shoe with a heel drop of less than 10 mm.
A heel drop that’s too high for your strike can work in 2 ways:
- First, if you’re overstriding, a higher drop can help with that to shorten the stride, because you’d hit the ground sooner in a steeper shoe. This would be a good thing.
- Second, a higher drop can lead to a slower footswitch (cadence). This could be a bad thing, as improving the cadence means increasing the number of footsteps per minute.
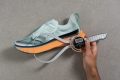
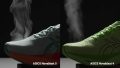
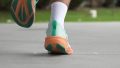
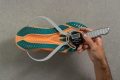
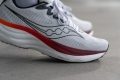
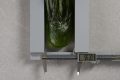
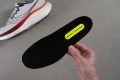
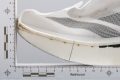
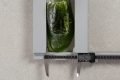
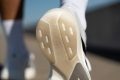
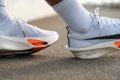
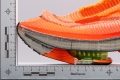
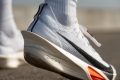
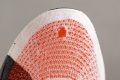
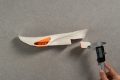
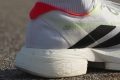
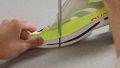
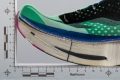
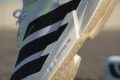
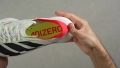
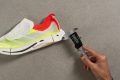
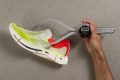
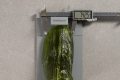
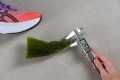
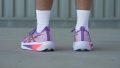
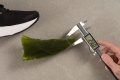
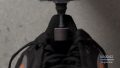
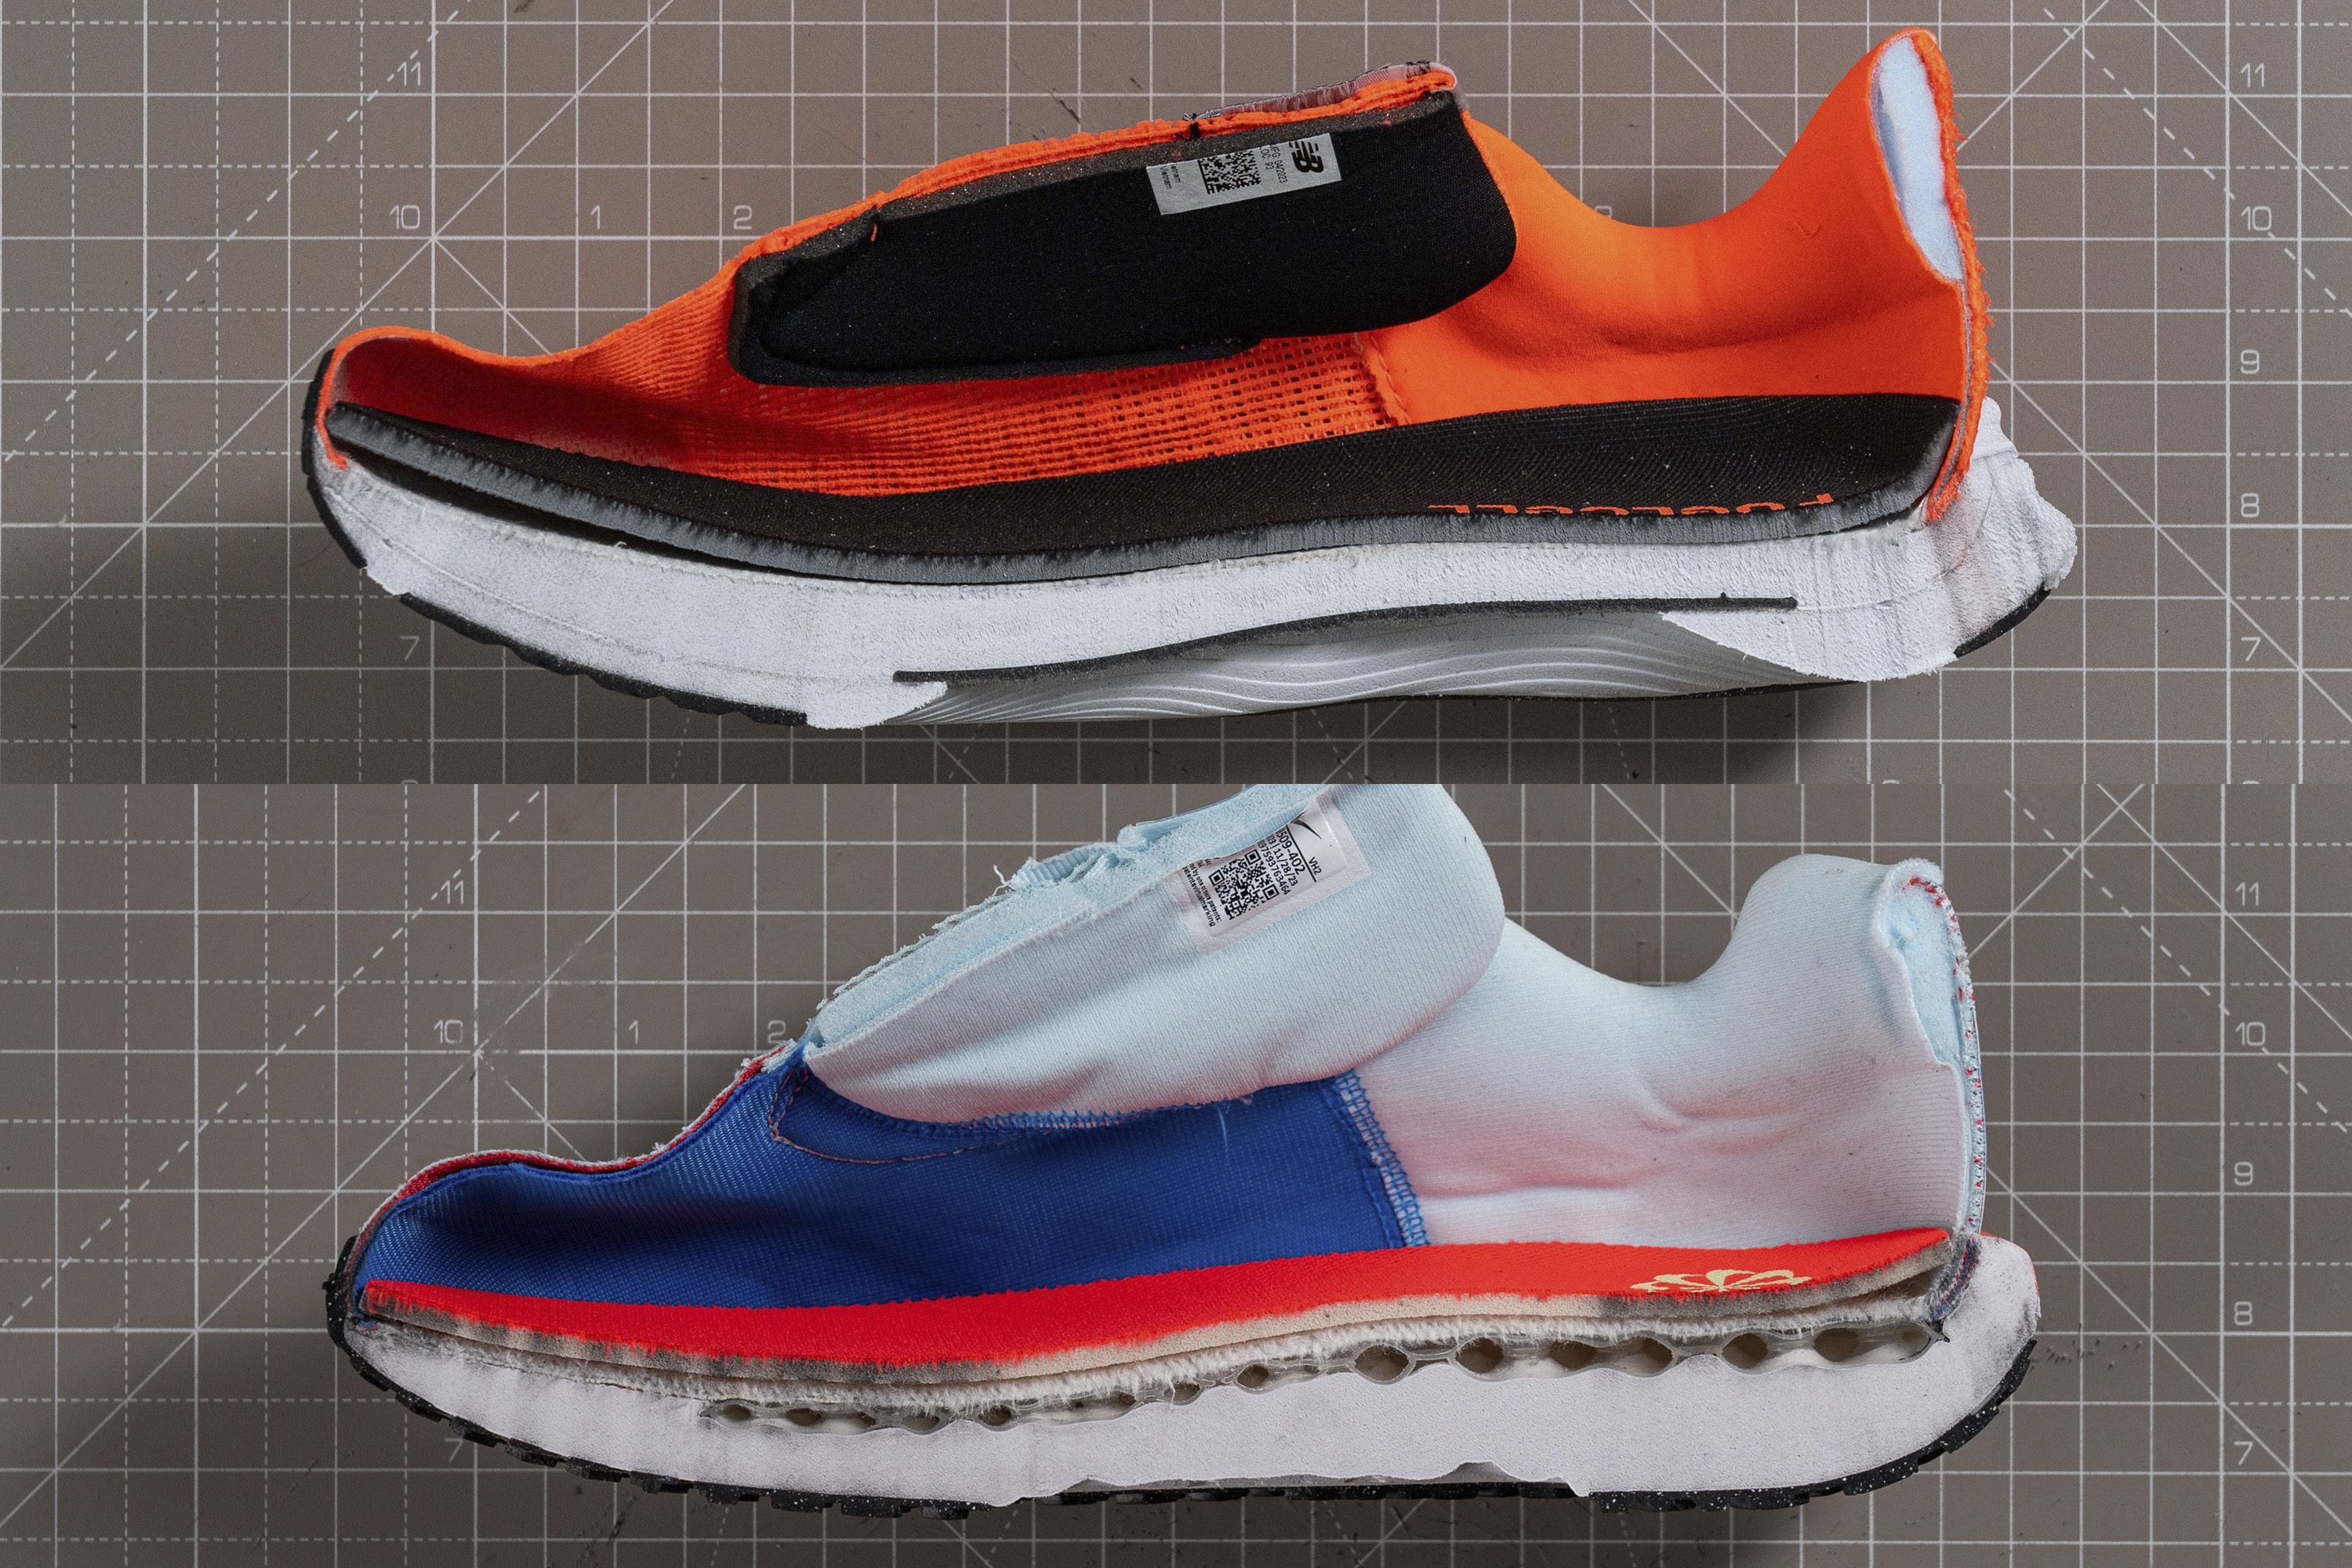
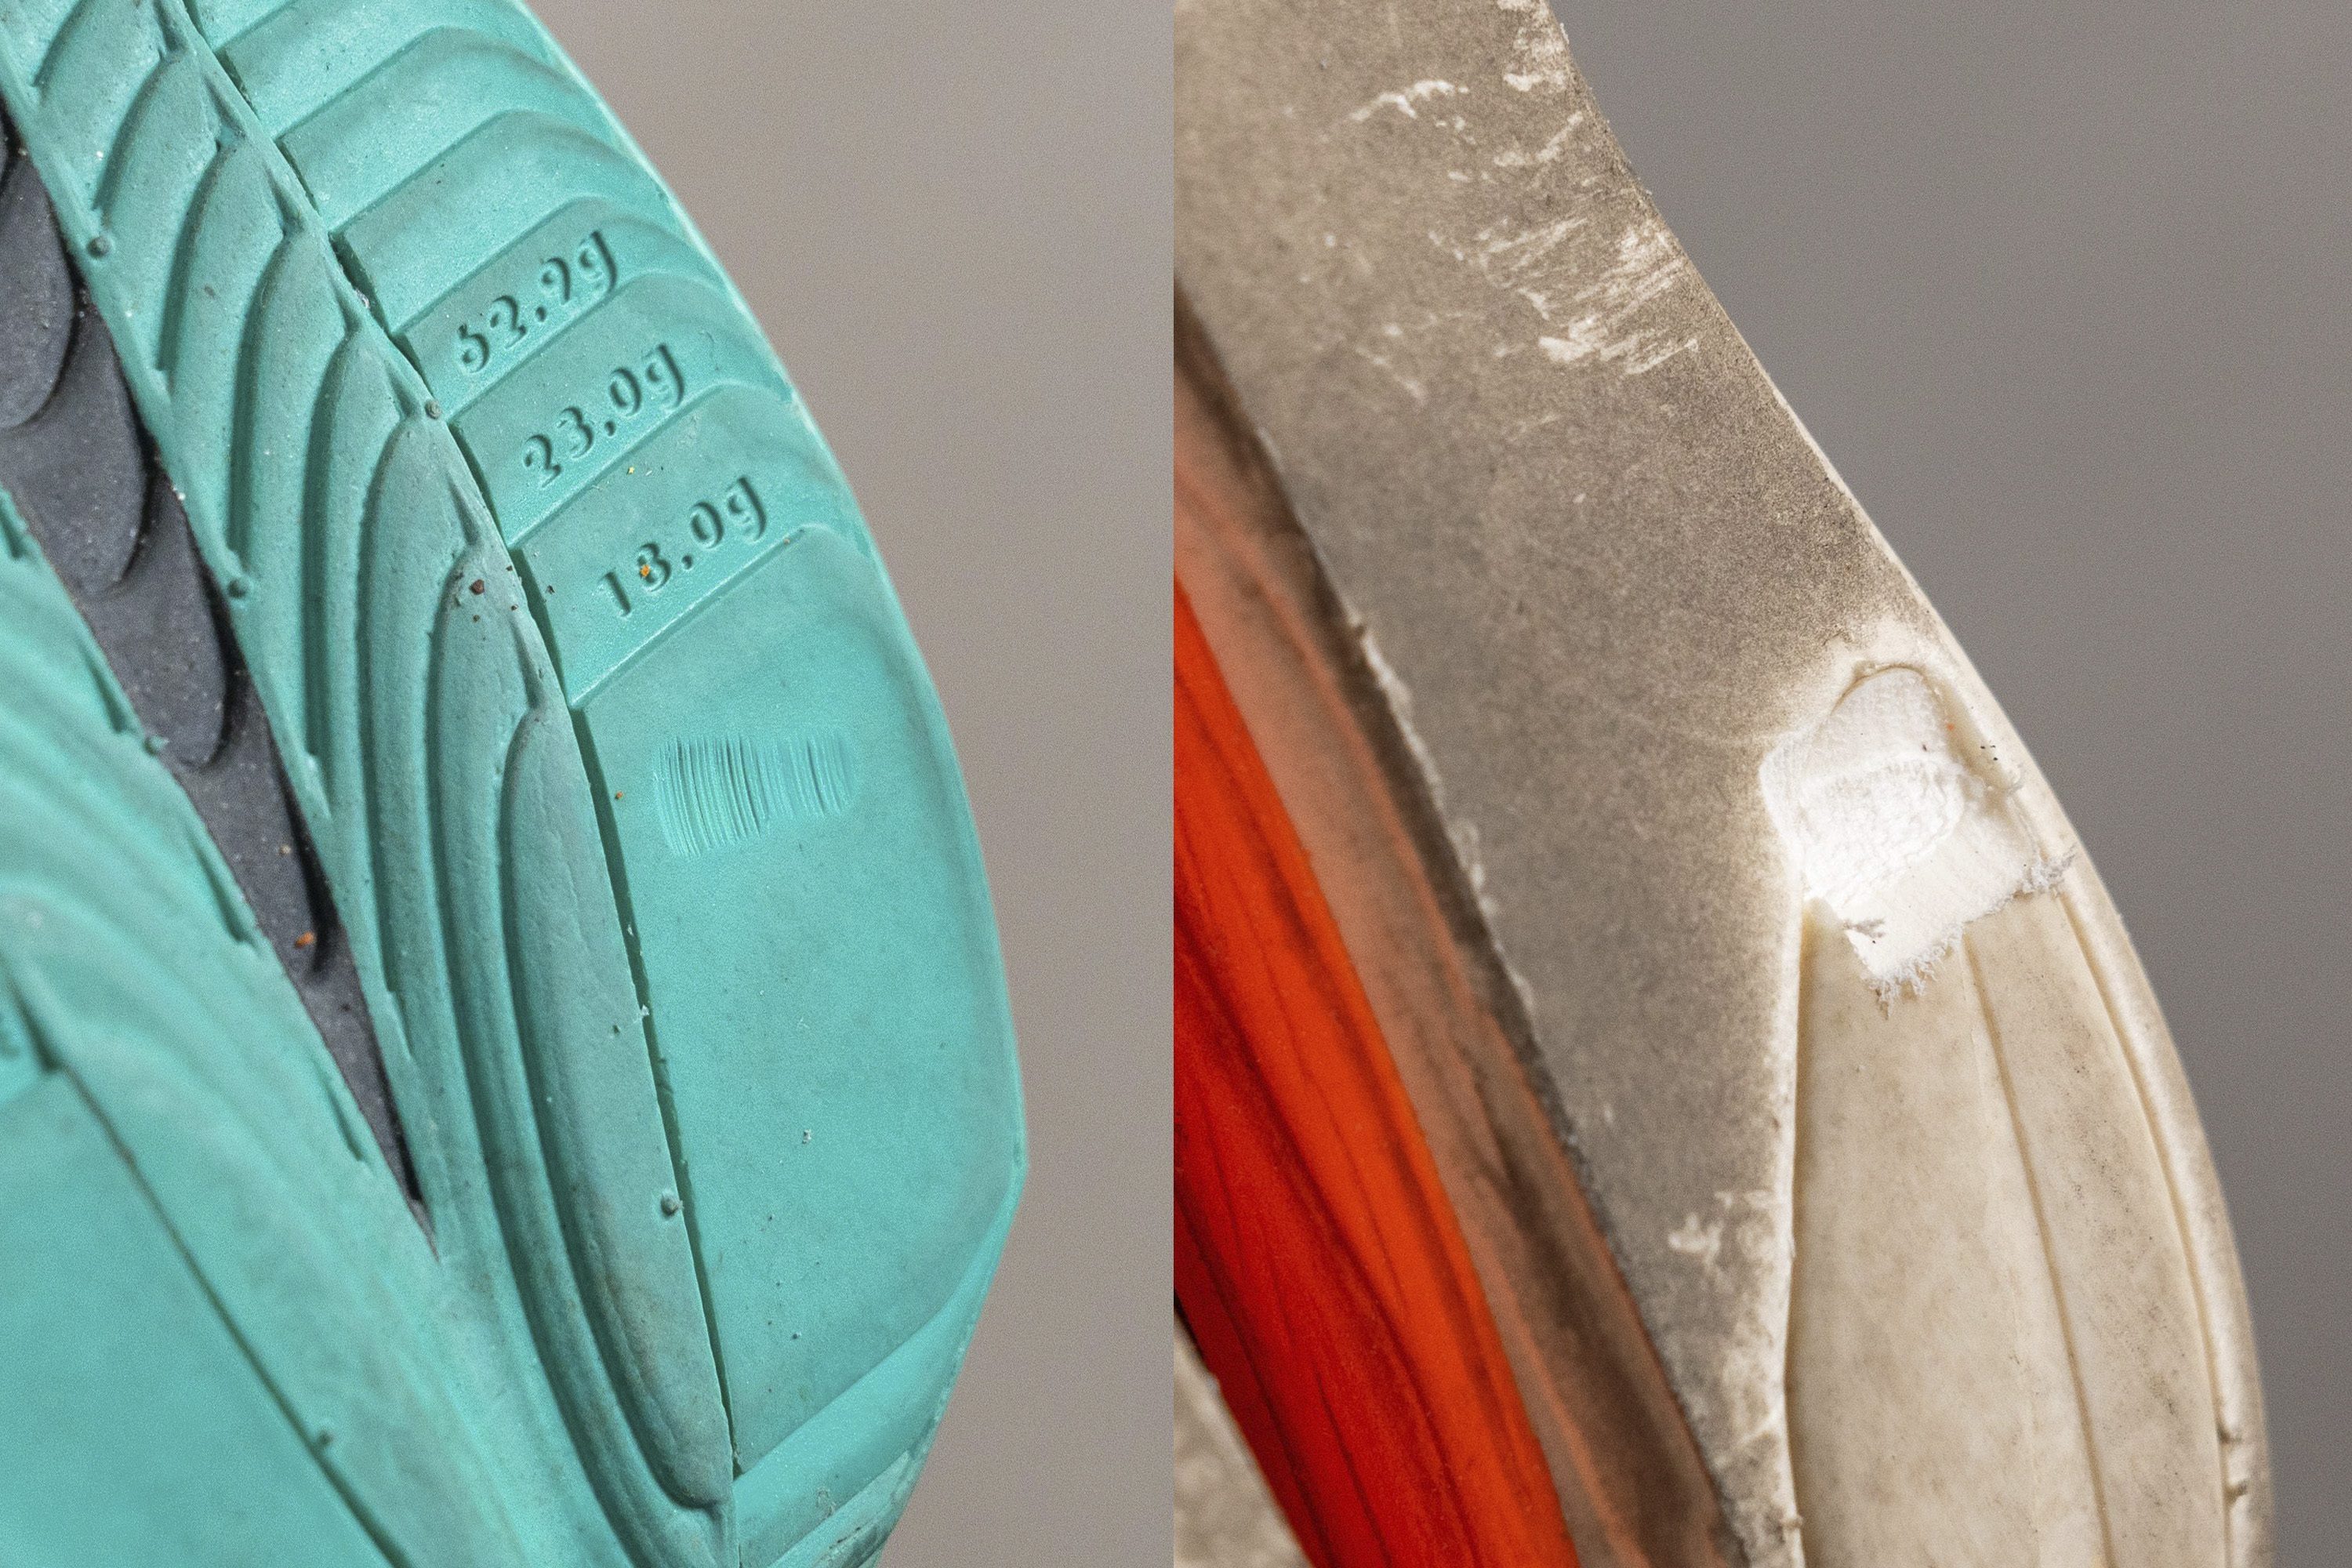
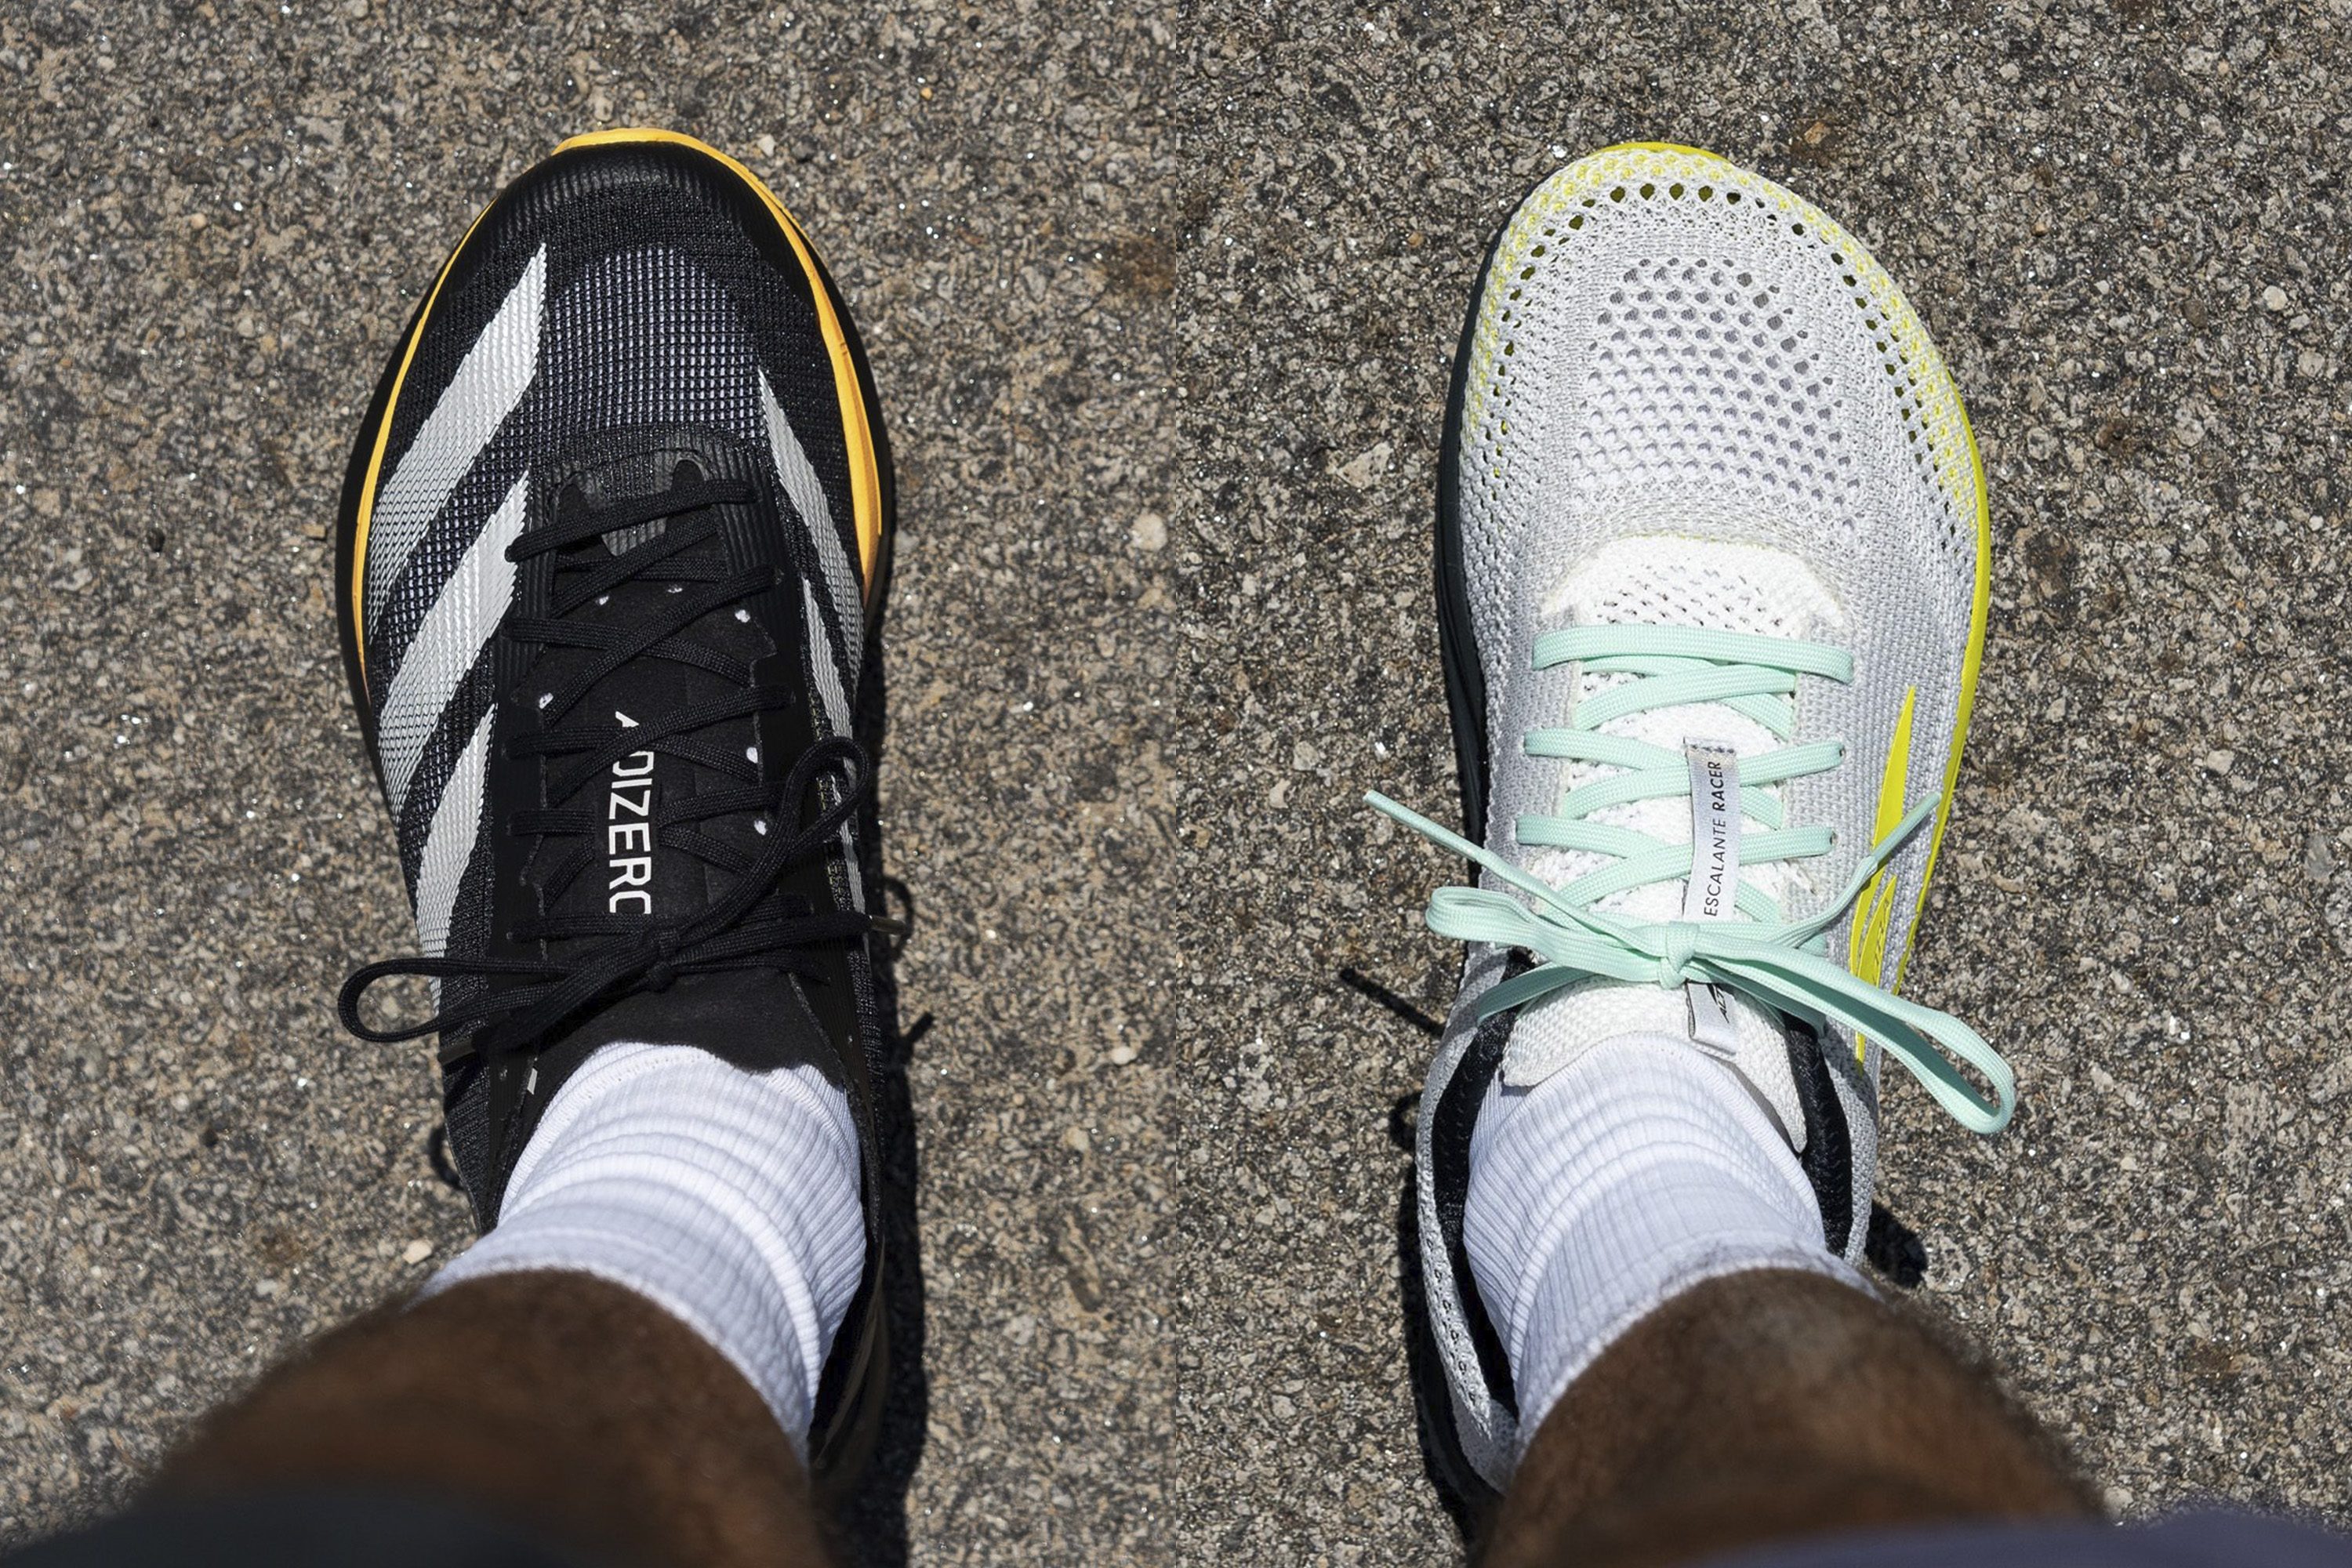
Marking the spots where forefoot and heel heights are measured
A heel drop that’s low (1-4mm) or mid (5-8mm) utilizes the muscles of the lower legs more (foot muscles, Achilles, calves). Unlike the high drop, which would put more stress on the higher-leg muscles, like thighs and hips.
Here’s a list of the best high-arch running shoes and their heel drops. This list is updated with every shoe review that we publish, so it is always fresh:
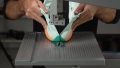
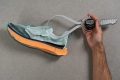
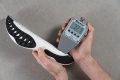
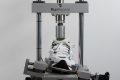
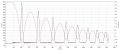
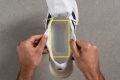
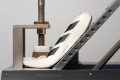
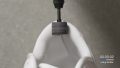
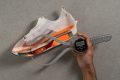
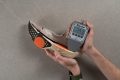
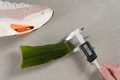
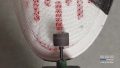
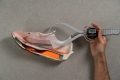
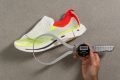
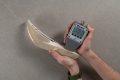
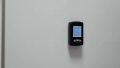
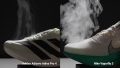
Shock absorption of running shoes for high arches
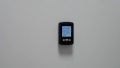
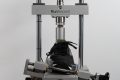
If you want a cushioned and comfortable running shoe, we recommend midsoles that scored at least 110 SA on our shock absorption lab test. Such midsoles have the ability to dampen the impact well, which means less stress is sent to your legs.
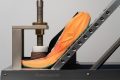
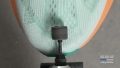
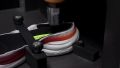
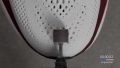
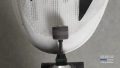
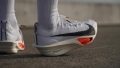
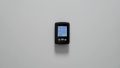
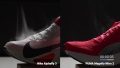
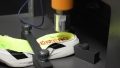
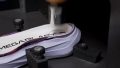
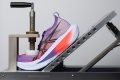
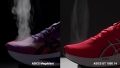
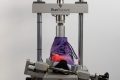
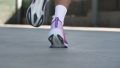
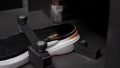
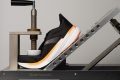
Testing the shock absorption of running shoes for high arches in RunRepeat lab. We perform this test both at the heel and the forefoot
When shock absorption is very low, it's your legs that have to deal with the impact forces, because the midsole can't do it well enough. This is usually a welcome sign for premature fatigue.
Midsole softness: don’t go too soft
Runners often think comfort=soft footbeds. Sure, no one likes running on bricks, but there’s a limit to how soft a midsole should be. Soft midsoles can bottom out and tire your feet instead of propelling them forward.
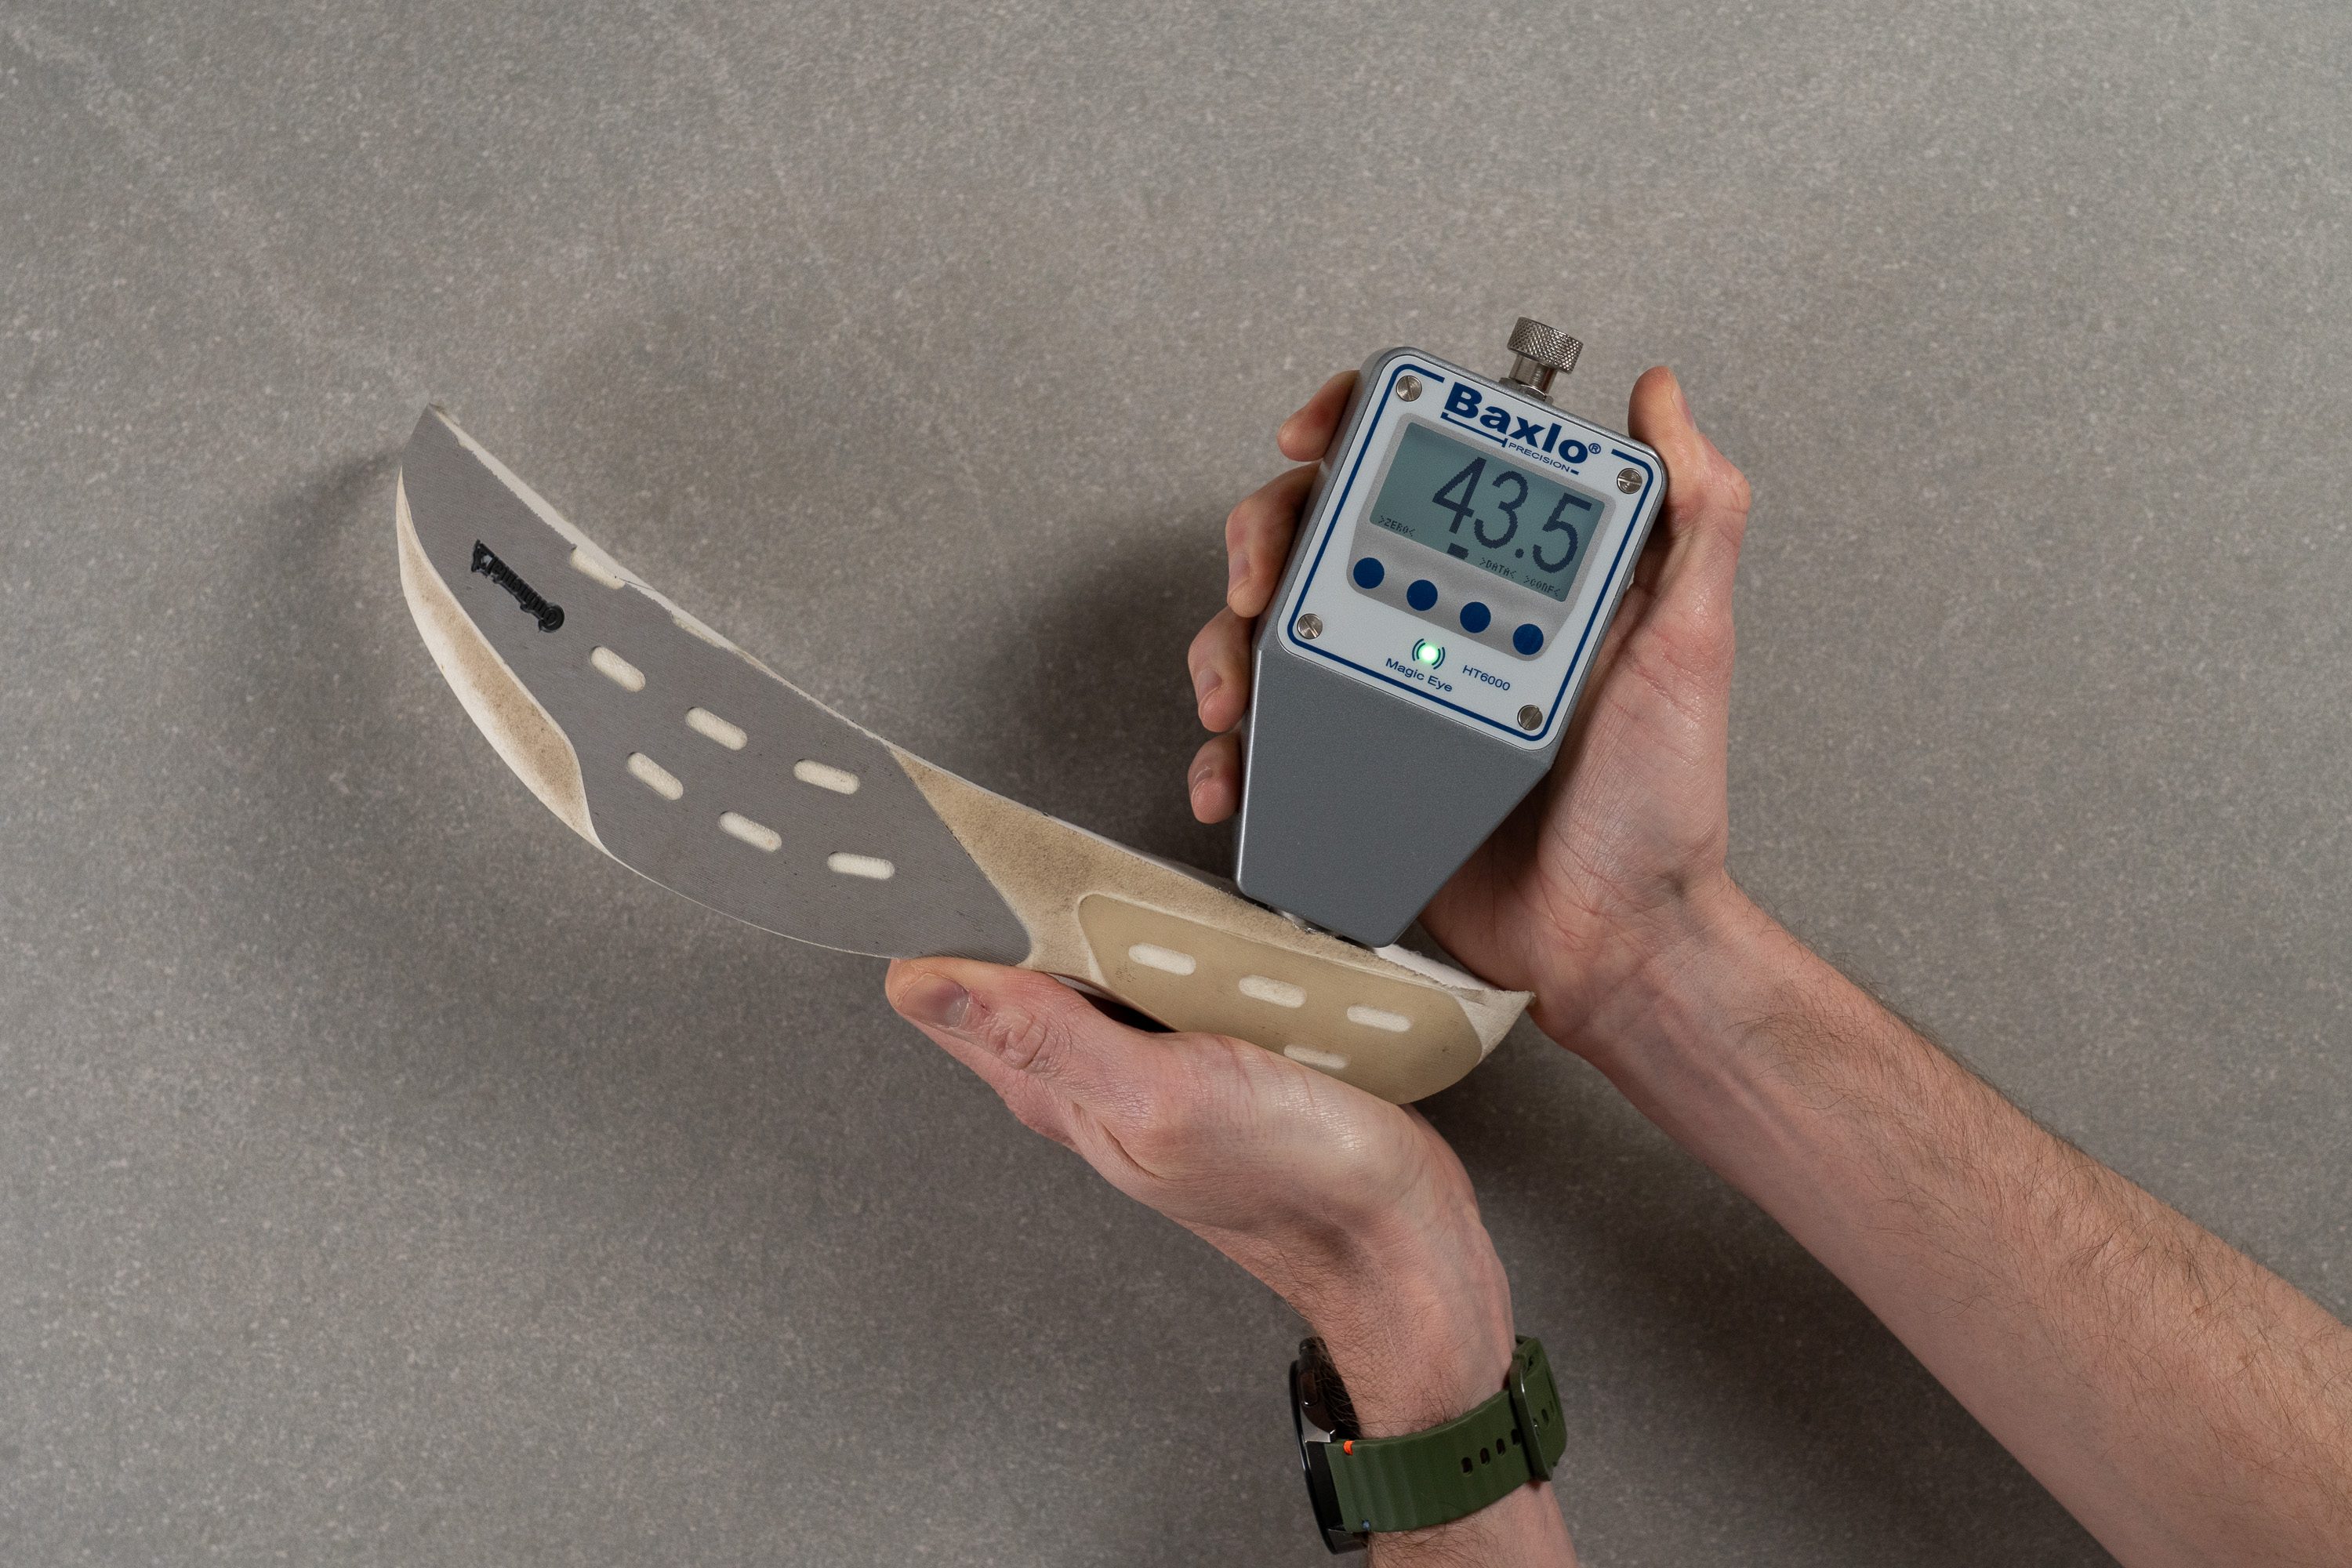
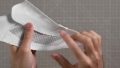
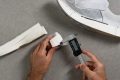
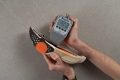
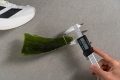
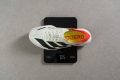
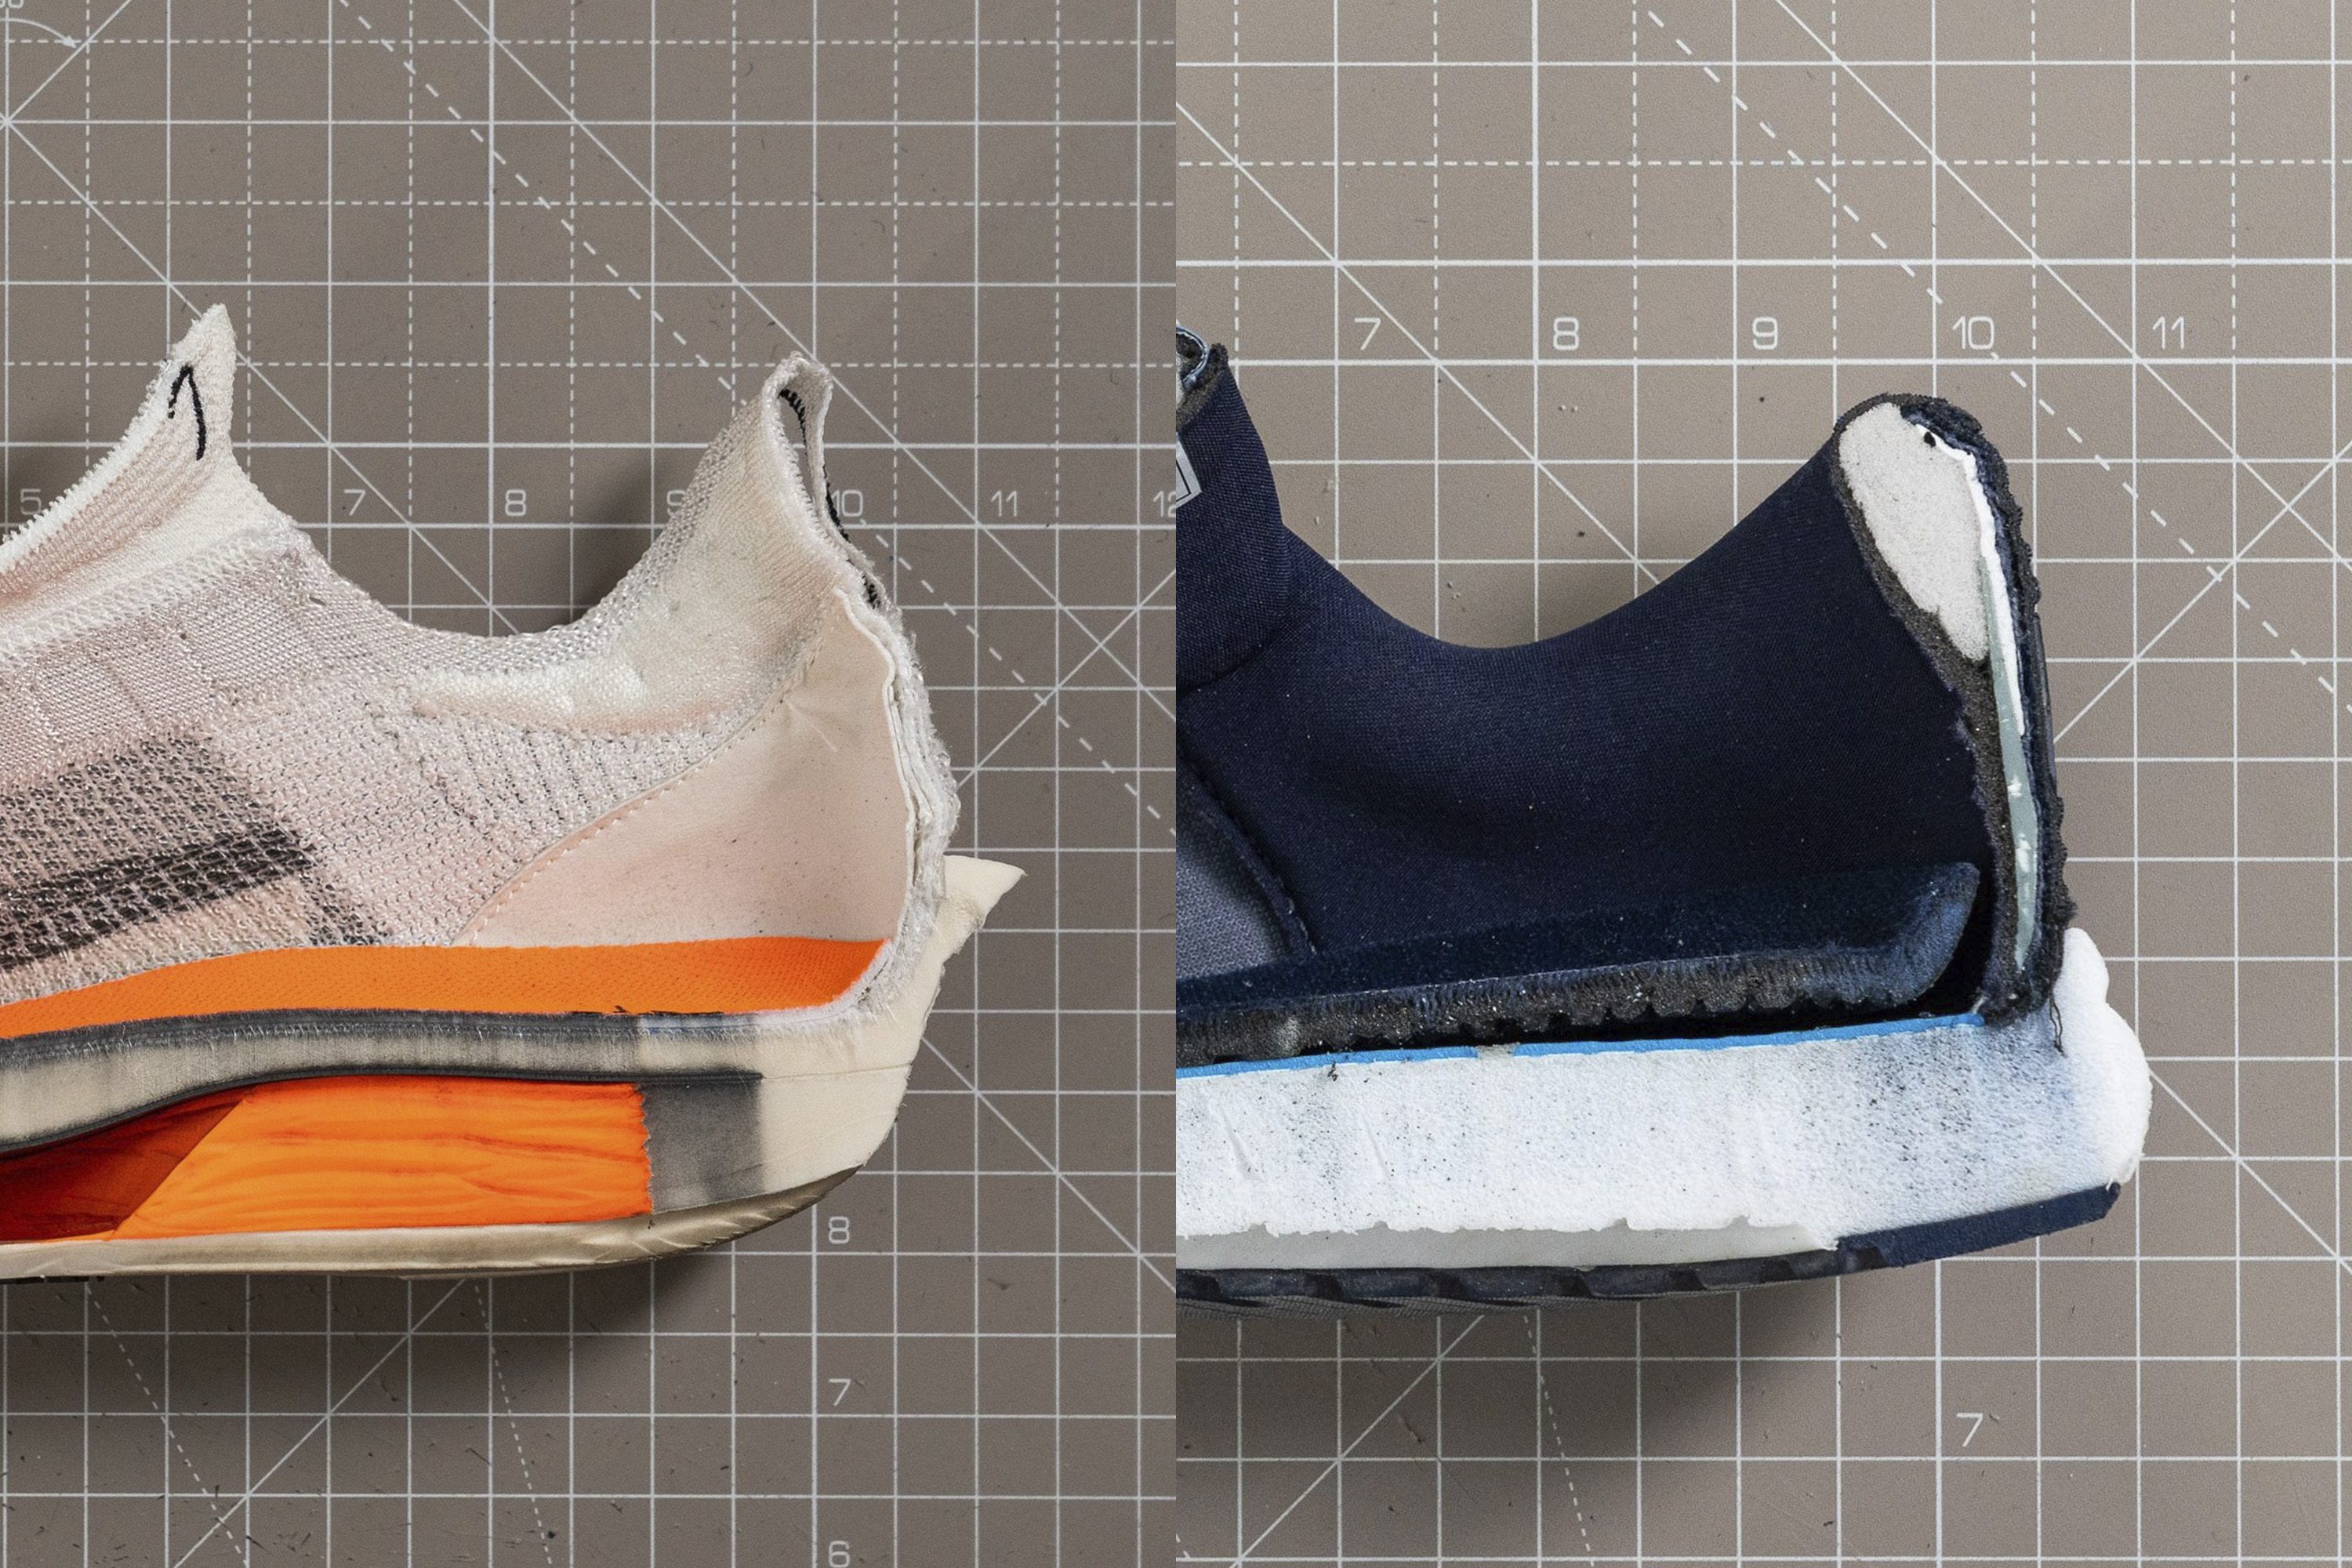
Midsole softness is measured with an Asker C durometer. The needle of the durometer is inserted into the midsole (which is why we must cut shoes in half), and we get a number. The lower the number, the softer the foam.
Keep in mind that some experts take these measurements on the outside, without cutting shoes in half. We have proven many times that these measurements are very wrong. Foams have different protective overlays and measurements taken on the outside do not represent the softness of the midsole that’s in direct contact with your feet.
For context, here’s how soft midsoles are in best-rated running shoes for high-arches:
If you prefer a ride that’s as soft as it gets, here are top 3 choices:
And if you like your ride on the firmer side, these are the firmest midsoles found in our lab tests:
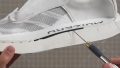
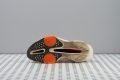
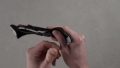
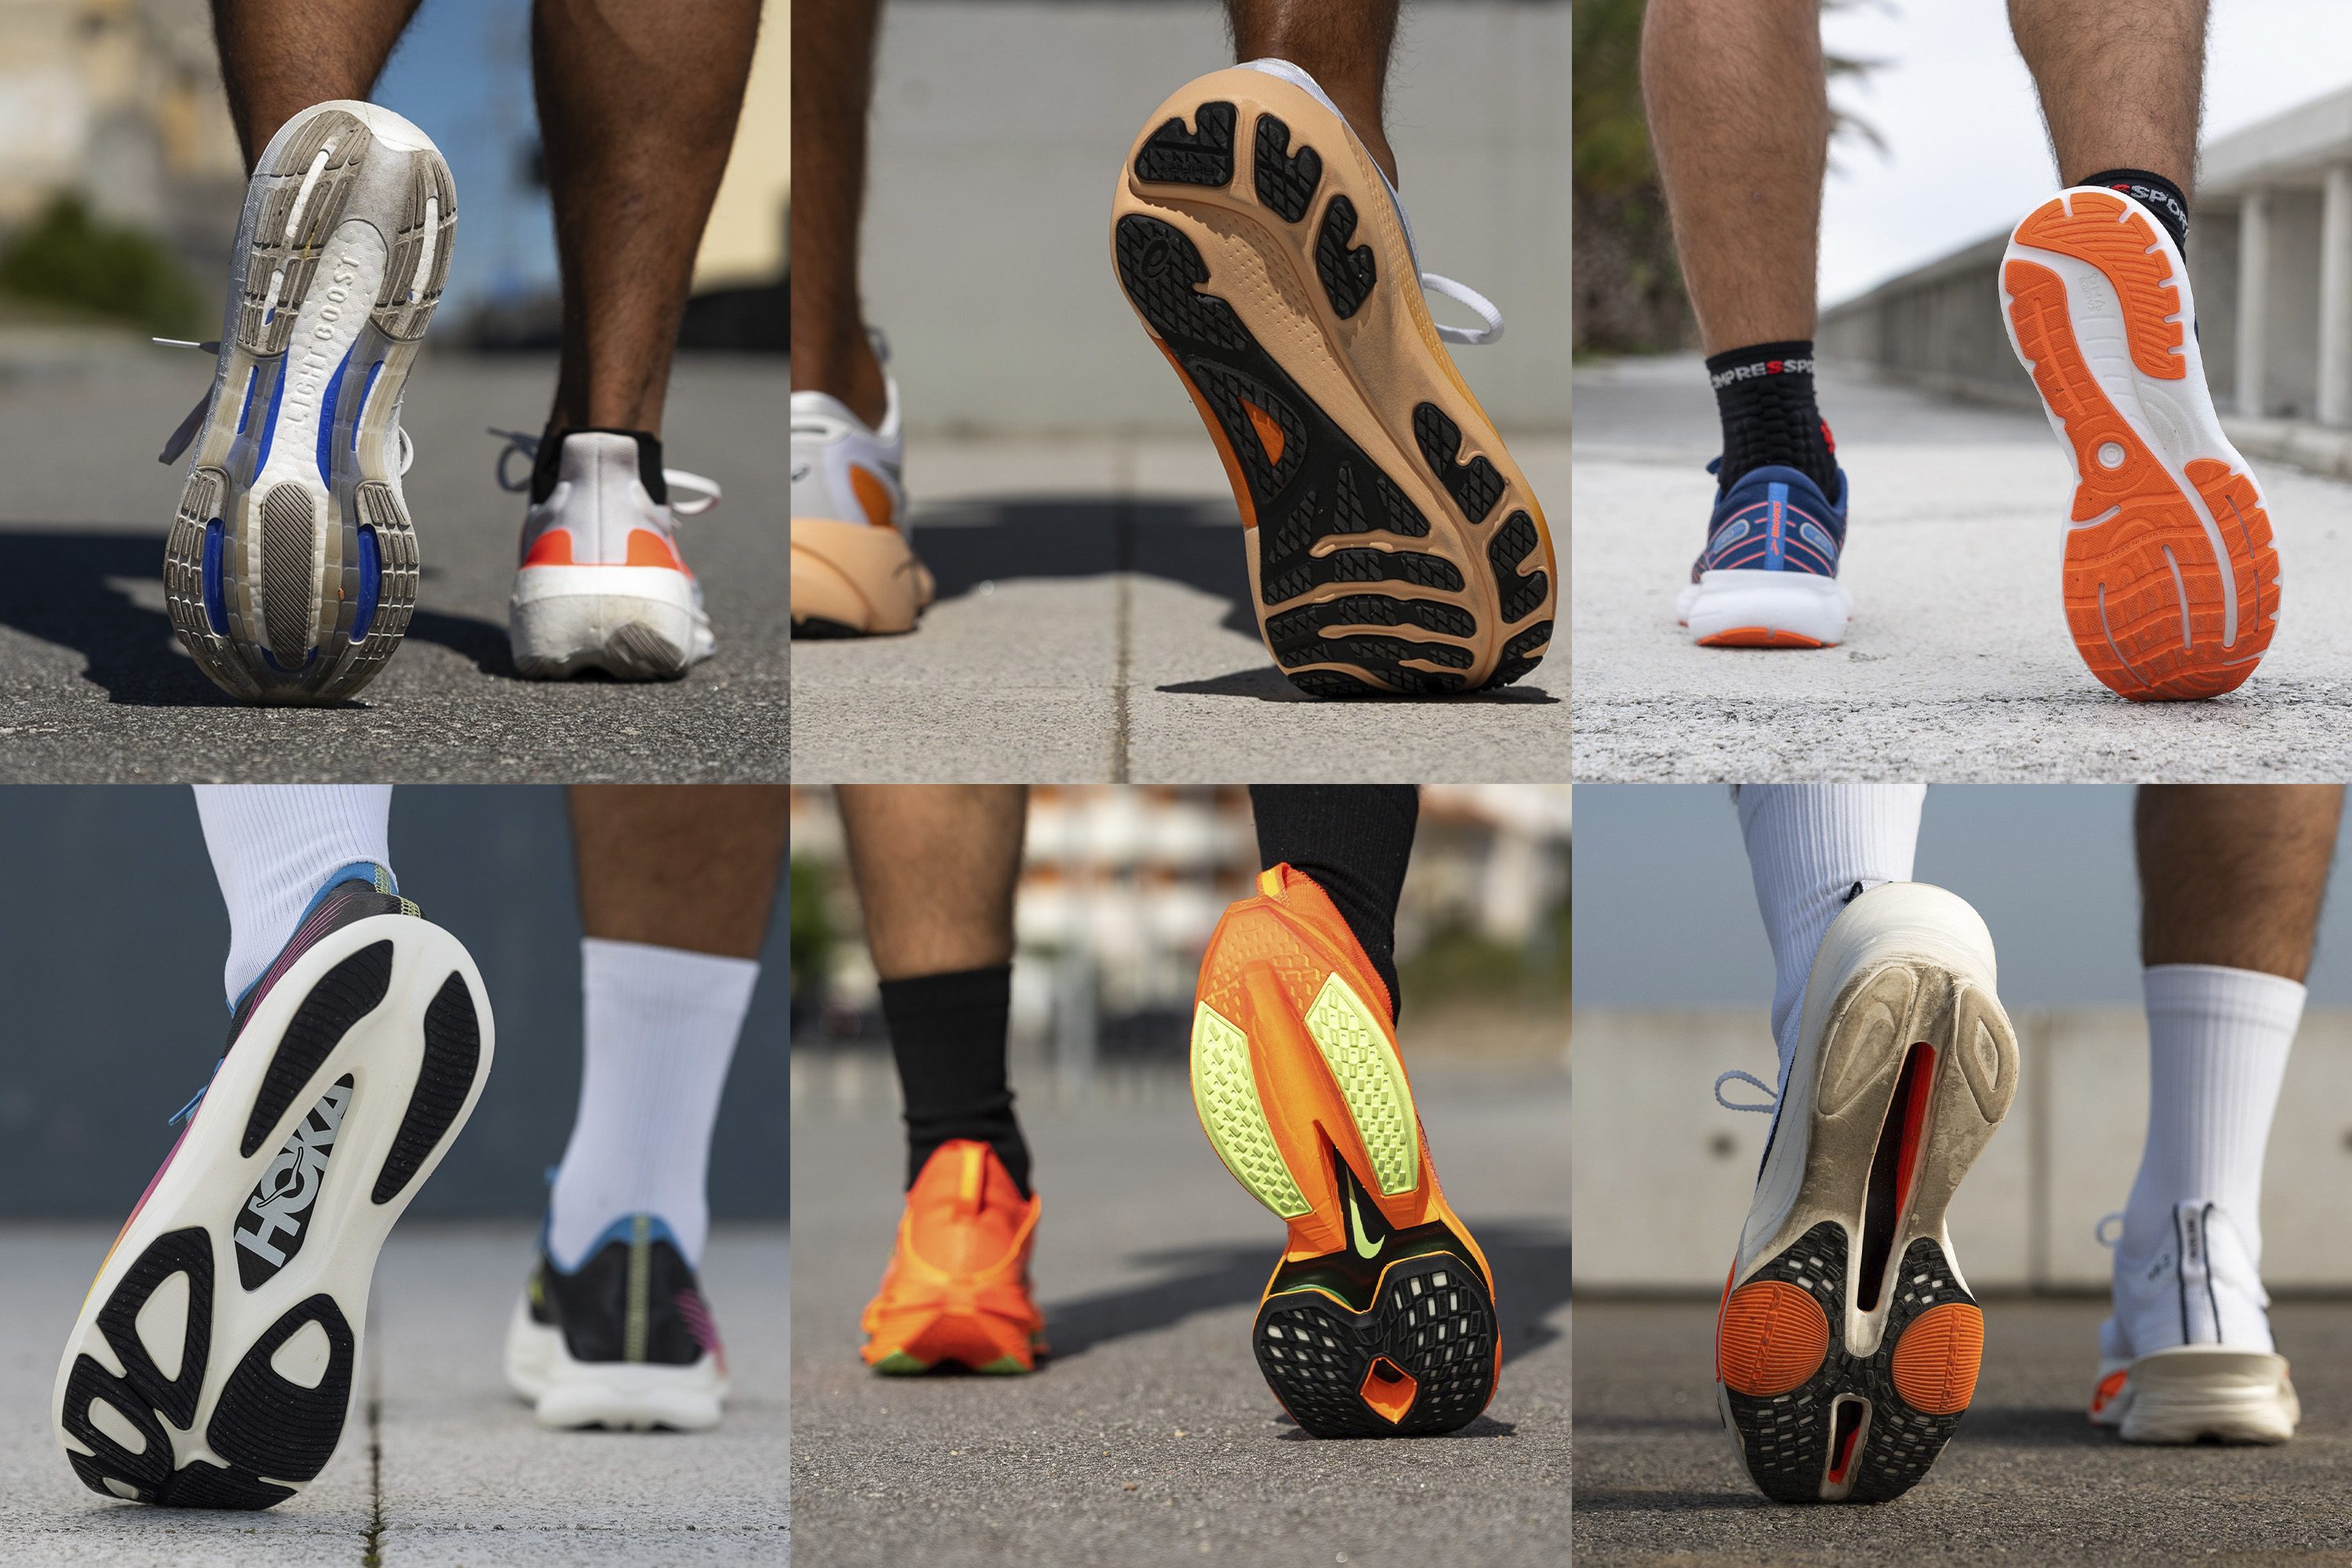
Outsole design, durability, and grip in running shoes for high arches
While there are running shoes that might lack rubber coverage at the heel, there are no running shoes that would have rubber at the rear but not at the front. So, no worries for those who land at the forefoot. However, just because there’s some rubber, it does not mean that the grip is good.
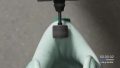
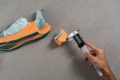
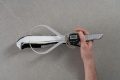
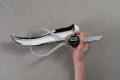
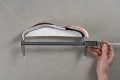
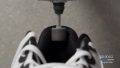
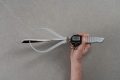
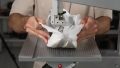
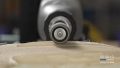
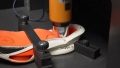
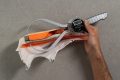
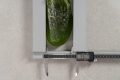
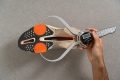
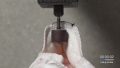
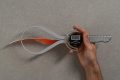
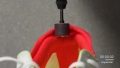
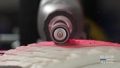
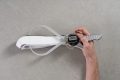
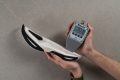
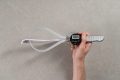
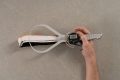
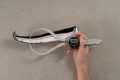
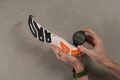
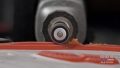
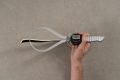
In our lab we use a Dremel to test the durability of the outsole. We also use a tire tread gauge to measure how big the dent that Dremel made is.
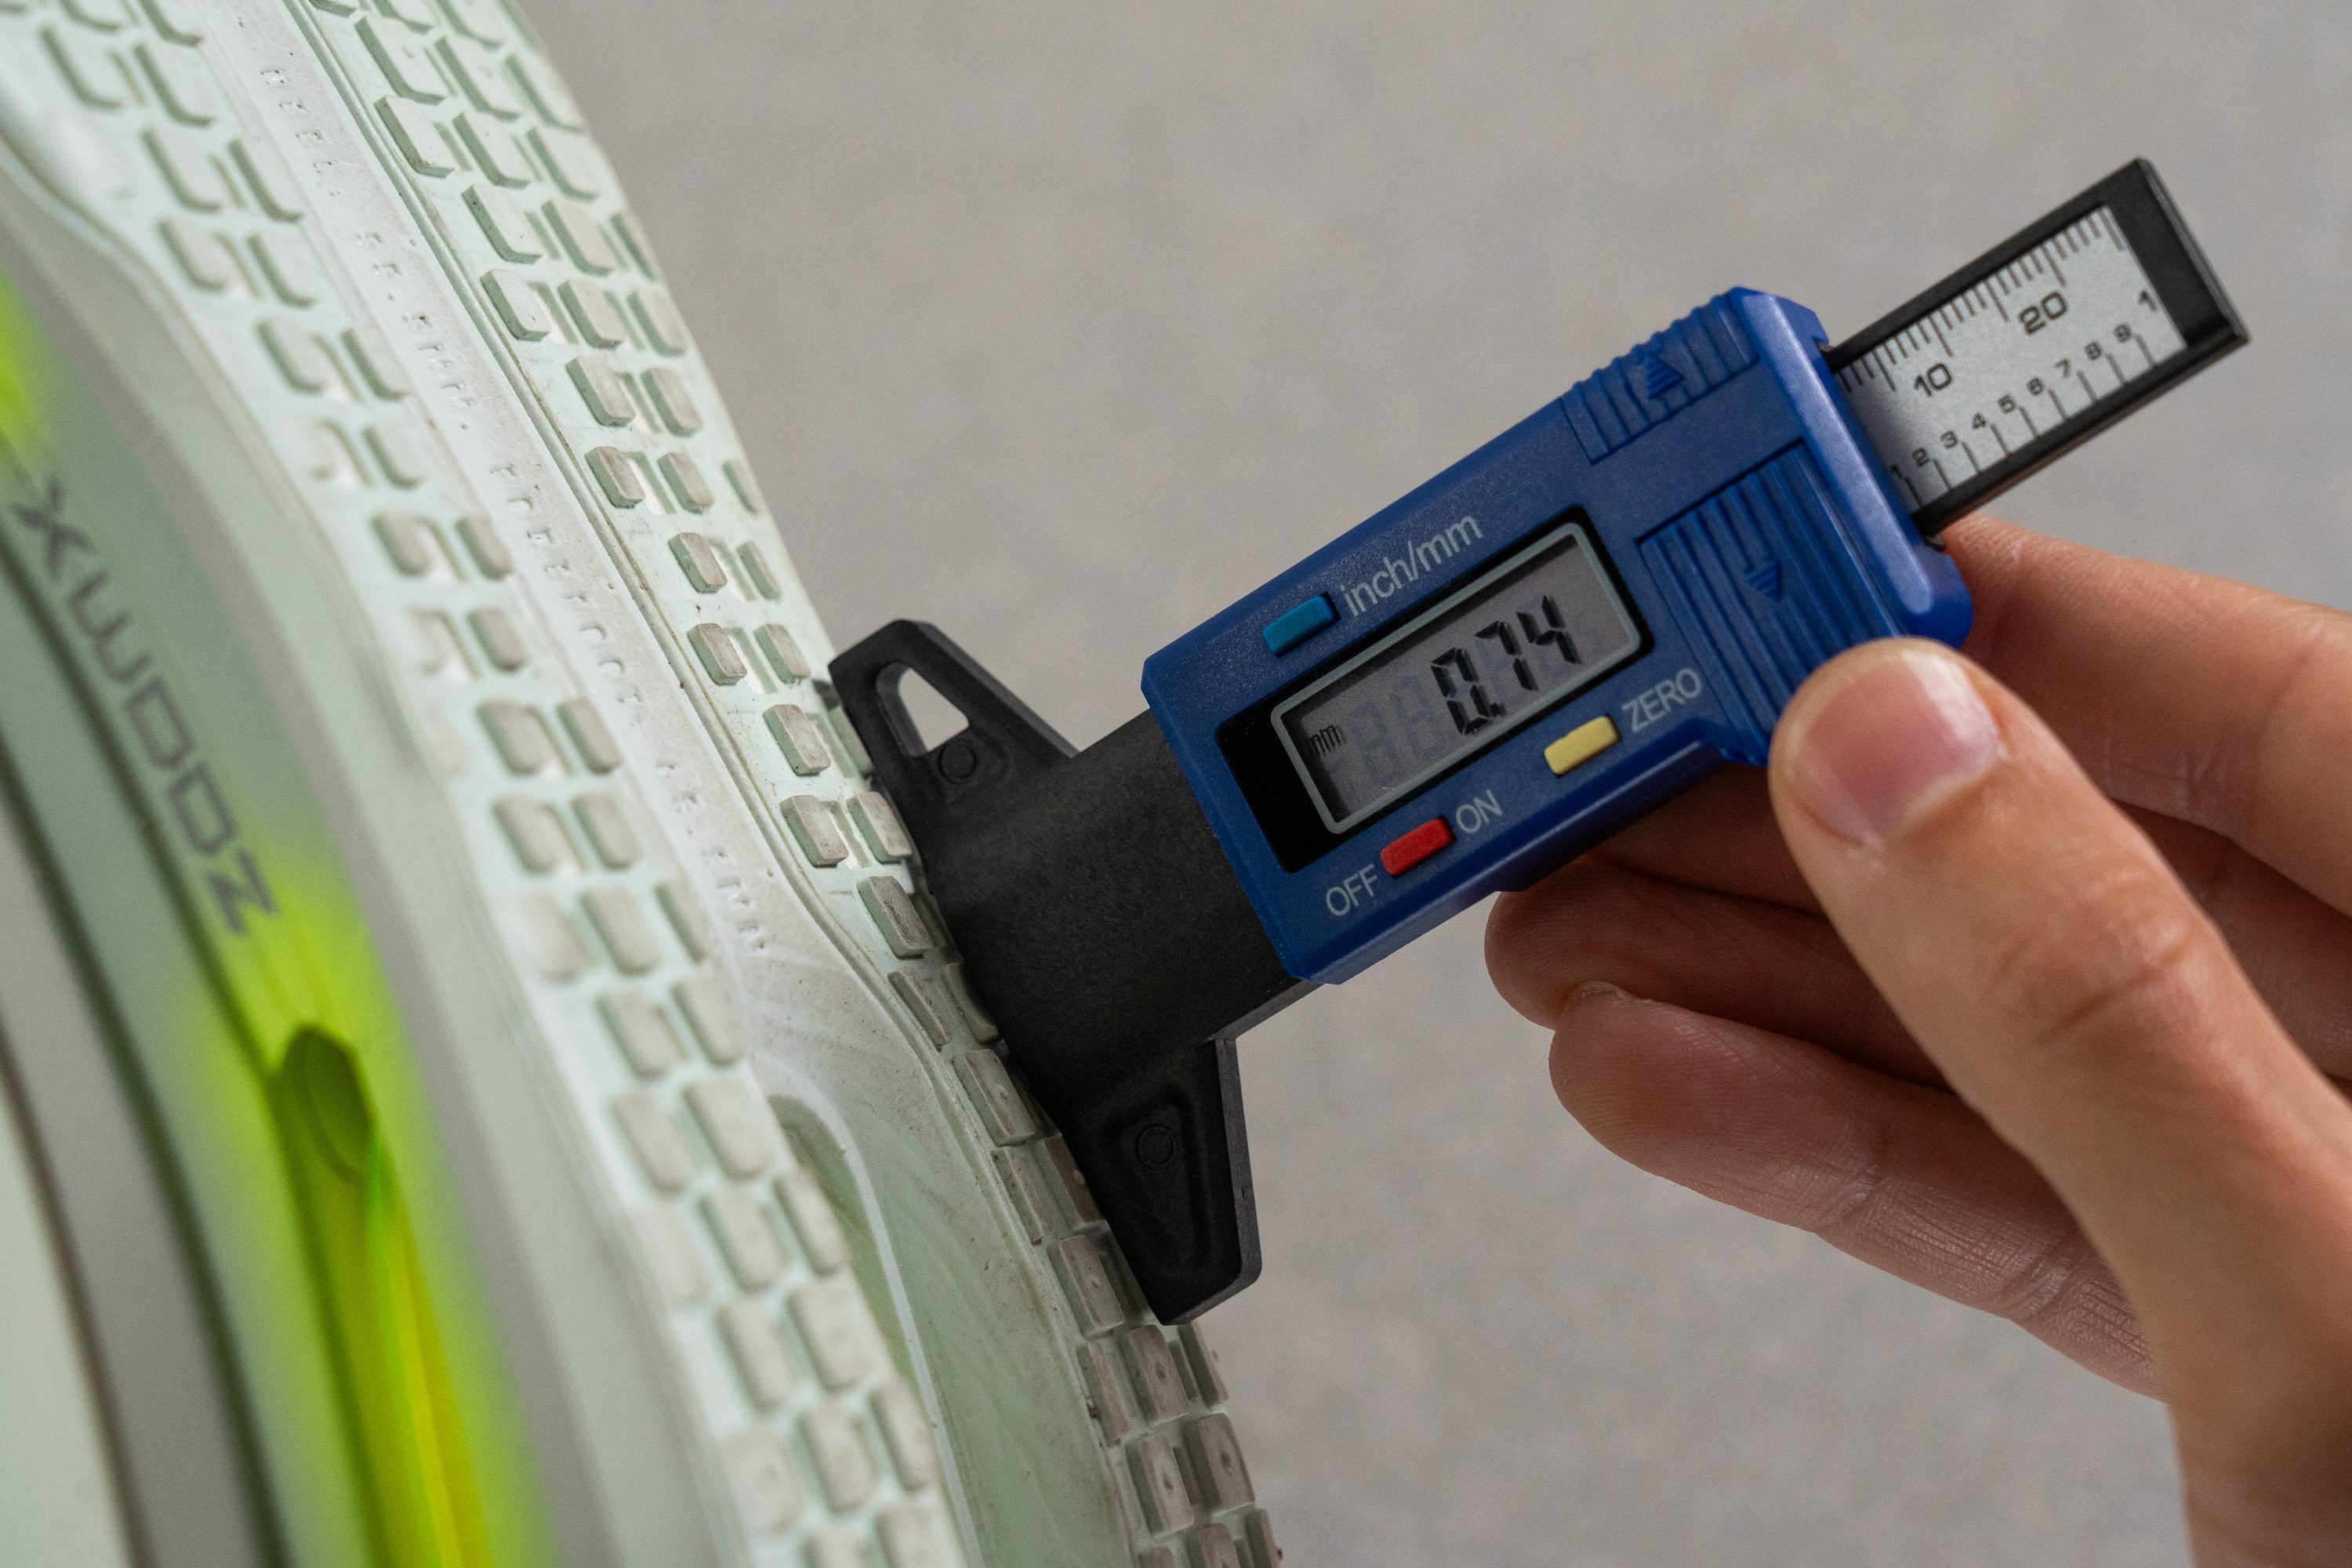
Deeper dents mean less durable outsoles and shallower dents mean more durability.
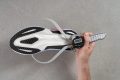
Using a Dremel to test the durability of the outsole
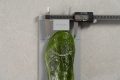
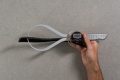
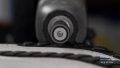
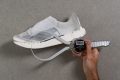
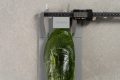
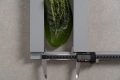
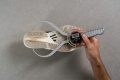
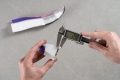
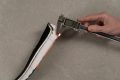
We also measure the thickness of the outsole. We use a digital caliper to do so.
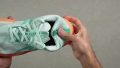
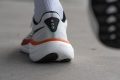
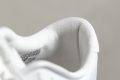
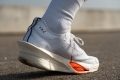
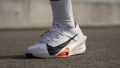
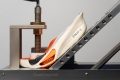
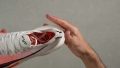
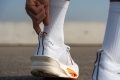
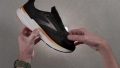
Is a stiff heel counter your cup of tea?
For some runners, stiff heel counter feels great. It brings more stability, better lock down, and feels good if they have plantar fasciitis or similar conditions. But, for others, it’s a deal breaker because their heel just can’t get into that molded shape.
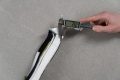
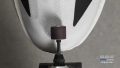
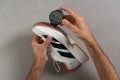
Whatever floats your boat, we’re here to cover it. When testing shoes in our shoe lab, we push the heel and squeeze it, to assess how stiff the back is.
Here’s how stiff heel counters are in best-rated running shoes for high arches:
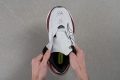
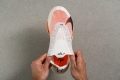
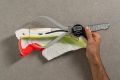
Wide toebox might be a good idea
Landing on the forefoot means you need good impact protection, stability, grip.. And maybe also enough room for your toes to splay and not be cramped. This way, you avoid blisters, bleeding, dark toenails, etc.

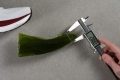
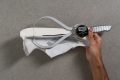
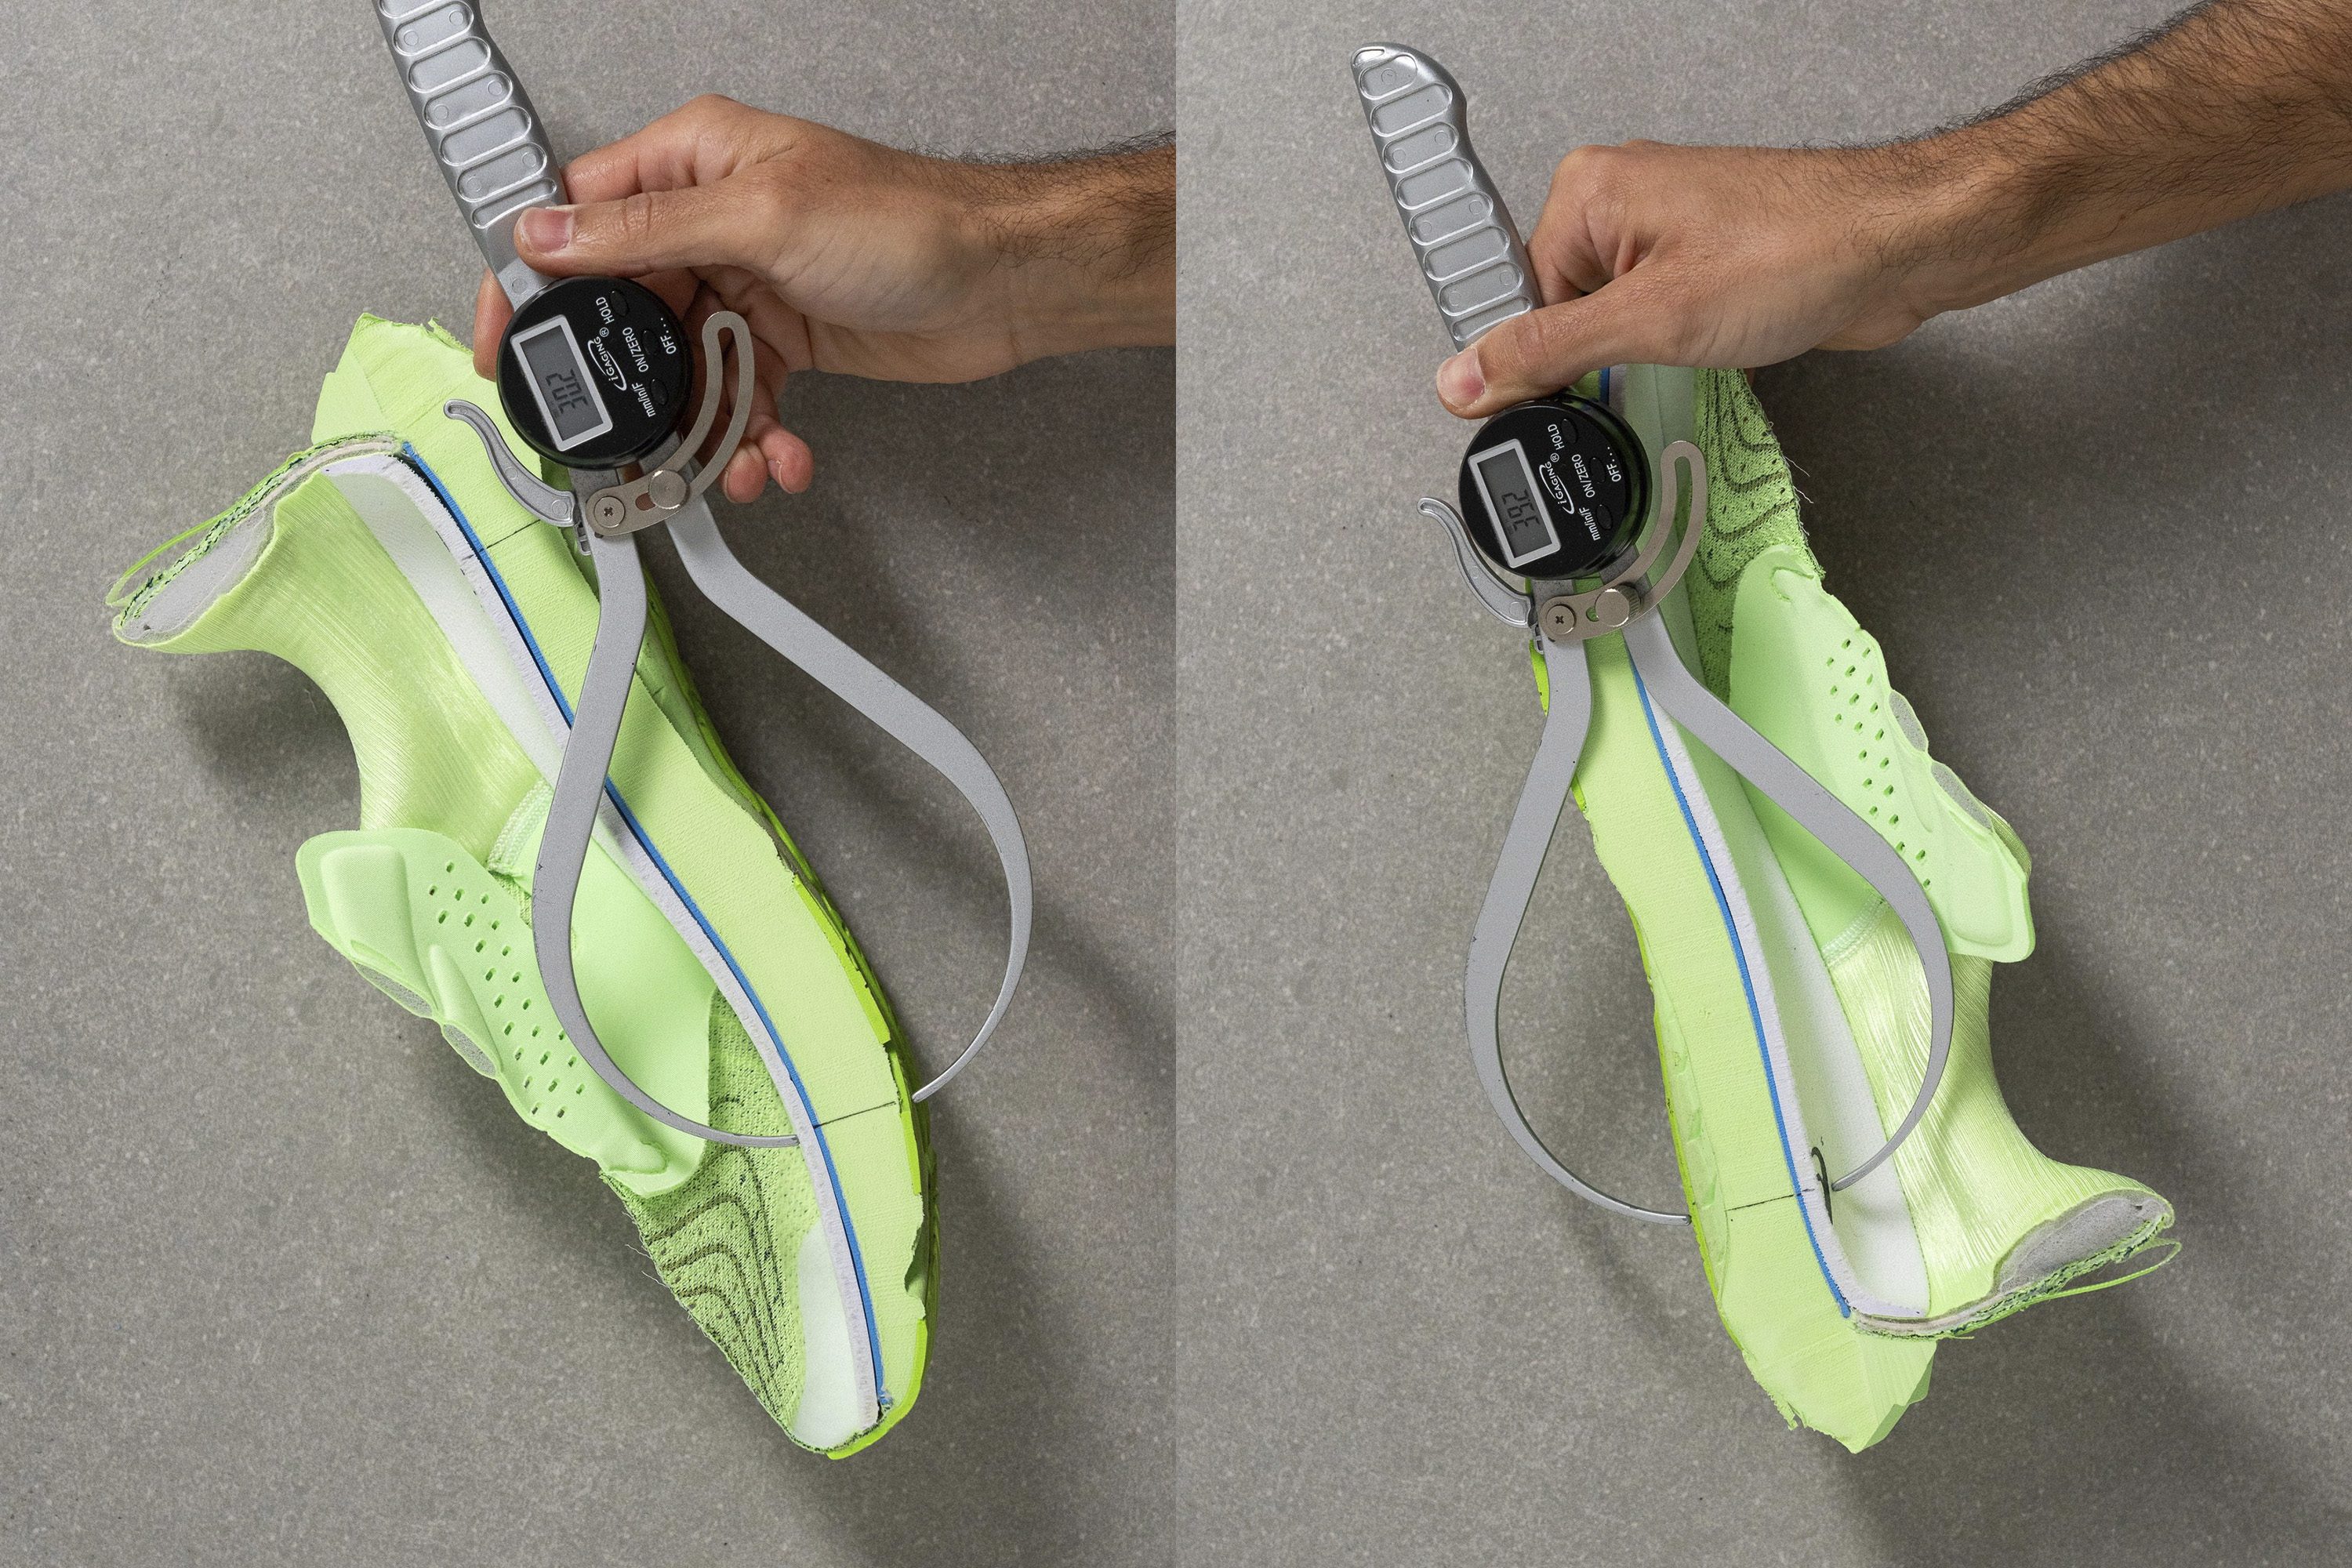
If you often experience a cramped toe area, it's best to pay attention to the width of the toebox. Not all toes have the same shape, so we pay attention to 2 shoe widths: at the big toe and where it’s widest.
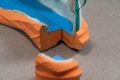
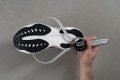
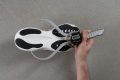
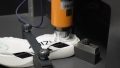
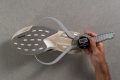
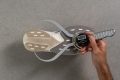
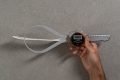
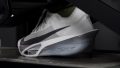
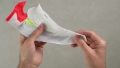
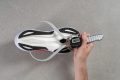
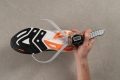
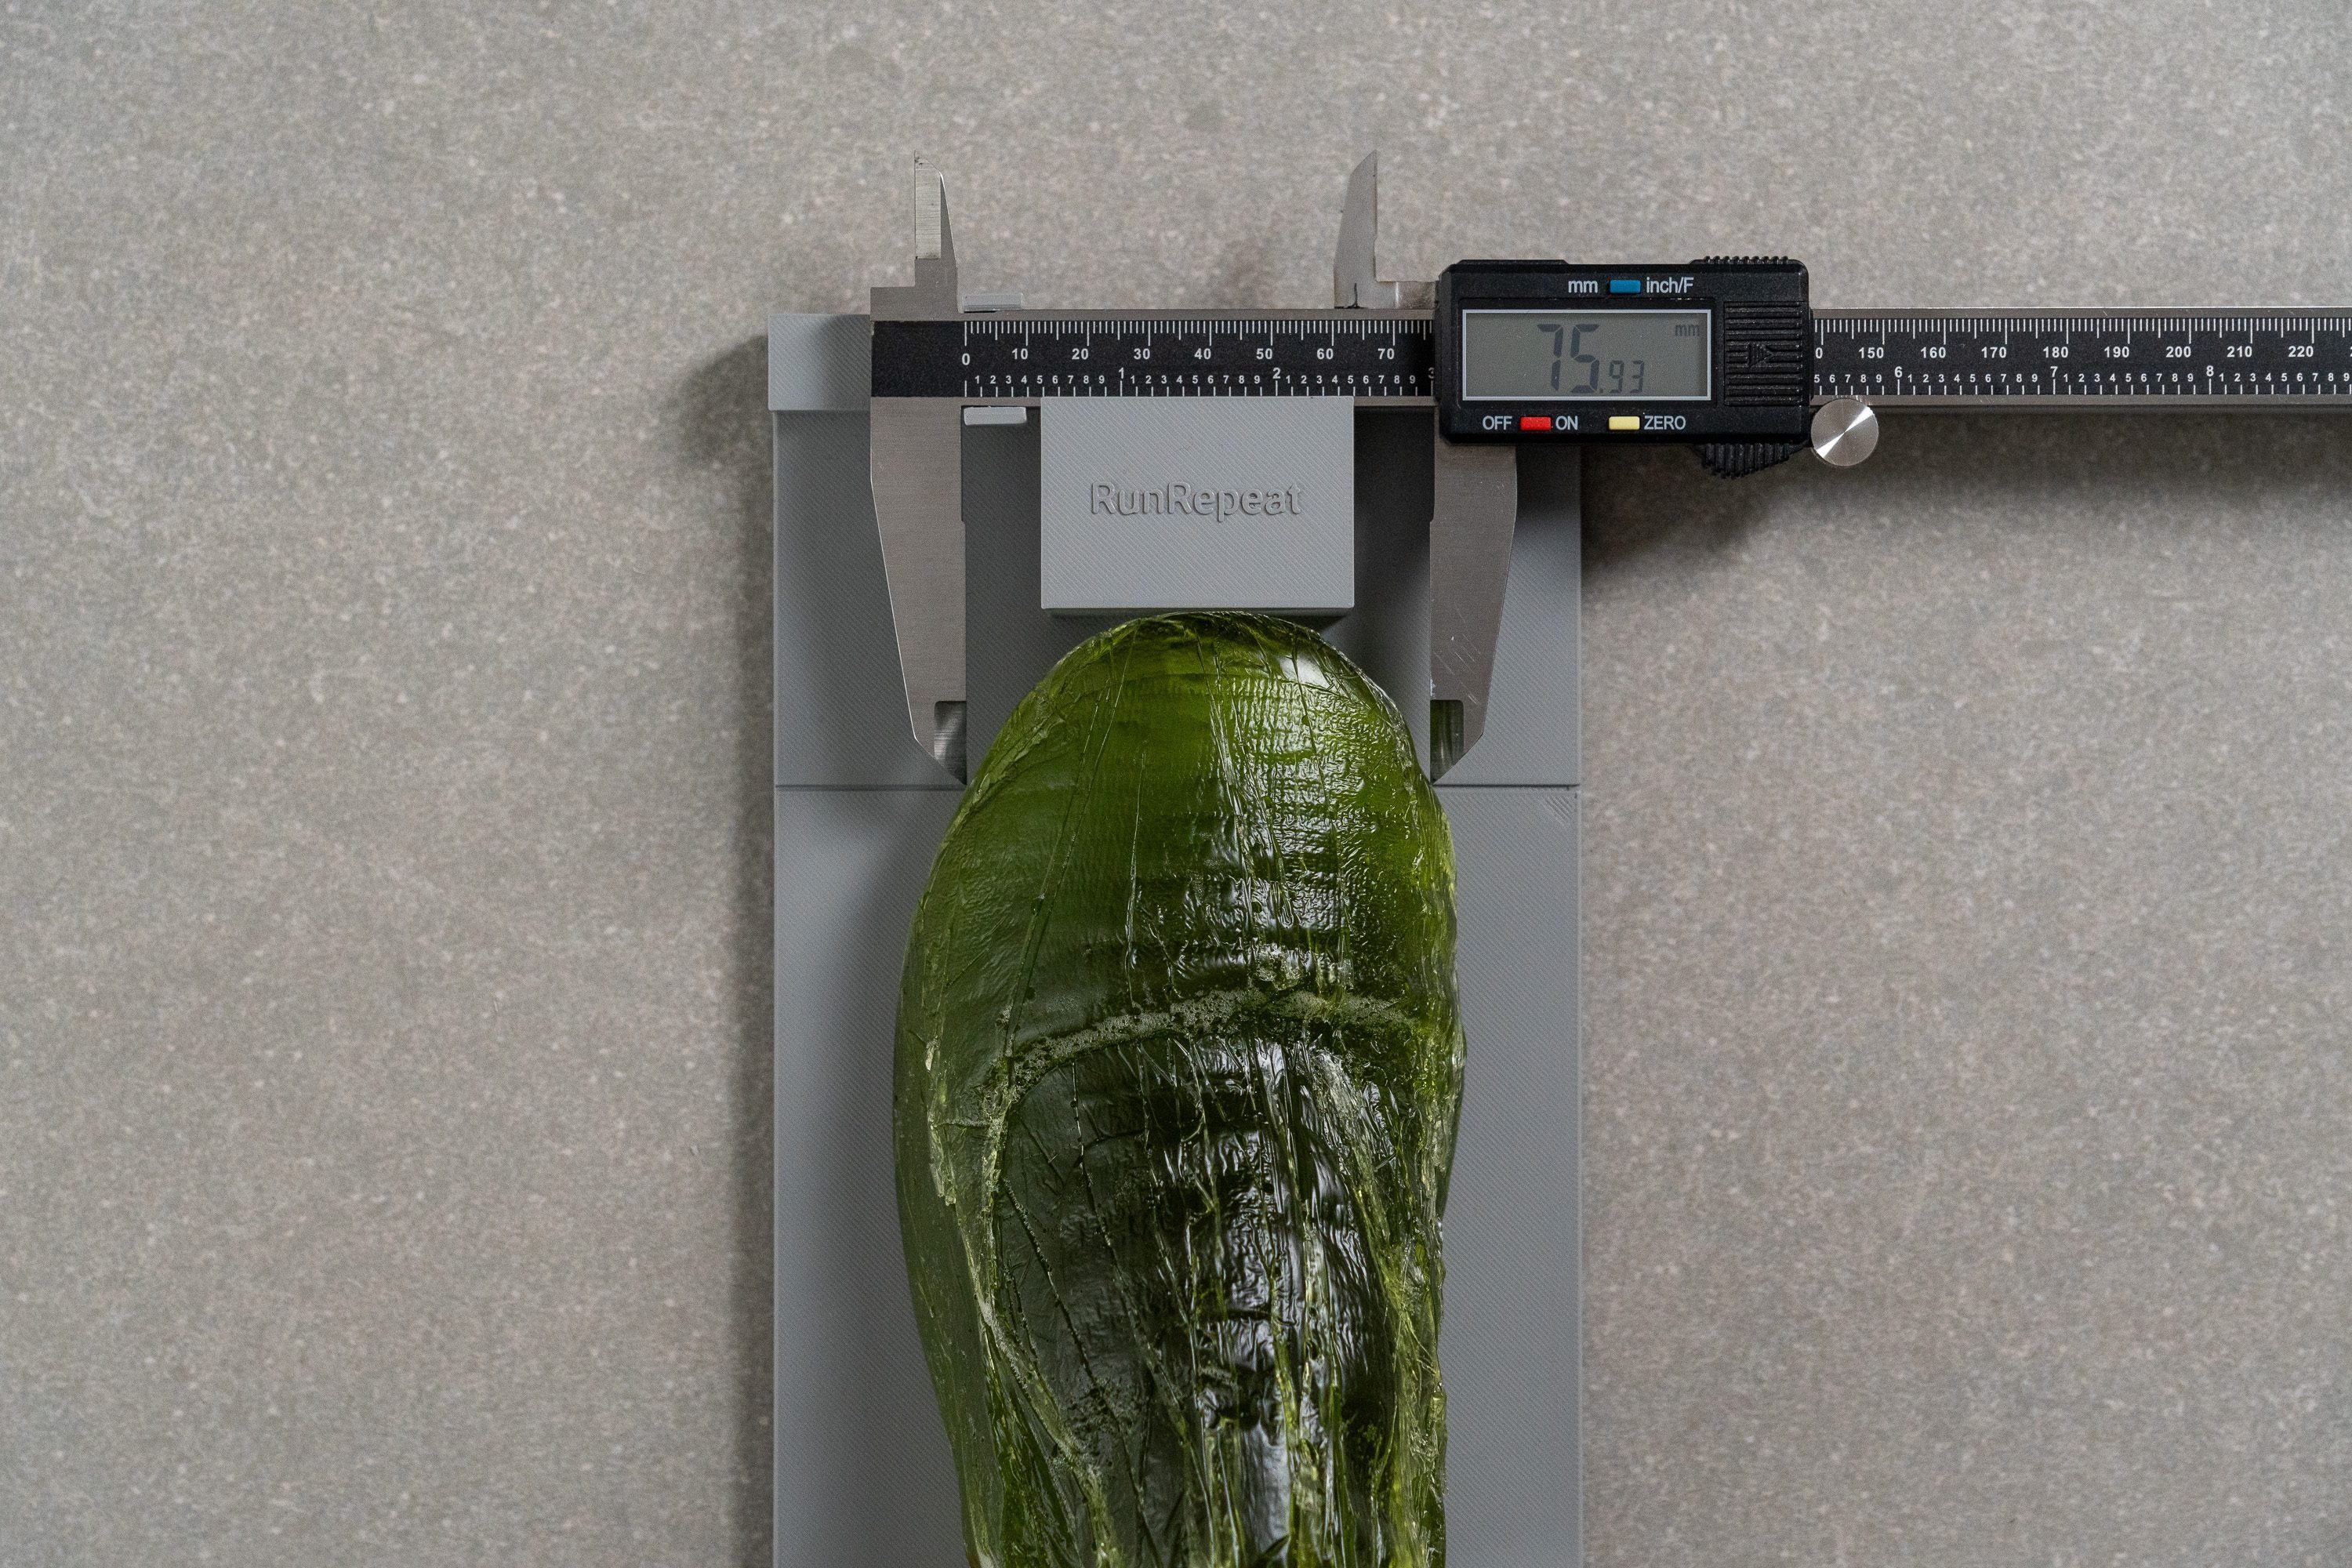
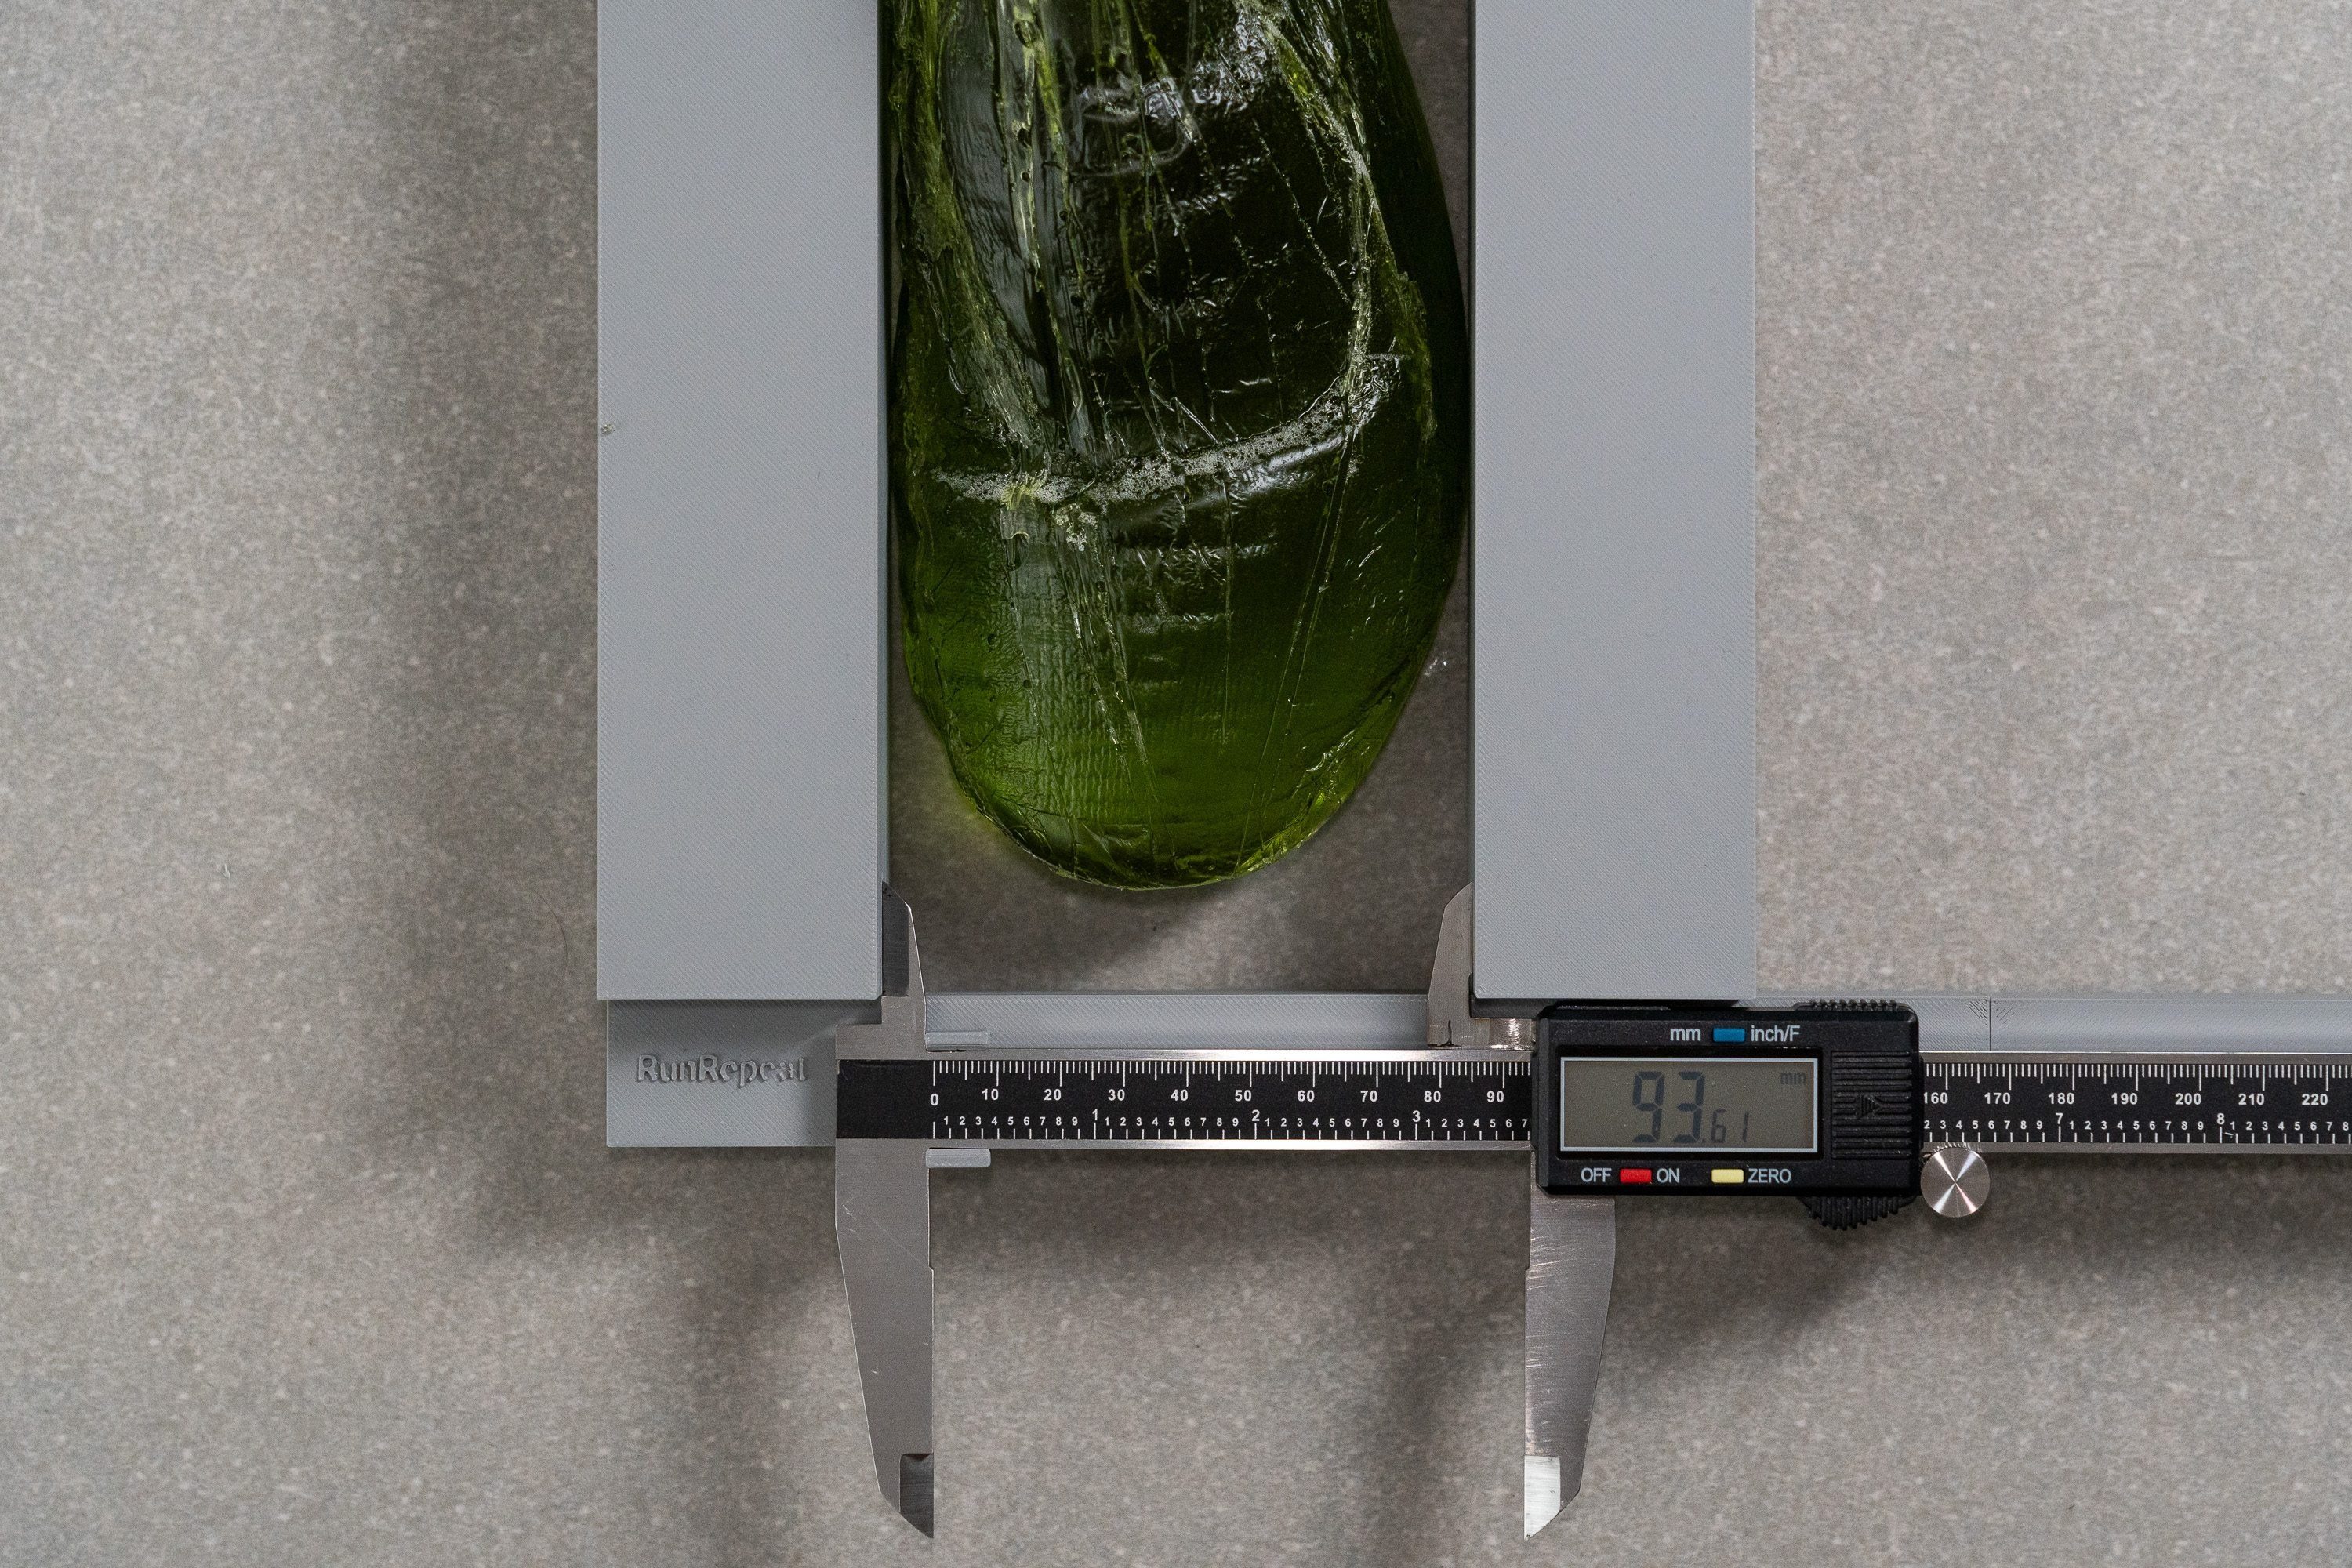
To take these measurements, first, we make a gel mold. We do it by pouring our special gel into the shoe and freezing them together. Once the gel has hardened, we end up with a gel mold that perfectly reflects the interior volume of the shoe
We take both measurements because they allow us to learn how pointy (tapered) a toebox is. When the difference between the 2 measurements is bigger, the toeboxes are pointier.
We tend to prioritize the big toe width because it’s more difficult to find shoes that are less pointy than those that are simply wider.
So, here are the widest toeboxes:
Wider running shoes may be pointy are listed here:
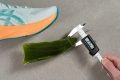
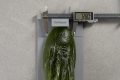
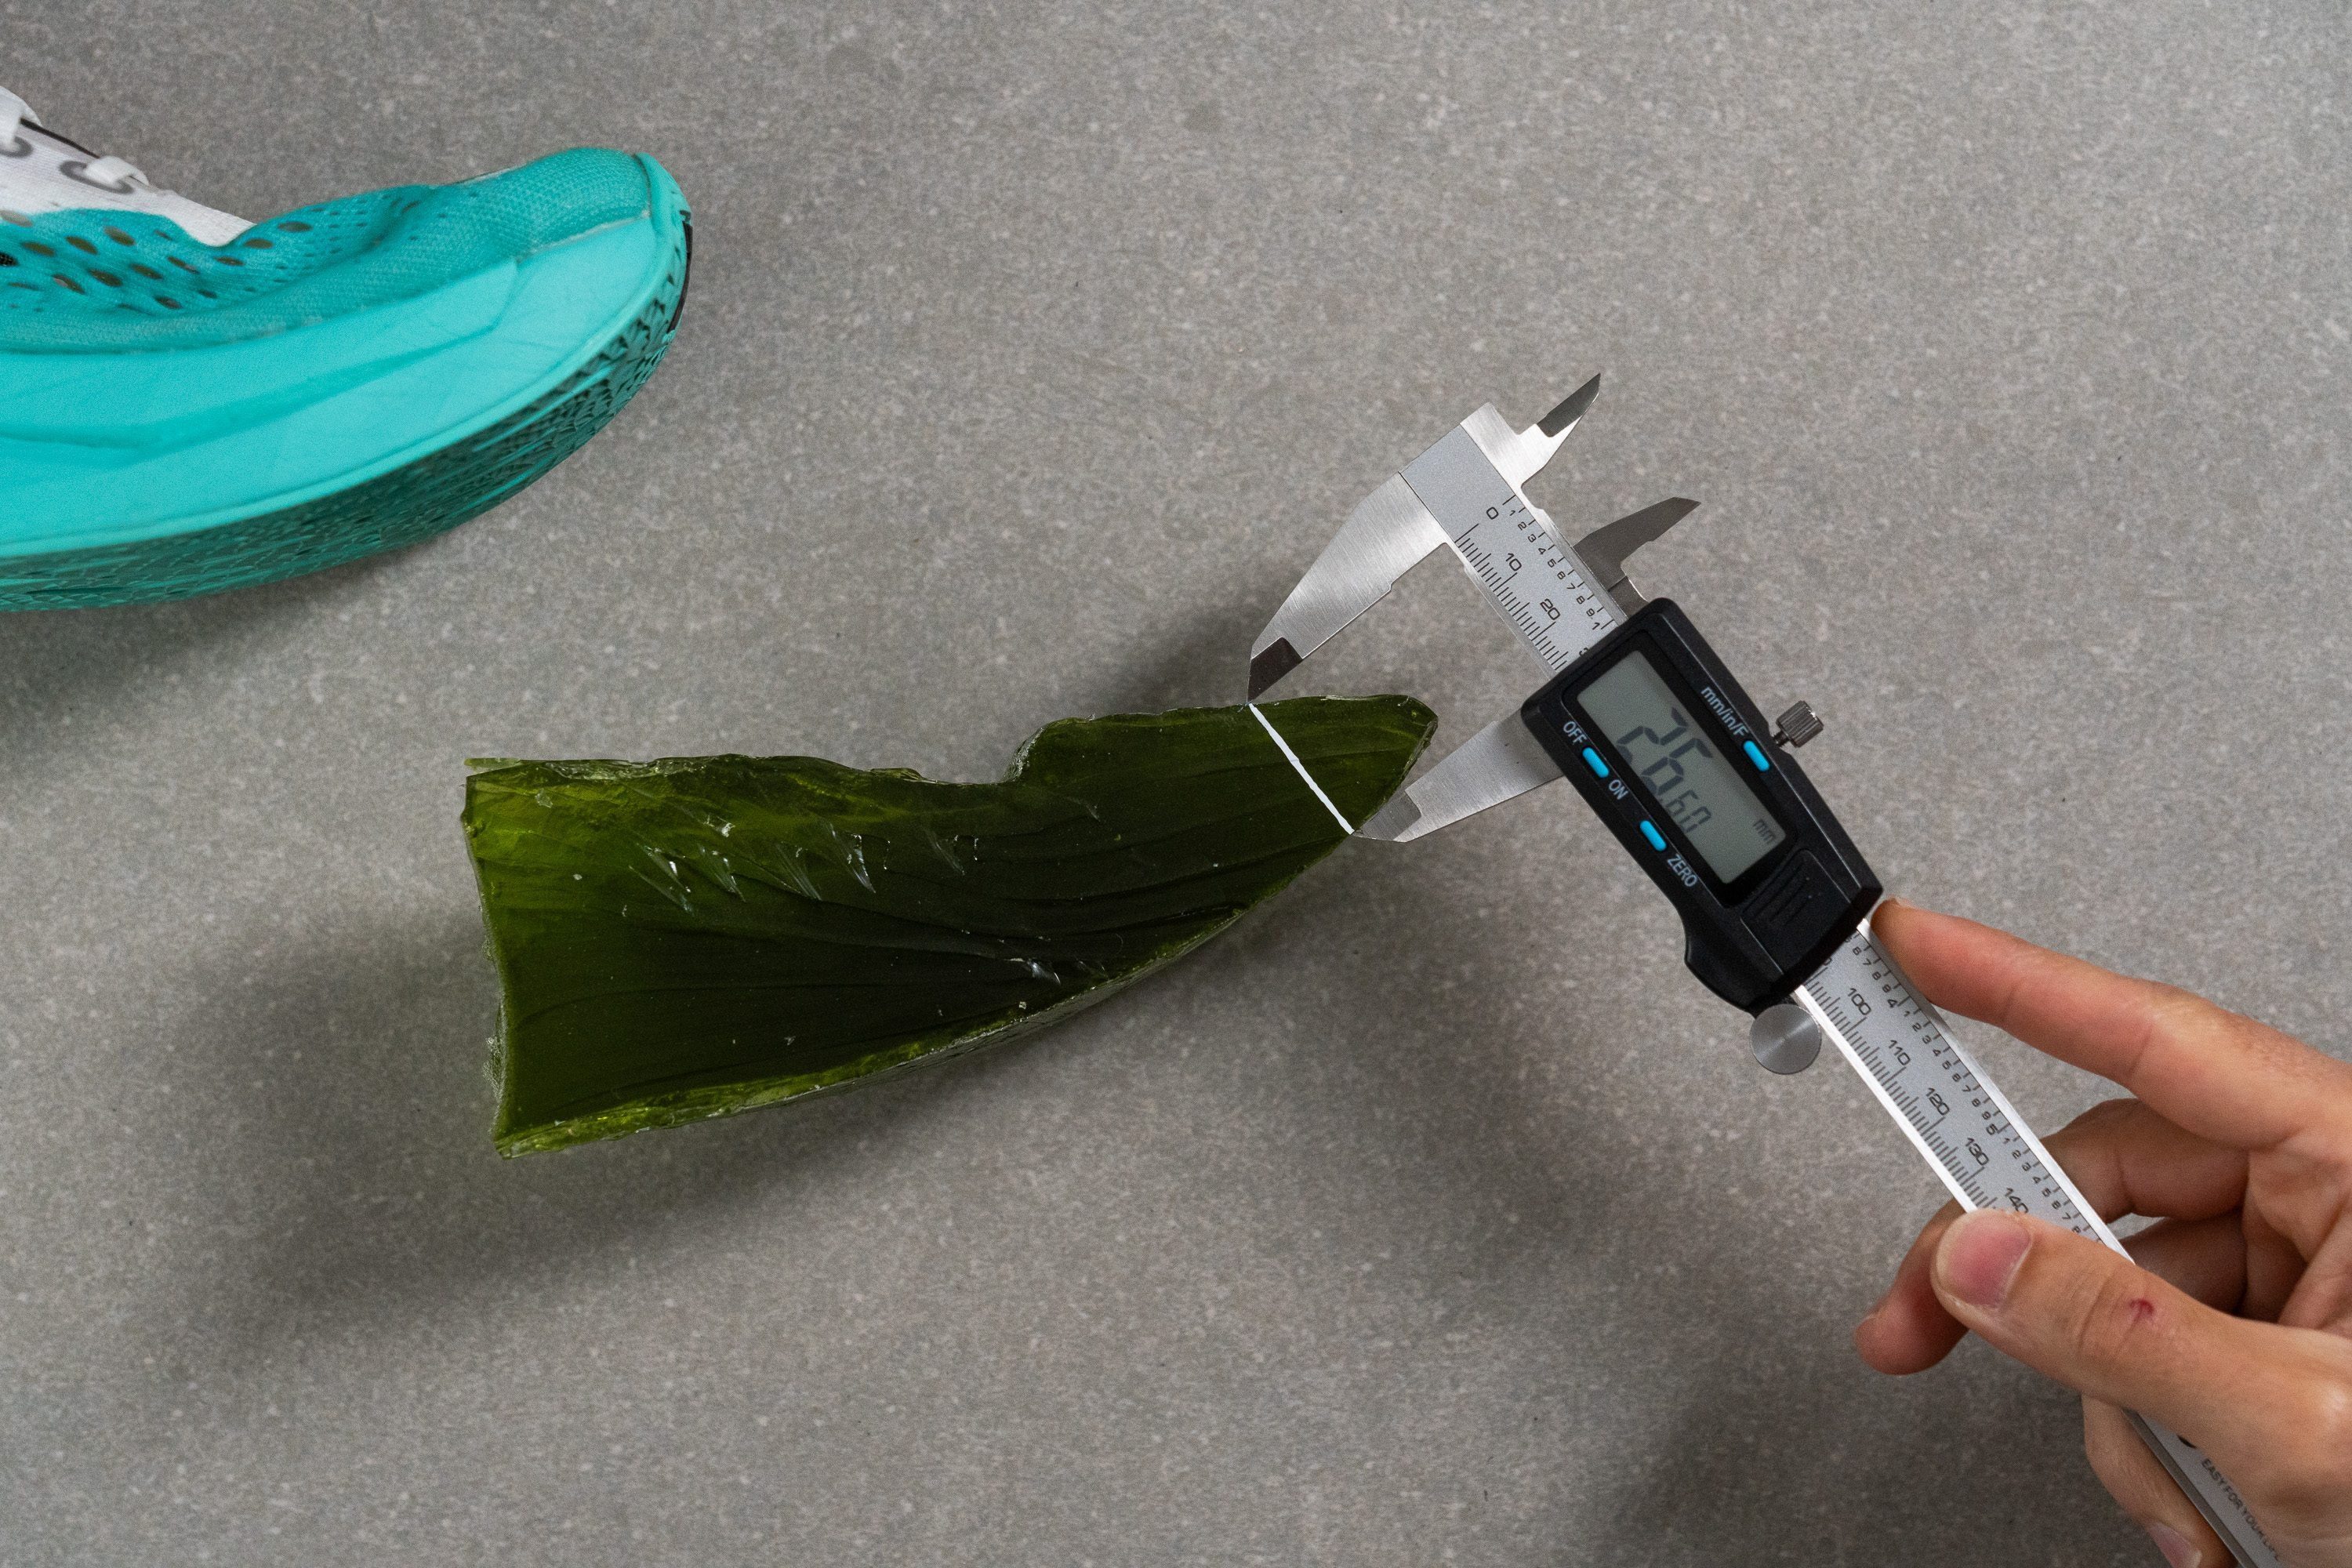
This gel mold is great for measuring the height of the toebox as well. Once cut in half, we can do this test as well.
Longer distances: consider stability
Even those who overpronate and land on their forefoot get tired after logging some miles, especially on long distances and ultra races. When we get tired, we appreciate more support, be it a higher heel drop, stability features, wider toebox, or different cushioning. That’s why some ultra runners change their shoes mid-race.
Here, what’s relevant is stability. If you’re running in neutral shoes, it’s important to understand that such shoes can be anything from not stable to very stable. It depends on the width and height of their base, mostly. But, there are also some stability shoes that offer very mild stability that you could appreciate if running ultras.
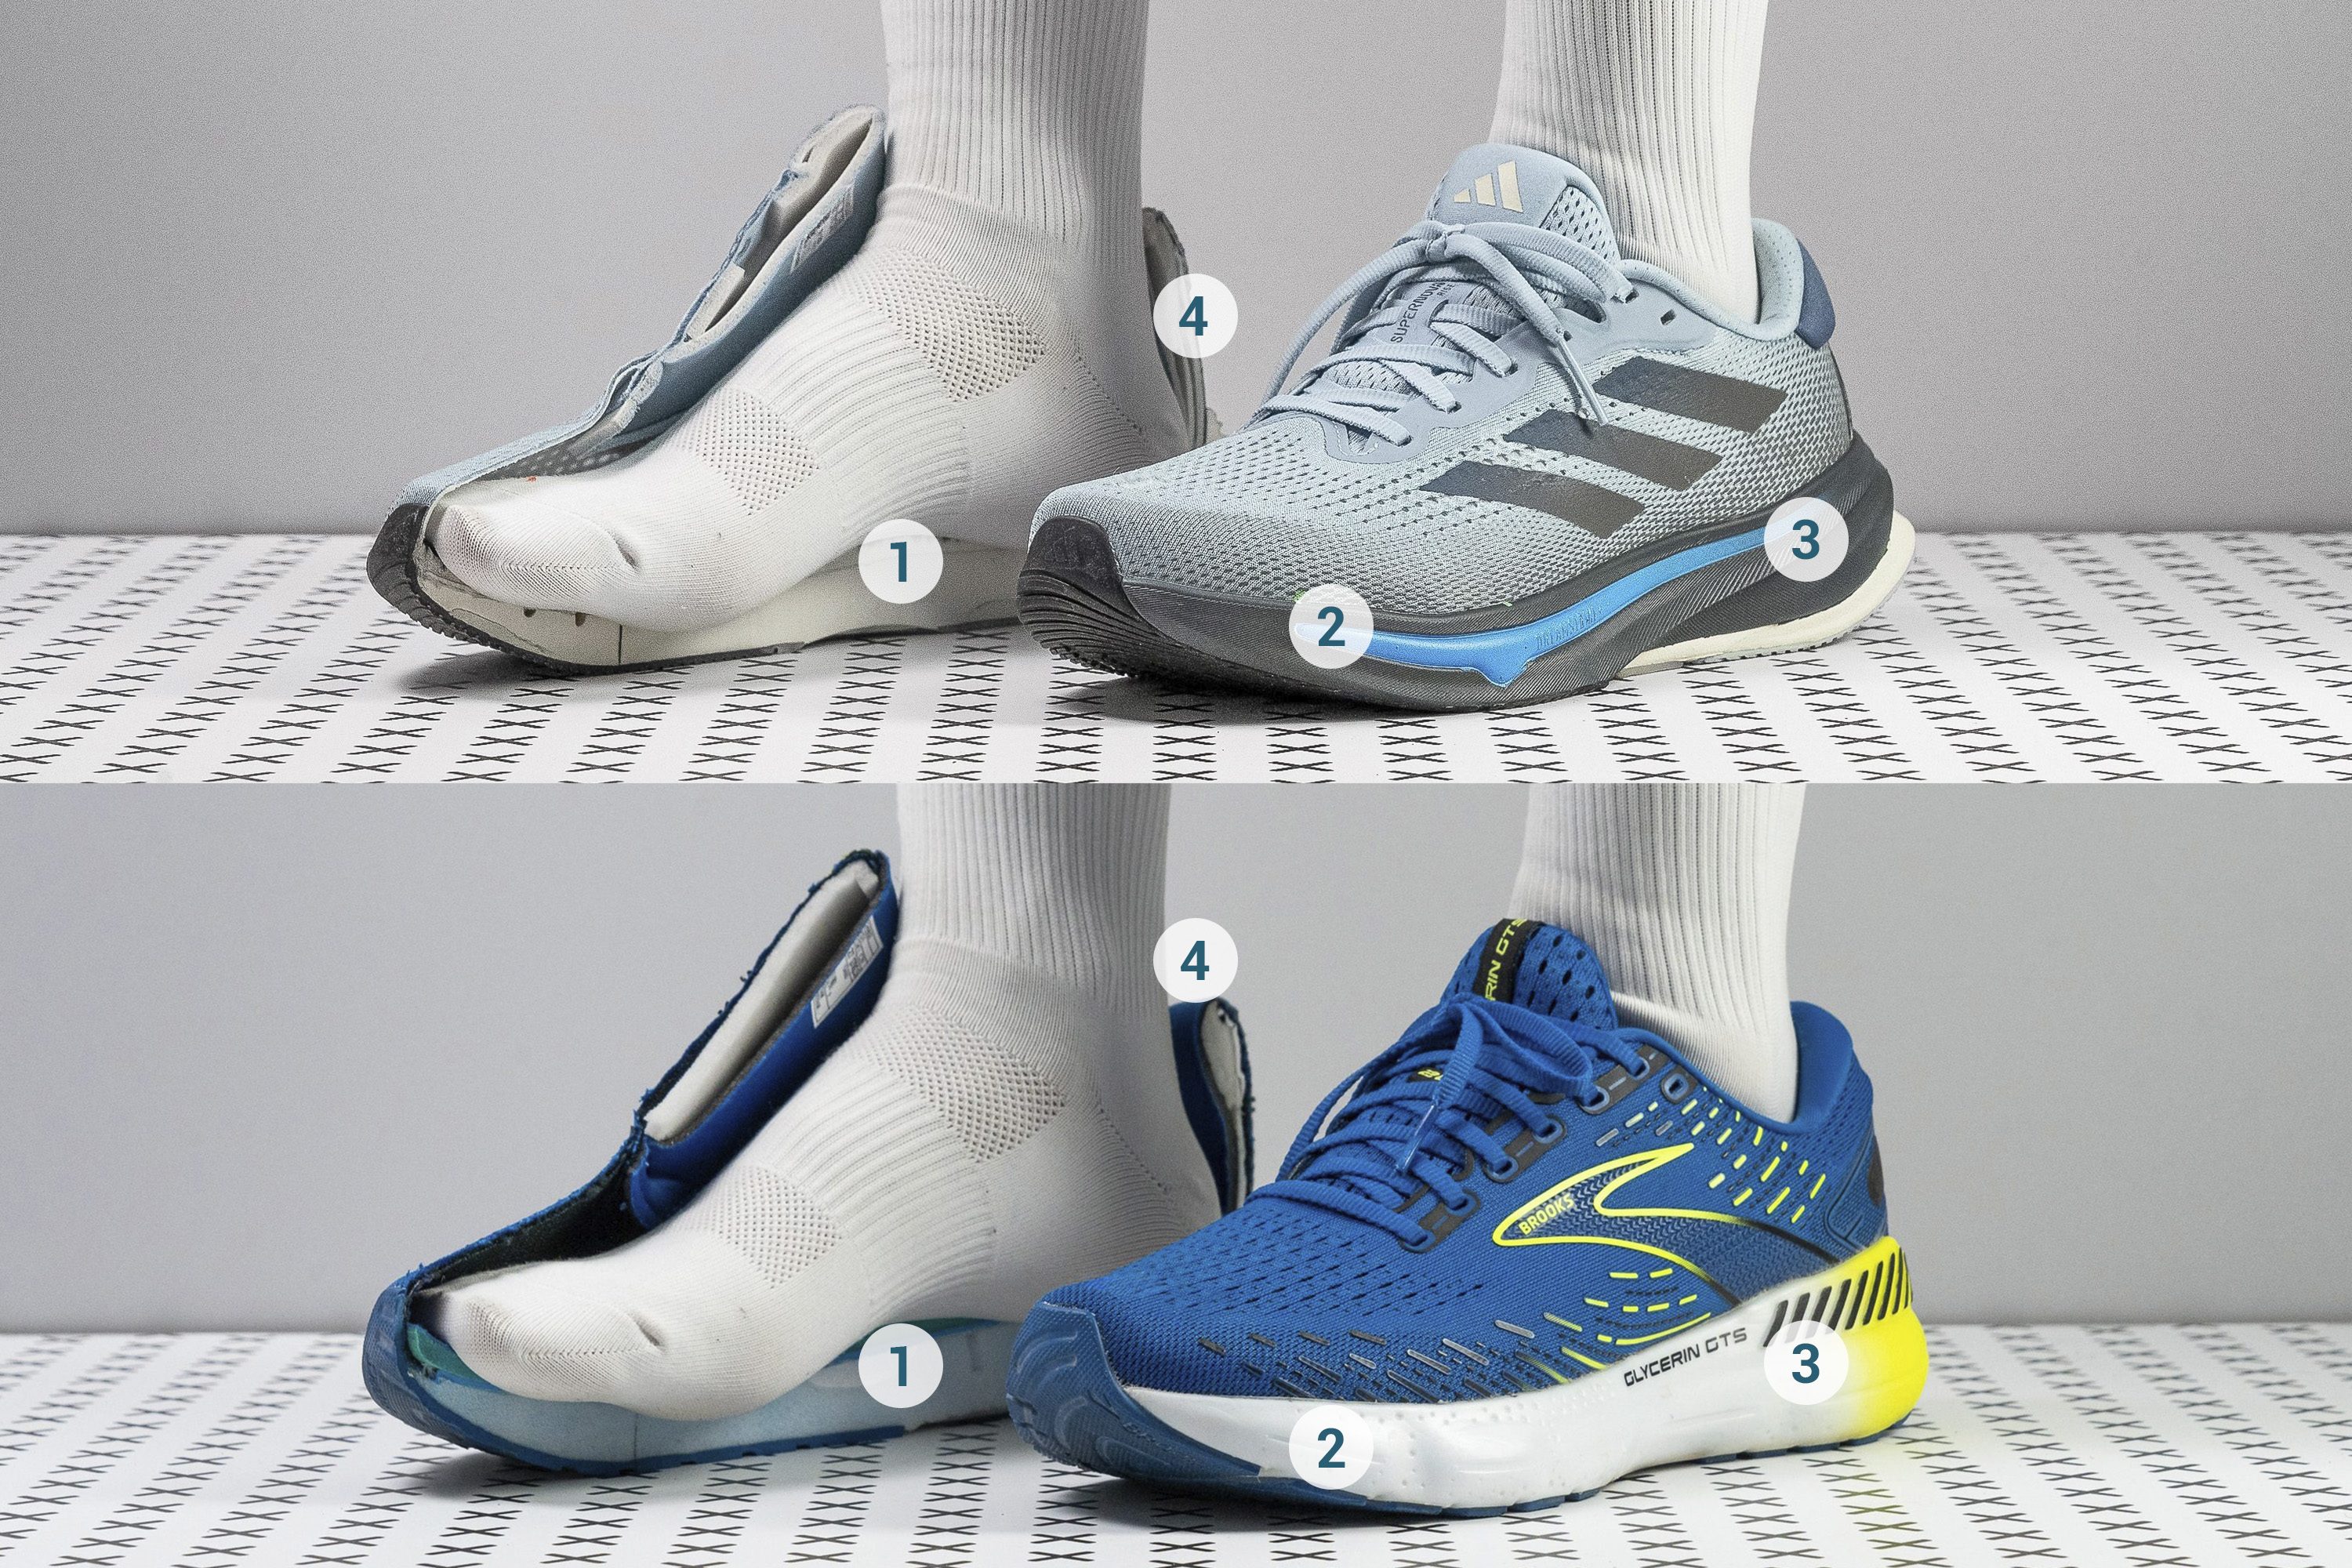
1) Neutral has no arch support, stability does 2) neutral can have a narrower base while a stability shoe usually has a wider base or sole flares 3) stability shoe has GuideRails (or any other technology) for stabilization + focuses on the heel for heel striking 4) neutral shoes can have softer and less padded heel counters, unlike stability shoes that focus on stiffness and padding in that area
In case you feel like you could use some stability, look for mild options. It’s not necessary to immediately jump to medial posts or GuideRails. We cover this topic in great detail in our guide: Arch support for runners: What, how and why.
Trail shoes for high arches
The same rules apply here as well, with minor adjustments:
- Best to look for a lot cushioning at the place of landing (forefoot/midfoot or heel)
- For extra stability, look for a wider and/or stiffer base
- When it comes to grip, the depth of the lugs matters a lot. The deeper the lug, the more technical terrain you can cover (think 4mm and above for mud). Shallower lugs (around 2mm) could mean it's a hybrid shoe (road to trail).
- Heel drop is lower in trail shoes than in road shoes so it's important that you don't make sudden changes (going for zero drop or close to that suddenly).

Mythbusting about high arches
All runners with high arches supinate (underpronate), which means their feet roll outwards. WRONG.
Some runners with high arches can also overpronate, although this is very rare.
Runners with high arches never need arch support. WRONG.
Some runners might actually benefit from arch support (coming from the shoes, store-bought insoles, or custom orthotics). Other runners (the majority!) do simply enjoy cushioned neutral shoes.
Similar buying guides