7 Best Lightweight Running Shoes in 2026

We buy shoes ourselves. We earn commissions when you buy through us, at no extra cost. Why trust us
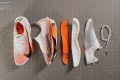
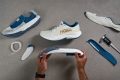
With lightweight running shoes, you want to feel like you’re not wearing any shoes but still get the needed protection and support. Be it a daily workhorse, a racing flat, or a minimalist trainer, we gathered the best to help you achieve your personal bests.
We have tested these running shoes on test runs that accumulated 30-50 miles and across 20+ parameters in our lab, so we know what makes a truly outstanding option.
The meaning of ‘lightweight’ varies depending on the category (a light daily trainer could mean a heavy race shoe), we have selected our top picks in different categories. In general, we consider running shoes to be lightweight if then weigh less than 8.8oz or 250g.


How we test lightweight running shoes
Running shoes that weigh less than 250 grams (8.8 oz) in men's US size 9 and that we’ve tested make it to our selection of lightweight running shoes. We take each shoe through a serious testing process:
- We buy lightweight running shoes with our own funds to keep our reviews objective. No brand dictates what we will write and publish on our website.
- We take each shoe on a series of runs to provide in-depth feedback on its performance.
- We use the RunRepeat lab to get 30+ data points on each shoe. These numbers back up our experiences and accurately describe different features of lightweight running shoes.
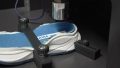
- We cut the shoes in half to look at all the layers, threads, stitching, and technologies used. We're also able to measure each shoe's energy return, shock absorption, etc., and compare it to other tested shoes thanks to standardized lab tests.
Best lightweight running shoes overall


What makes it the best?
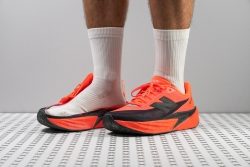
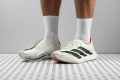
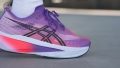
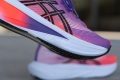
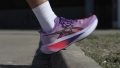
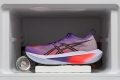
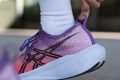
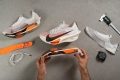
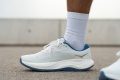
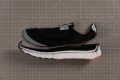
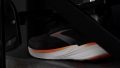
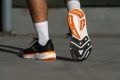
A jack-of-all-trades, the New Balance FuelCell Rebel v5 excels at any pace and distance with its otherworldly comfort and high level of agility for effortless miles. With its light and loose build, plus a shock-absorbing midsole, it’s a clear favorite in our lab and ranks as the top lightweight running shoe.
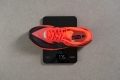
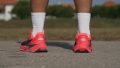
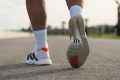
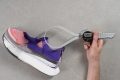
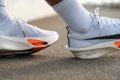
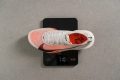
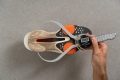
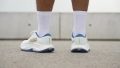
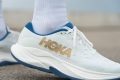
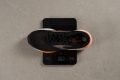
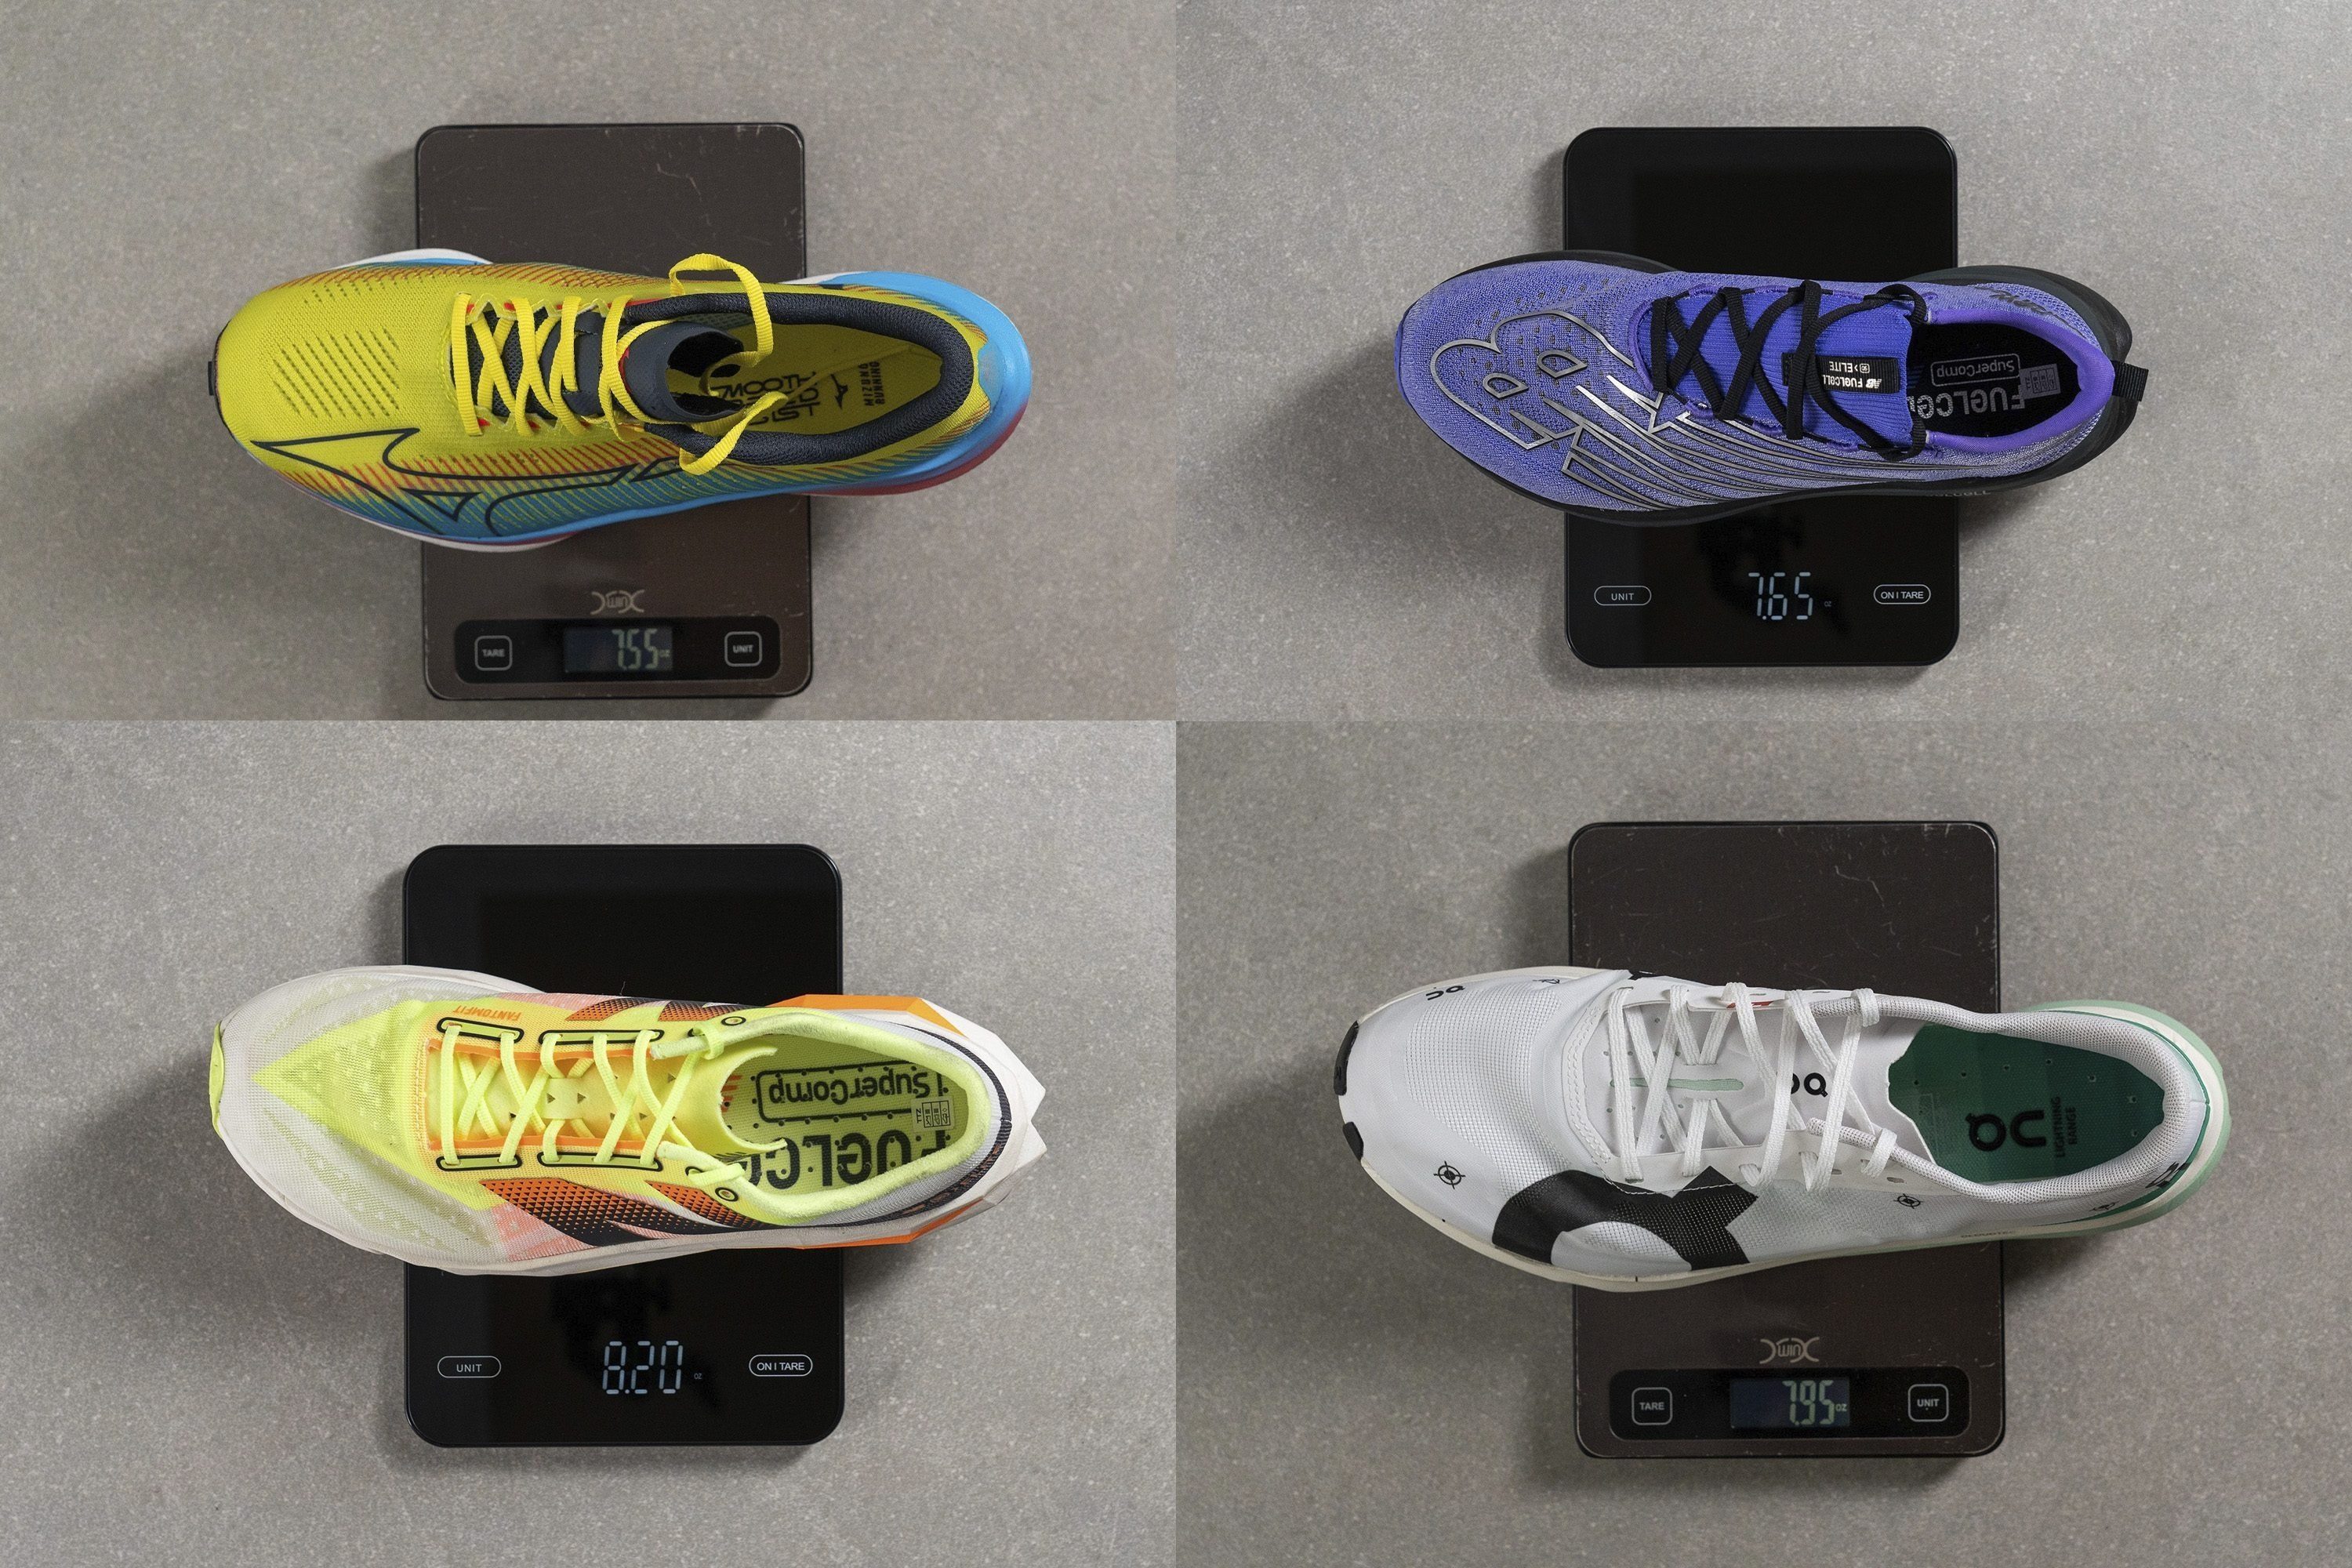
At just 7.8 oz (220g), the Rebel v5 effortlessly covers miles, feeling virtually weightless on foot. Its lightweight construction, far below the 9.3 oz (263g) average for road running shoes, ensures it never holds us back during runs.
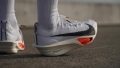
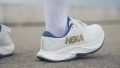
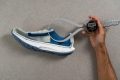
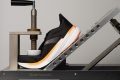
Beyond the lab, Rebel v5 thrives on the road with its vibrant soul easing out our hard efforts. Our energy return test shows impressive scores of 59.8% in the heel and 67.3% in the forefoot. Each landing feels supported by a shock-absorbing platform, with the heel scoring a standout 145 SA rating. The Rebel v5 isn't just about speed; it's also built for endurance.
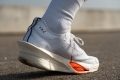
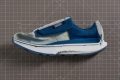
Furthermore, its exceptional flexibility, evidenced by a 24% lower resistance compared to the average, allows it to effortlessly bend with our foot's natural flexion.
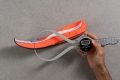
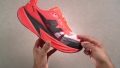
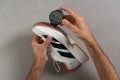
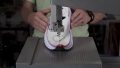
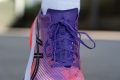
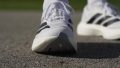
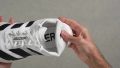
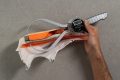
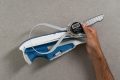
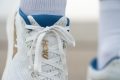
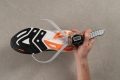
However, its focus on reducing weight led to a weak upper structure. Our Dremel punctured it easily, so we don’t recommend it to runners looking for a sturdy pair.
Pros
- Lightweight build
- Cloud-soft FuelCell foam
- Fixes all issues from v4
- Maintains the same price from v4
- Handles easy runs and tempo sessions
- Top pick for midfoot strikers
- Still flexible and fun
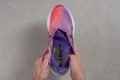
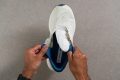
- Improved fit overall
Cons
- Runs warm on hot summer days
- Upper durability is a concern
- Traction could be better
Lightweight running shoes with the best energy return


What makes it the best?
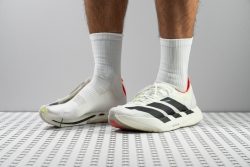
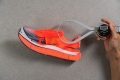
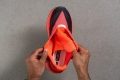
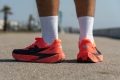
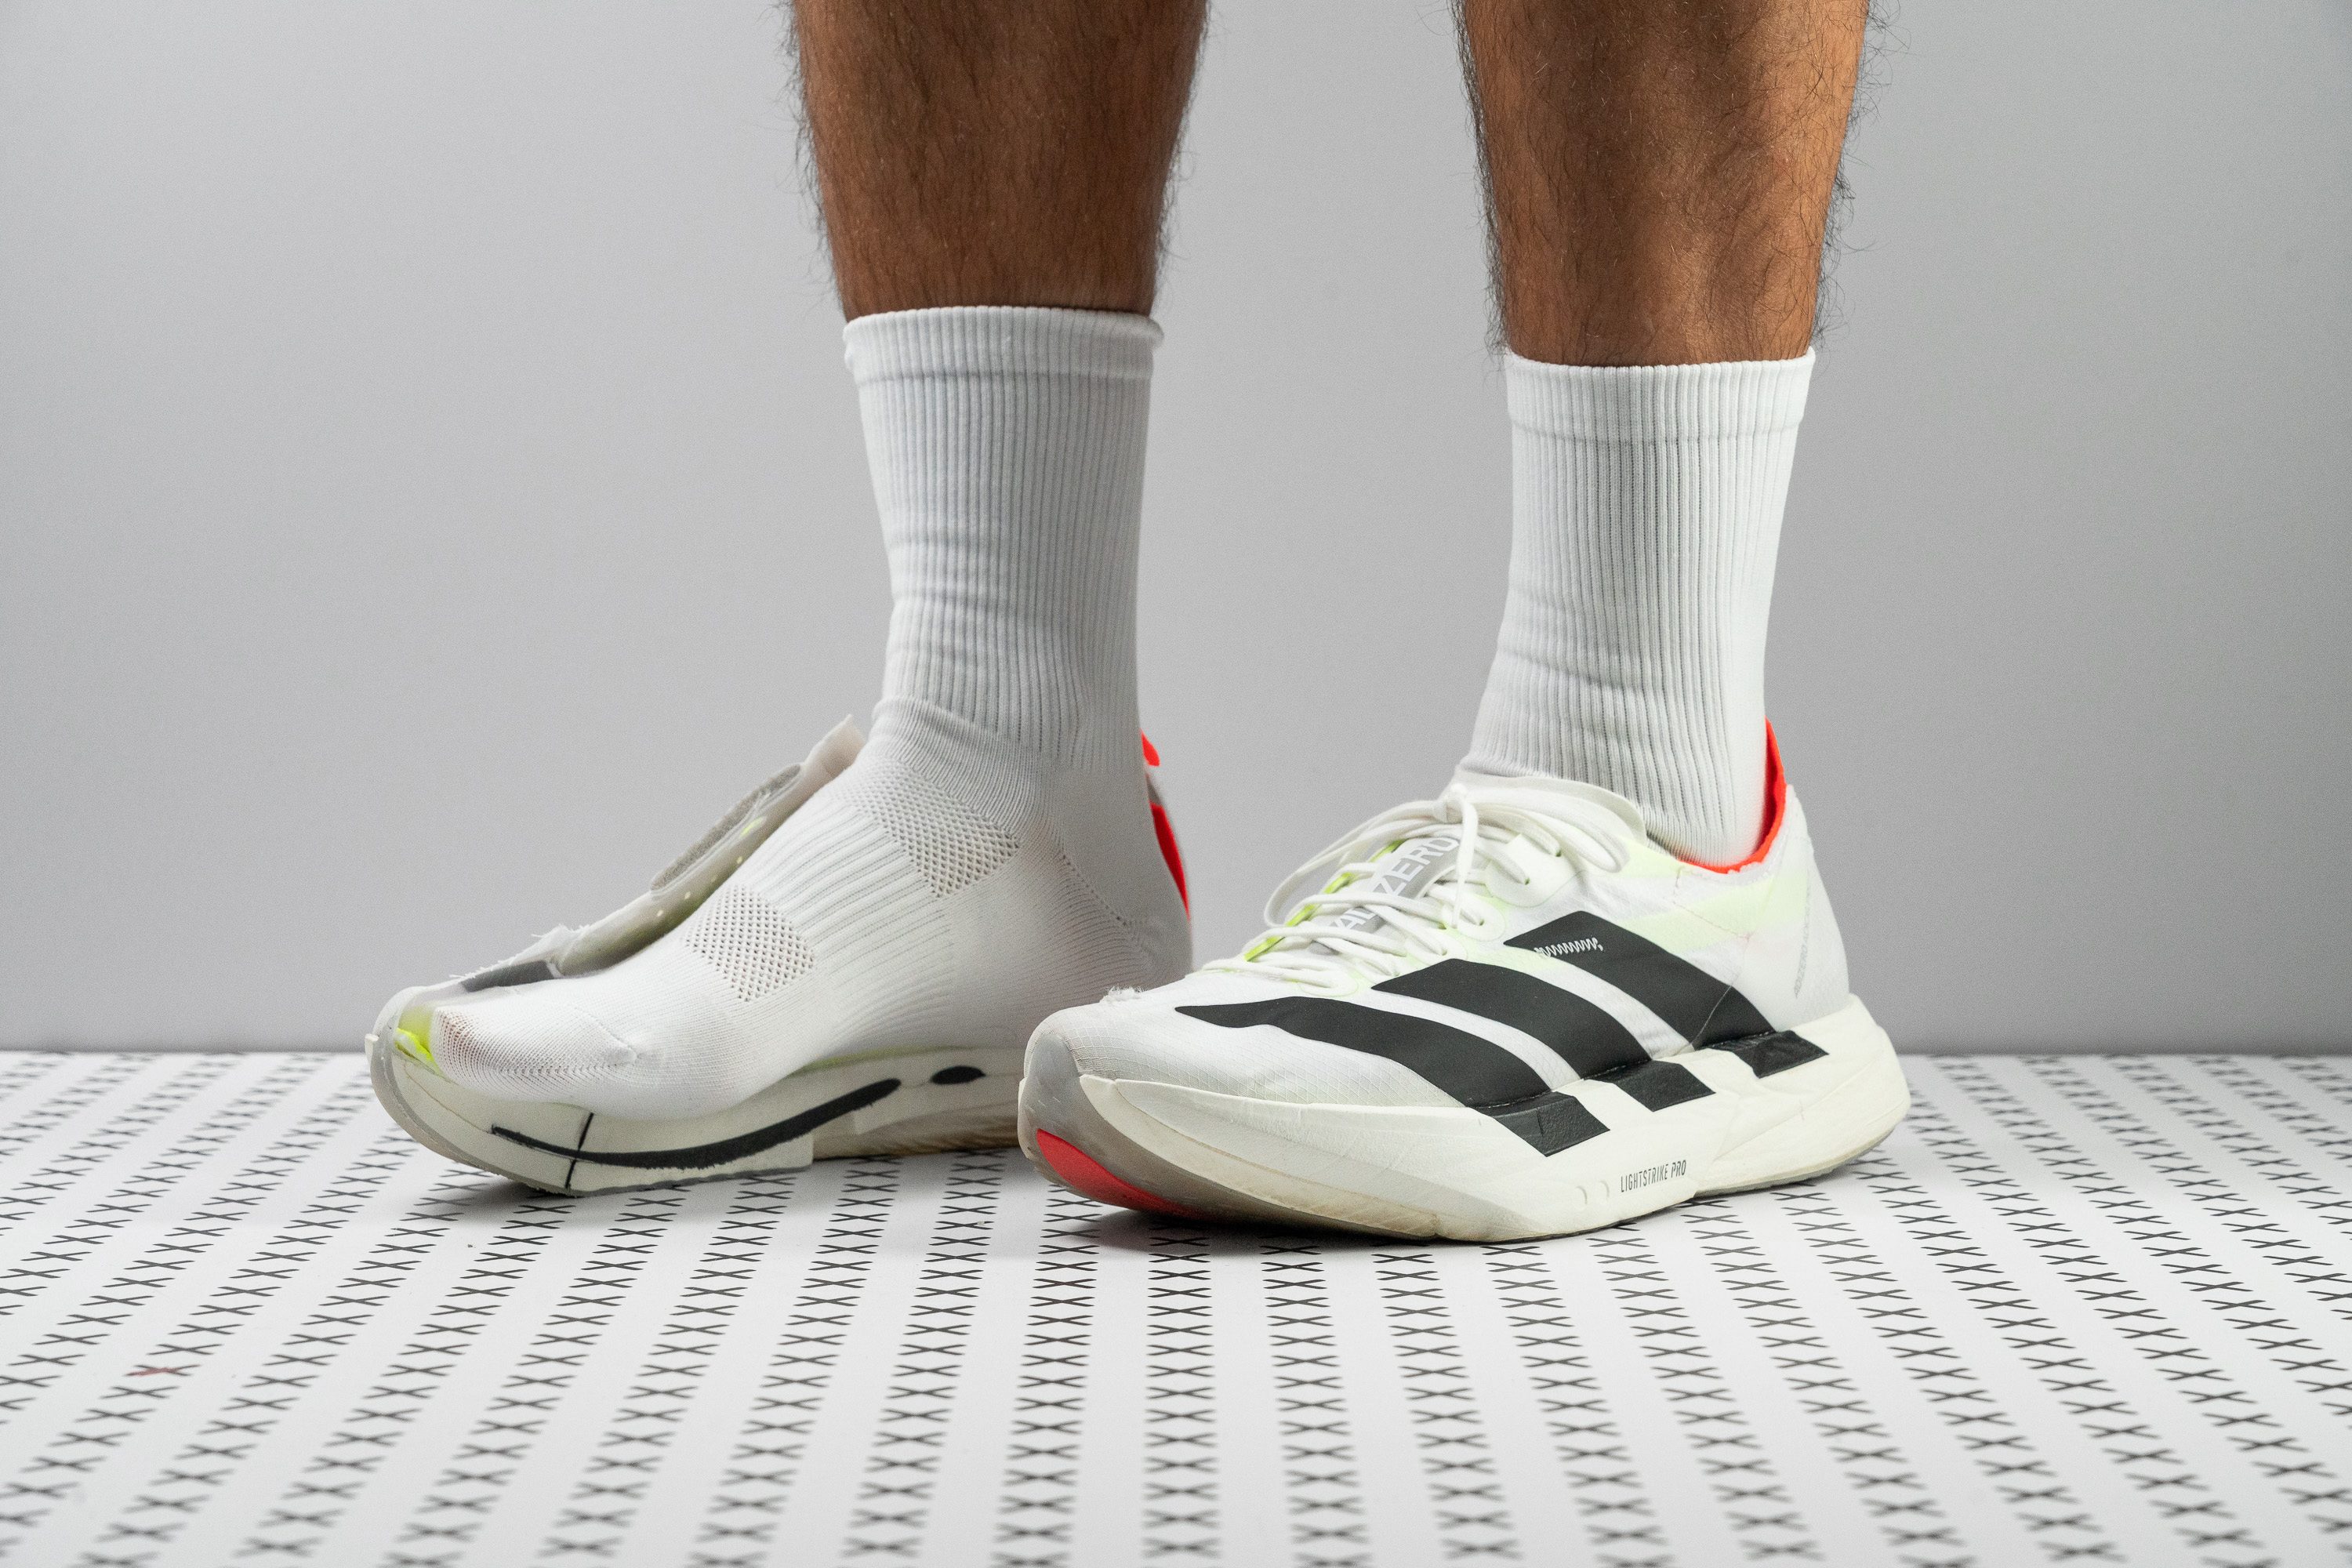
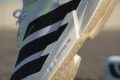
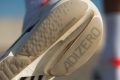
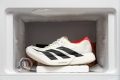
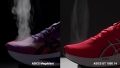
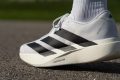
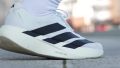
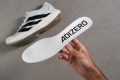
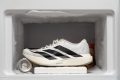
Running in the adidas Adizero Adios Pro 4 feels like we’re shoeless! It redefines the meaning of a super shoe because it’s not only lightning-fast and airy, it’s stable too for front strikers. This speedster helps us shave off minutes without sacrificing comfort, making it our lightweight shoe with elite energy return.
AP4’s lab results are outstanding, but it’s our runs that amaze us more. It releases a consistent supply of energy and comfort with its luscious and power-loaded mega-stack. With every stride, a pop of energy launches us forward as our lab test shows the forefoot offers 80.3% energy return vs. the 60.5% average.
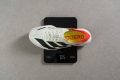
Meanwhile, every landing impact is absorbed by the stack, validated by its 142/117 SA or shock absorption scores in the heel and forefoot. It's airy build keeps things light on our feet—a great relief in endurance runs. At 7.1 oz (200g), it’s 24.5% lighter than average.
While other racers tend to be unstable, AP4 is extremely supportive. Its forefoot measures 4.5 mm wider than average, providing more stable landings for forefoot and midfoot strikers. Even when turning at high speeds, the shoe feels steady with no lateral wobbles.
Adios, heel-strikers! Its heel measures 10.3 mm narrower than average, which may cause discomfort and less stability.
Pros
- Softer, bouncier Lightstrike Pro foam
- Maintains the same price
- No more heel slippage
- Versatile from 5K to marathon distances
- Durable outsole with outstanding grip
- Fantastic for midfoot and forefoot strikers
- Improved for faster runners
- Comfortable, gusseted tongue
- Lighter than Adios Pro 3
Cons
- Unstable for every heel striker
- Narrow, tapered toebox
- Upper lacks breathability
- Midsole loses bounce quicker than AP3
Lightweight running shoes with the best shock absorption


What makes it the best?
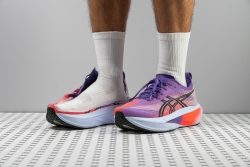
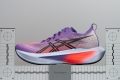
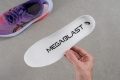
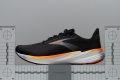
With a delicate 7.8 oz (218g) construction, the ASICS Megablast is our #1 lightweight option with the best shock absorption. It takes us fast and far with its delightful cushion and dynamic midsole that infuses tons of energy in our strides. It’s hard not to love this shoe, with unmatched traction as the cherry on top.
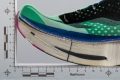
A champion in the long haul game, the Megablast’s midsole ticks all boxes, packing comfort and responsiveness in one. It offers generous cushioning with its towering 45.1/35.2 mm stack. Not only that, the foam itself reduces the impact of road running better than the standard, proven by its massive shock absorption scores of 160 SA (heel) and 144 SA (forefoot) in our lab test.
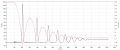
The midsole feels plush without the sinking sensation. Rather, its springiness comes alive with every toe-off. In our energy return test, we recorded solid ratings of 73.0% in the heel and an even higher 73.8% in the forefoot.
The bite displayed by the ASICSGRIP outsole is out of this world. Scoring a record-breaking 0.80 in our wet-condition test, its traction is 70.2% stronger than average, delivering confident footing in our runs.
This high-performance shoe comes with a steep $225 price tag. Runners on a budget may want to explore comfortable yet cheaper alternatives.
Pros
- Outstanding energy return
- Exceptional impact protection
- Durable, grippy outsole rubber
- Astonishingly low weight
- Performs at any pace and distance
- Breathable, lightweight upper
- High-quality materials from heel to toe
- Suitable for all footstrikes
- Top performance without a carbon plate
Cons
- Extremely expensive for a training shoe
- Limited outsole coverage
- Poor toebox durability
Best lightweight running shoes for tempo workouts


What makes it the best?
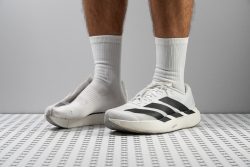
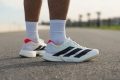
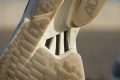
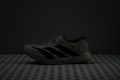
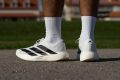
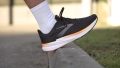
Faster than its shadow, adidas Adizero EVO SL is our best tempo shoe in the lightweight division. This hyper-shoe exhales pure speed and agility through its massive energy rebound, exceptional shock absorption, and high flexibility, all of which are backed by lab results.
Adizero EVO SL unveiled its dynamic persona on our streets, unleashing bursts of energy in every stride. Its power lies in the Lightstrike Pro midsole, which recorded solid energy return scores of 74.3% in the heel and 70.3% in the forefoot. No shortage of speed here!
Every footfall is met with a heavenly sensation. Thanks to strong shock absorption levels—147 SA in the heel and 126 SA in the forefoot—our legs didn’t feel shot at the end of a grueling run.
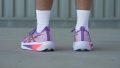
This airy shoe never burdened us; it actually melted away on foot. Our scales confirm it's very light for a trainer at 7.9 oz (223g). With its plate-free design, it’s easy to maneuver. Our bend test confirms its unmatched flexibility, being 36% more pliable than average.
However, the shoe’s lack of structure and support is not ideal for those with pronation issues or foot pain. We recommend looking for a trainer with a wider midsole or a more rigid midsole for better stability.
Pros
- 100% Lightstrike Pro superfoam
- Exceptional value-to-performance ratio
- Low weight
- Ultra-breathable upper
- Unmatched versatility
- Agile and fun ride
- Handles short and long runs with ease
- Striking Evo 1-inspired aesthetics
Cons
- Poor-quality laces
- Short, non-gusseted tongue
- Toebox durability
Best lightweight running shoes for marathon


What makes it the best?
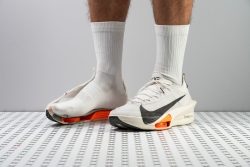
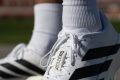
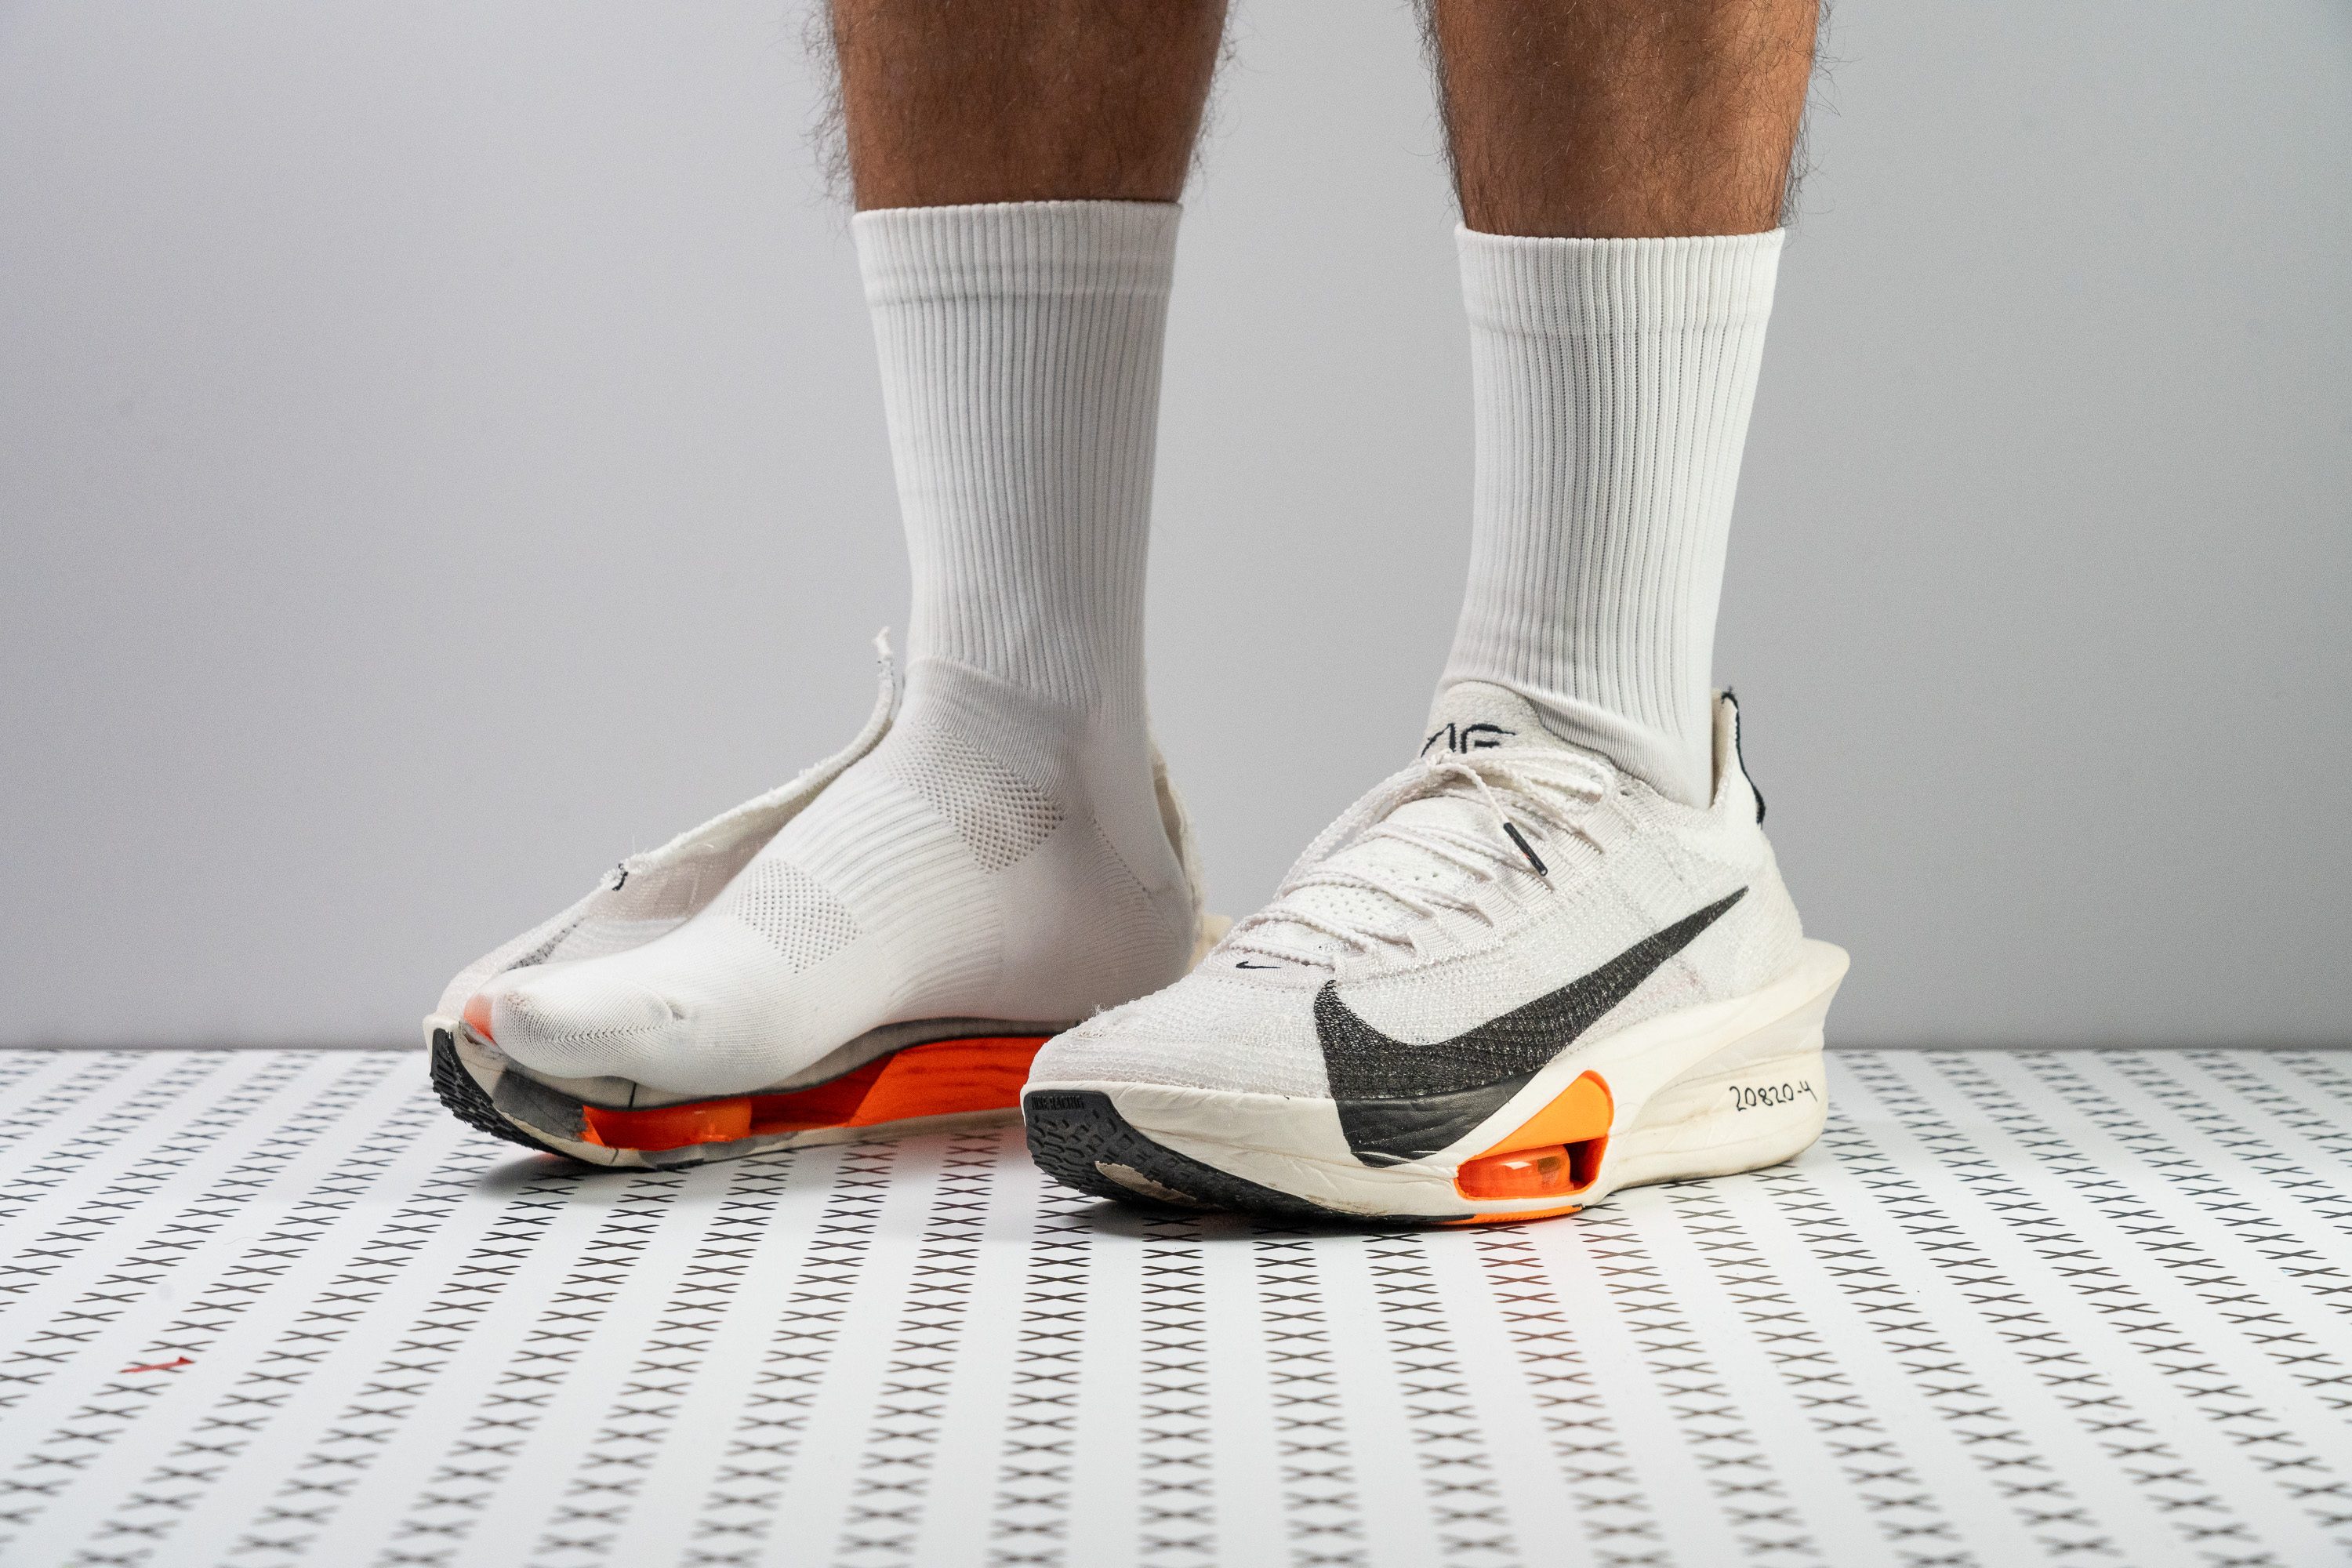
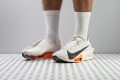
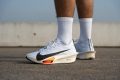
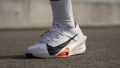
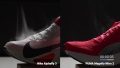
Alphafly 3 goes lightning fast at any distance. Characterized by boundless energy, revolutionary stability, and a refreshing ride, our lab and run tests wholeheartedly endorse this shoe as best for marathons in the lightweight running category. Going fast and far feels effortless with this Nike pair.
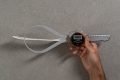
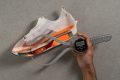
This beast is on fire, effortlessly keeping up with our fastest speed. It boasts a superior combination of the rigid FlyPlate and the Air Pods, adding power to every stride. Our bend test reveals it takes a solid force of 28.4N to flex this shoe to 30 degrees, 86% greater than average. This stiffness shows itself through strong and consistent energy return.
While instability is often found in racers, it doesn’t hold for Alphafly 3. Despite rising to skyscraper heights, the foam strategically has dual-density layers. The bottom layer is an ultra-soft 34.5 AC for gentle landings, while the top layer is a firm 47.2 AC to enhance surefootedness. This feature comes alive at longer distances, inspiring confidence since it prevents leg fatigue.
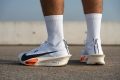
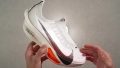
Running a marathon is a breeze with Alphafly 3’s lightweight package and ultra-breathable upper. It scored the highest rating on our breathability test and only weighed 7.1 oz (201g).
While this shoe is light, the case isn’t the same as its price. It costs a steep $285, but honestly, we think it’s worth the investment for peak performance.
Pros
- Remarkably lightweight despite its broad size
- Best-in-class breathability
- Excels in the marathon distance
- Repositioned Air Pods offer a better ride than the v2
- ZoomX foam delivers massive energy return
- Aids in forward momentum, especially when legs begin to fatigue
- Better than ever for 5K/10K racing
- Finally smooth transitions!
Cons
- Heel strikers might wear down the outsole quickly
- The arch could still be a challenge for some
- The sock-like tongue might not suit everyone
Best lightweight stability running shoes


What makes it the best?
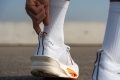
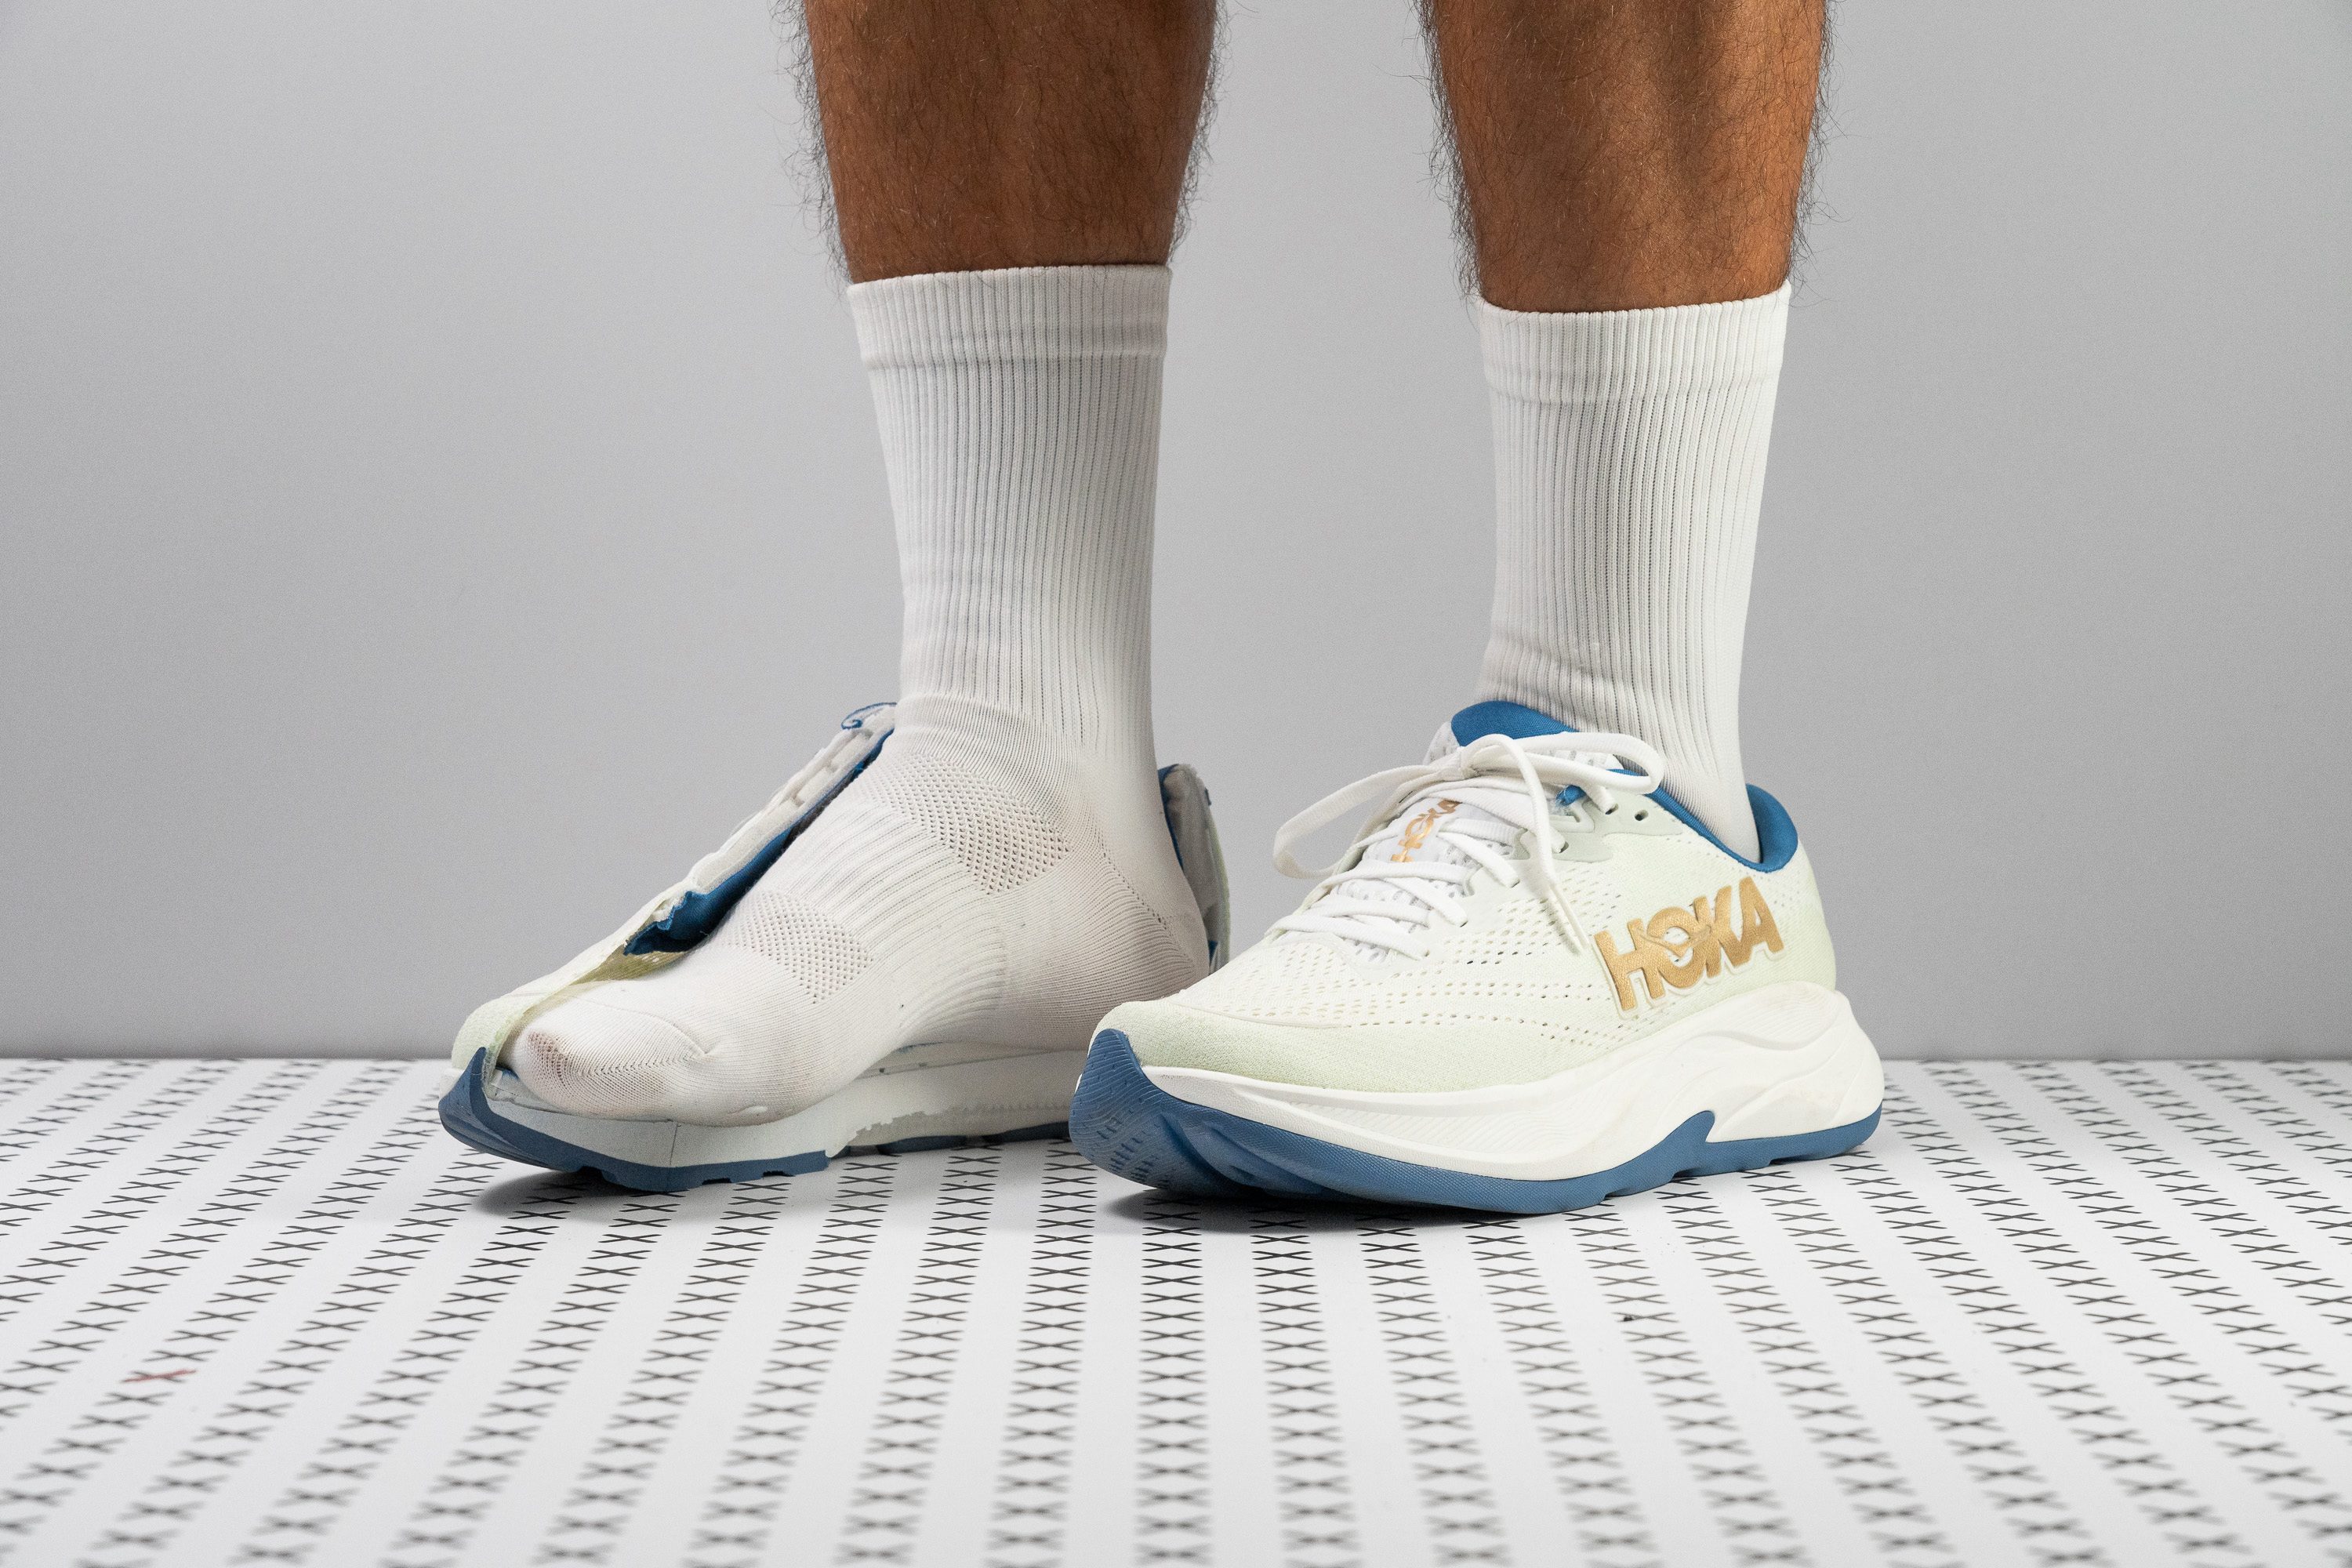
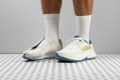
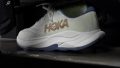
After lab tests and runs, we’re truly in awe of how HOKA Rincon 4 packed so much support and shock absorption in a light and moderately-stacked shoe. We got the low-key stability we need through subtle elements, while feeling remarkably agile and reassured, solidifying its claim as the premier lightweight stability shoe.
We observed midsole sidewalls and a broad 97.0 mm heel, which naturally enhances sure-footedness. In our manual assessment, it took mighty strength to twist the shoe, earning a high torsional rigidity rating of 4/5.
Weighing in at 8.1 oz (231g), the Rincon 4 defies the stereotype of heavy stability shoes averaging 10.1 oz (286g) in our lab. It features a moderate stack height of 36.0/26.6 mm, boosting agility and versatility.
Despite its average thickness, Rincon 4 offers above-average shock absorption, backed up by its 134/114 SA ratings in the lab, making the shoe comfortable for long-distance runs.
However, durability is a serious issue, with our Dremel cutting deep in the outsole. Runners who quickly wear shoes away should go for a long-lasting trainer.
Pros
- Reasonably priced
- Enhanced stability
- Improved midsole over v3
- Superior breathability
- Still really lightweight
- Increased stack height
- Suitable for everyday activities
- Good traction
Cons
- Poor durability
- Low volume upper
- Weight increase
Best budget lightweight running shoes


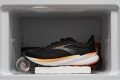
What makes it the best?
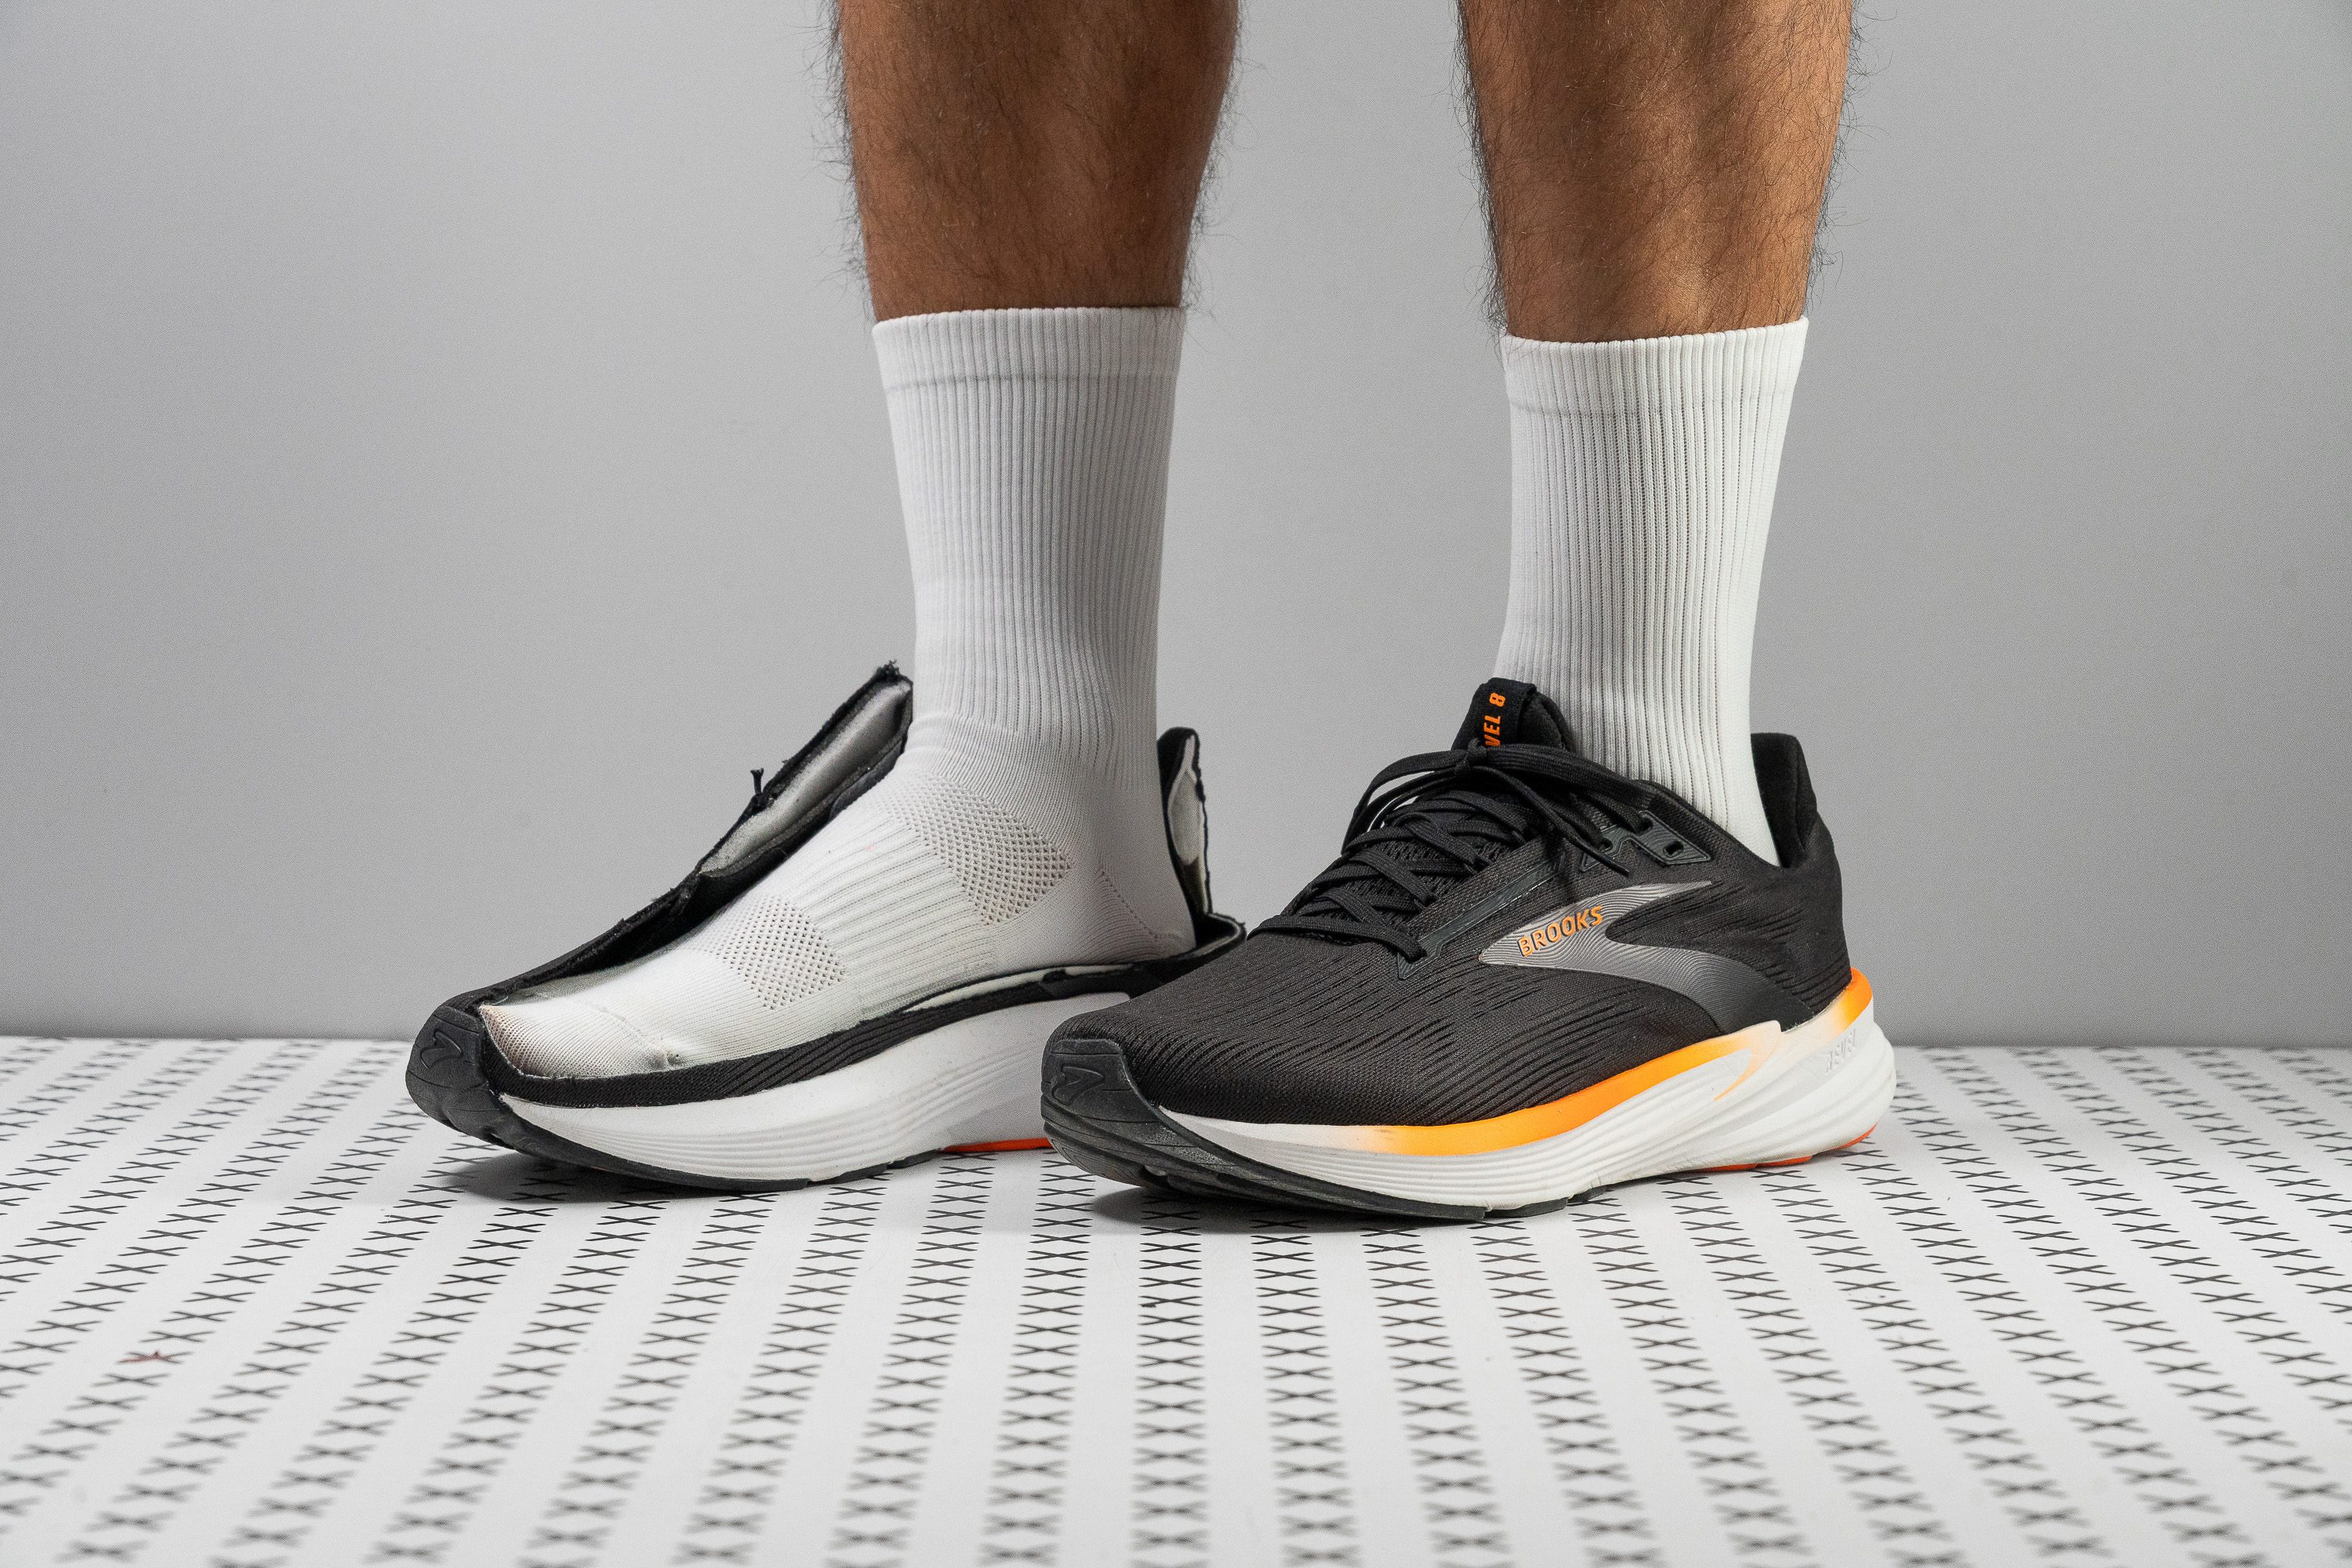
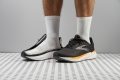
Runners searching for a lightweight and light-in-the-pocket shoe can’t go wrong with the Brooks Revel 8. It stood out in our lab tests and runs as a no-frills shoe with low weight and a low price tag. At only $100, it’s 35% cheaper than the average running shoe and offers unmatched value with its hard-wearing outsole and adaptive build.
Revel 8’s airy construction results in less burdened strides, allowing us to move with minimal effort. Our scales reveal it’s only 8.6 oz (244g), 6% lighter than the average running shoe.
Adding to its weightless feel is the flexible midsole, which emerged 15% more pliable than average in our bend test.
For its weight and price, we were pleasantly surprised by its durable outsole. Our Dremel only shaved off 1.0 mm of rubber, indicating it can take on friction against rough pavements. However, its minimal cushioning may feel harsh for extended runs or heavier athletes. Those who need more shock absorption should check alternatives.
Pros
- Keeps the same price as last year
- Upgraded to DNA Loft v2 foam
- Much better grip than version 7
- Excellent value
- Good pick for beginners
- Solid durability
- Flexible and versatile design
- Lightweight feel
Cons
- Still not very energetic
- Not ideal for forefoot strikers
- Only for short distances
How light are lightweight running shoes?
Racing shoes that weigh less than 200g or 7 oz are considered lightweight. Daily trainers that weigh less than 250g or 8.8 oz are considered lightweight.
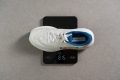
In our lab, we always test shoes in men’s size 9. If you use the “lightweight” filter on our running shoe page, it will show all running shoes that weigh less than 250g.
Why are lightweight running shoes GREAT?
A few reasons:
-
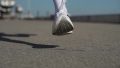
The lighter the shoe, the faster the run (as we’ve covered in great detail here). It helps that you do not feel like the shoe is weighing you down.
-
If the shoe is high-stacked and lightweight, it most likely features great new technology that makes it cushioned yet lightweight. This especially applies to carbon-plated racers because they are very high-stacked and light at the same time. But, for the carbon plate to work well, it has to work together with a premium foam (and not standard).
We talked about shoe weight in great detail in this guide.
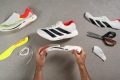
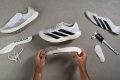
How do brands make shoes weigh less?
To make the shoe lightweight, it’s not enough to just cut back on the material. Brands have their own ways and they usually do a few different things at the same time.
- Cutting down on the padding. When this happens, we usually see a very thin tongue and a very thin heel, sometimes even sock-like
- Cutting down on the outsole rubber. Then, we see a lot of exposed midsole which is lighter than the rubber
- Making the cuts in the foam itself is done so that the shoe gets lighter and it helps with flexibility
- Using new technologies and here we specifically talk about premium midsole foams and carbon plates which, as a group, can make the shoe high-stacked and lightweight
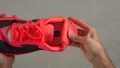
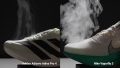
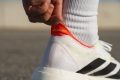
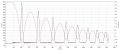
Less padding in lightweight running shoes
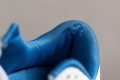
To make the shoes lightweight, brands have to cut corners. Sometimes, it can be as small as ditching the heel tab, while other times it can be as big as removing the tongue or heel padding.
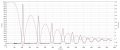
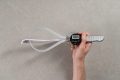
Lightweight running shoes have 2x less tongue padding than non-lightweight running shoes on average.
- Average tongue thickness in non-lightweight running shoes: 6.6mm
- Average tongue thickness in lightweight running shoes: 3.3 mm
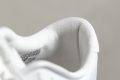
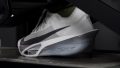
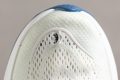
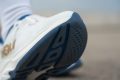
We can also look at the differences in heel padding.
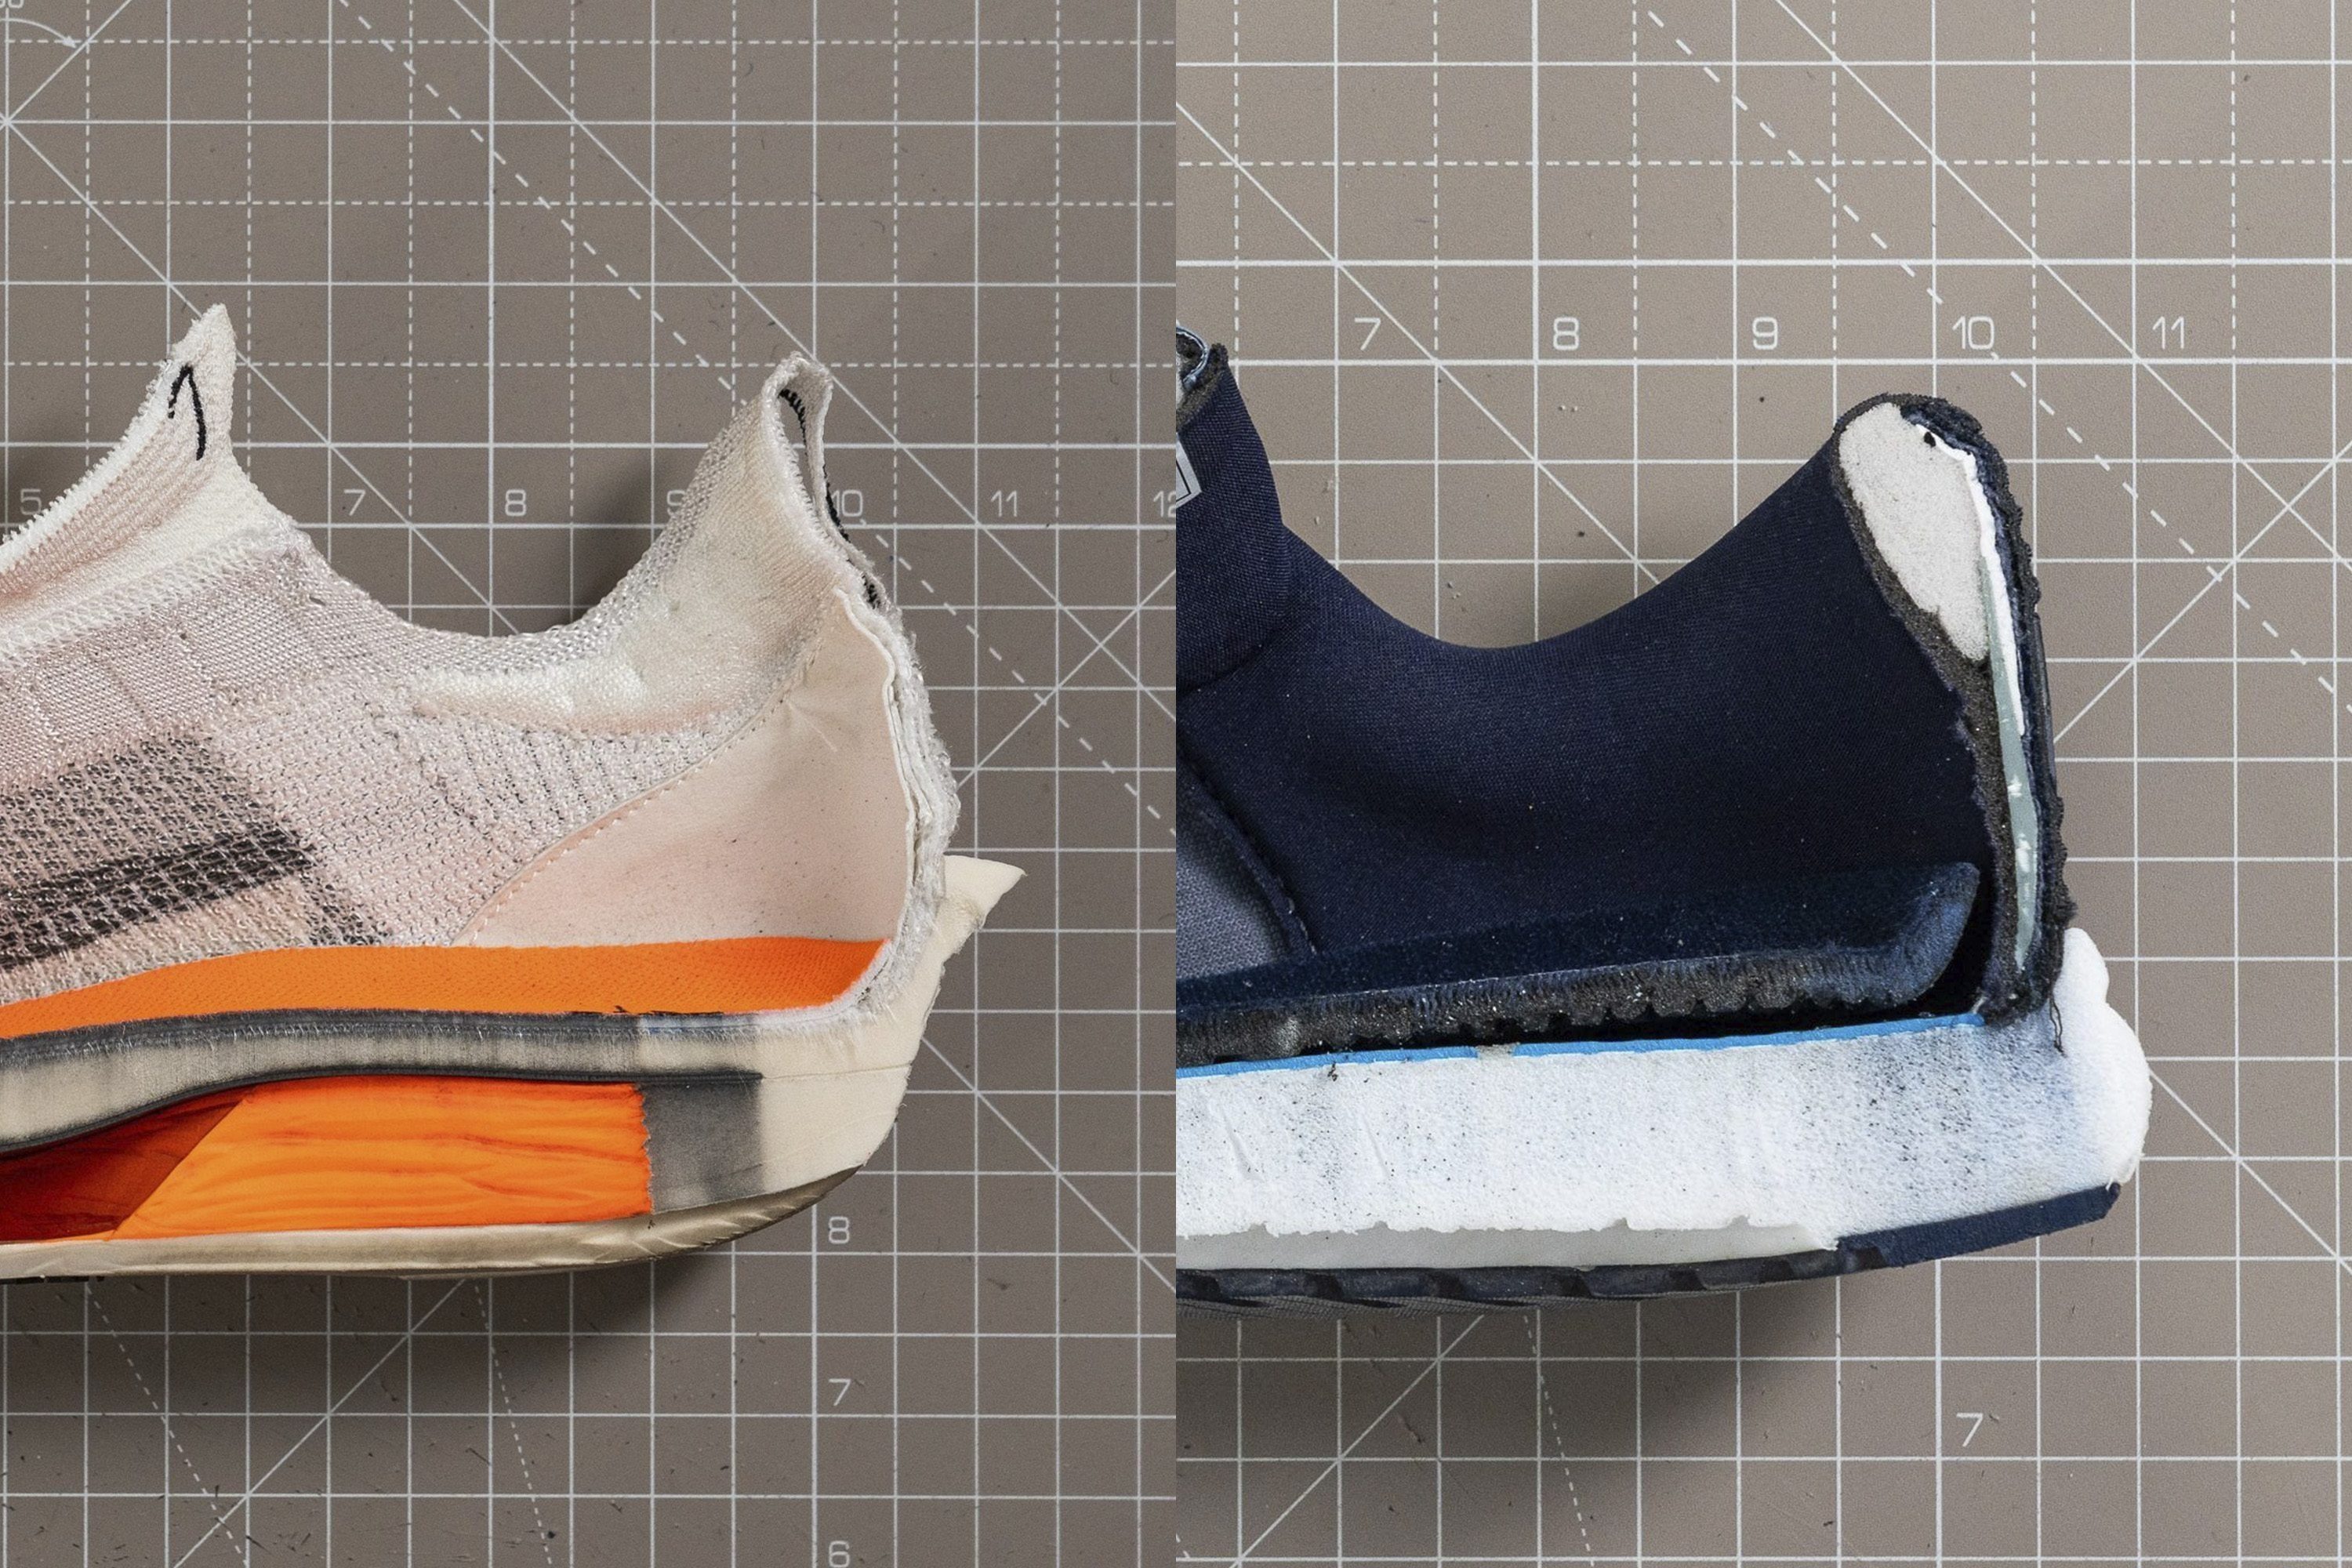
Many cozy running shoes have a lot of padding at the back, while lightweight running shoes tend to omit that.
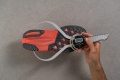
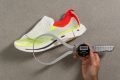
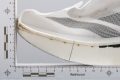
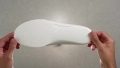
Rubber coverage in lightweight running shoes
Rubber is heavy and it’s certainly heavier than the foam. But, good rubber coverage is imperative for shoes that should work for overpronators, for flat feet, for wet terrain, and that should be stable.
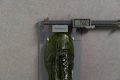
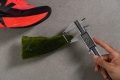
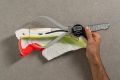
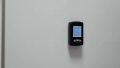
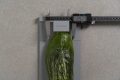
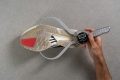
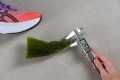
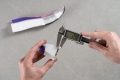
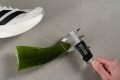
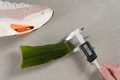
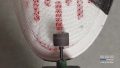
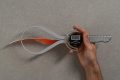
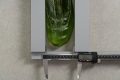
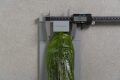
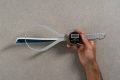
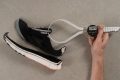
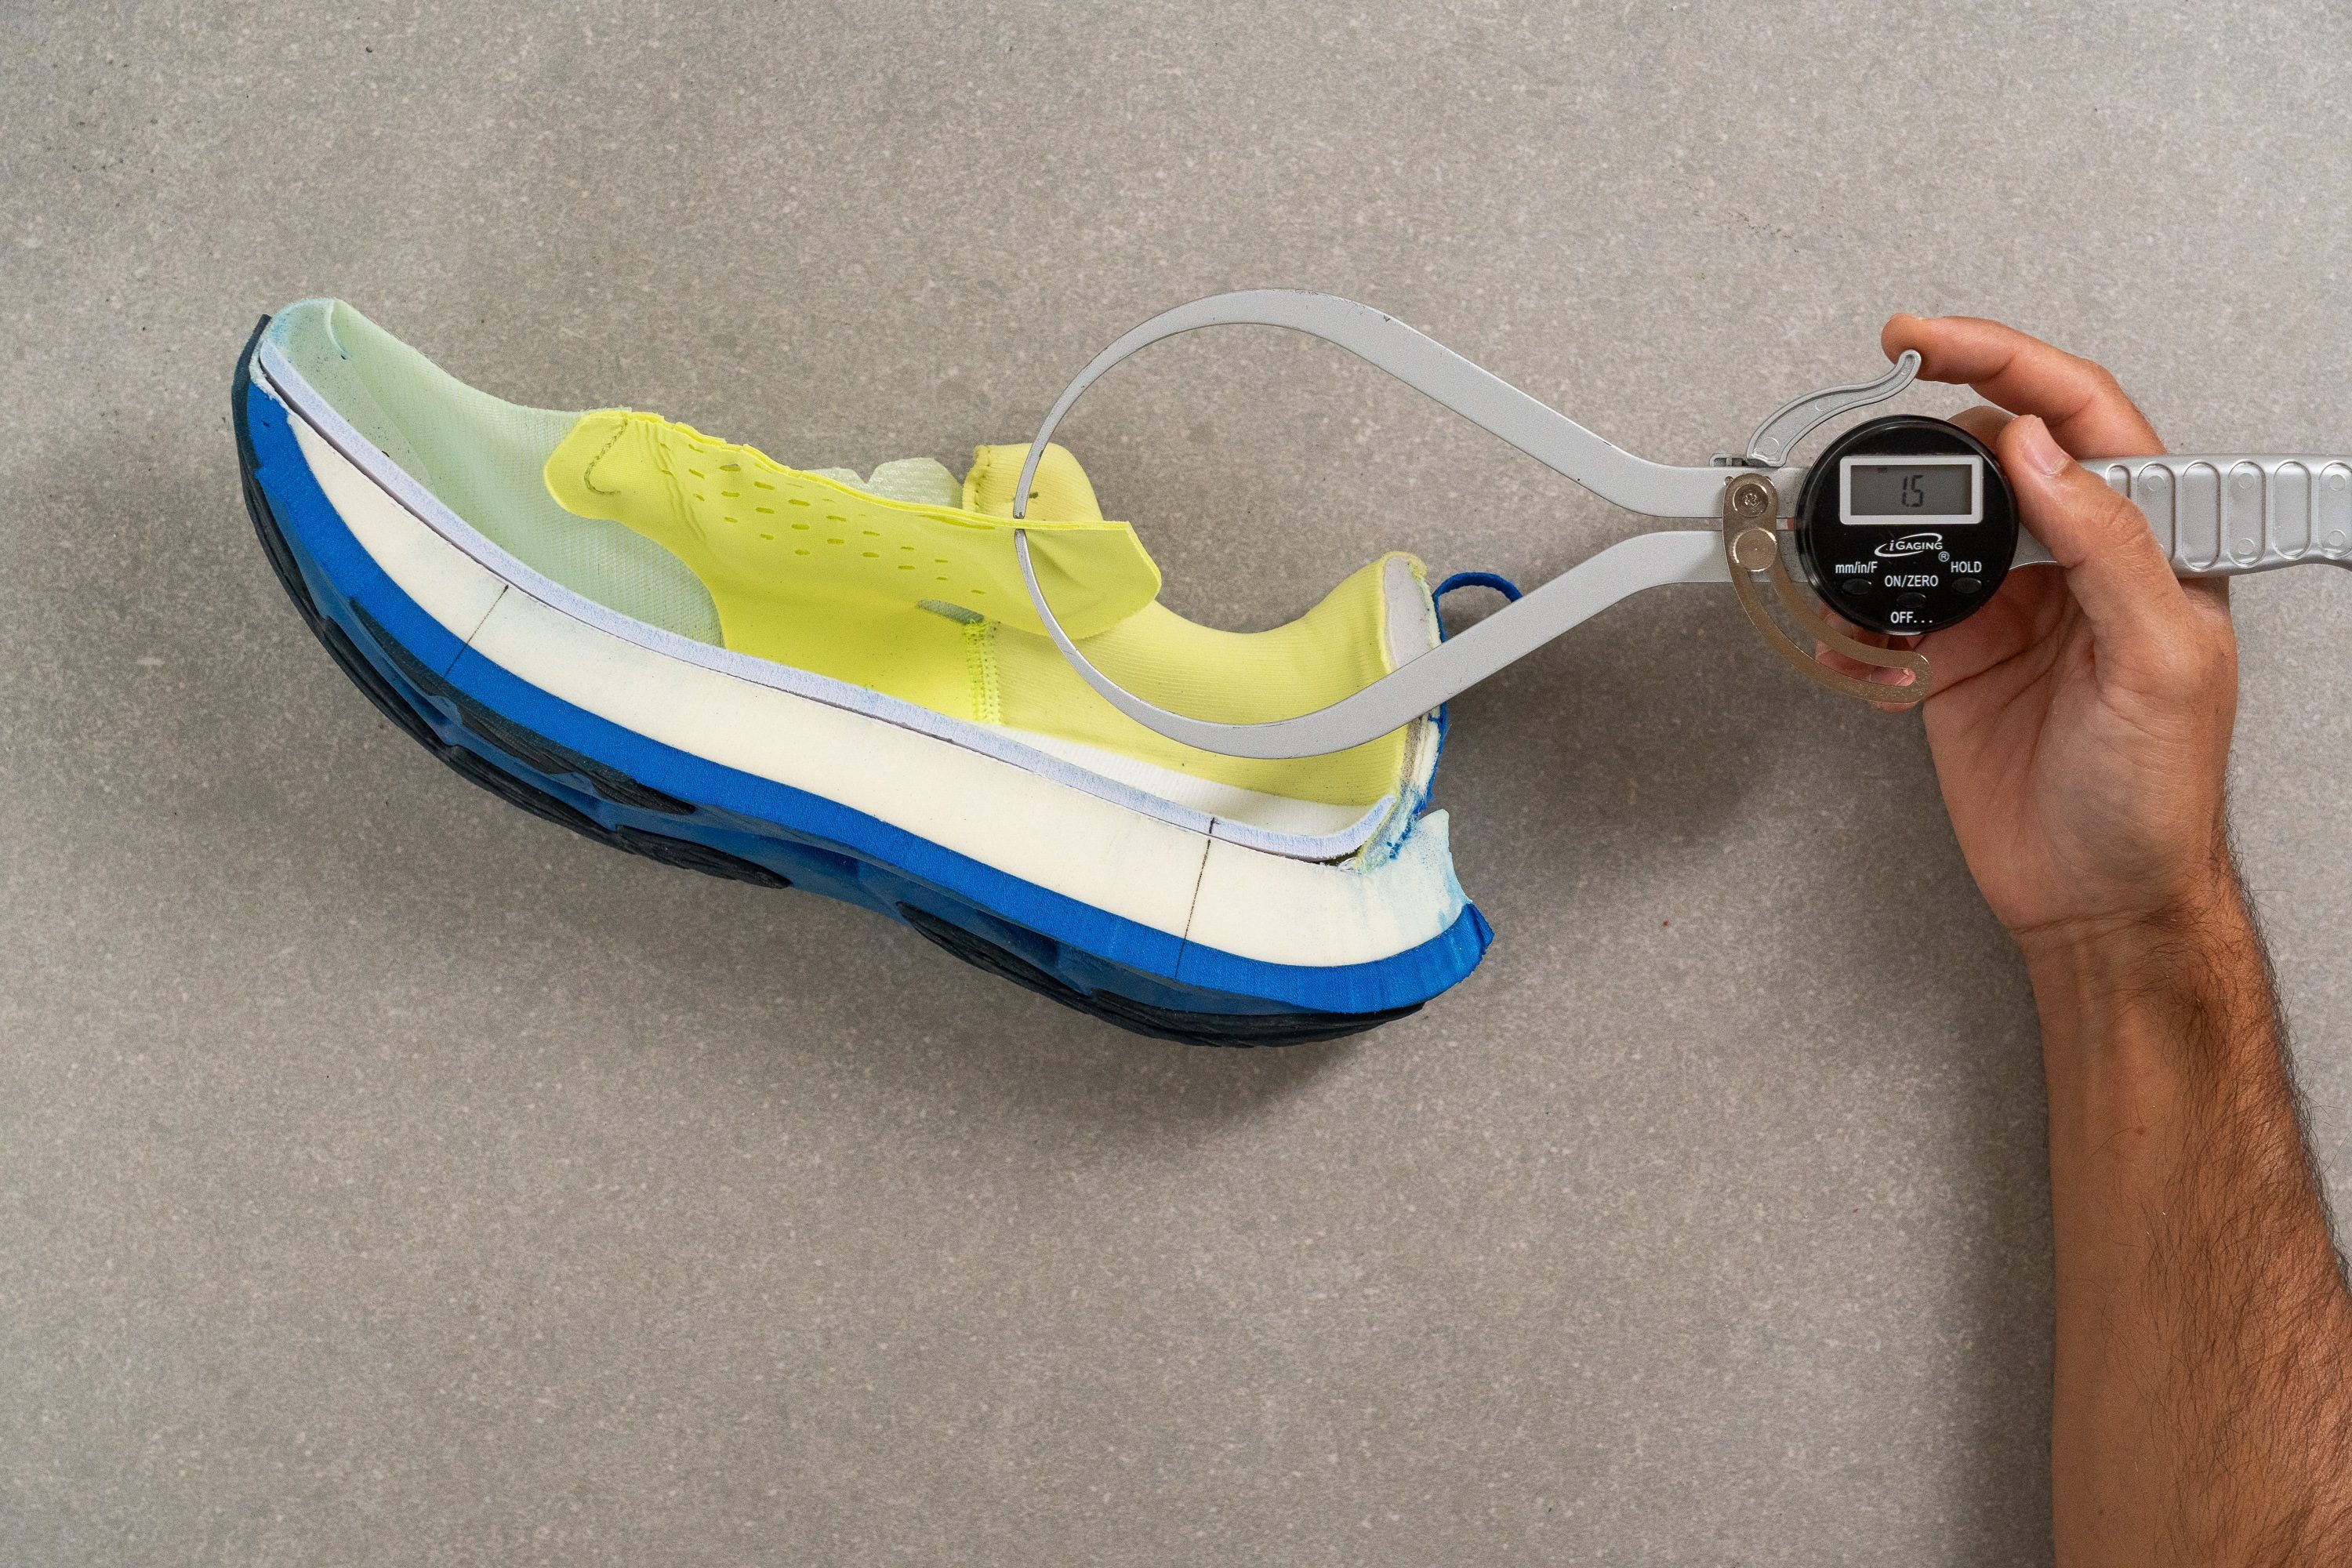
In our shoe lab, we measure the thickness of the outsole rubber.
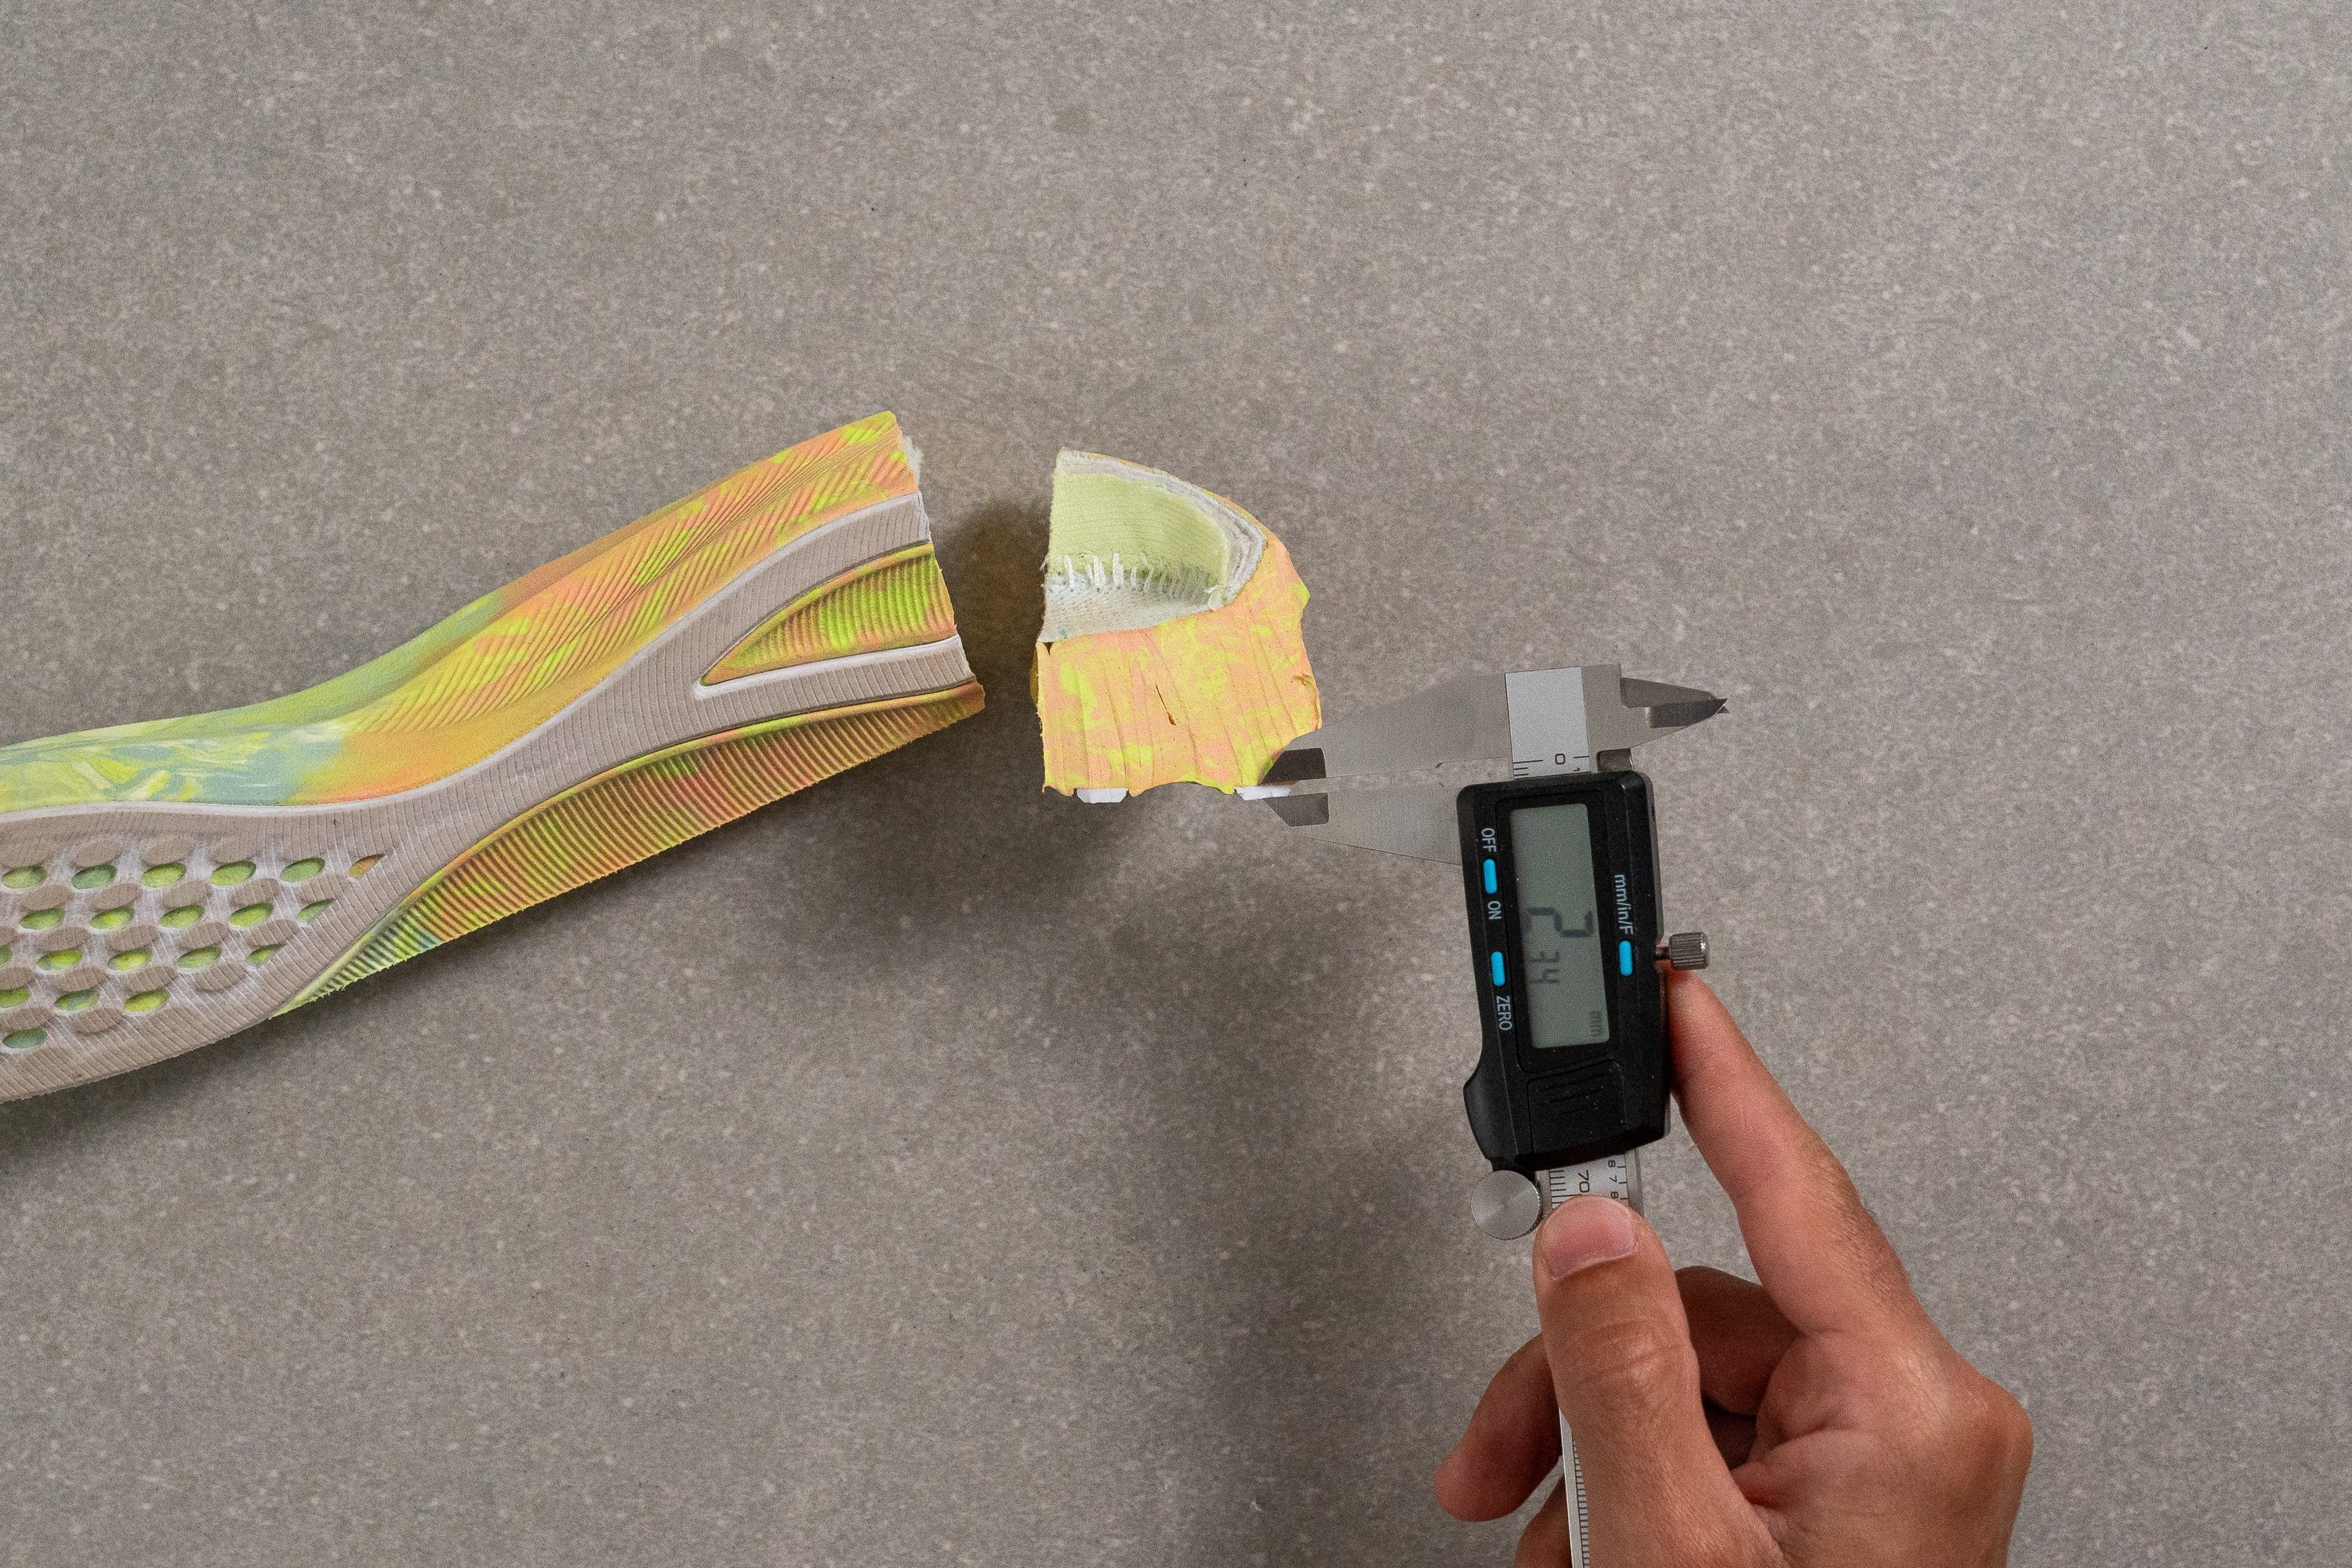
- Average outsole rubber thickness in lightweight running shoes: 2.5 mm.
- Average outsole rubber thickness in non-lightweight running shoes: 3.5 mm.
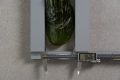
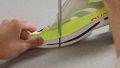
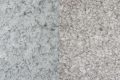
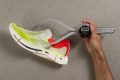
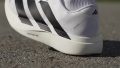
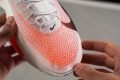
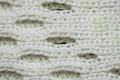
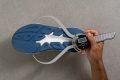
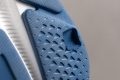
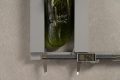
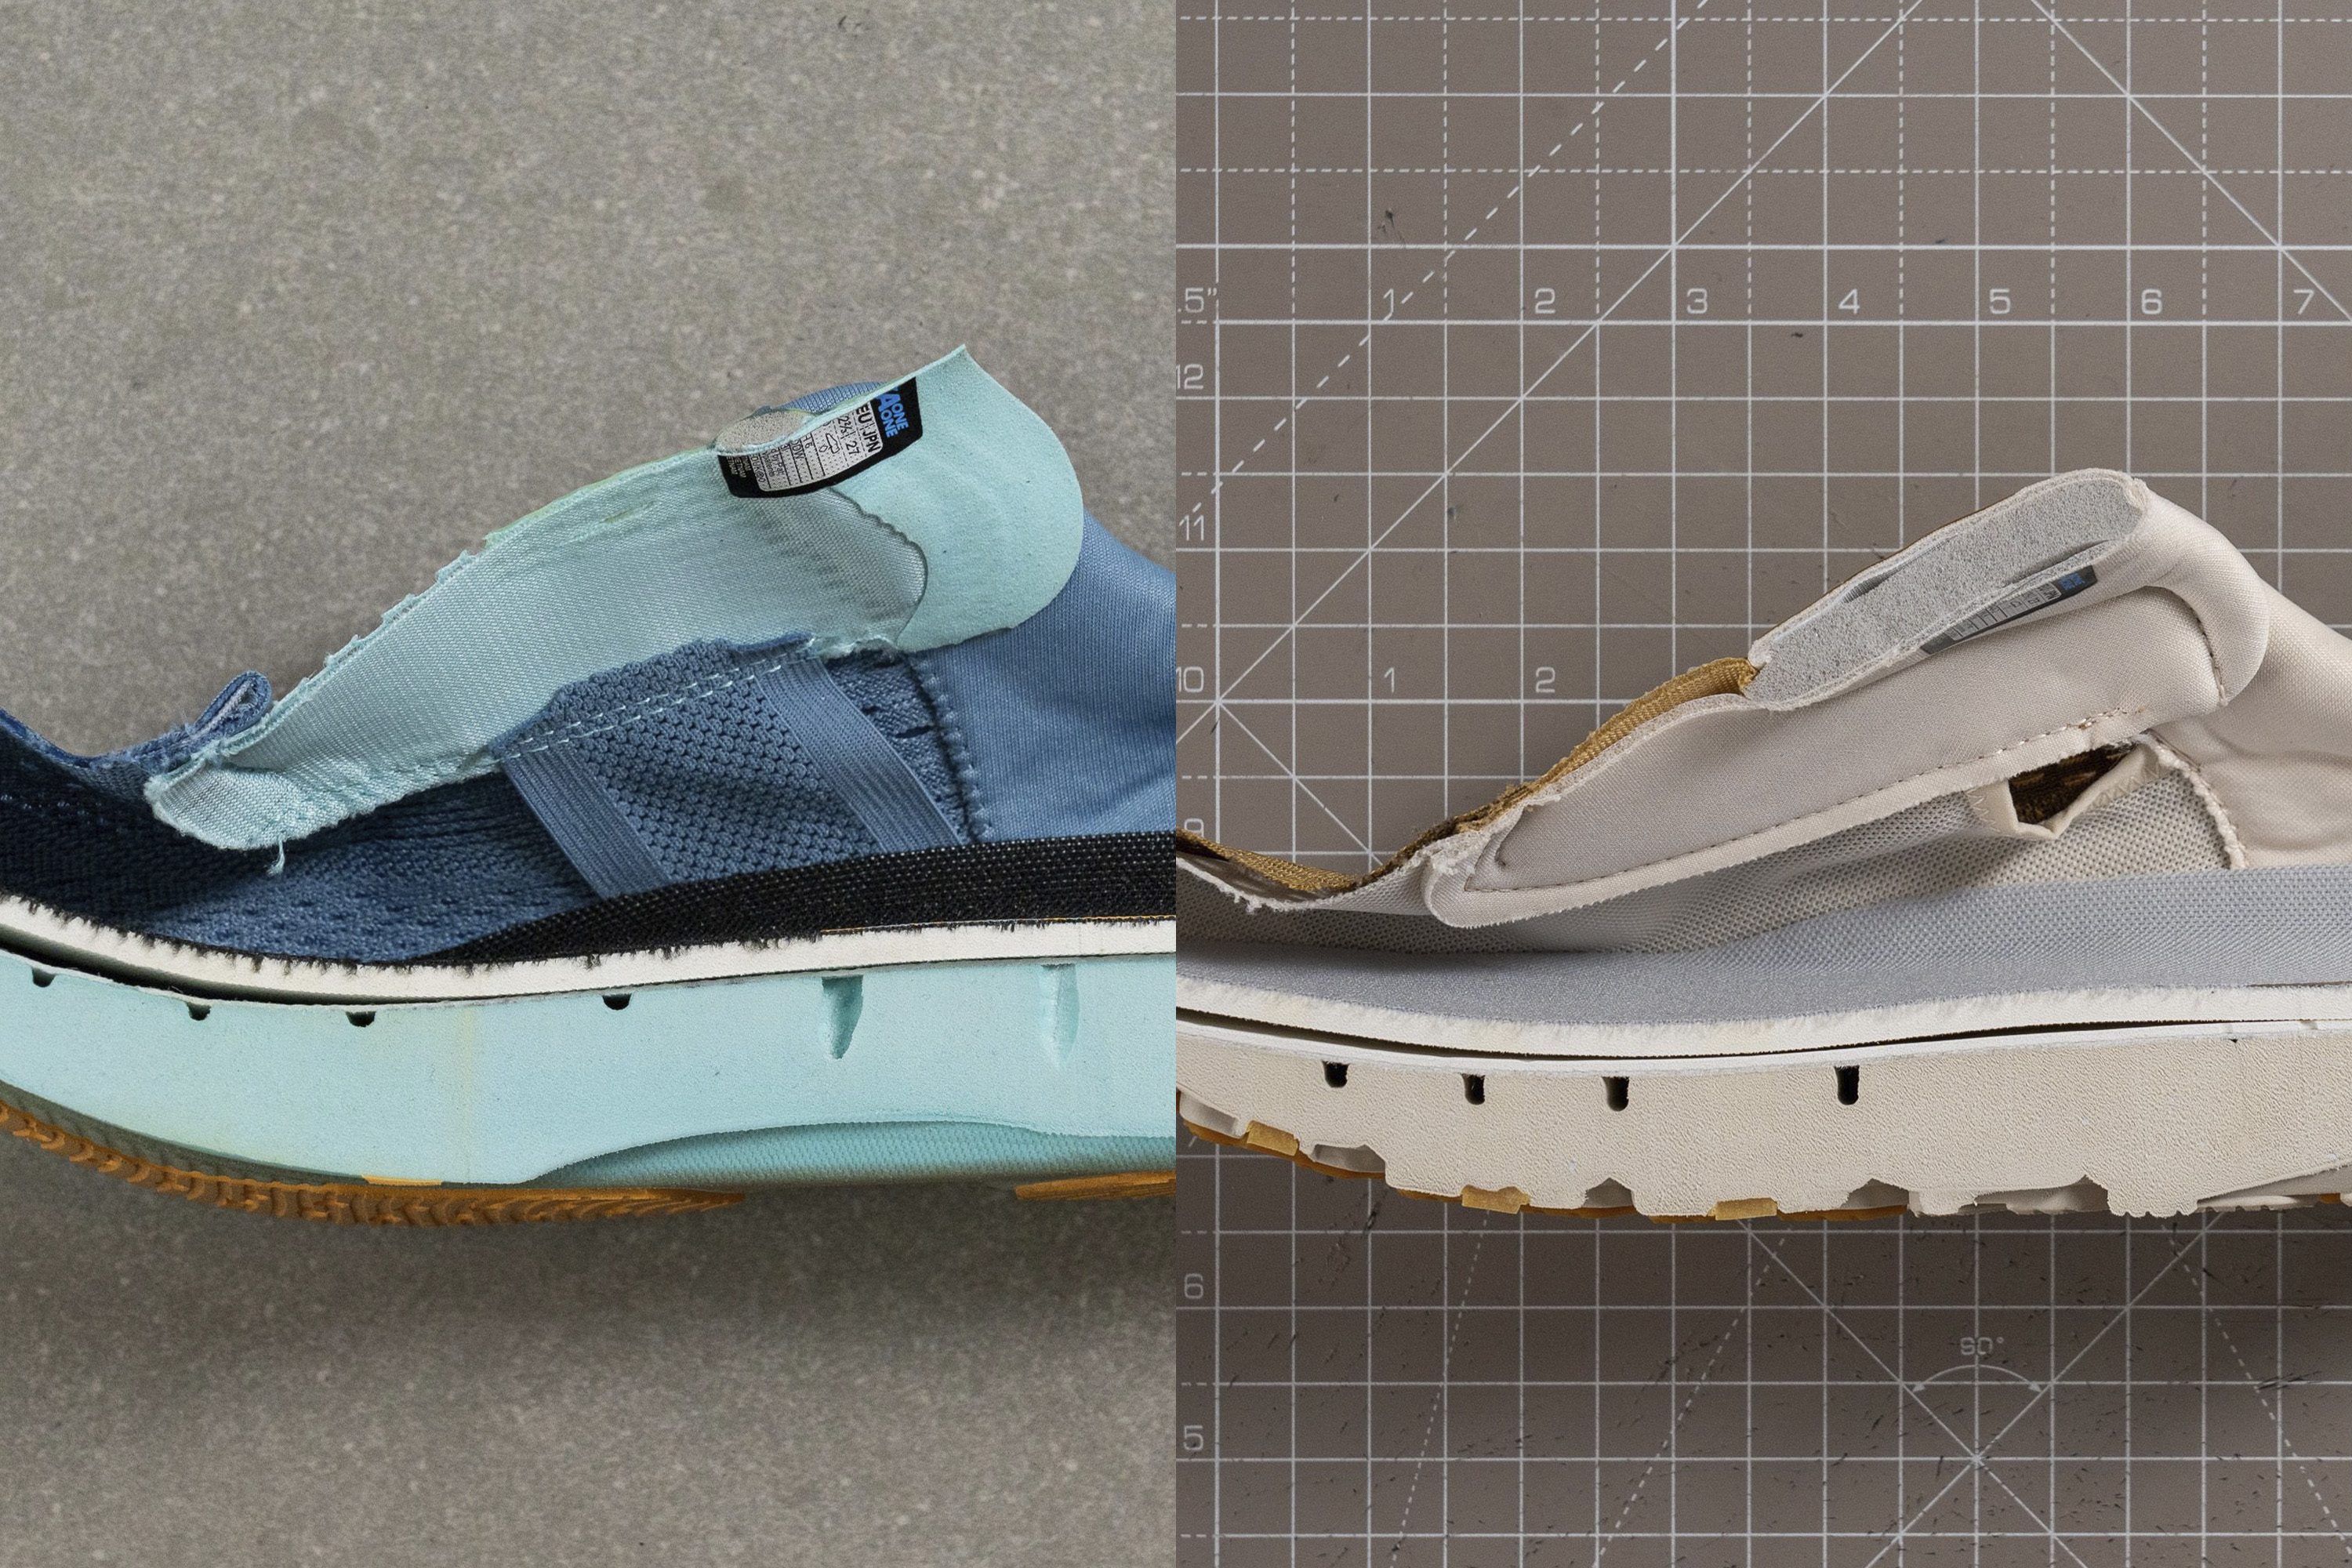
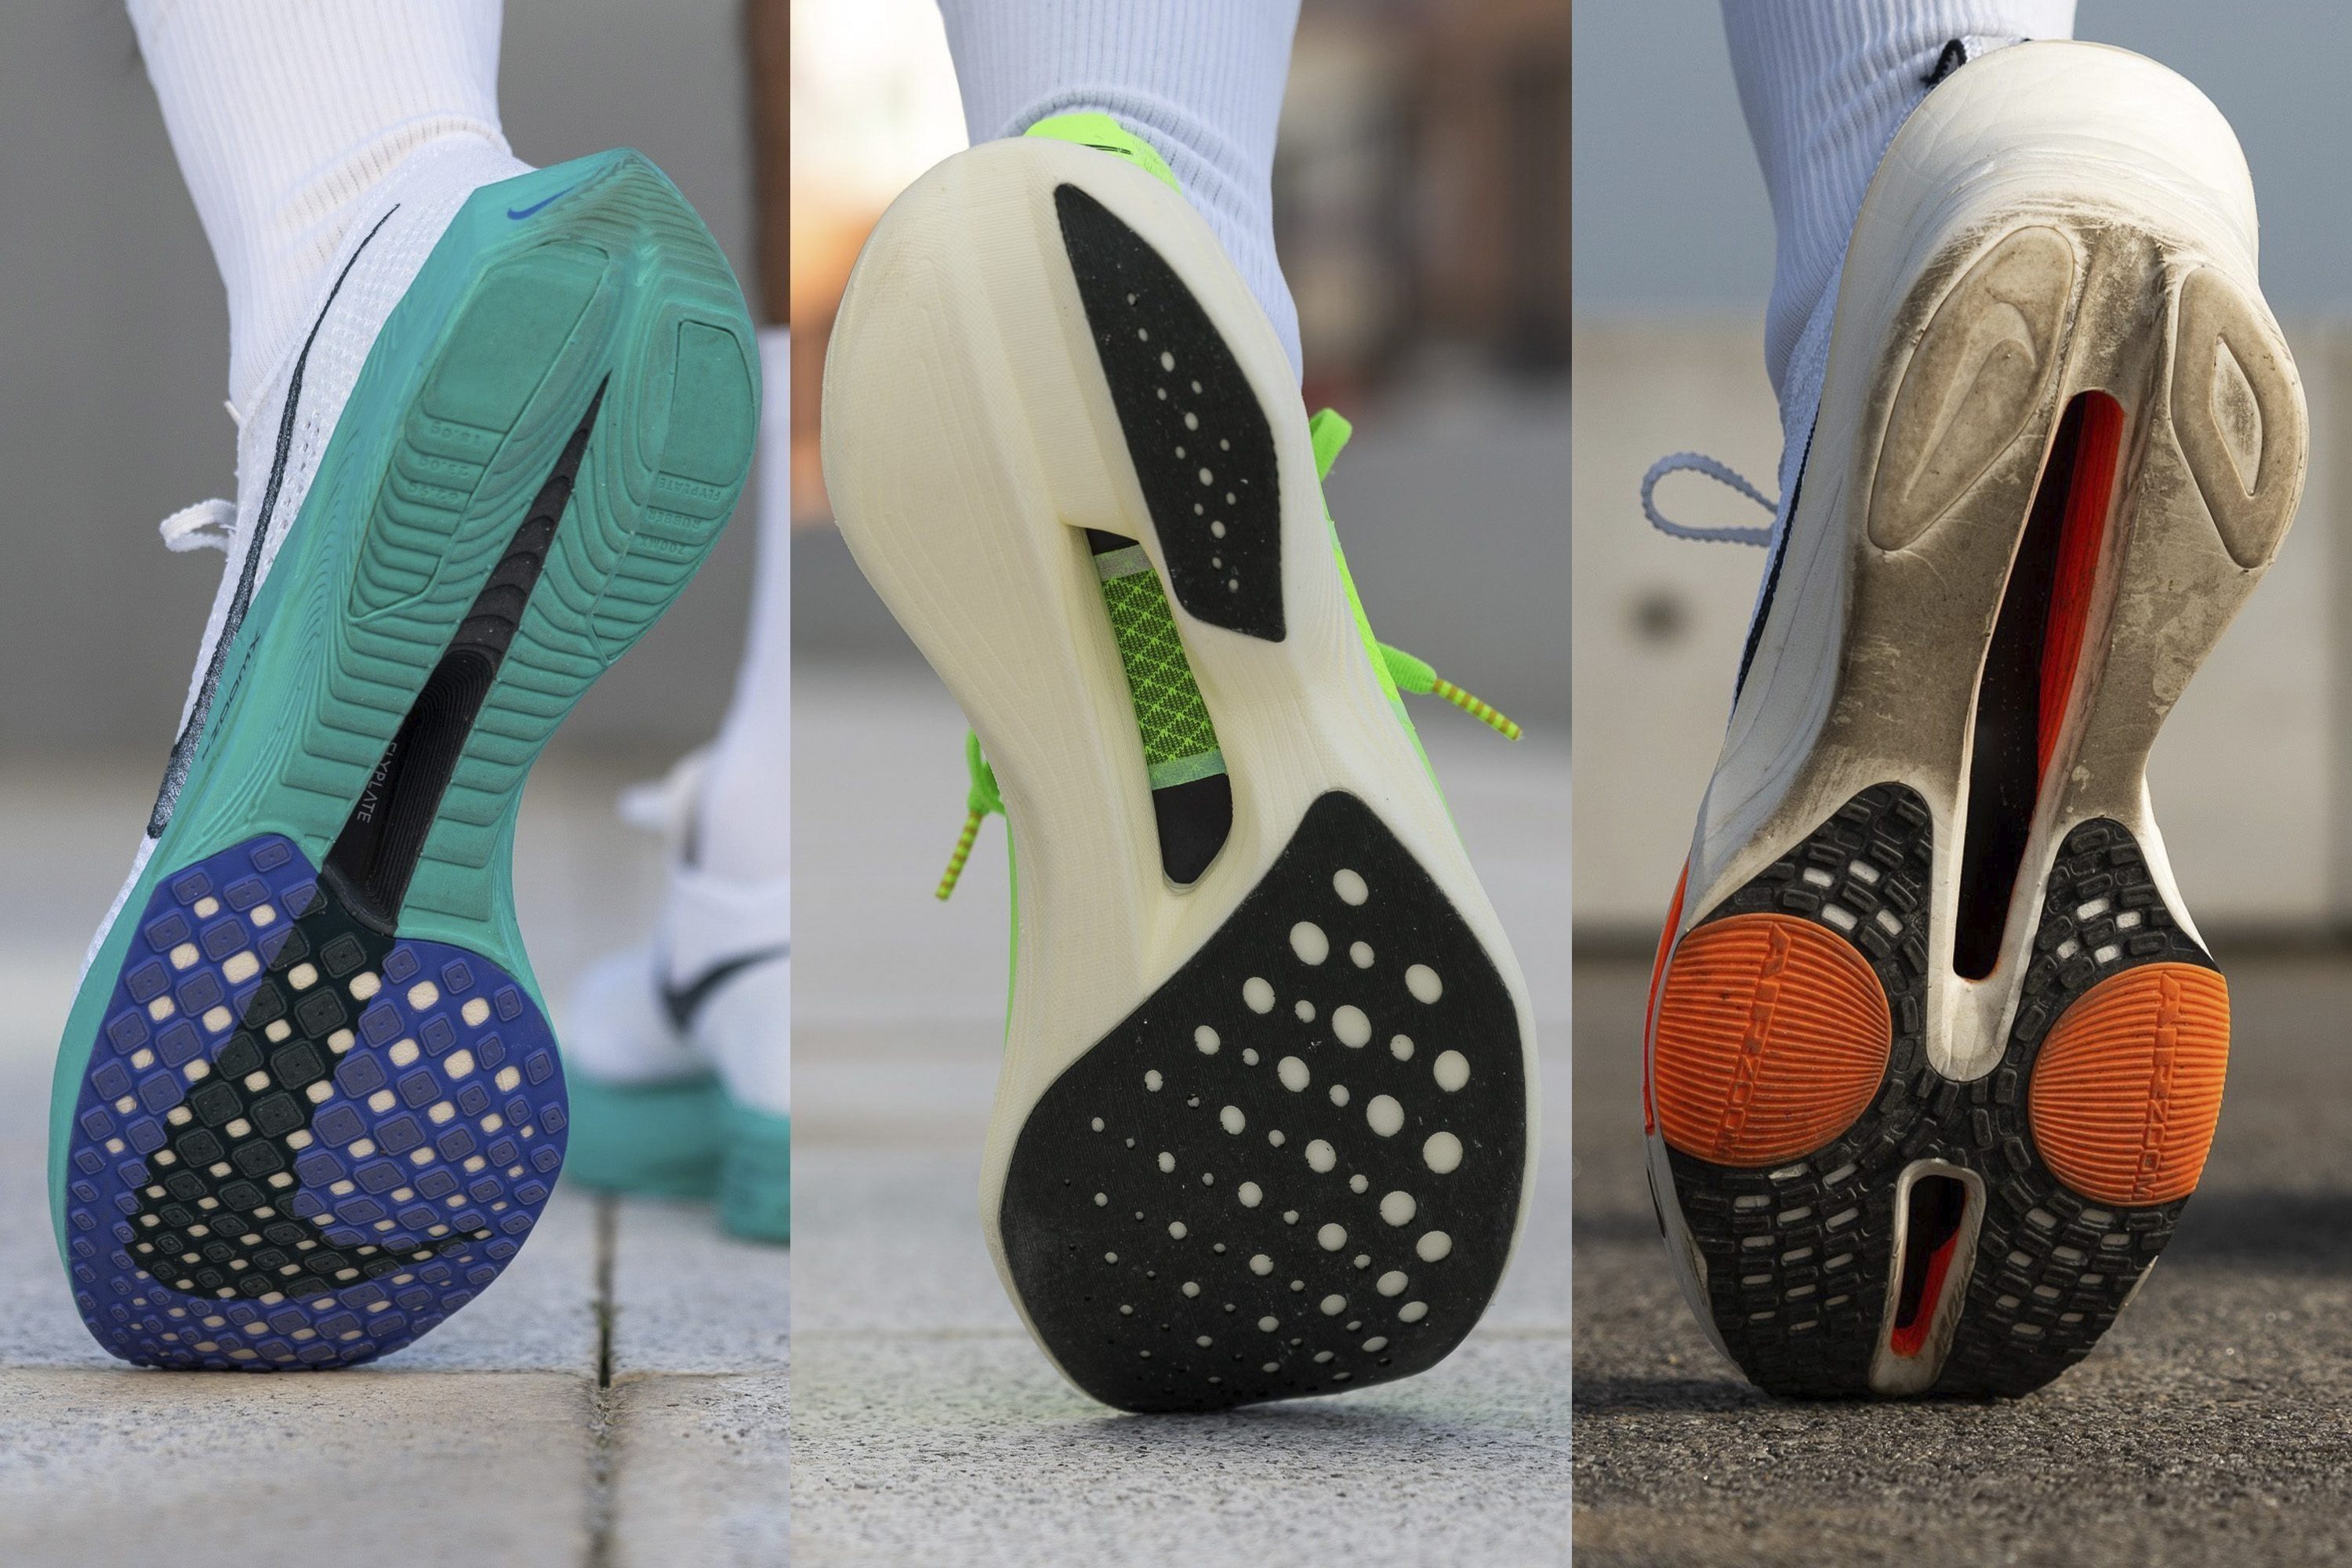
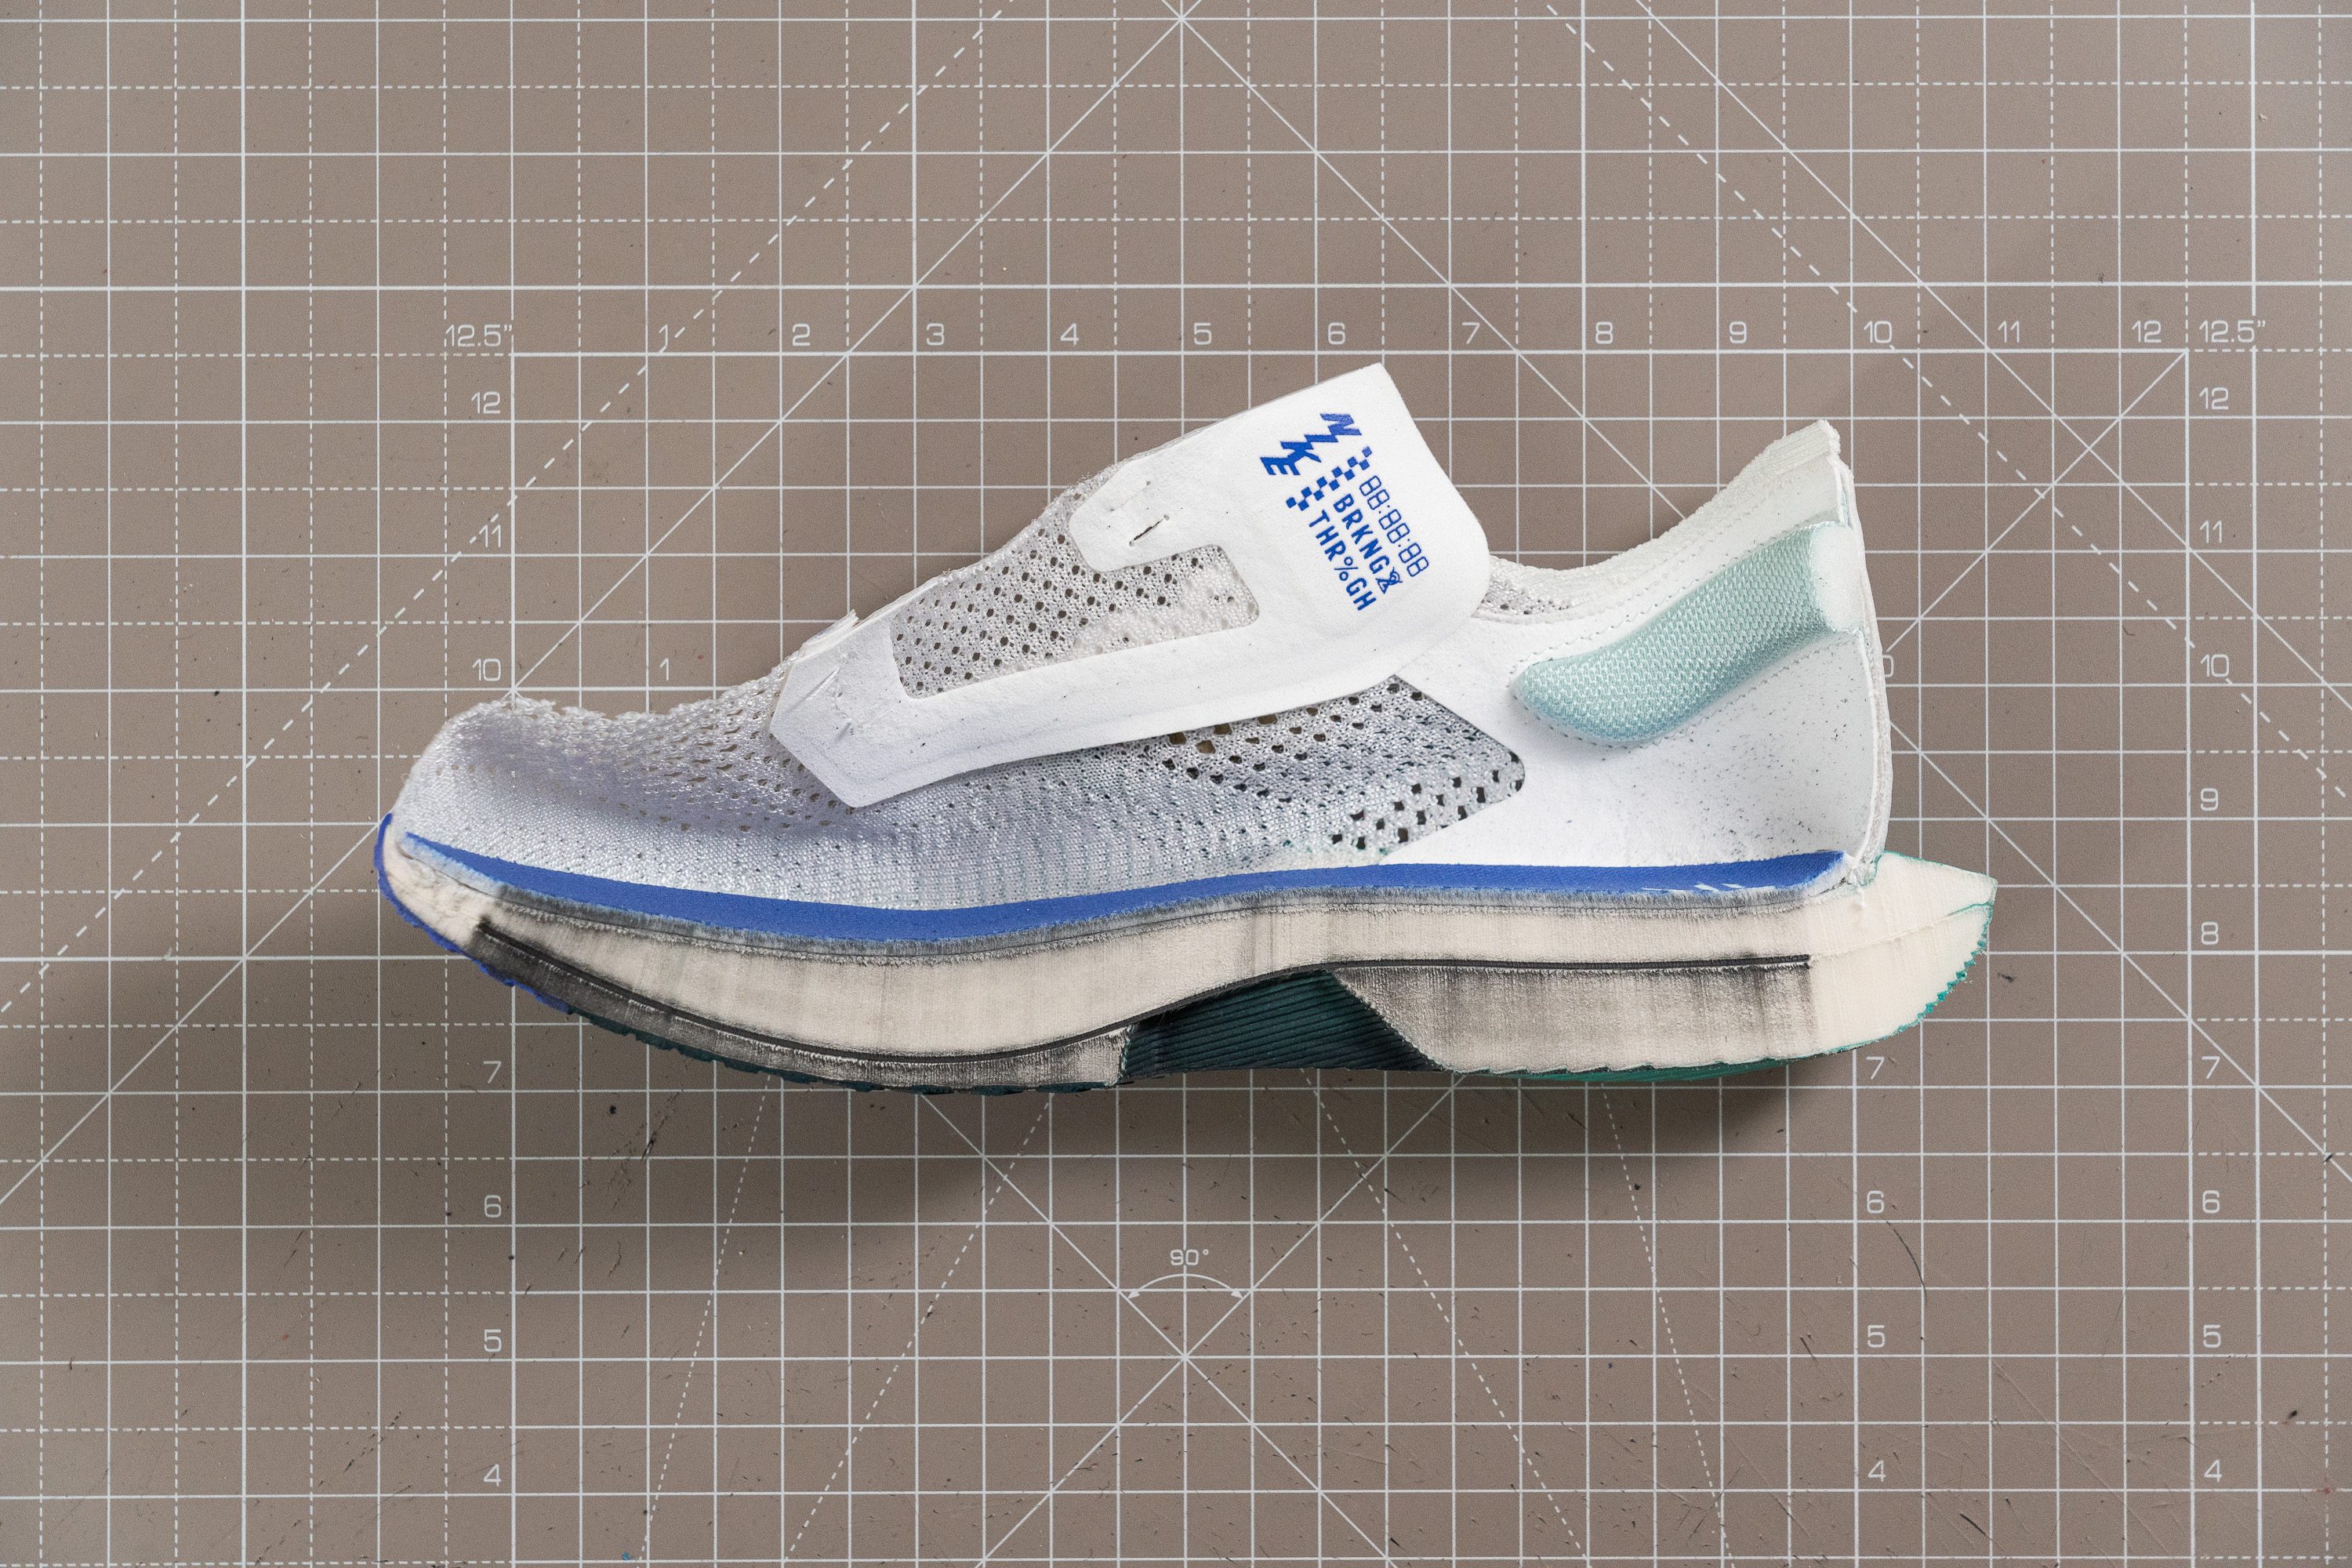
Exposed midsole in lightweight running shoes
Exposed midsole is the term used to describe an outsole where the rubber does not cover the whole surface but, instead, the midsole is clearly visible. The exposed midsole can be in touch with the ground or it can just be visible but not in touch with the ground.
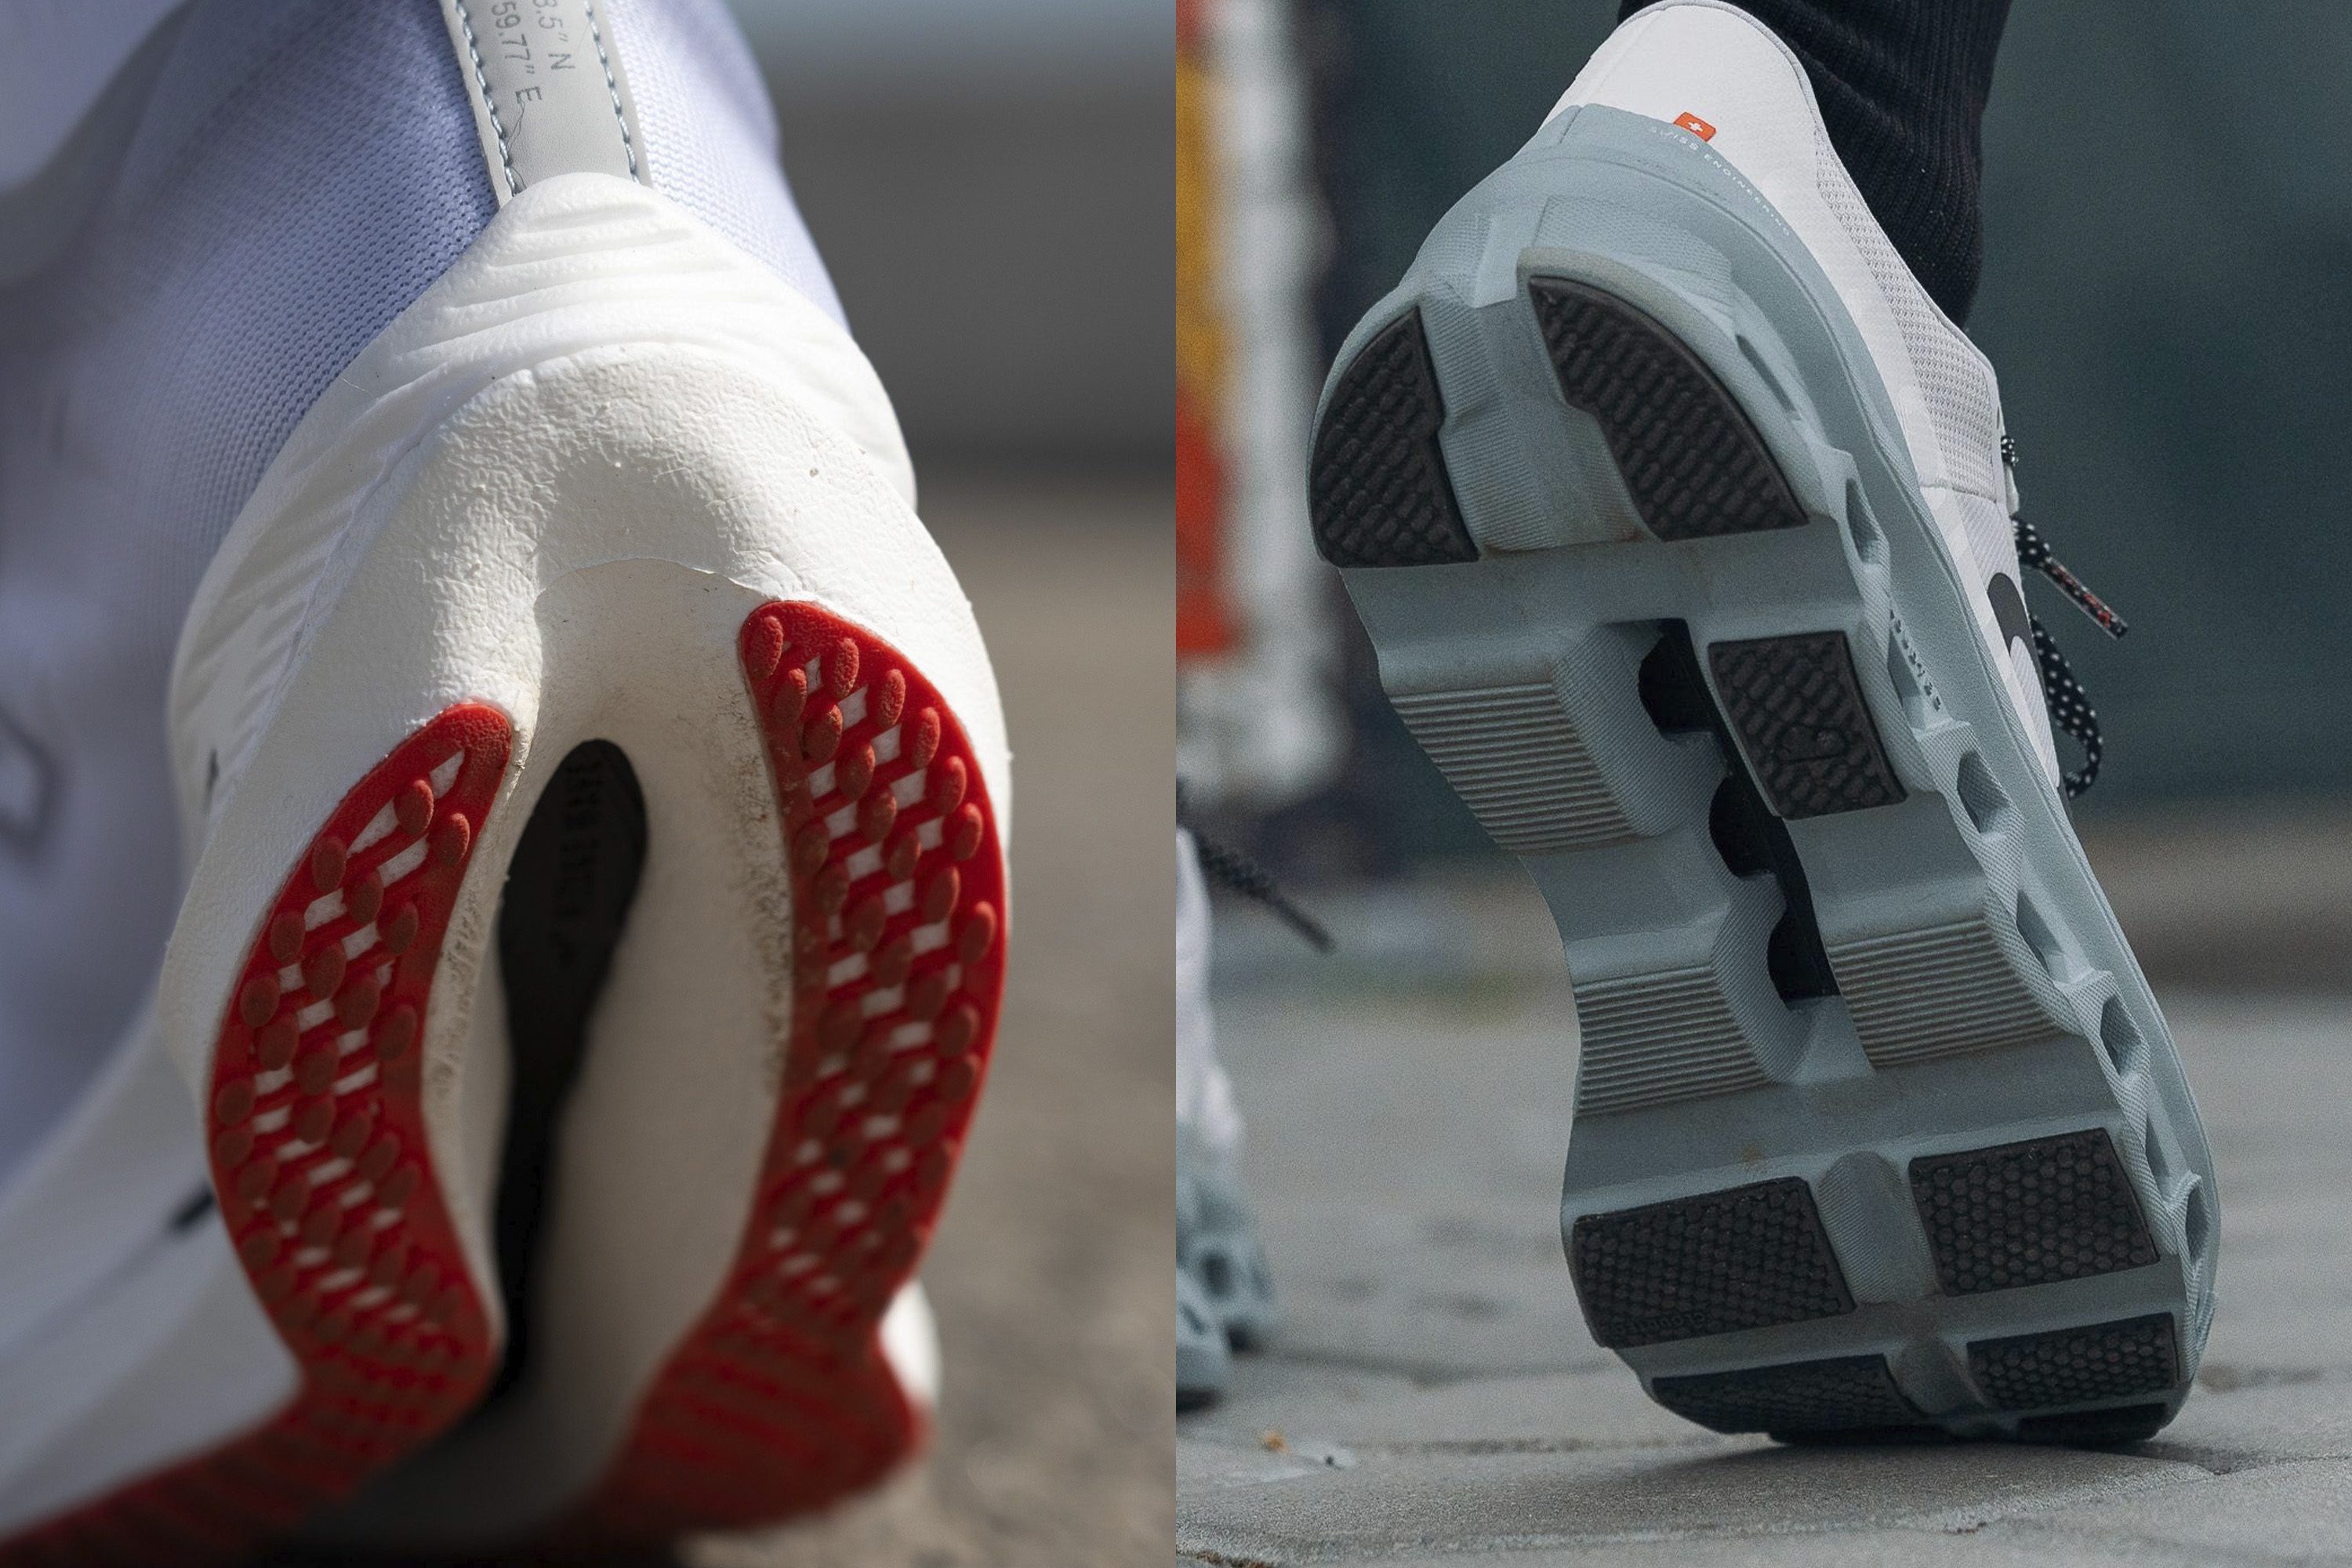
Running in shoes that have a lot of exposed midsole instead of rubber is risky in wet weather because rubber is the material that grips, not the midsole (foam). Also, landing on the exposed midsole instead of the rubber means less durability, as the midsole is easier to destroy than the rubber.
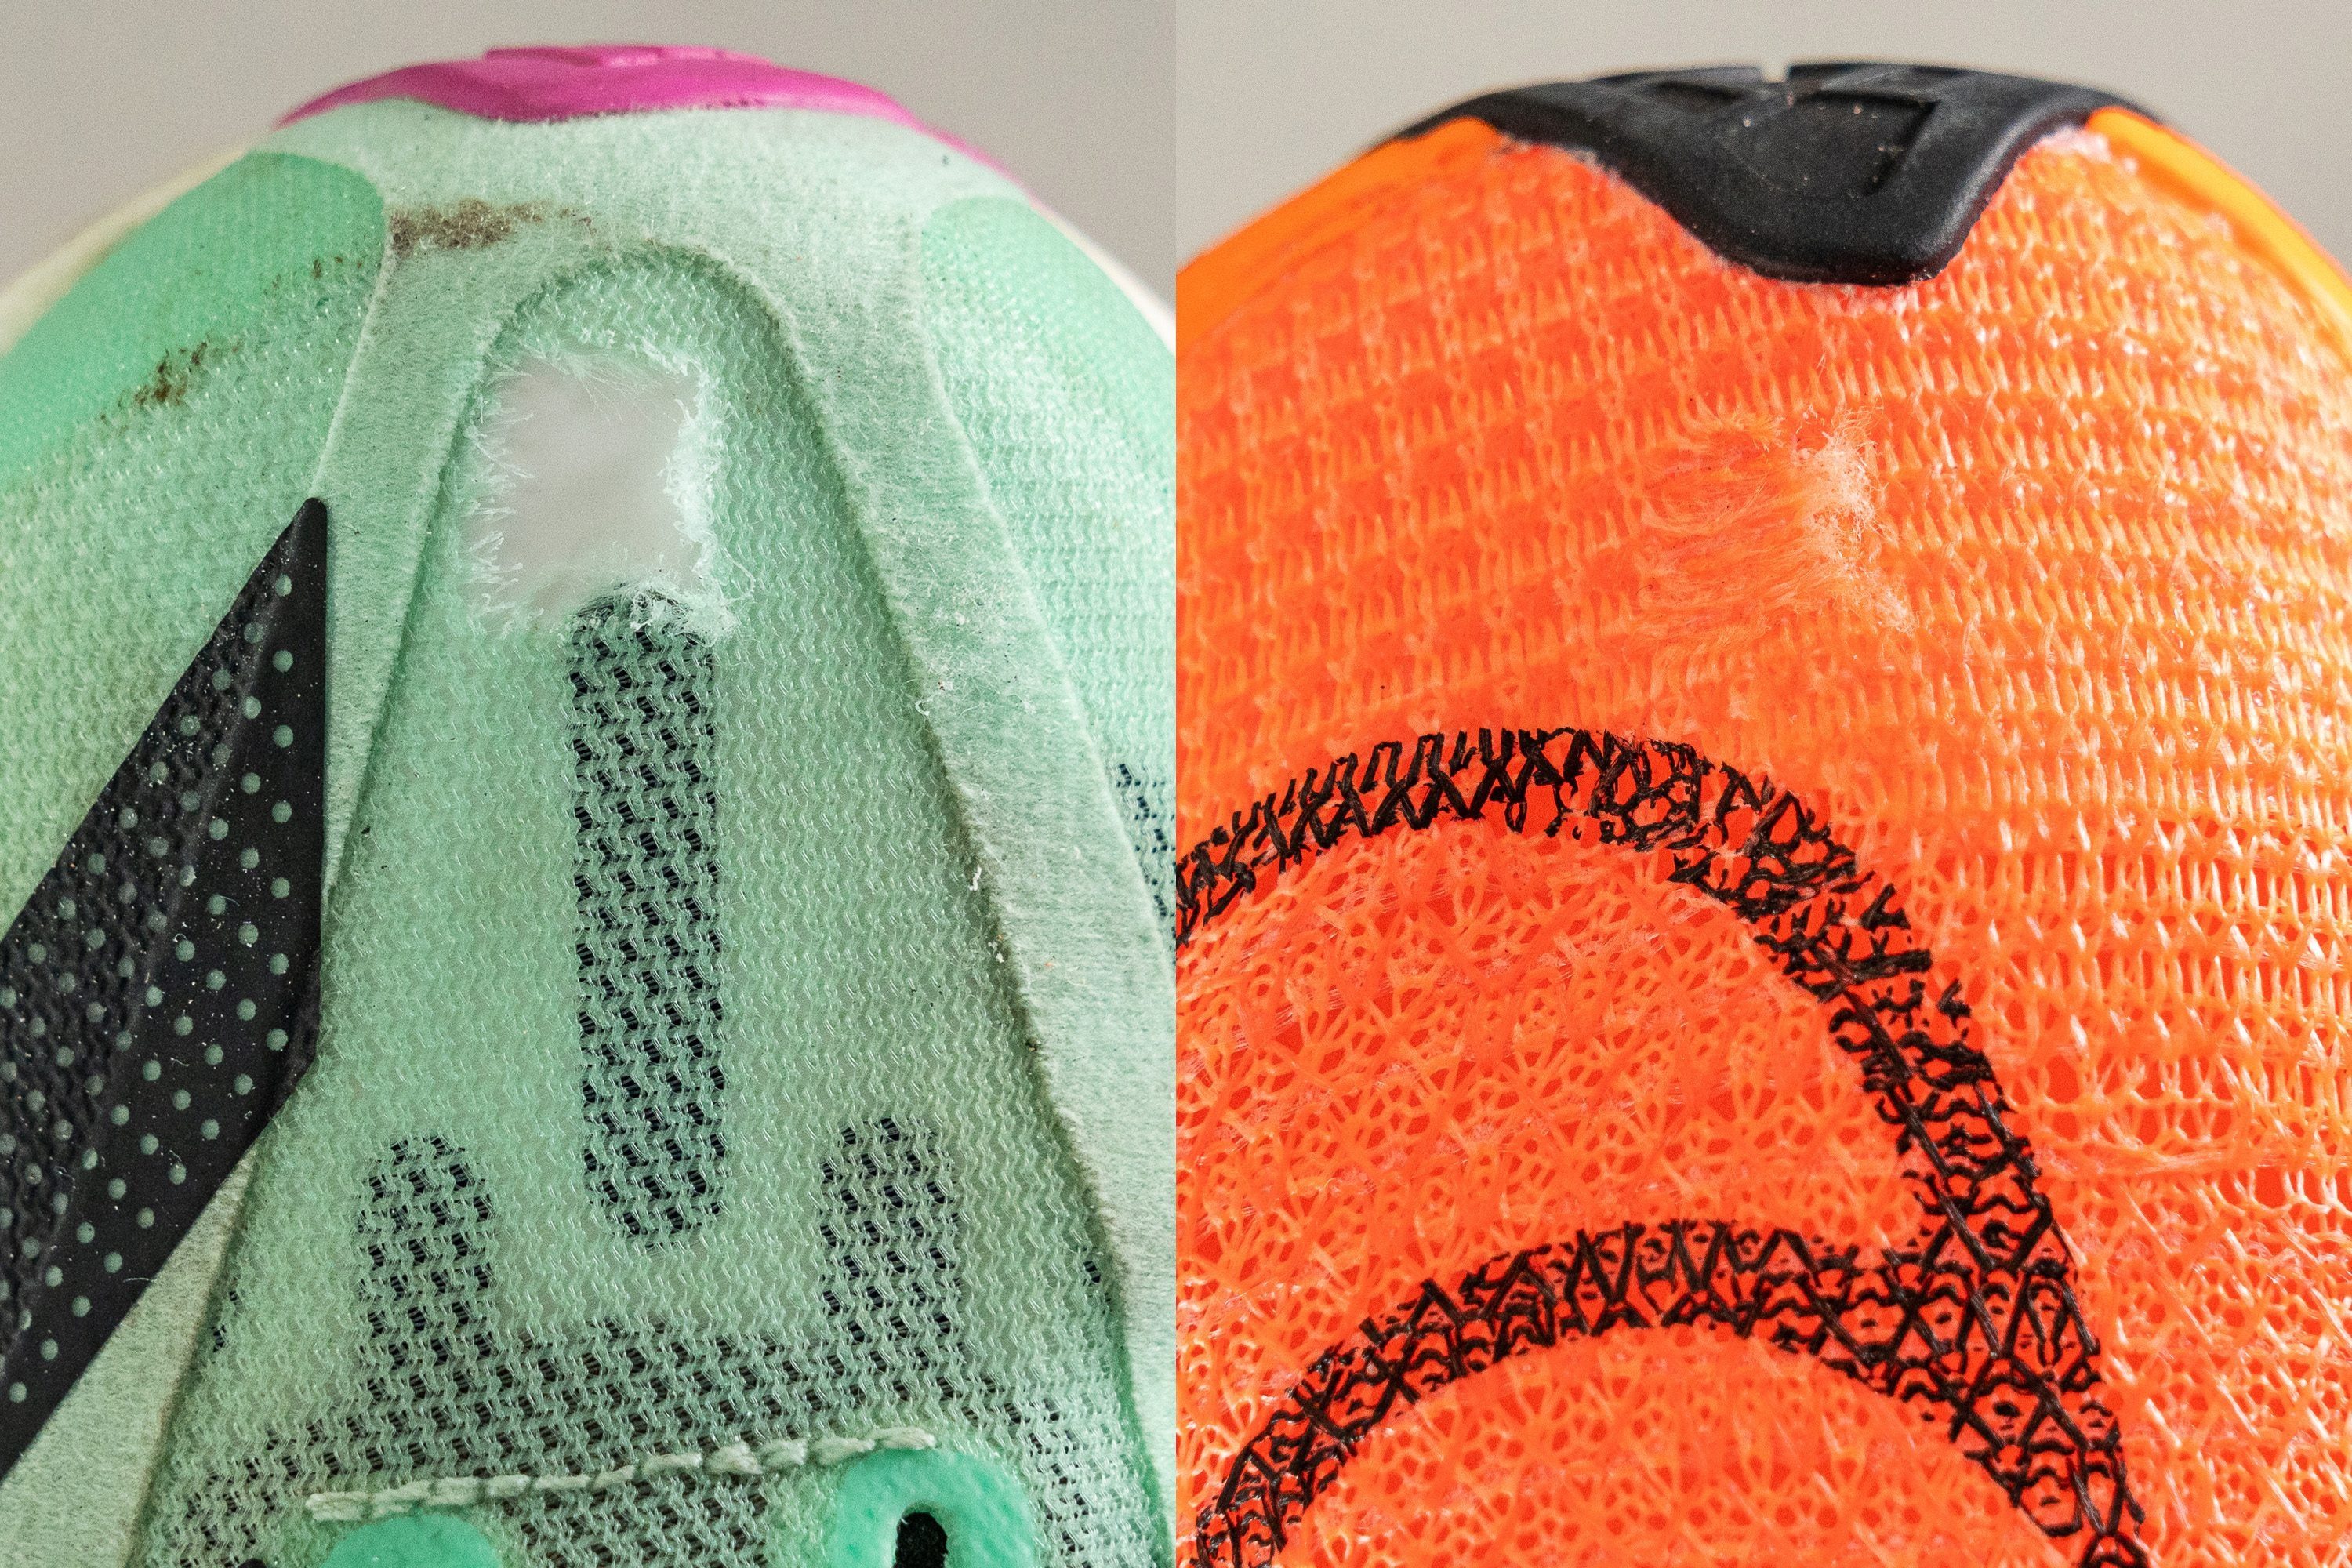
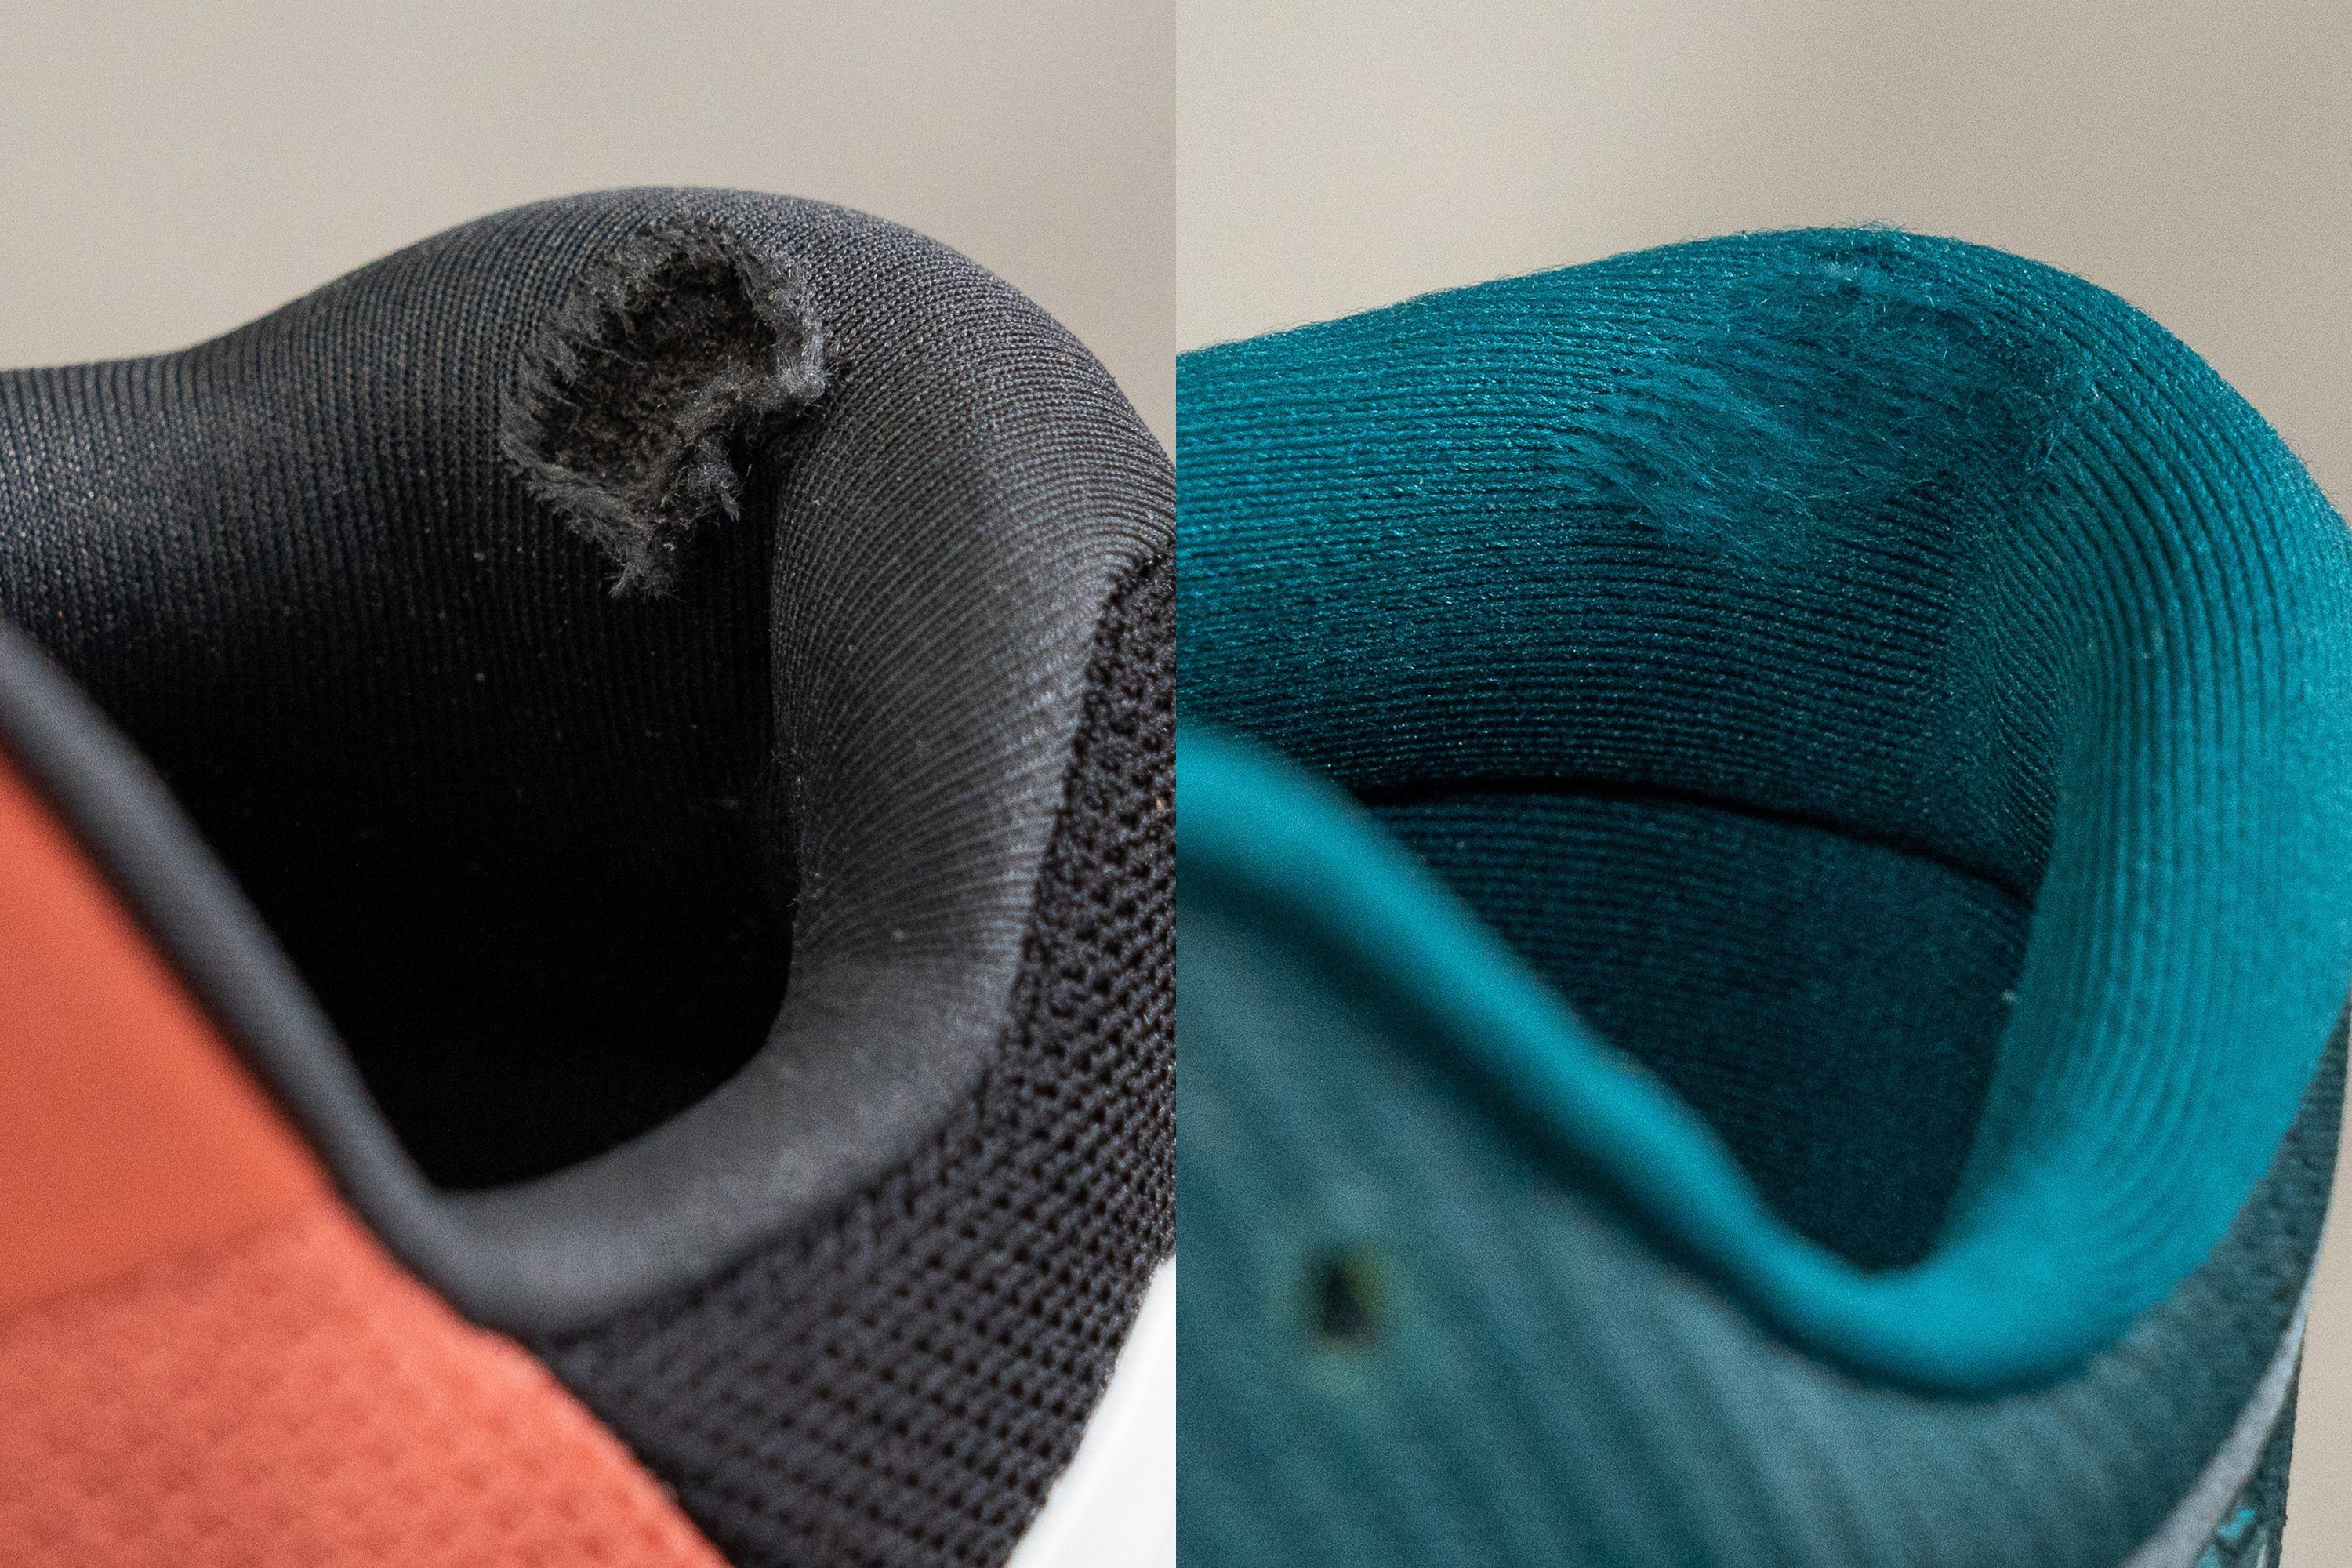
Durability of lightweight running shoes
Here, we must differentiate between tempo+race shoes and daily trainers because race shoes are often less durable, while daily trainers are meant for big mileage.
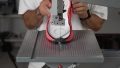
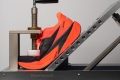
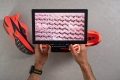
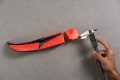
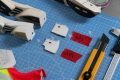
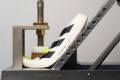
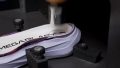
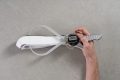
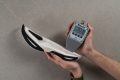
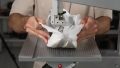
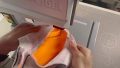
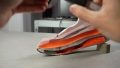
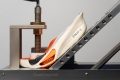
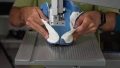
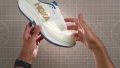
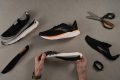
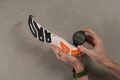
In the lab, we test the durability of the toebox, heel padding and the outsole. We use a Dremel to test all 3 of those. We press it against the surface and then assess or measure the damage done.
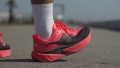
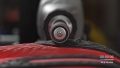
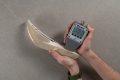
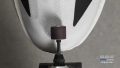
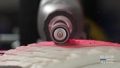
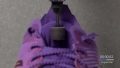
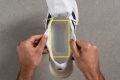
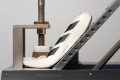
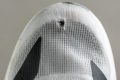
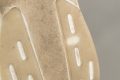
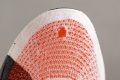
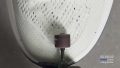
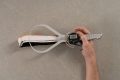
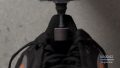
Testing the durability of the toebox in RunRepeat lab
When we look at the damage done on the toebox, we assess it on a 1-5 scale, where 1 is the least durable.
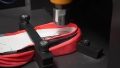
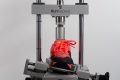
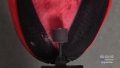
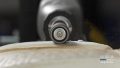
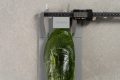
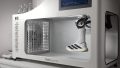
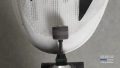
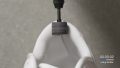
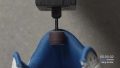
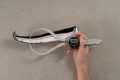
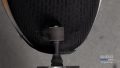
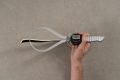
Using a Dremel to test the durability of the heel padding in running shoes
Here, we also look at the damage and assign it a 1-5 rating, where 5 is the most durable.
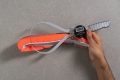
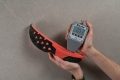
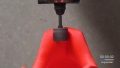
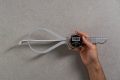
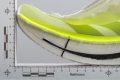
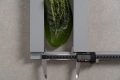
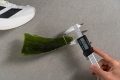
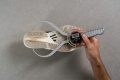
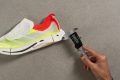
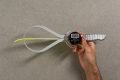
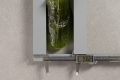
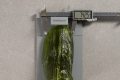
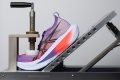
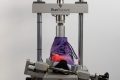
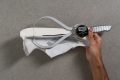
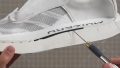
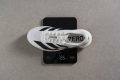
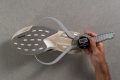
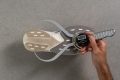
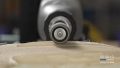
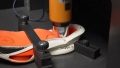
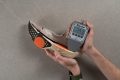
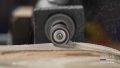
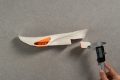
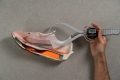
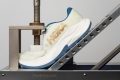
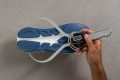
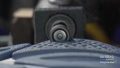
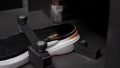
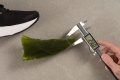
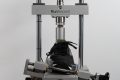
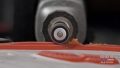
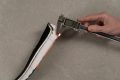
Testing the durability of the outsole in RunRepeat shoe lab
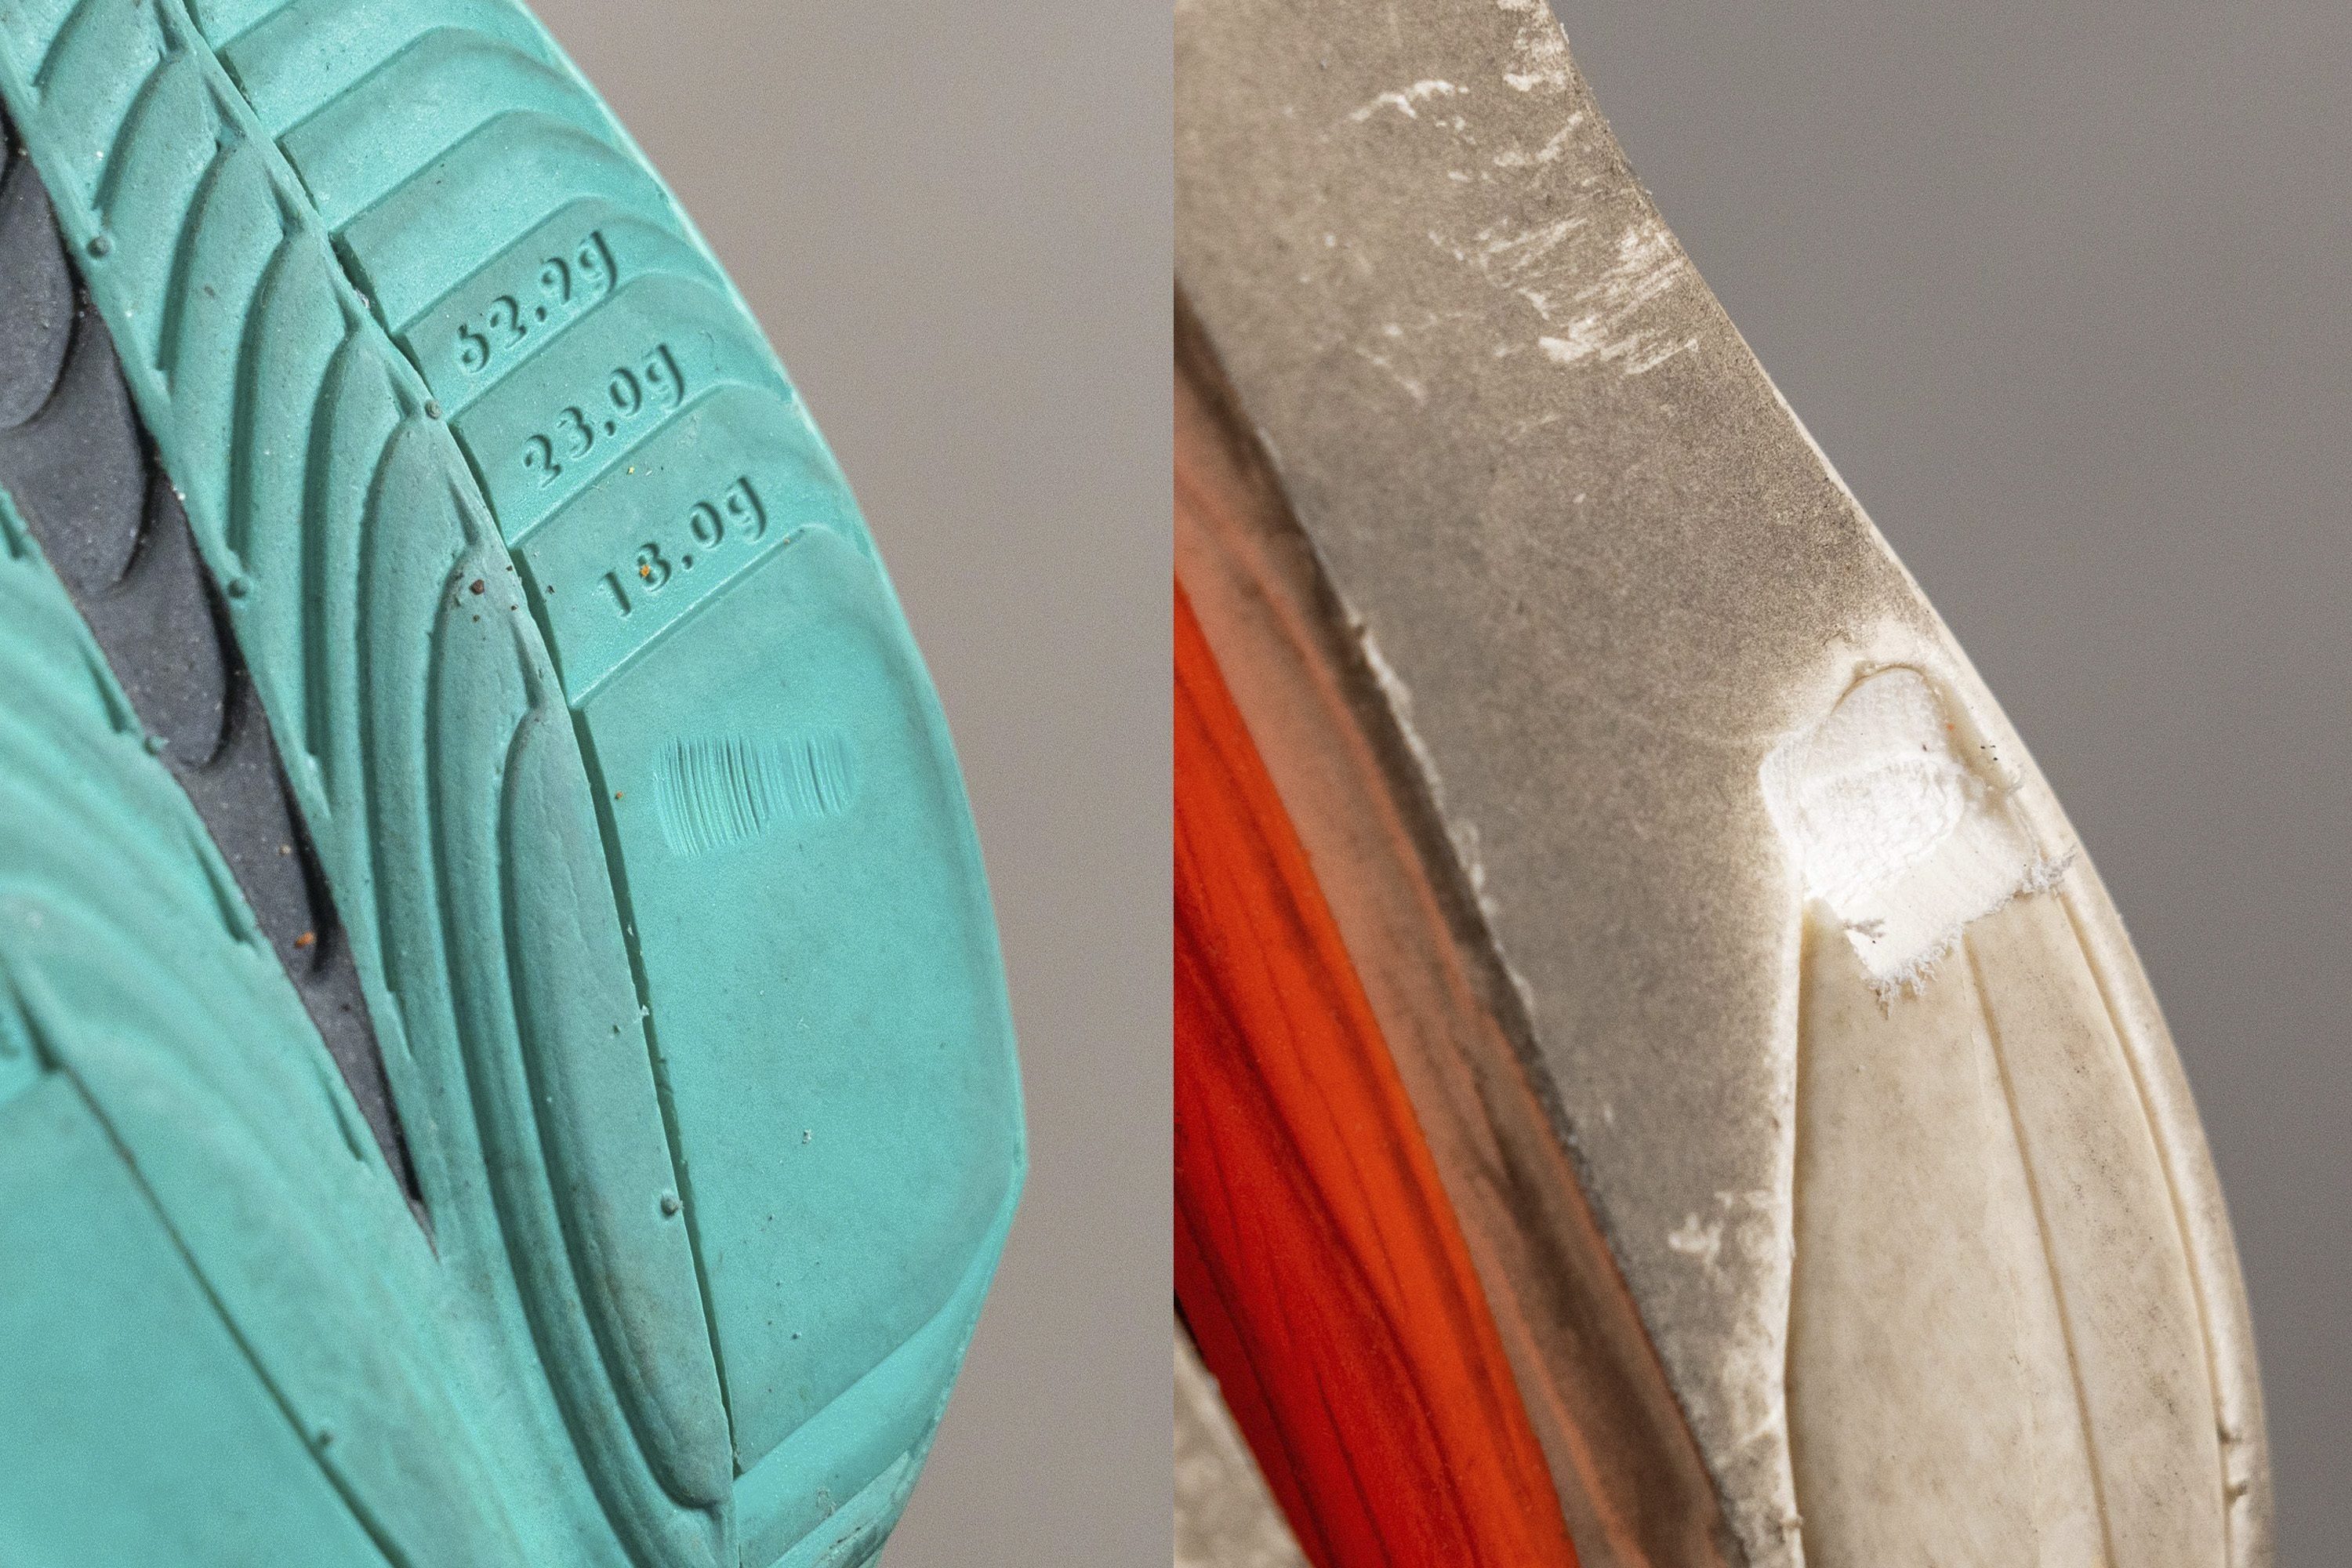
Here, we use a tire tread gauge to measure the depth of the dent precisely. The deeper the dent, the less durable the outsole
In the tables below, we bolded the better results because they might not be as intuitive if listed like this. For the toebox and heel padding durability, larger numbers indicate better durability. In the case of outsole durability, the smaller number (shallower dents) indicates better durability.
|
Non-lightweight race shoes |
Lightweight race shoes |
|
|
Avg toebox durability |
2.3 |
1.9 |
|
Avg heel padding durability |
4.0 |
4.4 |
|
Avg outsole durability |
1.1 |
1.3 |
|
Non-lightweight daily trainers |
Lightweight daily trainers |
|
|
Avg toebox durability |
2.7 |
2.7 |
|
Avg heel padding durability |
3.2 |
2.7 |
|
Avg outsole durability |
0.9 |
1.1 |
Carbon-plated lightweight running shoes
33% of lightweight running shoes in our database are carbon-plated.
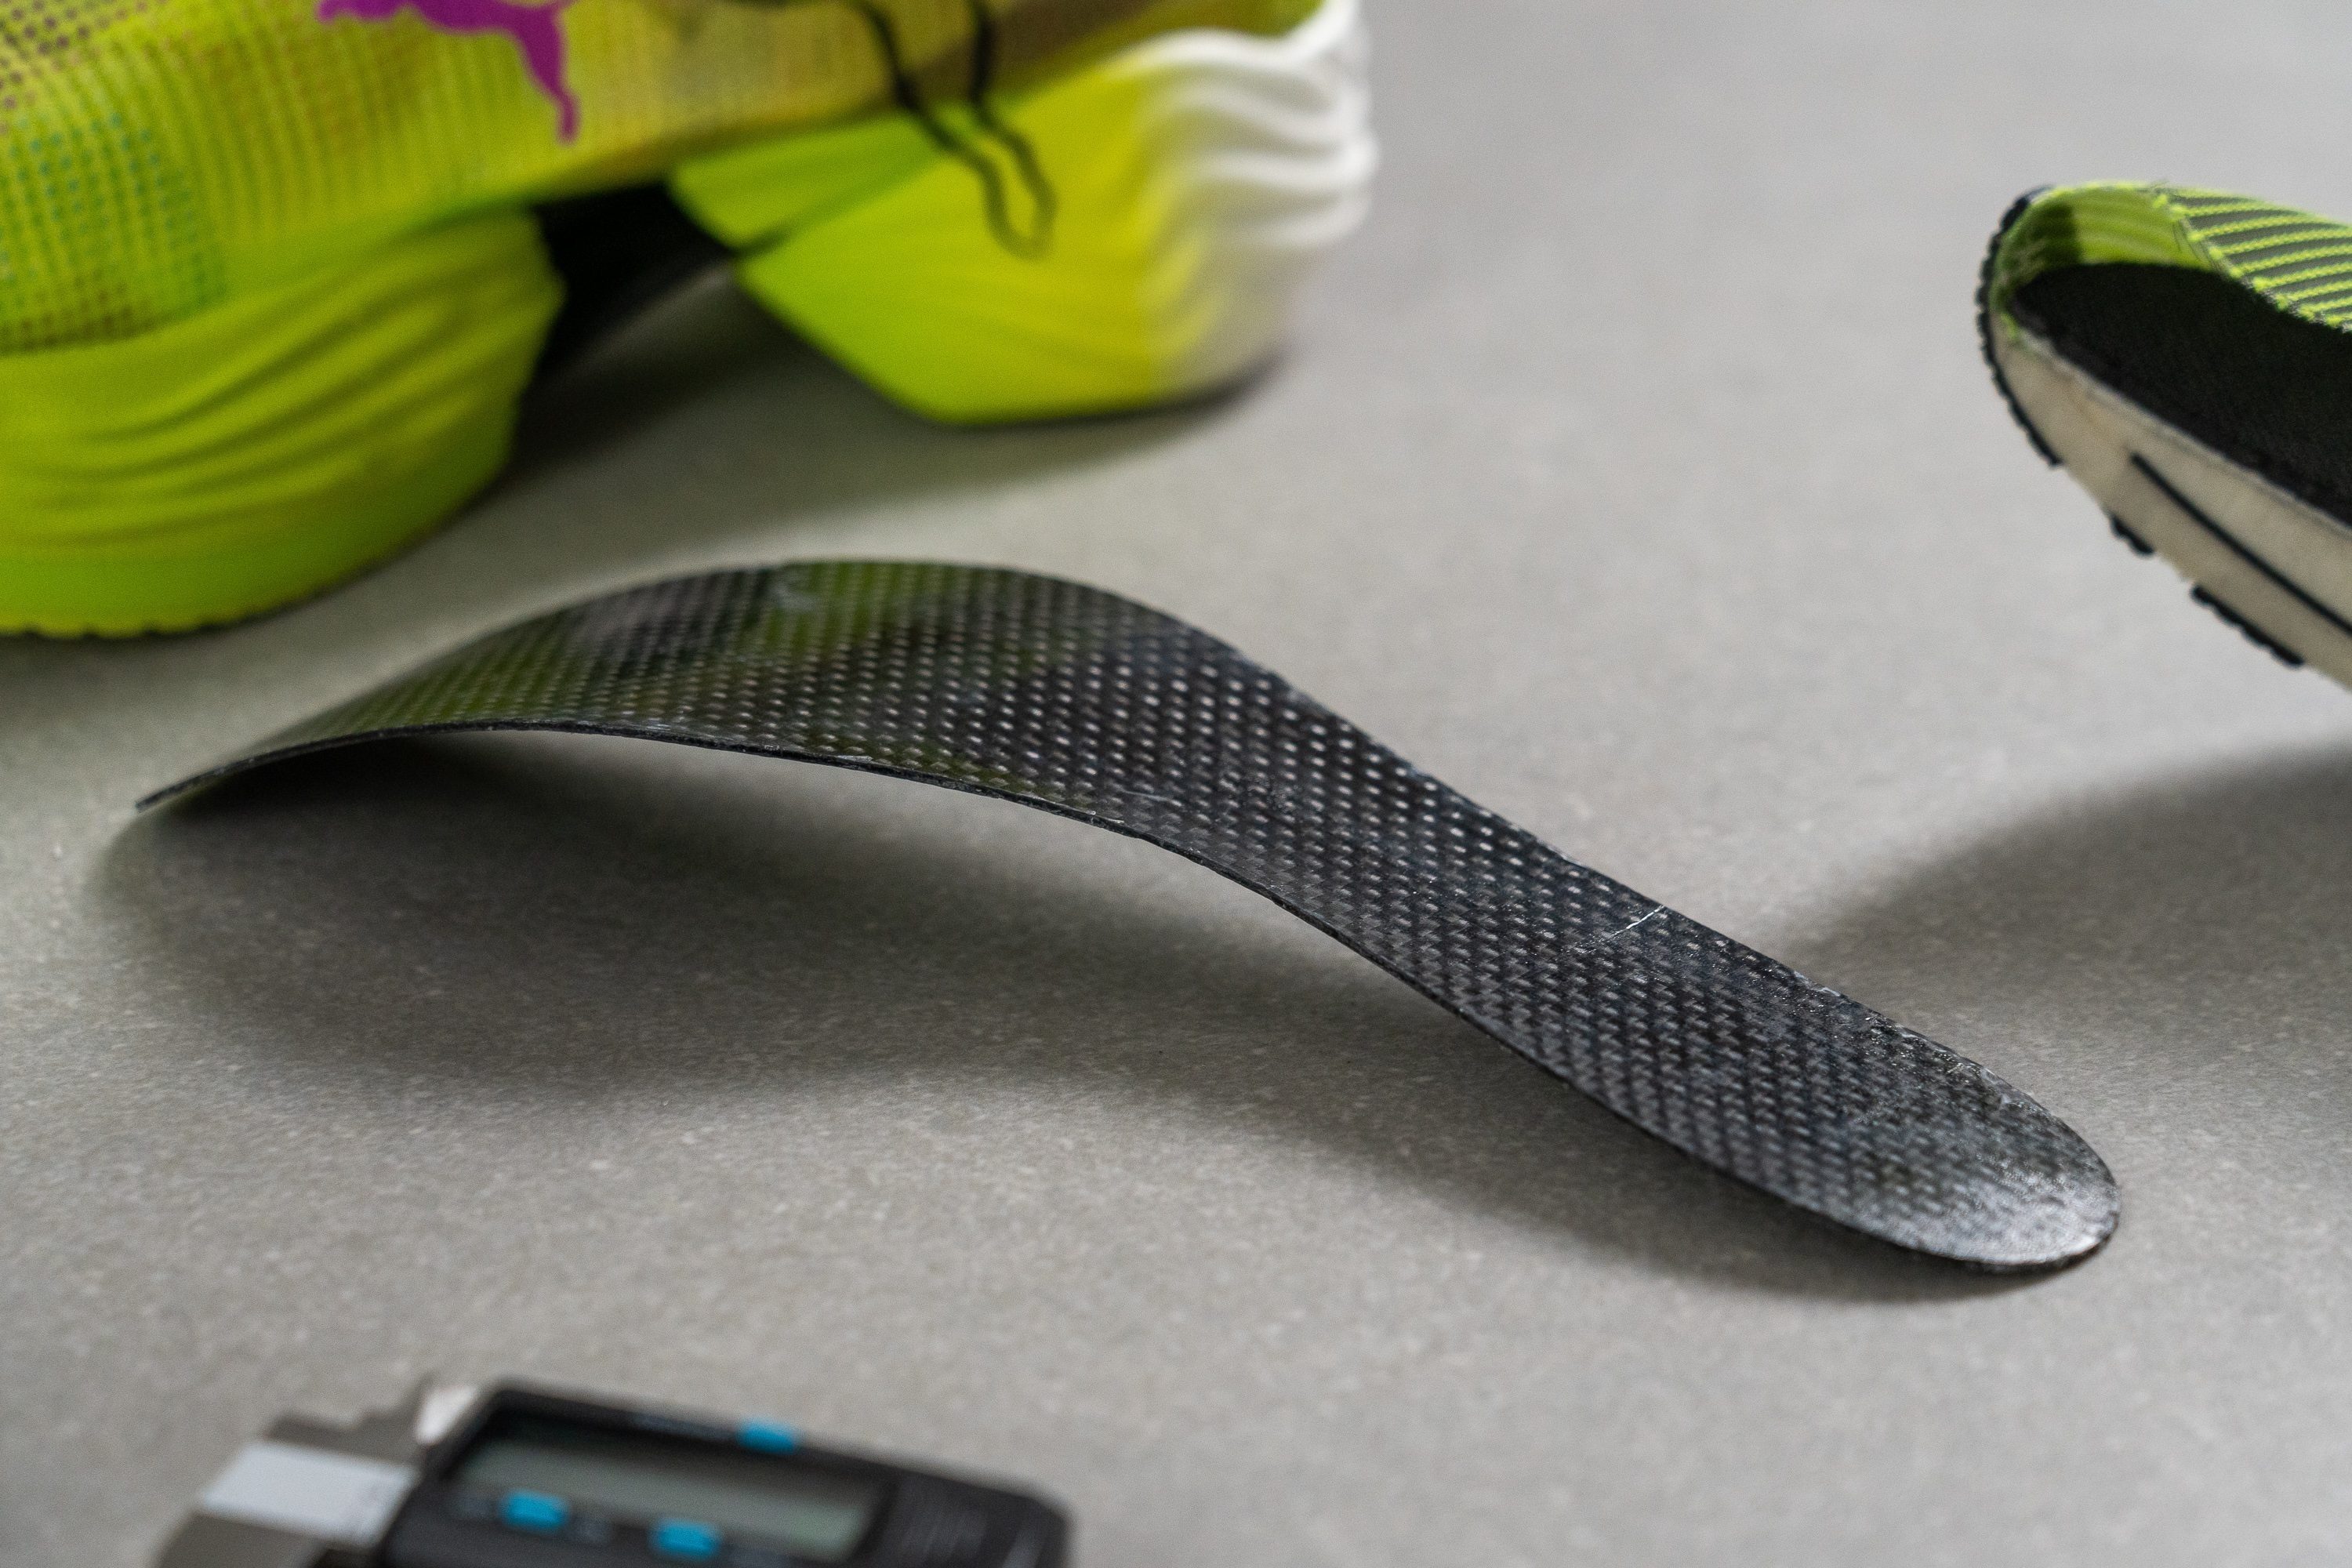
What makes these running shoes special is the fact that they are high-stacked, yet lightweight AND insanely responsive (if equipped with a premium foam).
If you’re interested in running shoes with a carbon-fiber plate, we wholeheartedly recommend our very geeky guide Carbon-Plated Shoes Cut In Half, Explained and Lab-Tested.
3 downsides of lightweight running shoes
- There aren’t many stability running shoes (for overpronation/flat feet) that are lightweight. Stability features weigh more so it’s usually impossible to achieve the light weight with them. Currently, only 3% of lightweight running shoes in our database are stability shoes.
- There aren’t many lightweight trail running shoes because trail shoes need to be more rugged and durable. Often, they have a toe bumper or enforced upper at the front, deep lugs, and other features that only add to the overall weight. In our database, out of all lightweight running shoes, only 3% are for the trails.
- Because a lot of weight had to be saved along the way, some durability had to be sacrificed. Often, it’s in the outsole, where we see less rubber and more exposed midsole, and an exposed midsole is less durable and has a horrible grip. And sometimes, it’s about comfort: brands skimped on padding in the tongue or heel so there’s a lace bite or a very stiff heel that irritates the back of the foot.
- They cost more.
Price of lightweight running shoes
On average, lightweight running shoes are 14.4% more expensive than the non-lightweight running shoes. The average price of lightweight running shoes is $161.7, while the average price for non-lightweight running shoes is $138.4.
Similar buying guides