7 Best Workout Shoes in 2026


We buy shoes ourselves. We earn commissions when you buy through us, at no extra cost. Why trust us
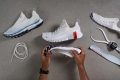
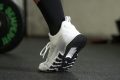
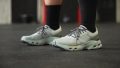
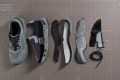
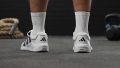
Workout shoes, also called cross-training shoes or cross-trainers, are engineered to accommodate a wide range of training activities. This guide will present the best workout shoes we have tested and what to look for when buying a pair of workout shoes.
Some shoes come with a wider, more stable platform to accommodate weightlifting. Others are much lighter and help you feel more nimble for agility training. Depending on your priorities, we have selected the number one in different categories through meticulous testing, so you can successfully bag your perfect gym shoe.


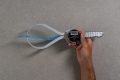
How we test workout shoes
We are very particular about the things we demand from workout shoes. For cardio or running, we say yes to exquisite cushioning. For strength training, a stability shoe gets our motor running. We consider specific characteristics depending on the shoe category.
To make sure we stay on top of our game when offering reviews, we do the following:
- purchase all the workout shoes ourselves to ensure that we spit facts and facts only
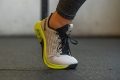
- jump, lift, squat, and run in the shoes in our workouts
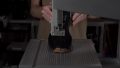
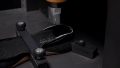
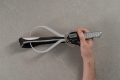
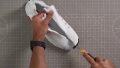
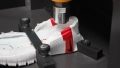
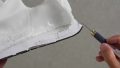
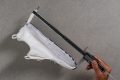
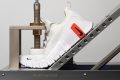
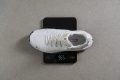
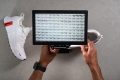
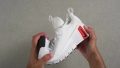
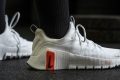
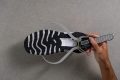
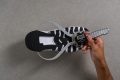
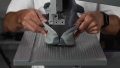
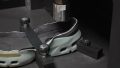
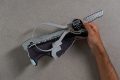
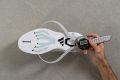
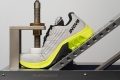
- conduct thorough lab tests, dissect the shoes, collect data, and interpret and compare the results
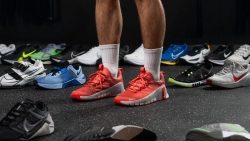
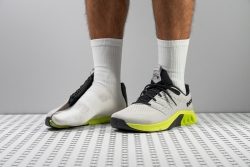
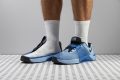
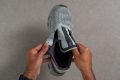
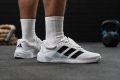
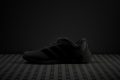
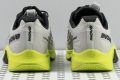
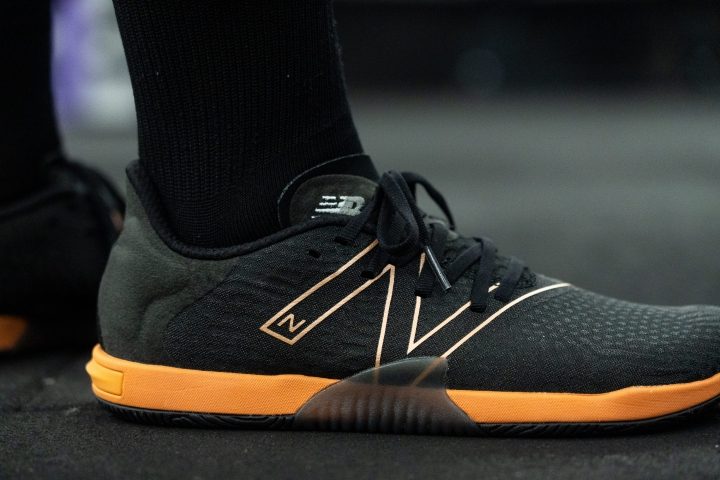
Best workout shoes overall

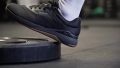

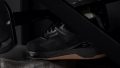


What makes it the best?
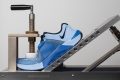
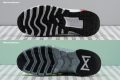
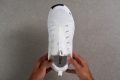
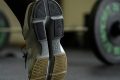
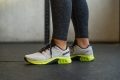
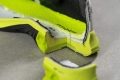
The Reebok Nano X5 proves its versatility through lab tests and shows that it’s built to move, lift, and last. We found it to be responsive yet stable as we performed various workouts, such as rope jumps and barbell squats. It’s a dependable trainer because of its all-around durability, ensuring us it won’t easily surrender to wear and tear.
For repetitive toe-offs, we could move with ease because of the springy forefoot. Testing for its energy return, we recorded an impressive score of 58.4%. It can also take the beating of repetitive impact, because the forefoot absorbs shock 14.5% better than average.
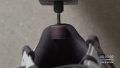
When it comes to lifts and dynamic and single-legged exercises, the structured midsole kept us centred. Nano X5 features a TPU cage that contains our feet and holds us down firmly. We found it hard to twist in our manual test and awarded it the maximum 5/5 torsional rigidity score, a strong indication of its stability.
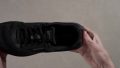
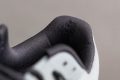
Moreover, the Nano X5 is a trainer that we can use mindlessly because of its overall sturdiness. In our Dremel test, both the inner lining and Flexweave upper performed better than average with 4/5 durability scores. Meanwhile, the outsole emerged with 9.1% less wear than average, cementing its longevity.
Unfortunately, the upper is dense, which means ventilation is limited. If breathability is a top priority, then this shoe won’t be the best match.
Pros
- Versatile for all-around gym use
- Increased impact protection in the forefoot
- Very planted and stable heel
- Fantastic durability and wear resistance
- Padded and comfortable step-in feel
- Secure foothold and containment
- RopePro protection for rope climbs
- Good breathability
Cons
- Lacks grip on wet and dusty floors
- Not for wide feet
- Heavier than average
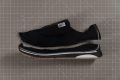
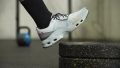
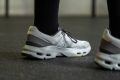
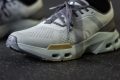
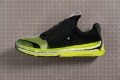
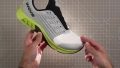
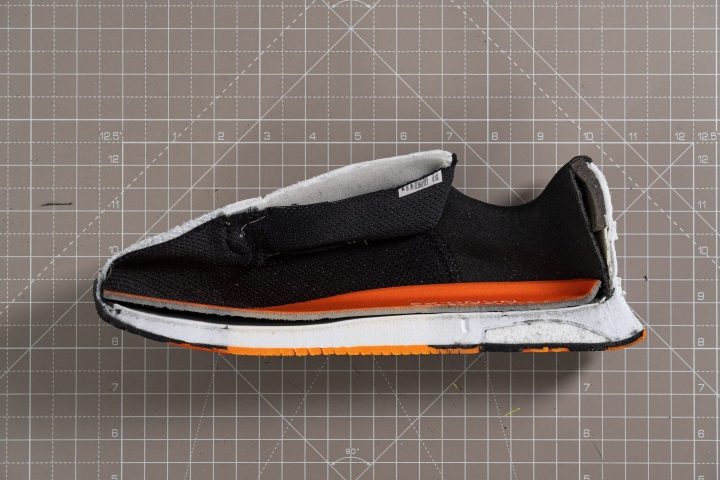
Best workout shoes for Crossfit
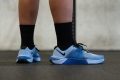


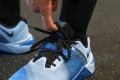
What makes it the best?
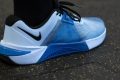
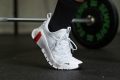
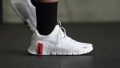
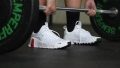
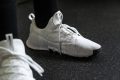
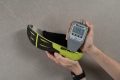
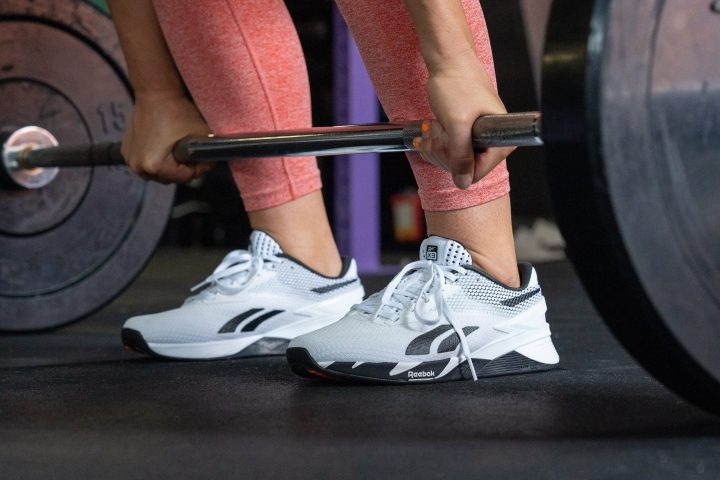
We worked out using over a hundred trainers in search of the best CrossFit shoe, and it’s none other than the Nike Metcon 10. Our lab results reassure that it provides a steady footing, good lockdown, and reliable grip to handle our repetitive lifts. Its solid foundation helps us power through punishing workouts.
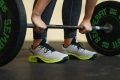
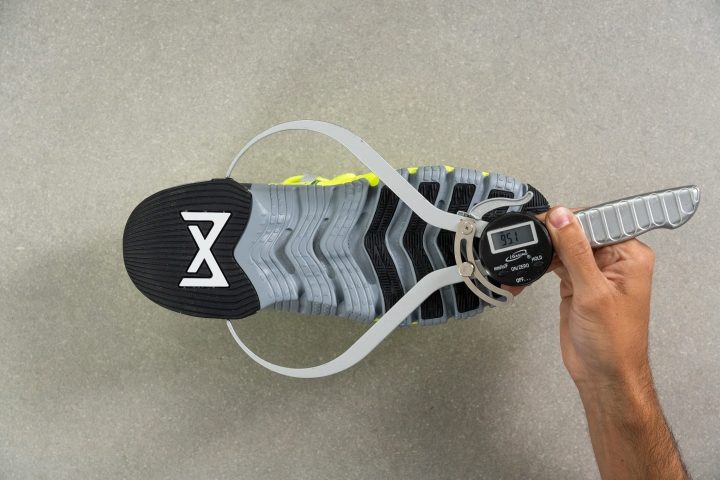
While doing our lifts, we don’t find ourselves looking for the typical raised heel that weightlifting shoes have. We found the platform is wide and supportive enough to handle heavy squats, snatches, and Olympic lifts. Our calliper shows a wider-than-average 115.2/90.8 mm forefoot and heel, allowing us to maintain our balance with every rep.
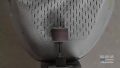
The steady platform is supported by an internal midfoot band and sturdy eyelets that dominate a strong foothold, ensuring we’re always centred and planted to the ground. When lifting heavier loads, we’re confident with the base since the non-compressible Hyperlift insert in the heel offers extra support.
Further enhancing stability is the outsole’s reliable traction that grips onto mats and glossy gym floors. This helps improve our control, evidenced by its impressive 0.38 friction score in our traction test.
Unfortunately, wearing the Metcon 10 feels like being in a sauna on hot and humid days. Those who need lots of ventilation should skip this pair.
Pros
- More versatile Metcon overall
- One of the lightest Metcons ever!
- ReactX adds shock absorption and energy return
- Increased forefoot flexibility
- Still amazingly stable for weightlifting
- Fantastic upper durability (even for rope climbs)
- Great grip on gym floors
- Highly secure foot lockdown
- Accommodating fit and toebox
- Handy Lace Tuck
Cons
- Outsole could be more durable
- Limited breathability for longer workouts
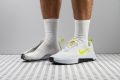
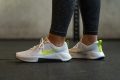
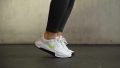
Best workout shoes for HIIT


What makes it the best?
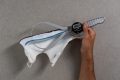
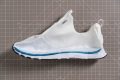
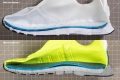
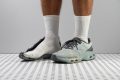
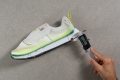
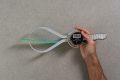
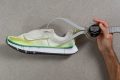
Performing bursts of high-intensity exercises never felt so good until we tried Nike’s Free Metcon 6. We further tested the best workout shoes in the lab and found this pair to be the ultimate HIIT trainer. Its fluidity and weightlessness powered us through difficult exercises, ensuring stability and comfort.
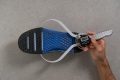
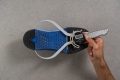
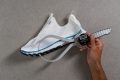
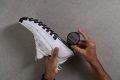
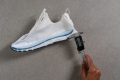
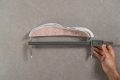
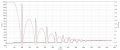
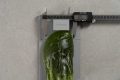
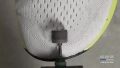
Needing only 9.0N force to bend in our flex test, Free Metcon 6 is one of the most malleable we’ve ever seen! For reference, the average trainer needs 11.1N to reach 30 degrees. This shoe also surrendered without resistance to twisting, earning a 2/5 rigidity score, translating to a highly adaptive shoe for planks, lunges, and other plyometrics.
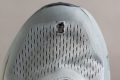
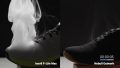
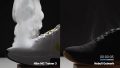
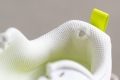
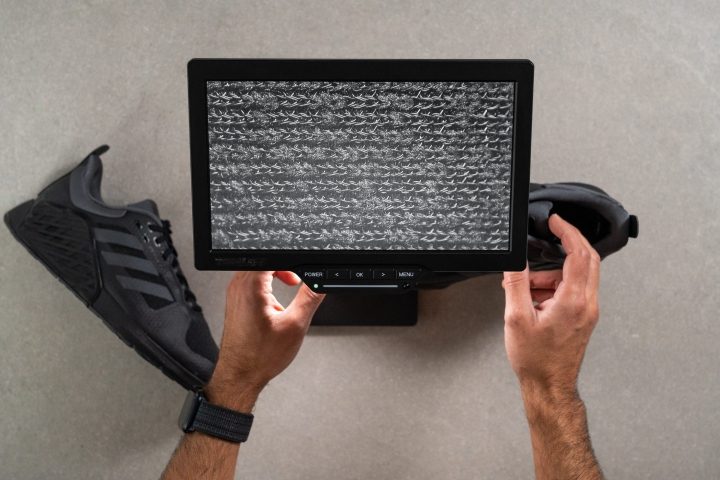
FM6 feels light on foot and our scales confirm this with a 9.7 oz (274g) figure. Adding to its refreshing nature is its highly breathable upper, allowing smoke to escape seamlessly in our lab test.
The midsole combines cushioning with ground feel, featuring plush foam for extra comfort. It's 17.9% softer than average, providing a pain-free cardio experience. We also found a firmer 57.5 AC foam in the heel and measured a wide 113.9/94.4 mm midsole to stabilise our movements. We never had the feeling of toppling over when lifting weights.
However, we believe it still lacks the stack for repetitive high-impact routines. For a more cardio-focused trainer, we recommend exploring more cushioned shoes.
Pros
- Fantastic breathability
- Very light on foot (lighter than average too)
- Abundant cushioning for HIIT
- Most flexible cross-trainer ever
- Excellent stability for moderate weightlifting
- Sock-like fit in a bootie upper
- Accommodating toebox (for medium feet)
- Great grip on gym surfaces
Cons
- NOT for rope climbs (lacks protection)
- Can be hard to put on (narrow opening)
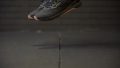
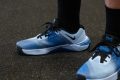
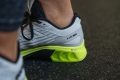
Workout shoes with the best shock absorption


What makes it the best?
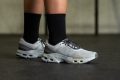
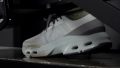
The On Cloudpulse was pure joy on our feet during testing. Lab results show it’s all about comfort, from its impact-dampening midsole to its roomy fit and to its seamless ventilation. Yet what makes it stand out the most is its protection for high-intensity exercises, runs, and jumps, making it our workout shoe with the best shock absorption.
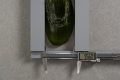
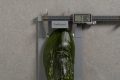
The Cloudpulse is one of the tallest trainers we’ve measured, reaching 32.9/23.1 mm. Besides its height, the foam itself can reduce the forces of the ground. Testing for its shock absorption, the heel returned 104 SA and the forefoot 85 SA. At this level, the figures are closer to the cushioning of running shoes!
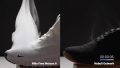
Comfort is further amplified with the accommodating toebox. At 74.2 mm, even those with broad feet will feel welcome. What further amplifies the freeing feeling up front is the Cloudpulse’s breathability. The smoke we pumped in easily escaped, so we awarded it the highest 5/5 score. It offers a refreshing sensation, avoiding sweat and heat buildup.
Unfortunately, Cloudpulse is not so cloudlike in terms of weight. At 11.3 oz (319g), it may not attract athletes looking for an agile and lightweight feel.
Pros
- Excellent impact protection for HIIT and cardio
- Midsole feels responsive for jumps and runs
- Great lateral support and stability
- Highly breathable upper
- Sturdy and durable construction
- Perfect outsole grip for gym floors
- Accommodating toebox
Cons
- Not for heavy lifting (200 lbs/90 kg max)
- Not very bendy forefoot
- Frail toebox mesh (not for rope climbs)
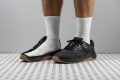
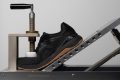
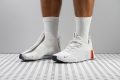
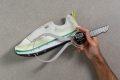
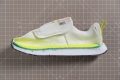
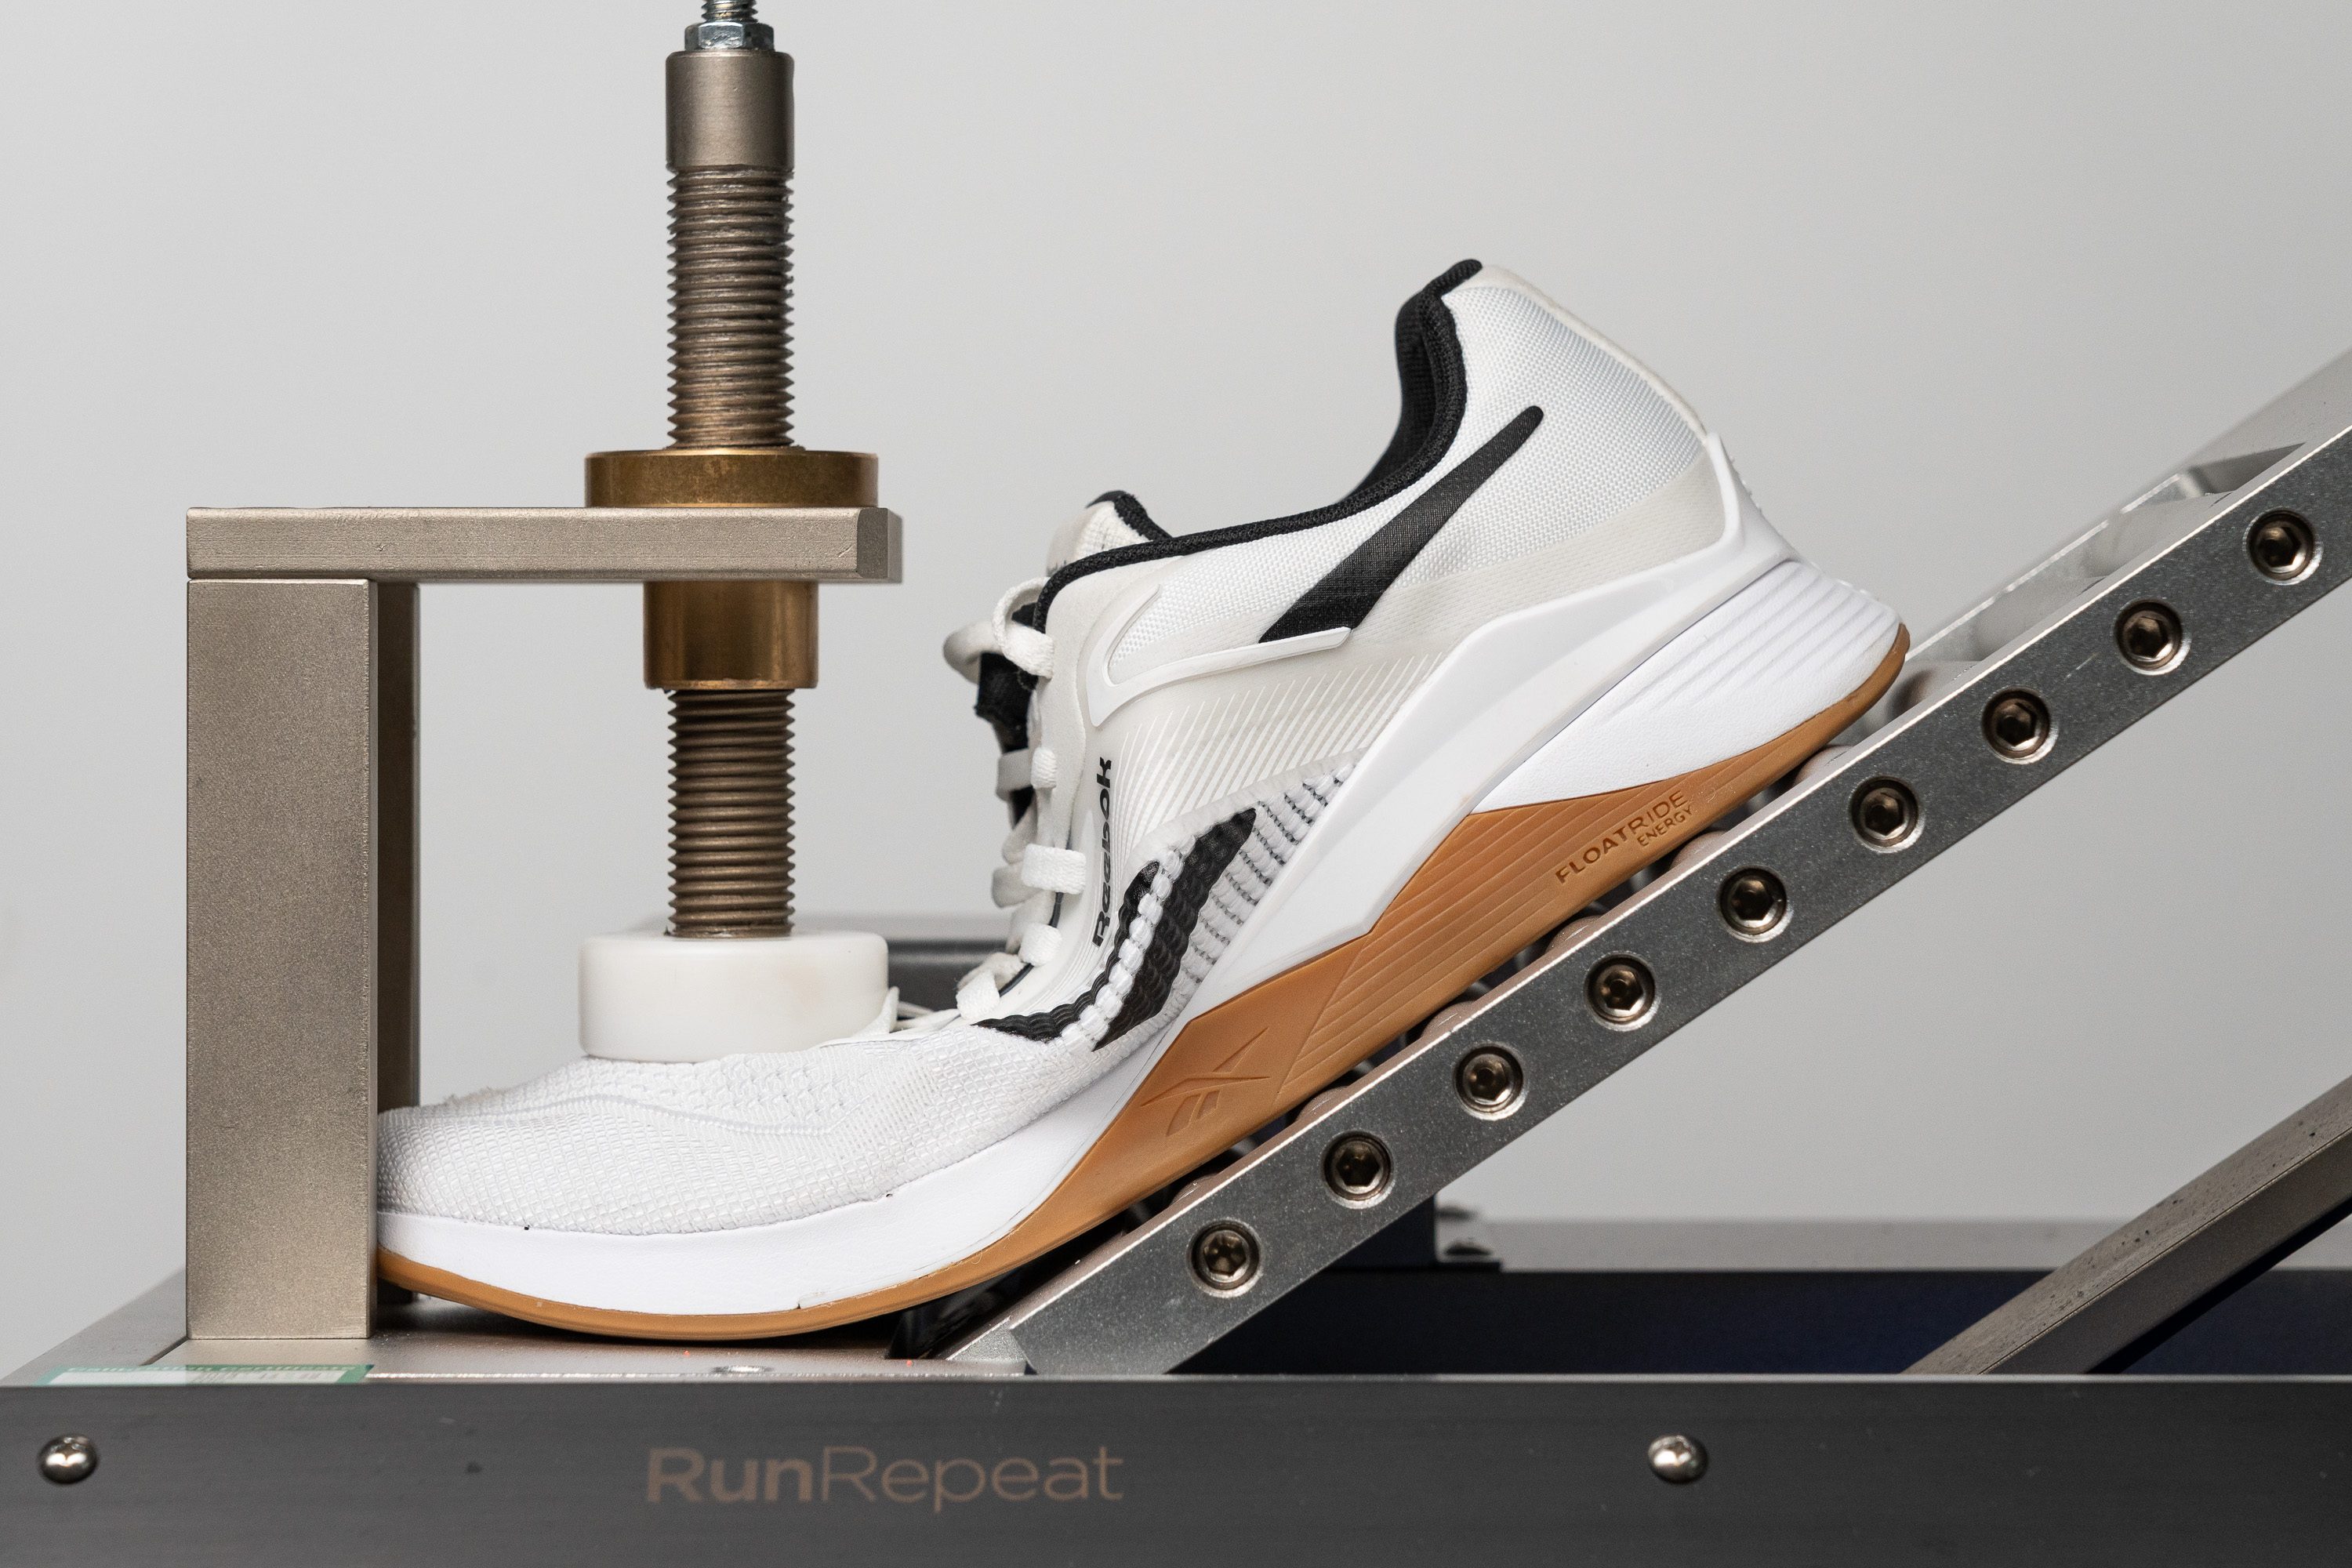
Best low stack workout shoes


What makes it the best?
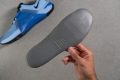
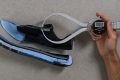
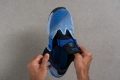
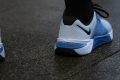
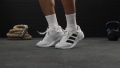
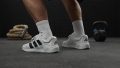
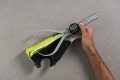
The adidas Dropset 4 offers remarkable stability in our training without sacrificing comfort. Our lab results support the surefootedness we experienced, showing a grounded, stiff, and grippy base, which makes it our top low-stack workout shoe. Plus, its surprisingly light build enhances its agility and versatility.
The midsole is designed for lifting, with a low height of 19.9/14.6 mm, offering low shock absorption of 53 SA in the forefoot and 78 SA in the heel. It emphasises surface feedback, which allows us to adapt as needed during lifts or other exercises such as lunges.
Amazingly, our feet felt fresh even during brutally long sessions thanks to the shoe’s lightweight 10.5 oz (298g) build.
In our manual assessment, Dropset 4’s inability to twist earns it the maximum 5/5 torsional rigidity score, while our ankles are held firmly and comfortably by the GeoFit Sensepods. We discovered the presence of the Energyrods and sidewalls in the midsole, which help support side-to-side movement.
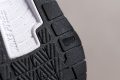
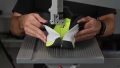
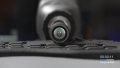
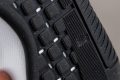
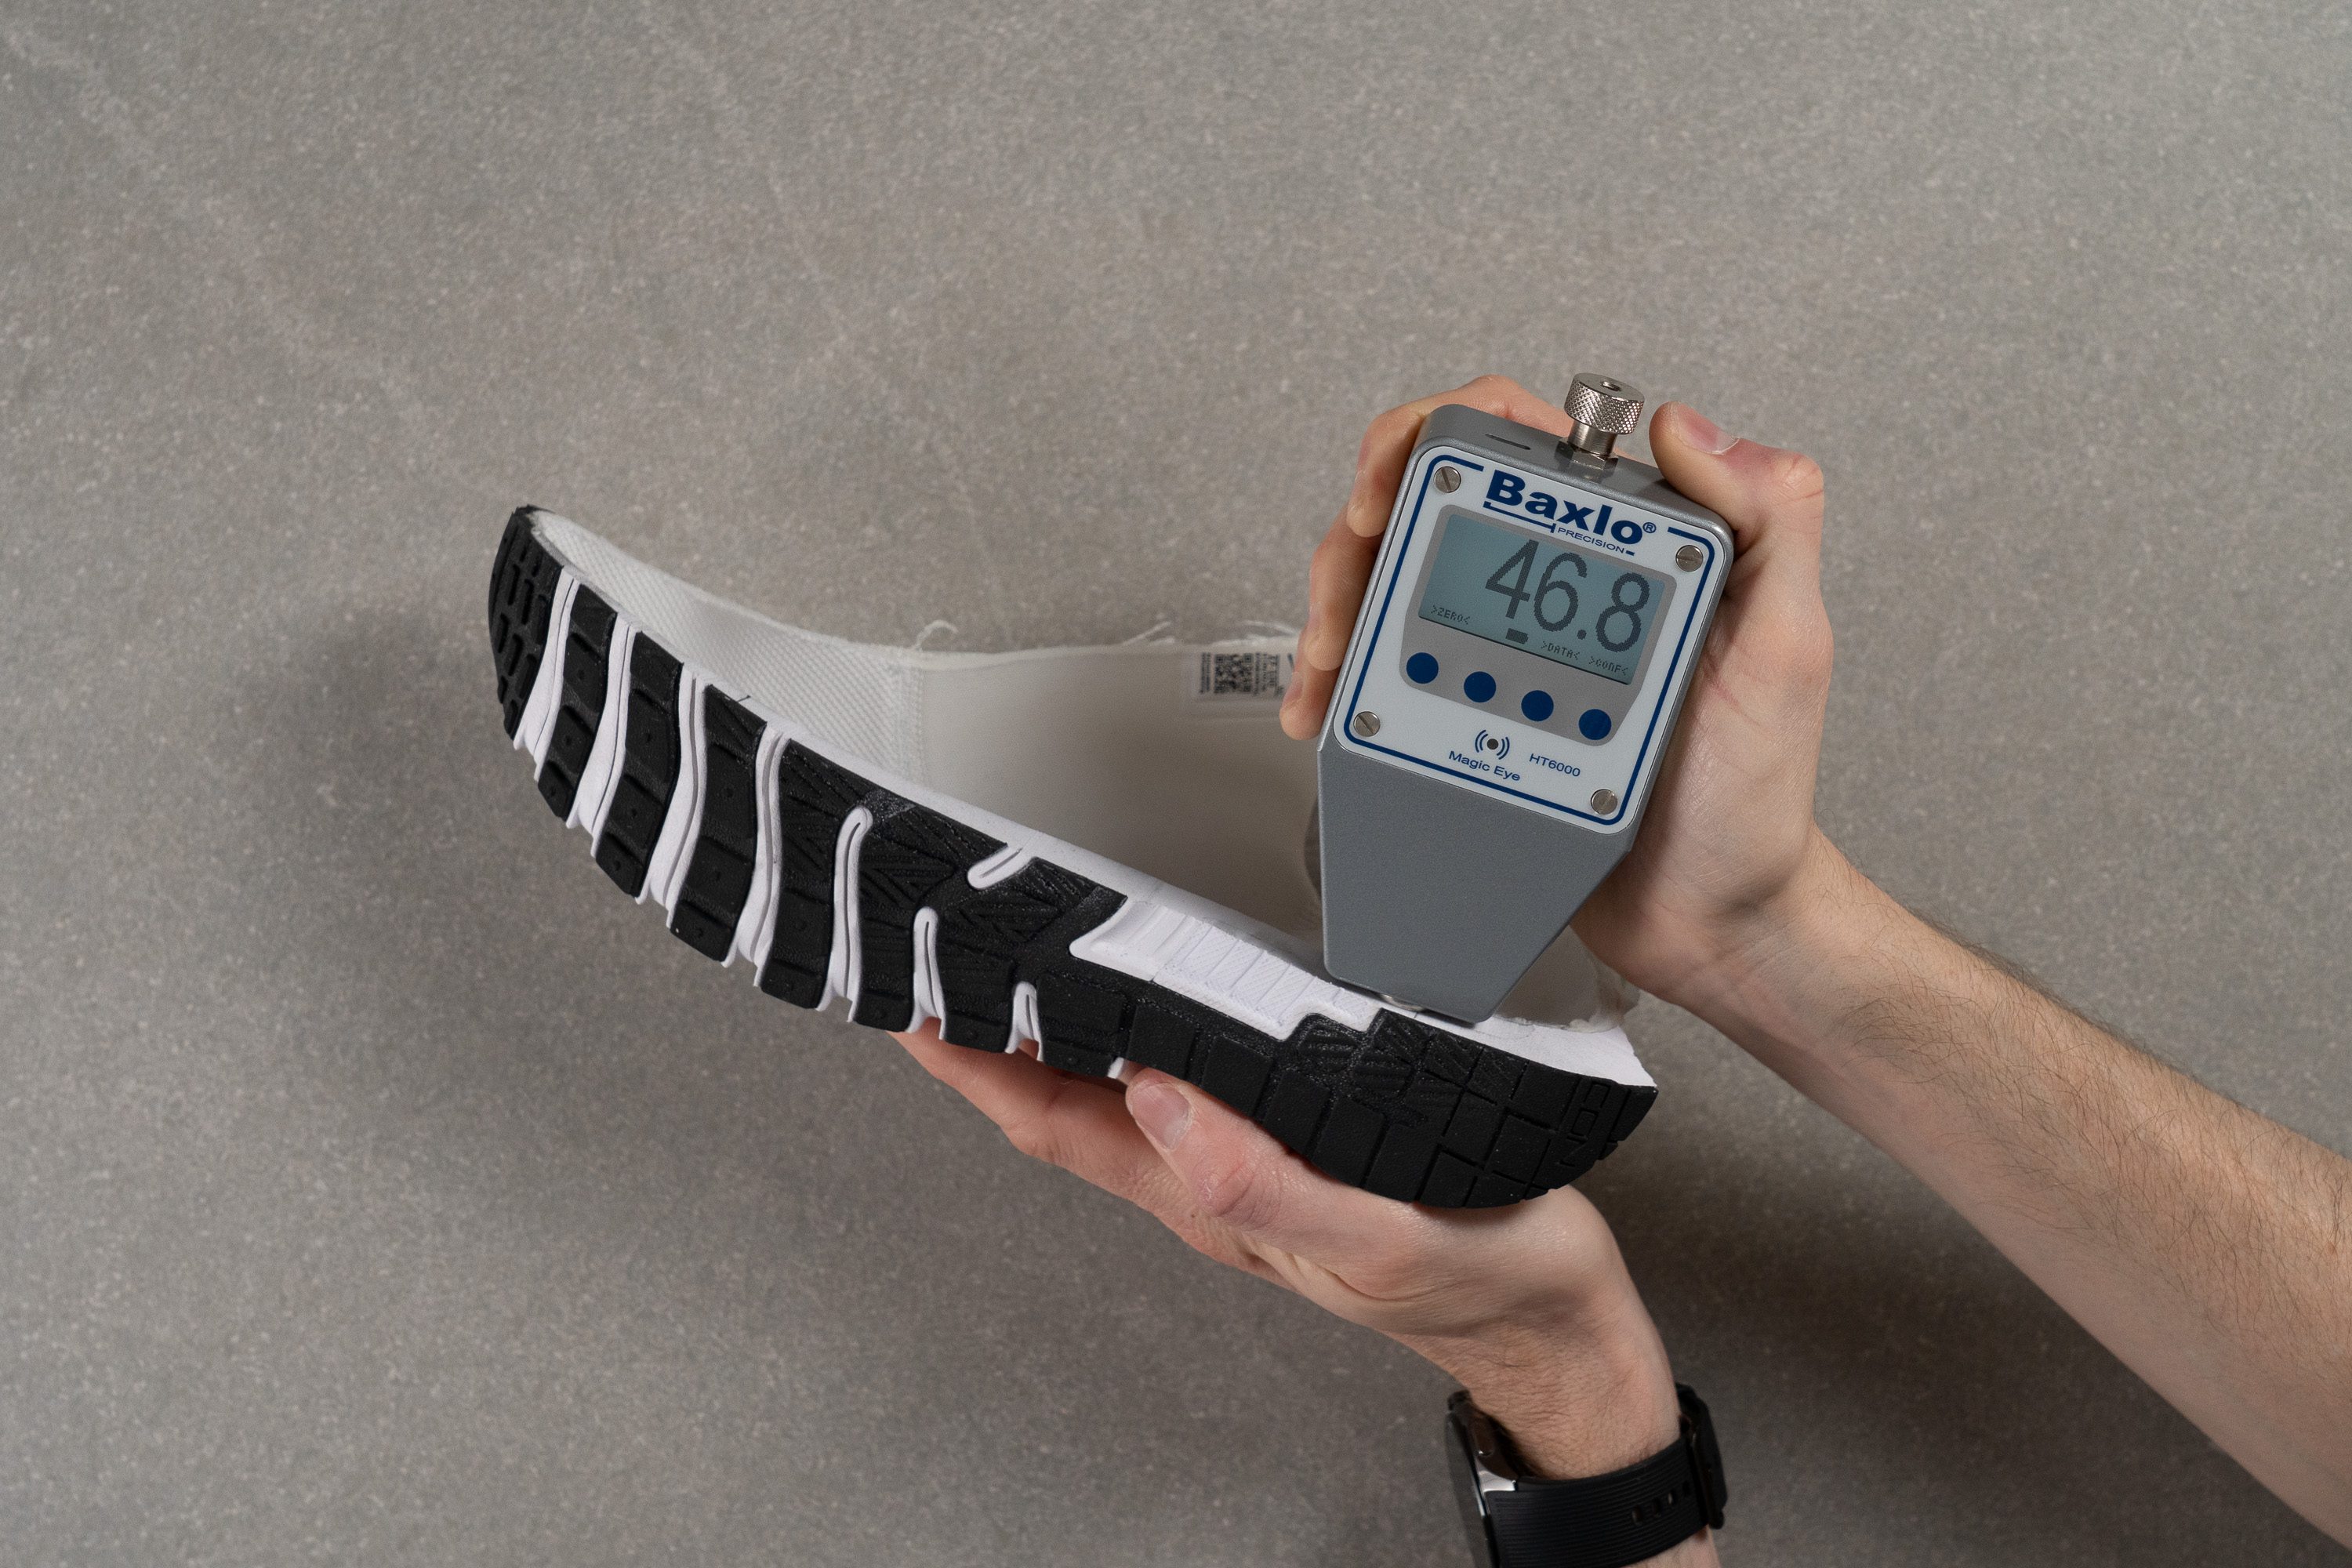
Even from below, the Continental rubber does its job of controlling our movements by allowing us to brake as needed. Scoring 0.36 in our traction test, it emerged 9.1% grippier than average. However, the 2.3 mm damage our Dremel caused is concerning. Those who don’t want to burn through trainers quickly should opt for a more durable pair.
Pros
- Feels grounded and controlled
- Excellent side-to-side stability
- Sufficient shock absorption for cardio
- Secure ultra-padded containment
- The lightest of all Dropsets
- Solid outsole traction
- Decent breathability
Cons
- Snug tapered toebox
- Lacks durability for the price
- Limited breathability
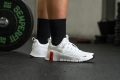
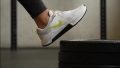
Workout shoes with the best traction


What makes it the best?
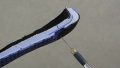
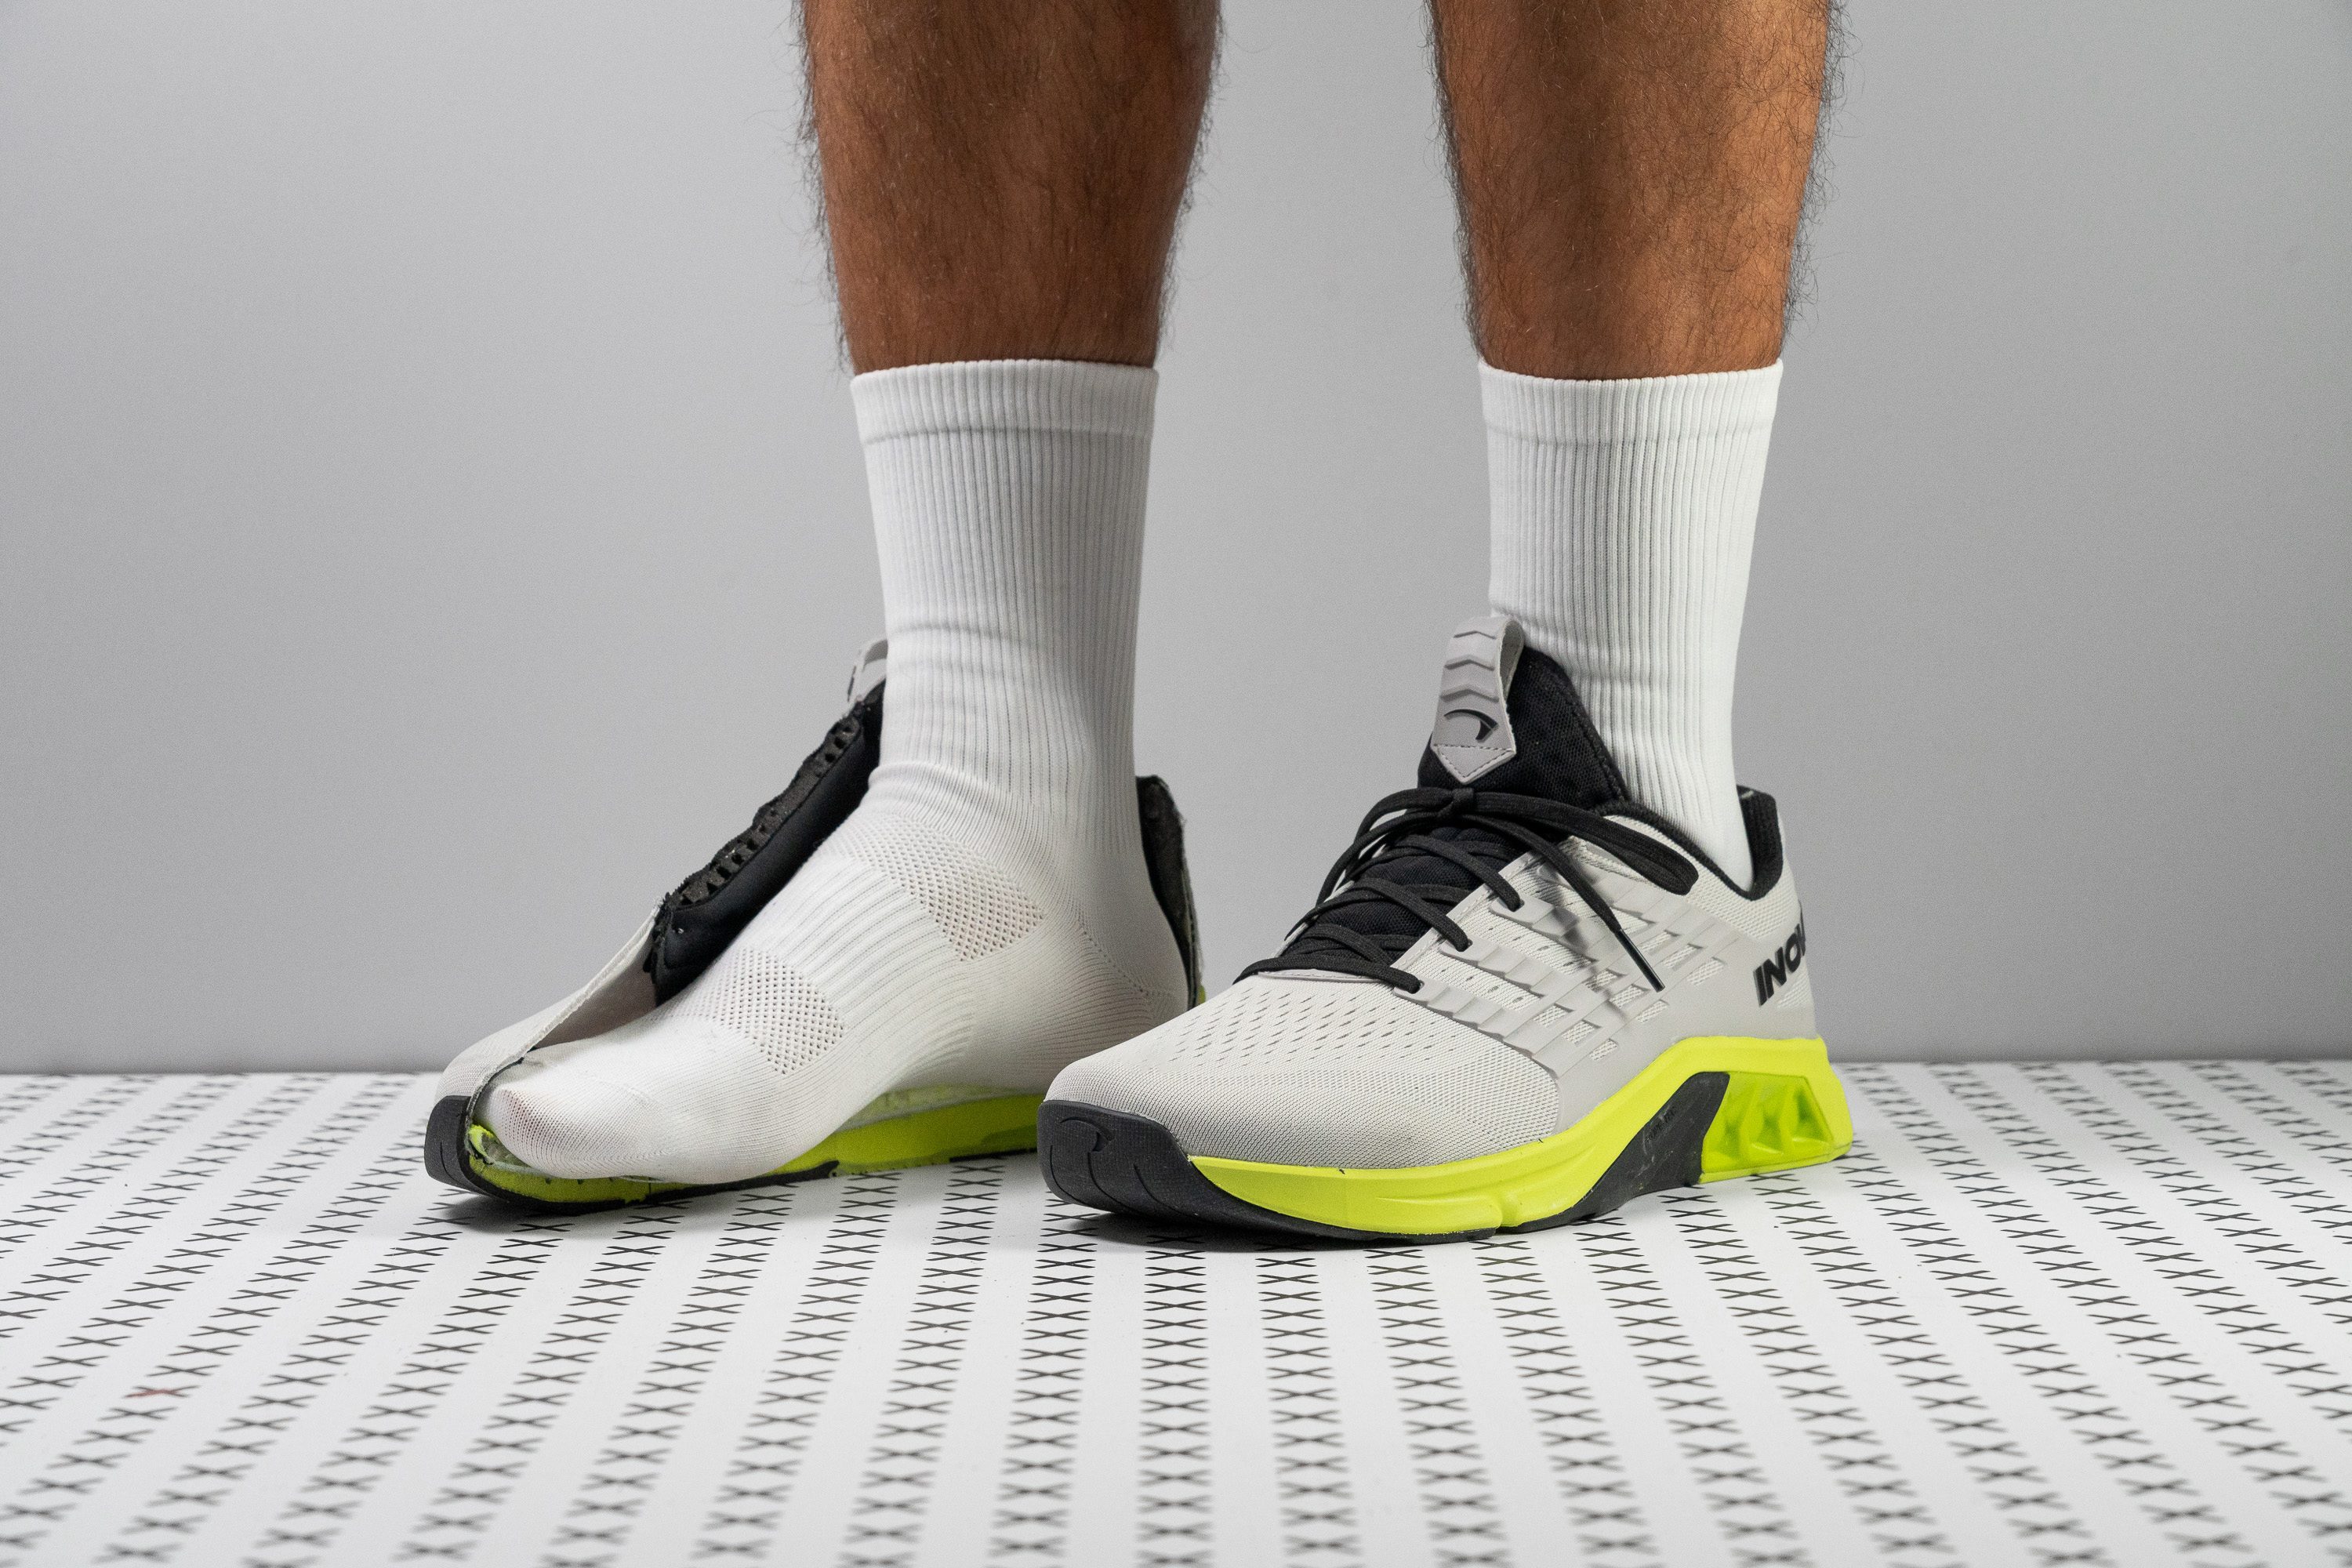
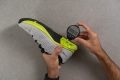
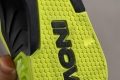
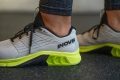
The Inov8 F-Lite Max offers support and control like no other, notably with the best traction it delivers among workout shoes we tested in the gym and the lab. Besides its strong bite, it has a highly stable base for lifting, while allowing the forefoot to flex freely to perform other exercises with ease.
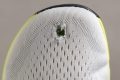
Starting with the highlight, it’s forefoot friction in our wet-condition test is one of the highest we’ve ever seen in training shoes. At 0.53, its traction is 55.9% stronger than the average, allowing us to stop and pivot as needed. This rubber even extends to the sides, forming the Rope-Tec, for extra grip when rope climbing.
The TPU heel stabiliser and Met-Cradle cage in the midfoot work together to provide exceptional support for lifting. Even as we load up the barbell, we feel immune to toppling over and feel well-planted to the ground.
The outsole has deep flex grooves to allow the forefoot to bend effortlessly. In our flex test, it indeed emerged 6.3% more pliable than average, allowing us to perform lunges and sled pushes with minimal resistance.
Another standout feature is its exceptionally wide 89.4 mm toebox. However, this excessive space makes it less secure for those with narrow feet.
Pros
- Fantastic stability for lifting and Crossfit
- Great for heavier lifting (stiff TPU heel)
- Awesome for wide feet
- Good forefoot flexiblity
- Highly breathable toebox
- Solid outsole durability
- Protection for rope climbs
- The stickiest outsole rubber
Cons
- Heavier than average
- Clunky and firm for HIIT/cardio
- Frail upper fabric
Best budget workout shoes


What makes it the best?
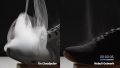
The Nike MC Trainer 3 delivered comfort and a good amount of stability for the various workouts we performed. It feels more expensive than its £70 price given its plush platform and well-ventilated upper, as confirmed by our lab tests. The average trainer costs £110, making the Nike MC Trainer 3 our ultimate budget workout pick.
The upper is pure bliss, serving unobstructed airflow that kept us going through intense sessions. Smoke flowed out quickly after we pumped it in, earning a well-deserved 5/5 breathability rating.
Low price and high level of comfort is what this trainer is all about. We measured the stack height to be an above-average 30.6/21.8 mm, delivering gentler landings during jump ropes and cardio exercises. The cushioning feels gentle to the touch, which our durometer confirms is 13.0% softer than average.
Despite its soft cushioning, we felt well-planted during moderate weightlifting, quick lateral movements, and single-legged drills. Our calliper shows a wide 114.5/91.4 mm forefoot and heel that helped secure our footing. However, the midfoot runs oddly narrow, so we cannot recommend this to people with wide feet. Those who require more internal real estate should try alternatives.
Pros
- Fantastic value for money
- Highly breathable
- Doesn't drag the foot down
- Better cushioned than v2
- Heel bevel is better for running and walking
- Decent stability for moderate workouts
- Good flexibility for lunges and planks
- Accommodating toebox
- Comfortable padded interiors
Cons
- Not for flat and wide feet (narrow midfoot)
- Upper lacks wear resistance
- Weak outsole grip
Do workout shoes matter?
If you work out at least two times per week, they do.
Proper workout shoes help you to maximise performance and avoid injuries by providing the following:
- a secure foothold for repeated multi-directional movements
- a firm, wide, and stable platform for lifting and lateral movements
Regular running shoes or casual trainers do not have these two essential characteristics. From the ground up, they are designed with forward foot motion in mind.
If you do use running shoes for the gym, make sure they have a firm, wide, and torsionally stiff platform. Find out what running shoes are okay for working out at the bottom of this guide.
Where to start: choose the right platform
Most workout shoes are designed to be all-in-one trainers.
That means they can support you in any activity your coach throws at you: from a warm-up run on a treadmill to a series of deadlifts with a barbell.
And yet, the seemingly subtle differences in shock absorption and heel-to-toe drop can make a big difference in your athletic performance.
Shock absorption: impact protection, ground feel, or both?
Shock absorption refers to the amount of impact force absorbed by the shoe's midsole. The higher the SA reading, the less stress goes to your feet, joints, and body overall.
We recommend choosing more protective workout shoes with 90 SA or more if:
- you need more cushioning for high-impact exercises and cardio
- you have foot conditions, joint pain, or prior injuries
- you want a more comfortable shoe for both gym and casual wear
Trainers with a more moderate shock absorption of 80-90 SA will likely benefit you if:
- you want a versatile, well-rounded workout shoe for a little bit of everything
Workout shoes with minimal shock absorption of 80 SA or less suit you if:
- you want a stable platform for strength training and weightlifting
- you prefer a planted and grounded underfoot experience
- you are transitioning to minimalist shoes*
*Some seasoned gym buffs prefer a more natural experience provided by minimalist workout shoes. This footwear is significantly lighter, more flexible, and, of course, lower to the ground. But keep in mind that these shoes demand more muscle activation and offer less cushioning than regular trainers.
Heel-to-toe drop: flat or elevated?
The incline of the shoe's midsole from the heel to the toes is referred to as the drop.
Some workout shoes feel flatter (0-5 mm drop), while others have a rather tangibly elevated heel (8-12 mm drop). On average, gym shoes hover around 5-8 mm in their heel-to-toe difference.
Most athletes prefer shoes with a drop between 5 and 8 mm as it creates a very stable and grounded platform. Also, there is a small elevation under the heel to ease the strain on the Achilles tendon.
On the other hand, if you want to achieve better ankle mobility and muscle activation, you will appreciate a 0-5 mm drop instead.
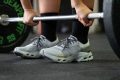
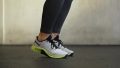
Stability vs. flexibility in workout shoes
Given the variety of exercises performed at the gym, you need a true Swiss army knife on your feet to accommodate them all.
Your workout shoe must have enough rigidity and firmness to keep you stable for lifting and squatting.
But your trainers also need a good amount of flexibility to feel comfortable on planks, lunges, and jumps.

We test both parameters thoroughly to let you know which workout shoes are both steady and pliable and which are more inclined towards one or the other.
Here is the overview of well-rounded workout shoes that we can highly recommend to beginners and most athletes, for that matter.
Torsional rigidity: 5 stands for the stiffest. Stiffness: the lower N measurement means higher flexibility.
And if you need shoes for agile workouts and manoeuvrable footwork, you will appreciate the flexibility offered by the following options:
Make sure your workout shoes breathe
A workout wouldn't be complete without breaking some good sweat.
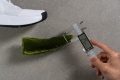
We treat fresh feet seriously and put each workout shoe through a series of lab tests to assess its level of breathability.
Considering all of the above, we come up with a list of the most breathable workout shoes that never let the feet suffocate:
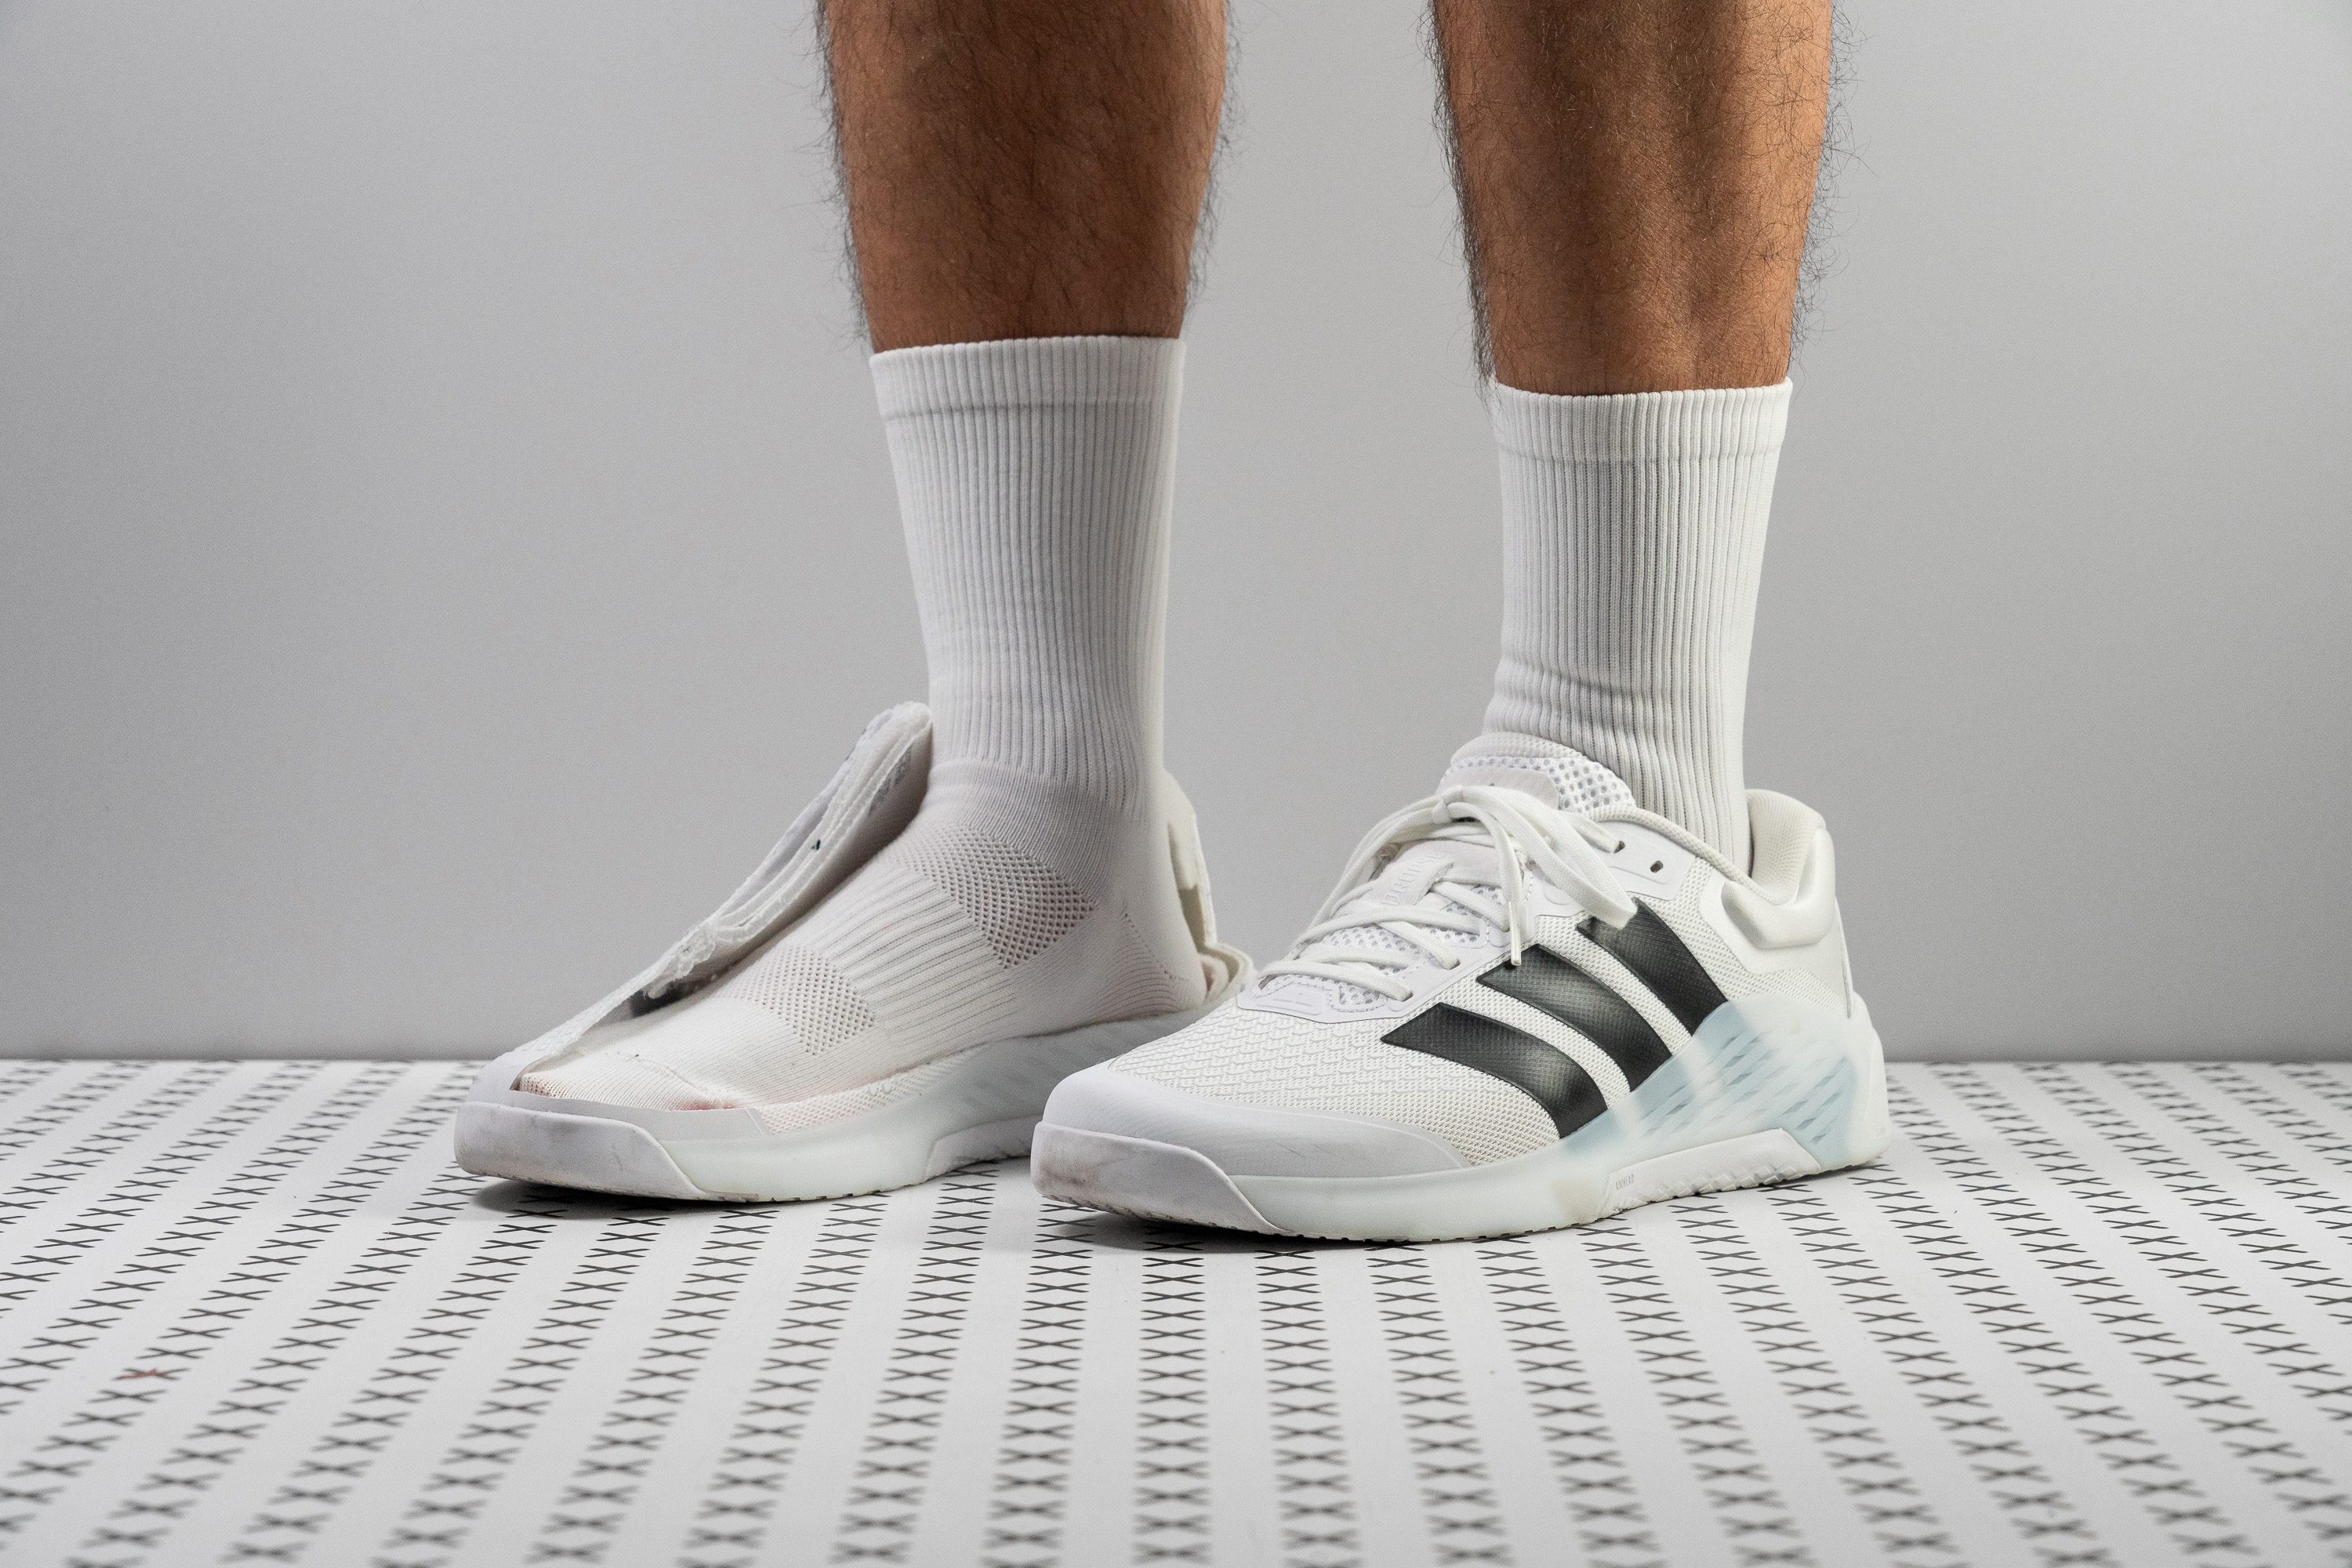
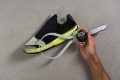
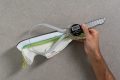
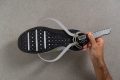
How to find the right size and fit in workout shoes
If it's been a while since you last purchased a pair of athletic shoes, we strongly recommend measuring your foot length first. You might be surprised!
Even if you always get the same size in all shoes, chances are that you may need to size up or down in certain training shoes. Knowing your exact foot length and checking it with the brand's official size chart gives you a higher chance of ordering the right size.
But getting the right size (length) is only part of the problem. You should also consider the shoe's fit and toebox space.
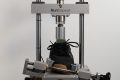
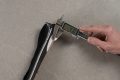
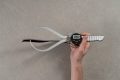
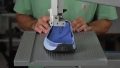
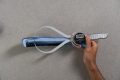
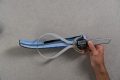
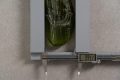
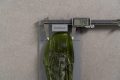
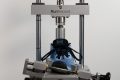
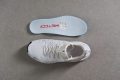
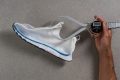
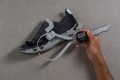
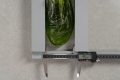
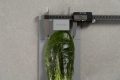
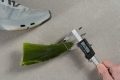
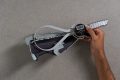
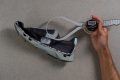
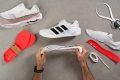
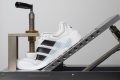
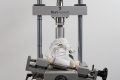
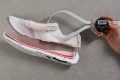
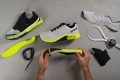
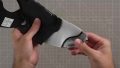
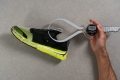
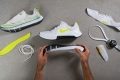
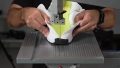
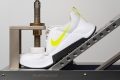
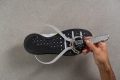
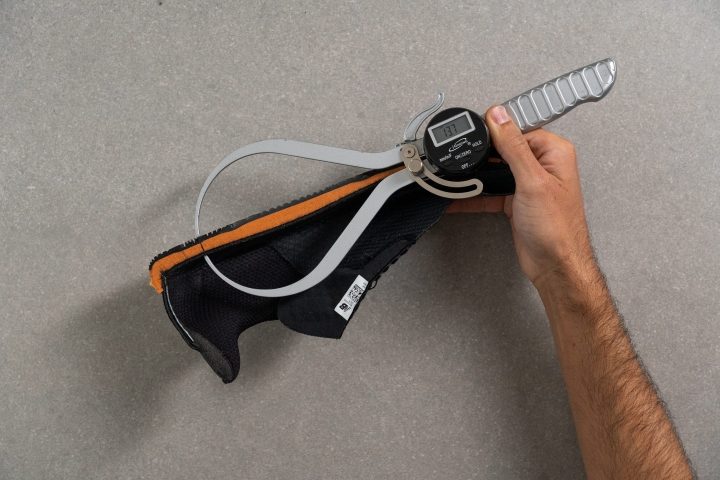
We are here to help you by measuring the dimensions of each workout shoe in our lab.
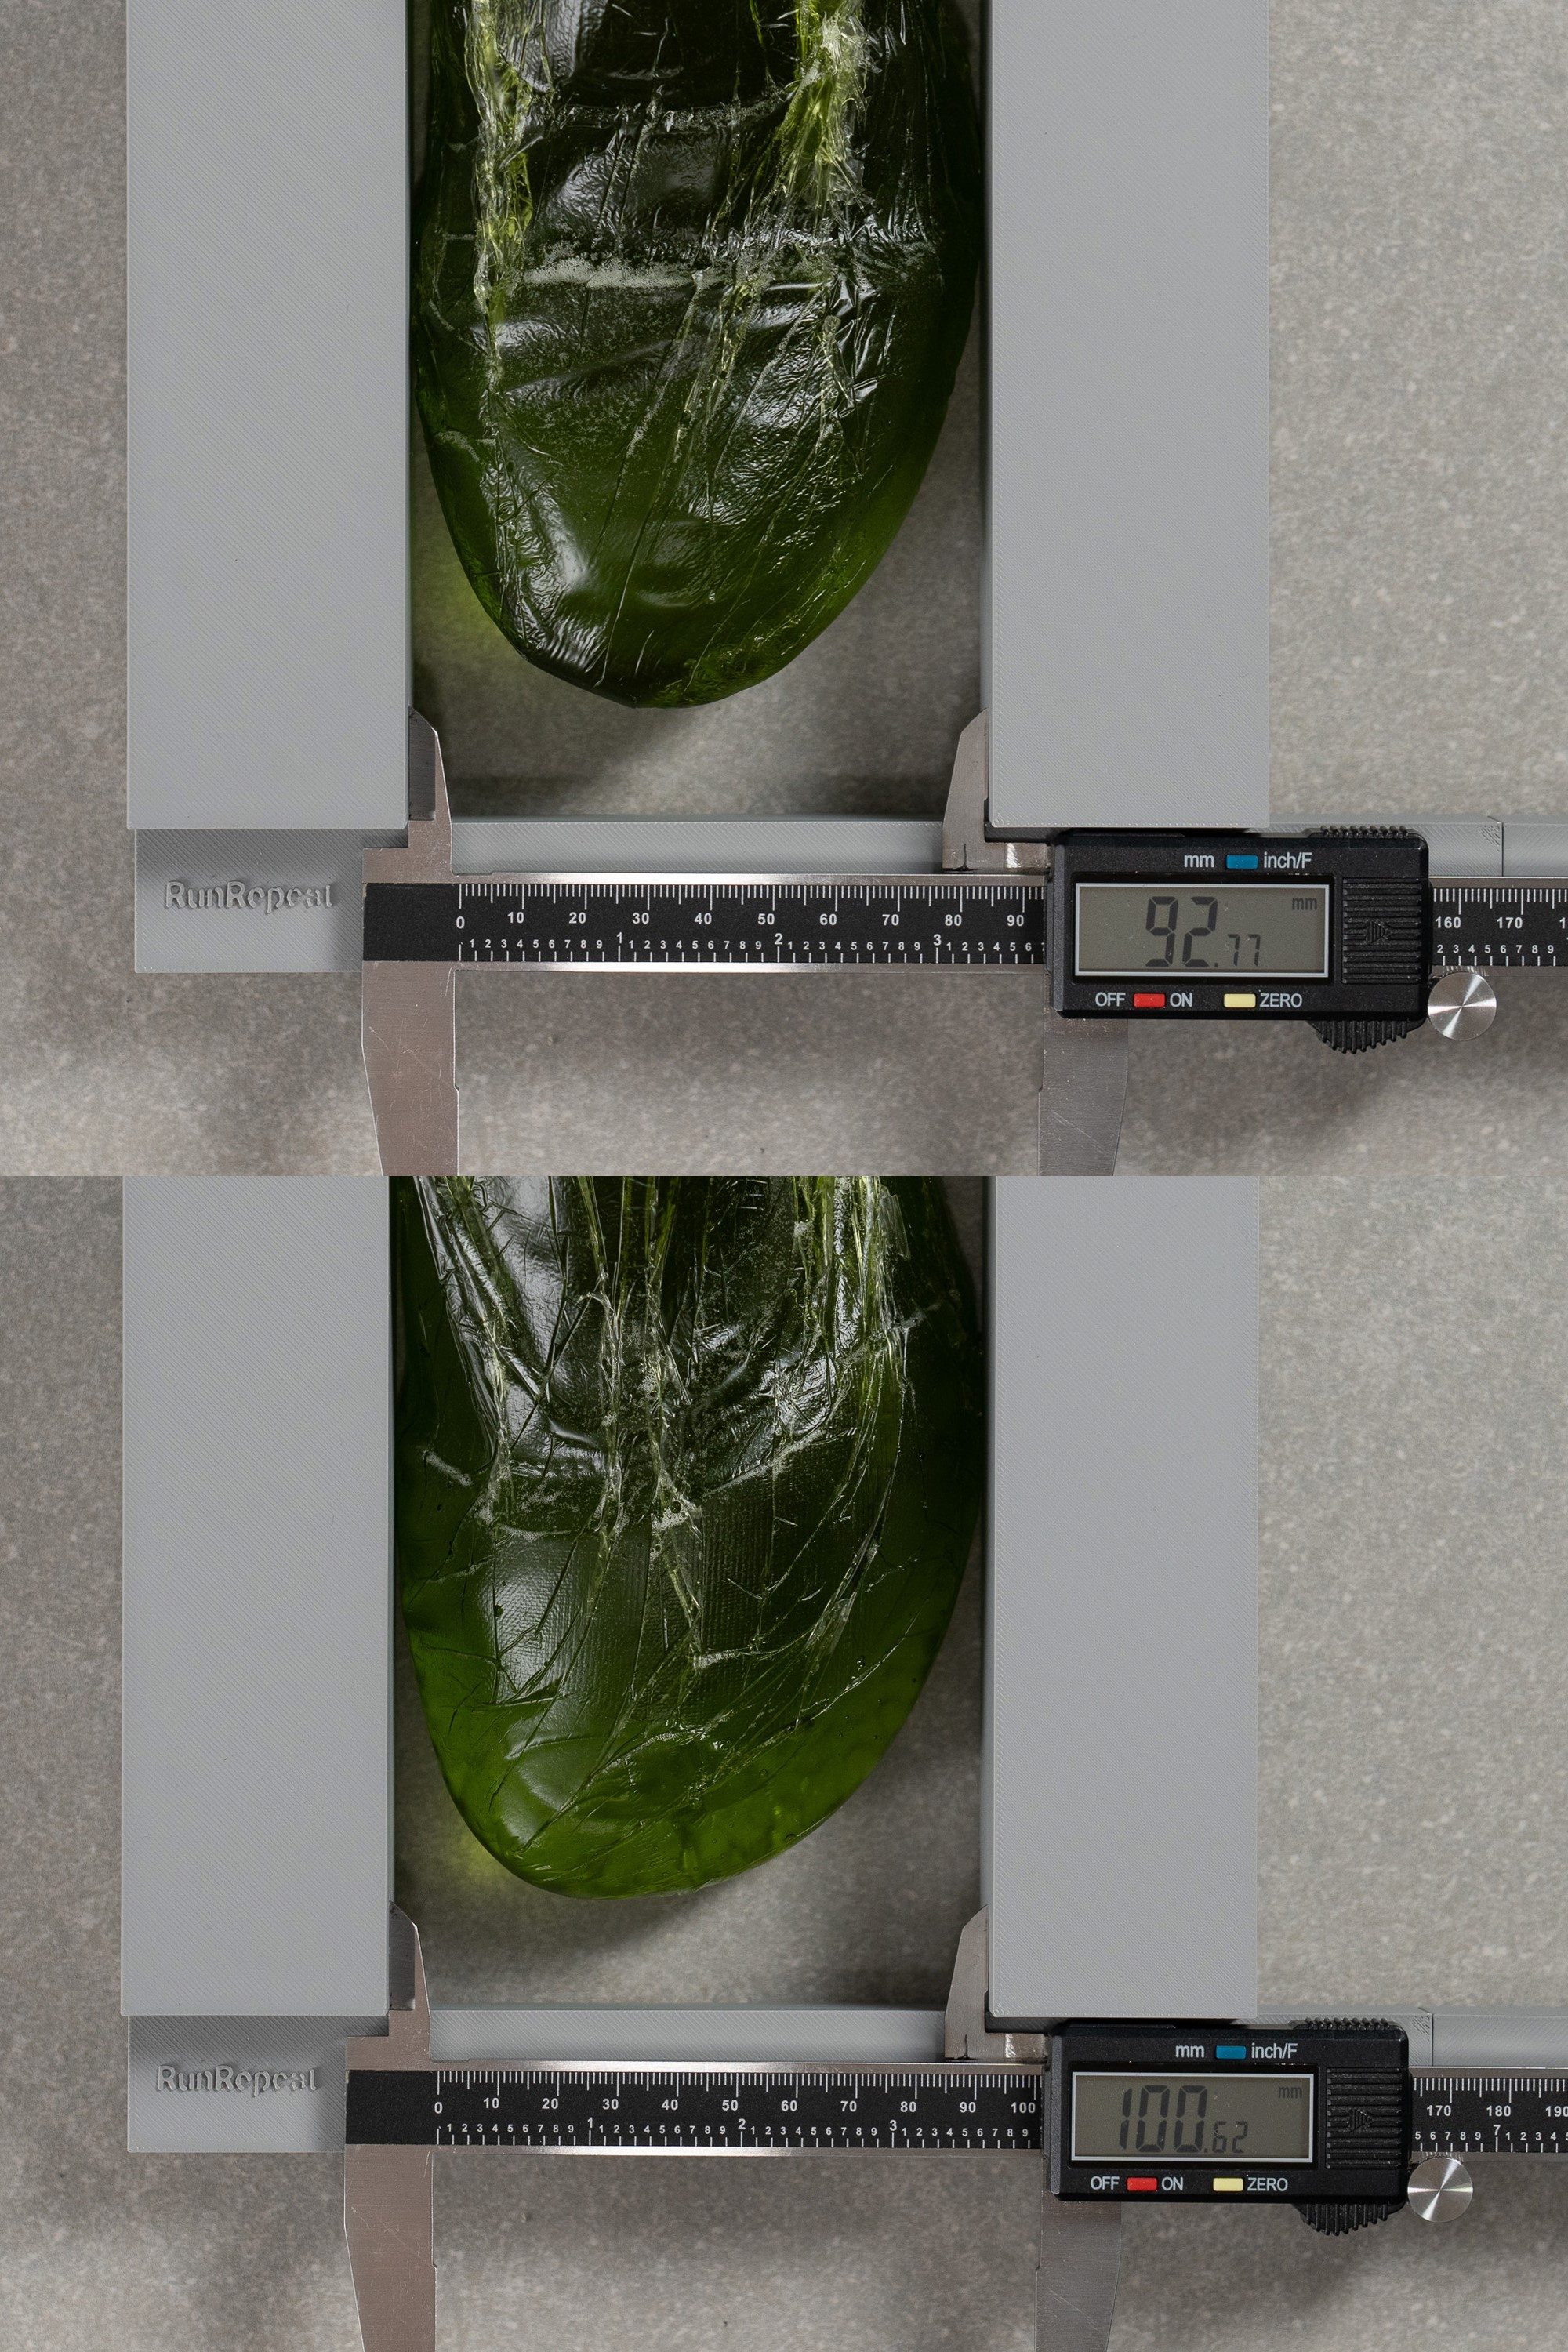
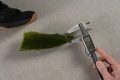
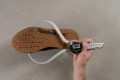
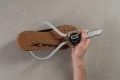
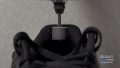
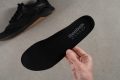
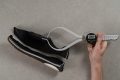
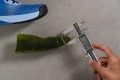
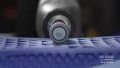
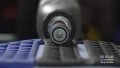
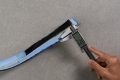
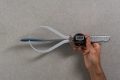
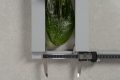
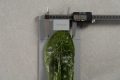
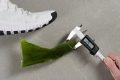
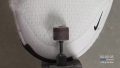
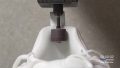
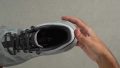
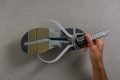
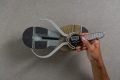
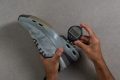
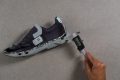
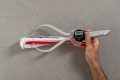
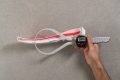
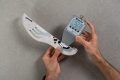
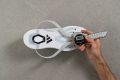
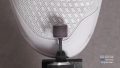
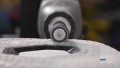
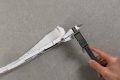
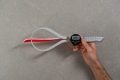
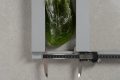
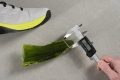
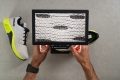
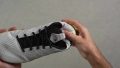
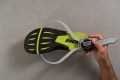
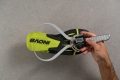
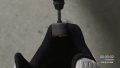
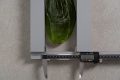
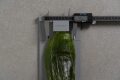
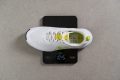
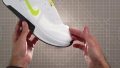
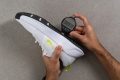
First, we create a mould of the shoe's interiors using custom gel. Then, we use a calliper to measure both the widest part of the mould and the area around the big toe. That way, we can see how spacious the trainer's forefoot actually is as well as its toebox shape.
Compared to other footwear categories, workout shoes tend to have wider toeboxes. This design is essential for stability as it allows the wearer's toes to splay and take up space when balancing the rest of the body.
Our measurements allow us to filter out shoes with the most spacious toeboxes for athletes with wide feet and bunions.
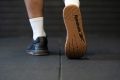
What running shoes are OK for working out?
If a major part of your workout session comprises running on a treadmill mixed with some bodyweight exercises, then it’s okay to use running shoes.
But to keep you safe during more advanced workouts (especially when heavier weight is involved), running shoes must have wide, firm, and grounded platforms.
Are shoes necessary for working out?
This question becomes ever so common with the rise of home-based workouts.
It depends on the type of workout you do. Some people enjoy exercising barefoot or in socks. It certainly improves sensory feedback and control while helping you build foot and toe strength.
But sometimes it can be dangerous to work out barefoot:
- lack of impact protection can take a toll on your feet and knees
- lack of grip can cause slips and falls
- dropping or hitting equipment is a punishment of its own
If you’re looking for a barefoot experience, you can try minimalist workout shoes that come with a low or even zero heel drop, very minimal cushioning, and thin sock-like uppers.
What shoes are best for cardio?
If cardio and high-impact exercises are at the core of your workouts, we recommend getting a training shoe that:
- is lightweight (less than 12 oz/340g)
- has at least 20 mm of heel stack and moderately soft cushioning for impact protection
- flexes well under the ball of the foot for jumps, planks, burpees, etc.
Similar buying guides