7 Best Running Shoes For Low Arches in 2026

We buy shoes ourselves. We earn commissions when you buy through us, at no extra cost. Why trust us
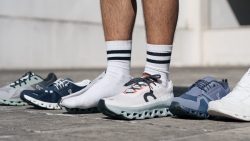
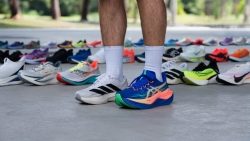
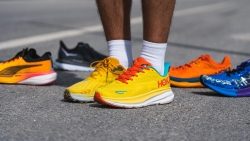
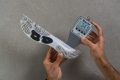
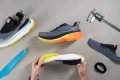
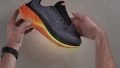
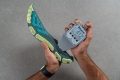
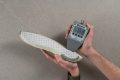
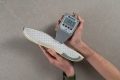
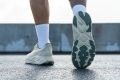
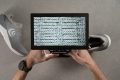
Equipped with our shoe testing lab and our dedicated staff of testers, we’ve tested and looked for the best stability tech, arch support, and motion control design to highlight our top picks among the best shoes for runners with low arches.
Depending on your specific needs, we’ve selected our best picks in different categories. Check them out here!

How we test running shoes for low arches
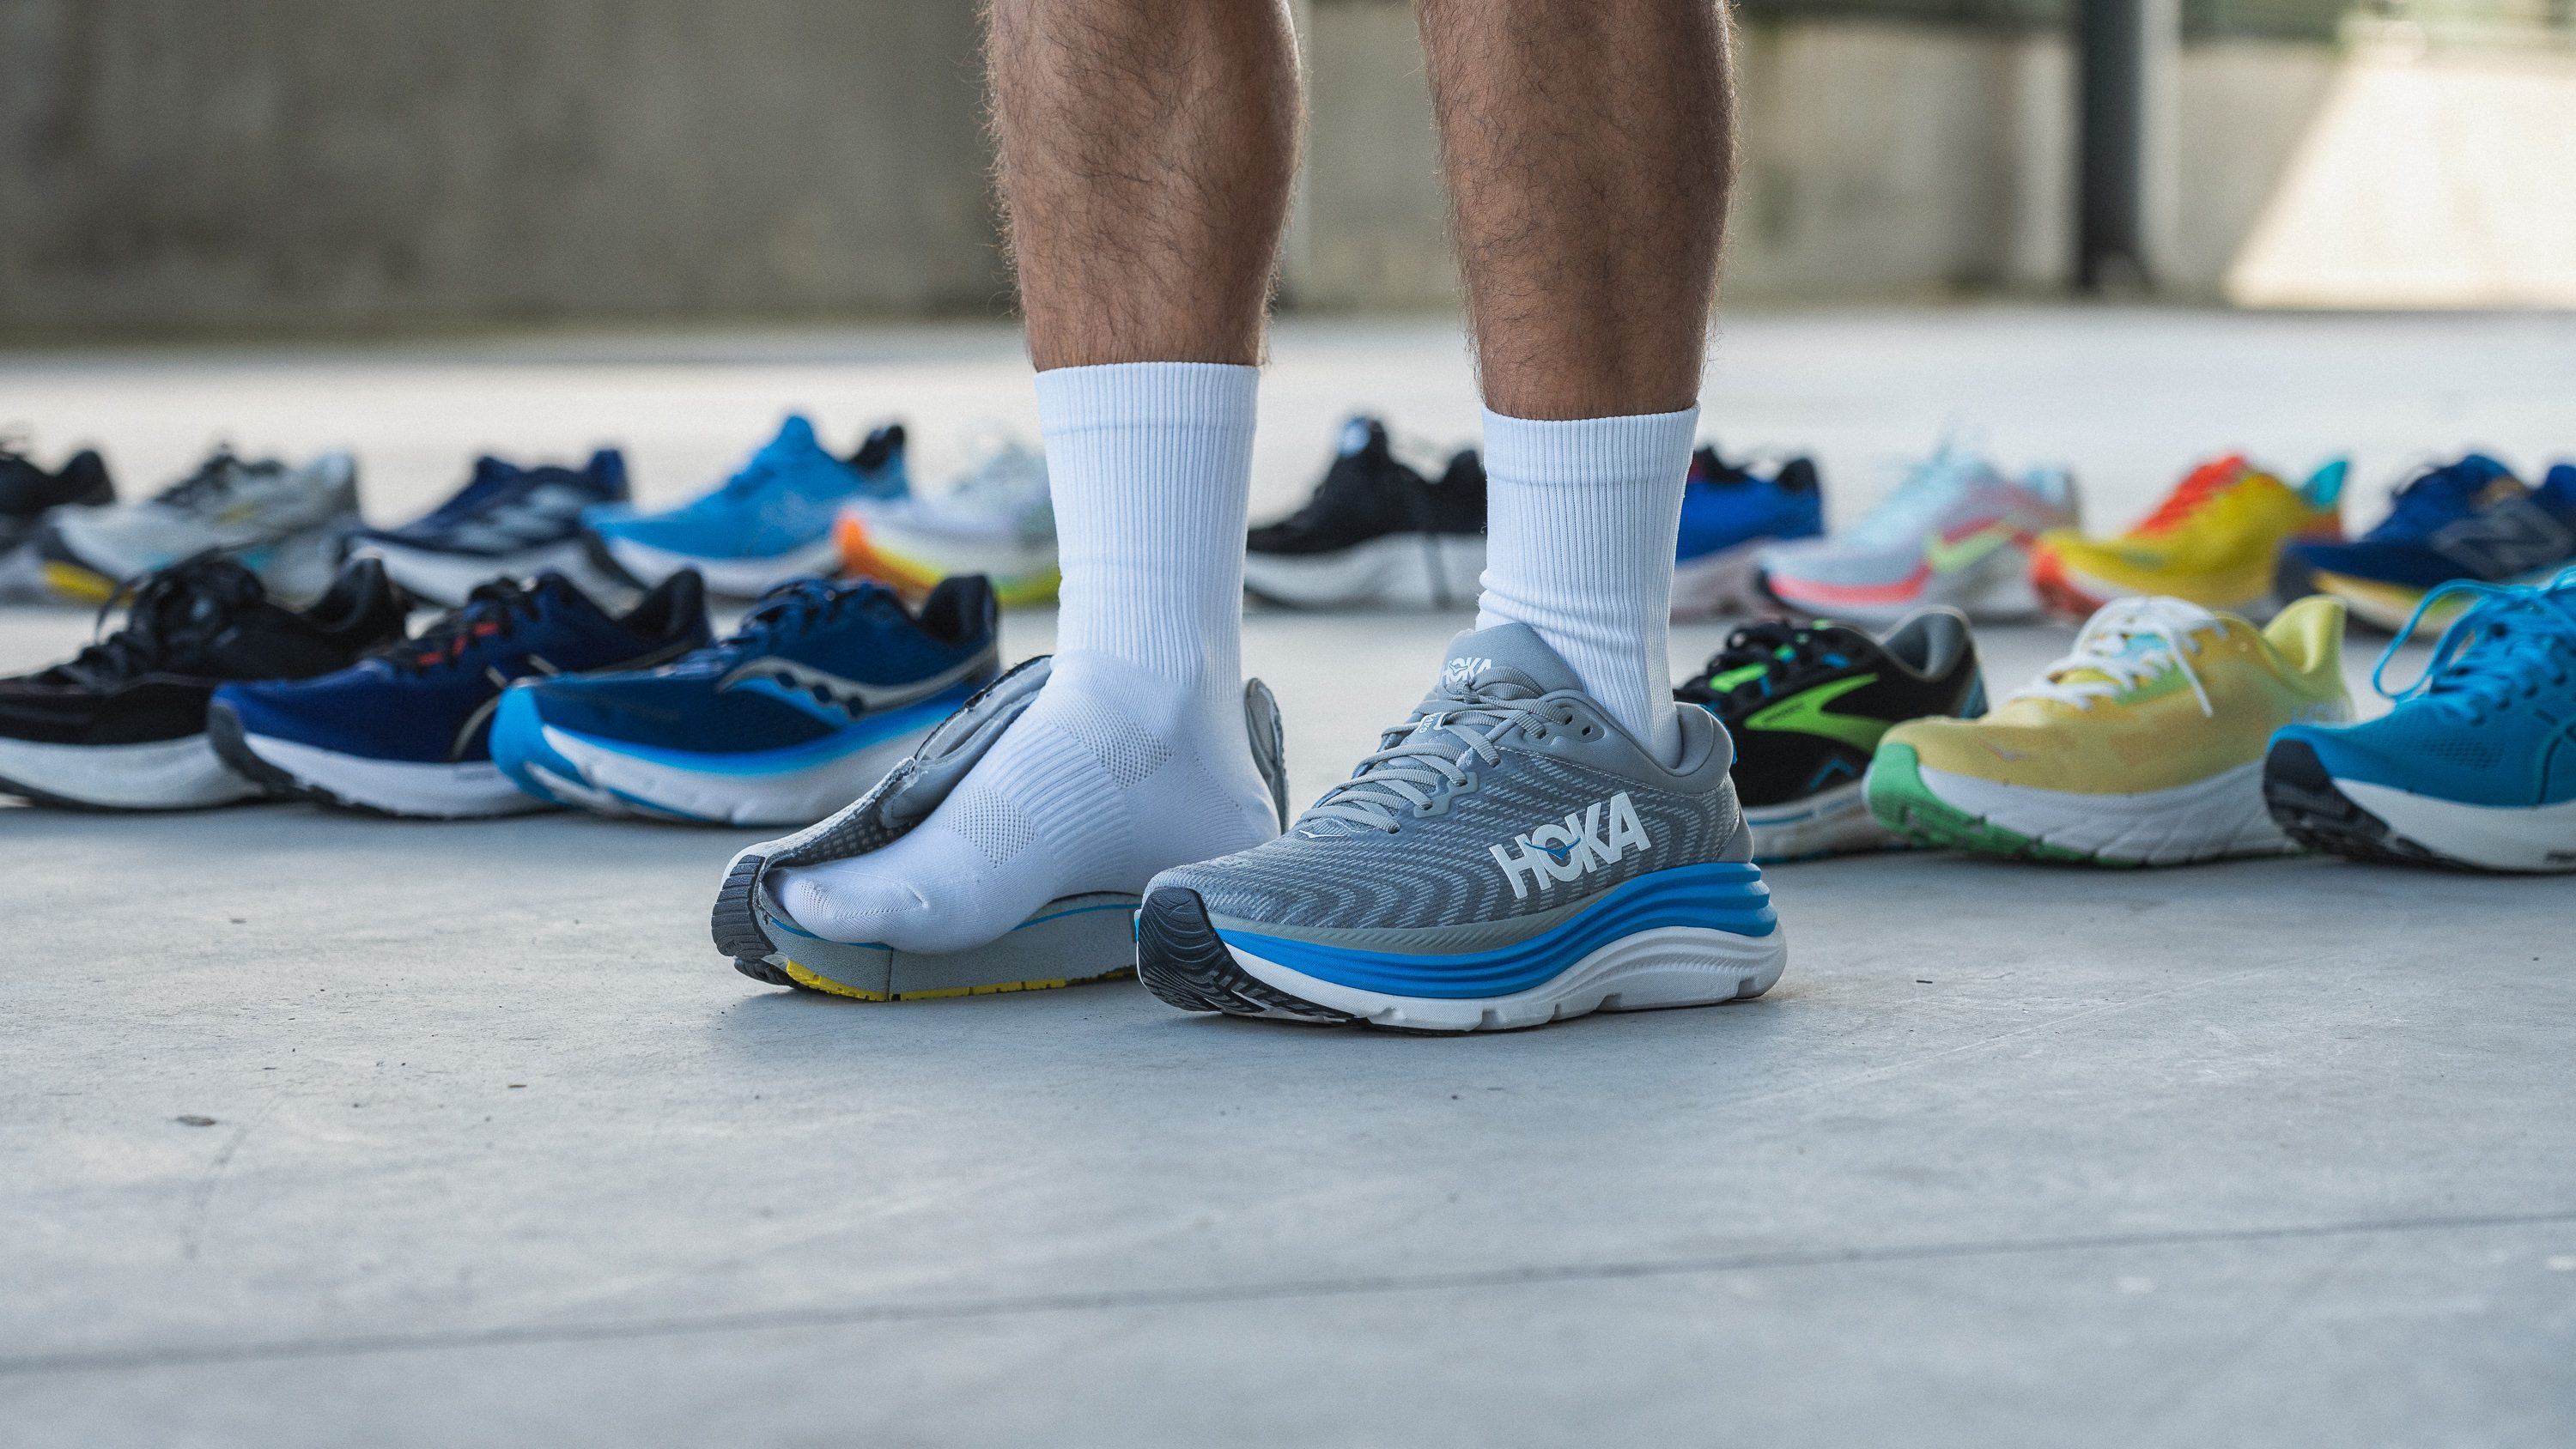
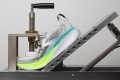
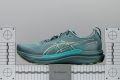
As a team of experienced runners, we constantly test the latest offerings in the low-arch running shoe category. Each pair of shoes is lab-tested and wear-tested. The entire process of reviewing shoes includes these steps:
- Buying all the running shoes on this list with our own money. We follow this to keep everything transparent, honest, and unbiased.
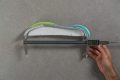
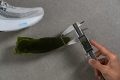
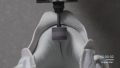
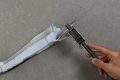
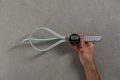
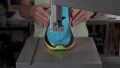
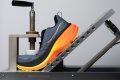
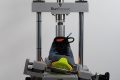
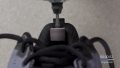
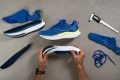
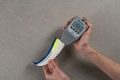
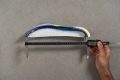
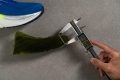
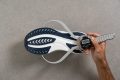
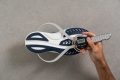
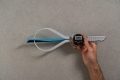
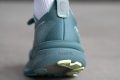
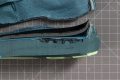
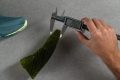
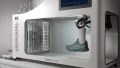
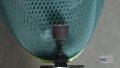
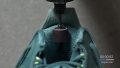
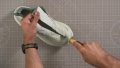
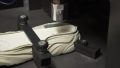
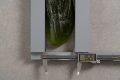
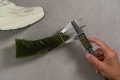
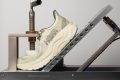
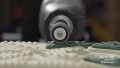
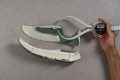
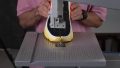
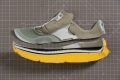
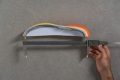
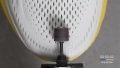
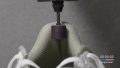
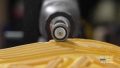
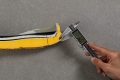
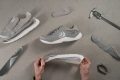
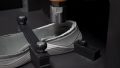
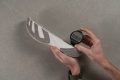
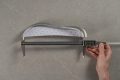
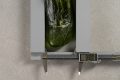
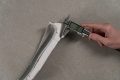
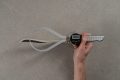
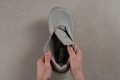
- Cutting the shoes into pieces in our lab. This allows us to get a much closer look at the parts and techs.
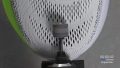
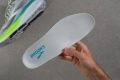
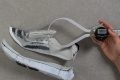
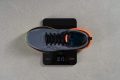
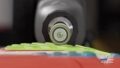
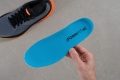
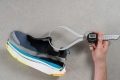
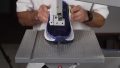
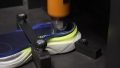
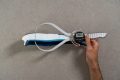
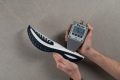
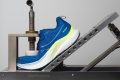
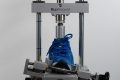
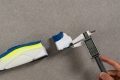
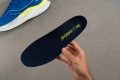
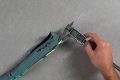
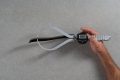
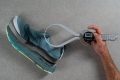
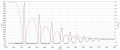
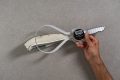
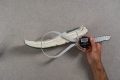
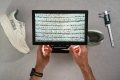
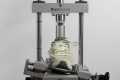
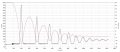
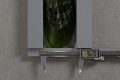
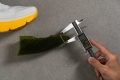
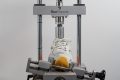
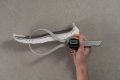
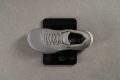
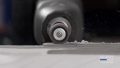
- Weighing and measuring 20+ parameters, including energy return, stability, heel counter stiffness, platform width, and many others. We also compare the measurements and scores to the average values for running shoes.
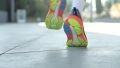
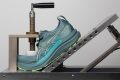
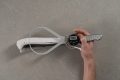
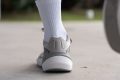
- Wear-testing the shoe in various training conditions and paces.
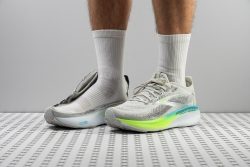
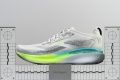
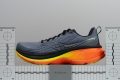
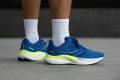
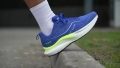
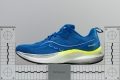
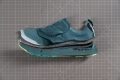
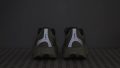
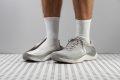
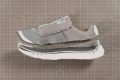
Best running shoes for low arches overall


What makes it the best?
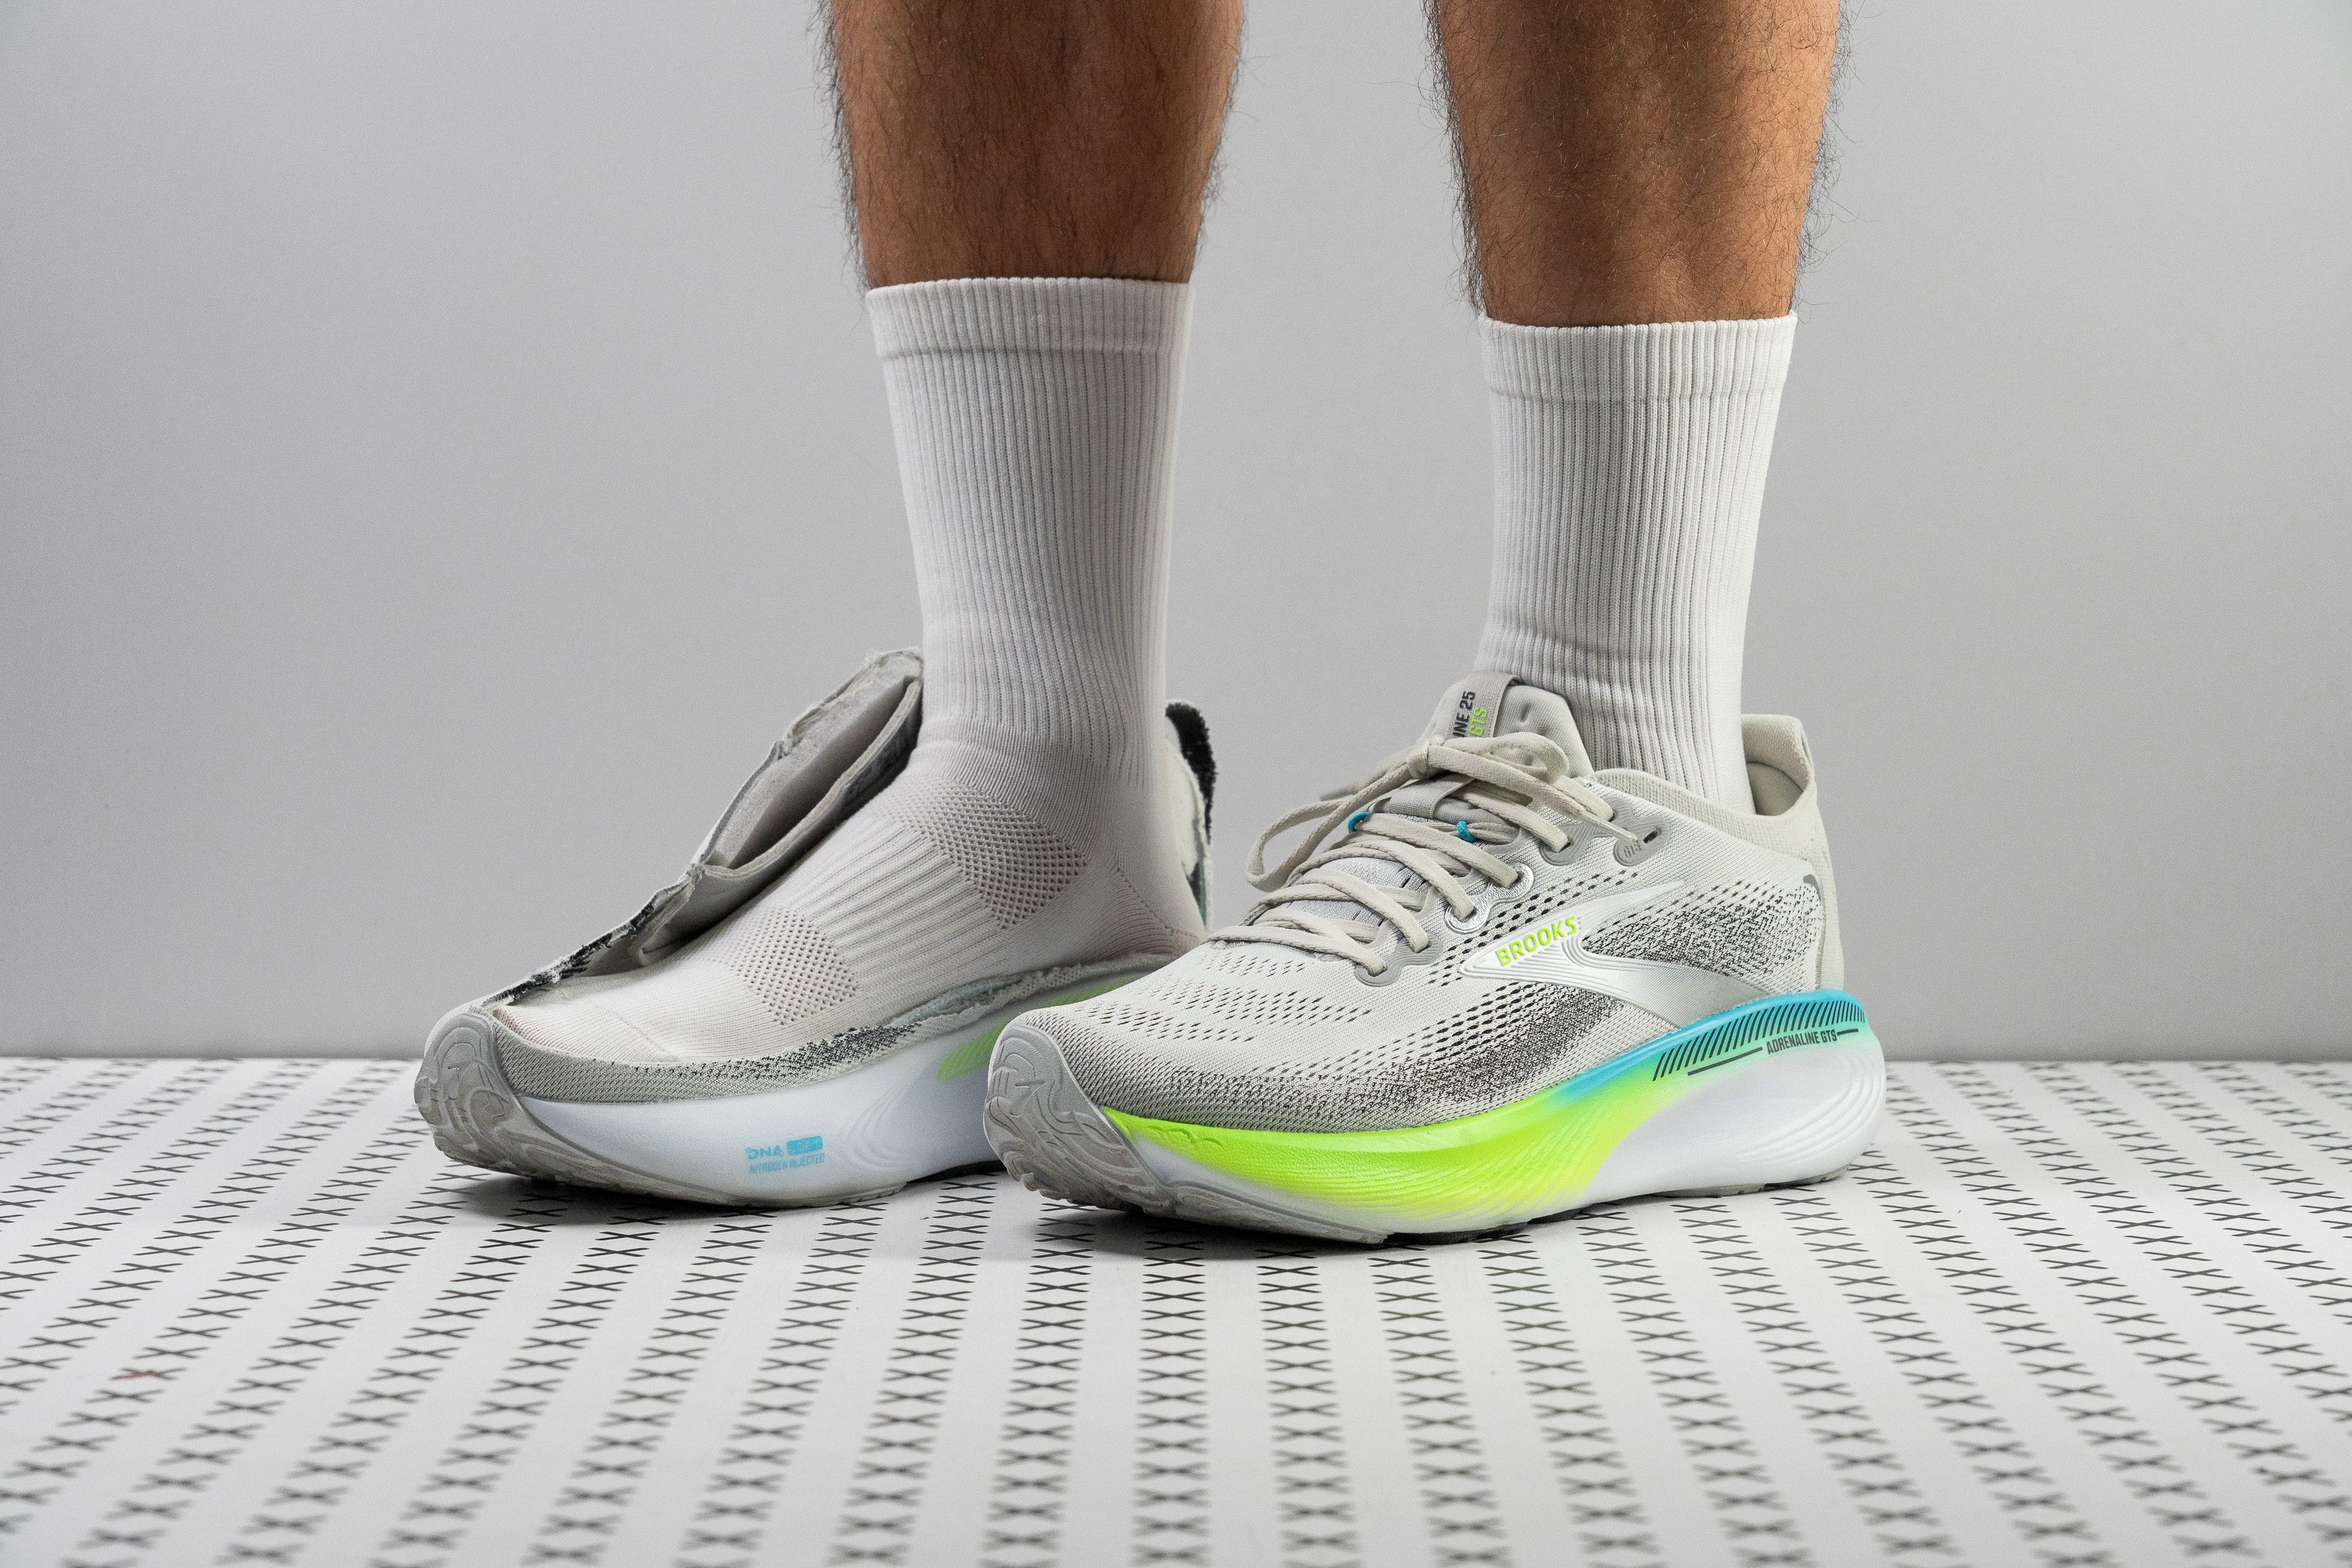
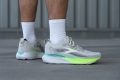
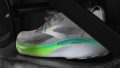
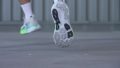
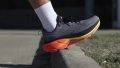
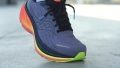
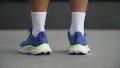
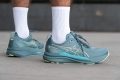
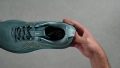
In our runs, Adrenaline GTS 25 carried our arches while making sure we remained comfortable. Despite being a stable shoe, it doesn’t force us to run in a particular way. Our lab results and runs show it has a good balance of supportive and flexible elements for gentle support, making it our top running shoe for low arches.
The cushion feels well-balanced, featuring a cushioned 36.1 mm heel with high shock absorption of 138 SA, and a more grounded 25.9 mm forefoot with below-average impact protection of 101 SA. The latter offers better surface feedback.
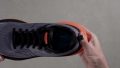
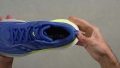
With a wider-than-average midsole of 117.7/100.7 mm, it ensures a securely planted sensation. Further promoting steady landings is its GuideRails technology, which is integrated into the sides of the shoe to prevent excess movement.
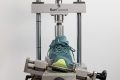
Steady support is given most naturally thanks to its adaptive midsole. In our flex test, it impressively exceeds the average by 7%. This elevates comfort to the next level since it blocks off any fighting sensation from the midsole.
We warn caution that this shoe has a steep 10.2 mm offset that’s best suited for rear strikers. We recommend mid-to-forefoot strikers to find a pair that complements their running dynamics.
Pros
- Excellent stability with subtle support
- Softer midsole foam
- Improved shock absorption
- World-class outsole durability
- Excellent upper comfort
- Better traction
- Reduced drop adds versatility
- Still ideal for heel strikers
- Comfy and durable for daily wear
Cons
- Needs to lose weight ASAP
- Modest energy return in the heel
- Minor price increase
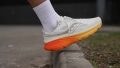
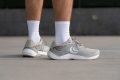
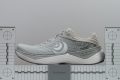
Running shoes for low arches with the best shock absorption


What makes it the best?
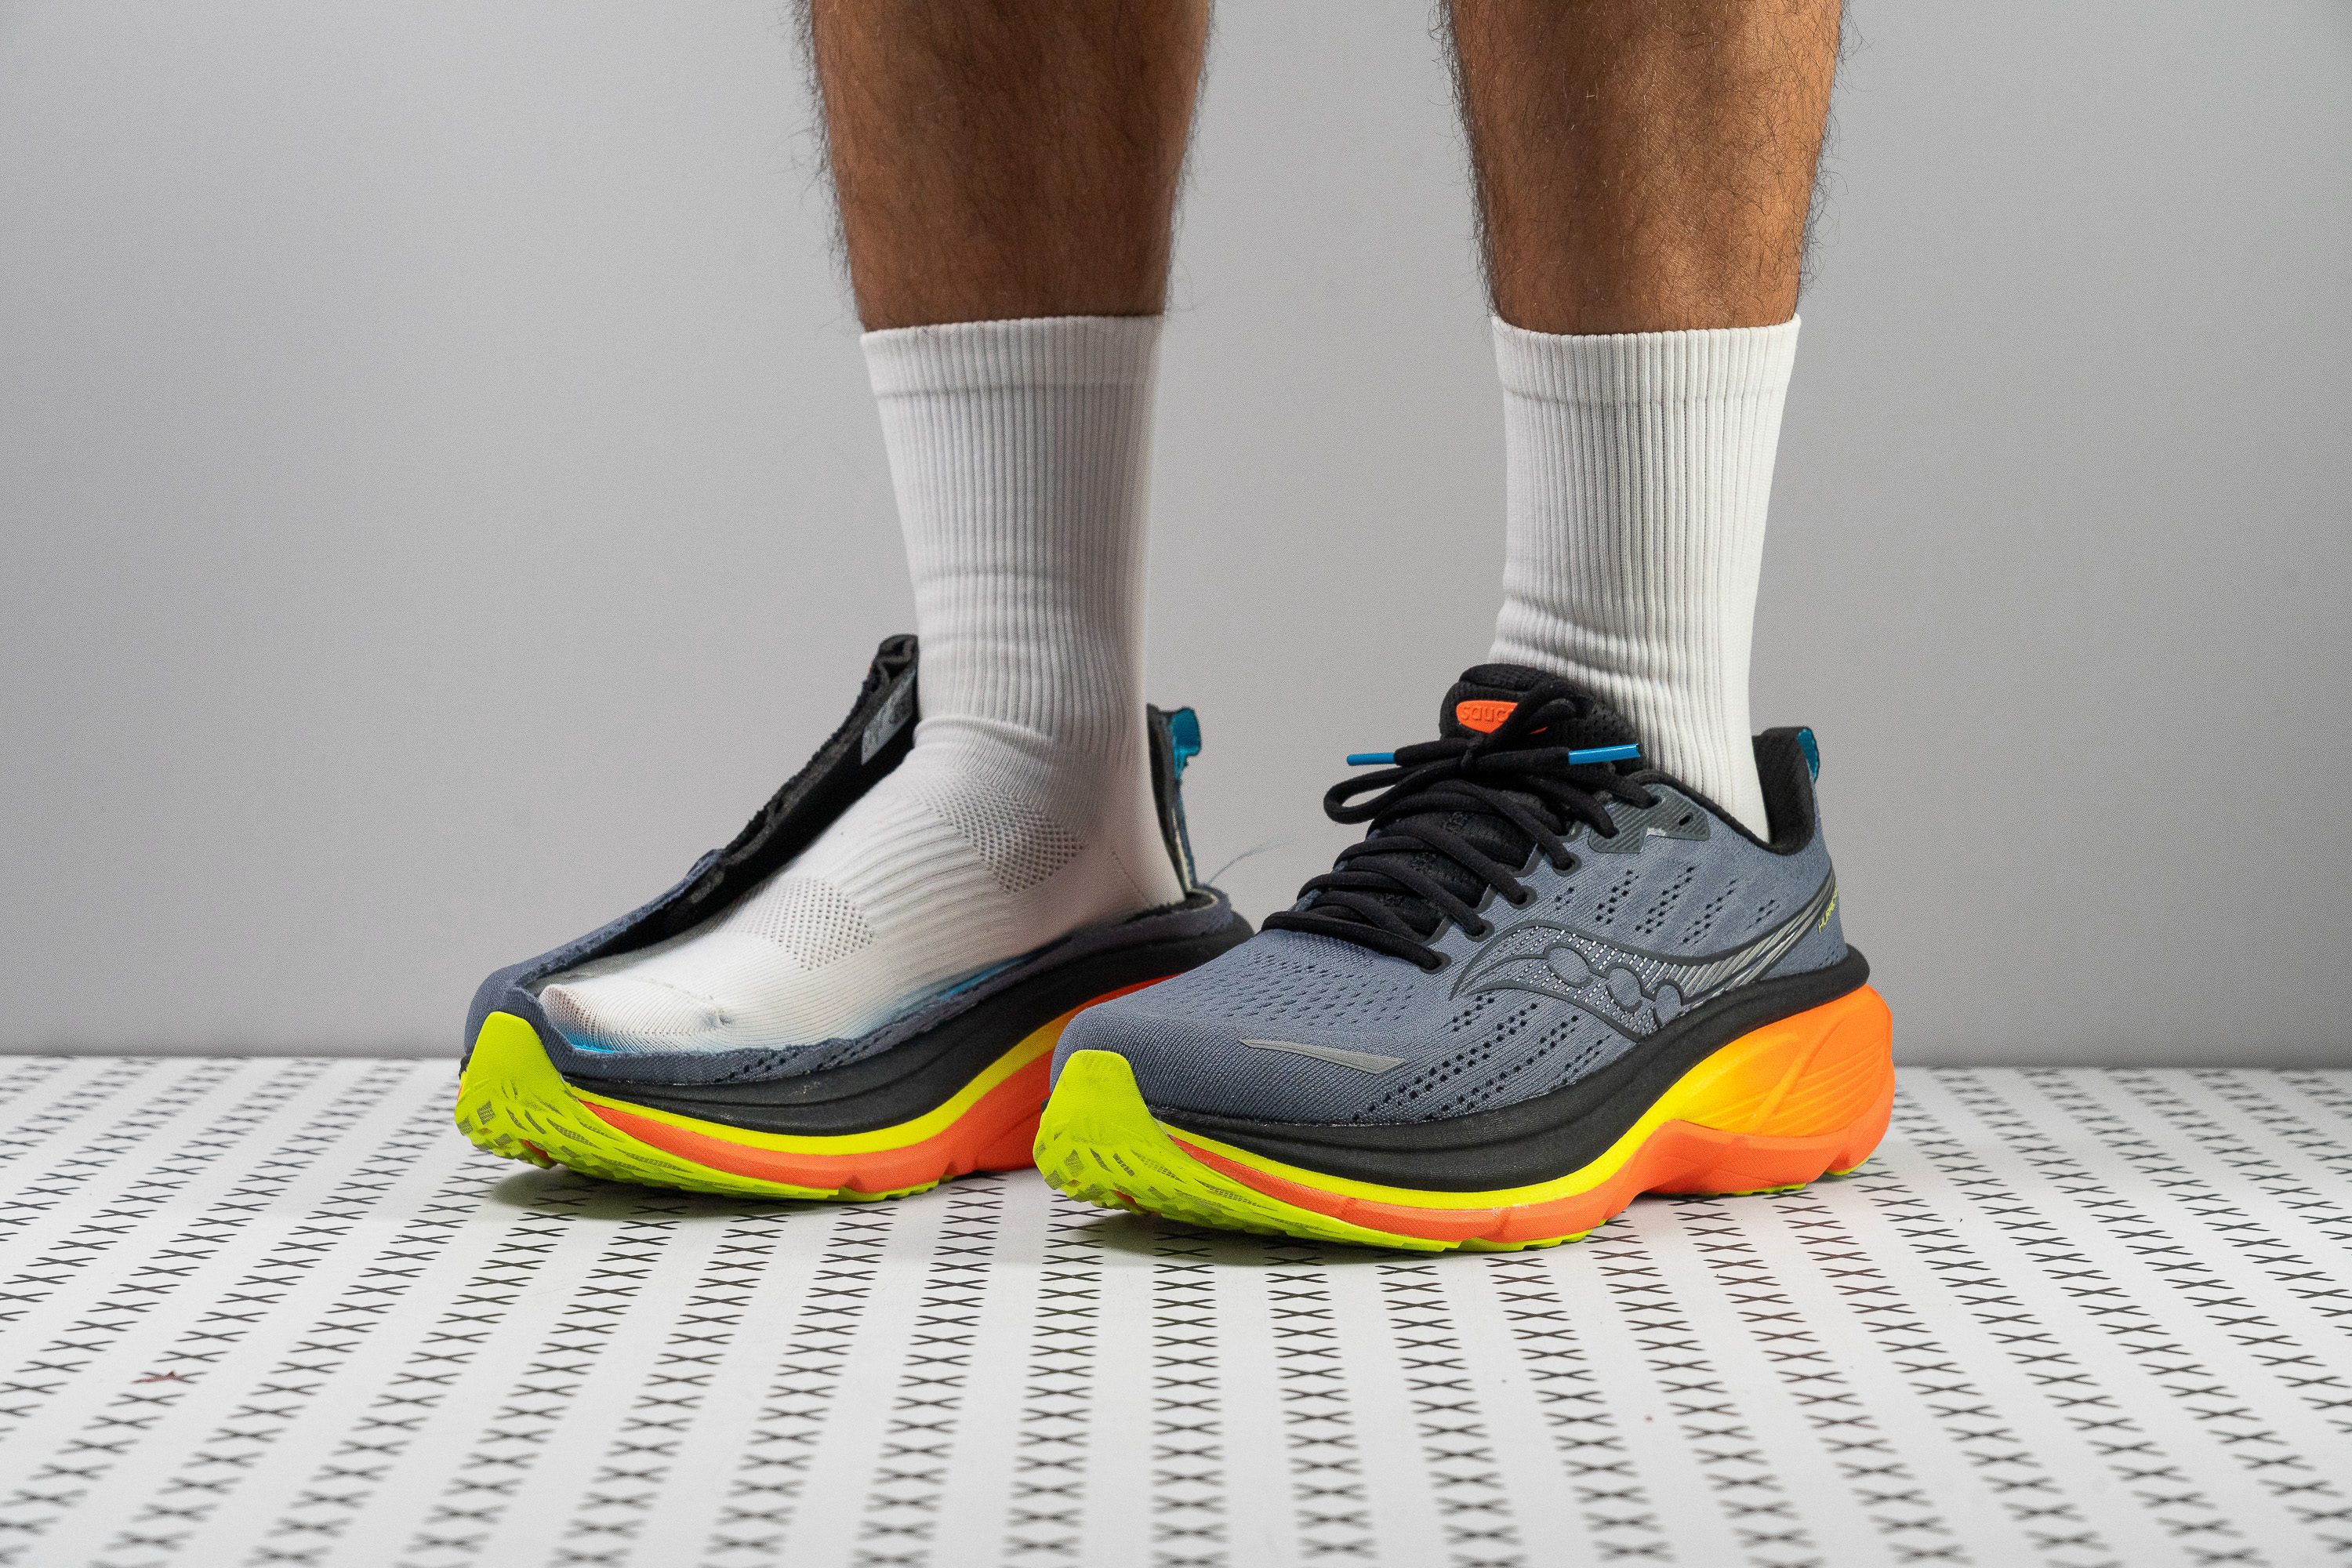
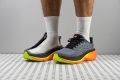
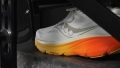
The 25th iteration of the Saucony Hurricane is our recommendation for the best shock-absorbing low-arch running shoe. This comfortable yet speedy trainer delivers the best of many worlds in comfort, responsiveness, and support with its ultra-stacked and plushly-packed PWRRUN PB cushion. It delivers a protective ride in a sure-footed manner through the CenterPath technology, which often isn’t the case for maximalist shoes.
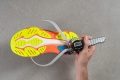
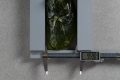
Rising to 40.2/33.1 mm, Hurricane 25’s skyscraper stack sits well above the average for added comfort. The cherry on the top is the cloudlike touch we felt with every stride. Our shock absorption test reveals a high rating of 151 SA in the heel and 140 SA in the forefoot. This combo feels so luxurious that we could handle long miles without feeling tired.
To avoid feeling its bulk, the midsole is actually more energetic than we expect. Testing for its rebound, the heel scored 68.4% and the forefoot a massive 74.0%!
Hurricane 25 proves a maximalist can be steady through its revolutionary CenterPath technology and its wide platform—the main ingredients to its stable ride. The shoe keeps us centred as it resists twisting (4/5). The midsole is also insanely spacious, reaching 124.4/102.2 mm in the forefoot and heel. That’s an extra 10.0/11.5 mm more than average!
As expected, this wide and padded shoe can use a diet with its 10.1 oz (286g) weight. Not everyone needs a maximalist shoe. Other athletes may check lighter options.
Pros
- Fantastic energy return with PWRRUN PB foam
- Lighter than previous version
- Excellent cushioning for long miles
- Top-tier stability with redesigned midsole
- Upper offers top comfort
- Outsole redesign with improved grip
- Premium SRS insole
- Top-tier stability thanks to midsole redesign
Cons
- Price hike from previous version
- Poor breathability
- Lacks agility due to its size
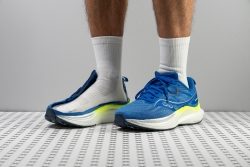
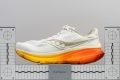
Running shoes for low arches with the best energy return


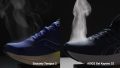


What makes it the best?
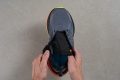
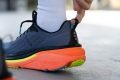
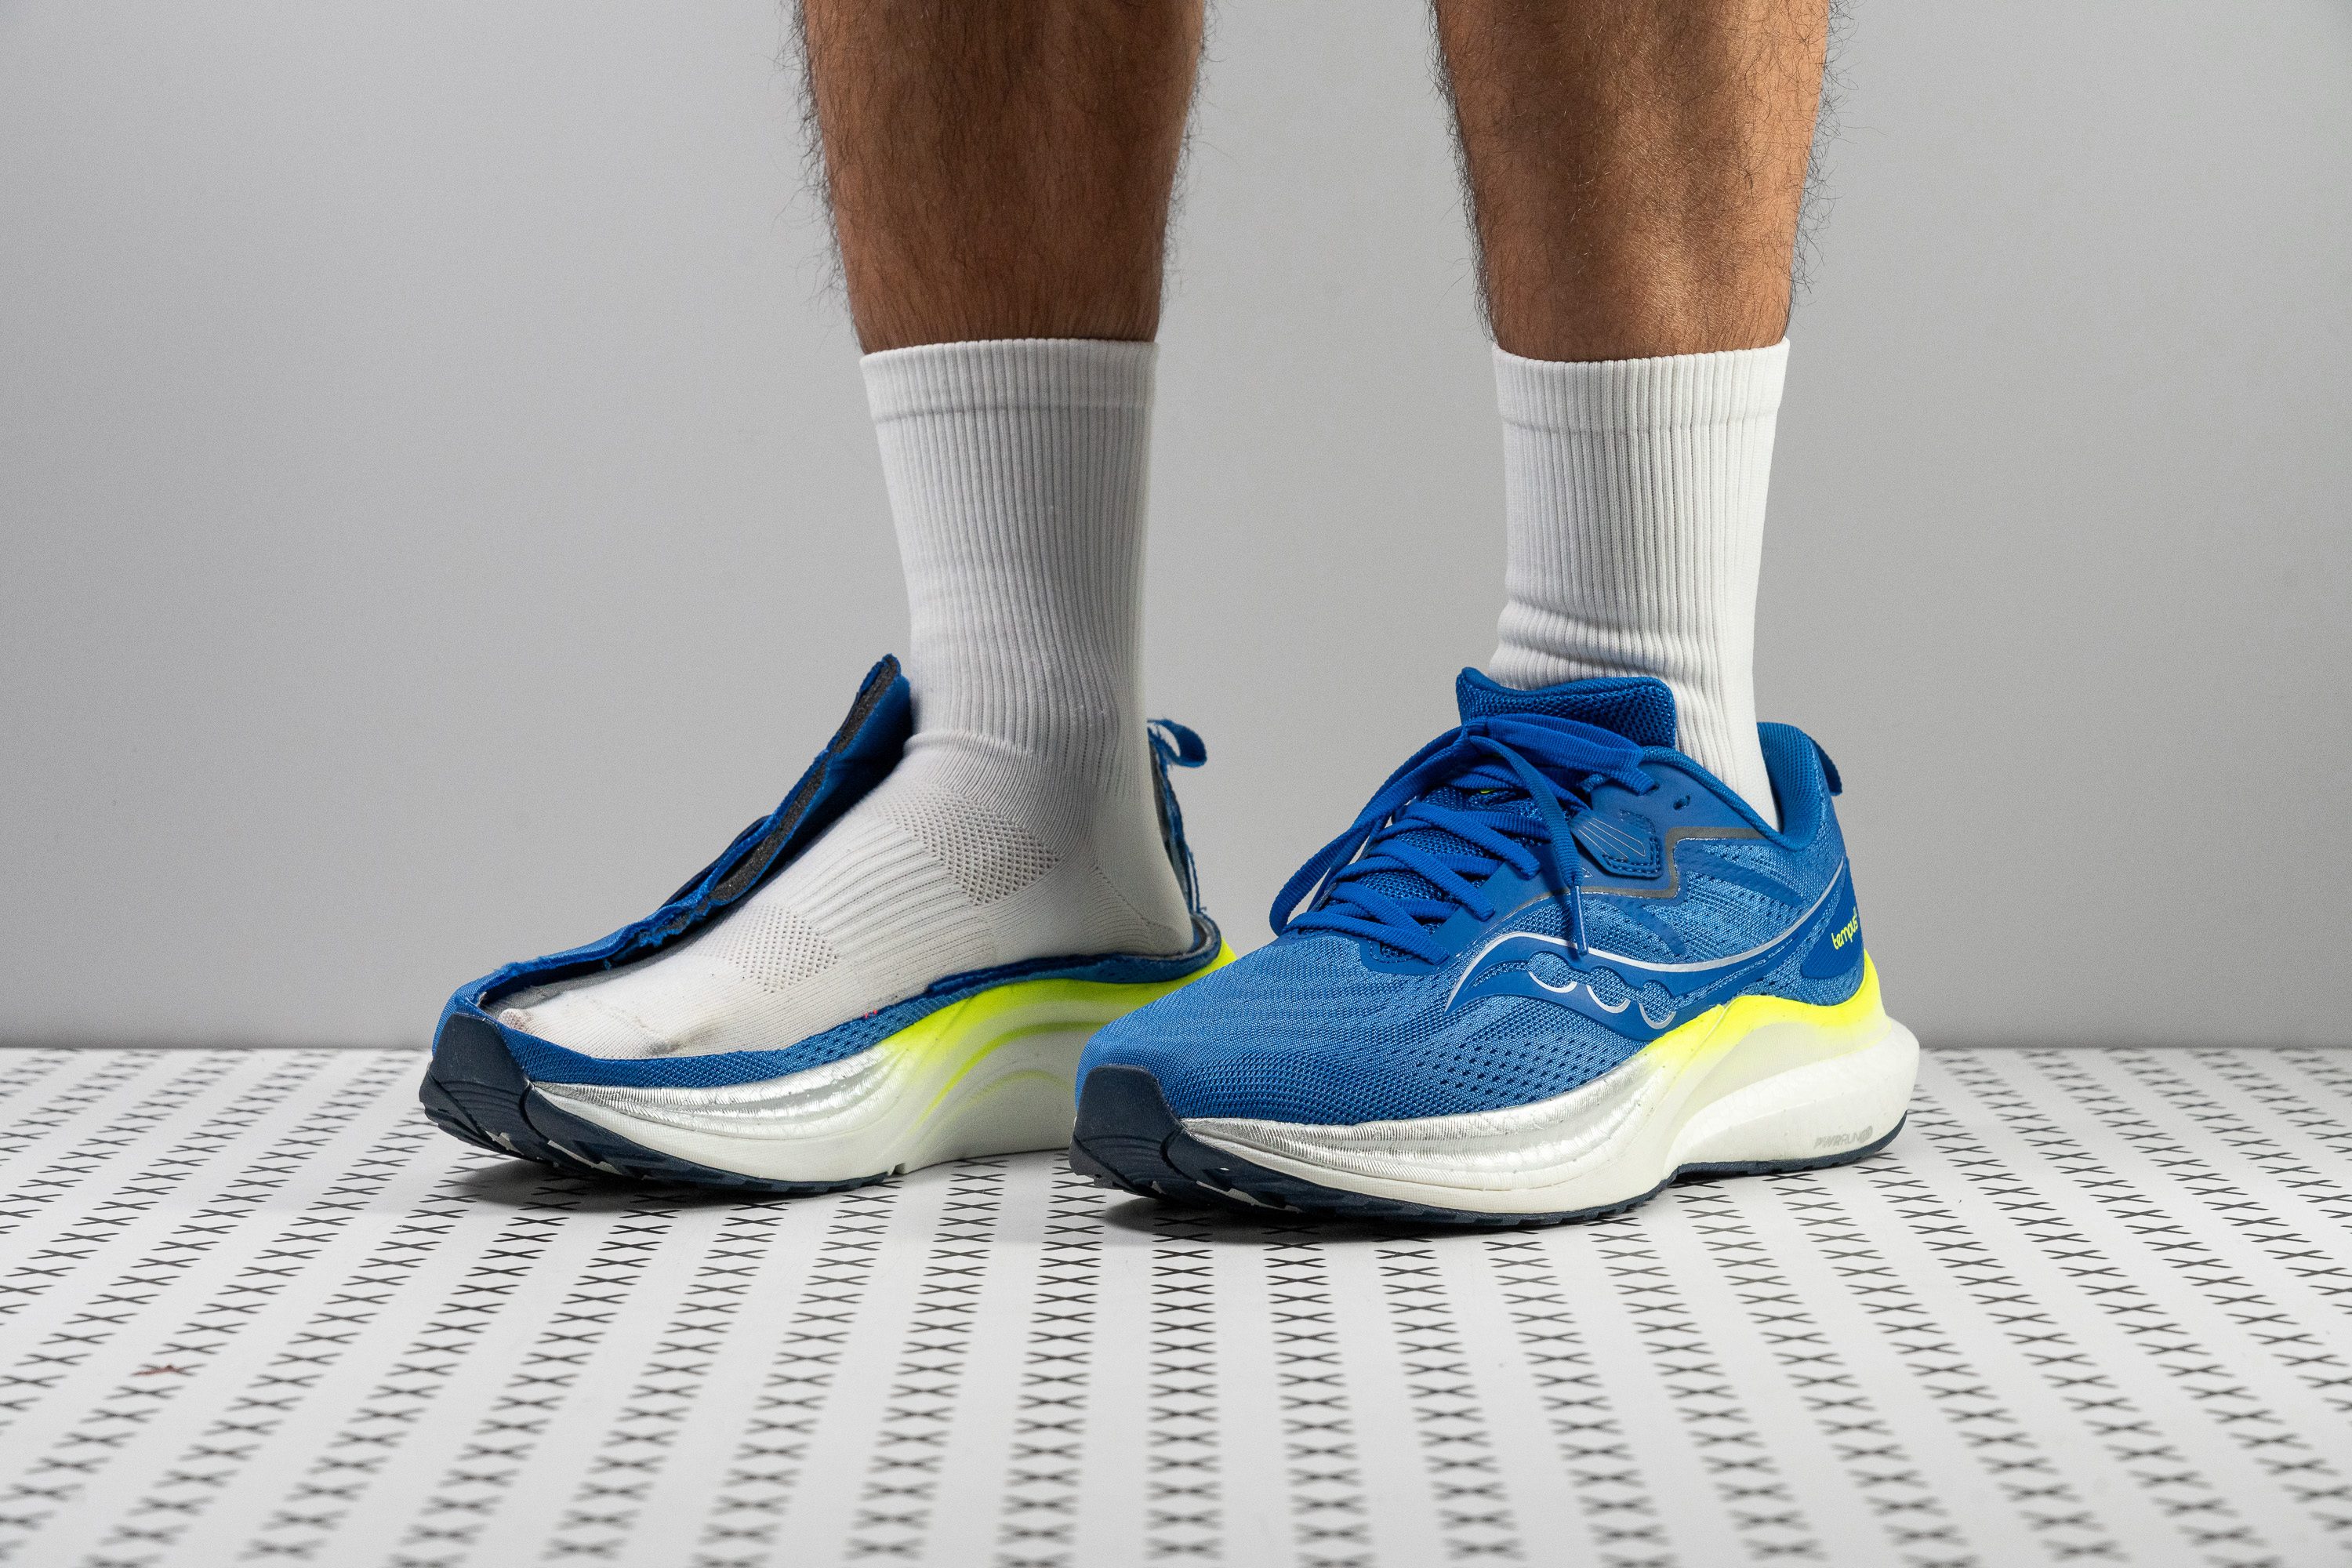
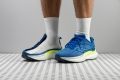
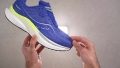
Saucony Tempus 2 is unlike any other, bringing a fresh approach to arch support, speed, and stability. Other than its wide base and PWRRUN frame, this stability shoe surprises us with its springy midsole in lab tests. It provides the guidance and speed needed even for tempo runs, making it our low-arch running shoe with the best energy return.
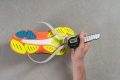
The PWRRUN PB cushion is bouncy and keeps our momentum strong. We tested the midsole in the lab and recorded remarkable energy return scores of 69.9% in the heel and 72.2% in the forefoot. Picking up the pace was never a problem in our runs.
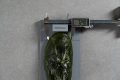
Overall, our runs feel steady through its wider-than-average landing platform, confirmed by our calliper with 119.1/94.5 mm measurements.
Moreover, its firm PWRRUN frame adds twist-resistance to the shoe, forcing us to move forward with its solid side-to-side containment. Our manual assessment verifies its high torsional rigidity with a solid 4/5 rating.
However, the toebox has limited room for swollen and broad feet. Runners who need more room up front should go for wider pairs.
Pros
- Excellent energy return
- Very stable ride
- Durable and grippy outsole
- Classic, non-aggressive rocker
- Works amazing for heel strikers
- Solid and secure fit
- No price increase from v1
- Perfect as a daily workhorse
Cons
- Poor breathability
- Feels a bit too firm
- Slight weight increase
- Fit is narrow in the forefoot
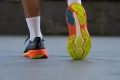
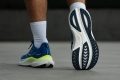
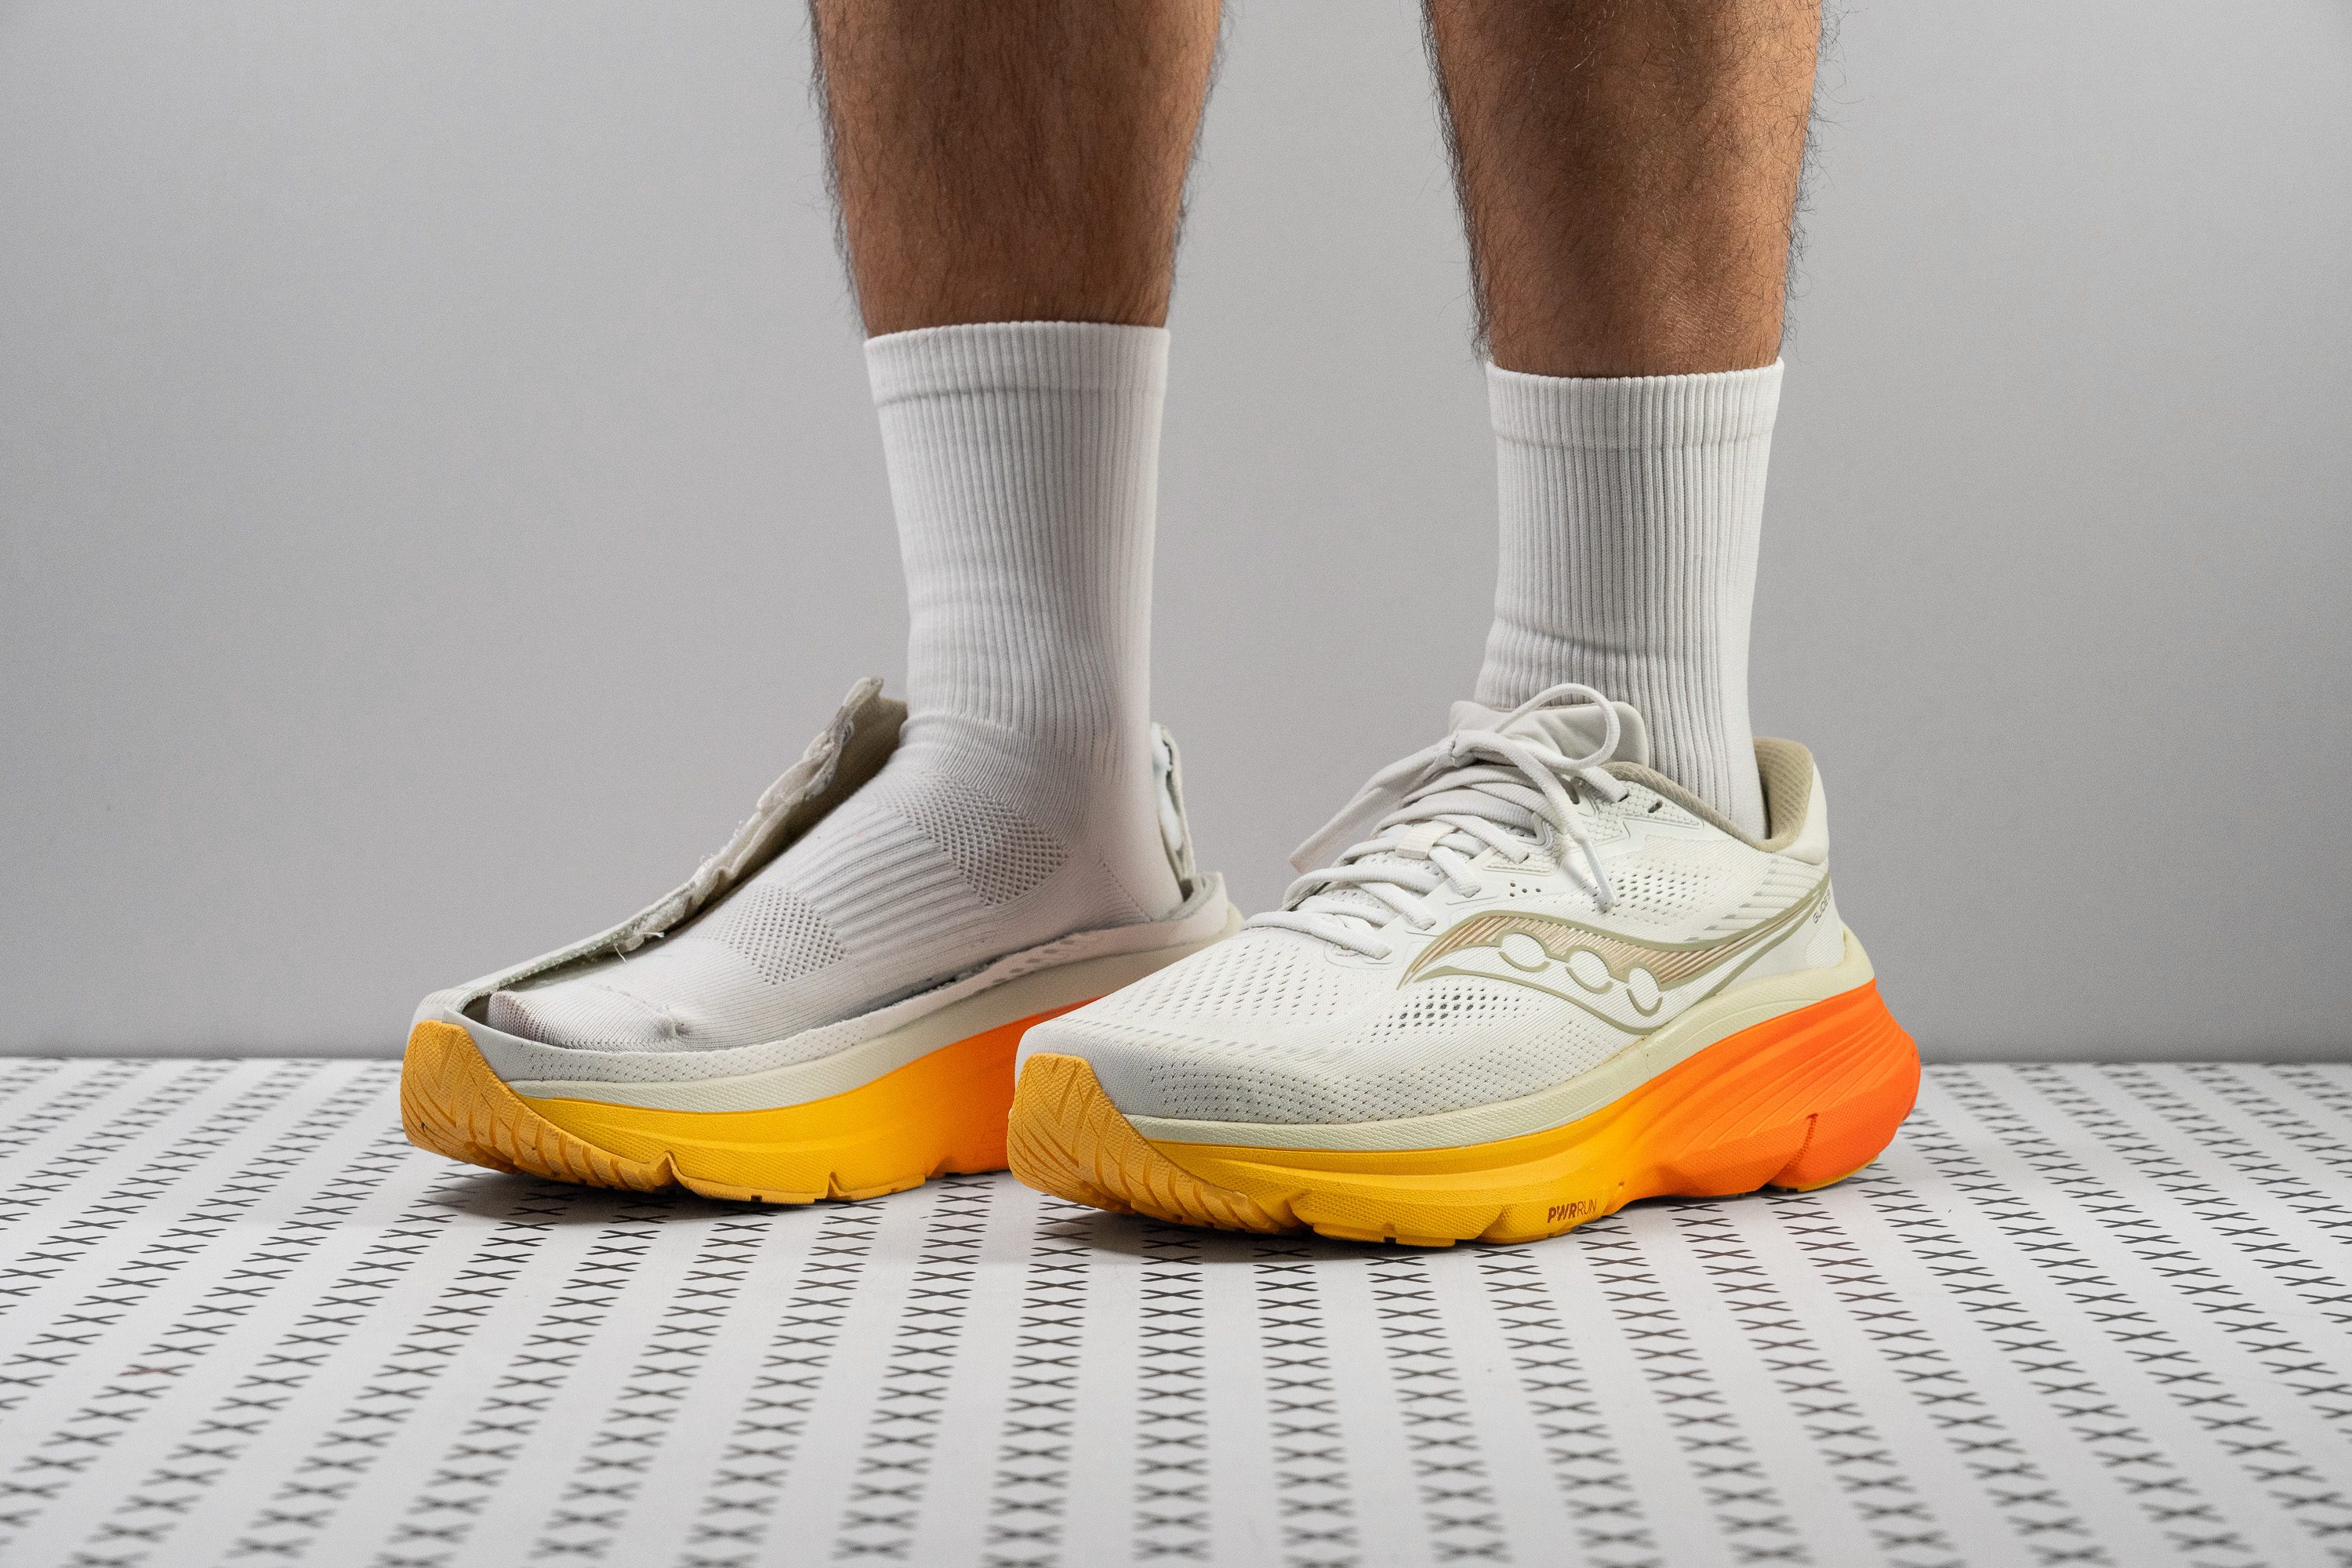
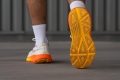
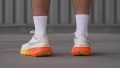
Running shoes for low arches with the best traction


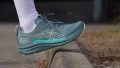
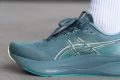


What makes it the best?
Pros
- Softest-ever Kayano
- More natural support without sacrificing stability
- Dependable durability
- Premium-grade comfort
- Avoids a price hike
- Improved lacing system
- Refined, modern outsole
- Works for all footstrikes
- Finally a foam upgrade
Cons
- But still delivers low energy return
- Less stable for extreme overpronators
- Feels heavy
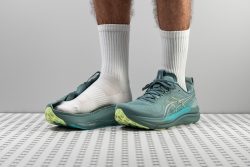
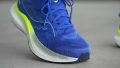
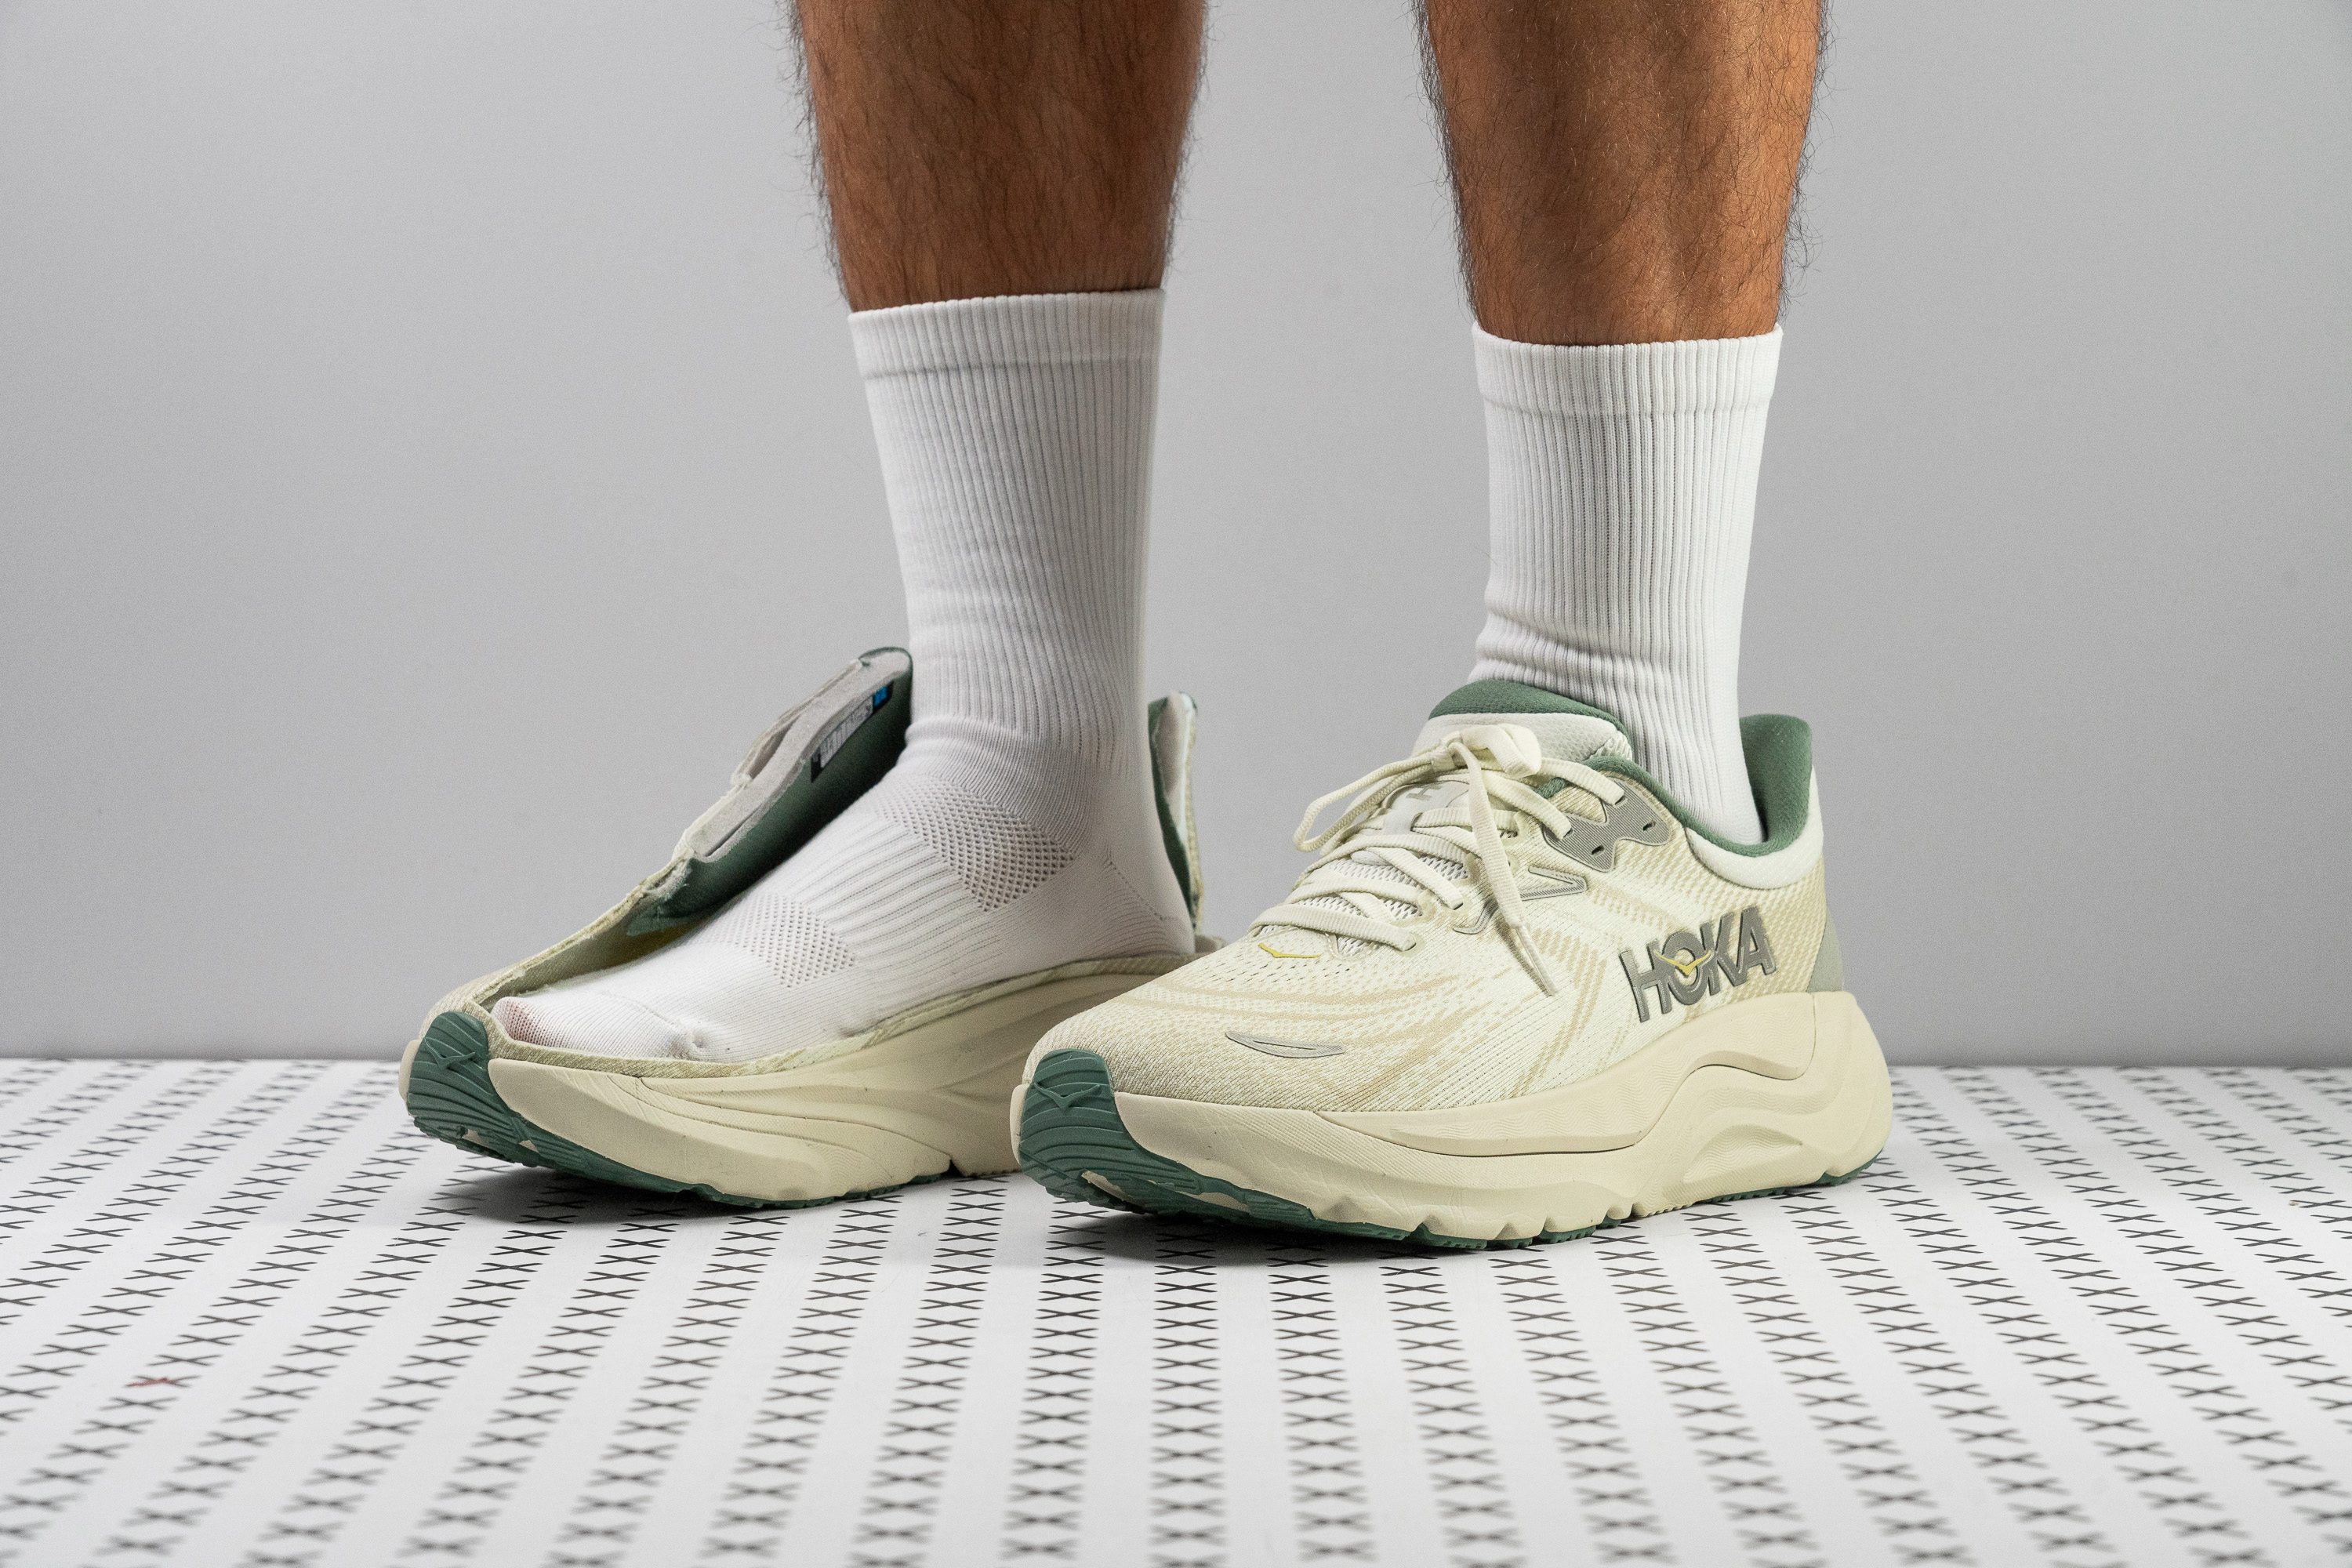
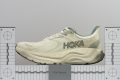
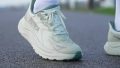
Best lightweight running shoes for low arches


What makes it the best?
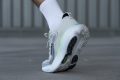
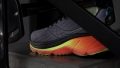
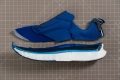
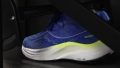
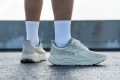
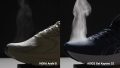
HOKA Arahi 8 is a low-key stability shoe offering gentle support. It’s tailor-made to accommodate low arches and overpronators through its wide and stiff midsole. Through lab tests and runs, we crown it as the best lightweight trainer among low-arch shoes.
One thing struck us as soon as we wore this shoe: it's surprisingly light! At a sleek 9.1 oz (259g), it’s much lighter than the 10.3 oz (293g) average stability shoe.
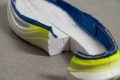
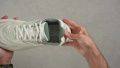
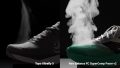
Striking the middle ground between comfort and support, it has an impact-absorbing base with the rigid H-Frame technology. This framework adds structure to the shoe so that it doesn’t give in to excessive lateral motions and ankle twists, proven by its maximum 5/5 torsional rigidity score.
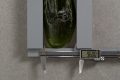
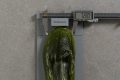
Meanwhile, it offers supreme cushioning through its tall 39.4/28.1 mm stack, which offers exceptional shock absorption. Our lab results show it’s able to reduce the impact of landing better than average, with high scores of 138 SA in the heel and 113 SA in the forefoot.
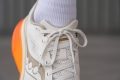
Further ensuring a planted sensation is the vast heel. At 96.3 mm, it provides extra room to find our footing, making it a great stability option for rear strikers.
However, its grip is lacking, especially when we encounter wet surfaces. Those seeking top-level traction should skip this pair.
Pros
- Impressively lightweight for its size
- Strong shock absorption
- Wider fit than previous versions
- Outstanding durability across upper and outsole
- Early-Stage Meta Rocker smooths transitions
- Higher drop suits better heel strikers
- Comfy and plush for everyday use
- H-Frame stability system
- Comfortable heel counter
Cons
- Very poor breathability
- Grip needs to improve
- Still no supercritical foam
- Minor price bump
Best daily running shoes for low arches


What makes it the best?
Pros
- Top-tier breathability
- Massive platform delivers excellent support
- Flexible feel despite being a stability shoe
- Excellent outsole durability
- Softer foam improves daily comfort
- Secure lockdown
- Keeps the same price
- Improved aesthetics
- Well-designed rocker for smooth transitions
- Perfect for midfoot strikers
Cons
- Needs to lose weight
- Not for extreme heel strikers
- PWRRUN starts to feel dated
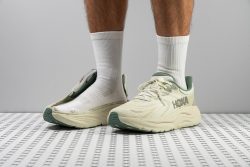
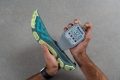
Best running shoes for wide feet and low arches


What makes it the best?
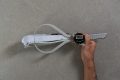
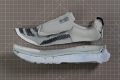
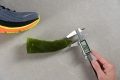
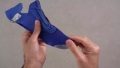
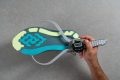
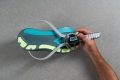
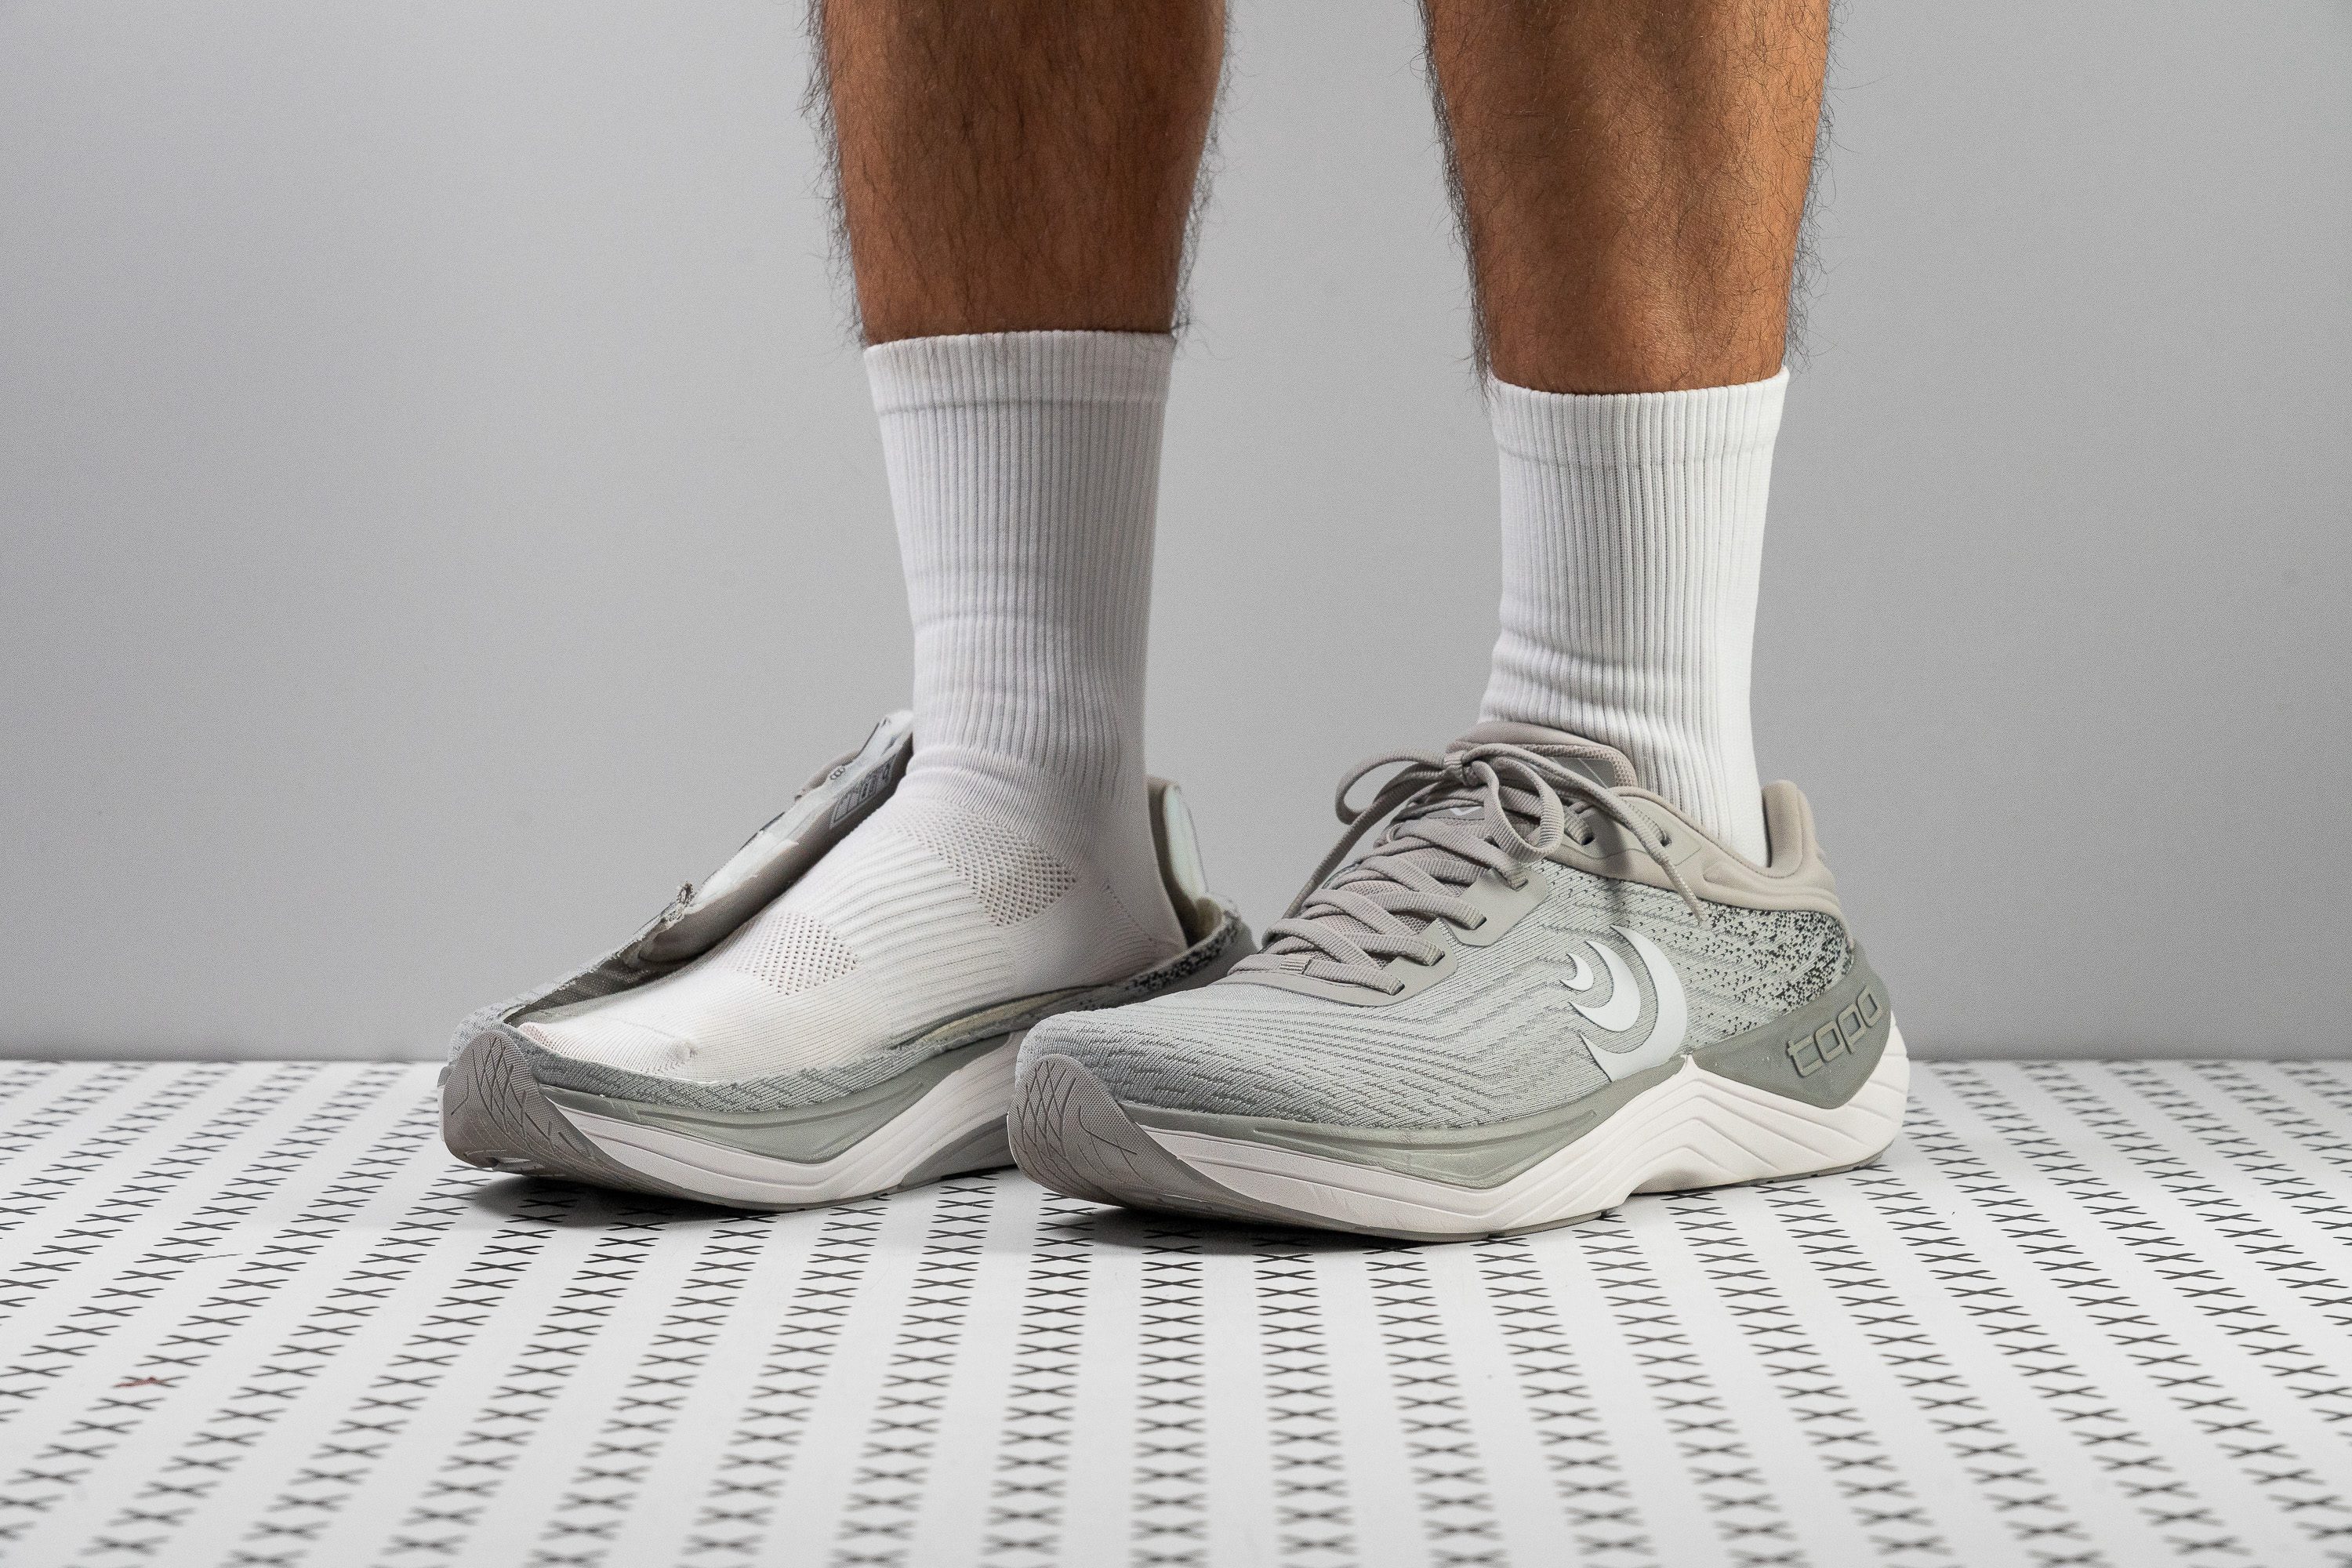
Multiple tests in and out of the lab led us to the best low-arch running shoe for wide feet: Topo Ultrafly 5. It provides spacious comfort and unwavering arch support. From its subtle guidance to its light and flexible build, it feels impressively unintrusive for a stability shoe.
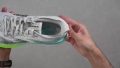
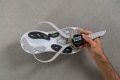
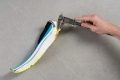
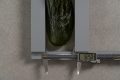
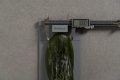
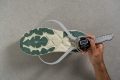
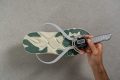
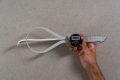
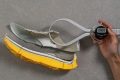
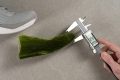
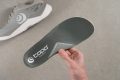
Our feet never felt trapped in these shoes because of the accommodating fit. We created a gel mould to measure the shoe’s interiors, and measured a maximum width of 98.8 mm, 4% above average. Even those of us with bunions or broad feet never felt restricted.
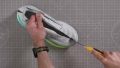
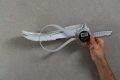
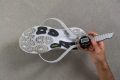
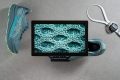
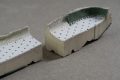
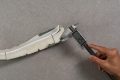
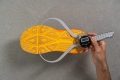
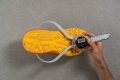
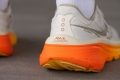
We sliced the midsole to find Ultrafly 5’s source of support, since the midsole isn’t rigid and wide. We found a medial post and a large heel clip that mostly keeps us centred within the shoe. Moreover, the platform sits low to the ground at 30.2/25.2 mm, enhancing ground feel and surefootedness.
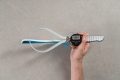
Because the midsole isn’t too thick, Ultrafly 5 manages to be 37% more flexible than average in our bend test. This result indicates lasting comfort and versatility even for daily walks. And surprisingly, its 9.6 oz (272g) build is light for a supportive shoe.
However, energy return is underwhelming, so we only recommend using this trainer for easy miles.
Pros
- Roomy toebox in all directions
- Stable ride without feeling too rigid
- Comfortable for casual wear and walking
- Drop accuracy is spot on
- Dependable grip
- Great option as a bridge towards zero drop shoes
- Excellent cold resistance
Cons
- Low energy return
- Not for long runs
- Heel padding durability should be better
- Fit may feel too spacious
Similar buying guides