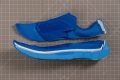
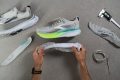
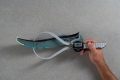
7 Best Stability Running Shoes in 2026

We buy shoes ourselves. We earn commissions when you buy through us, at no extra cost. Why trust us
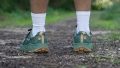
Stability running shoes are helpful in providing runners with additional arch support, especially if they feel that the lack thereof is preventing a natural and comfortable movement. As a beginner, it could be a worthy investment for you, but make sure to identify first if the features are truly beneficial to your run.
In this guide, we define stability shoes and the top-rated stability running shoes to help you narrow down your choices.
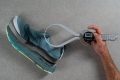
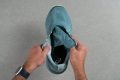
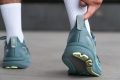
We have tested stability running shoes in our lab and on the test runs, and all our test results, impressions, and insights are summarised in in-depth reviews. Because of such an approach, we're able to highlight the best models in several categories here.


How we test stability running shoes
It is our mission to save you time in picking the best shoe out of 100+ stability running shoes on the market. Here is how:
- We research hundreds of studies on foot biomechanics and running footwear to understand what a good stability shoe is.
- We purchase all the shoes with our own money to prevent bias and brand loyalty.
- We test run each pair before we deliver our feedback.
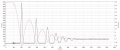
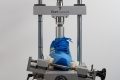
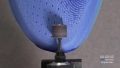
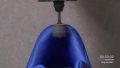
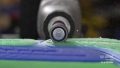
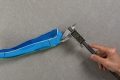
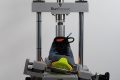
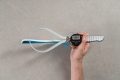
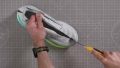
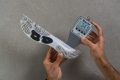
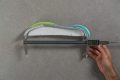
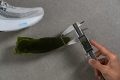
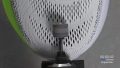
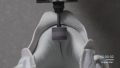
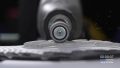
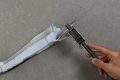
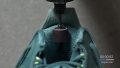
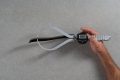
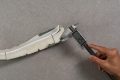
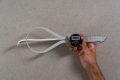
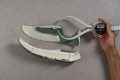
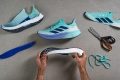
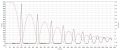
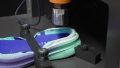
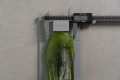
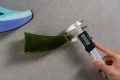
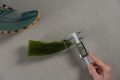
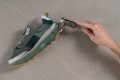
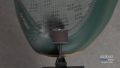
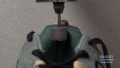
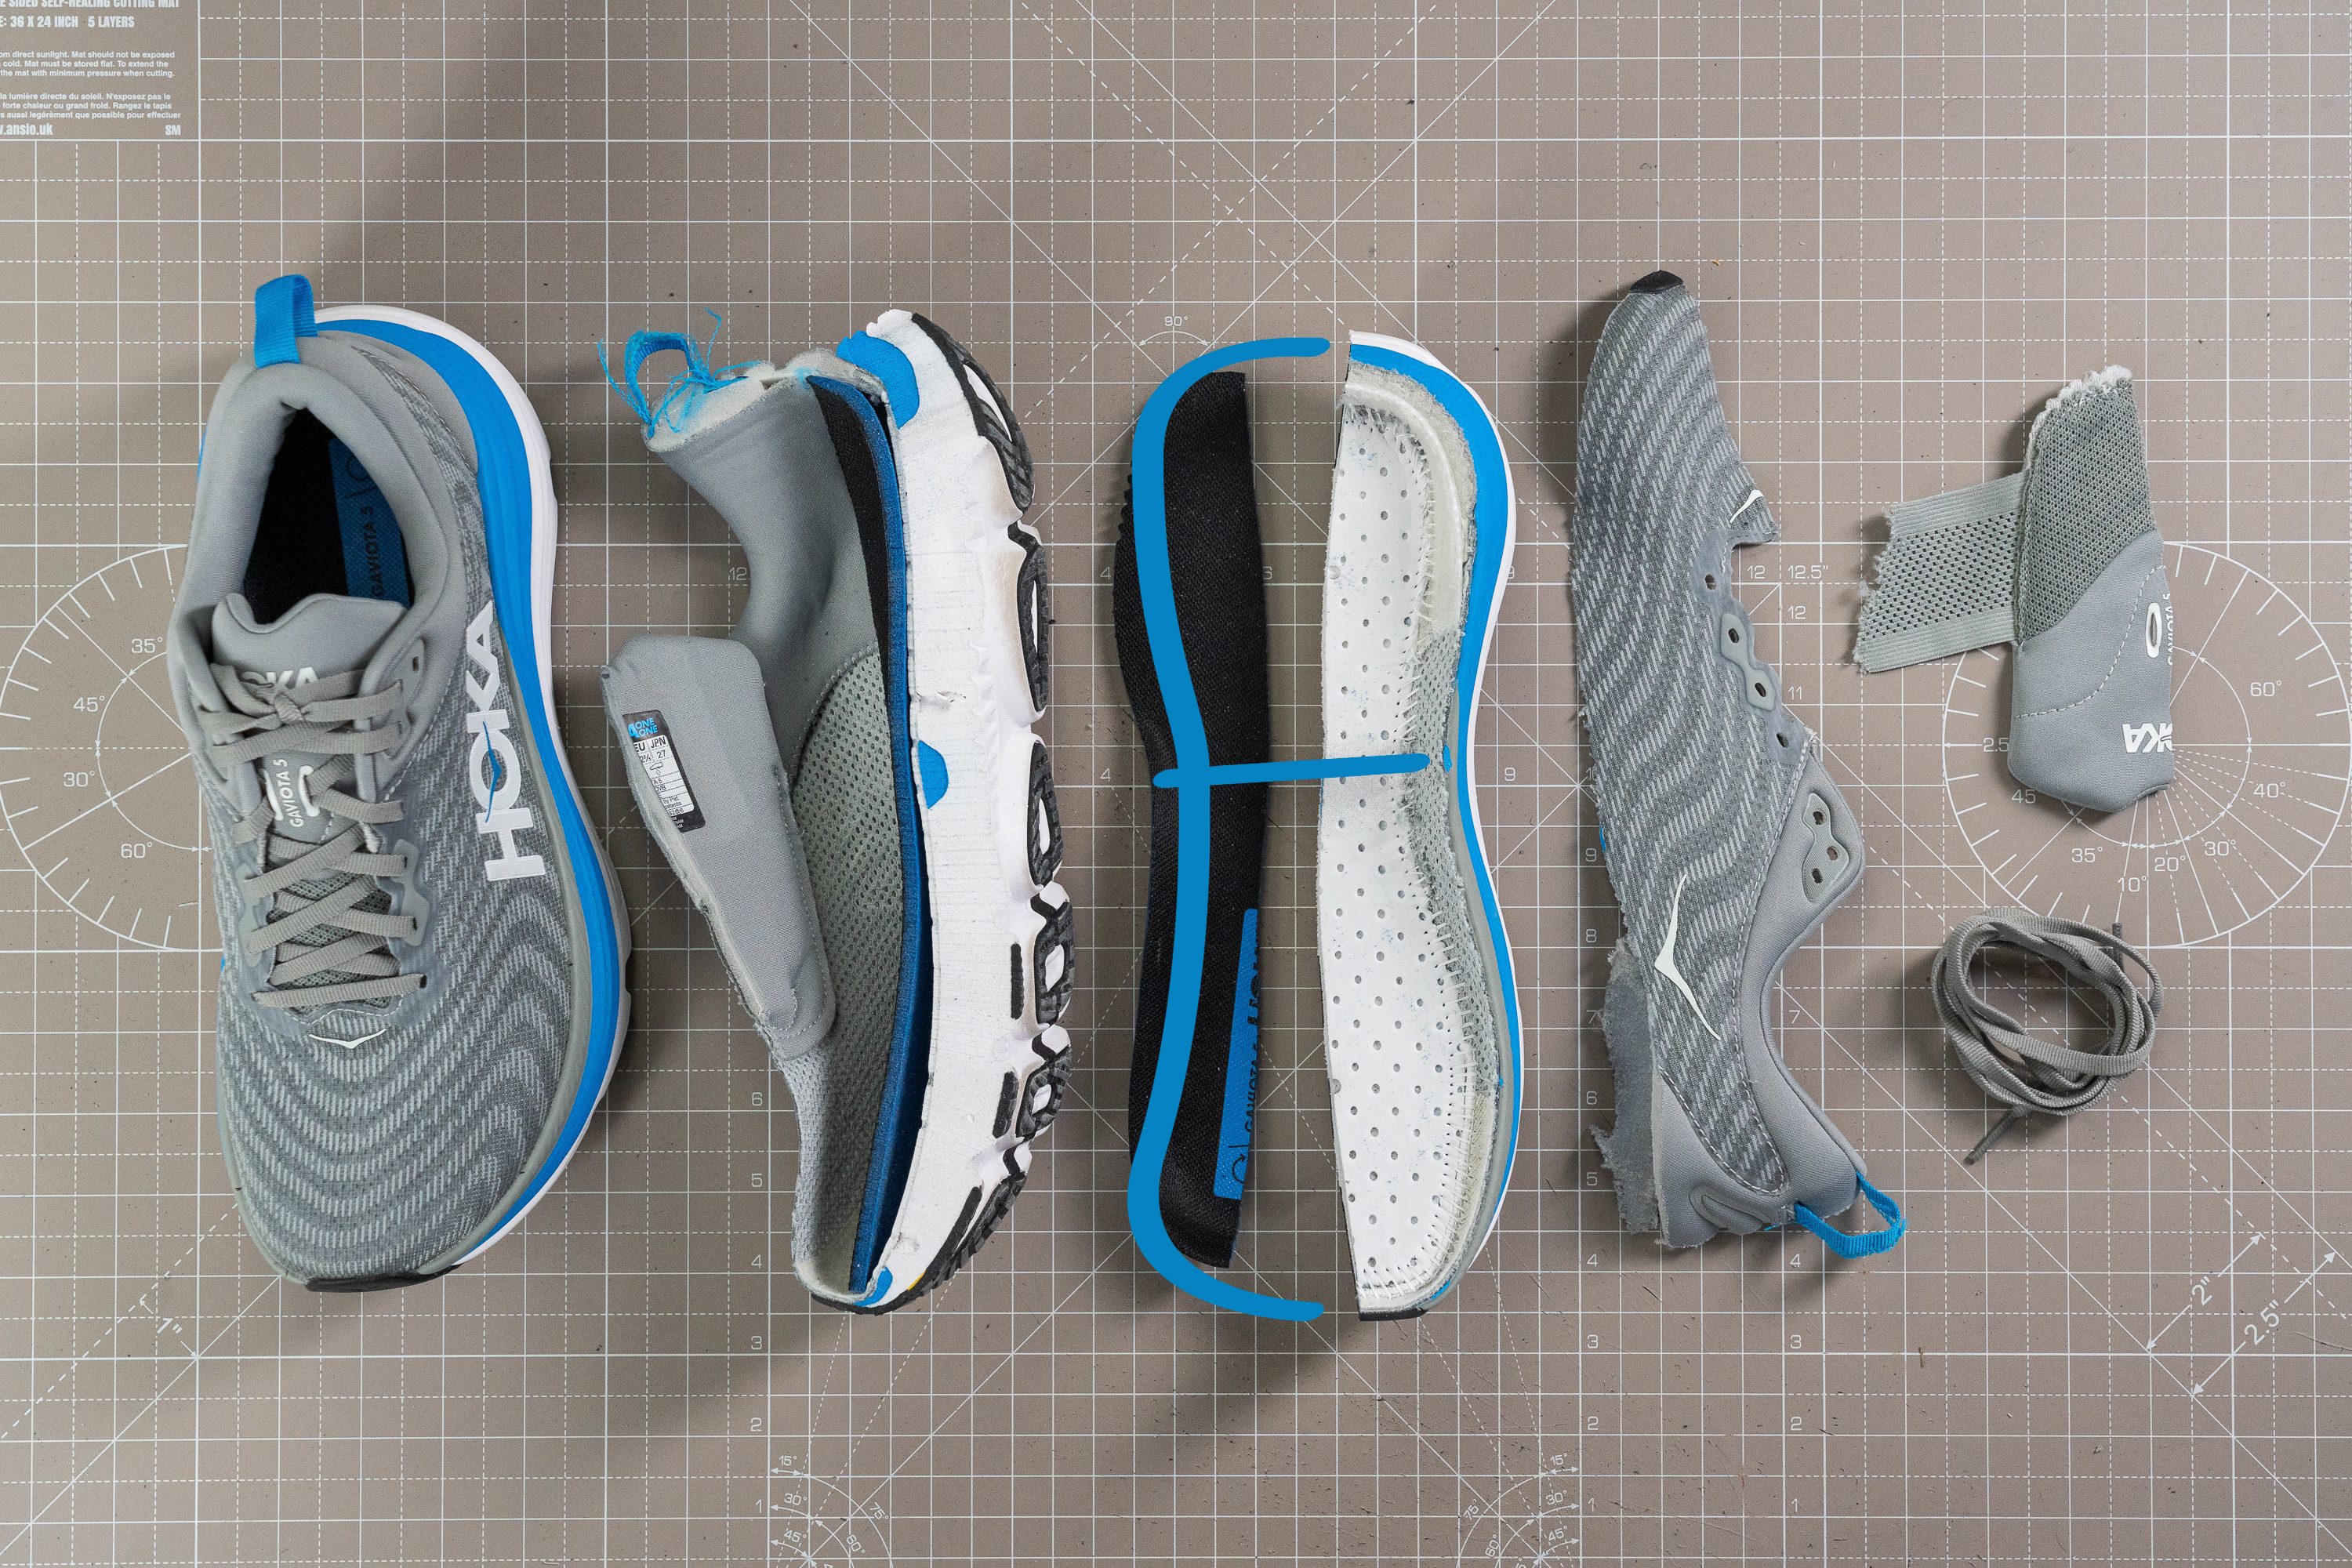
- With our RunRepeat lab, we cut each shoe into pieces and measure 30+ different parameters that contribute to its performance - from energy return, flexibility, to lace slippage.
And the best stability running shoes make it here.
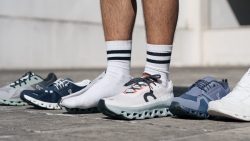
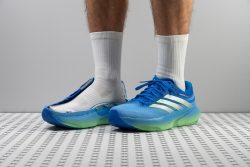
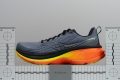
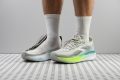
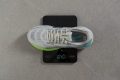
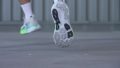
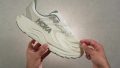
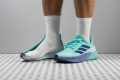
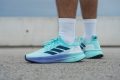
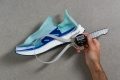
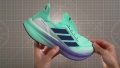
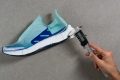
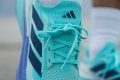
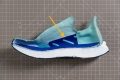
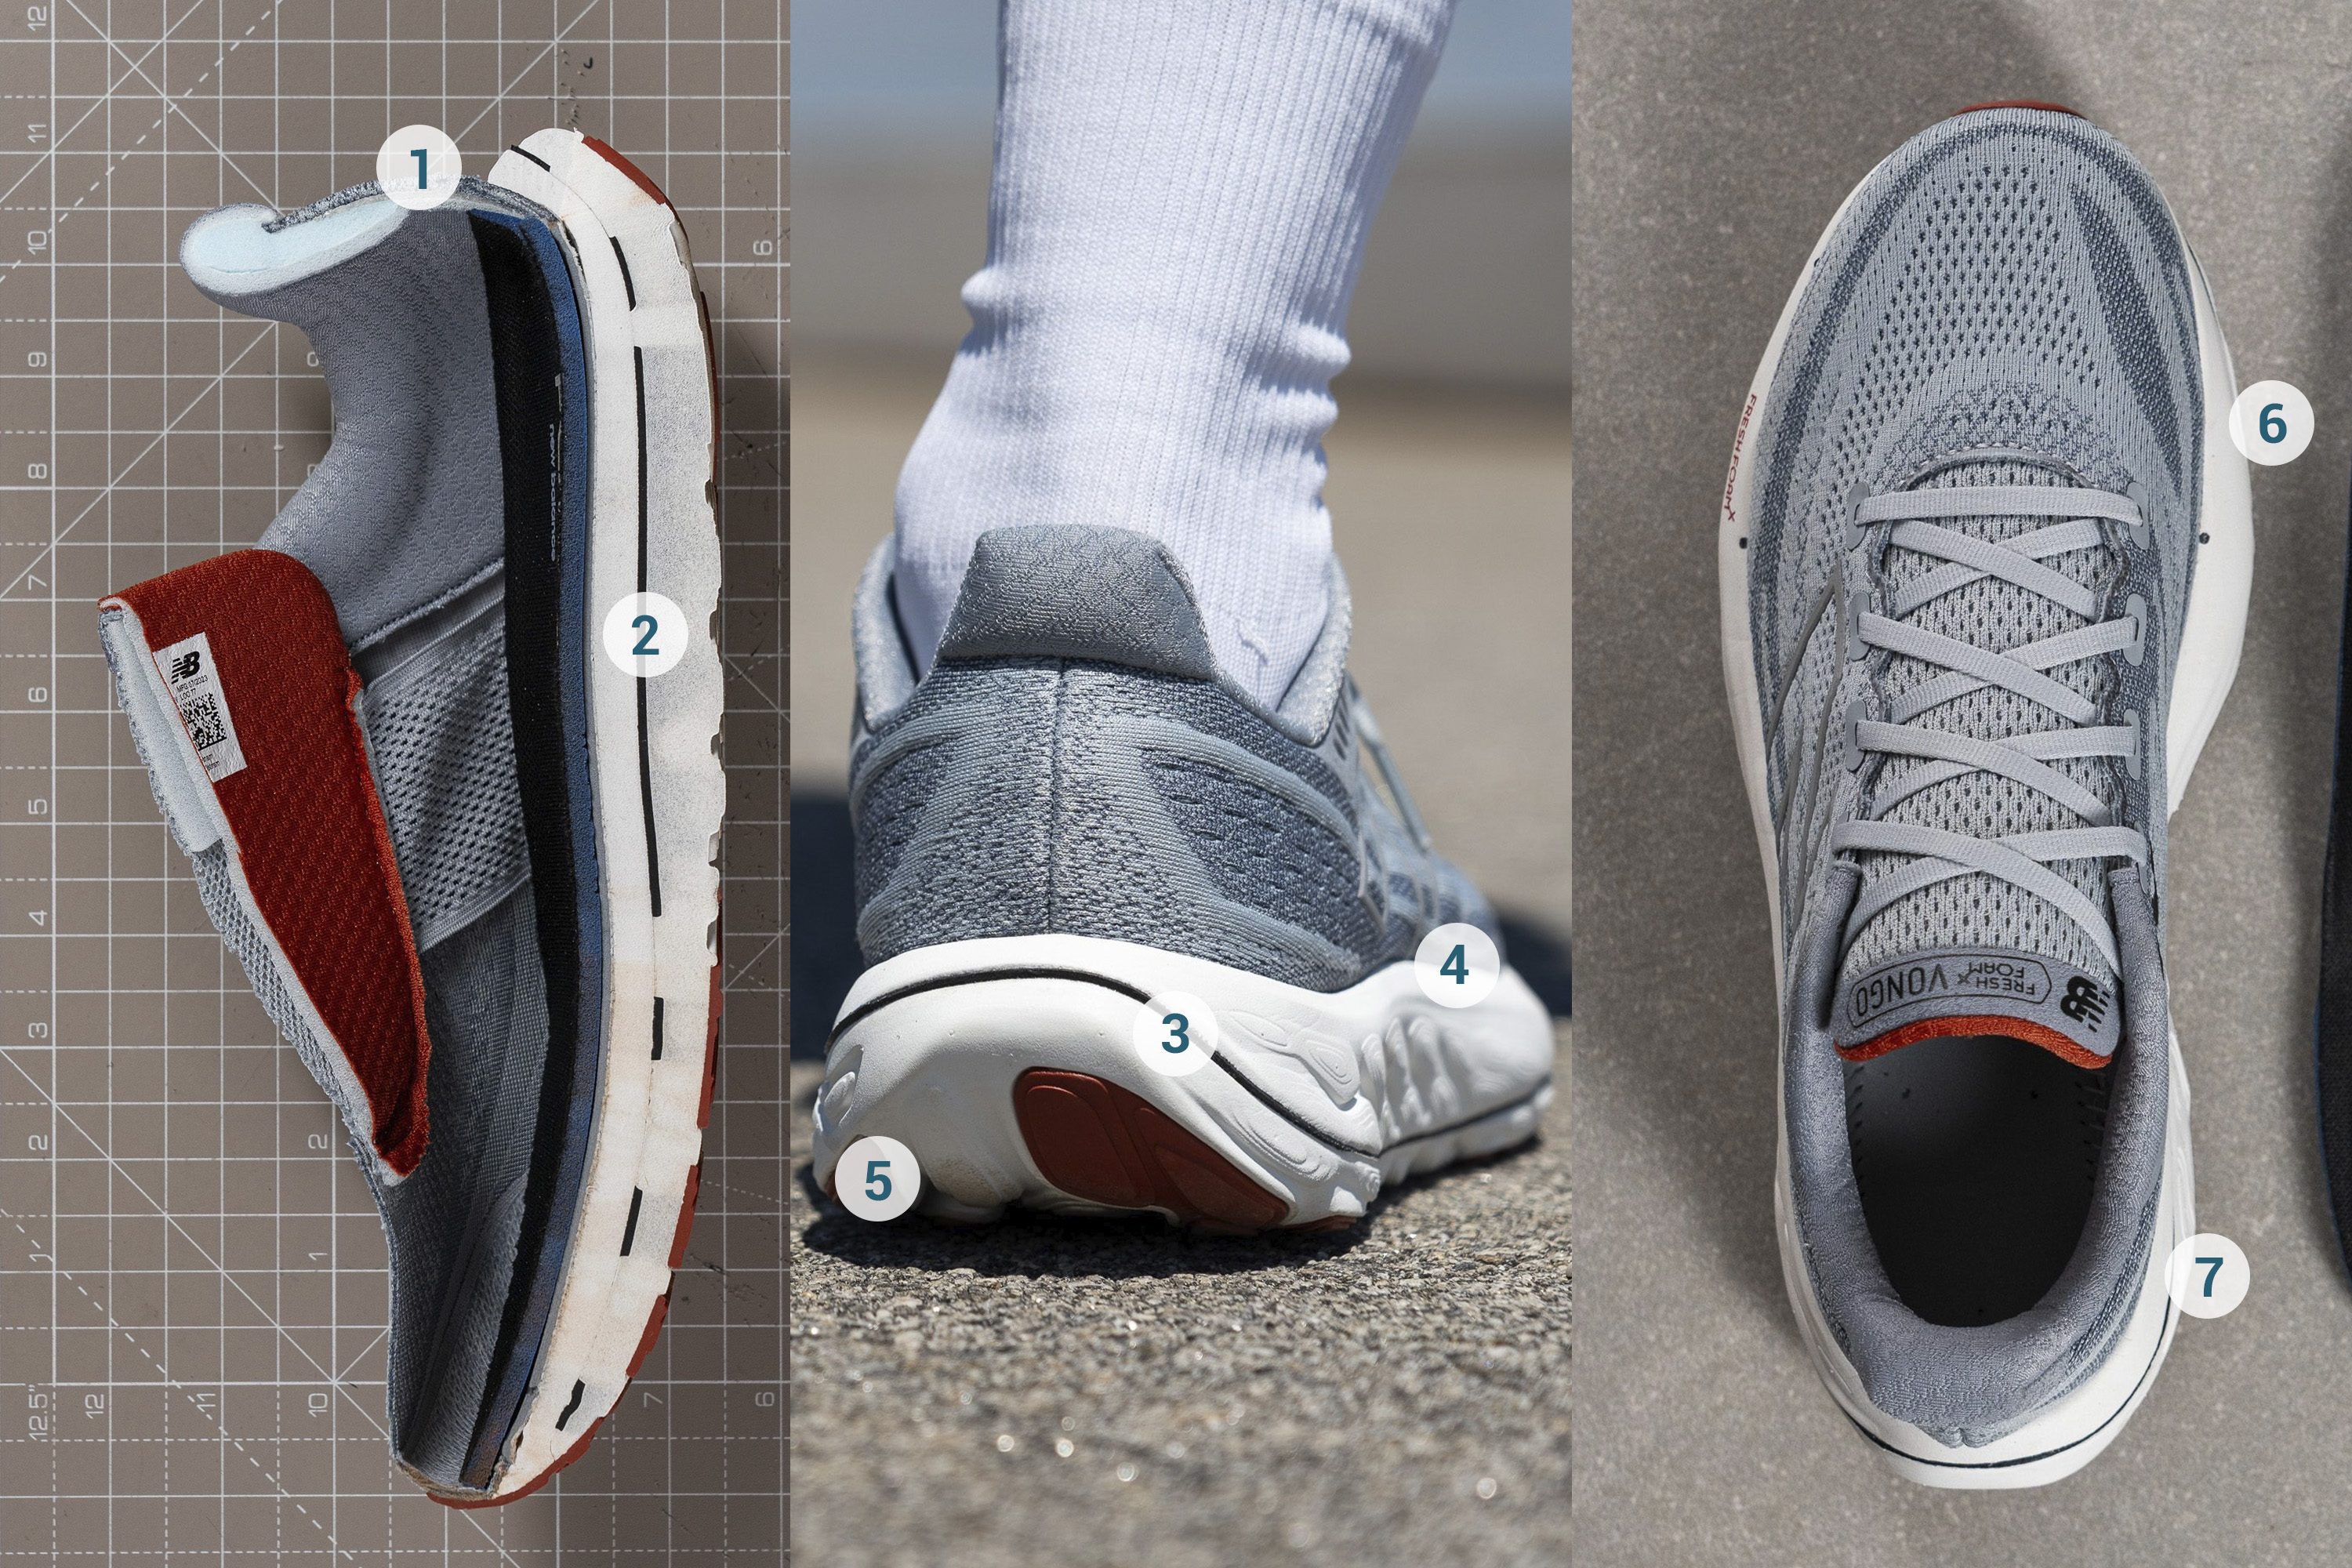
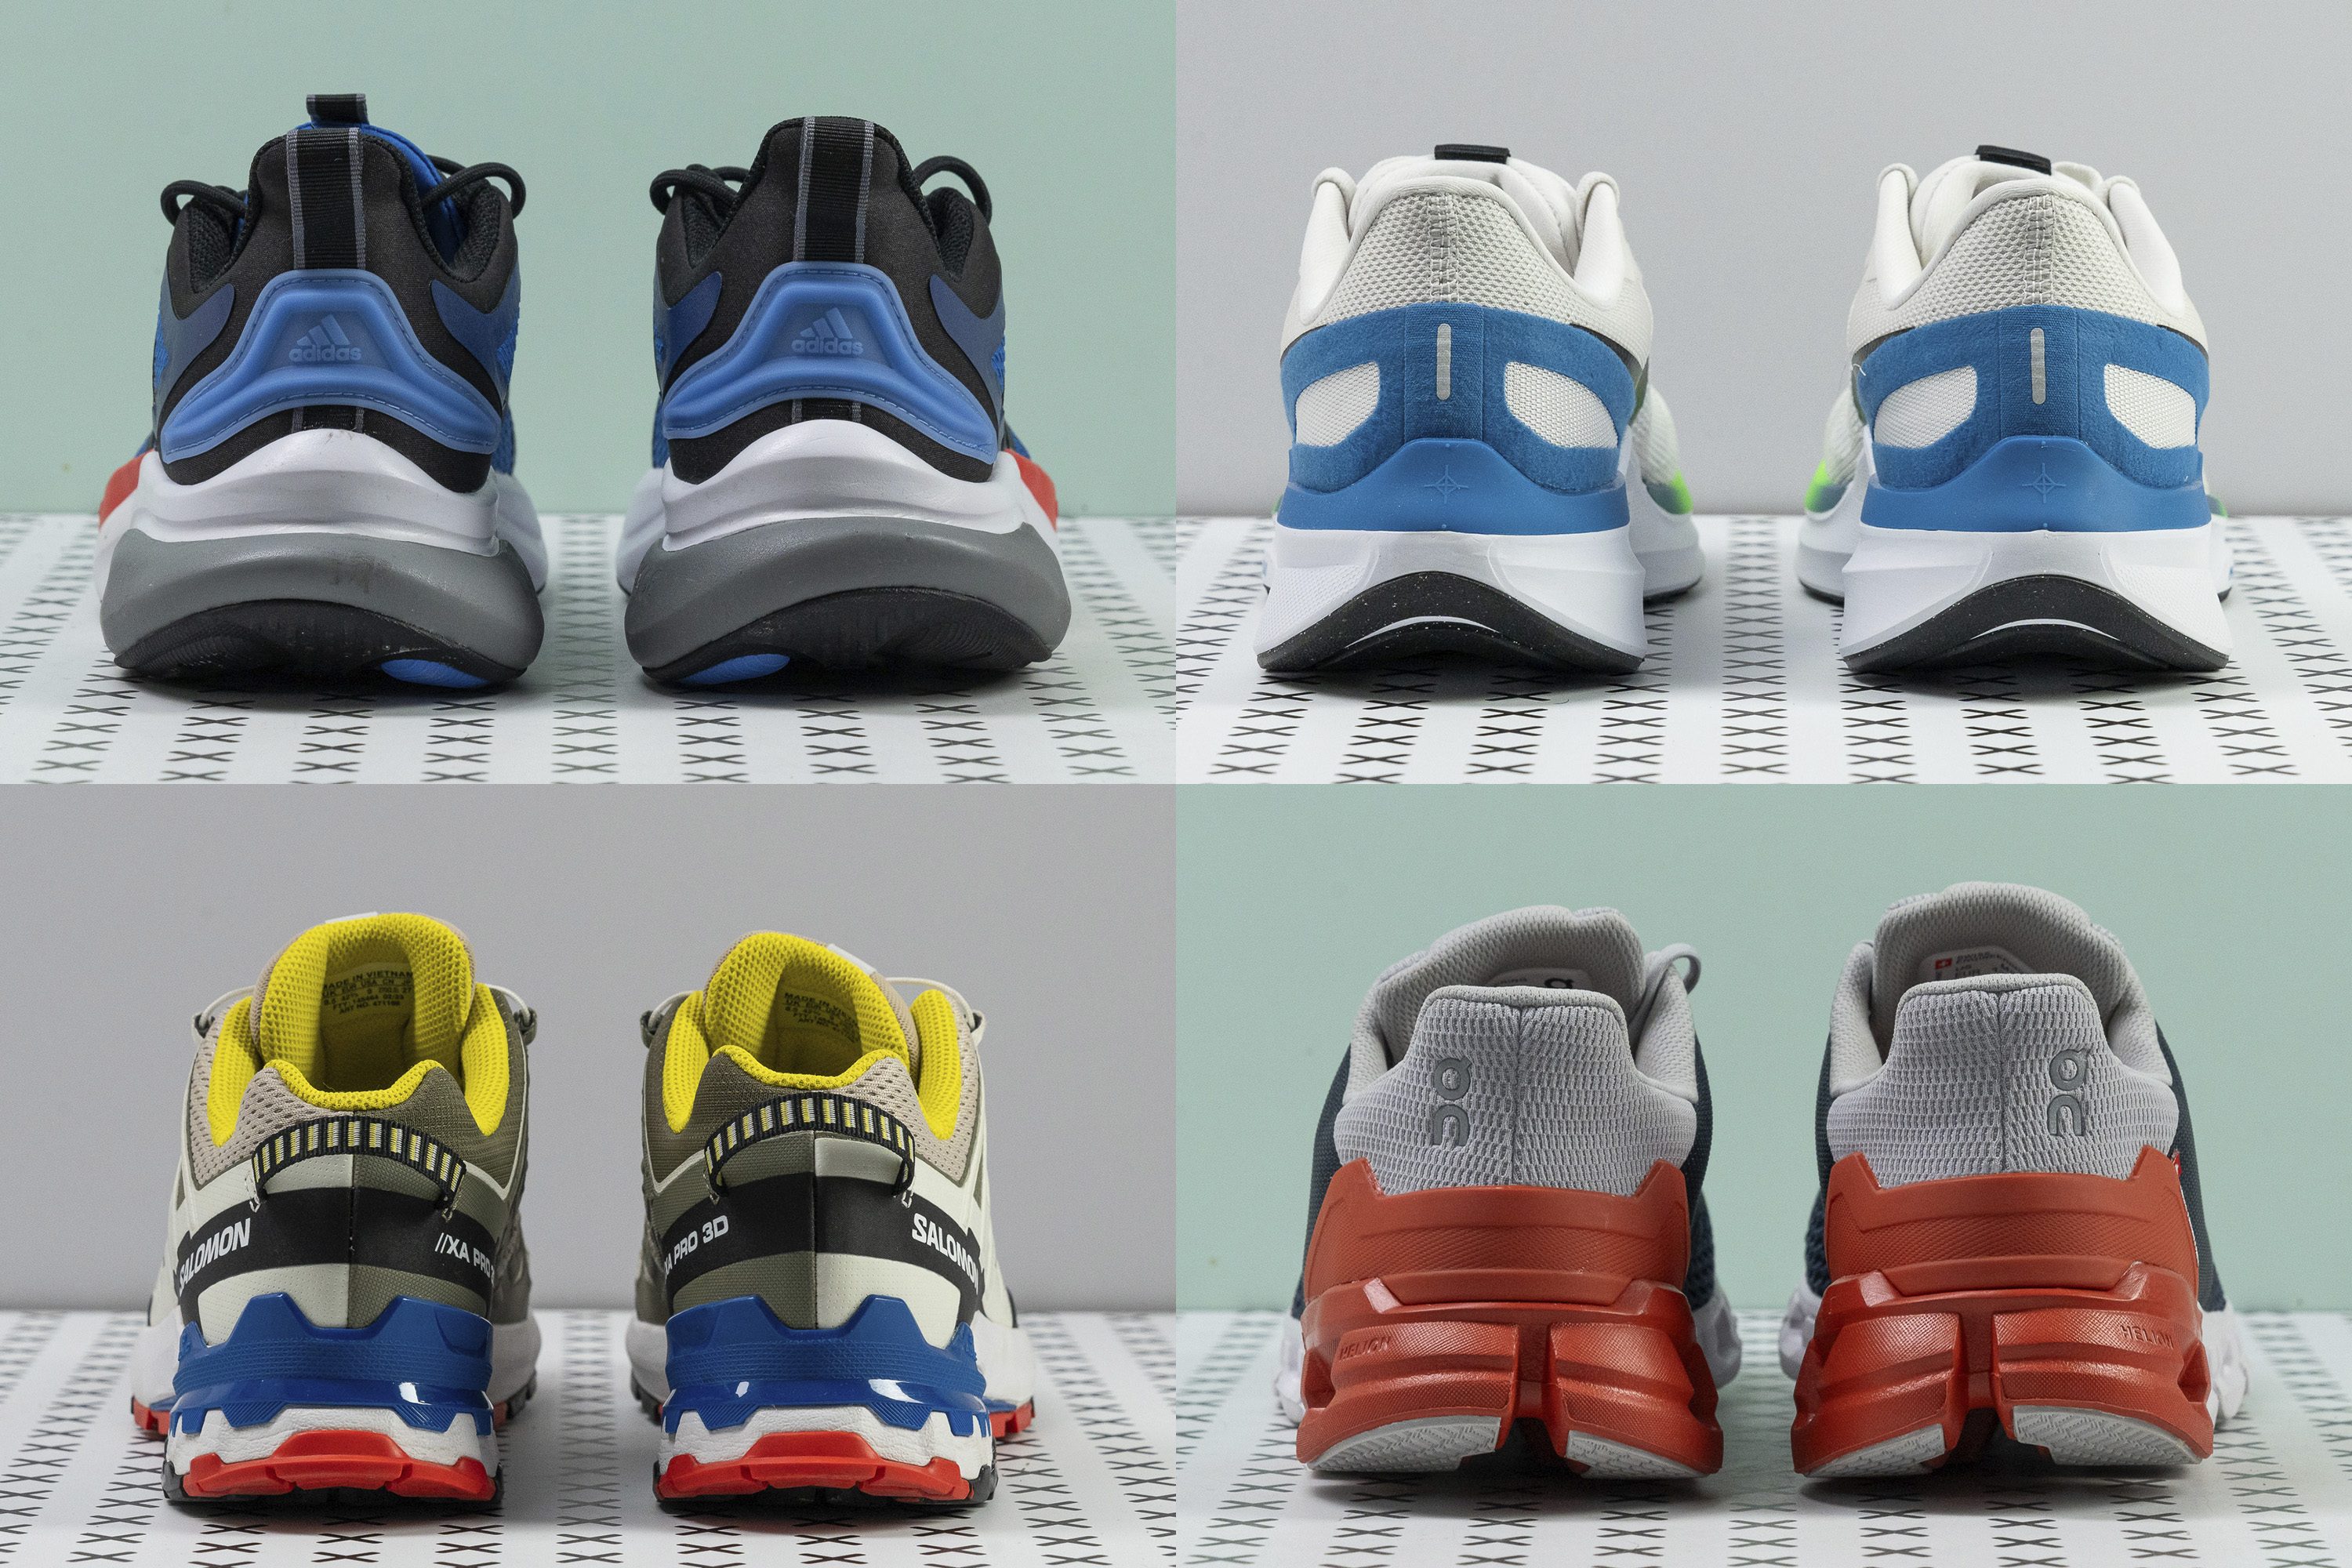
Best stability running shoes overall


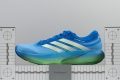

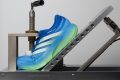
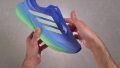


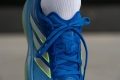
What makes it the best?
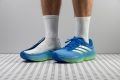
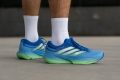
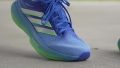
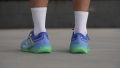
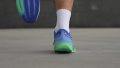
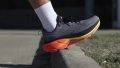
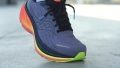
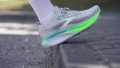
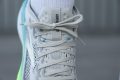
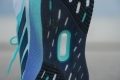
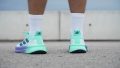
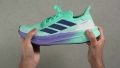
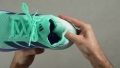
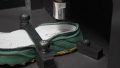
We believe runners seeking support without compromising comfort will find their match in the adidas Supernova Solution 3. It’s our top stability running shoe because it reassured us in our runs through its gentle yet effective Guide Your Ride system and its grippy LIGHTTRAXION outsole. Amazingly, our lab results still confirm the comfort it brings through its forgiving ride.
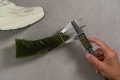
The Guide Your Ride system helps contain mild pronation, as it’s more supportive than a neutral trainer but not as harsh as dedicated stability shoes. It offers a good amount of torsional rigidity, proven by its 4/5 rating in our assessment.
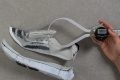
Another element that enhances our surefootedness is the grippy base. Our traction test reveals a remarkable 0.72 score, making it 24.0% grippier than average, keeping us in control even if the weather changes.
It felt easy to manoeuvre this shoe thanks to its adaptive midsole. In our bend test, it emerged slightly more flexible than average. Needing 15.2N to reach 30 degrees, it’s suitable even for easy runs and walks.
What’s the catch? The shoe isn’t energetic. Runners who are thrilled with responsive trainers will find this one boring.
Pros
- Improved, more modern look
- Excellent traction
- Supportive but not clunky
- Roomy fit
- Same MSRP as predecessor
- Moderate rocker works well daily
- Feels good for neutral runners too
Cons
- A bit heavy
- Energy return is unexpectedly low
- Poor ventilation
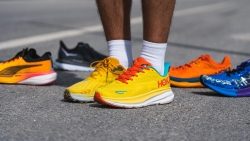
Stability running shoes with the best shock absorption


What makes it the best?
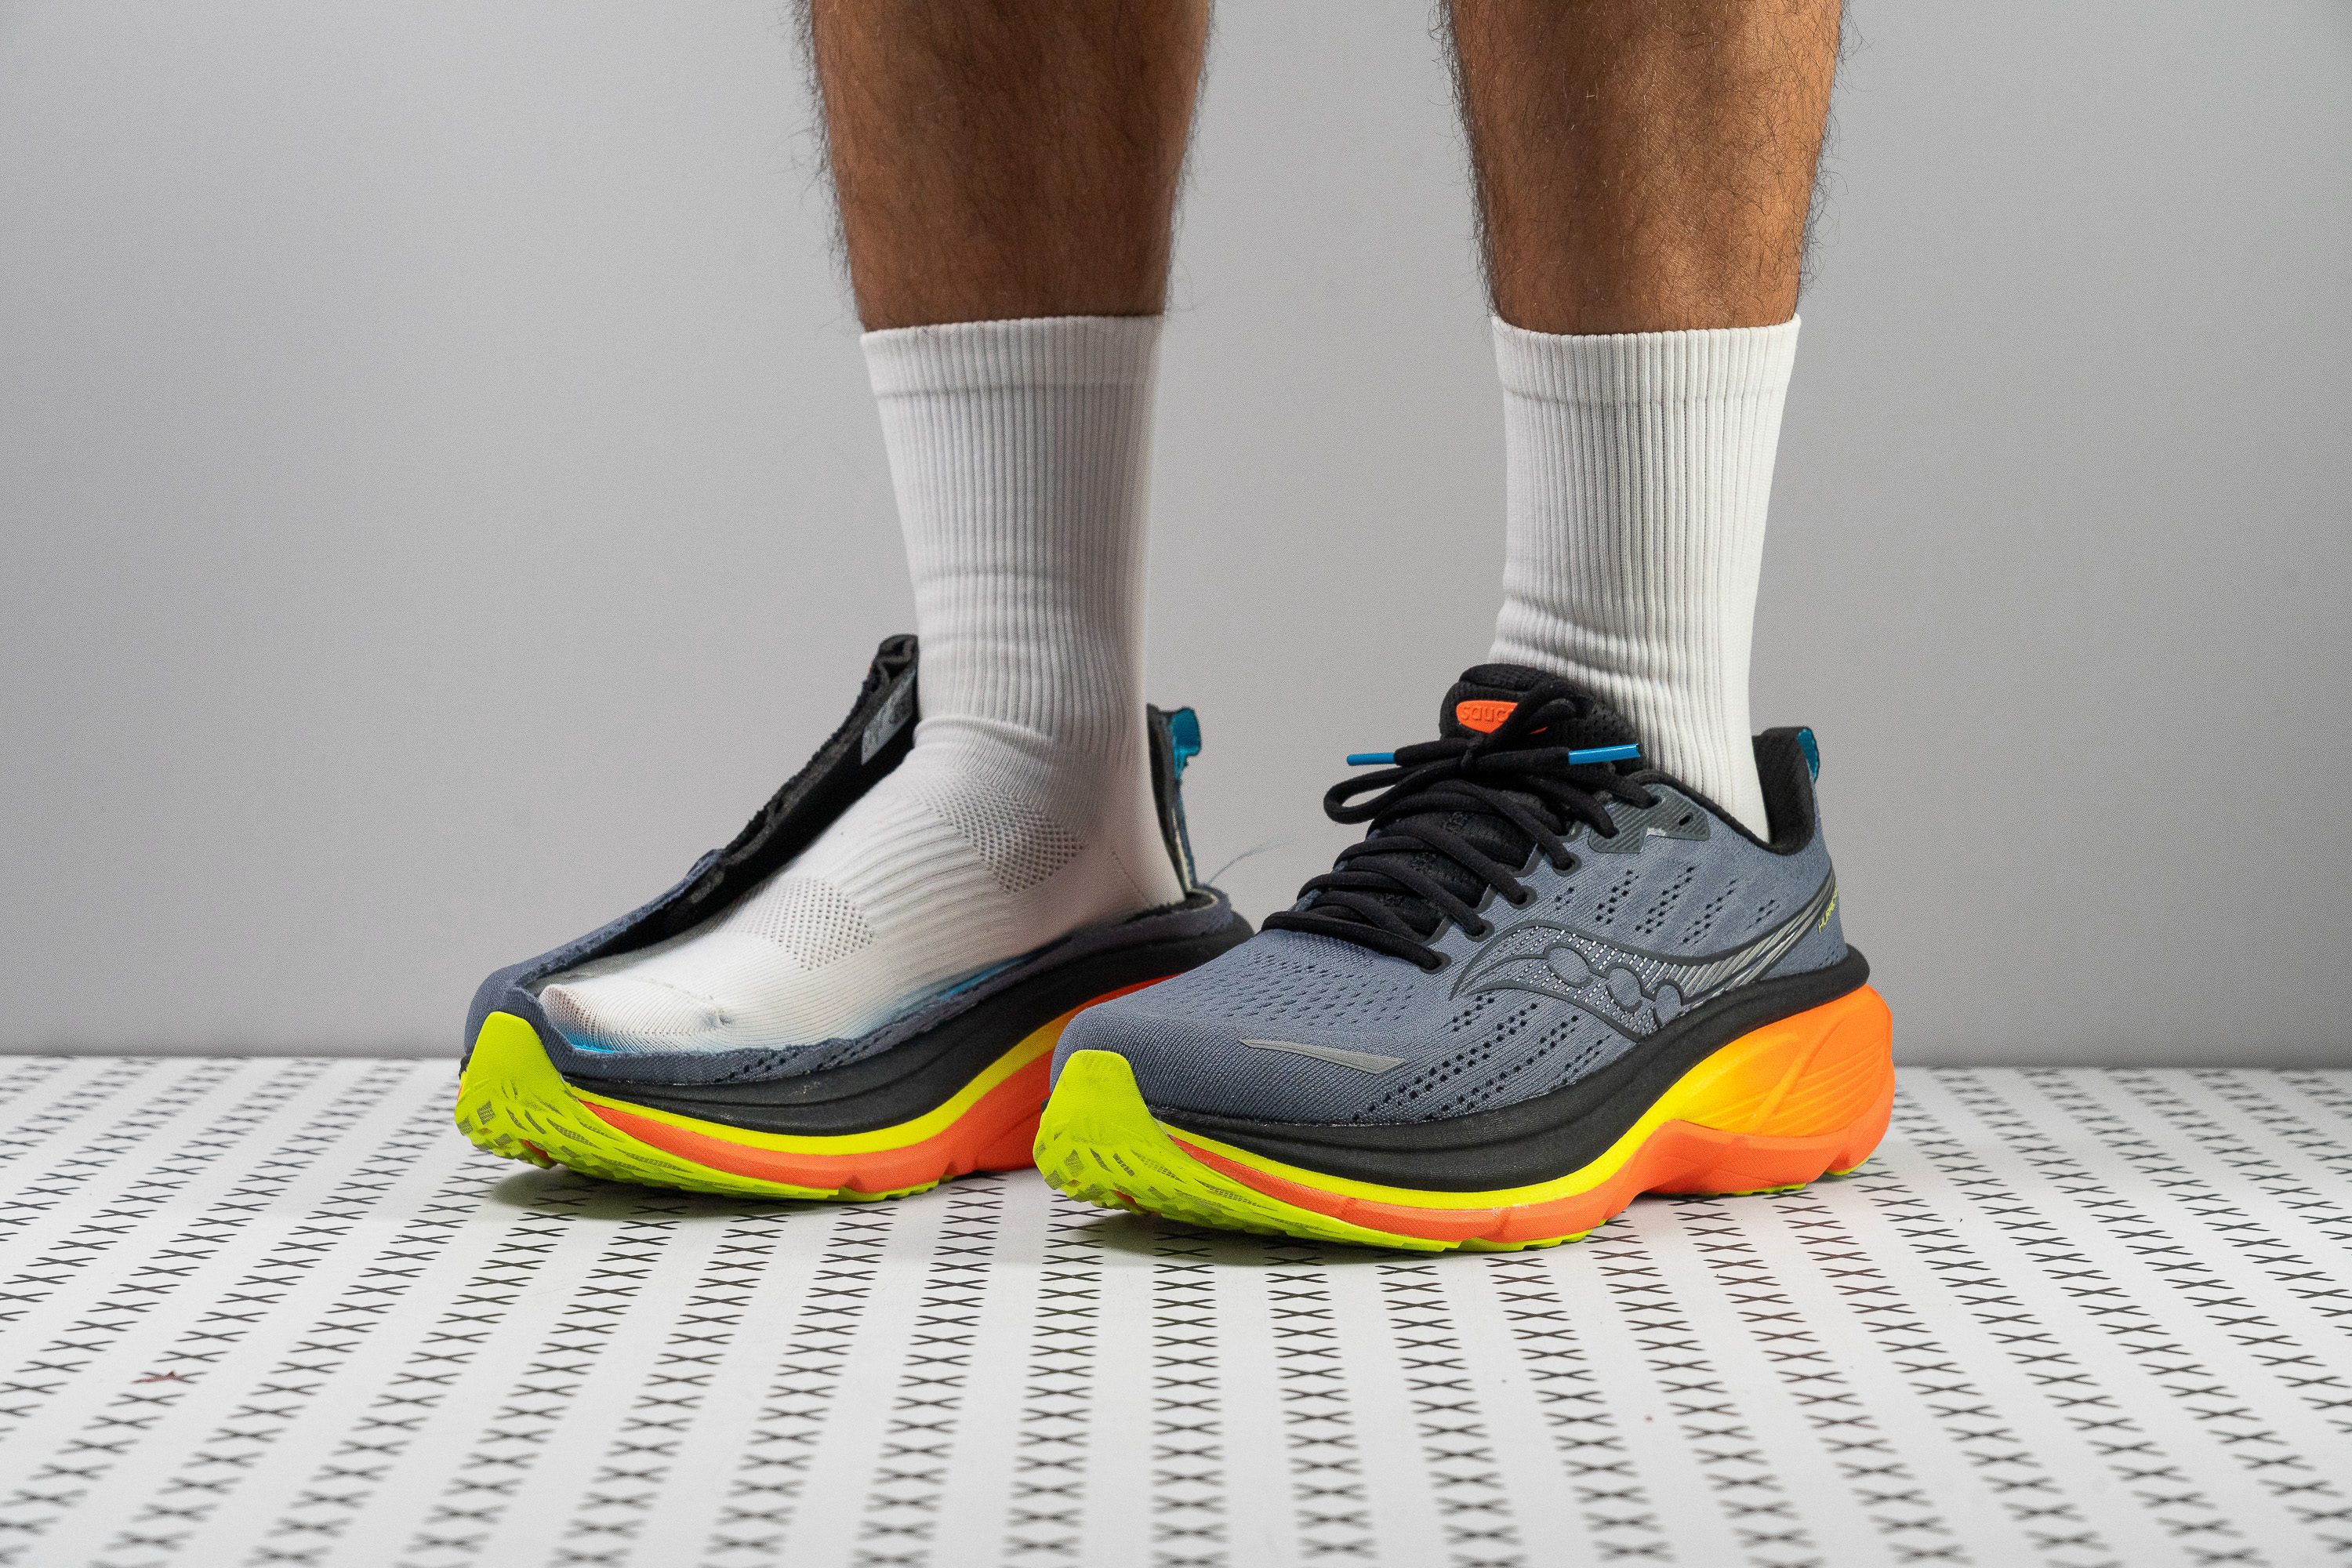
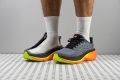
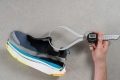
Among the stability running shoes we tested on foot and in the lab, the Saucony Hurricane 25 offers top-tier shock absorption. The unusual combination of plush yet steady midsole is tough to match, given its excellent impact protection, high level of comfort, and reliable support.
The Hurricane 25 has a crazy heel height of 40.2 mm, much higher than the 34.9 mm average. Not only that, it’s made of impact-dampening foam, proven by our lab test with a high 151 SA rating. This figure suggests gentler landings and less stress on the legs since the average shoe scored 130 SA. Even forefoot strikers will enjoy its cushioning, which also performed with a stellar 140 SA rating.
Given its maximalist nature, it’s expected to be wobbly. Yet the Hurricane 25 stands out for its subtle yet effective support features, such as the CenterPath technology, the rigid midsole, and the wide platform. The midsole resisted twisting adamantly, so we rated it with a high 4/5 stiffness score. What also kept each landing safe was the spacious 124.4/102.2 mm base, allowing us to find our balance.
However, its generous height and width take away the agility some runners prefer. If this is the case, we advise going for a more streamlined shoe.
Pros
- Fantastic energy return with PWRRUN PB foam
- Lighter than previous version
- Excellent cushioning for long miles
- Top-tier stability with redesigned midsole
- Upper offers top comfort
- Outsole redesign with improved grip
- Premium SRS insole
- Top-tier stability thanks to midsole redesign
Cons
- Price hike from previous version
- Poor breathability
- Lacks agility due to its size
Best stability shoes for daily running
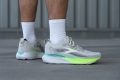


What makes it the best?
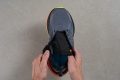
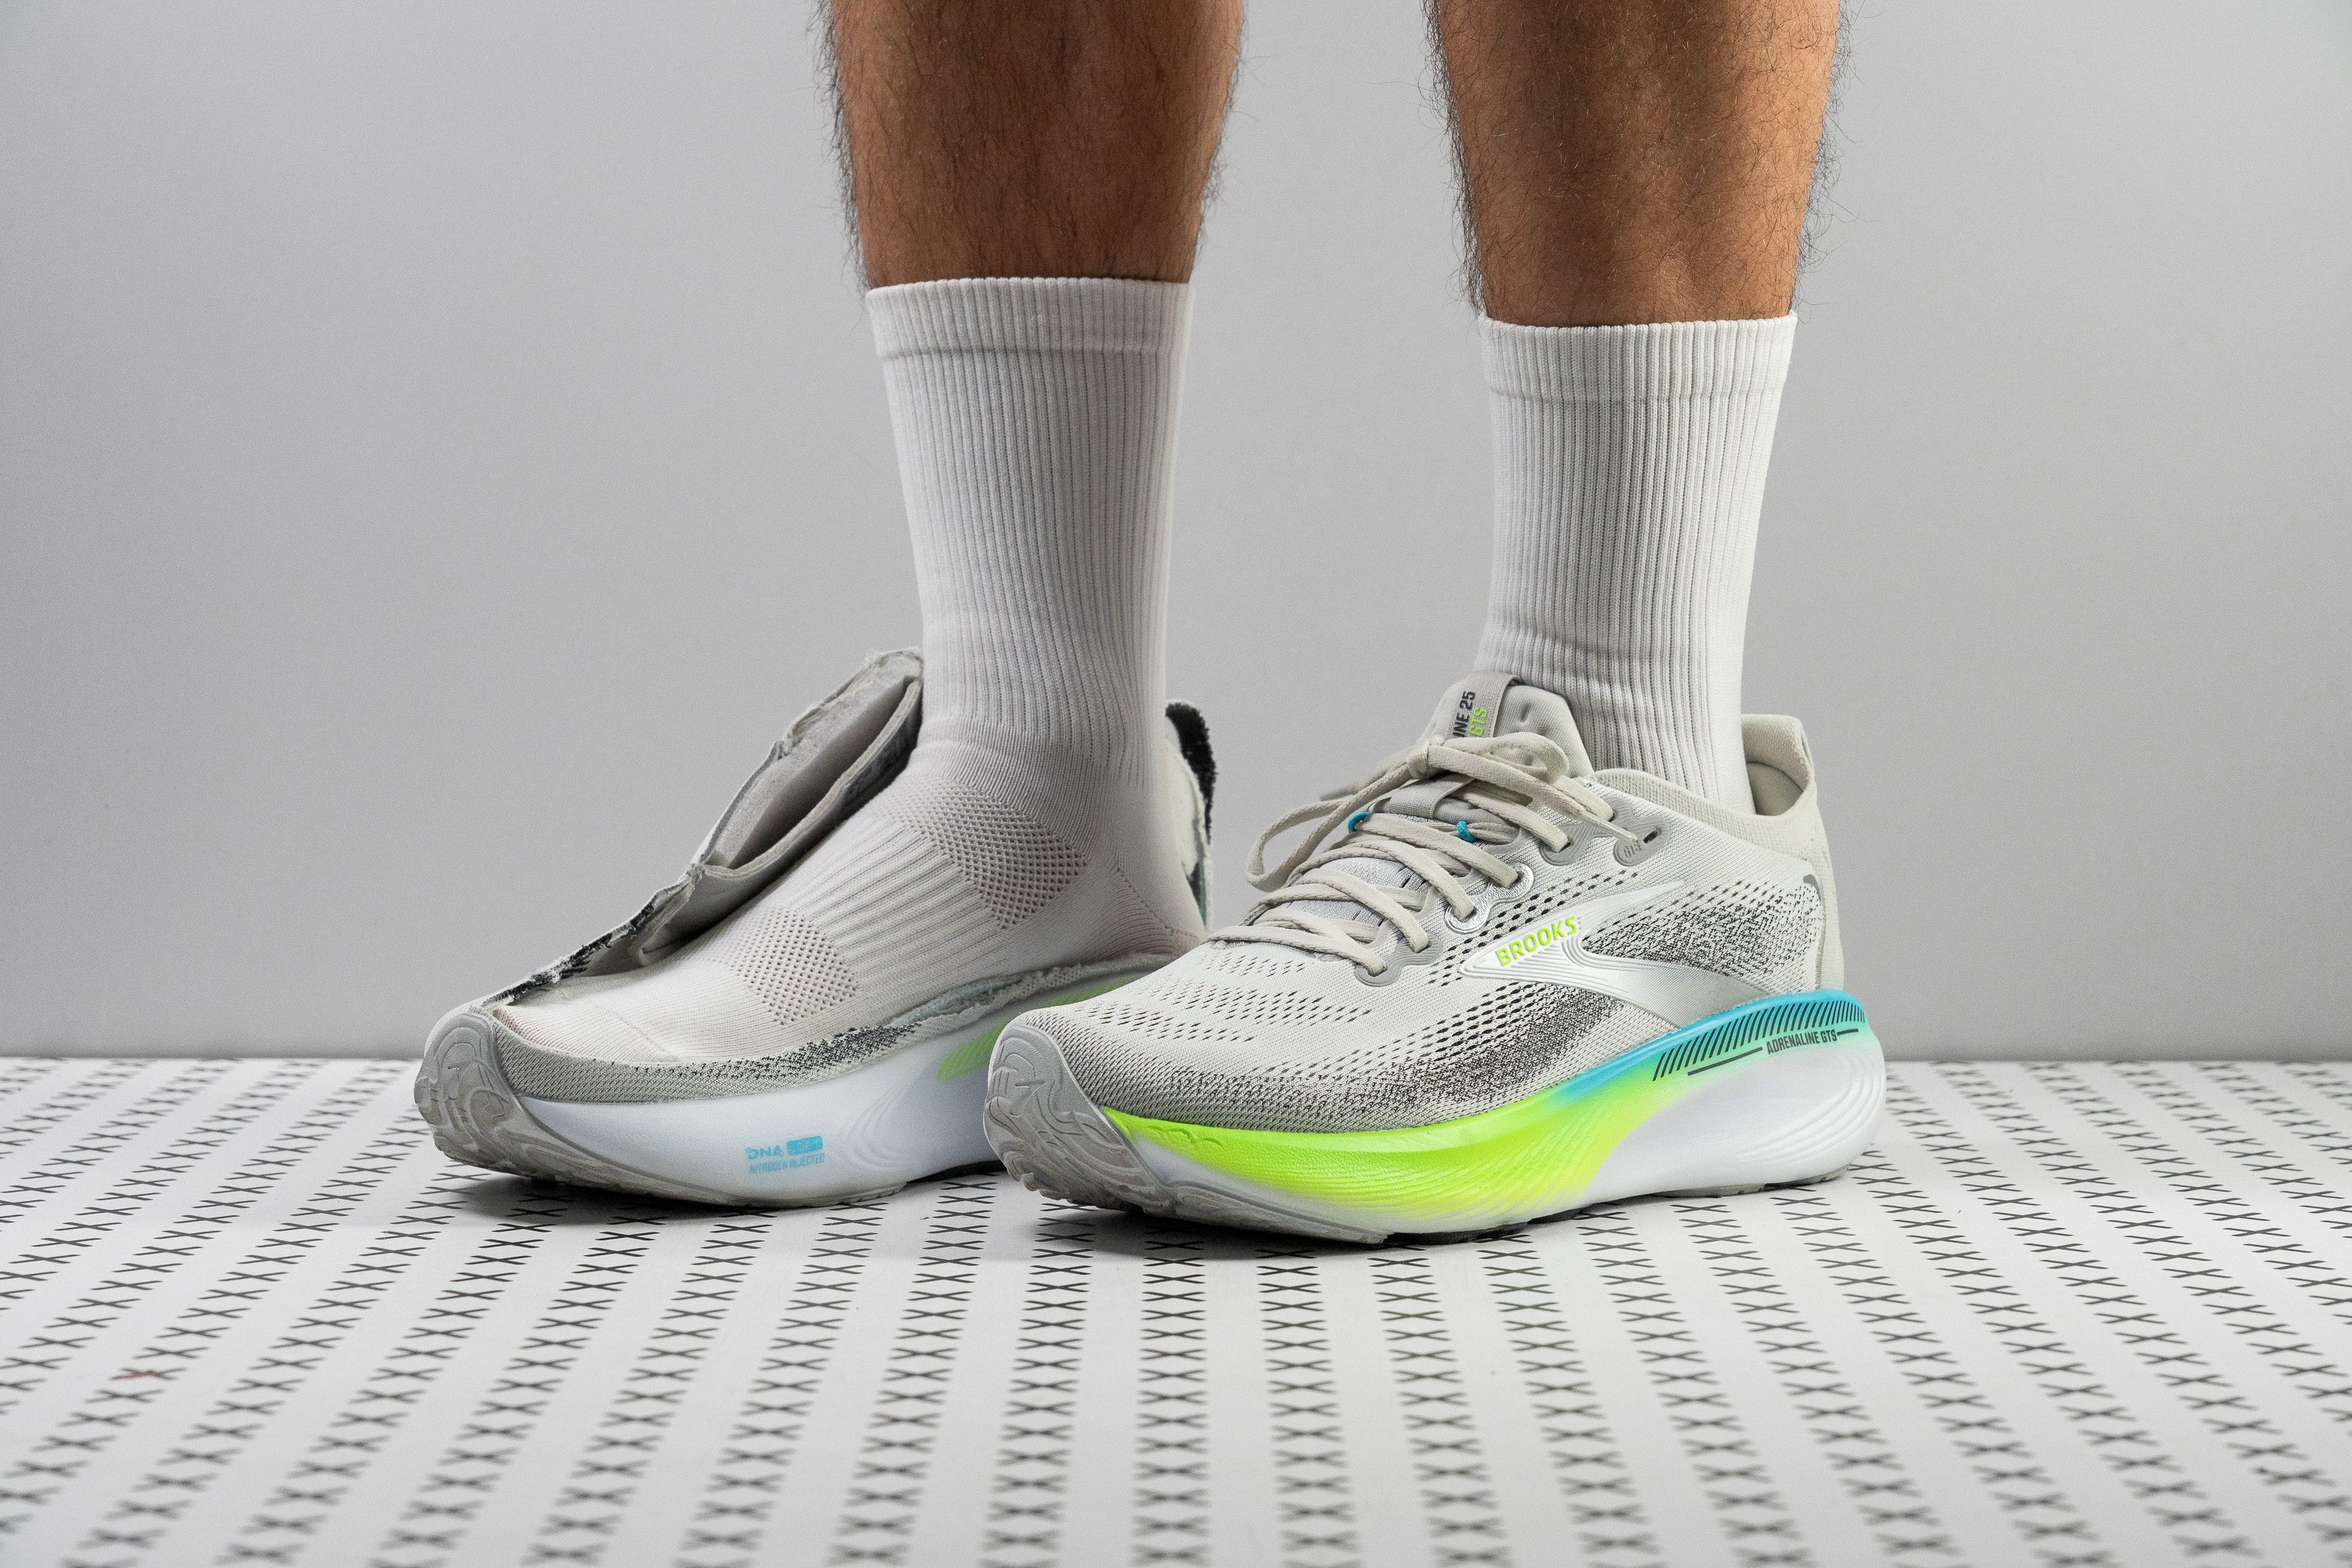
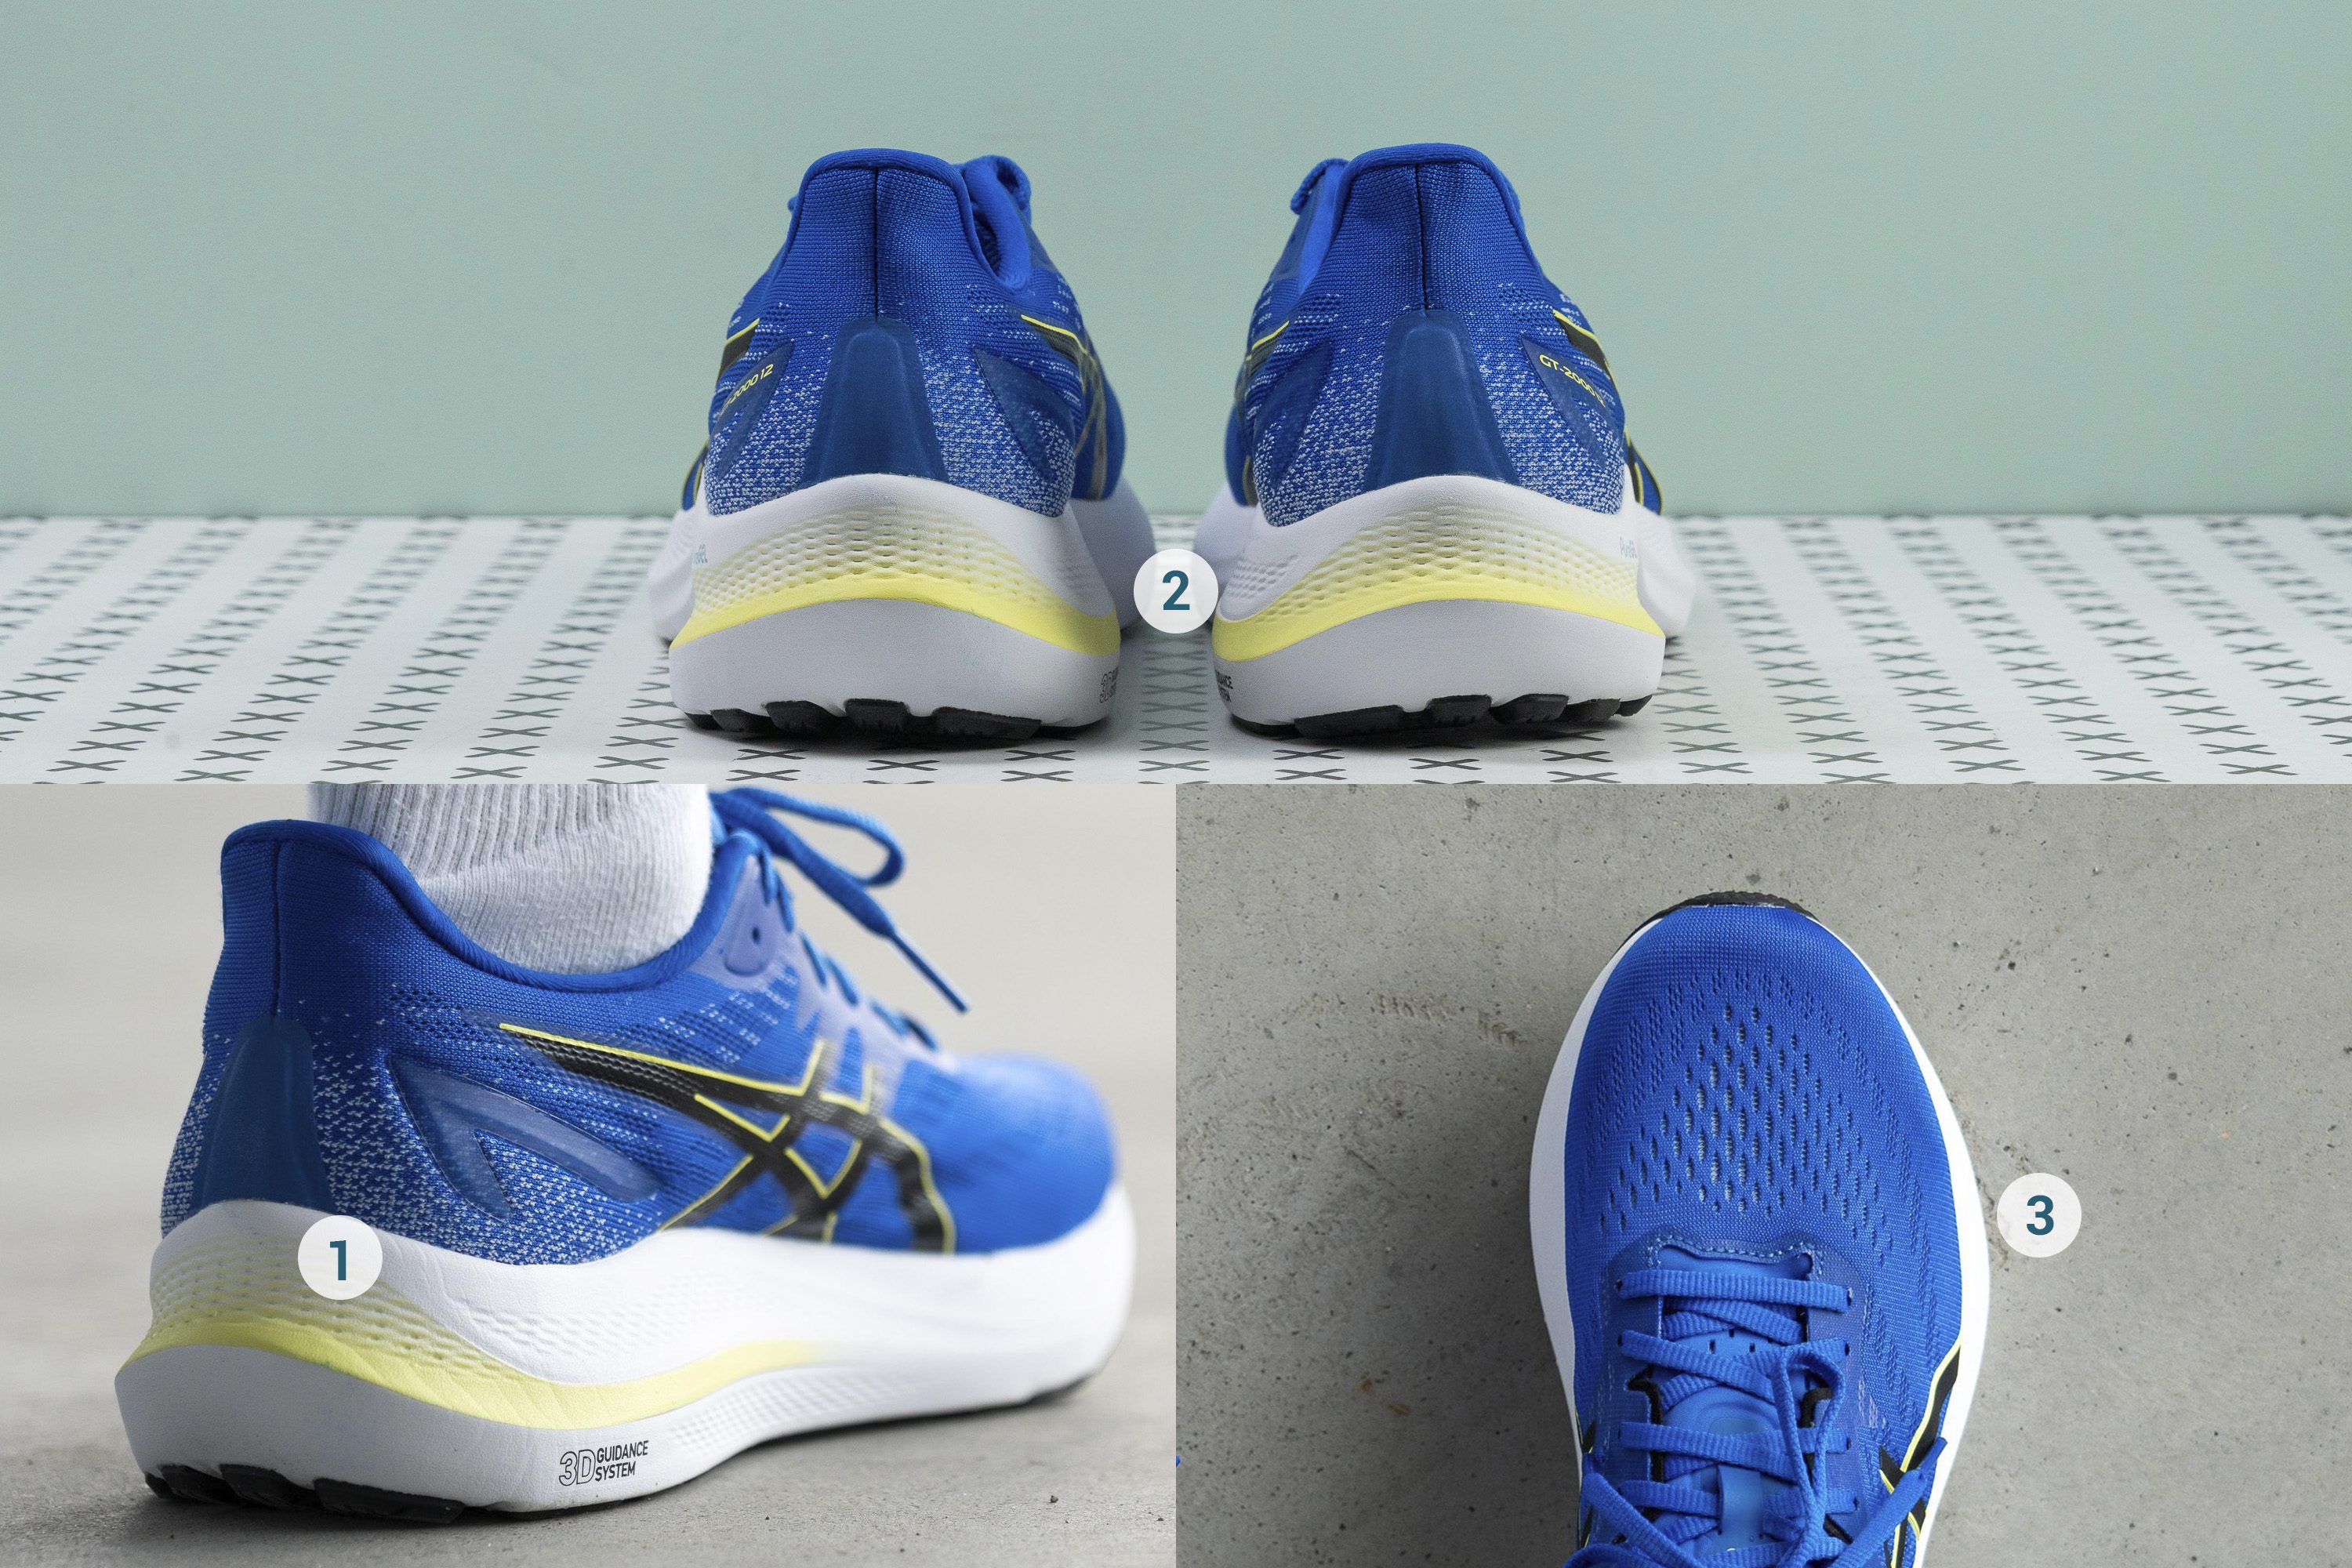
Brooks Adrenaline GTS 25 blends traditional stability with innovation, serving as a subtle guide without compromising our natural stride. Departing from the conventional stability shoe, our lab shows it offers comfort and flexibility, earning the best daily trainer title in the stability category.
A stable shoe doesn’t have to be a burden to move in, as proven by Adrenaline GTS 25. Its manoeuvrable midsole, validated by our bend test to be 7% more flexible than average, allows for smoother toe-offs.
The GuideRails are located on both sides of the shoe, which help contain our excessive pronation and movements. Besides this, we discovered a wide 117.7/100.7 mm platform that keeps us centred within the base.
A stark contrast from the usual grounded and firm stability shoes, our calliper reveals a 36.1/25.9 mm stack. Yet what highlights the midsole’s comfort for any footstrike and distance is its impressive shock absorption rating of 138 SA in the heel and 101 SA in the forefoot.
Adrenaline GTS 25 balanced support and comfort well, but missed the adrenaline-filled ride some runners prefer for the occasional speed segments. We recommend checking alternatives for runners who prefer a faster shoe.
Pros
- Excellent stability with subtle support
- Softer midsole foam
- Improved shock absorption
- World-class outsole durability
- Excellent upper comfort
- Better traction
- Reduced drop adds versatility
- Still ideal for heel strikers
- Comfy and durable for daily wear
Cons
- Needs to lose weight ASAP
- Modest energy return in the heel
- Minor price increase
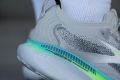
Stability running shoes with the best traction


What makes it the best?
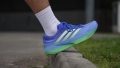
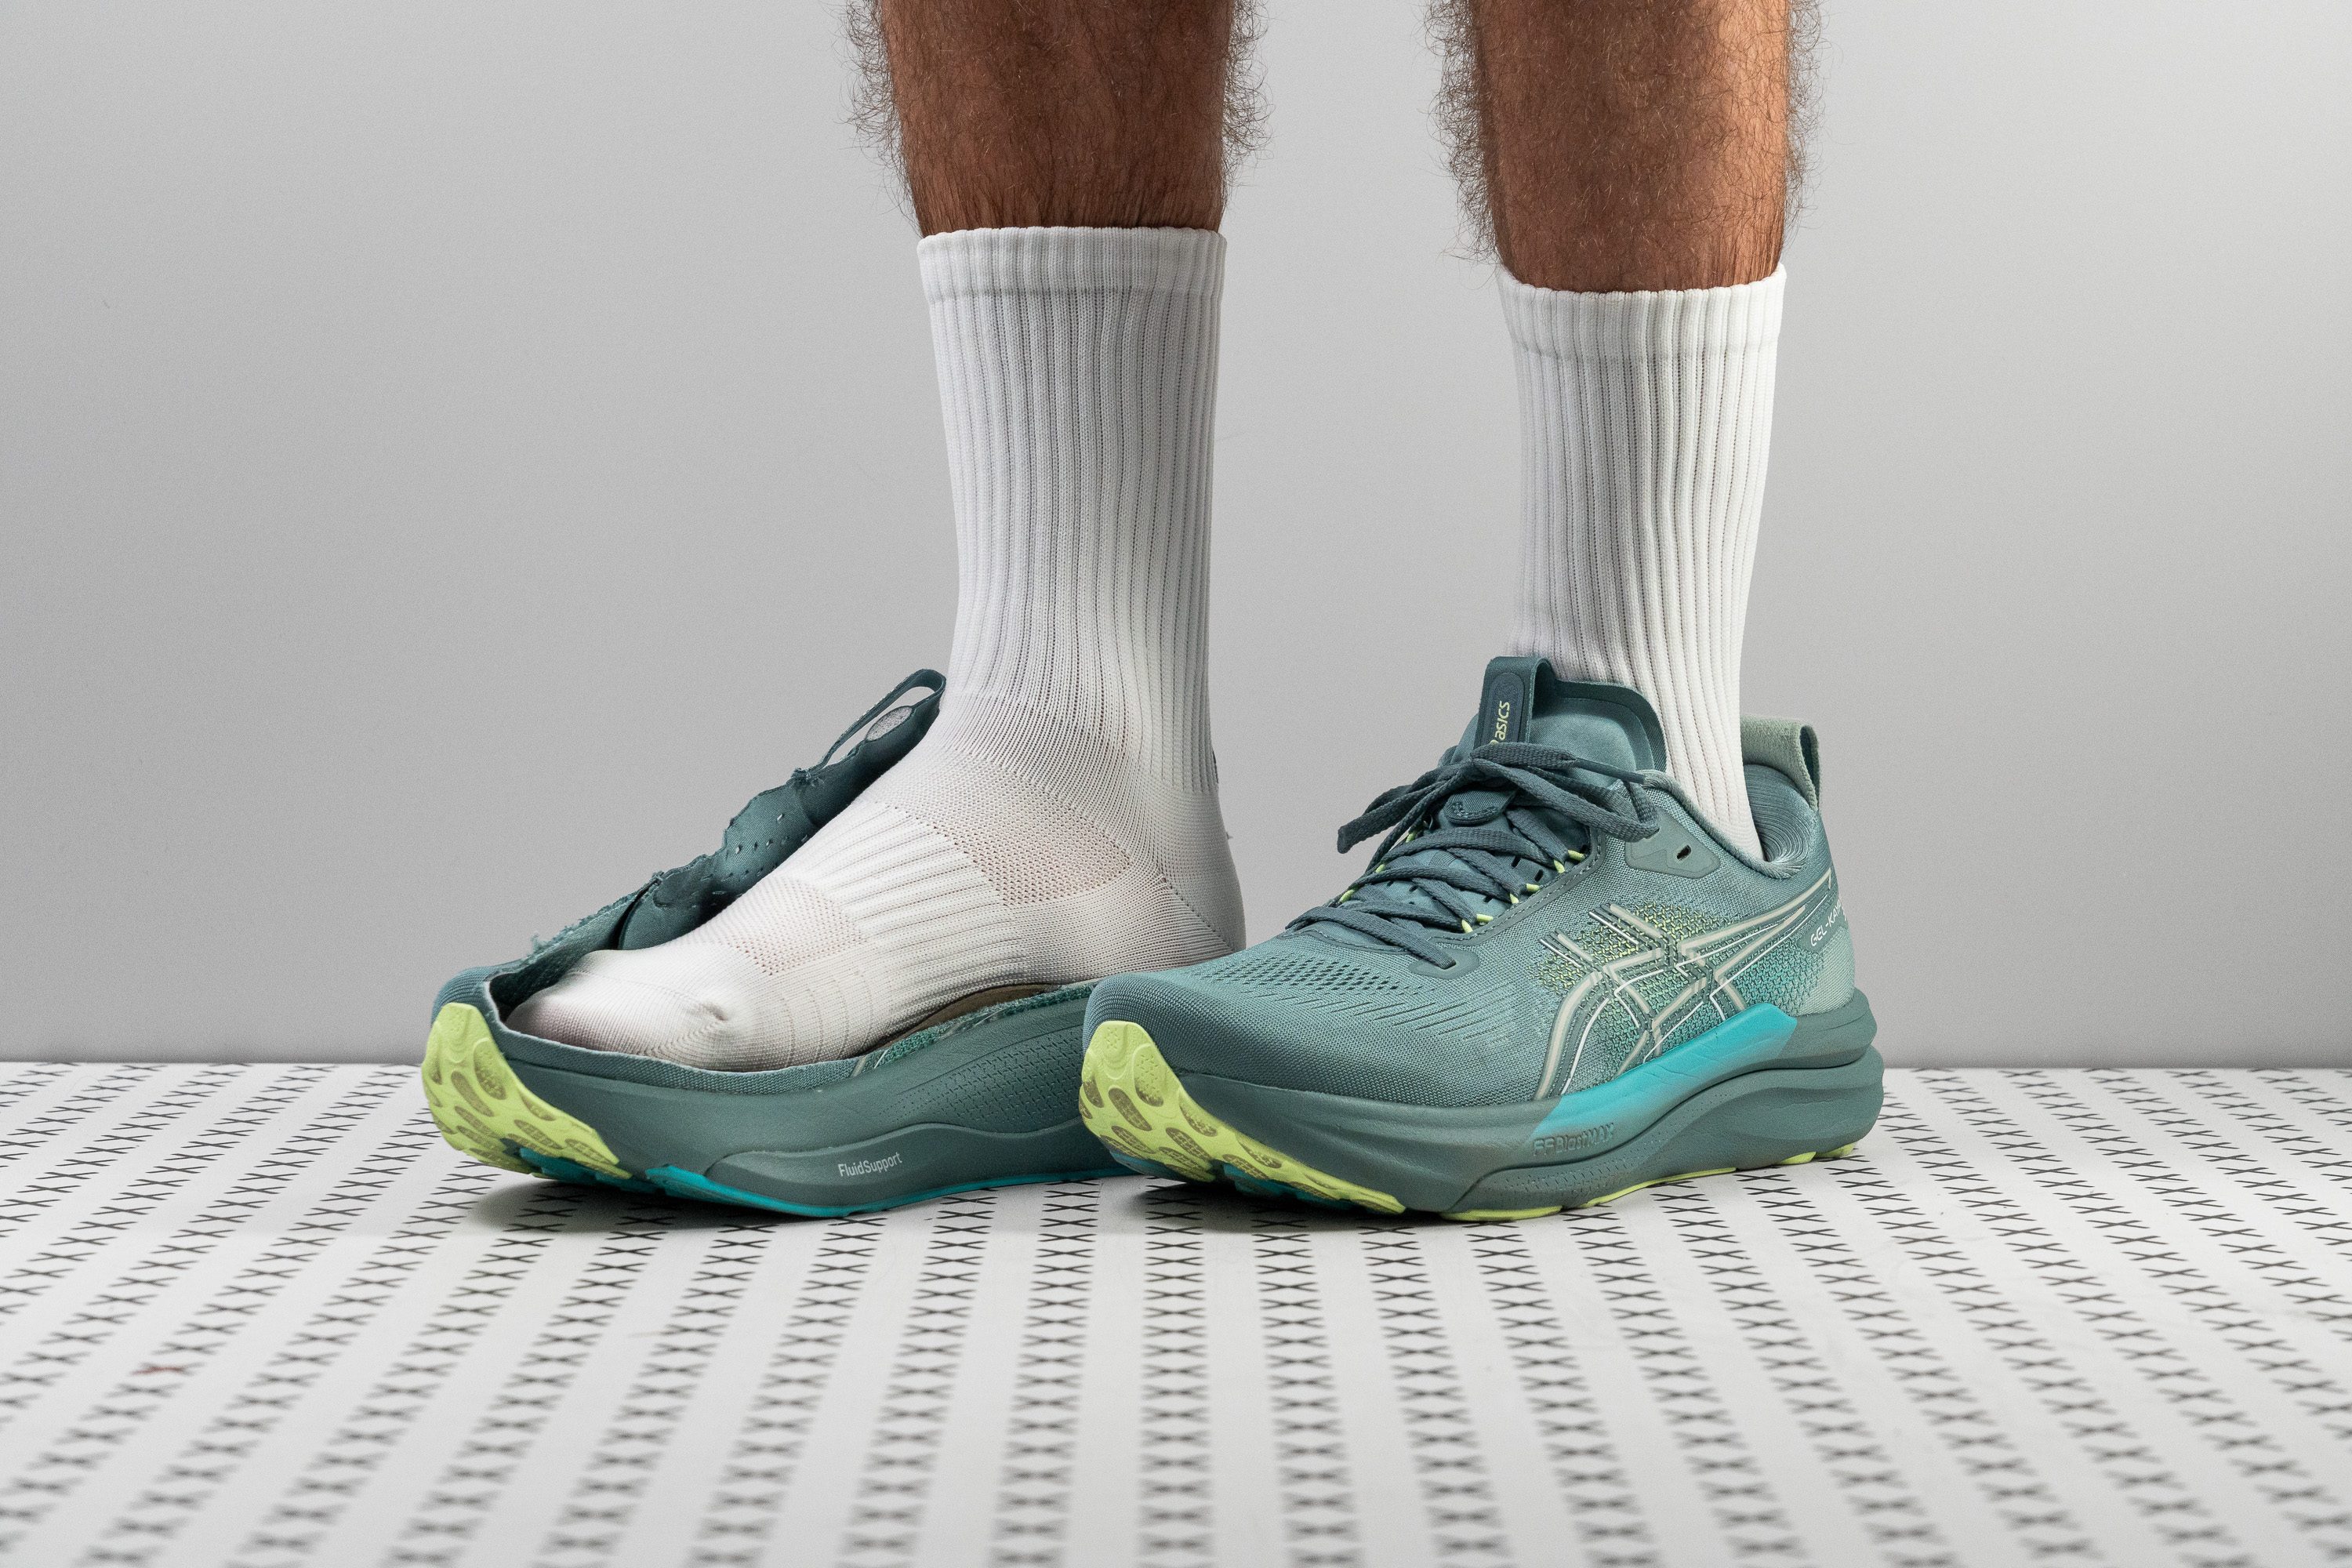
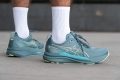
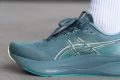
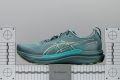
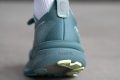
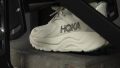
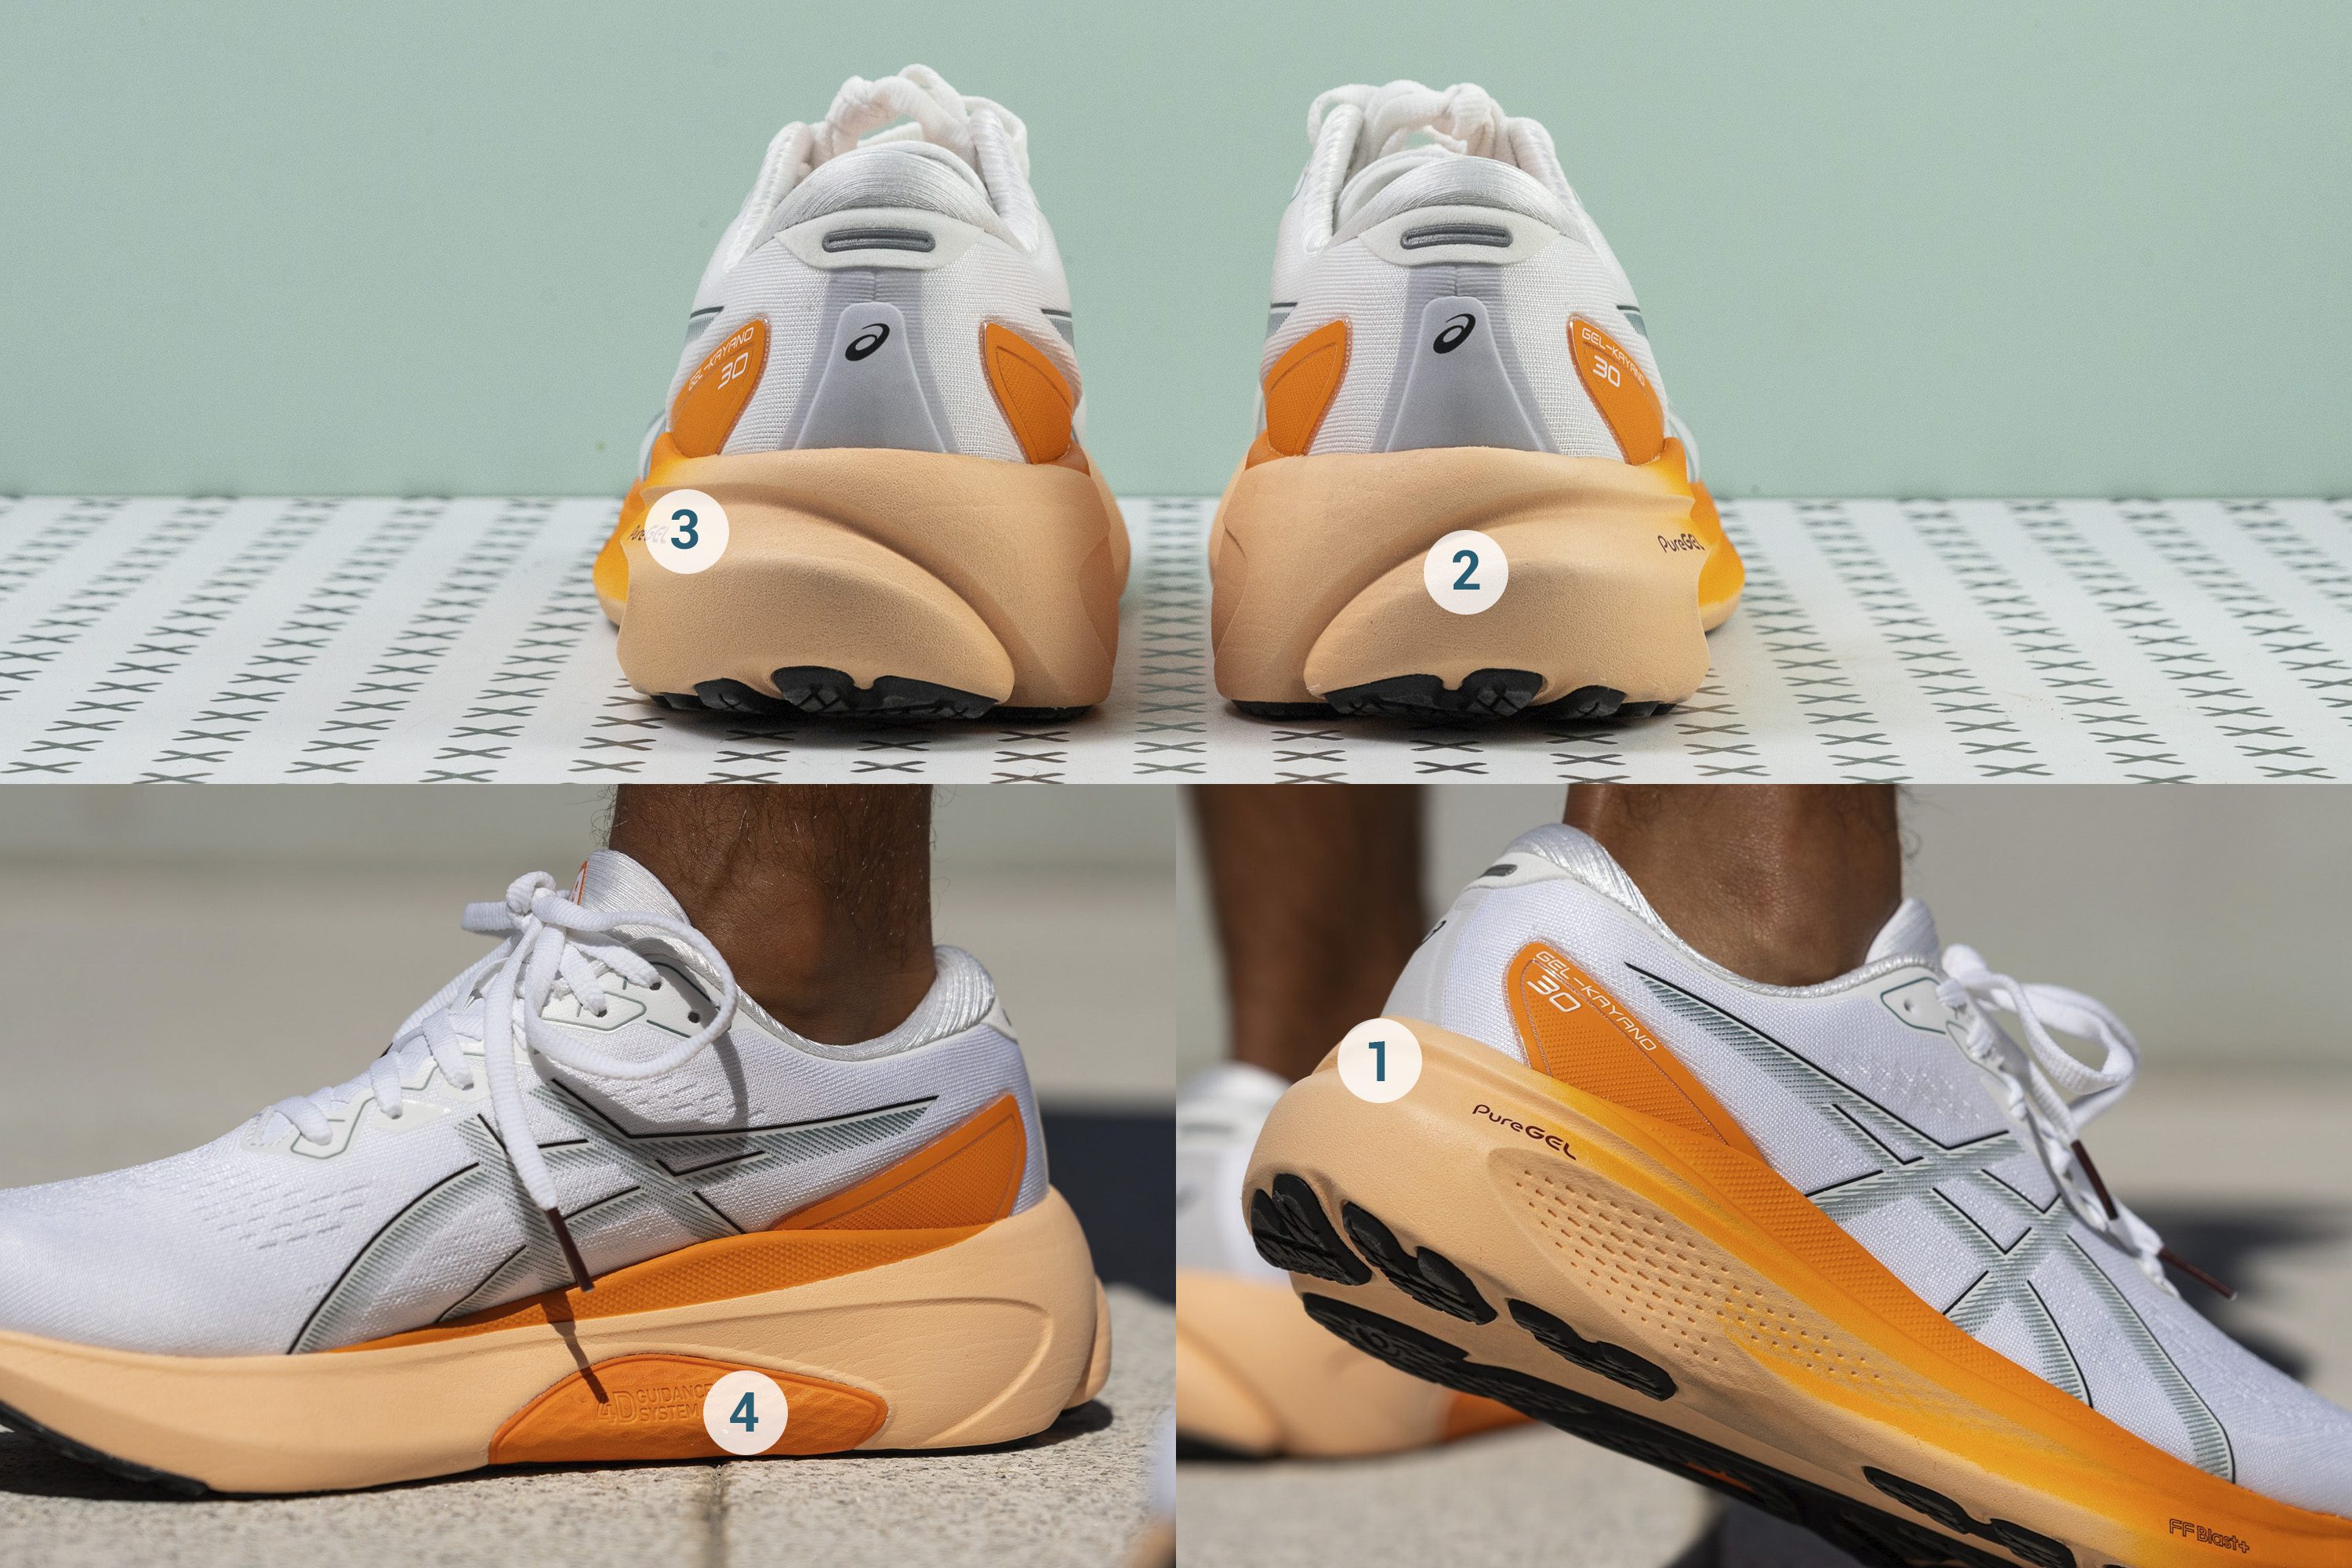
The ASICS Gel Kayano 33 combines strong support with dependable grip, complemented by comfortable cushioning underfoot. It's easy to last long because our tired feet are stabilised by the FluidSupport system and soothed by the joint-protecting stack. In our lab tests, the GK33 stood out for its exceptional grip, earning its spot as our stability running shoe with the best traction.
In our runs, we had no instances of slipping as the Hybrid ASICSGRIP rubber held its ground firmly. Testing for traction, our wet-condition test returns a remarkable 1.13 friction score, making it significantly 117% grippier than average!
Moreover, the GK33’s stabilising features contribute to controlled movements. In the midsole, we found the FluidSupport system, which includes a firmer foam that supports the arch as it rolls in and out of pronation. Moreover, the base runs very wide at 120.7/97.1 mm, which makes twisting our ankles almost impossible since we can plant our whole feet on the platform.
It’s amazing how GK33 softens impact through its forgiving midsole. We measured shock absorption levels of 132 SA in the heel and 112 SA in the forefoot, indicating this trainer can handle longer runs.
However, the platform not only absorbs shock but also some of the energy we put into each stride, resulting in a less responsive ride. Runners craving more bounce should look elsewhere.
Pros
- Softest-ever Kayano
- More natural support without sacrificing stability
- Dependable durability
- Premium-grade comfort
- Avoids a price hike
- Improved lacing system
- Refined, modern outsole
- Works for all footstrikes
- Finally a foam upgrade
Cons
- But still delivers low energy return
- Less stable for extreme overpronators
- Feels heavy
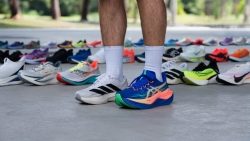
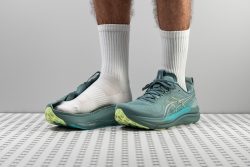
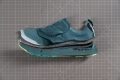
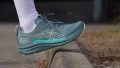
Best lightweight stability running shoes


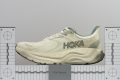


What makes it the best?
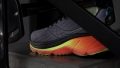
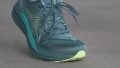
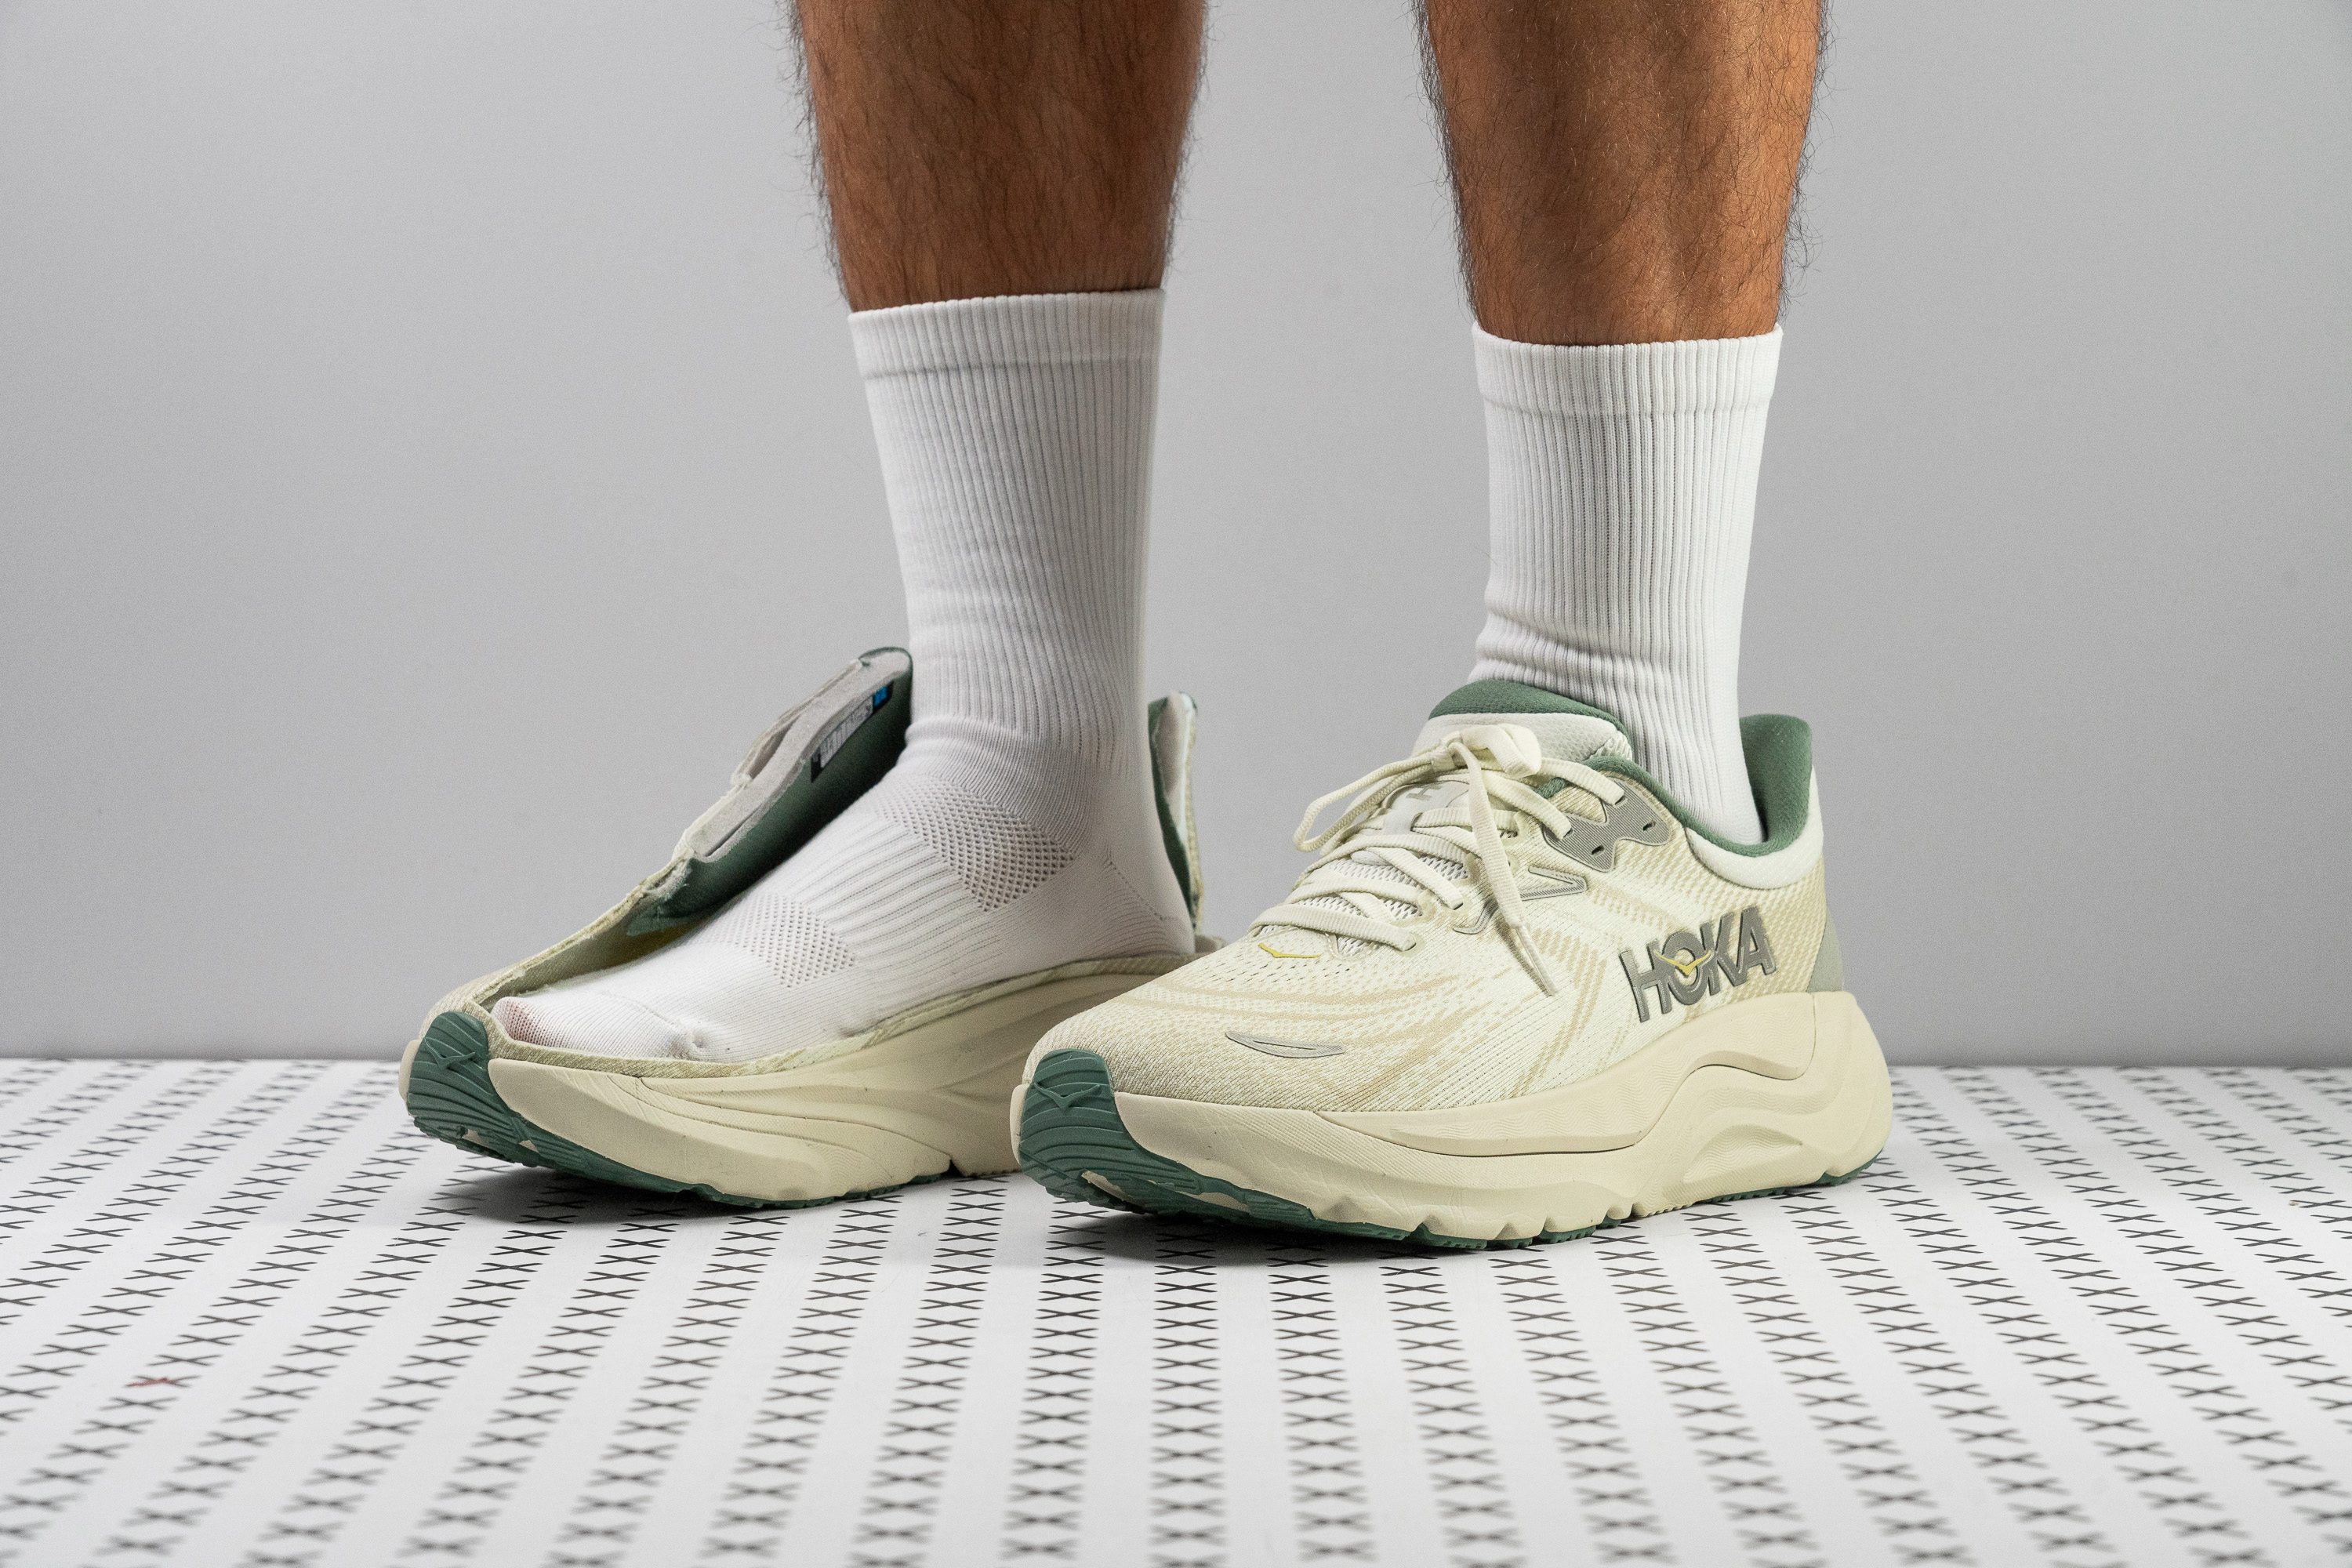
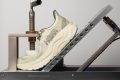
Based on our lab tests and runs, HOKA Arahi 8 is the best lightweight stability running shoe. Why? This basically sums it up: it blends subtle support with generous cushioning all in an airy package.
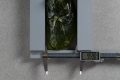
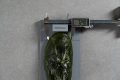
The Arahi 8 deviates from the typical stability shoe by maintaining a light build. While the average stability shoe in our lab weighs 10.3 oz (293g), this HOKA is significantly lighter at 9.1 oz (259g), even managing to be below the average 9.3 oz (265g) running shoe. It kept our feet and ankles free from the heavy load.
That lightness is even more amazing considering the shoe's substantial stack of 39.4/28.1 mm. We truly felt its comfort and protection during long runs, further evidenced by exceptional shock absorption scores of 138 SA in the heel and 113 SA in the forefoot.
To ensure stability, our lab results reveal Arahi 8's H-Frame technology as its main pillar. Together with its wide 96.3 mm heel, these elements work together to guide our foot alignment without being too intrusive. Because the support is already so effective, Arahi 8 can manage to increase its stack height and cushioned feel.
However, its comfort goes away on a hot day. The double-layer mesh offers poor ventilation, so we can only recommend Arahi 8 in cooler weather.
Pros
- Impressively lightweight for its size
- Strong shock absorption
- Wider fit than previous versions
- Outstanding durability across upper and outsole
- Early-Stage Meta Rocker smooths transitions
- Higher drop suits better heel strikers
- Comfy and plush for everyday use
- H-Frame stability system
- Comfortable heel counter
Cons
- Very poor breathability
- Grip needs to improve
- Still no supercritical foam
- Minor price bump
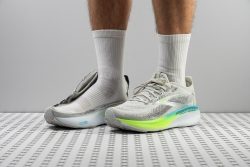
Neutral running shoes with the best stability


What makes it the best?
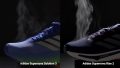
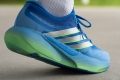
The adidas Ultraboost 5X exceeds the traditional stability shoe by delivering a surprisingly forgiving yet thrilling ride. It seamlessly blends fluidity and energy with stability features to ensure a steady and fun ride. Our lab numbers tell the story, but our actual runs cemented Ultraboost 5X as our best neutral stability running shoe.
The highlight goes to the shoe’s effortless sensation, which is a blend of its lightness, flexibility, and responsiveness. It doesn’t intrude on our strides as the midsole emerged 26.0% more pliable than average in our bend test. Moreover, its minimal weight of 9.4 oz (266g) is impressive for the support it offers.
Meanwhile, the midsole offers strong energy return, scoring 66.0% in the heel and a massive 70.1% in the forefoot, putting this trainer in a league above daily trainers.
At the heart of the midsole lies the Torsion System, which consists of an X-shaped piece nestled in the midsole to create more centred strides. We measured a solid torsional rigidity of 4/5, which is enough to keep our landings secure without widening the base too much.
However, while the Primeknit upper feels cosy and stretchy, it rests atop our toes. Runners who prefer more breathing room and space should look for shoes with a taller toebox height.
Pros
- Works well as a casual sneaker too
- Premium, high-quality materials throughout
- Stretchy, roomy upper
- Fantastic energy return
- Built-to-last durability
- Best Ultraboost version to date
- Stable for heel strikers
- Increased stack height
- Noticeable weight reduction
- Grips very well
Cons
- Steep price
- Ventilation falls short of expectations
- Limited to slower paces
- Less stack height than advertised
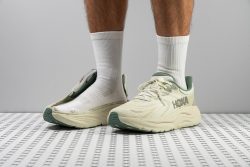
Best stability shoes for trail running


What makes it the best?
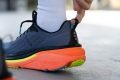
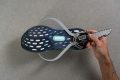
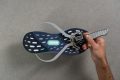
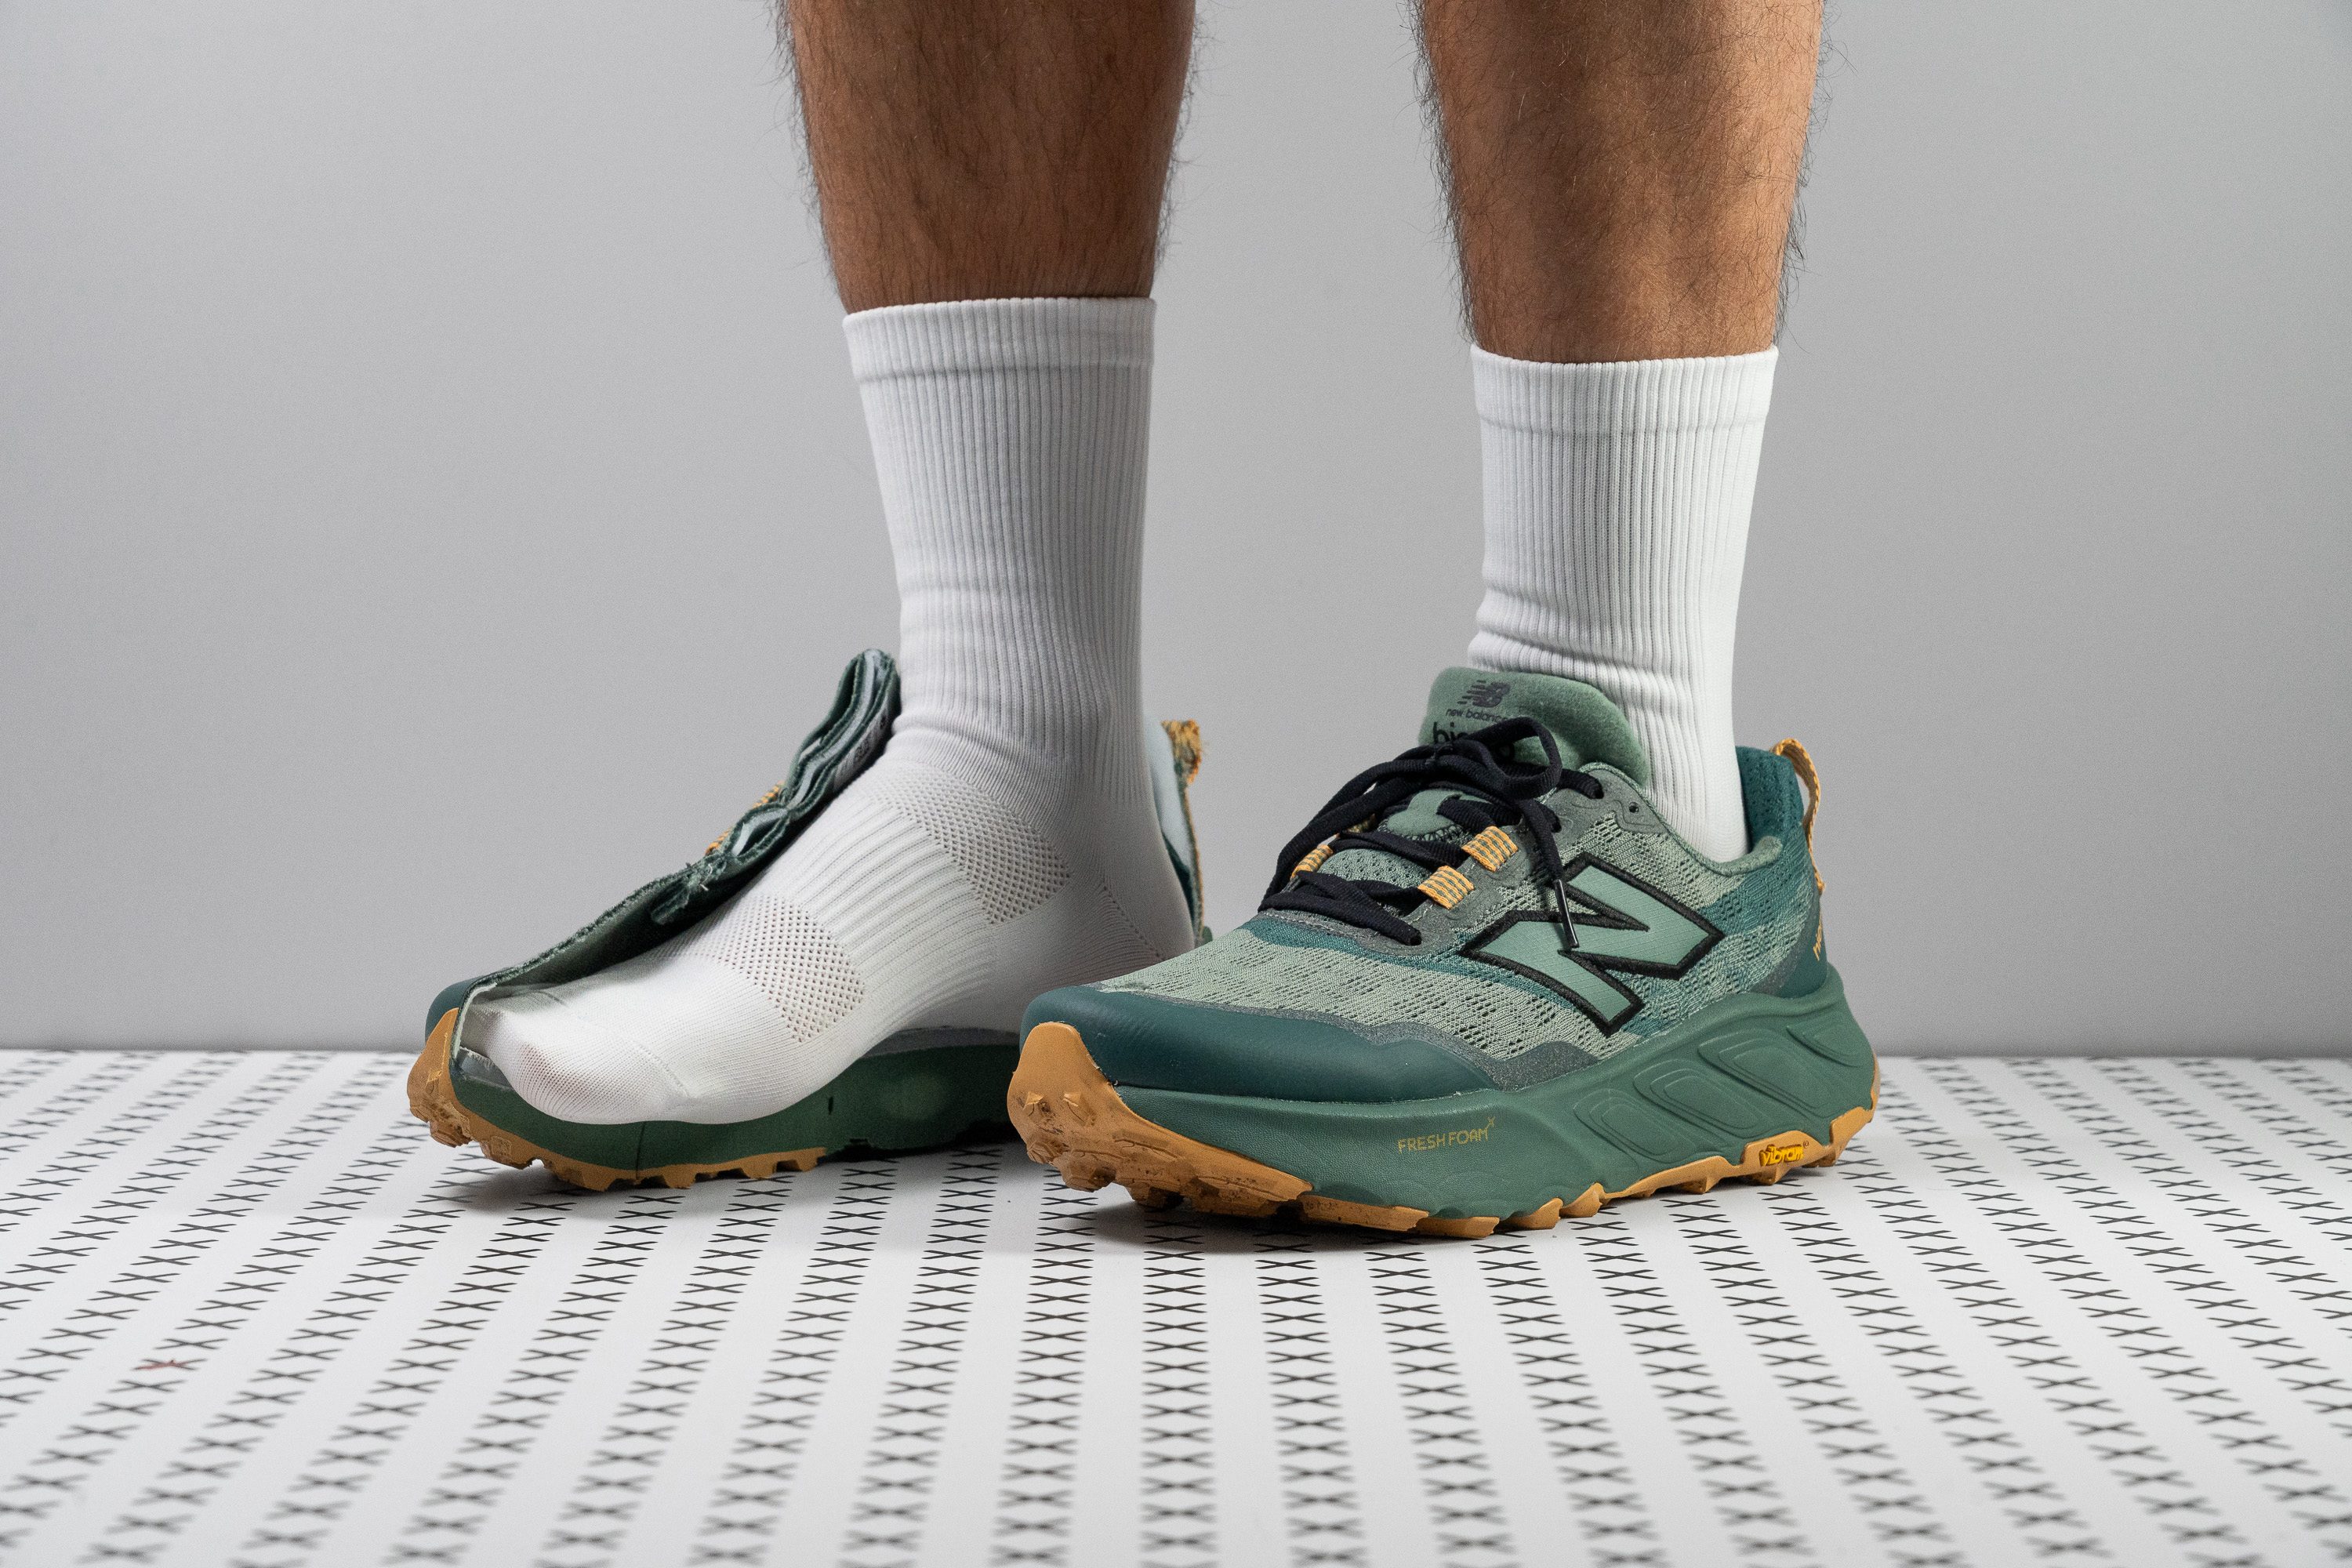
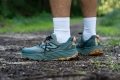
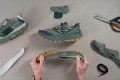
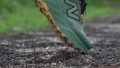
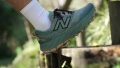
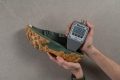
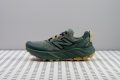
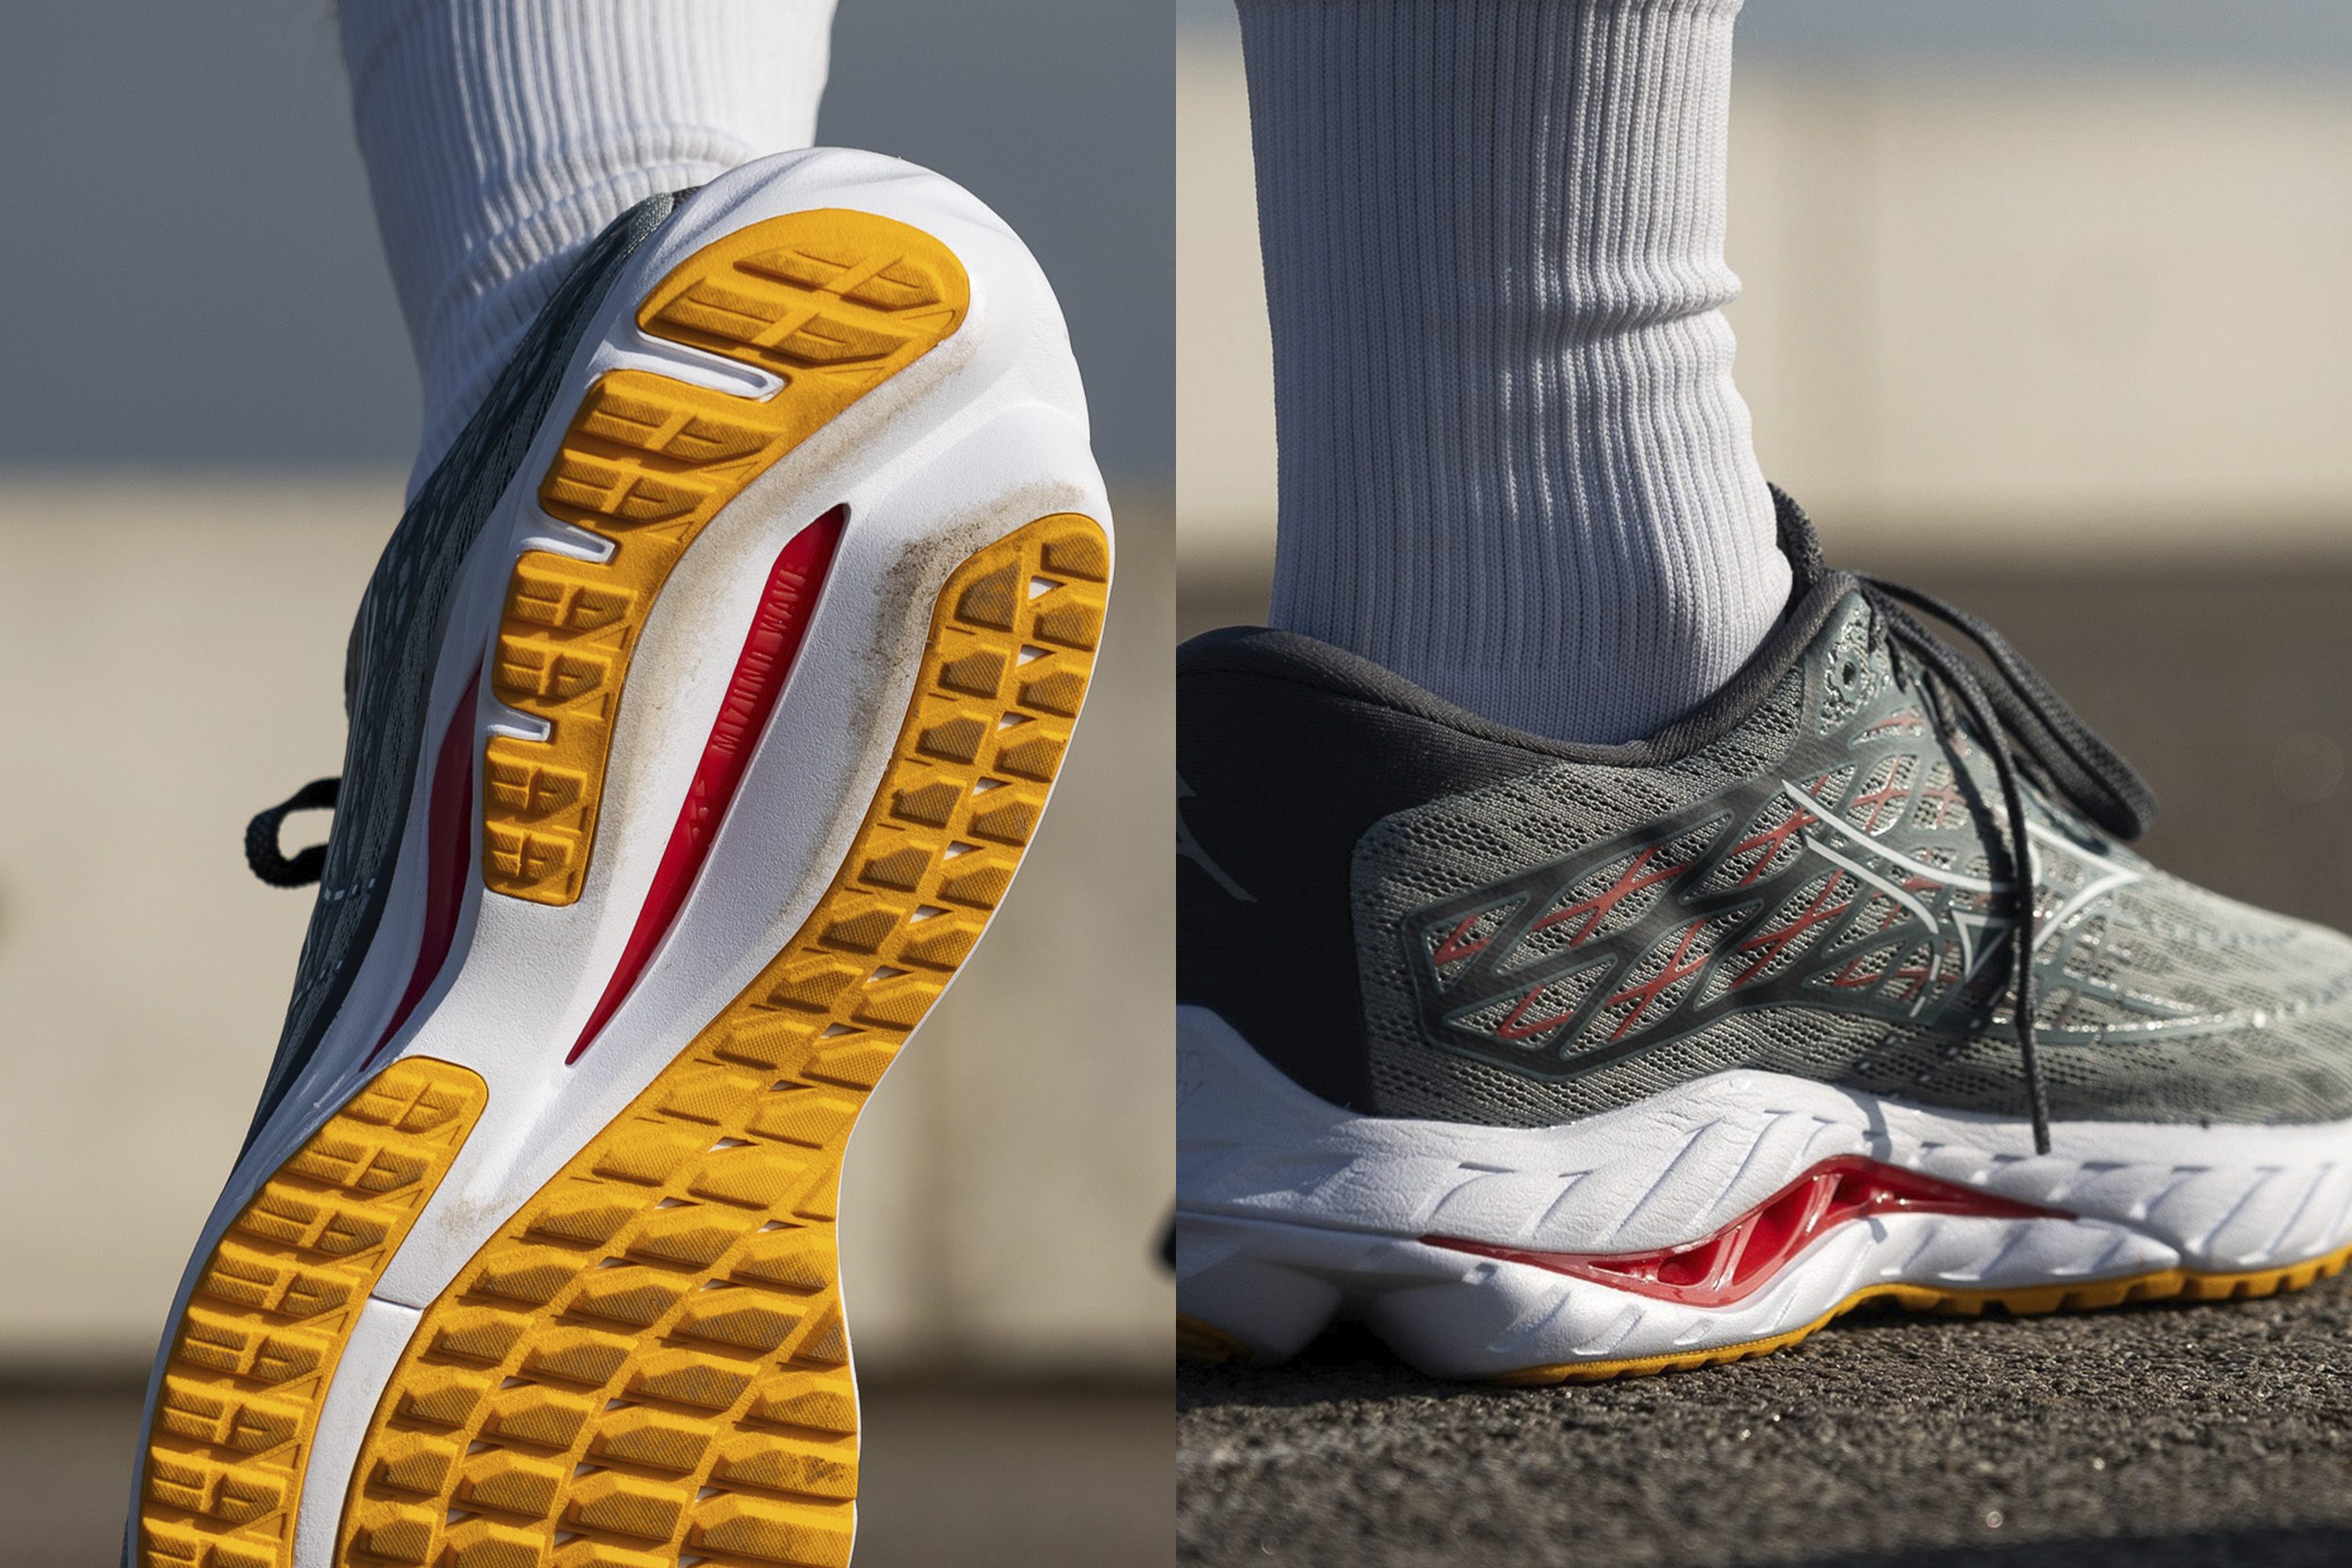
We proved inside the lab and out in the mountains that the New Balance Fresh Foam X Hierro v9 is the king of the trails among stability running shoes. It offers unwavering traction and solid protection through its Vibram rubber, while its wide and stiff midsole keeps our strides in control.
The Vibram Megagrip compound proved its top-tier status once again, showing grip whether we encounter gravel, rocks, or light mud. It can handle rugged paths flawlessly, not only in terms of traction but also with its underfoot protection.
Testing the outsole against long miles didn’t have much effect on the rubber. We couldn’t resist checking it against our Dremel test, and it beat the average with its shallow 0.9 mm dent, showing more resistance to wear.
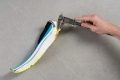
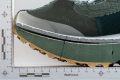
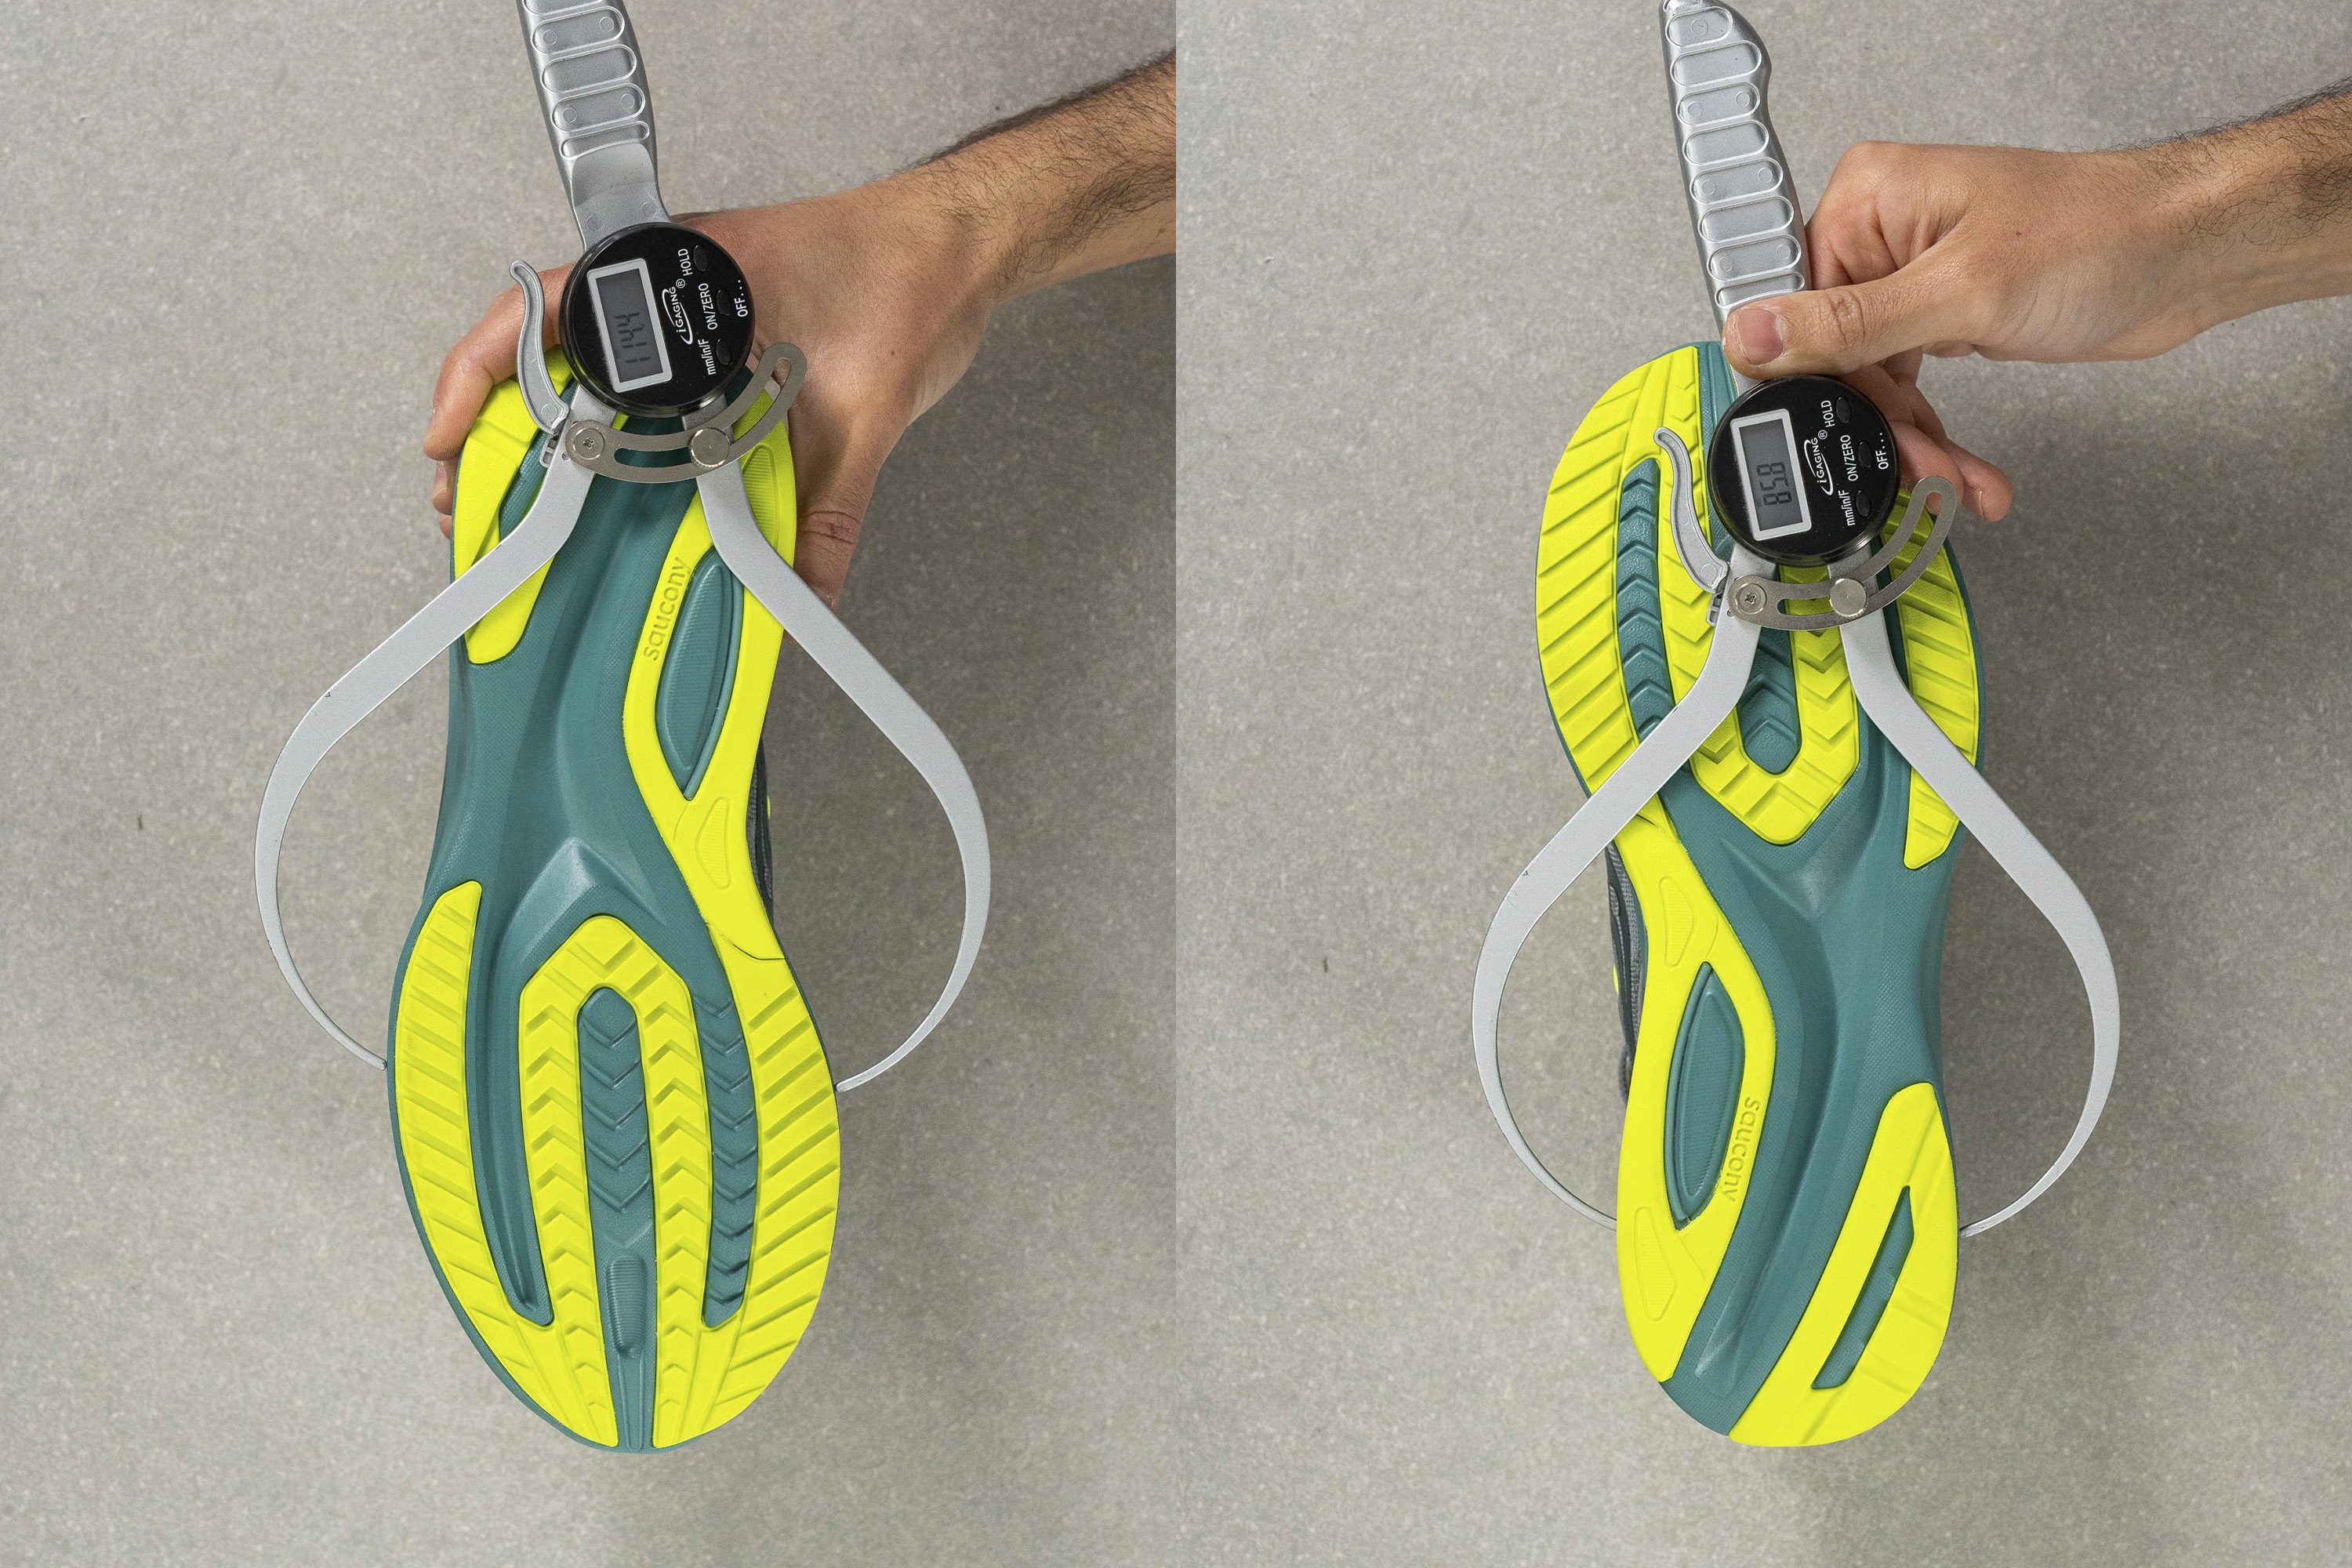
For enhanced stability, it offers a wide base. Our calliper confirms it’s a vast 116.9/94.1 mm vs. the 113.5/90.4 mm average forefoot and heel. Moreover, it won’t allow us to lose balance with its rigid structure. Our torsional rigidity test backs us up with the highest 5/5 rating.
The shoe’s 4.2 mm drop may not suit extreme heel strikers or those dealing with ankle or Achilles tendon problems. For these runners, a higher-drop trainer is likely to offer greater comfort and support.
Pros
- So much foam underfoot!
- Vibram Megagrip outsole
- Improved Fresh Foam X midsole
- Surprisingly stable
- Amazing durability
- Ideal for long distances
- Available in multiple widths
- Good quality materials
- Excellent for forefoot and midfoot strikers
Cons
- Not the roomiest fit
- Heavier than before
- Lost its flexible nature
- Low drop won't suit everyone
This guide is here to educate and explain shoe design, not give medical advice. If you’re injured, experiencing any pain, or not sure whether overpronation is the cause of the pain, we recommend visiting a specialist.
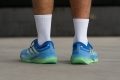
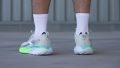
Who stability shoes are for?
During running, when we land on the surface, our arch collapses to absorb the shock, and the rearfoot rolls inward at the ankle. This is pronation and it’s completely normal and necessary when running.
However, some ankles roll far too inward. This is overpronation and the majority of runners overpronate.
Stability running shoes are made for overpronators because they use different technologies to help with overpronation. This means they stabilise the landing and correct the movement (to a certain degree) so that the excessive inward movement is stopped and the heels get the necessary support.
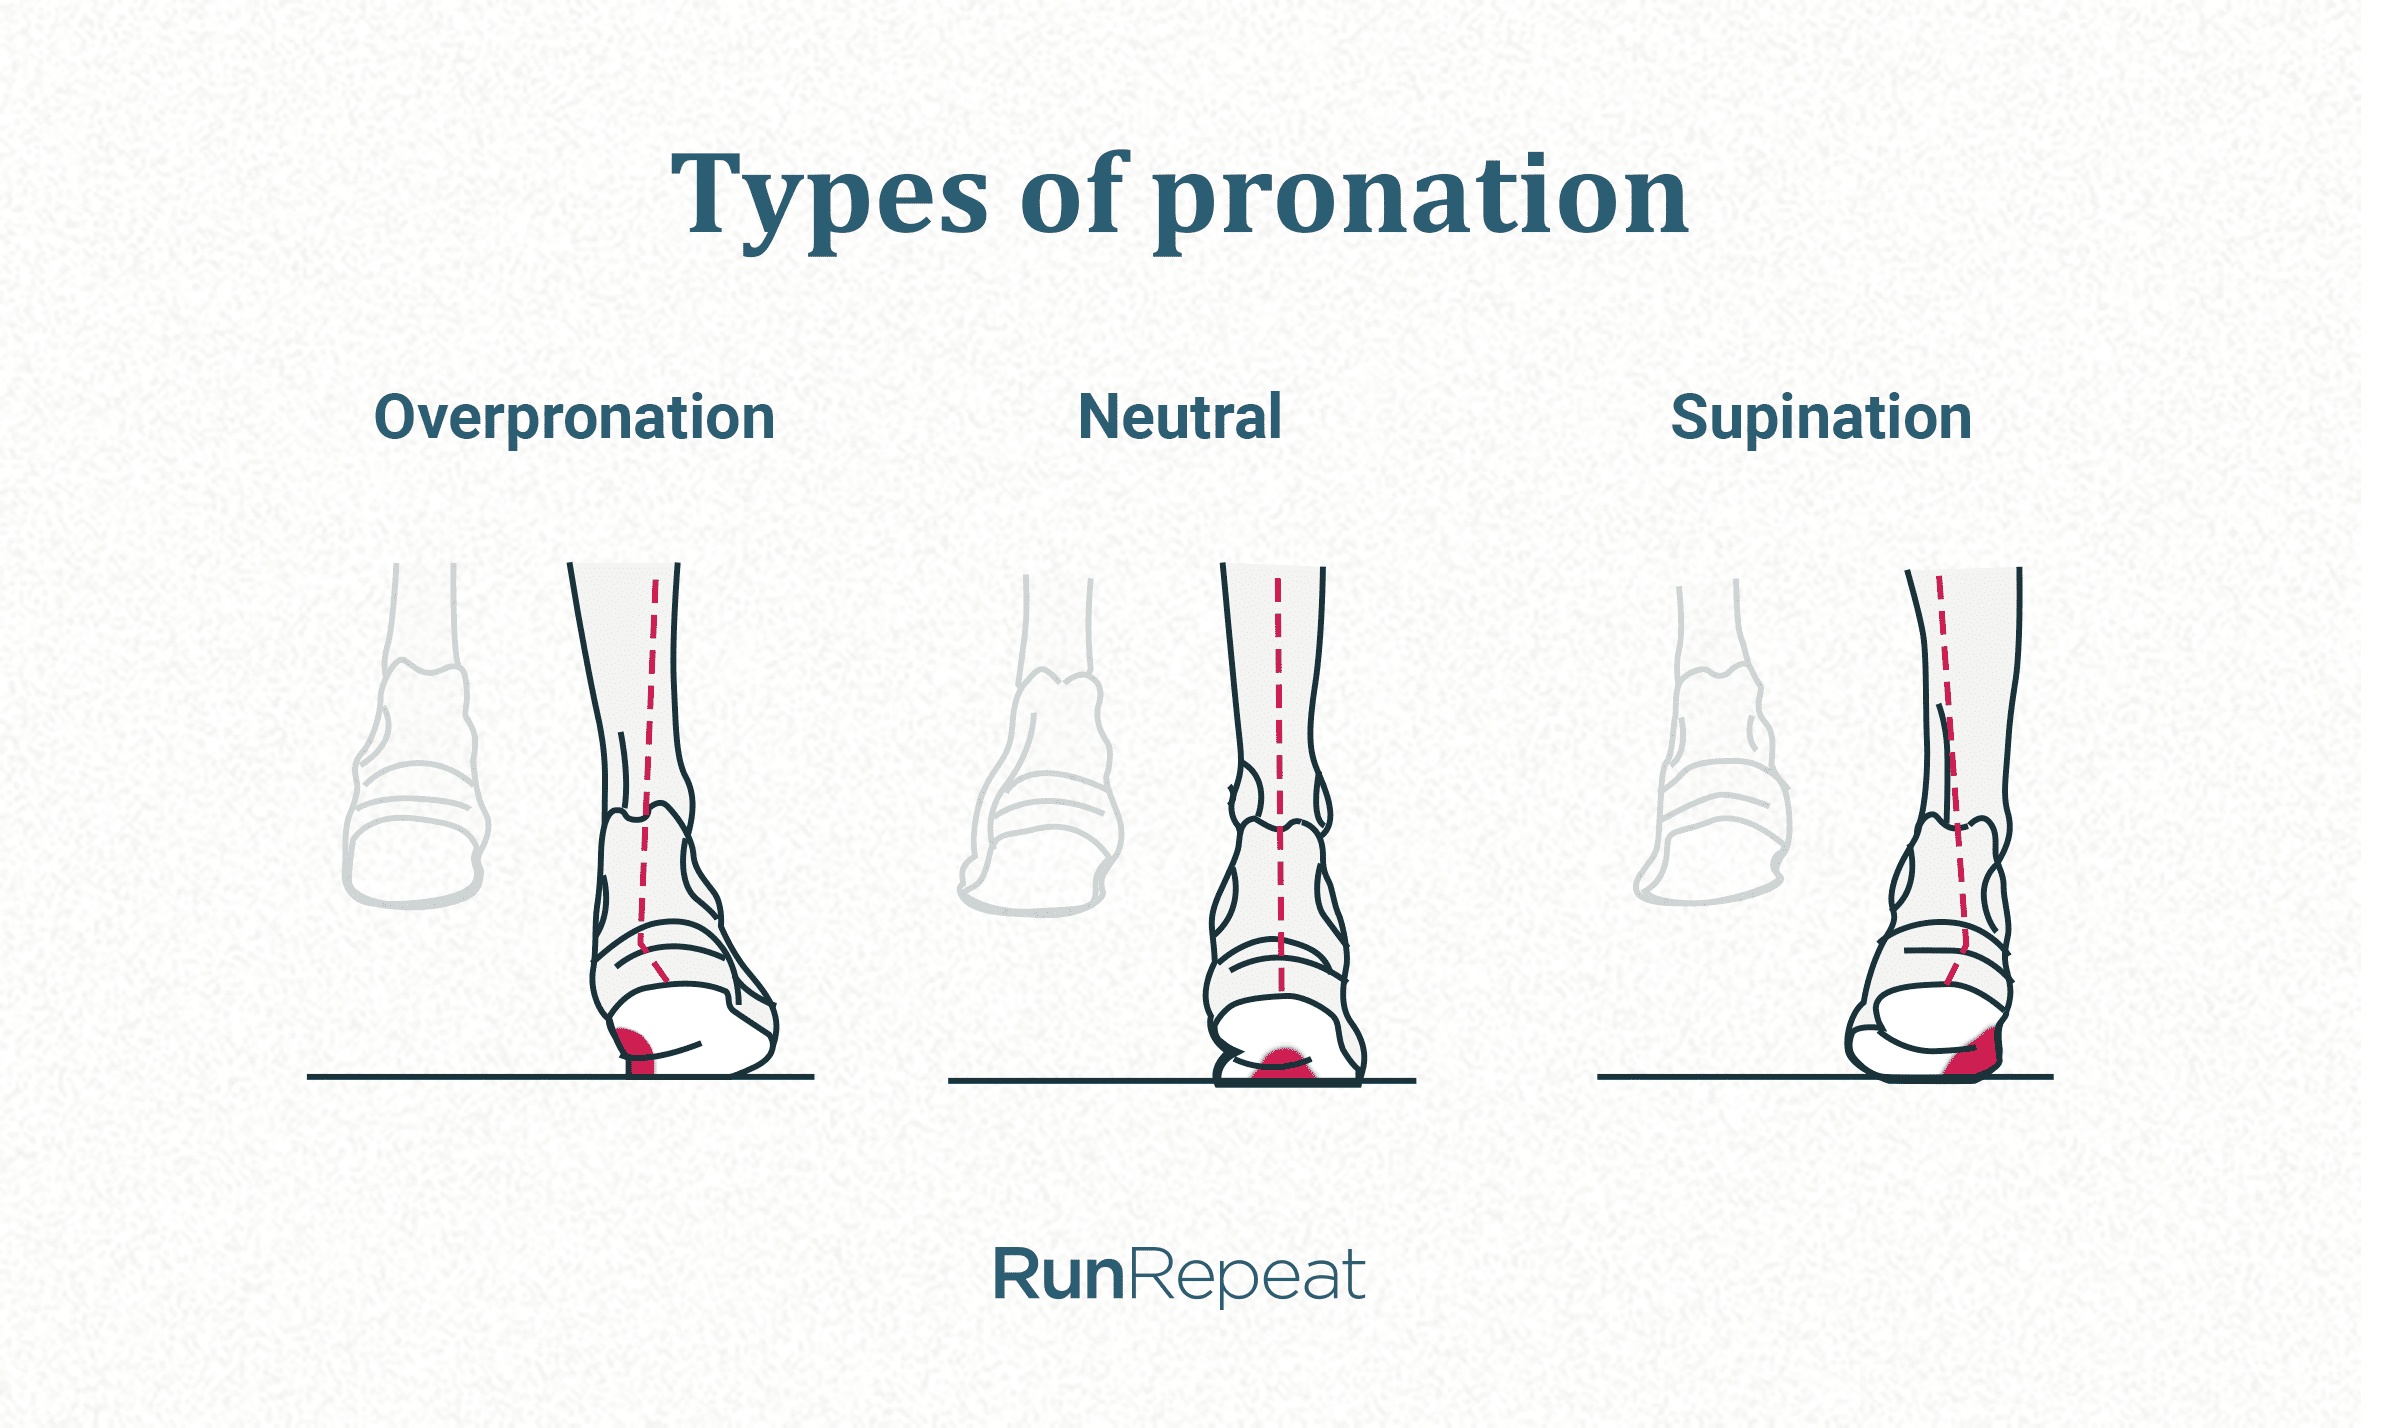
There are different levels of overpronation, mild, moderate, and severe, and the more runners overpronate, the more stability is needed.
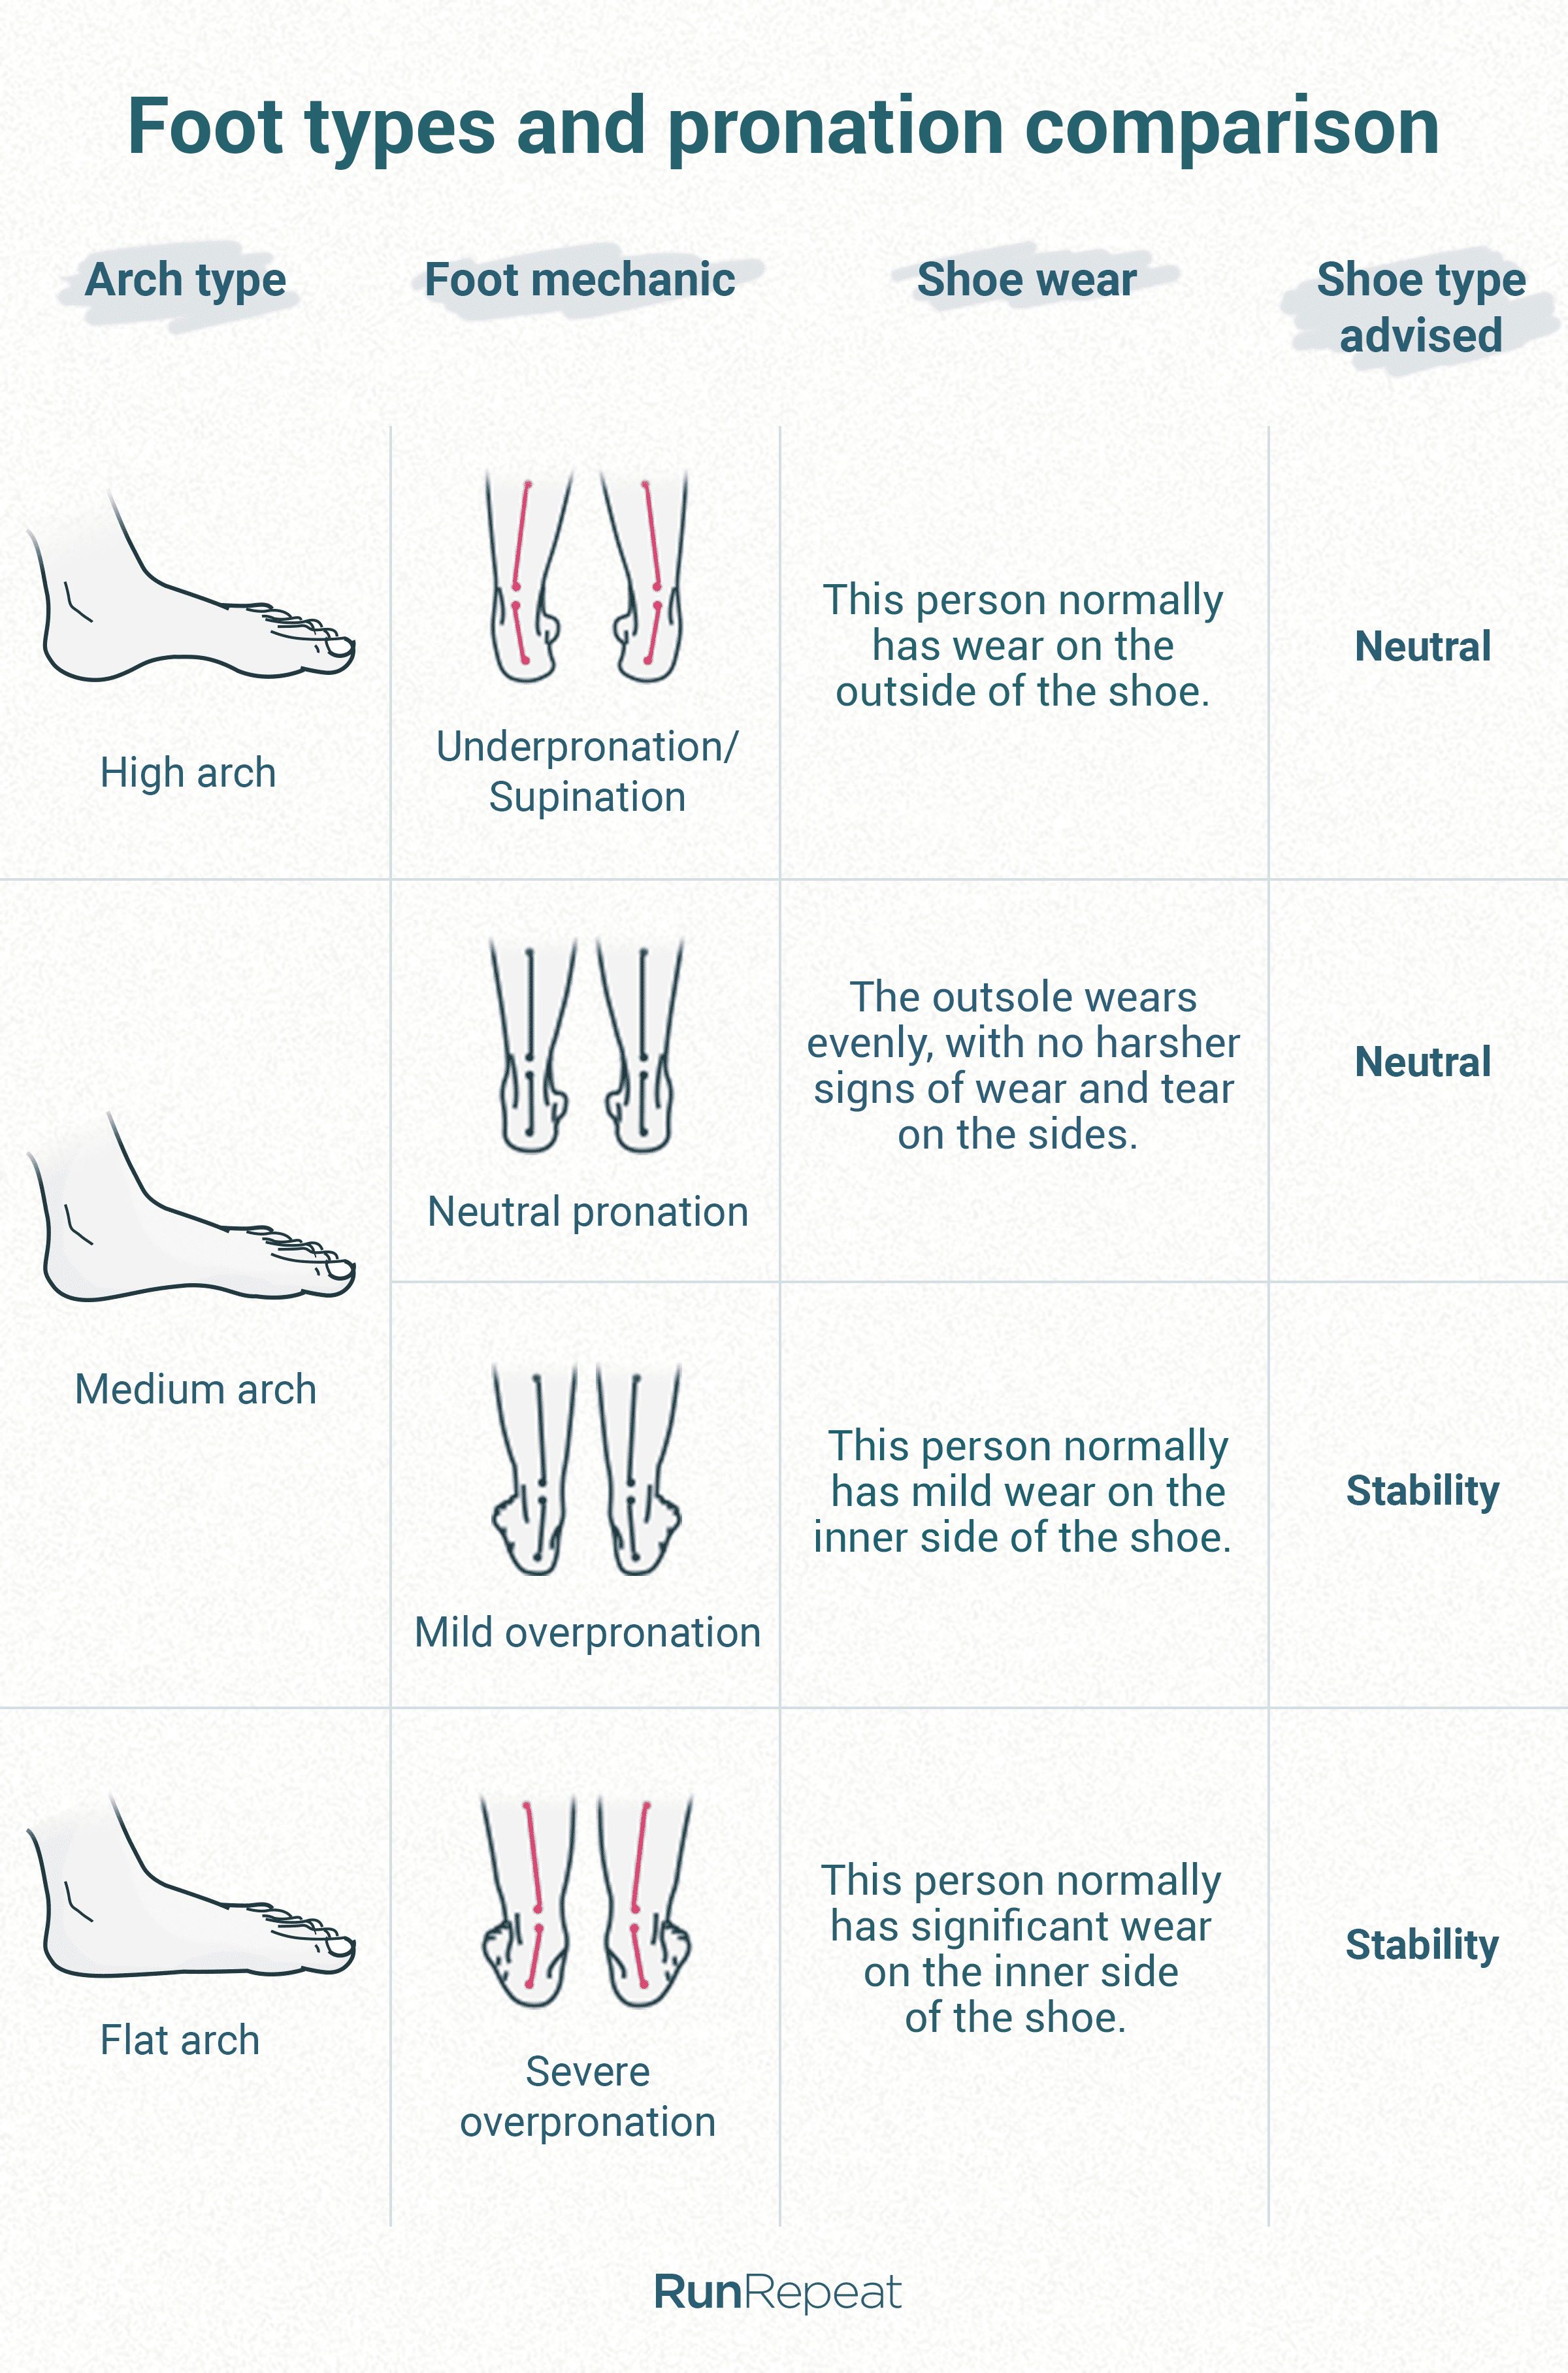
In some cases, when overpronation is severe, runners use orthotics and motion-control shoes, although motion-control shoes have become a thing of past and we mostly focus on stability shoes.
With the rise of new technologies, we’re seeing fewer motion-control shoes and more modern stability running shoes.
It’s also important to note that race shoes rarely offer any stability elements. They can have a very tall and narrow base, ridiculously thin heel counters, etc. This is because, at faster workouts, runners usually require less stability.
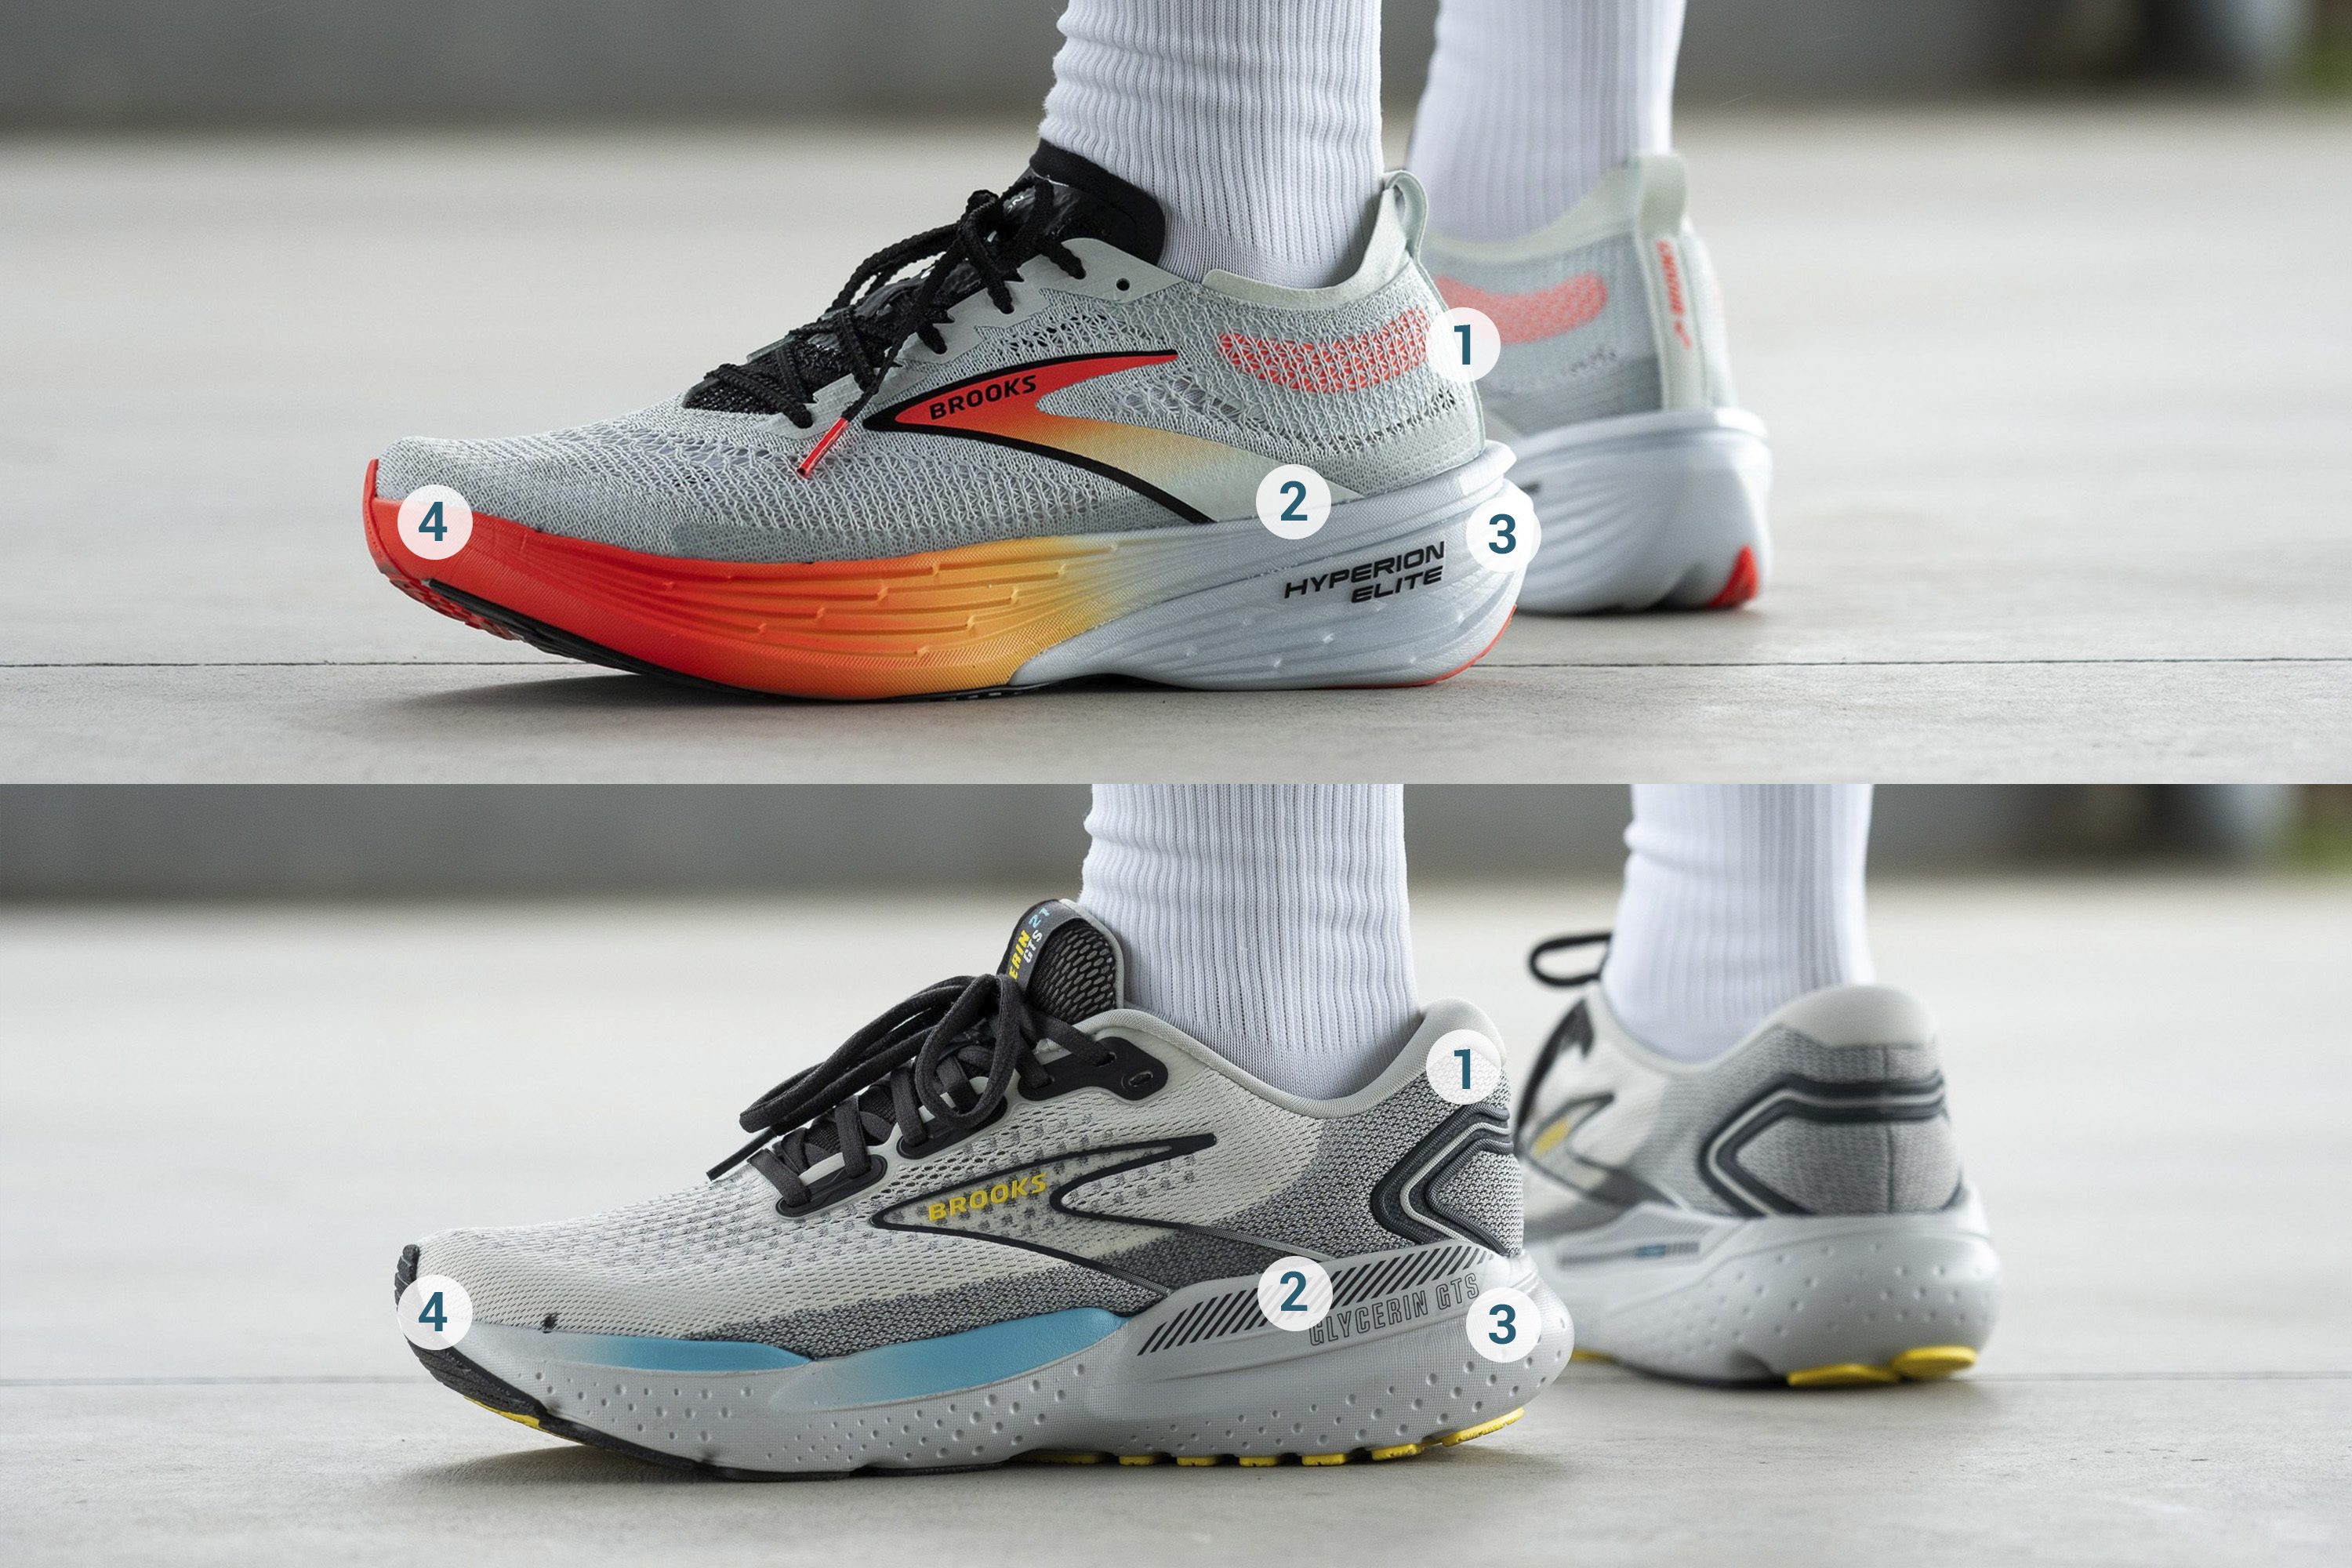
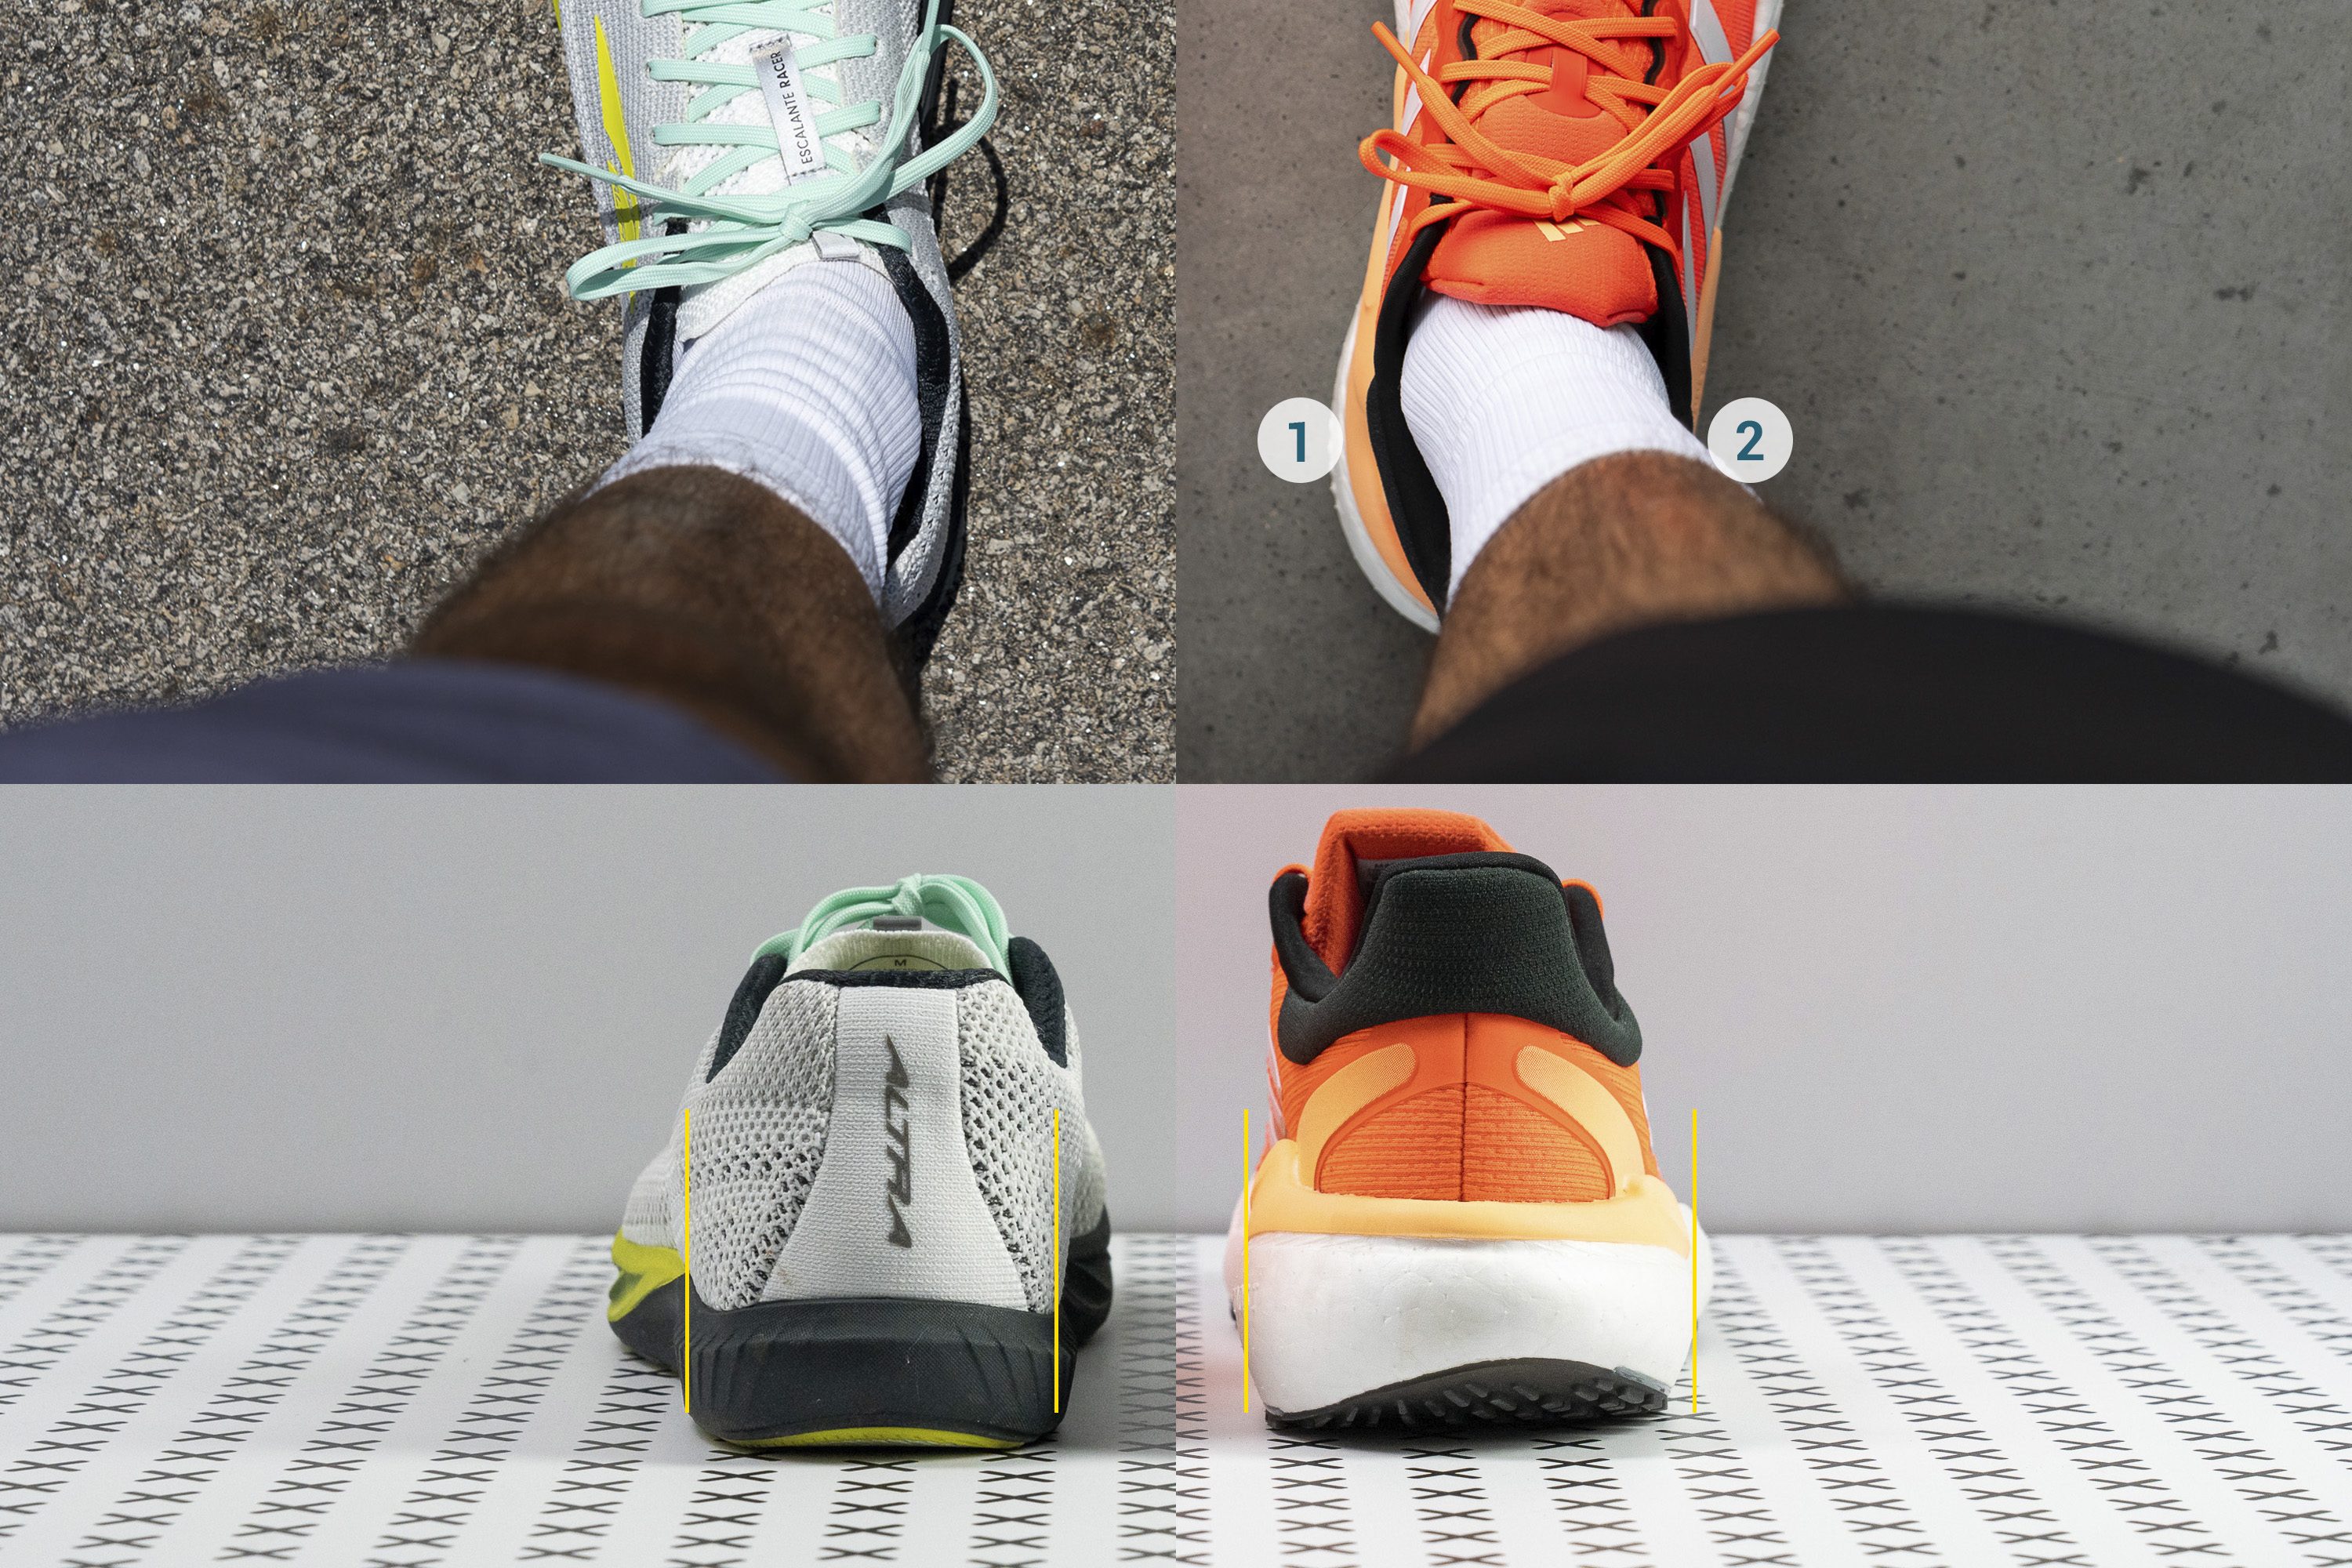
1. soft sock-like heel vs a stiff and padded heel counter
2. no side walls vs. GuideRails present
3. no heel flare vs. a present heel flare
4. less ground contact vs. more ground-contact in the outsole
However, when doing longer runs, our feet get tired, and we tend to land harder and even change our strike (from forefoot to heel). It’s when we need more stability, and that’s why we have more stability shoes in the realm of daily trainers.
| If you’re new to this topic of pronation, we wholeheartedly recommend our in-depth guide Pronation 101: Running Shoe Choices, DIY Analysis, Injuries. |
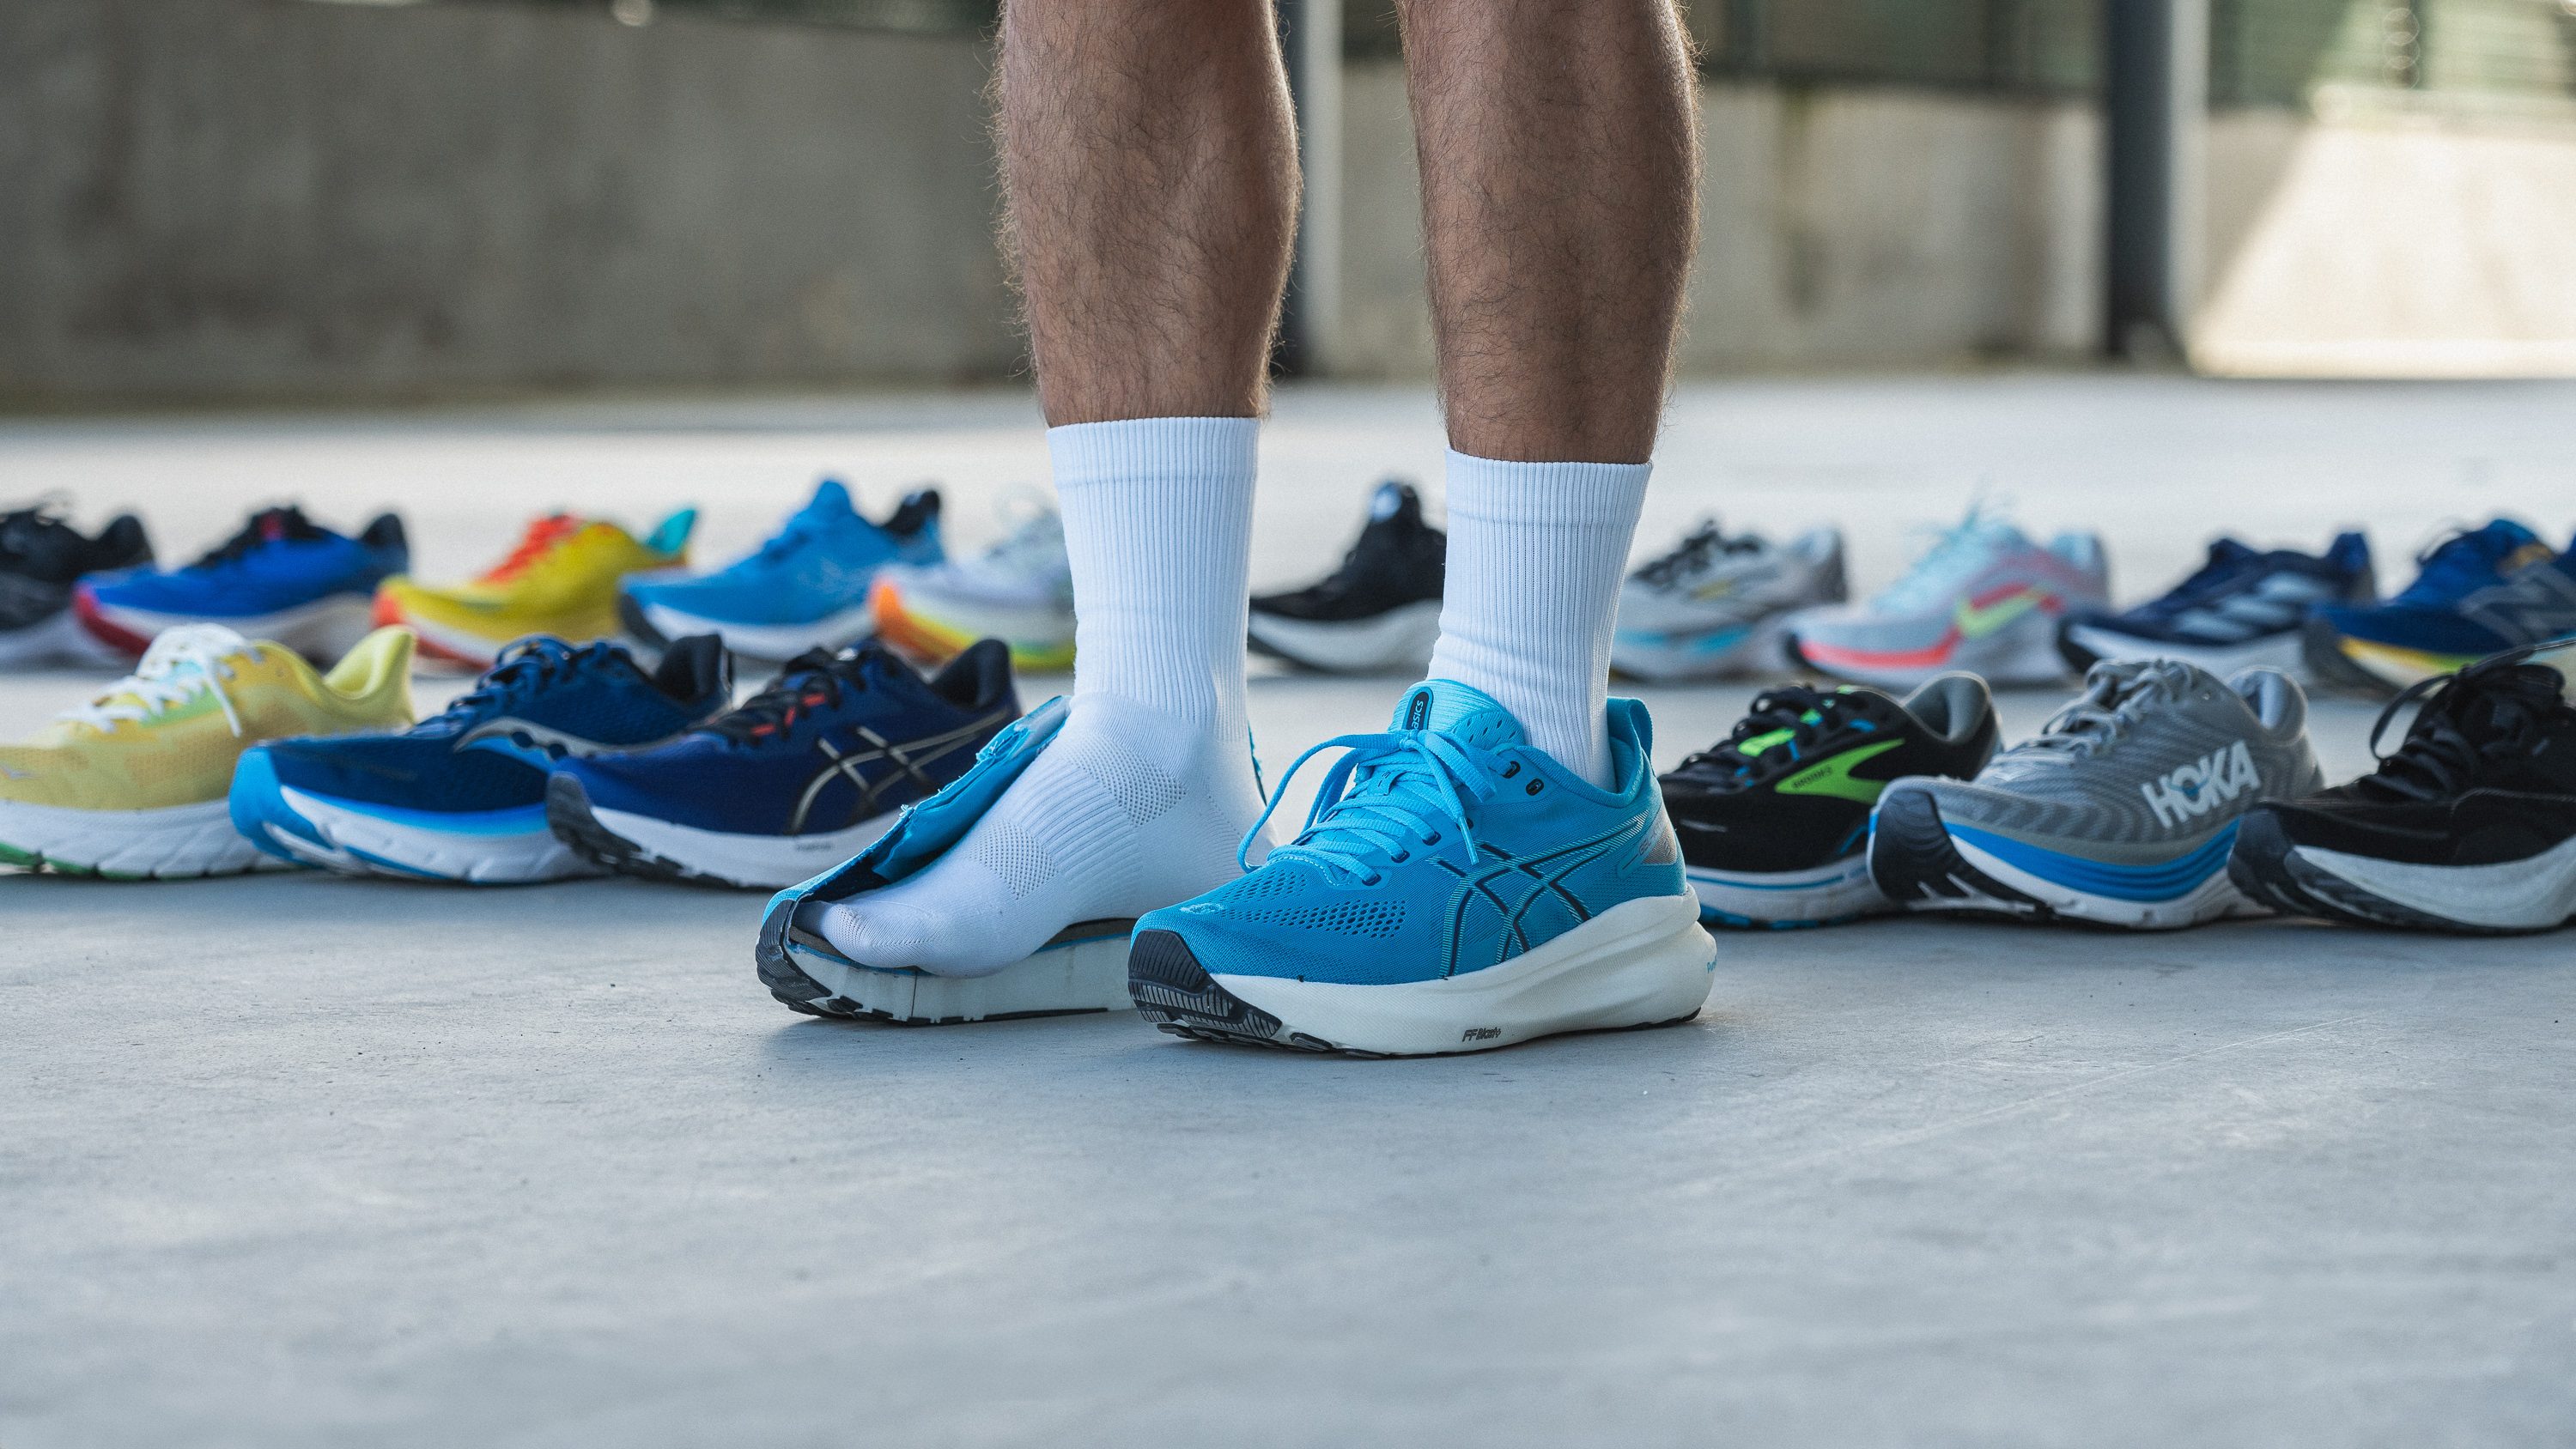
How to recognise stability shoes
Stability shoes implement some trademarked technologies developed by different brands and they implement different geometry elements (not trademarked).
2) dual density midsole (softer above the firmer) 3) heel bevel 4) side walls
5) stiff and wide base 6) forefoot sole flare 7) heel sole flare
But, when it comes to visual inspection, there are quite a few things you can pay attention to to understand whether the shoe is neutral or a stability one. Stability shoes often feature 2 or more of the following geometry elements listed below.
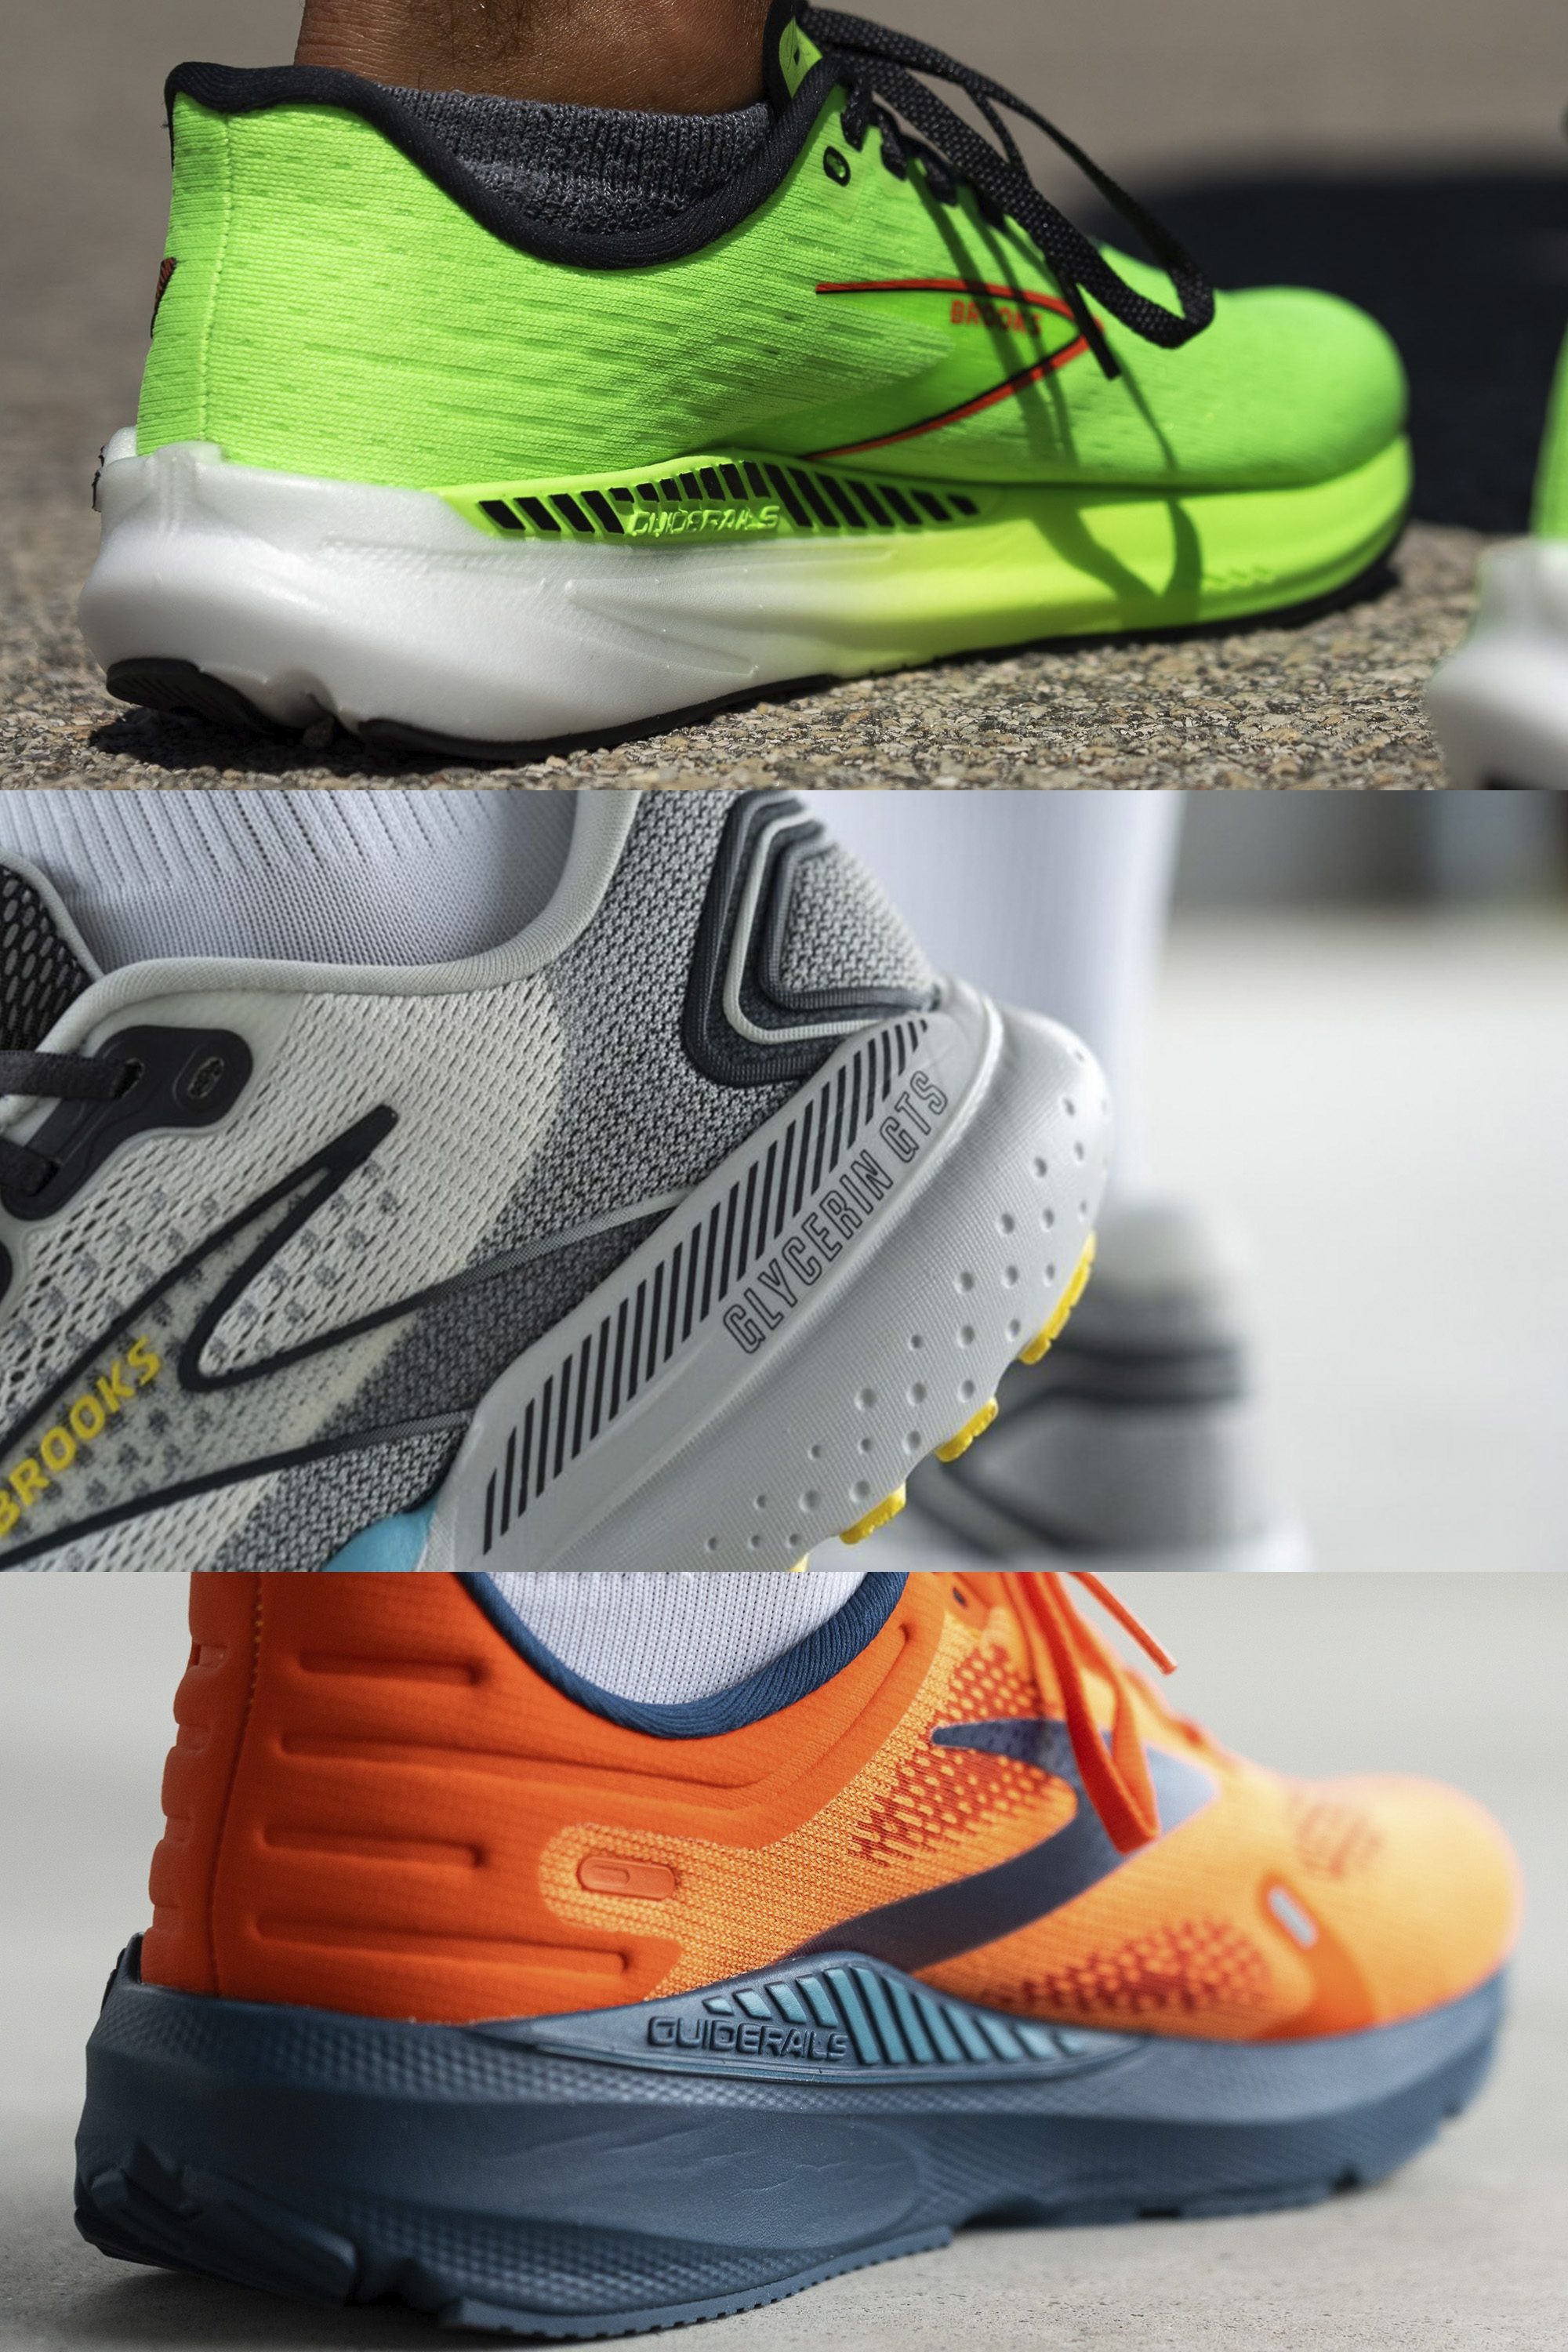
Medial post
Medial post is a piece of firmer foam or plastic located on the medial (inner) side of the shoe and its role is to prevent the excessive inward roll of the ankle and collapsing of the arch. It can also be somewhat longer and look like a frame.
Dual-density midsole
It can appear as a firmer foam on the inside or under the arch, in the form of trademarked technologies like HOKA’s J-frame or H-frame, or brands simply get creative and combine different midsole densities to increase the stability.
In our lab, we measure the softness of both midsoles present (explained more below).
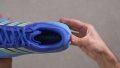
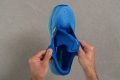
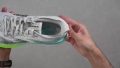
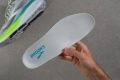
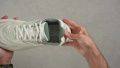
Stiff and padded heel counters
The stiffness of the heel counter allows for a heel to stay put and not to wobble. The more stability, the merrier! And padding usually helps with the lockdown. Usually only race shoes have no padding and insanely soft heel area.
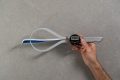
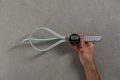
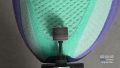
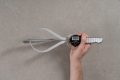
In our lab, we assess the stiffness of the heel counter by pushing it and squeezing it. We rate it on a 1-5 scale, where 5 is the stiffest.
These heel counters are not just stiff but also padded. They cradle the heel nicely to make it super locked in and stable.
| If this topic is of interest to you, we’ve put together an in-depth guide on heel counters: The role of heel counters in running shoes. |
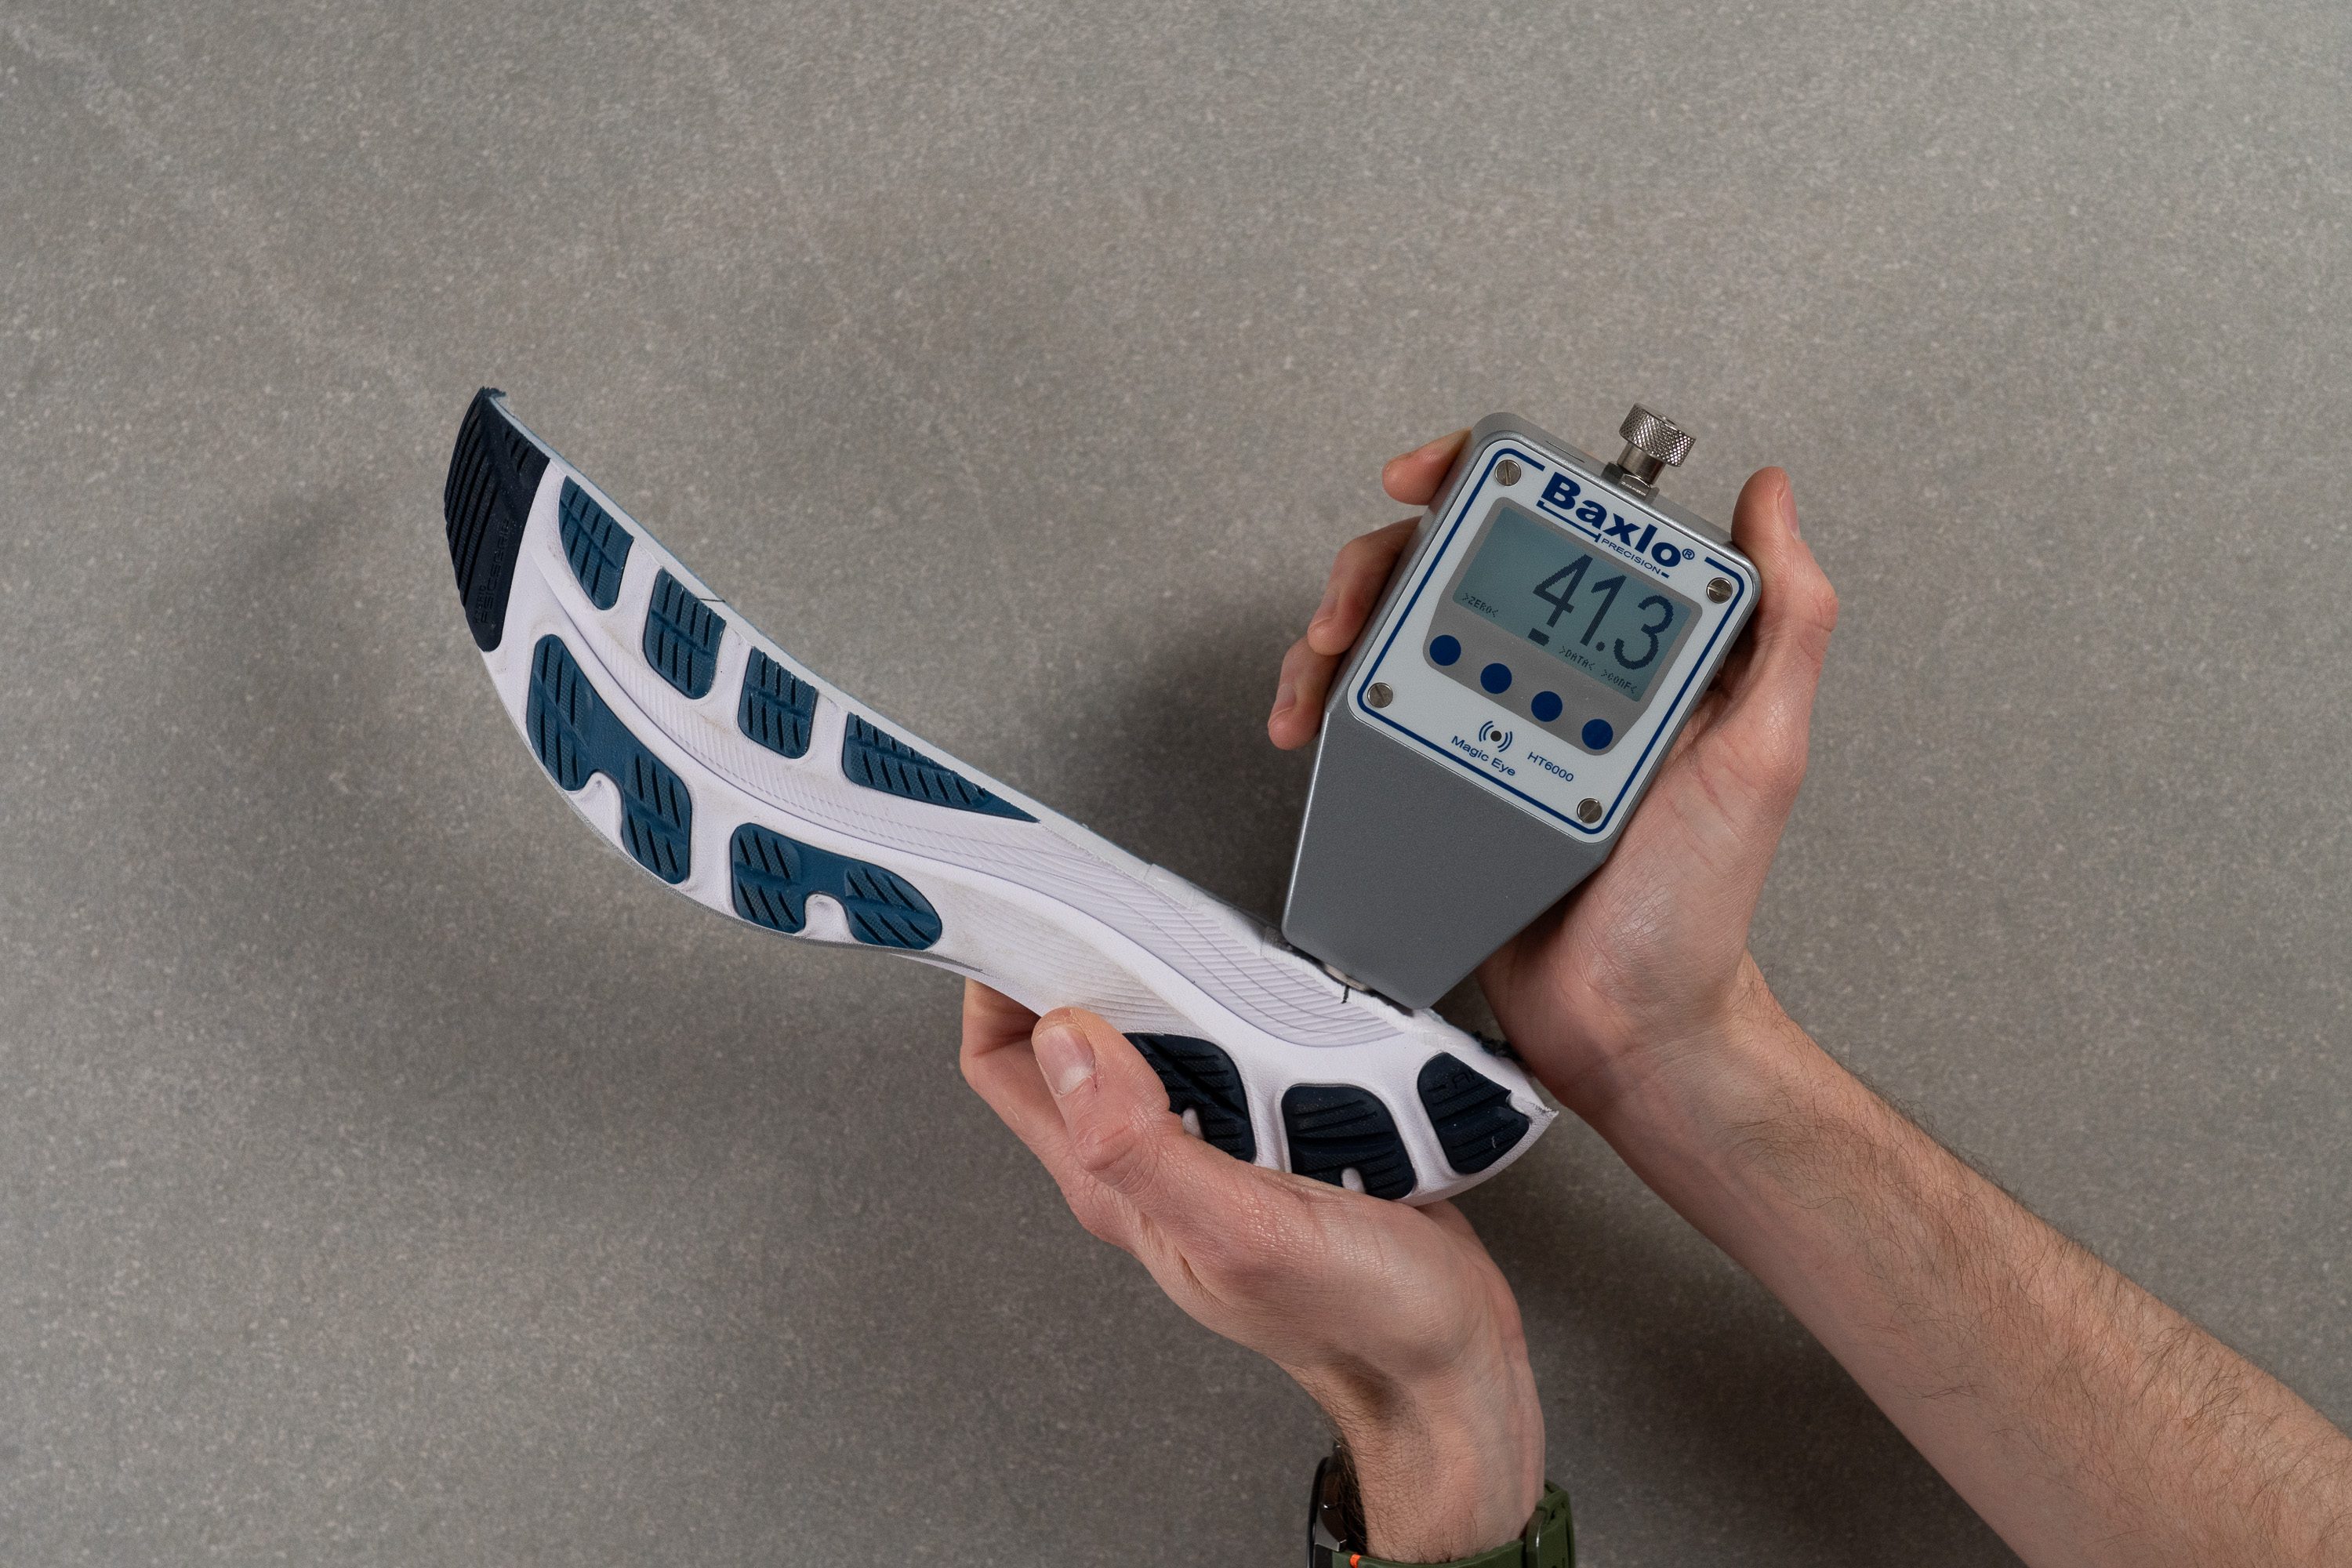
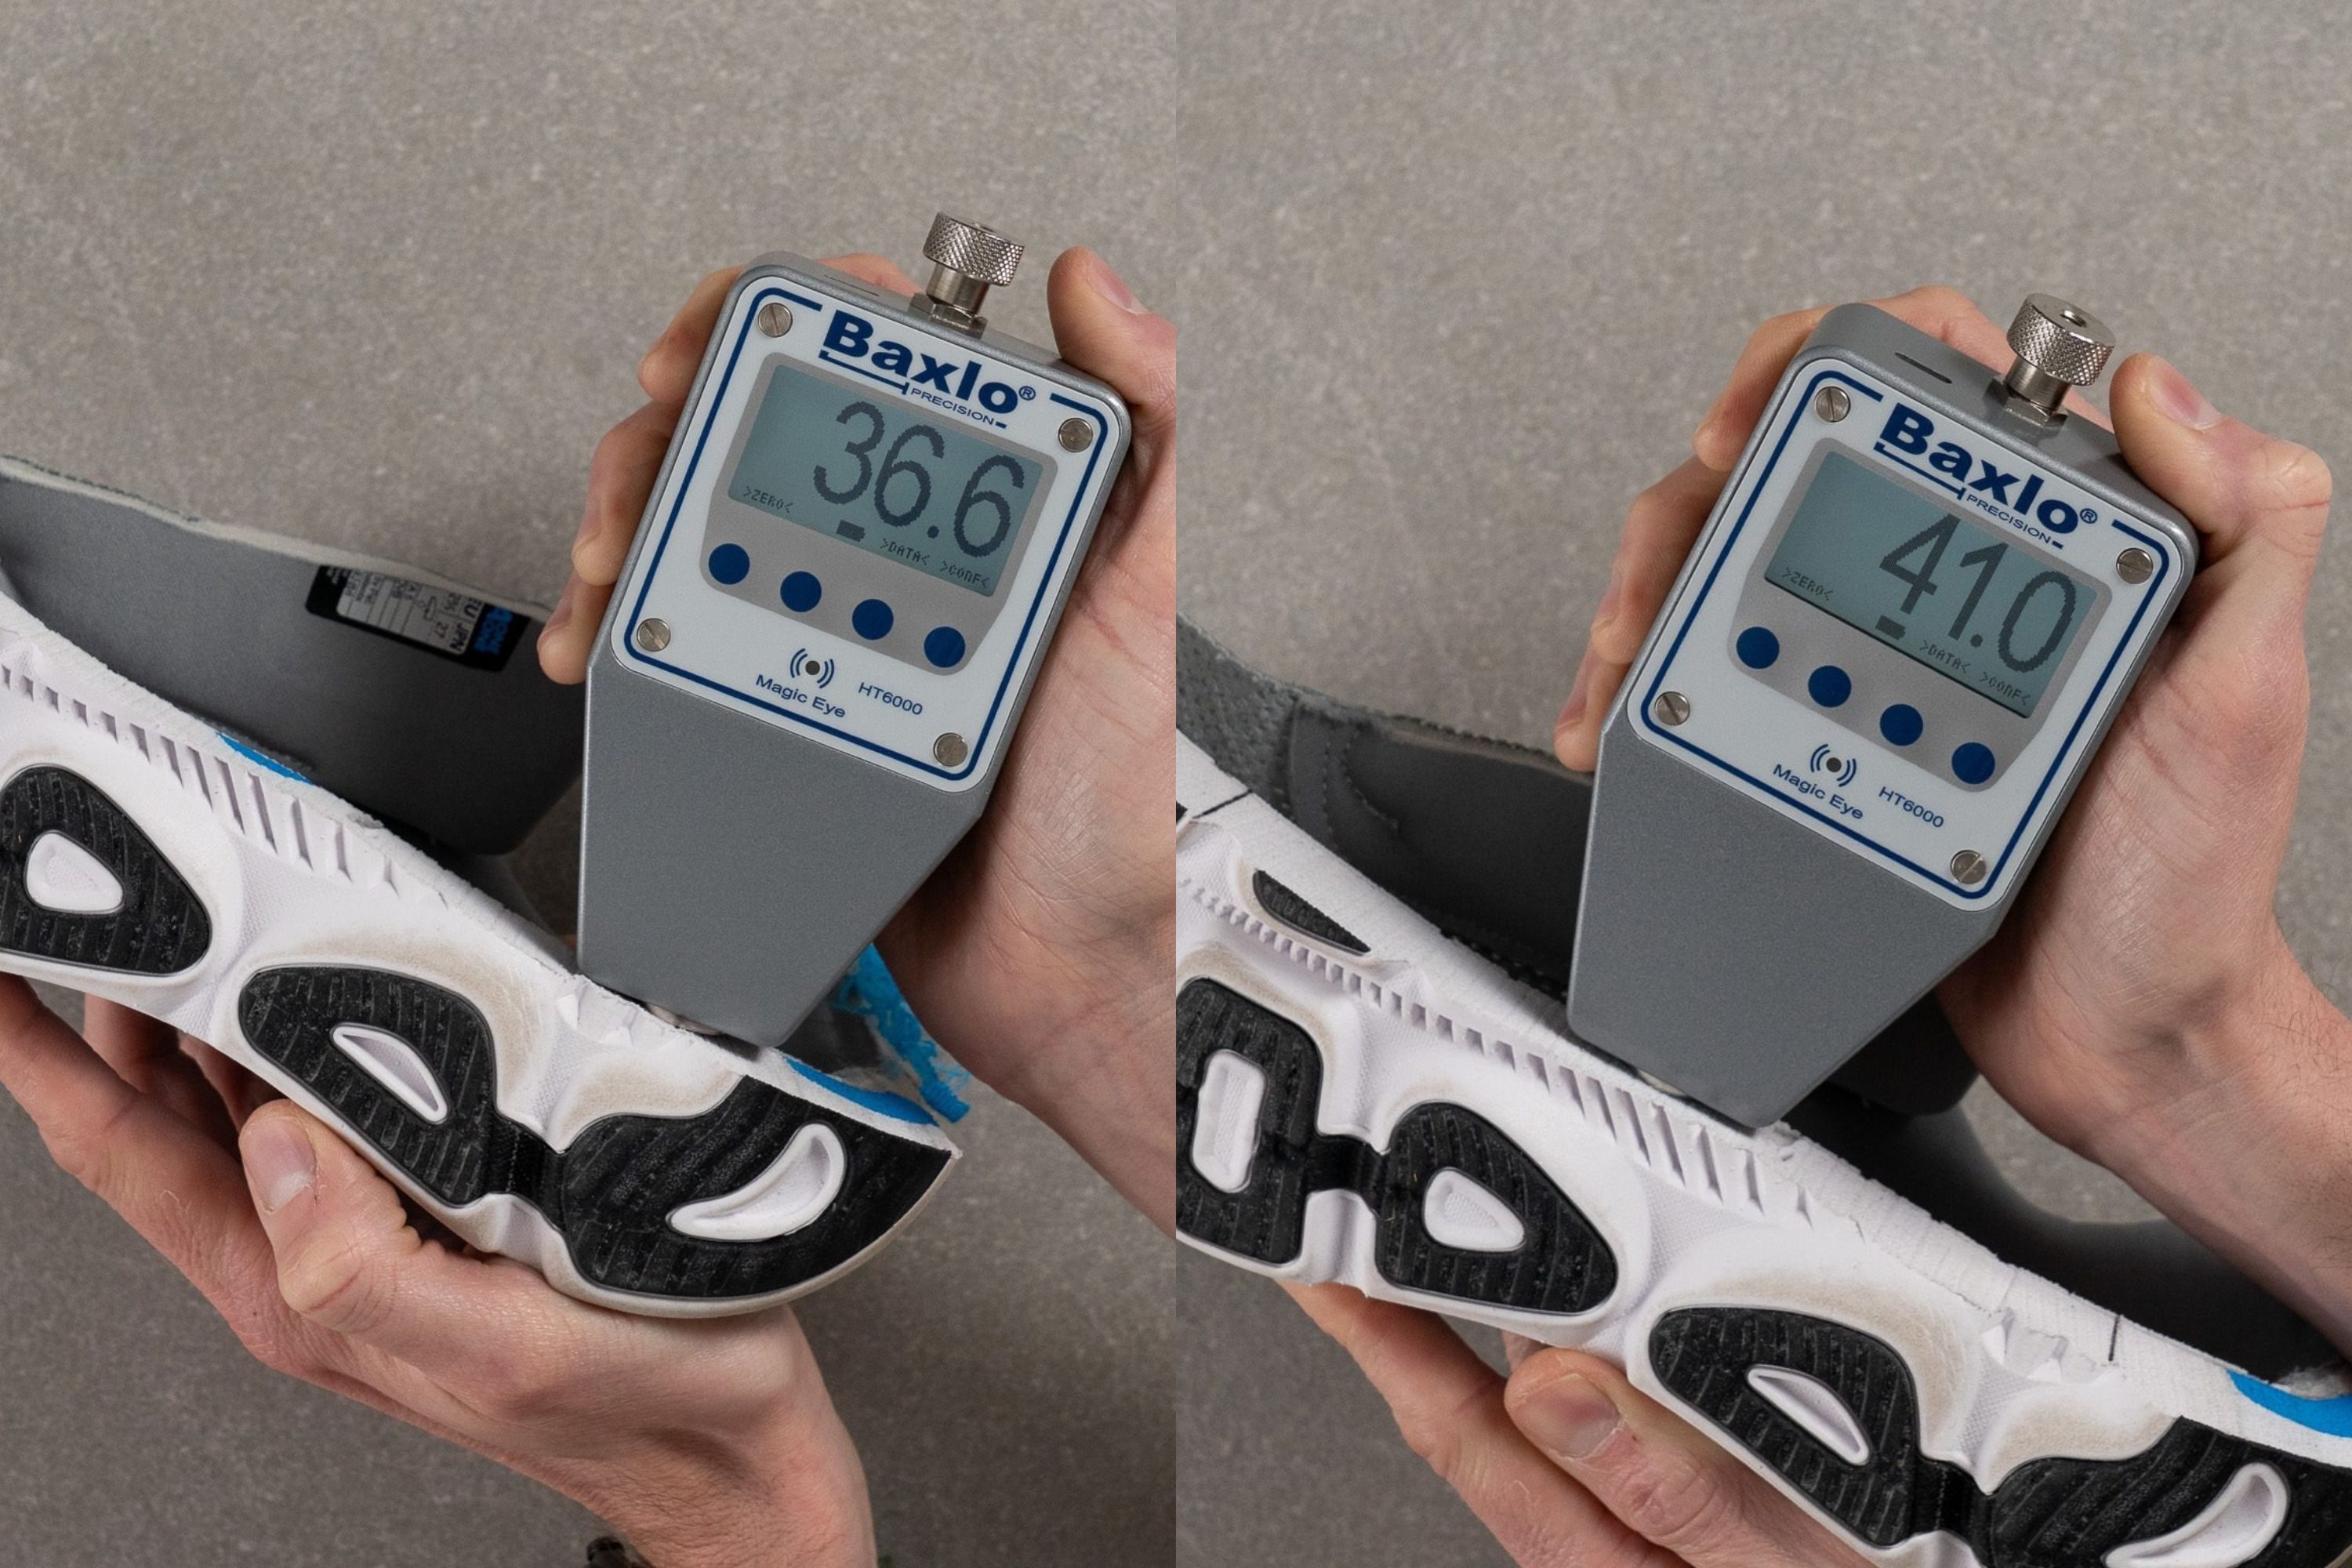
Stiffer base
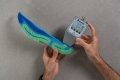
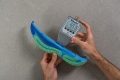
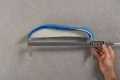
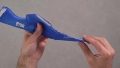
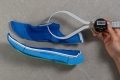
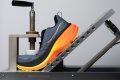
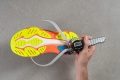
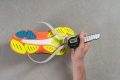
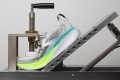
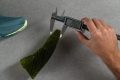
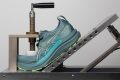
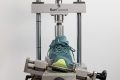
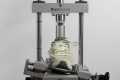
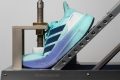
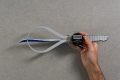
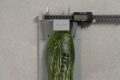
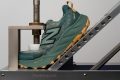
The base often has plates or rods in the midsole or is simply stiffer, thanks to the amount of rubber in the outsole and the density of the foam in the midsole. In RunRepeat shoe lab, we test a) longitudinal stiffness and b) torsional stiffness.
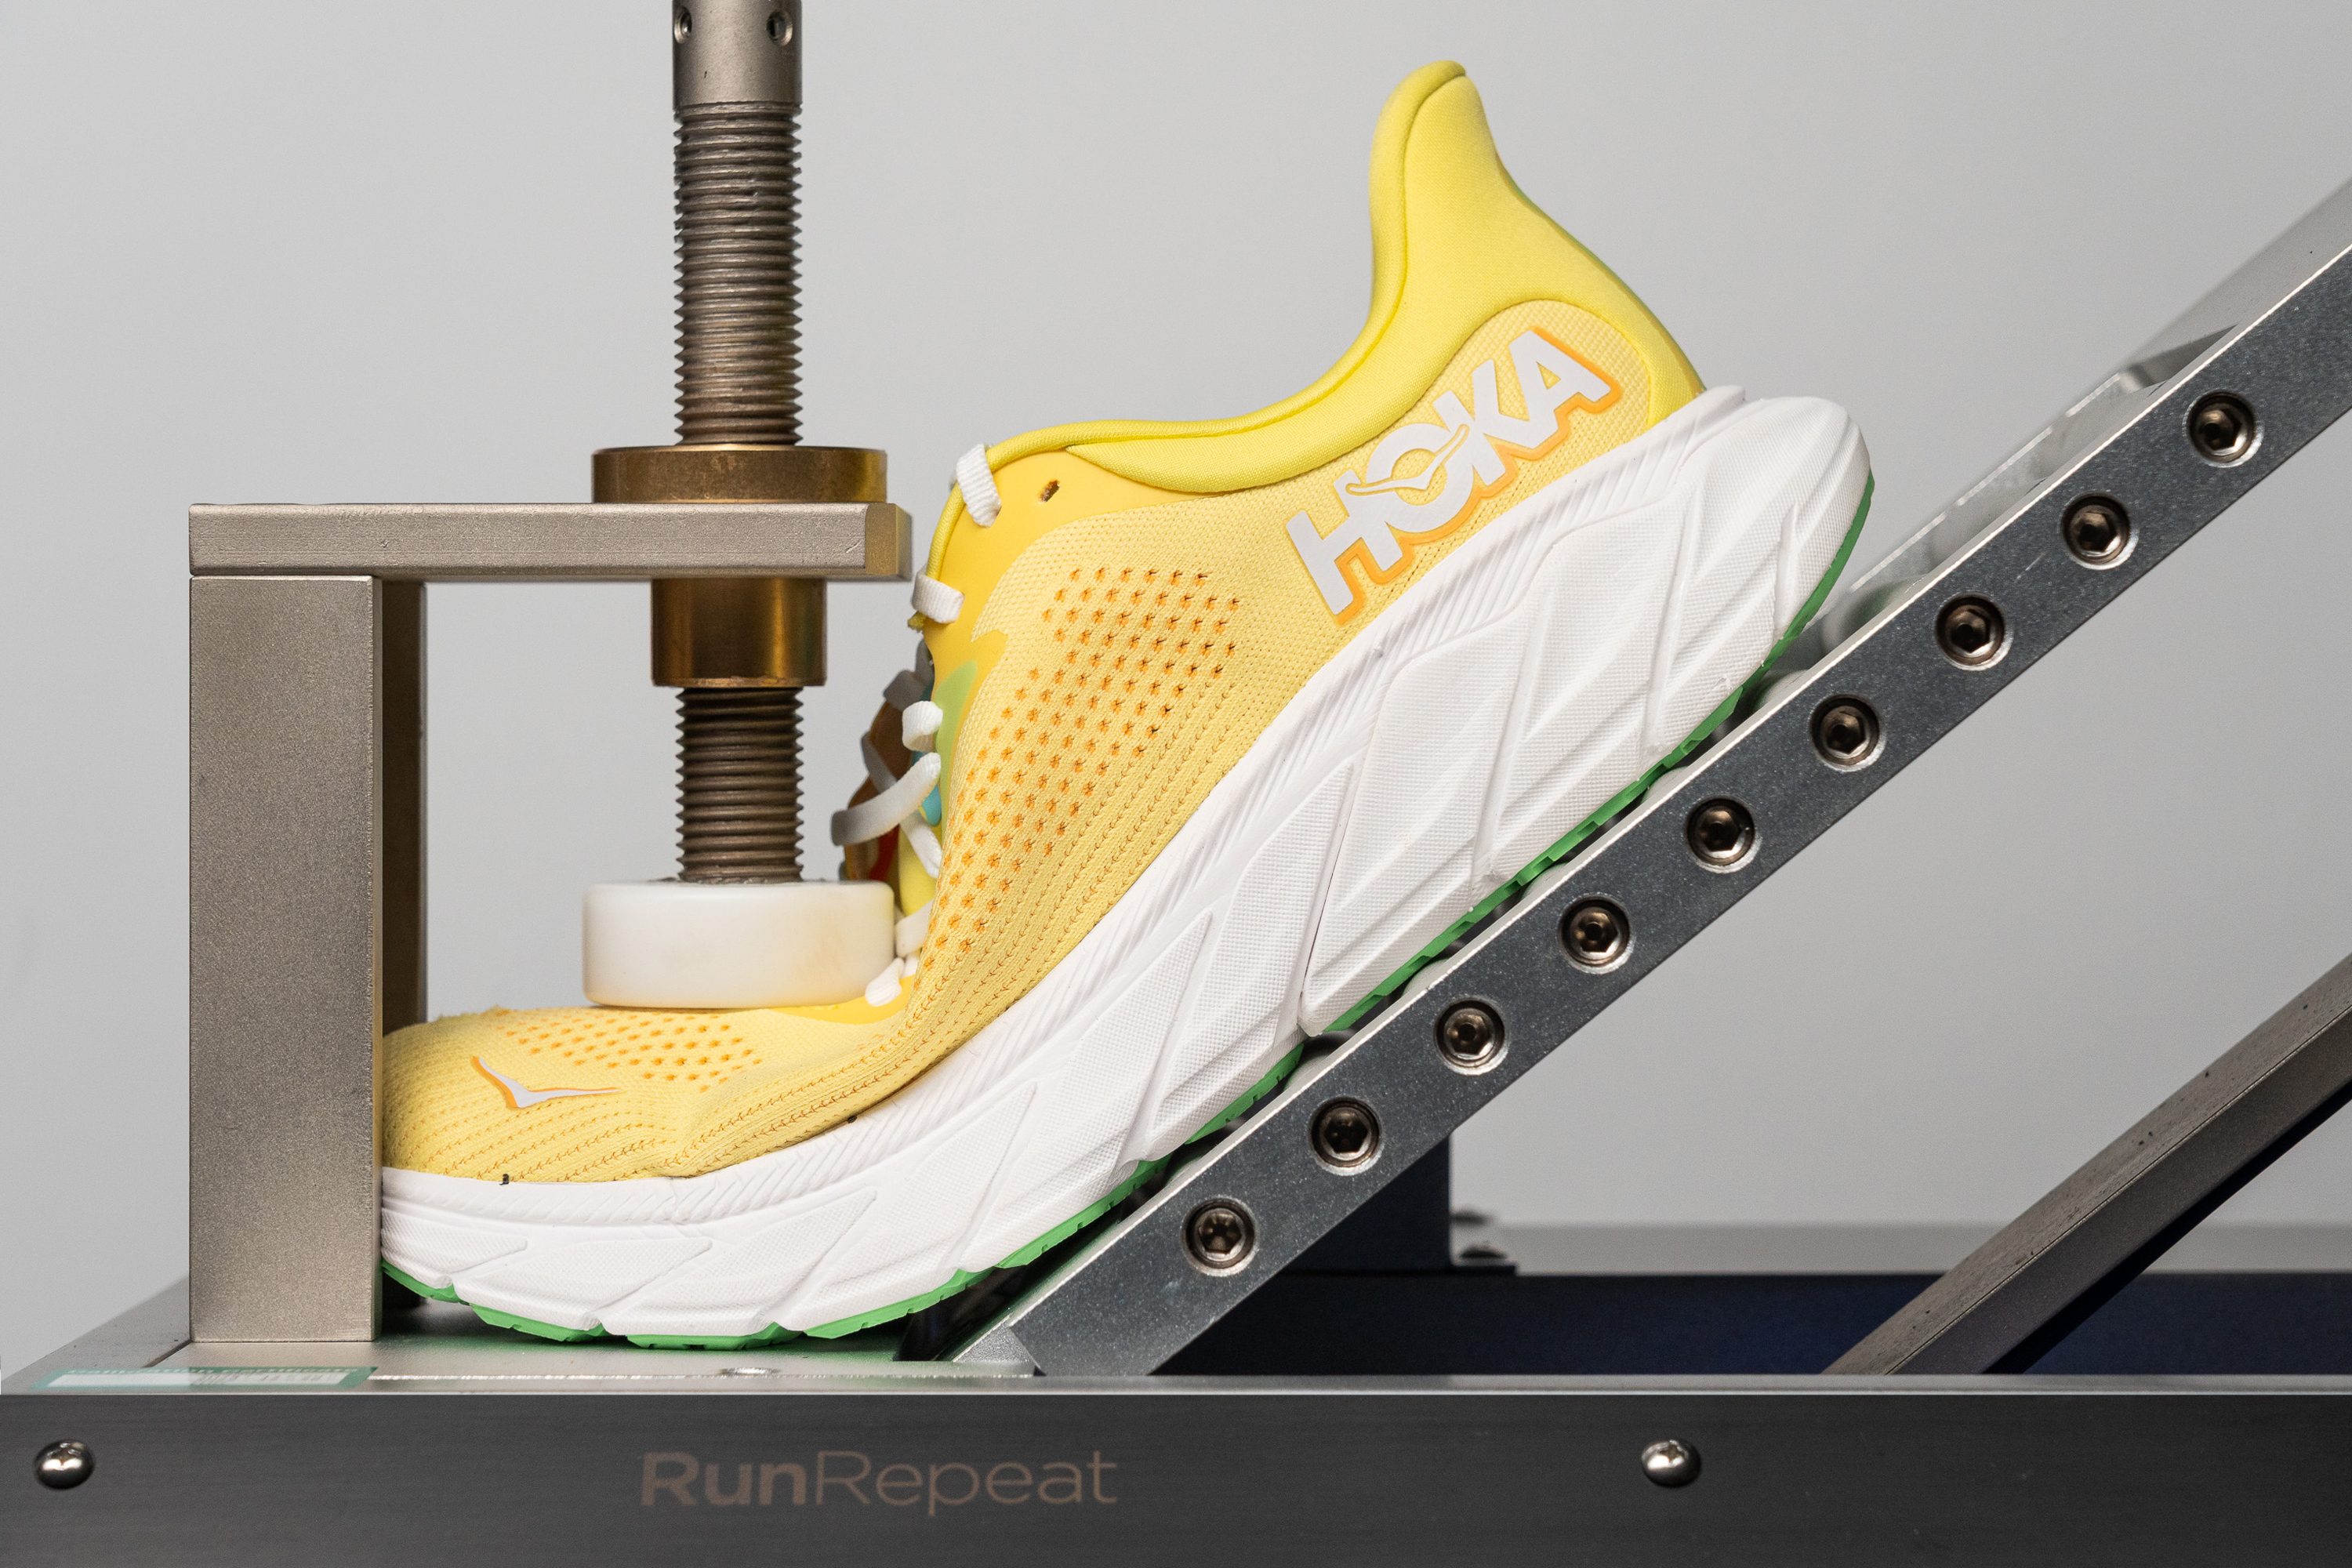
The higher the number in Newtons, the more force was needed to bend the shoe to 30 degrees, which means it is stiffer. Lower numbers indicate more flexible shoes.
When it comes to torsional rigidity, we assign each shoe a rating on a 1-5 scale, where 5 is the stiffest.
Wide base
This is needed because extra width ensures planted landings. Basically, we’re avoiding narrow and high platforms, as you’d see in some race shoes. The wider, the better!
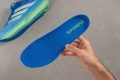
While the width of the base is more important in stability running shoes because overpronators usually land on the heel, in our lab we actually measure the width of the base in 2 places: at the forefoot and at the heel.
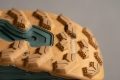
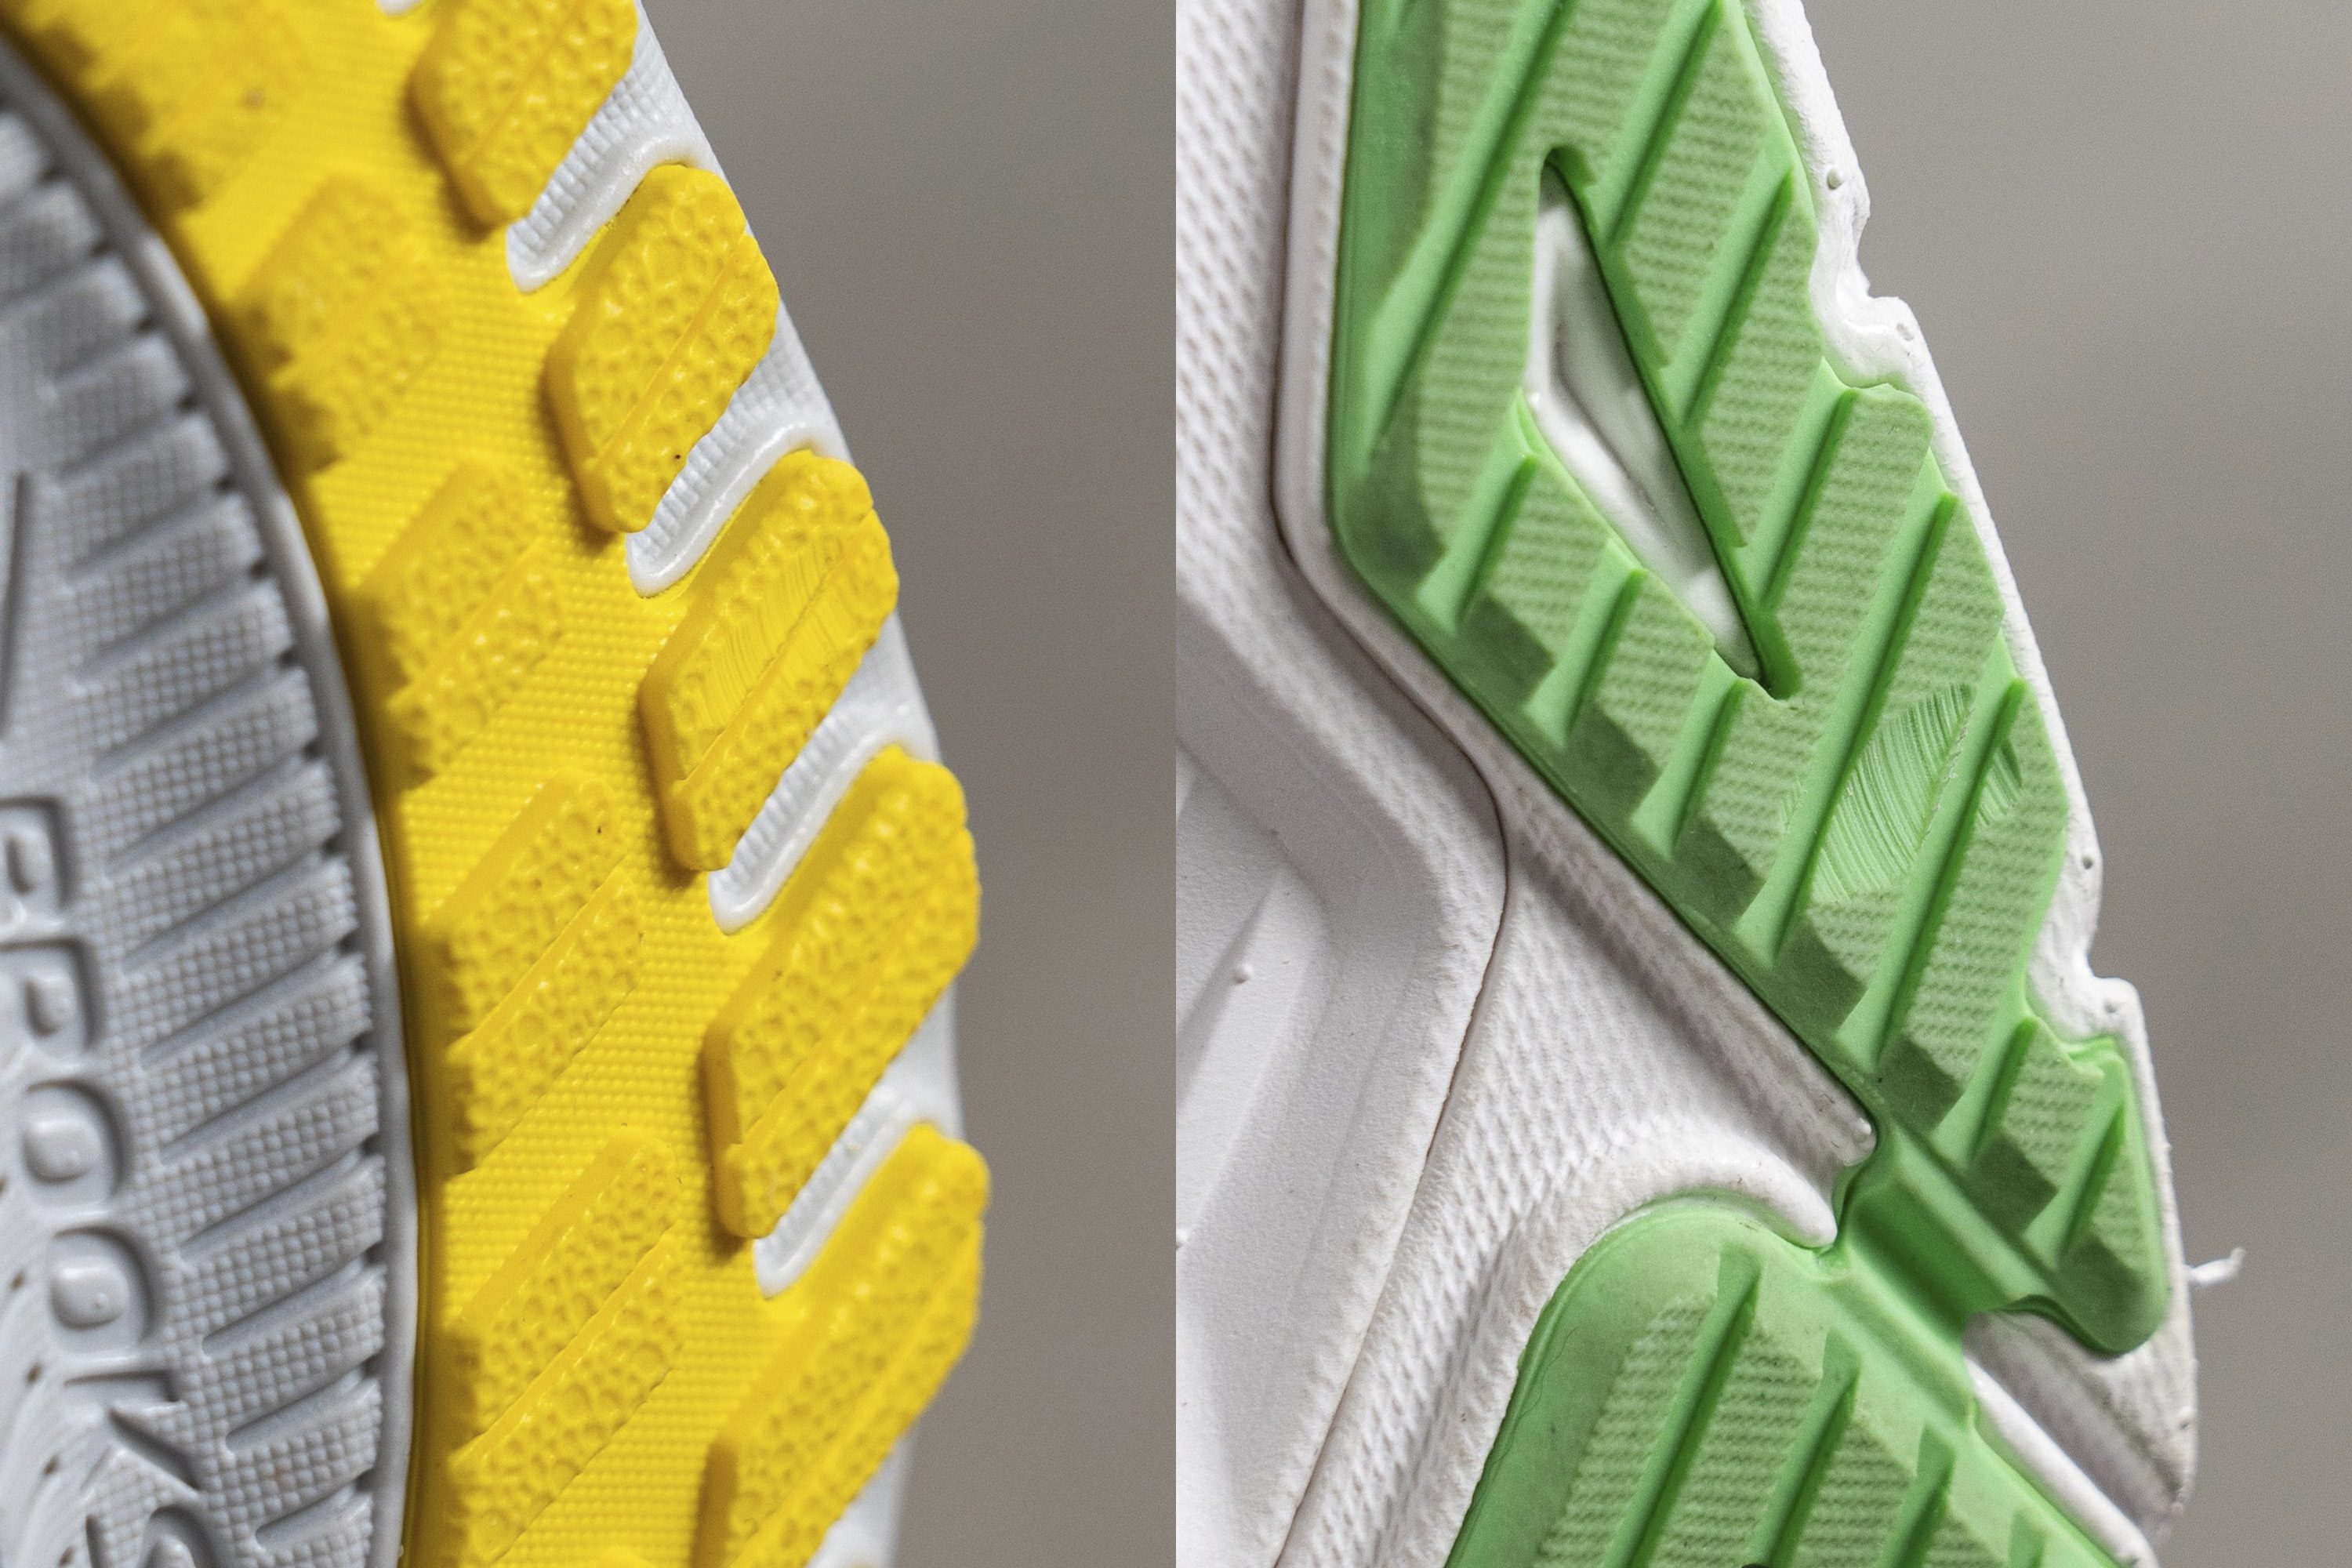
Full-ground contact outsole
It helps a lot when it comes to that secure feel. Some shoes have cutouts in the outsole to lose weight or to improve flexibility. That is, of course, not a bad thing, but when it comes to stability, more ground contact is better.

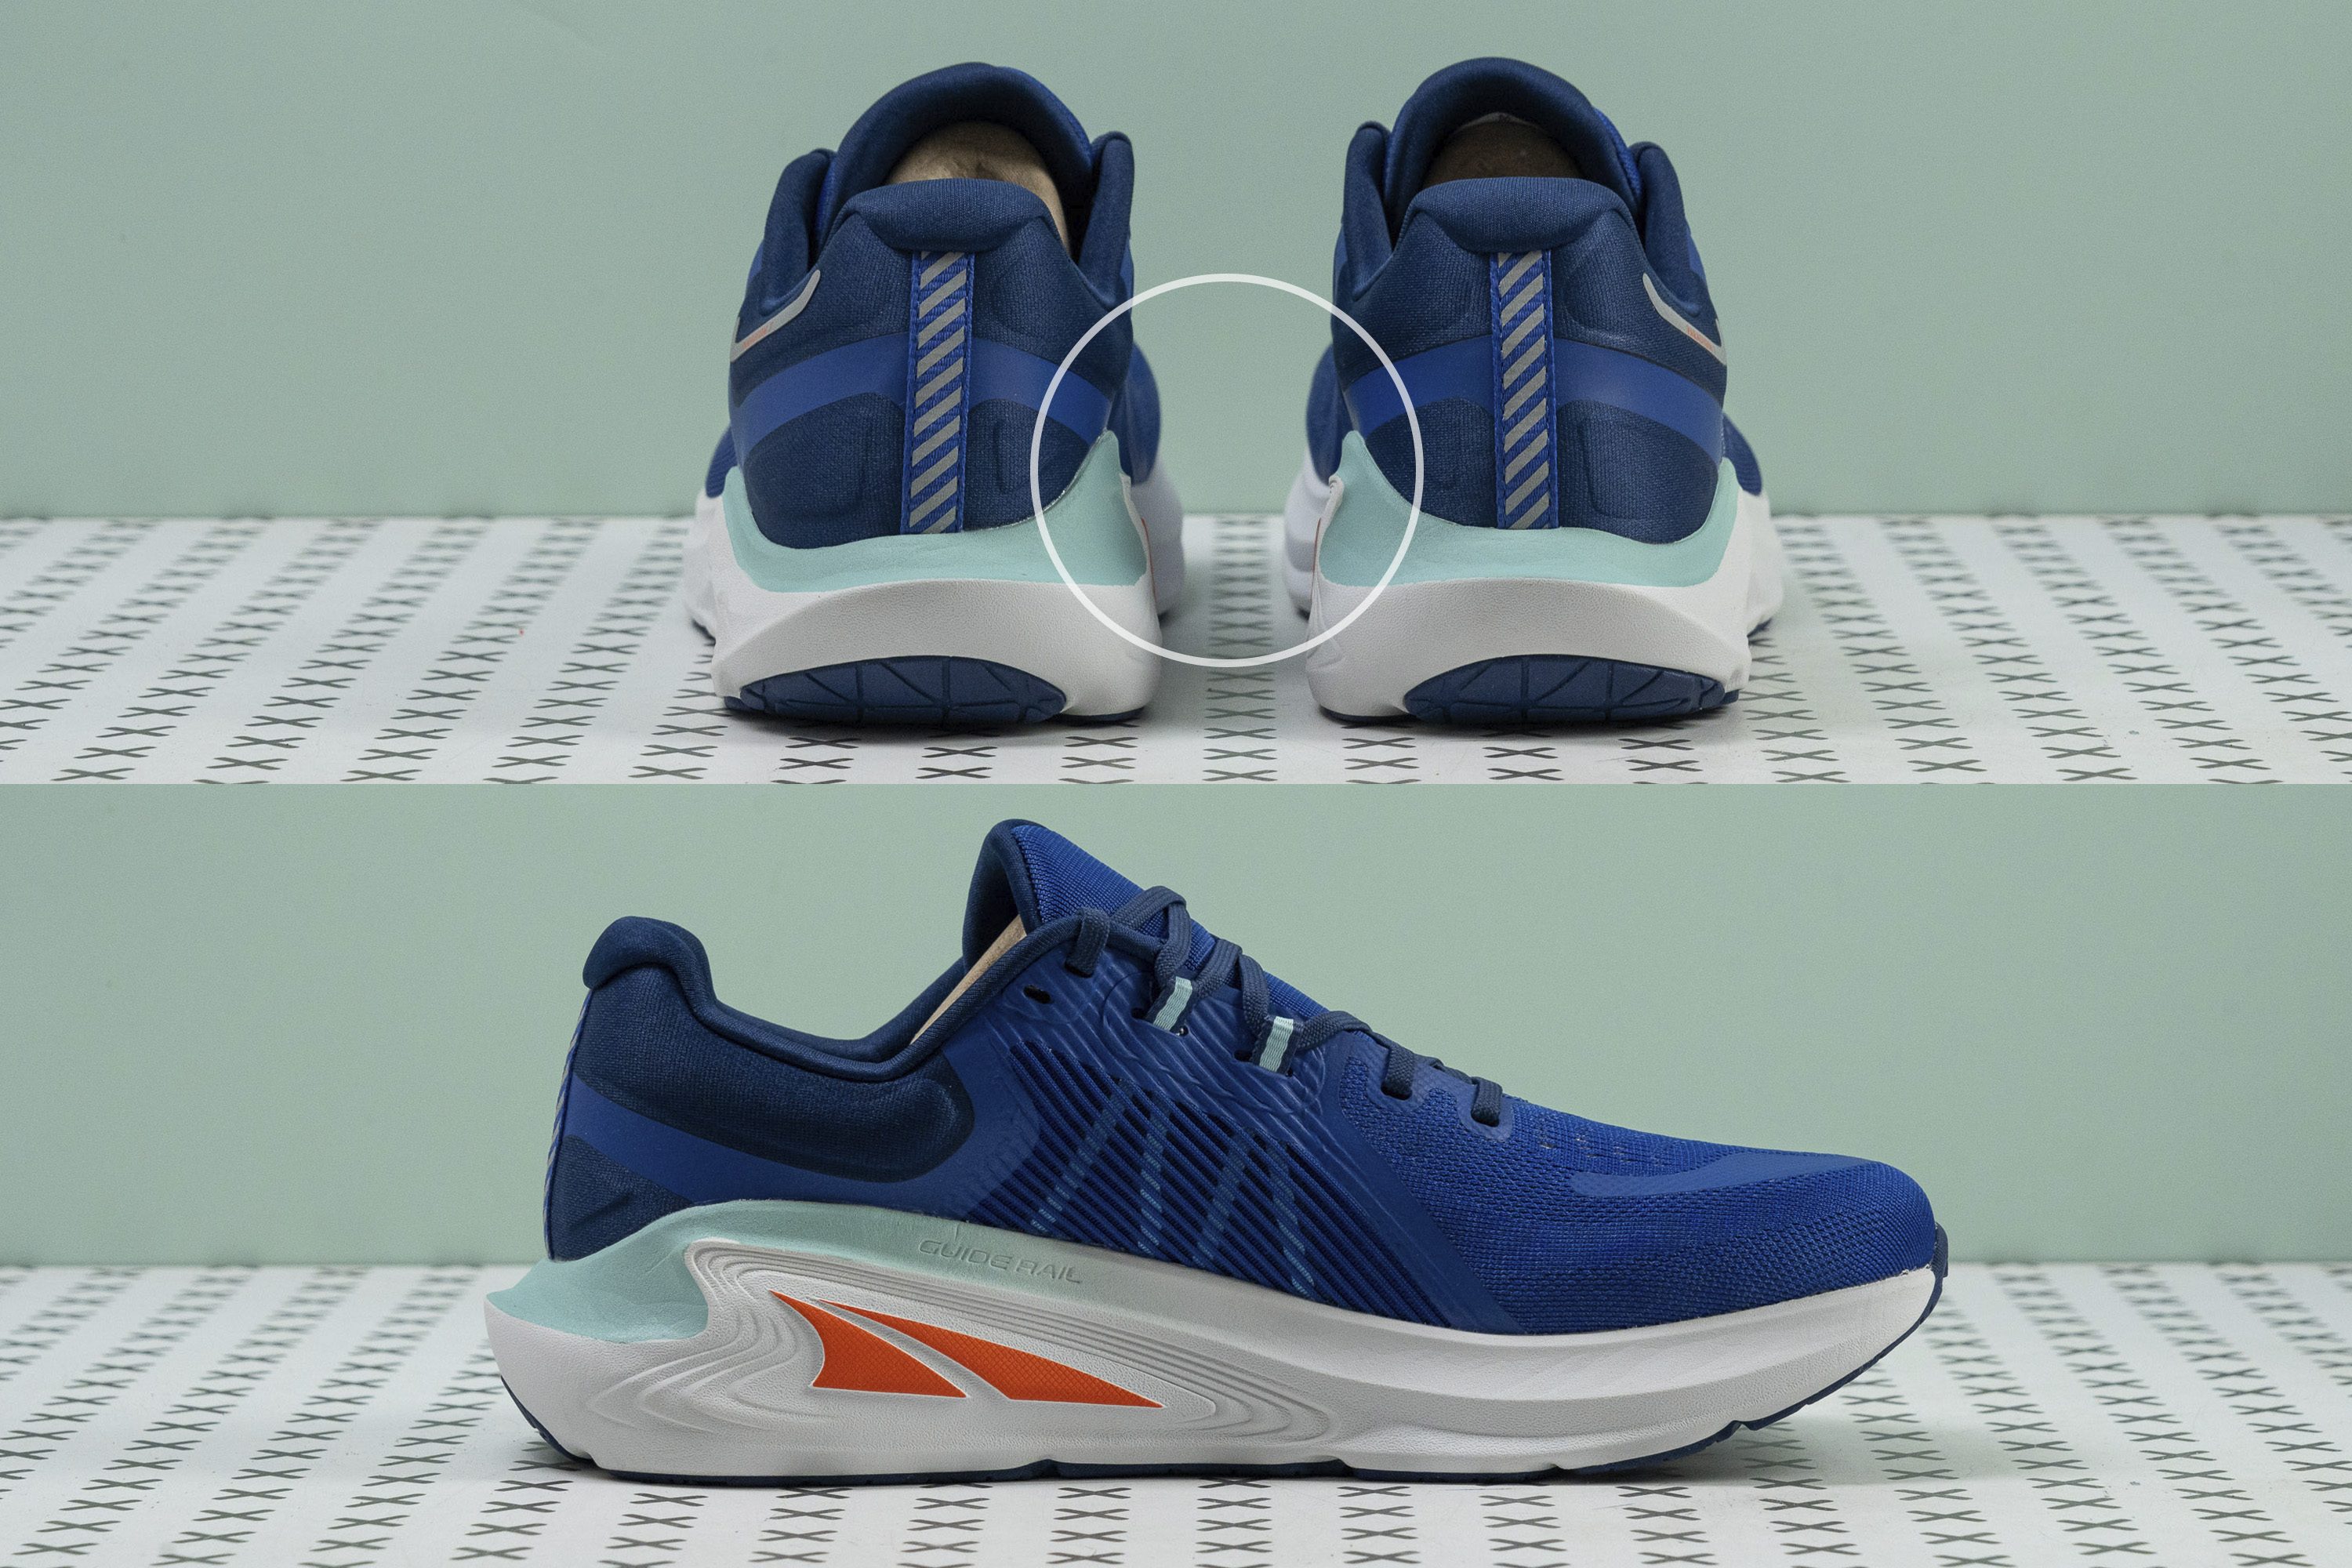
Side walls
The midsole is extended upward to create a “wall” which provides more structure and keeps the foot locked in.
These sidewalls can create the illusion that the heel drop is smaller. But, no need to worry because we cut shoes in half and follow WorldAthletics guidelines when it comes to measuring stack heights. No sidewalls are tricking us!
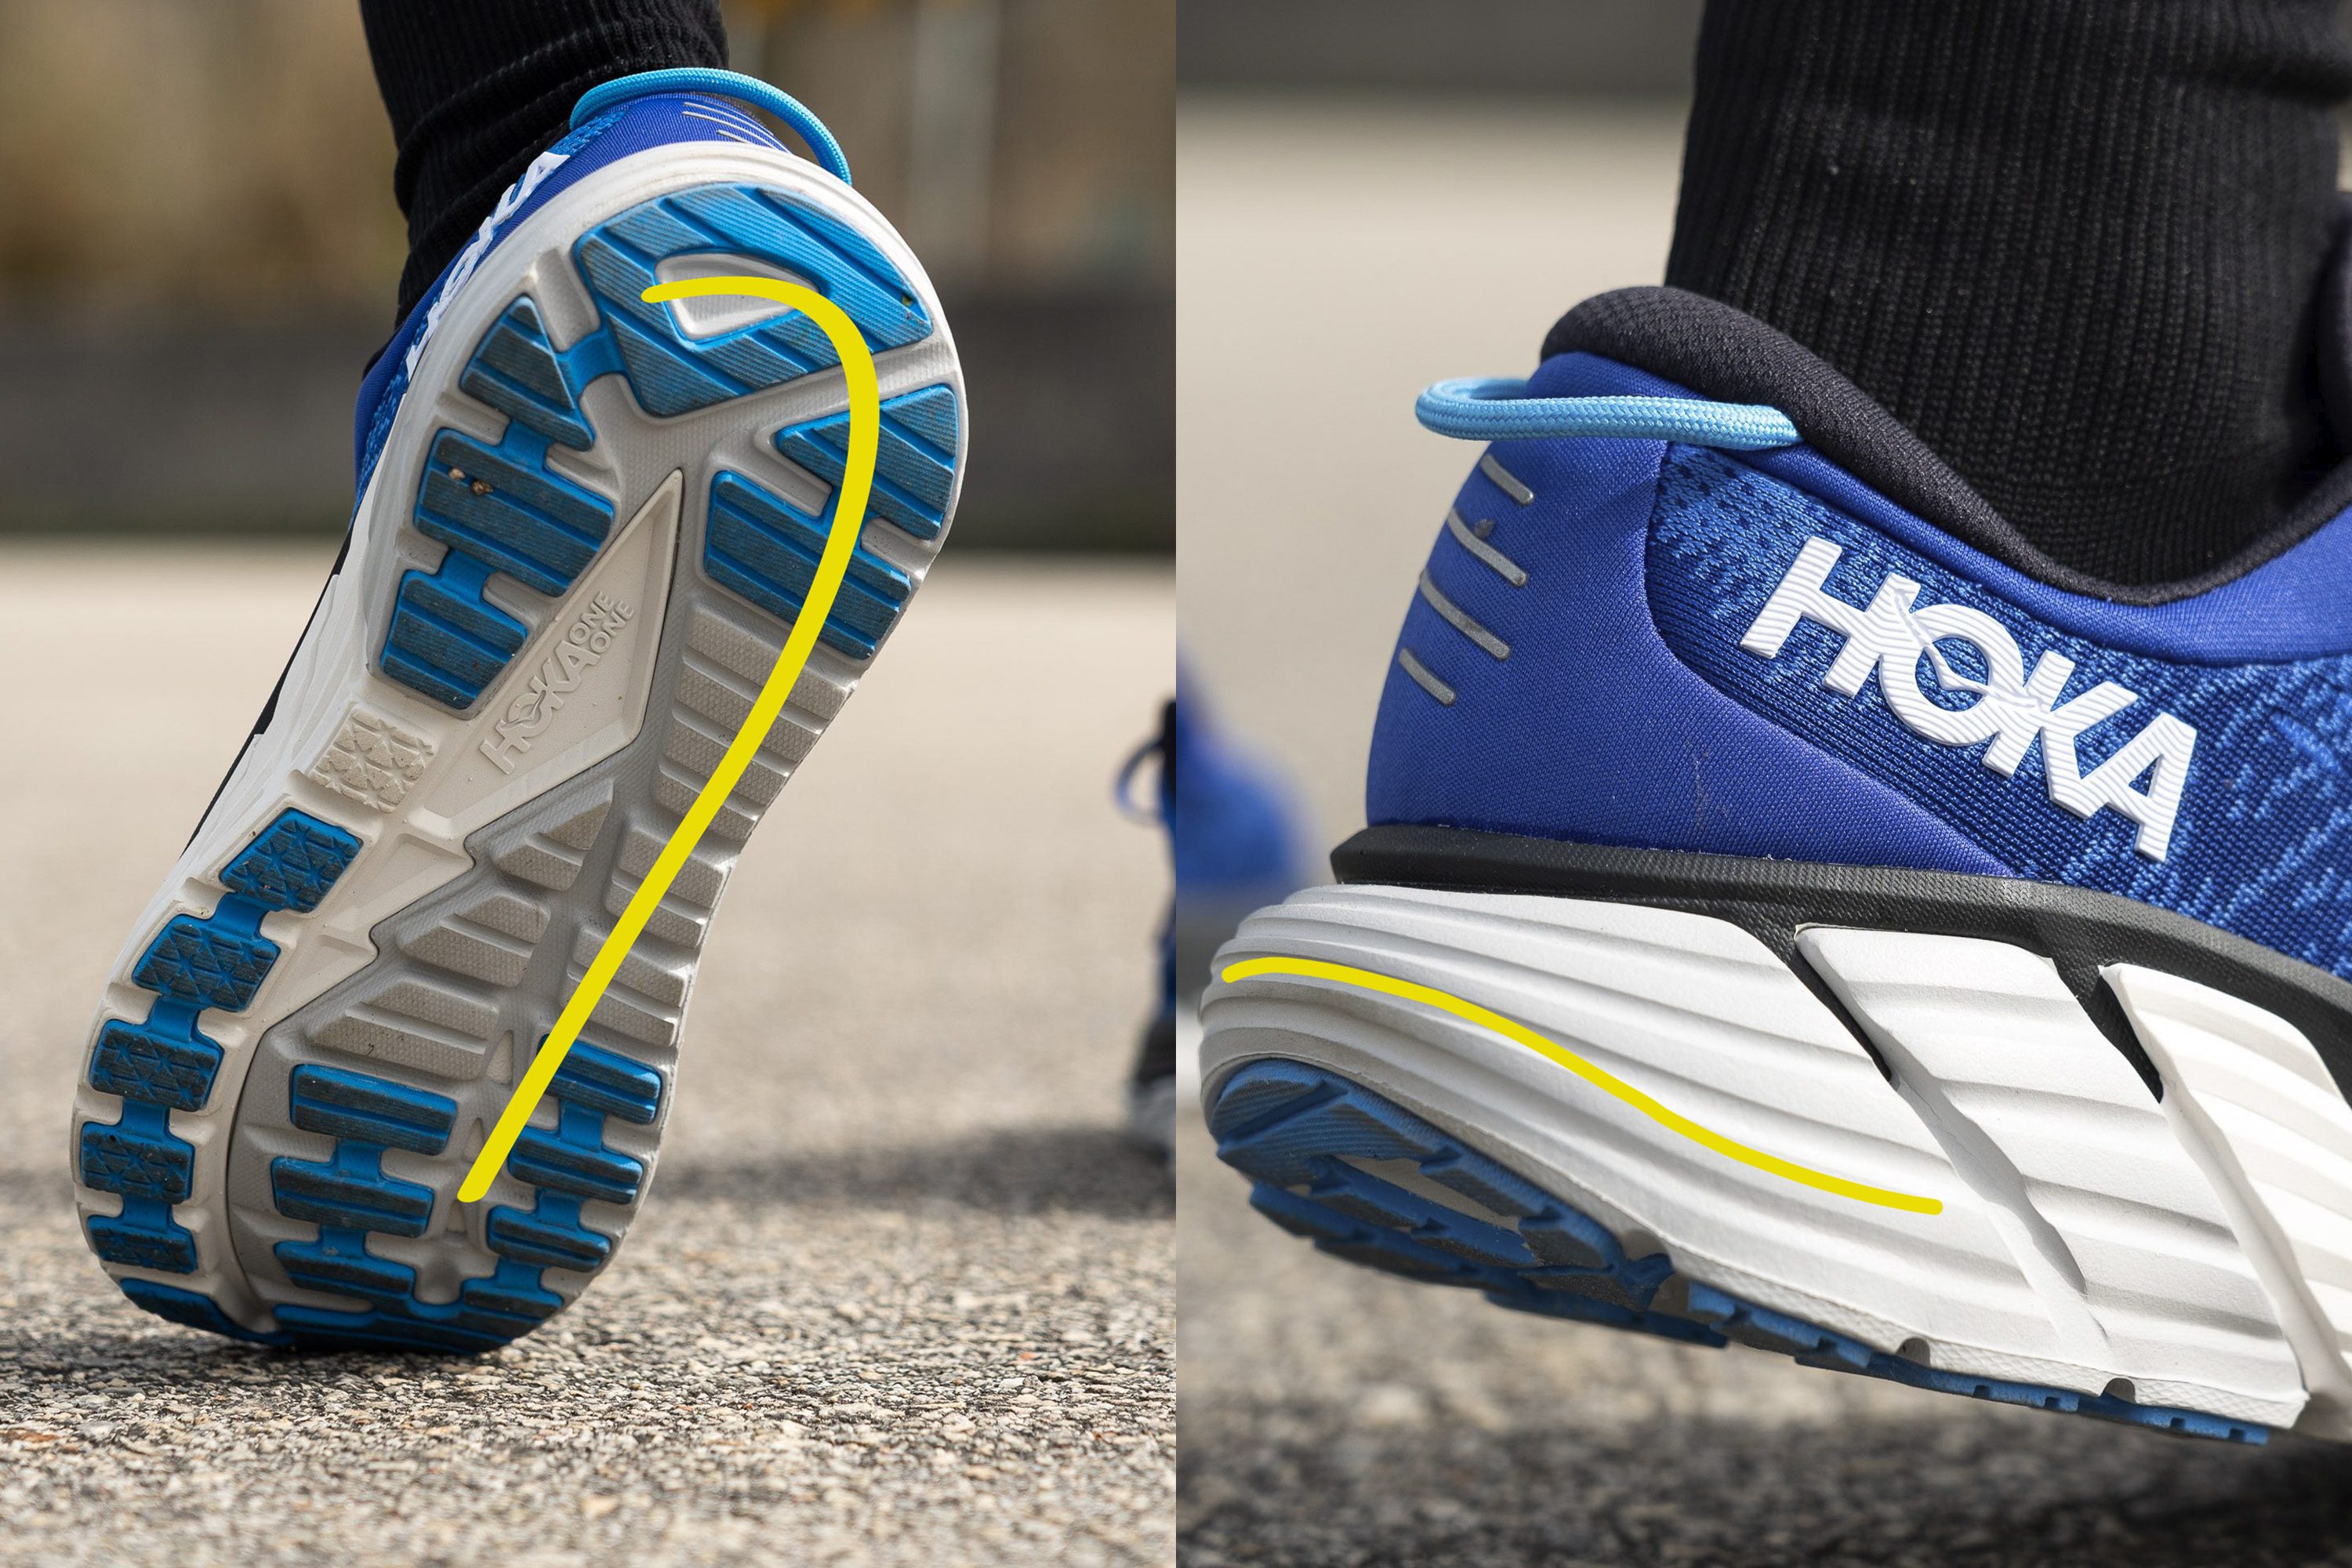
Heel bevel
Heel bevel is a curved back of the heel that reduces the amount of stress in the tibialis anterior muscle, and it improves the transition for heel strikers. The more it’s bevelled, the faster the forefoot hits the ground.
Sole flare
This is a protrusion that can appear on the medial and lateral sides. For heel strikers, it’s important that it’s present at the heel. This means that the protrusion (midsole) becomes wider than the upper.
Those who pronate at the heel should look for a medial heel flare. Those who pronate at the forefoot can look for medial forefoot flare.
Structural upper overlays
These overlays help with support and stability by ensuring a superb lockdown, especially around the midfoot. They are present on the upper and can have different shapes and stiffness levels and usually feel extra secure.

Brands' trademarked technologies found in stability shoes
There are many technologies used to help overpronators run better and we will mention more popular ones below.
1) heel bevel 2) sculpted midsole 3) wider base 4) medial post

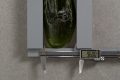
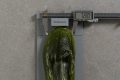
Shock absorption of stability running shoes
The softness of the midsole, even when it's dual-density, does not tell us how protective it is. It's the shock absorption that puts a number on that! It tells us how good the foam is at dampening the impact forces, and when it's very good, significantly less stress is sent to our legs.
Conversely, stability running shoes with very low shock absorption are unable to dampen the impact, which sends more stress to the feet and legs. This can cause foot fatigue or even pain.
For context, anything above 110 SA is considered moderate, and above 130 SA is high shock absorption.
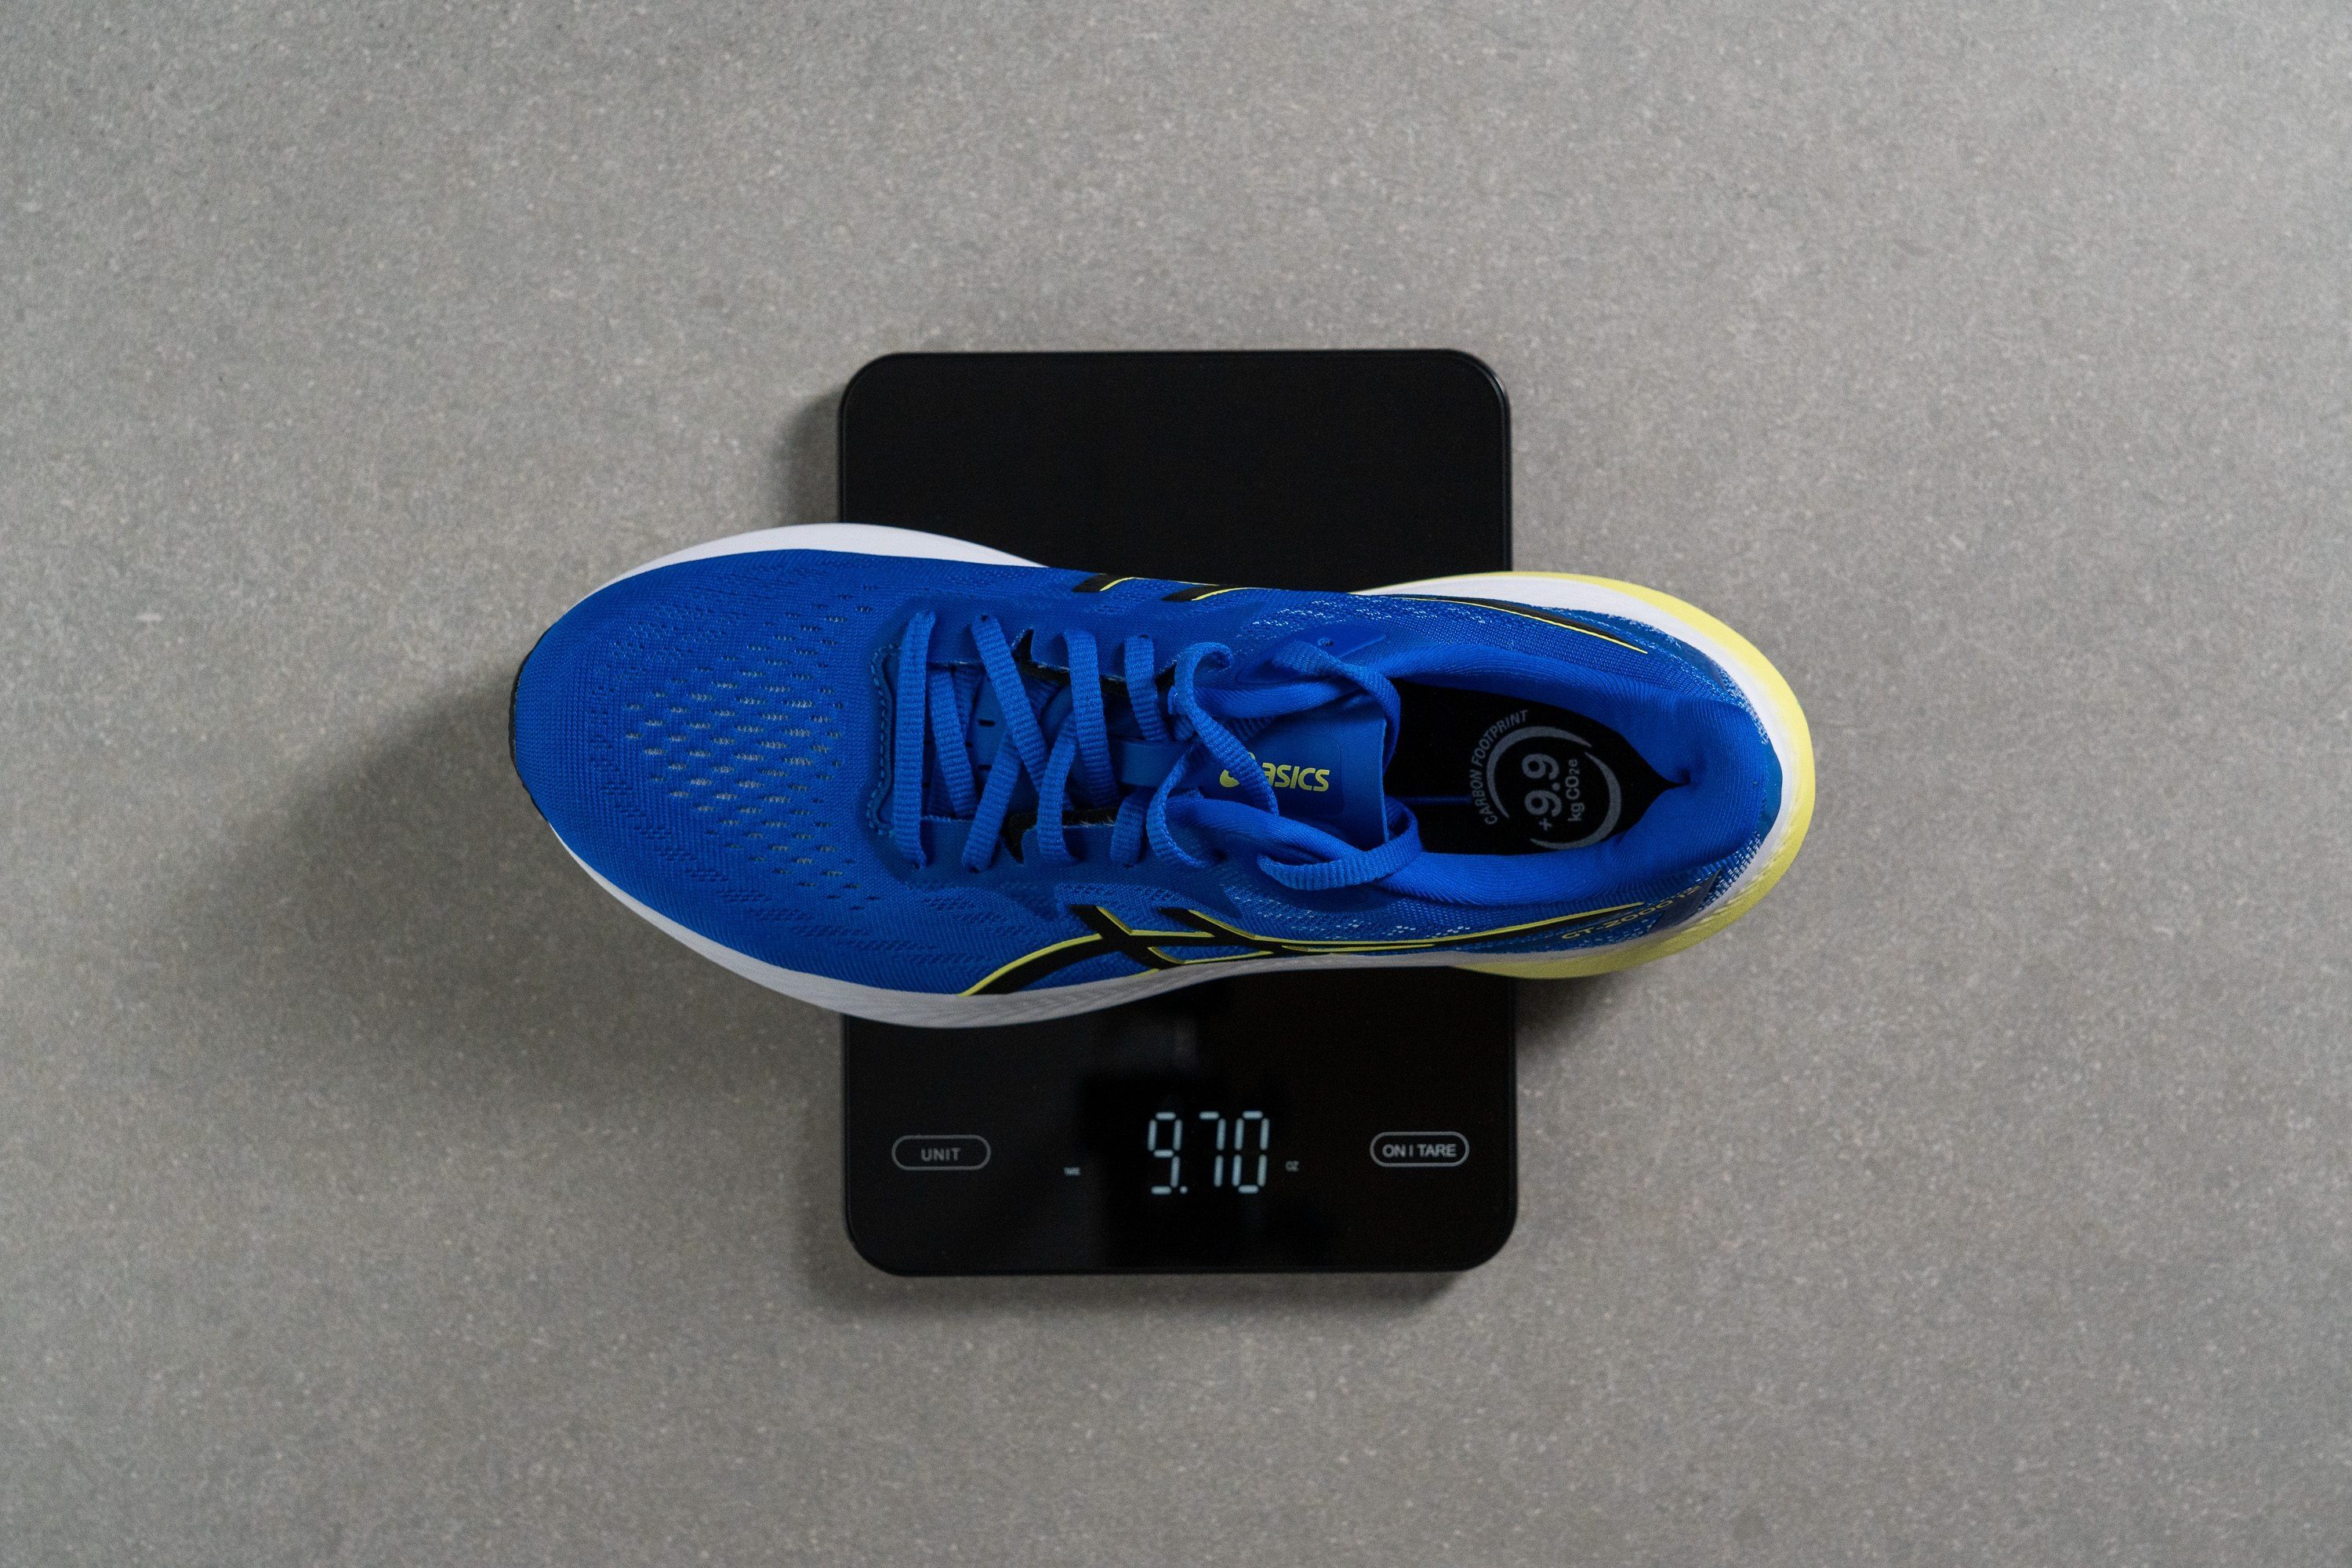
Weight of the stability running shoes
Because of all the technologies implemented in stability running shoes, they tend to weigh more than neutral running shoes. Some, much more. See a few examples:
- Average weight of a neutral running shoe: 262.9g or 9.3 oz
- Average weight of a stability running shoe: 285.0g or 10.0 oz
- Lightest neutral shoe: 149g or 5.2 oz
- Lightest stability shoe: 228g or 8.0 oz
We always weigh every shoe that comes into our lab, and we don’t always get the same or even similar numbers as the brands advertised. We measure shoes in men’s US 9.
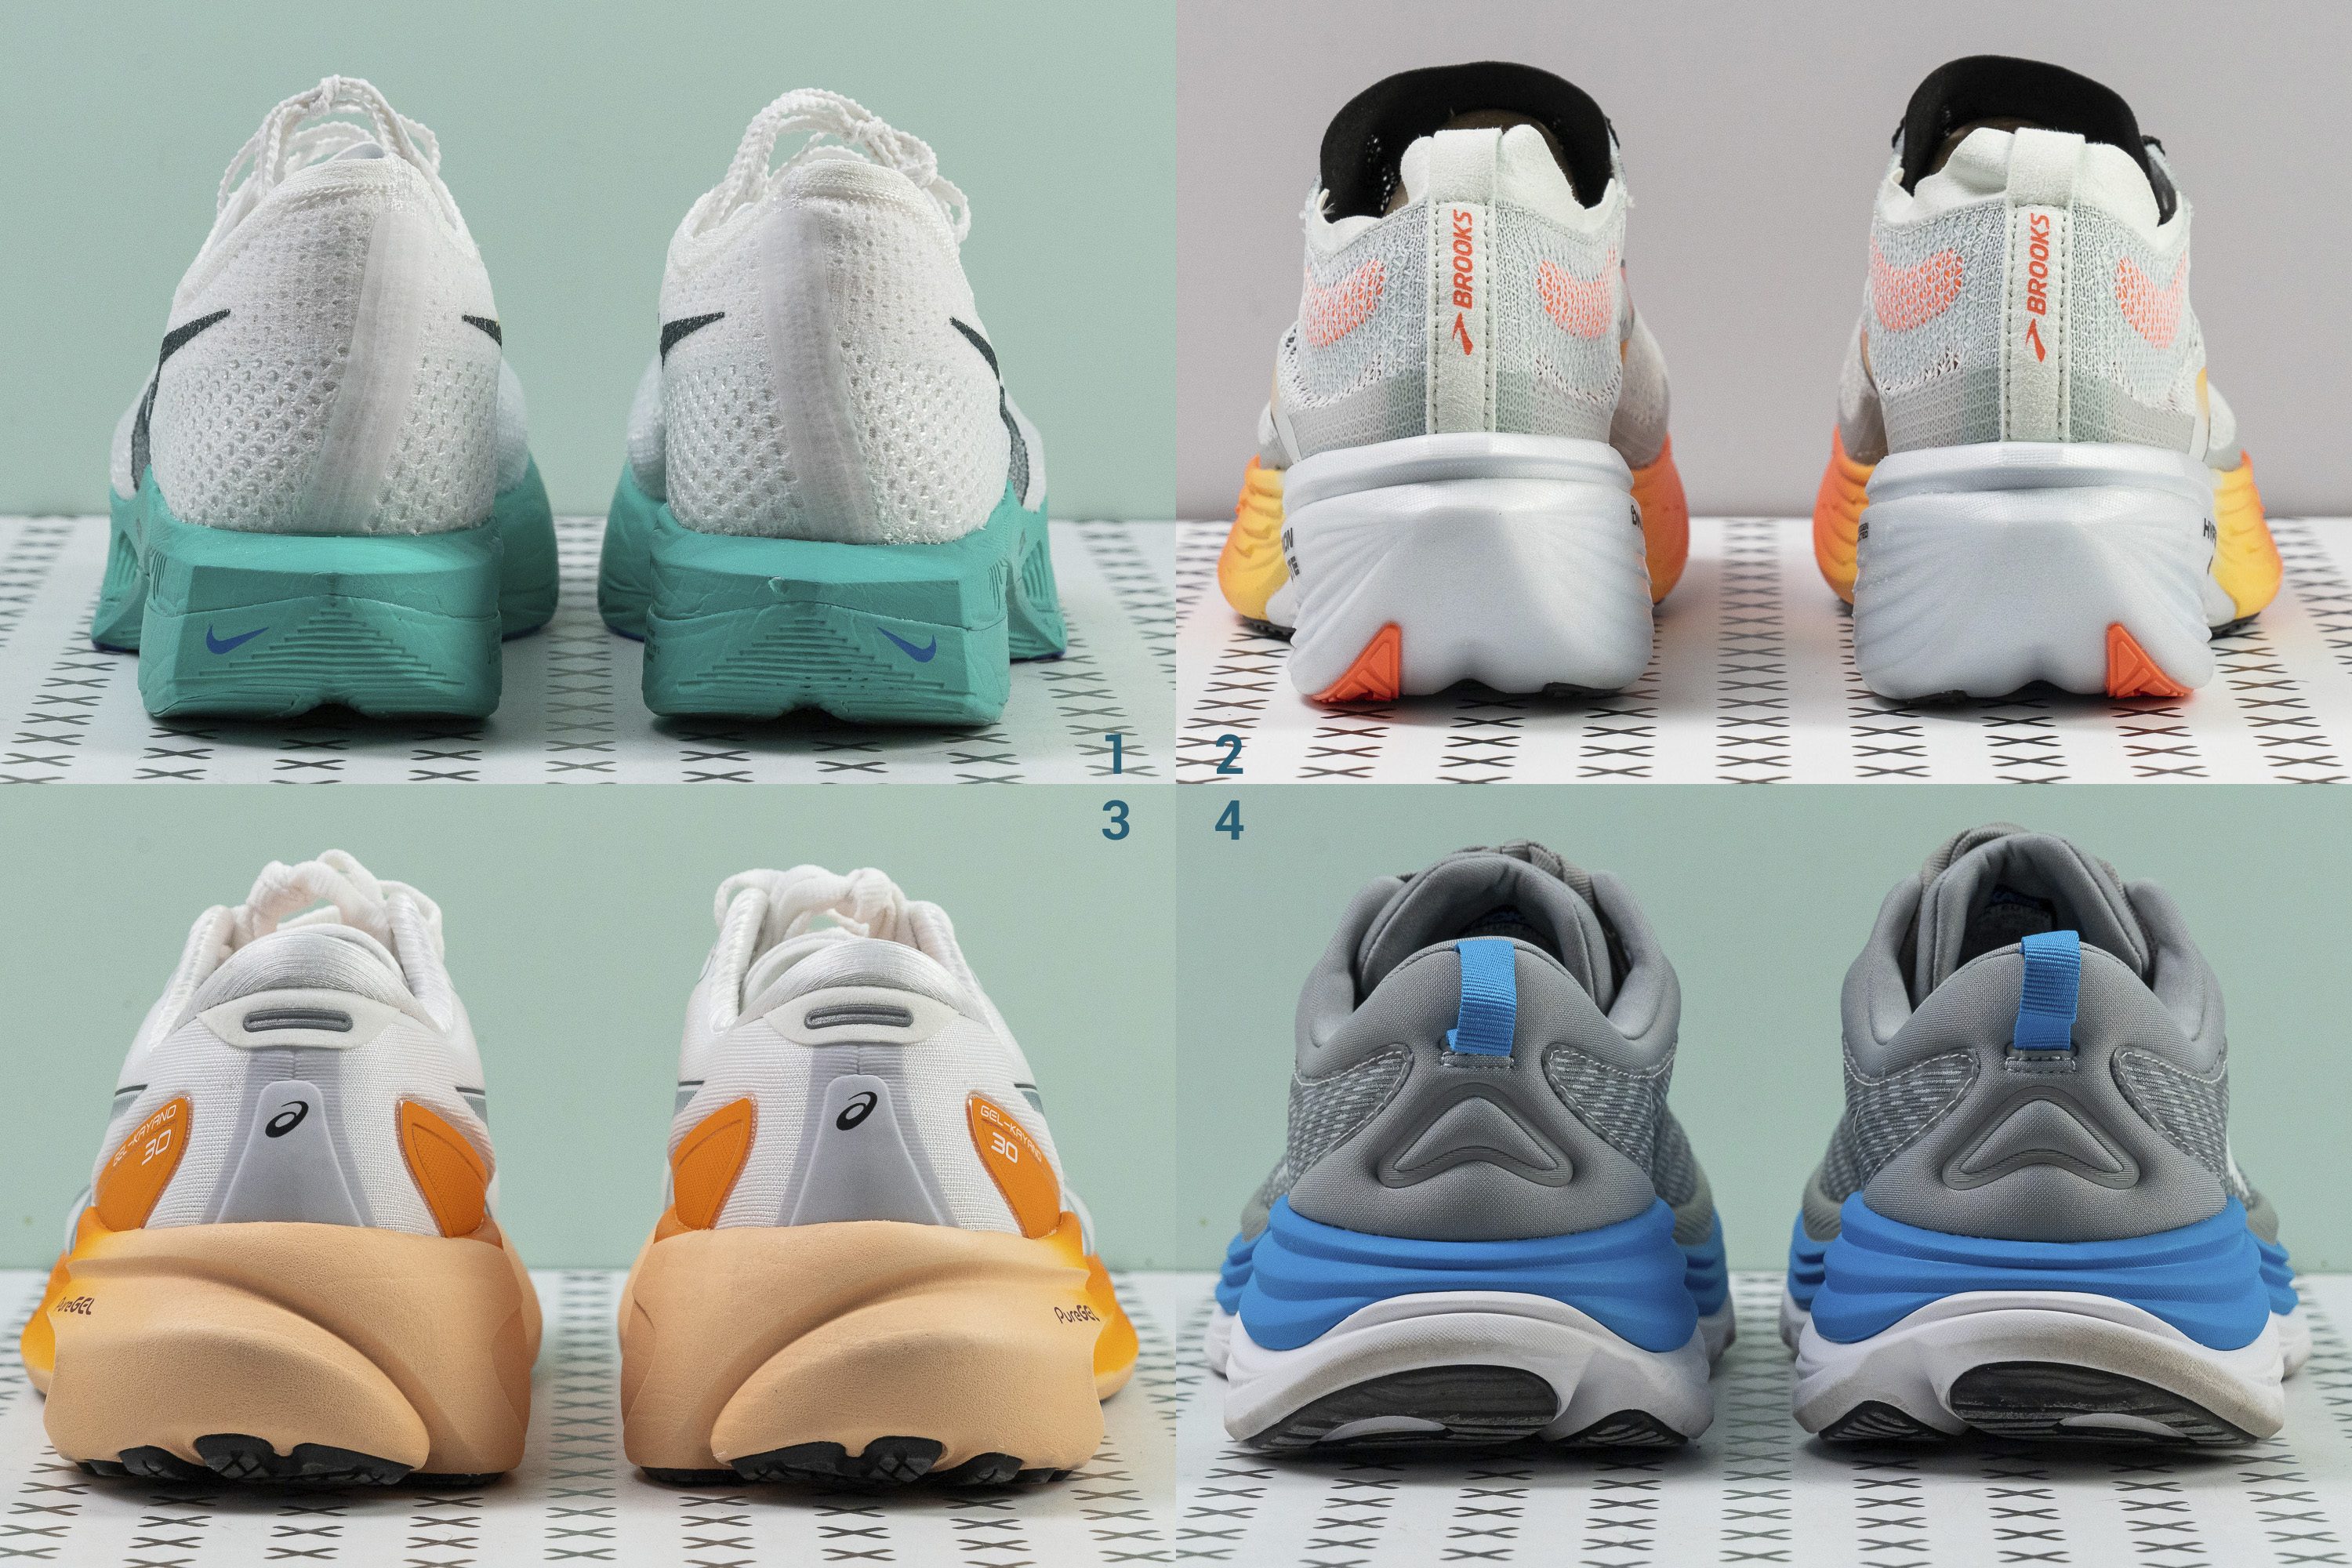
For context, here are the weights of the best-rated stability shoes:
And, if you want the lightest stability shoes possible, here’s the list:
How soft are stability running shoes?
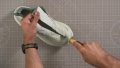
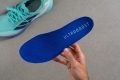
Depends on the technologies and geometry. If more stability is given by a firmer midsole, then the midsole is firmer. If there are external stability elements, like a stiff heel counter, then the midsoles can be softer.
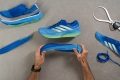
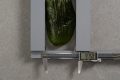
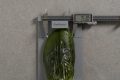
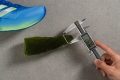
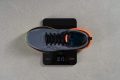
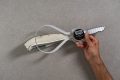
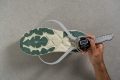
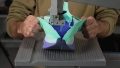
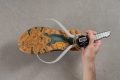
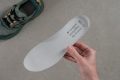
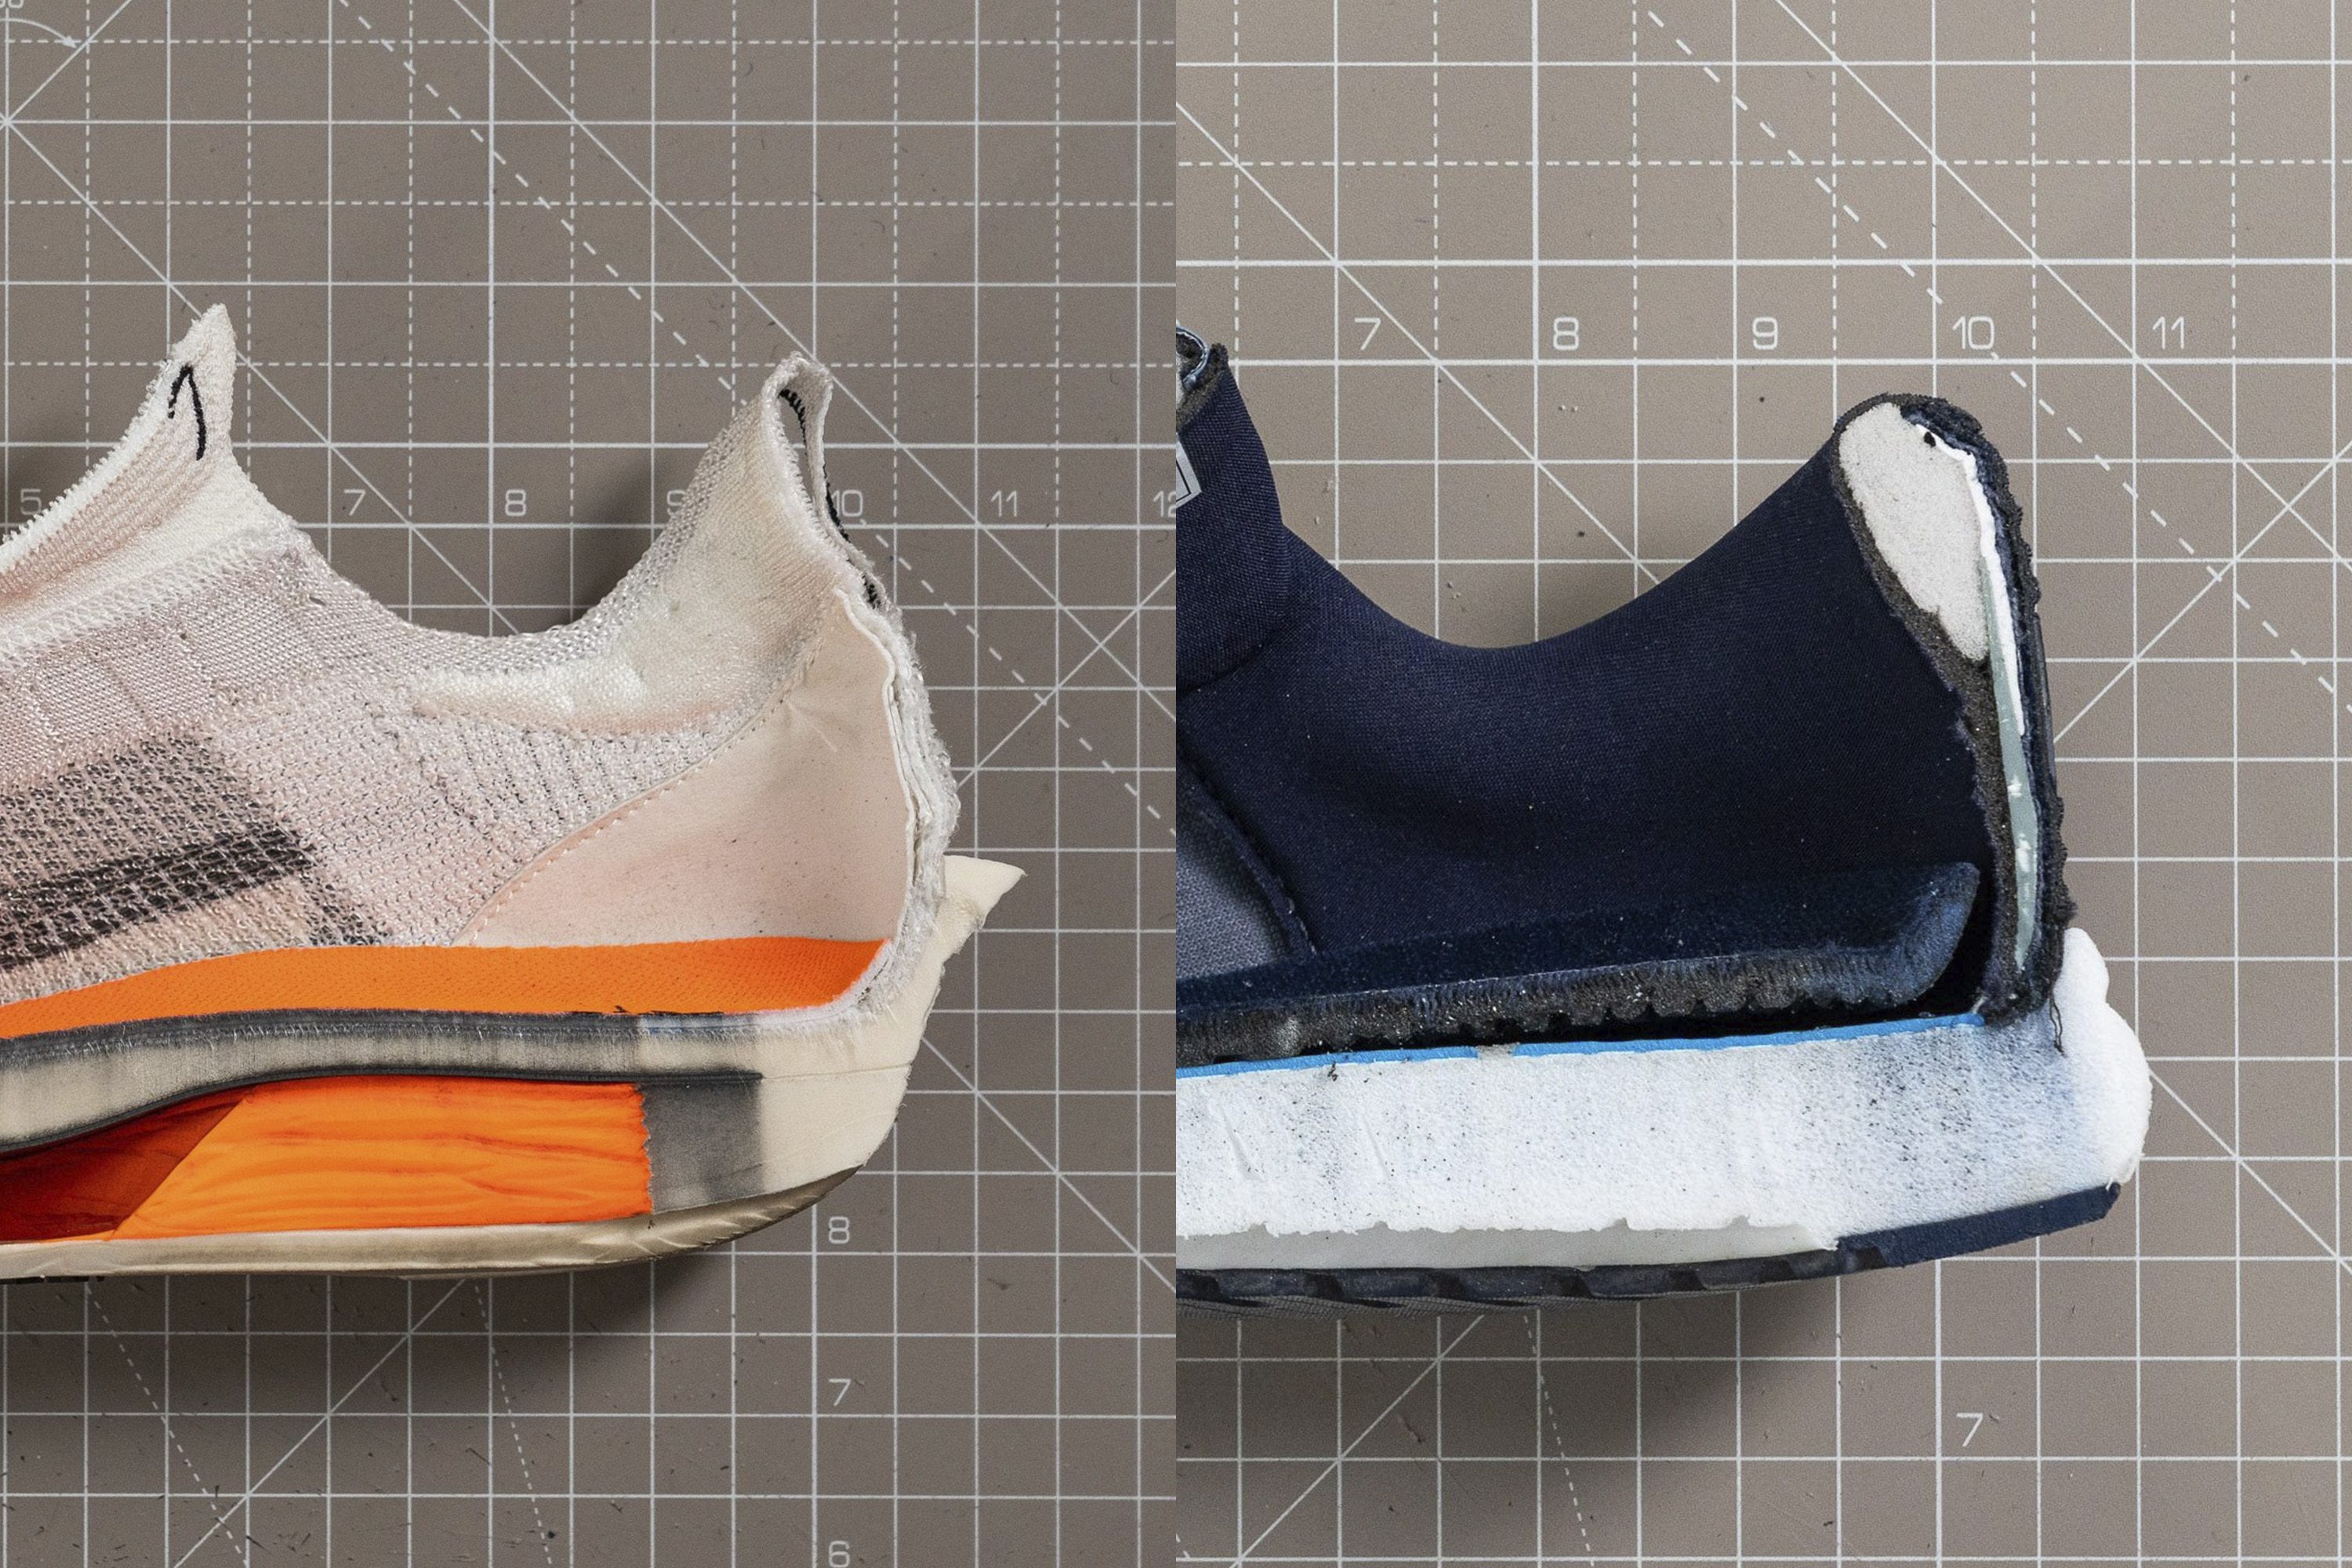
Regardless of the technology and geometry, we measure the softness of the midsole on every shoe. We cut it in half and stick the needle of the durometer in the foam. The number on the durometer tells us how soft or firm the midsole is: lower numbers mean softer, and higher numbers mean firmer.
In case we notice it’s a dual-density midsole, we take both measurements.
If you prefer softer running shoes, here are the softest ones we’ve tested (these tables are automatically updated with every review we do):
In case you prefer firmer midsoles, this selection is for you:
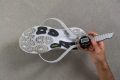
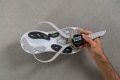
Durability of stability running shoes
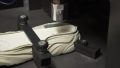
When durability is discussed, most often, it’s the outsole durability that is mentioned. And, fair enough, it’s important to know how durable the outsole is, especially for overpronators who don’t land evenly on the heel and who see signs of wear and tear sooner because of it.
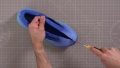
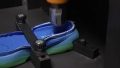
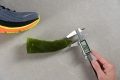
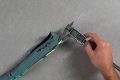
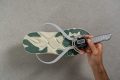
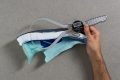
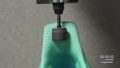
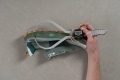
For the outsole durability test, we press our Dremel against the outsole (always the same pressure, RPMs, and duration) and then measure the depth of the damage using a tyre tread gauge.
The deeper the dent, the less durable the outsole.
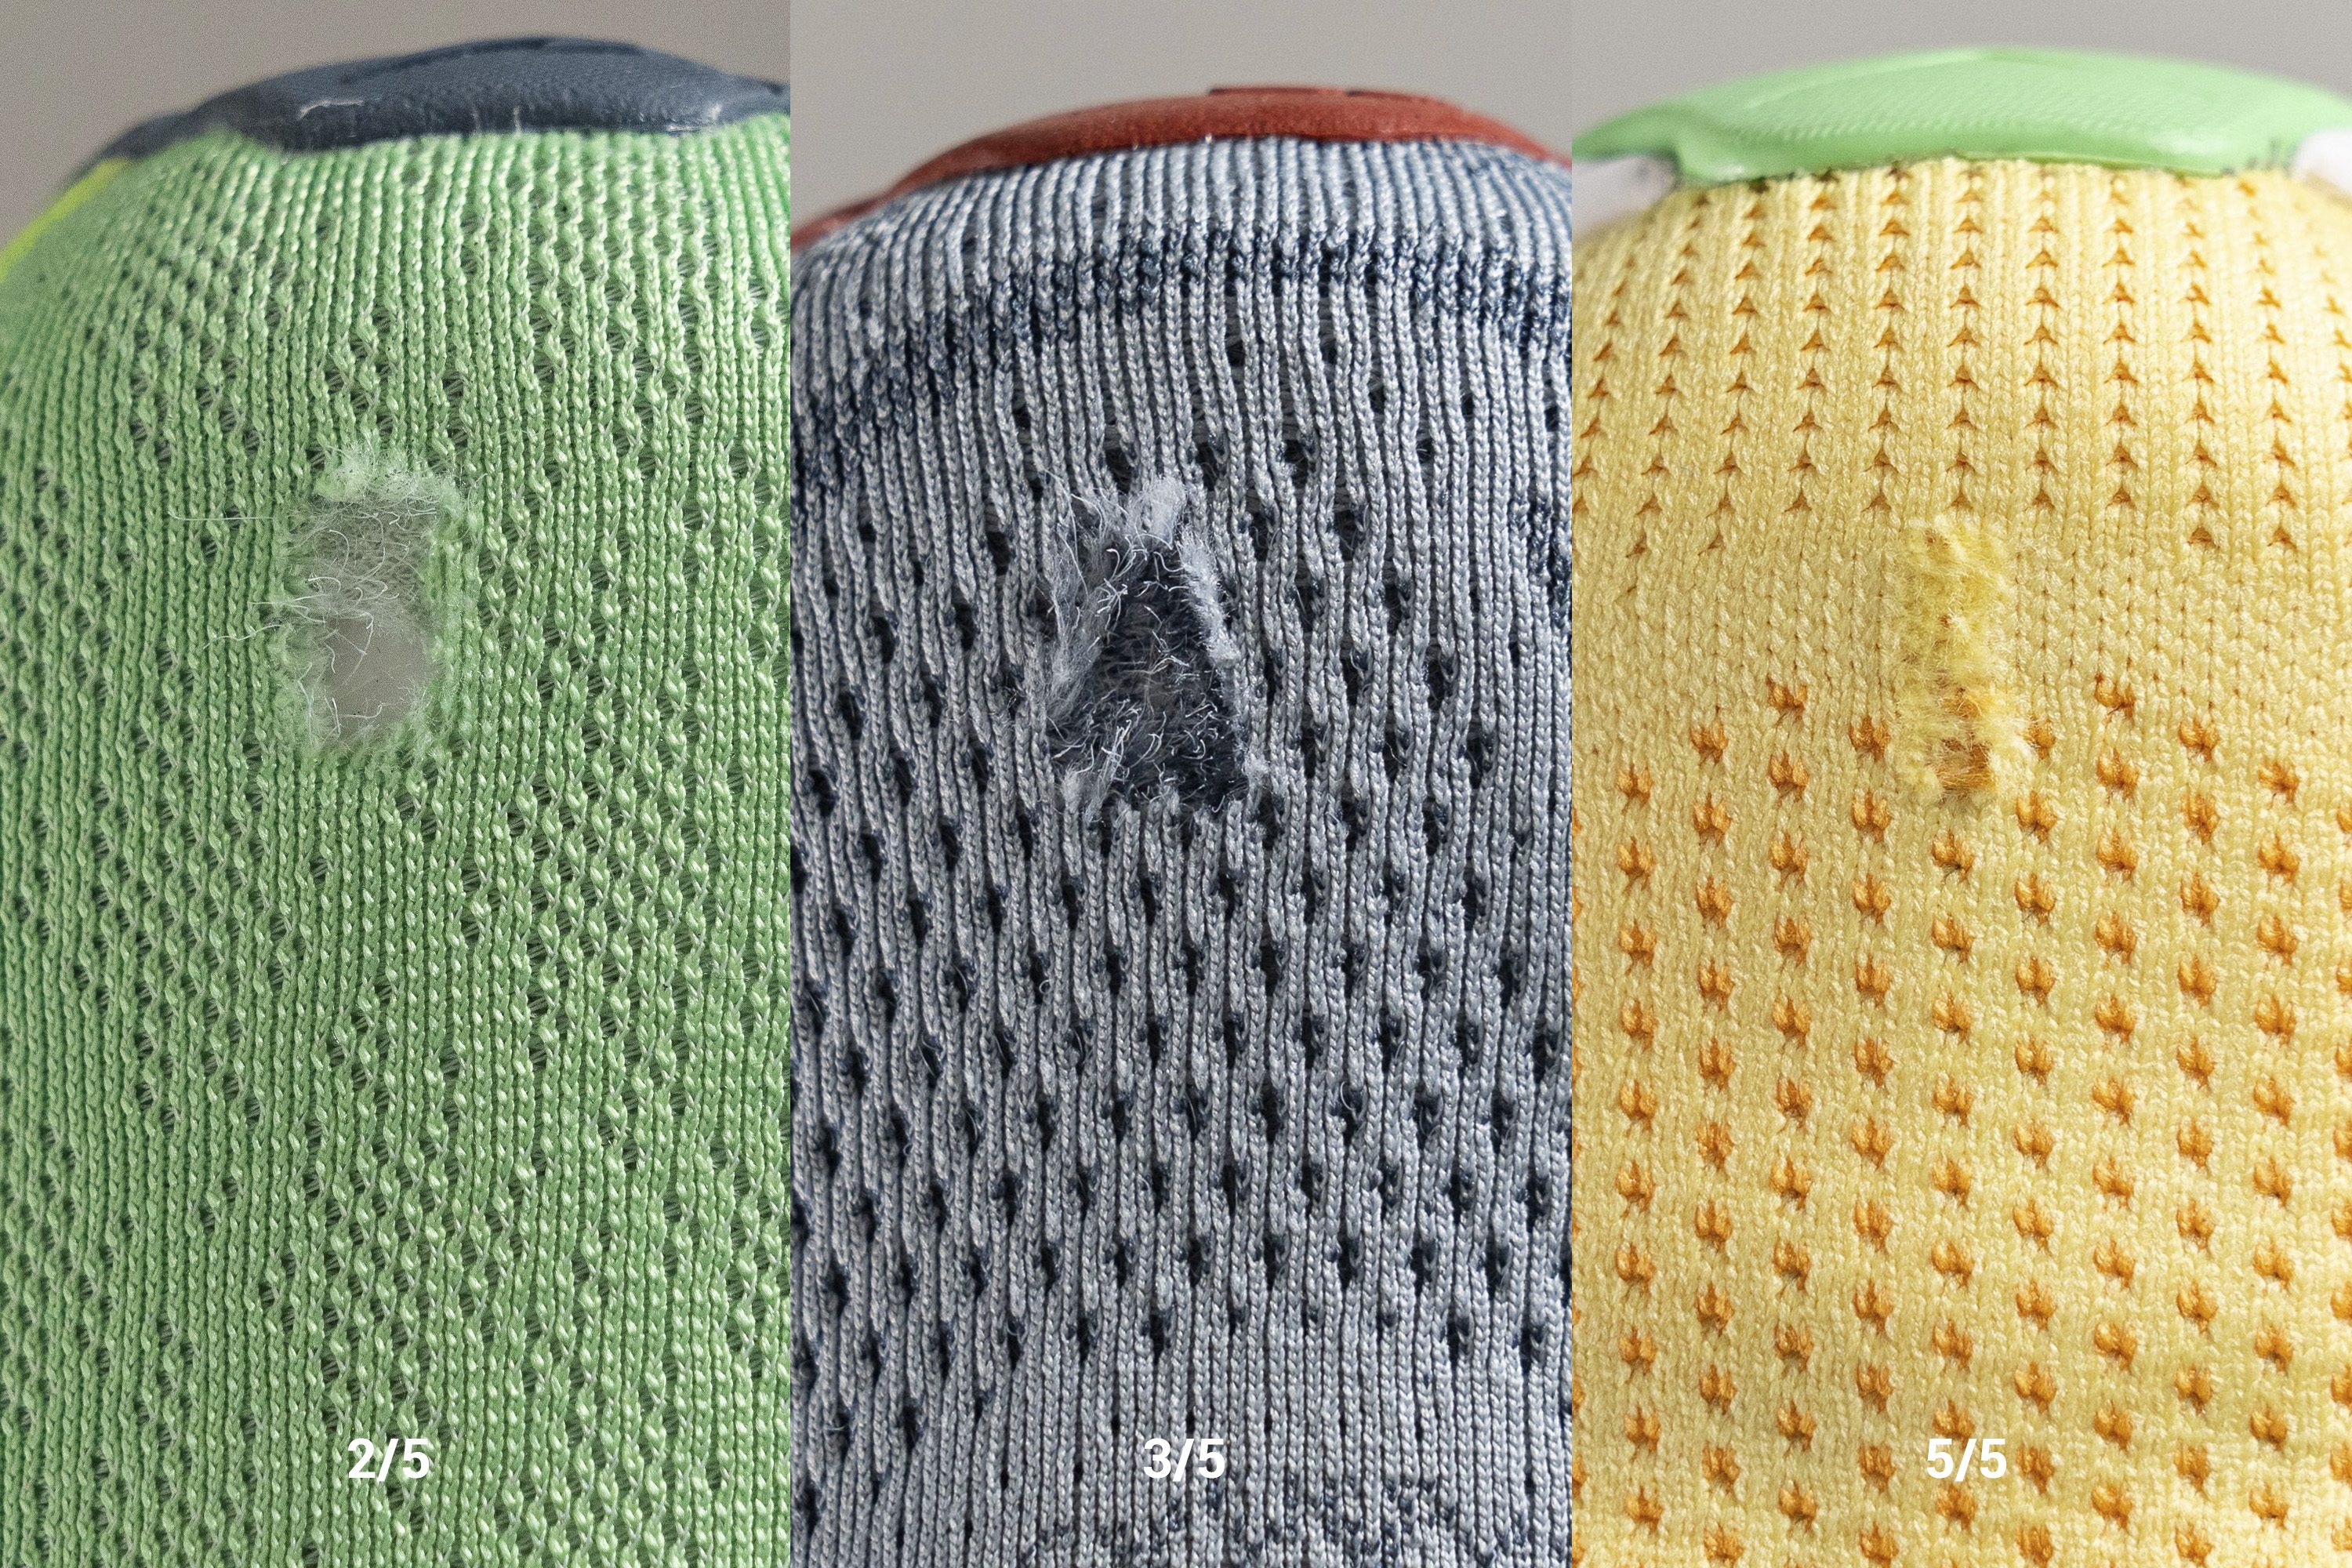
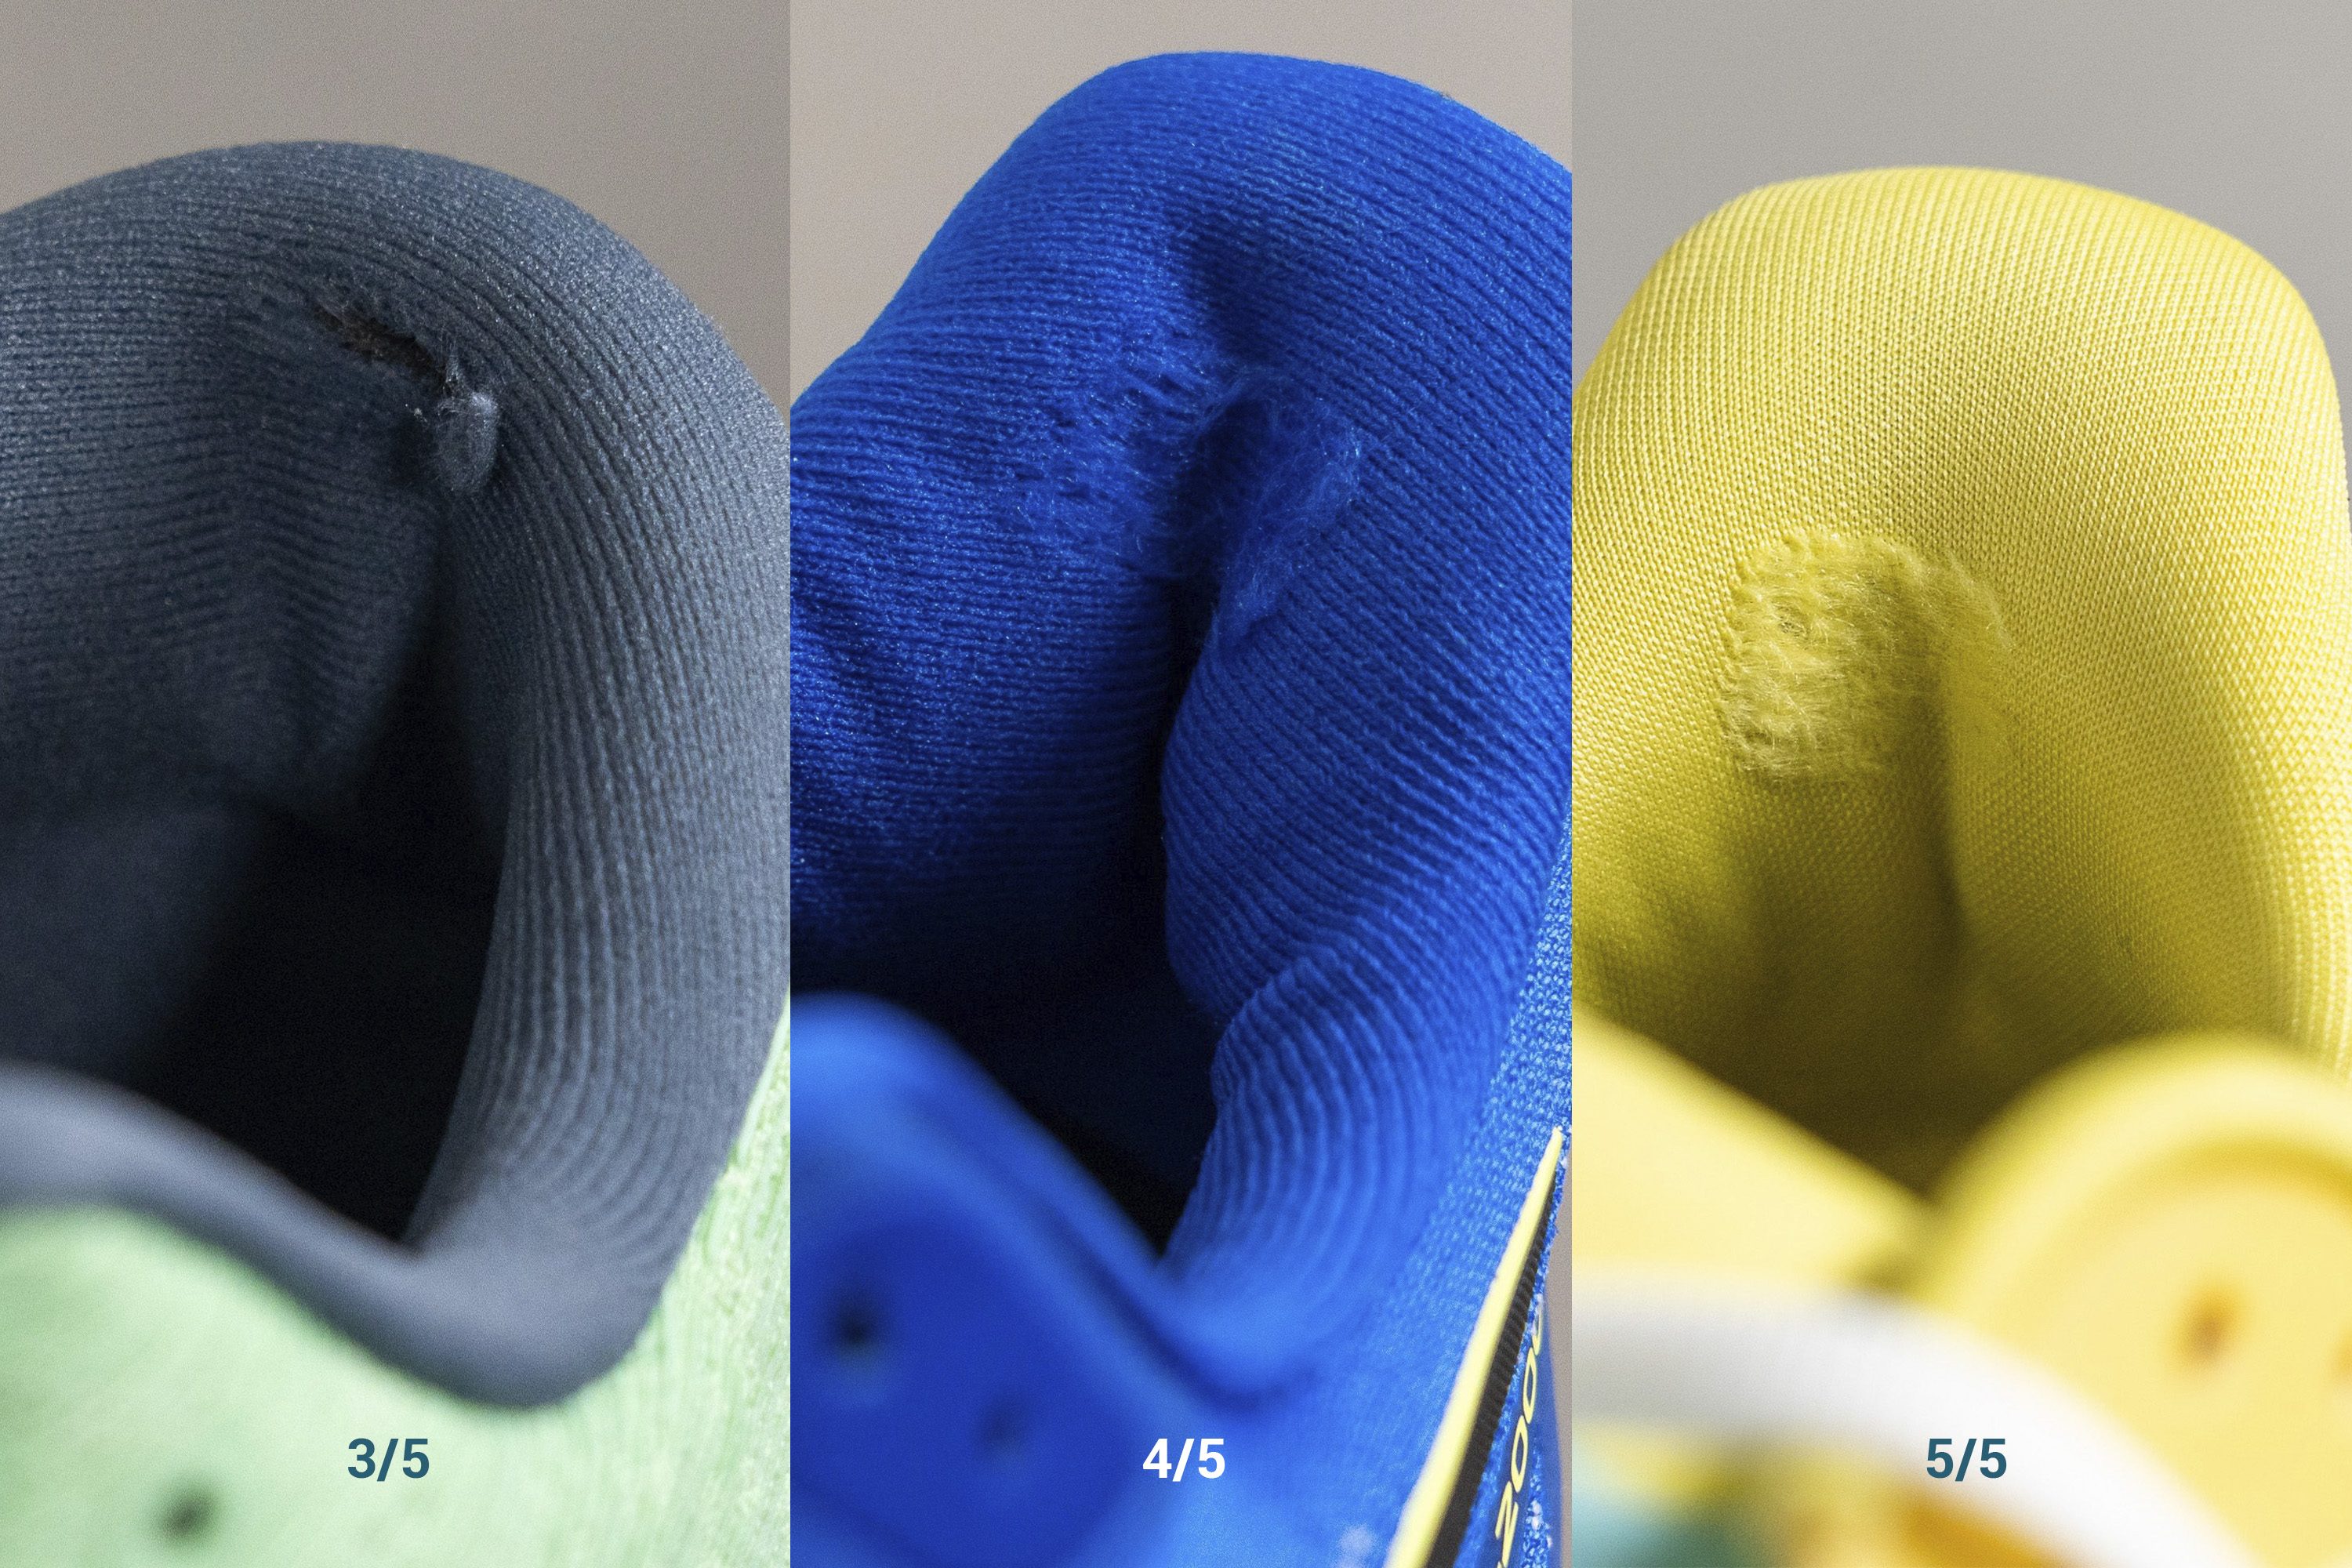
Of course, we don’t stop here. Using the Dremel again, we test the durability of the toebox and the heel padding.
But, in these 2 cases, we can’t measure the dent because the materials are soft. So, we assess the damage on a 1-5 scale, where 1 is the least durable.
Stable running shoes vs. stability running shoes
Stability running shoes are not the same as stable neutral shoes. Neutral shoes can be stable on their own, but stability shoes have the technologies to help overpronators specifically.
Stable neutral shoes are still neutral, which means they have some geometrical stability elements, but would most likely not be enough for overpronators, except very mild ones.
|
Stability shoes |
Stable neutral shoes |
|
Both can have a wider base, heel flare, … |
|
|
Only stability shoes have GuideRails, GuideRail, J frame, H frame, etc. |
|
|
Both can work for mild pronation, depending on how mild. |
|
|
Best for moderate overpronation. |
Best for neutral pronation. |
|
Usually stiffer than neutral running shoes |
Usually more flexible and softer than stability shoes |
Similar buying guides