7 Best Backpacking Boots in 2026

We buy shoes ourselves. We earn commissions when you buy through us, at no extra cost. Why trust us
Hiking with heavy backpacks and long backcountry trips require the right gear. In the realm of footwear, backpacking boots are your sure allies.
This guide is exclusive to those in dire need of the best boots built for extended journeys. So, whether you need something dependable on all fronts, a lightweight pair, or a boot that can tough it out there for months, we got you covered.
To make this best-of-the-best selection a reality, we’ve thoroughly tested backpacking boots while out on our long hikes and inside our lab. We evaluated every result we acquired on our number of tests,a and we decided which boot stood out from the rest. Check out the top picks we selected in several categories!


How we test backpacking boots
We provide you with unbiased reviews of the best backpacking boots known to man. Here is what we do:
- We receive no backpacking boots for free. All pairs are purchased with our own money to help us stay unbiased.
- We test every pair for days on various types of terrain—from manicured trails to off-the-beaten-path locations. We also put each boot through the wringer in different weather conditions to gauge its longevity and overall performance.
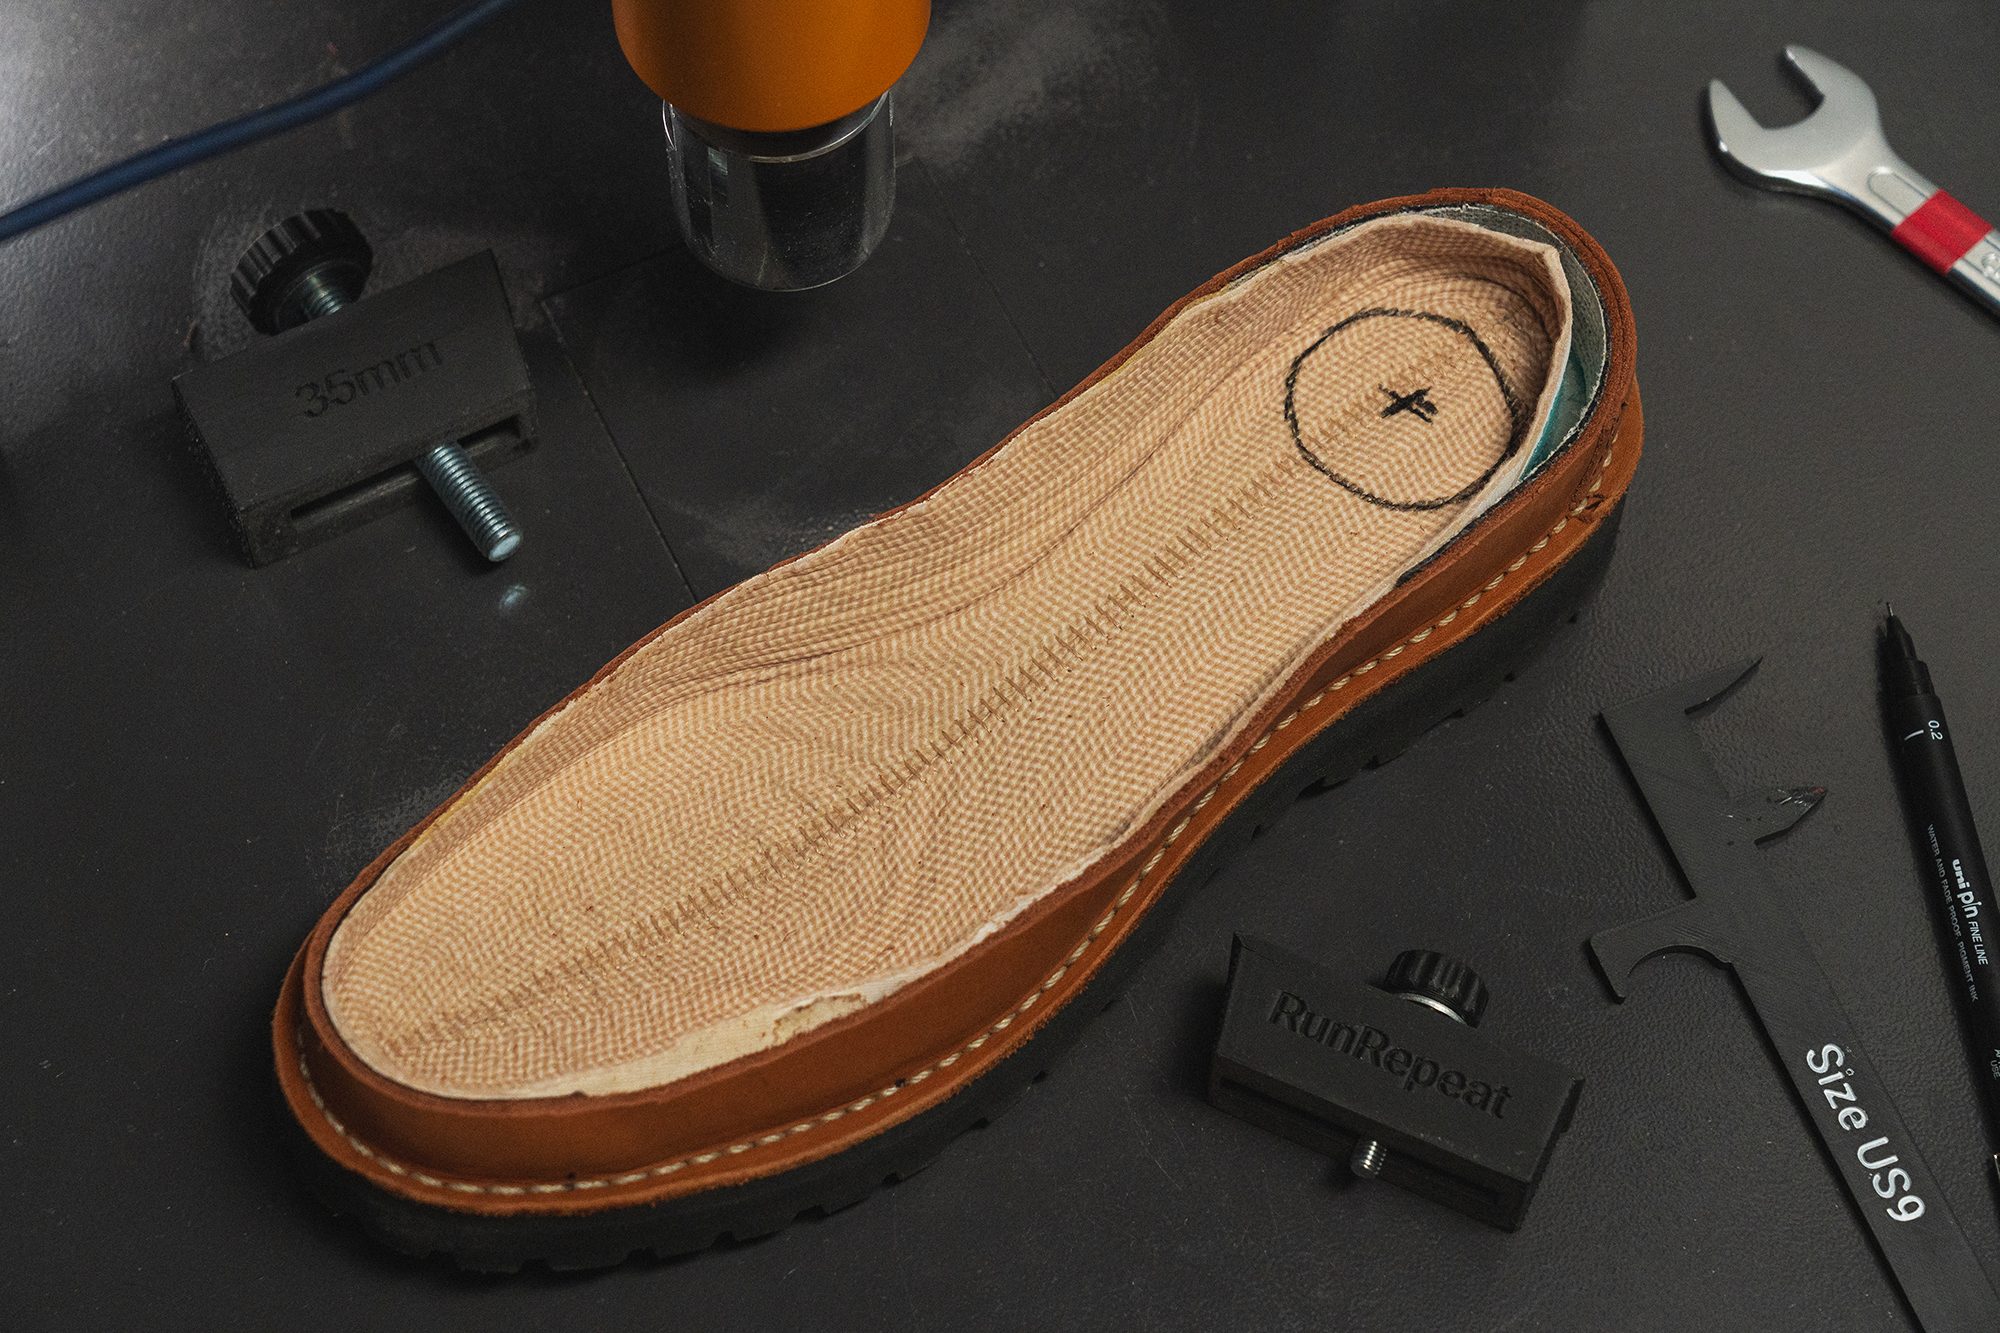
- To make our reviews as comprehensive as possible, we tear the boots apart. We check every little detail, be it a plastic heel counter or a plate, weird stitching, insole thickness, or overall flexibility. We also measure many different parameters, such as shock absorption, traction, breathability, durability, and torsional rigidness.
Best backpacking boots overall


What makes it the best?
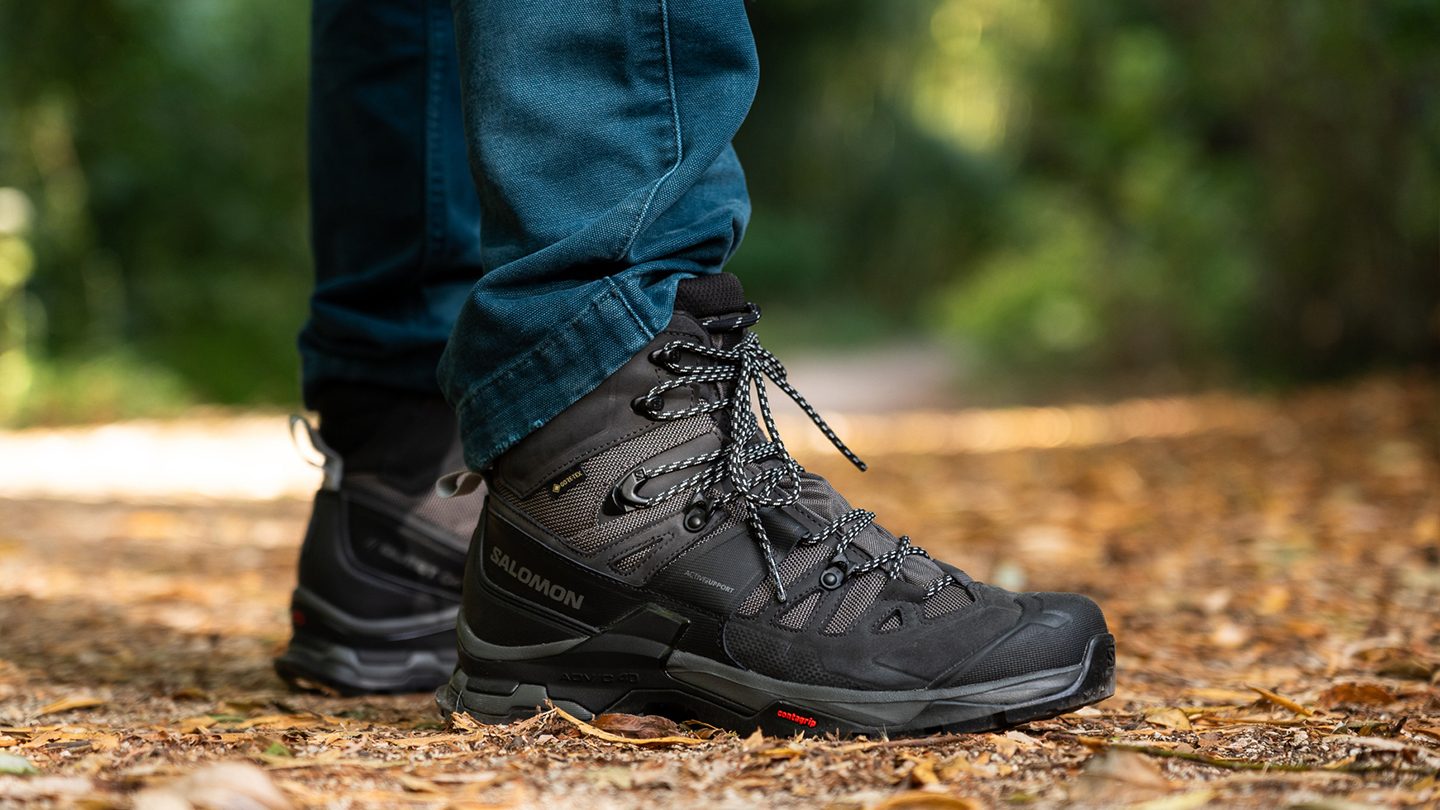
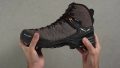
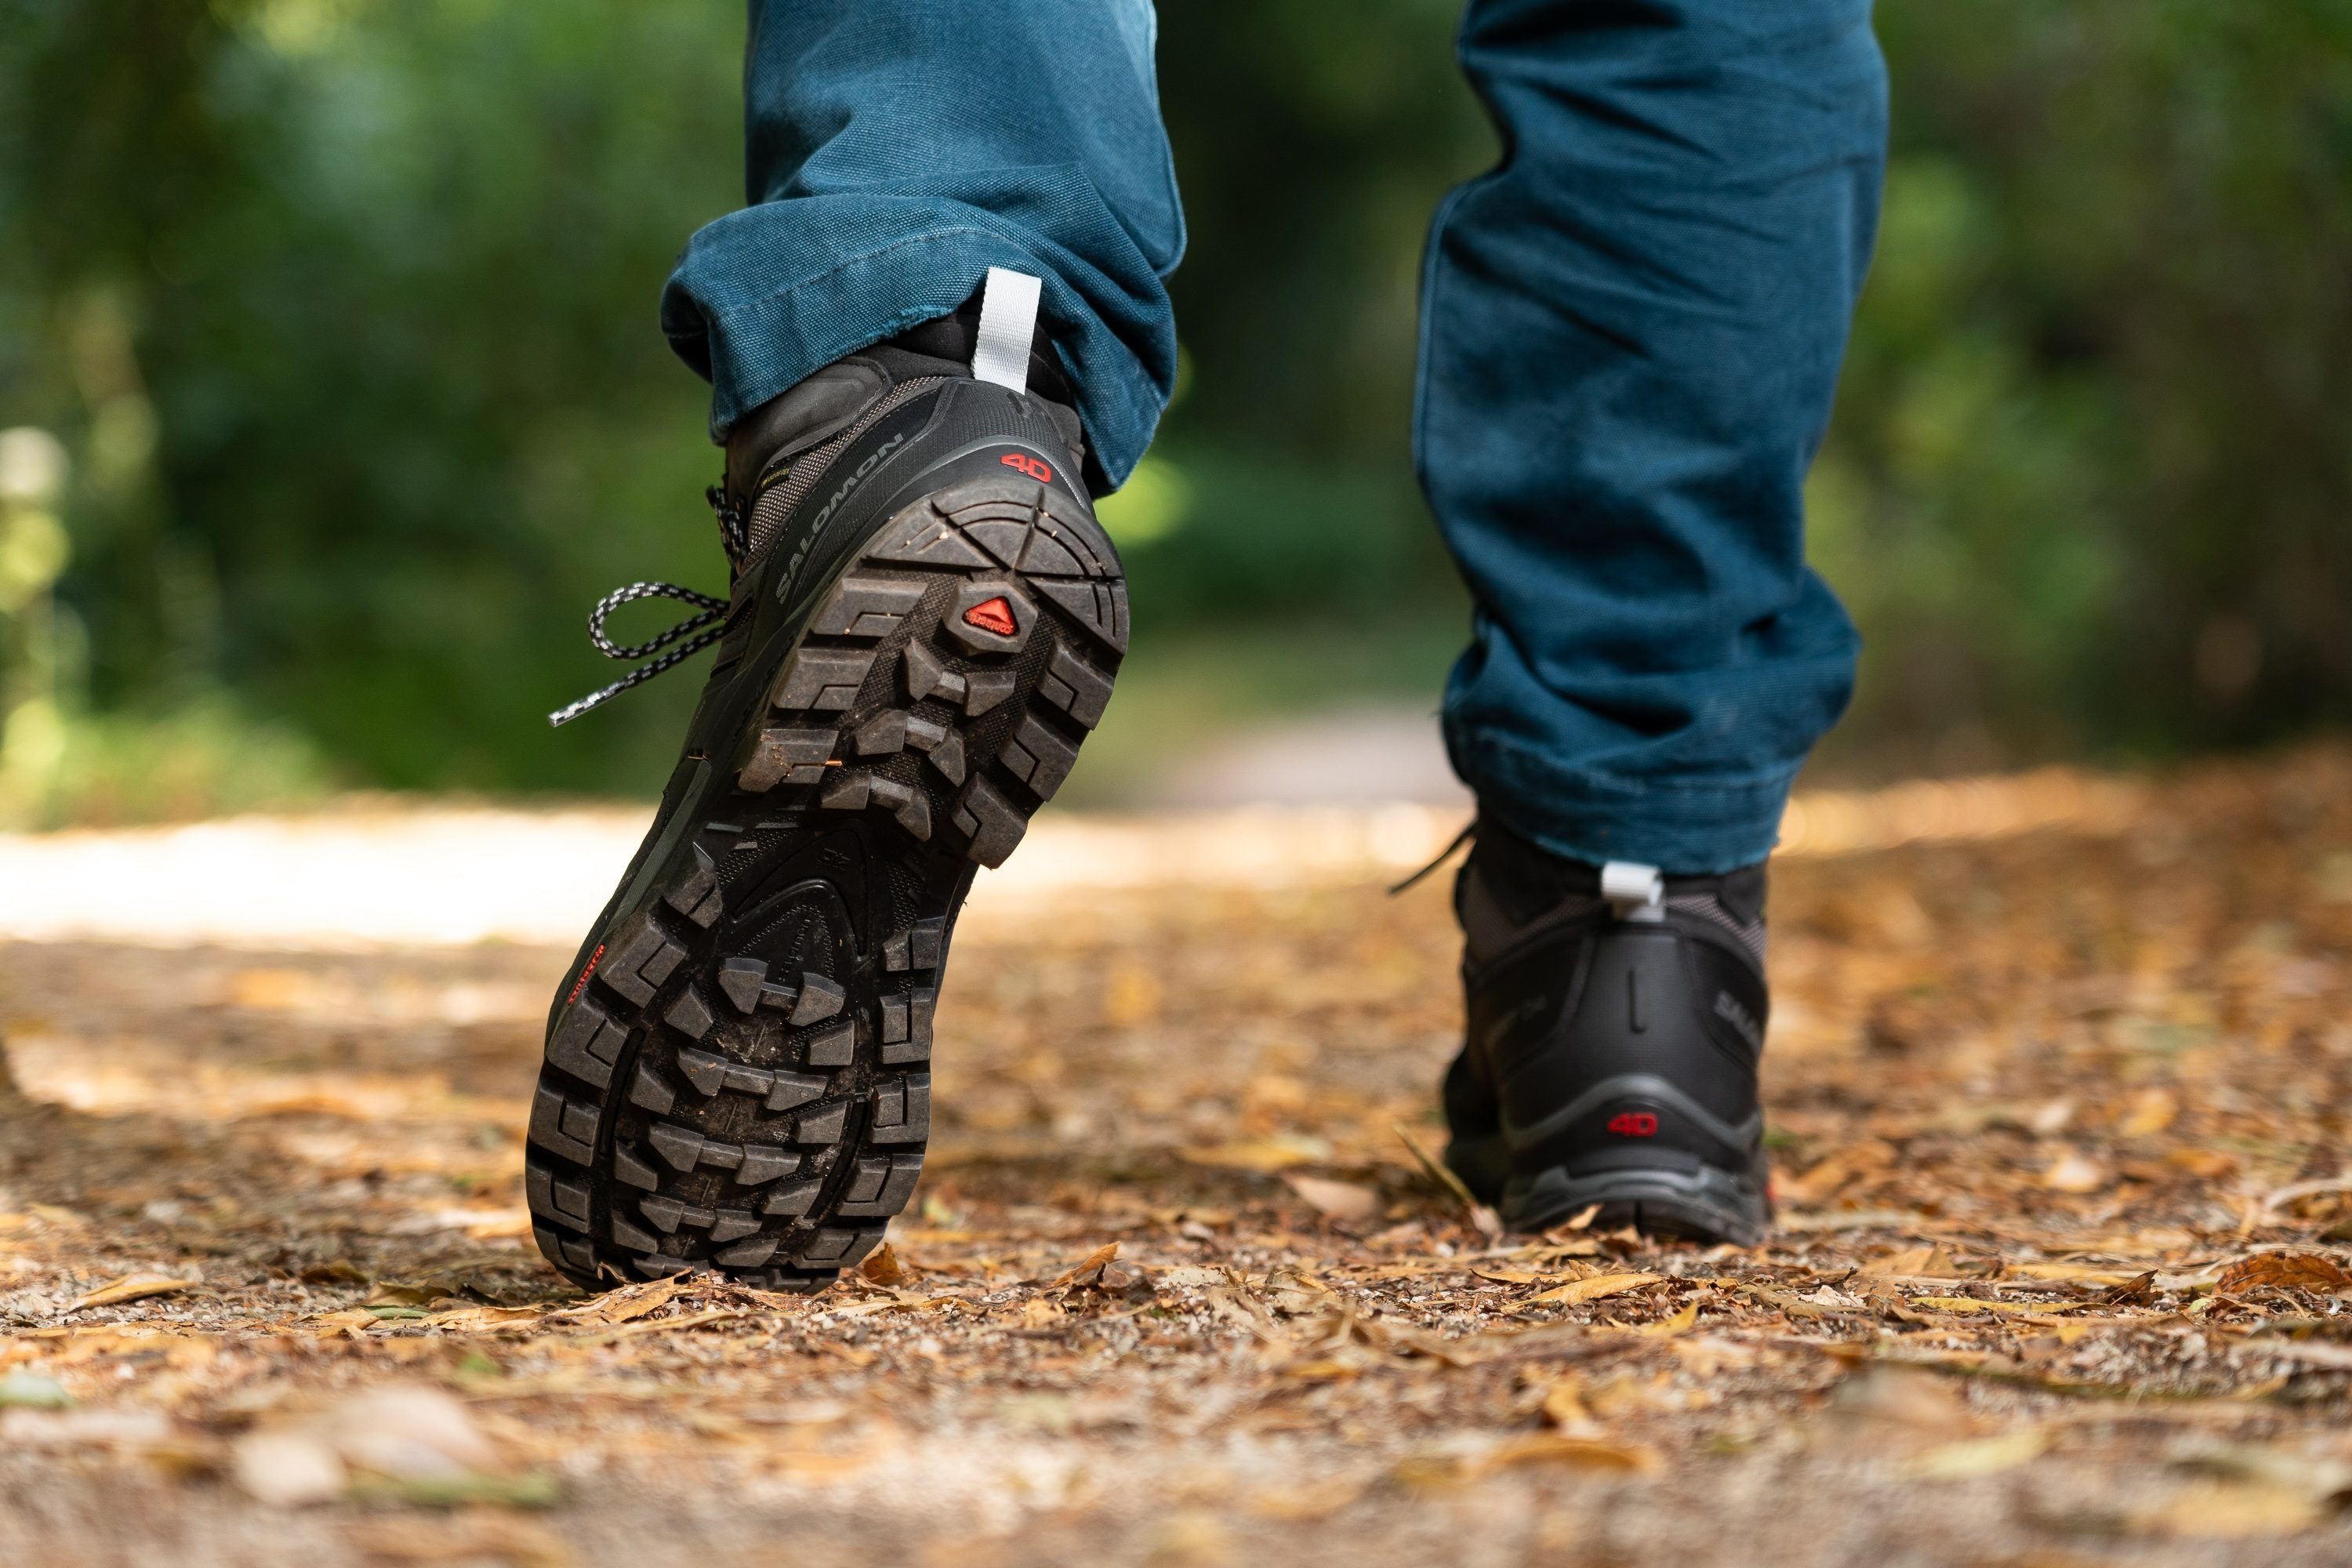
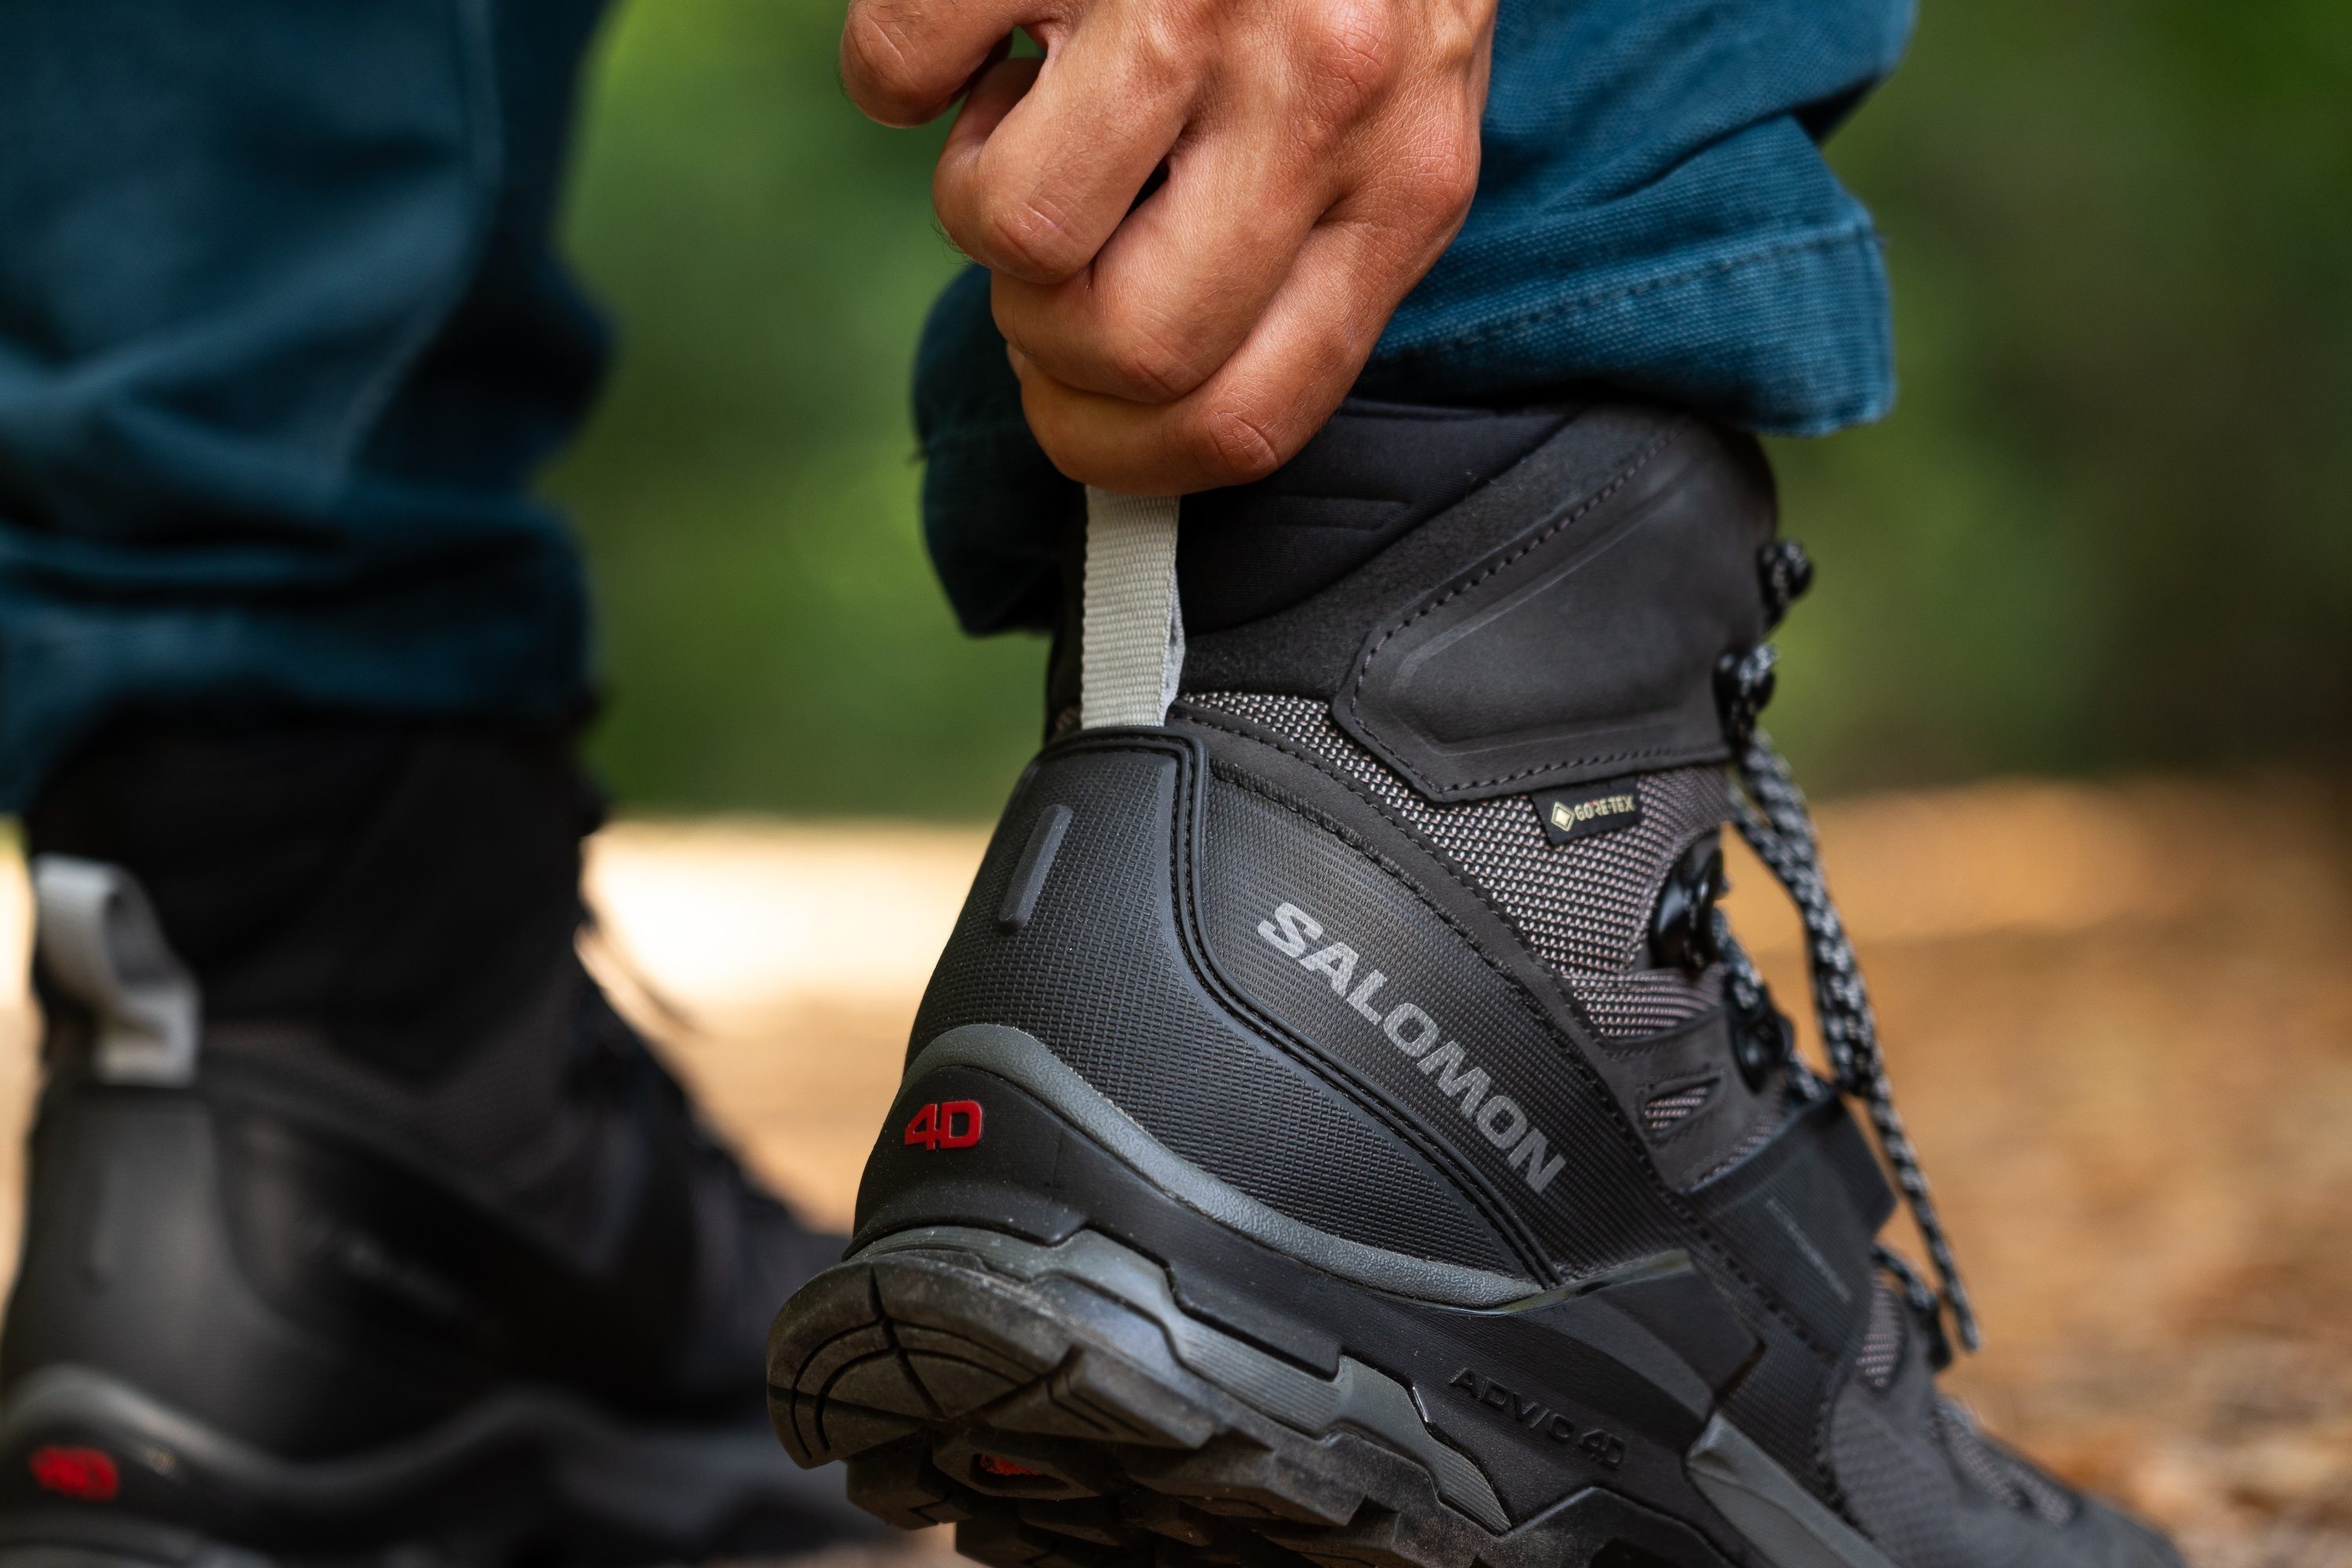
Backpackers looking for a stable, durable and cushioned boot for multi-day adventures can look no further. The Salomon Quest 4 GTX ticks all the boxes, and more, making it our best backpacking boot overall.
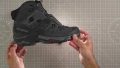
The Salomon Quest 4 GTX is a champion of stability, especially when carrying a fully-loaded pack. The integrated ankle support system keeps our feet locked firmly and snugly into the boot. We rated the heel counter as one of the stiffest that we have tested; at 5/5 it holds our heel tightly but without compressing. Heel slippage is non-existent (so no blisters, either!). The midsole is 2.7 mm wider than average, providing a stable landing platform which prevents rolling on uneven trails.
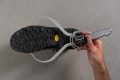
Durability is the name of the game in this boot, and it survived our tests both on the trail and in the lab with barely a scratch. The Contragrip outsole showed almost no sign of wear and tear after our test hike, so we tested the hardness in the lab with a durometer. It measured an impressive 88.3 HC, quite a bit harder than the average 87.4 HC. Since the outsole measures a solid 7 mm thick, it will take a whole lot of hiking to wear out this boot!
We felt a lot of cushioning under our heels which protected us from sharp edges on the trail. In the lab, we measured the heel stack at 38 mm - quite a jump from the average of 36.2 mm. The midsole finds the sweet spot between comfort and support, measuring 27 HA with our durometer, around the average. Altogether, we found the cushioning kept our feet protected and comfortable during long days with heavy packs on our backs.
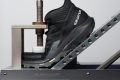
With all of its sturdy materials, the Salomon Quest GTX is not a flexible boot. We bent it to 30° using our machine, which measured a stunning 65.7N - making it 106.6% stiffer than average! While we personally didn’t find it a problem while hiking, we don’t recommend it to backpackers who prefer a more flexible boot.
Pros
- Exceptional durability
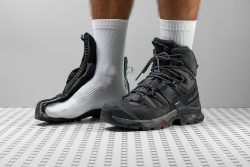
- Top-notch waterproofing
- Excellent underfoot protection
- Highly secure ankle support
- Fantastic stability
- Comfortable in-boot feel
- Effective grip on various terrain
- Fits as expected
Cons
- A bit heavy
- Gets very stiff in cold
Backpacking boots with the best shock absorption


What makes it the best?
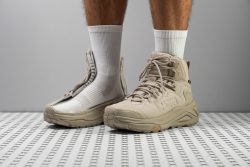
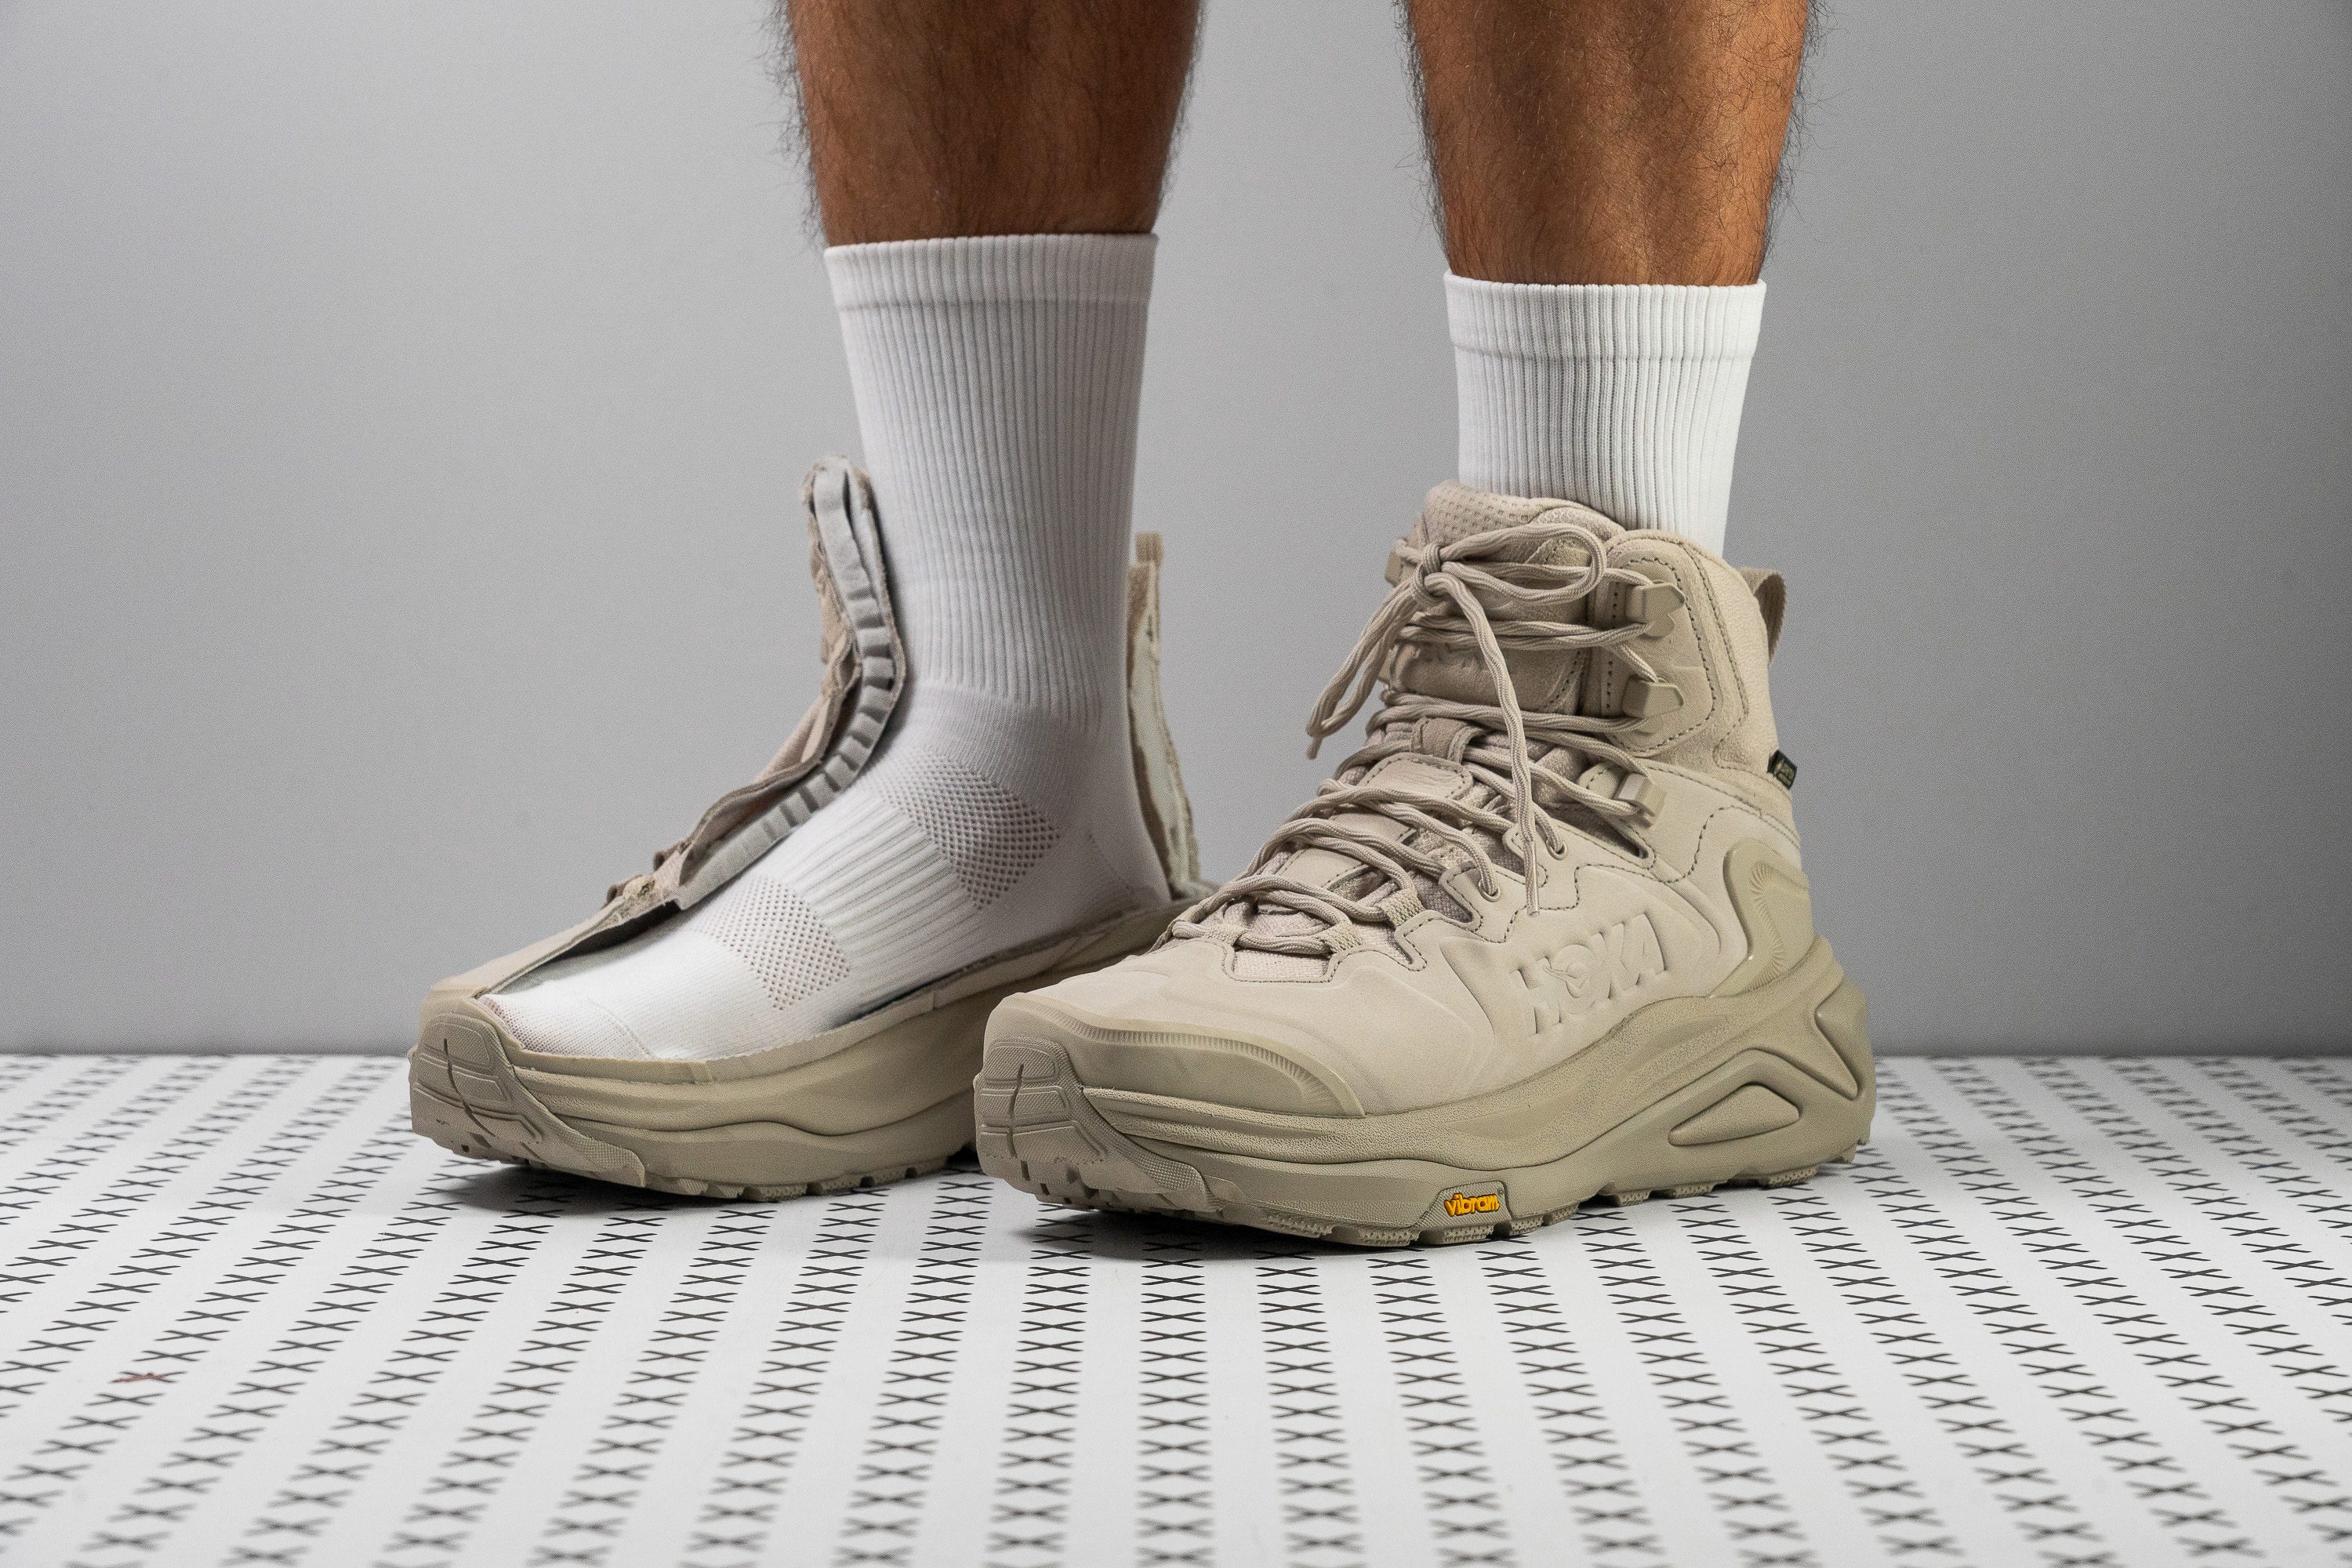
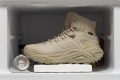
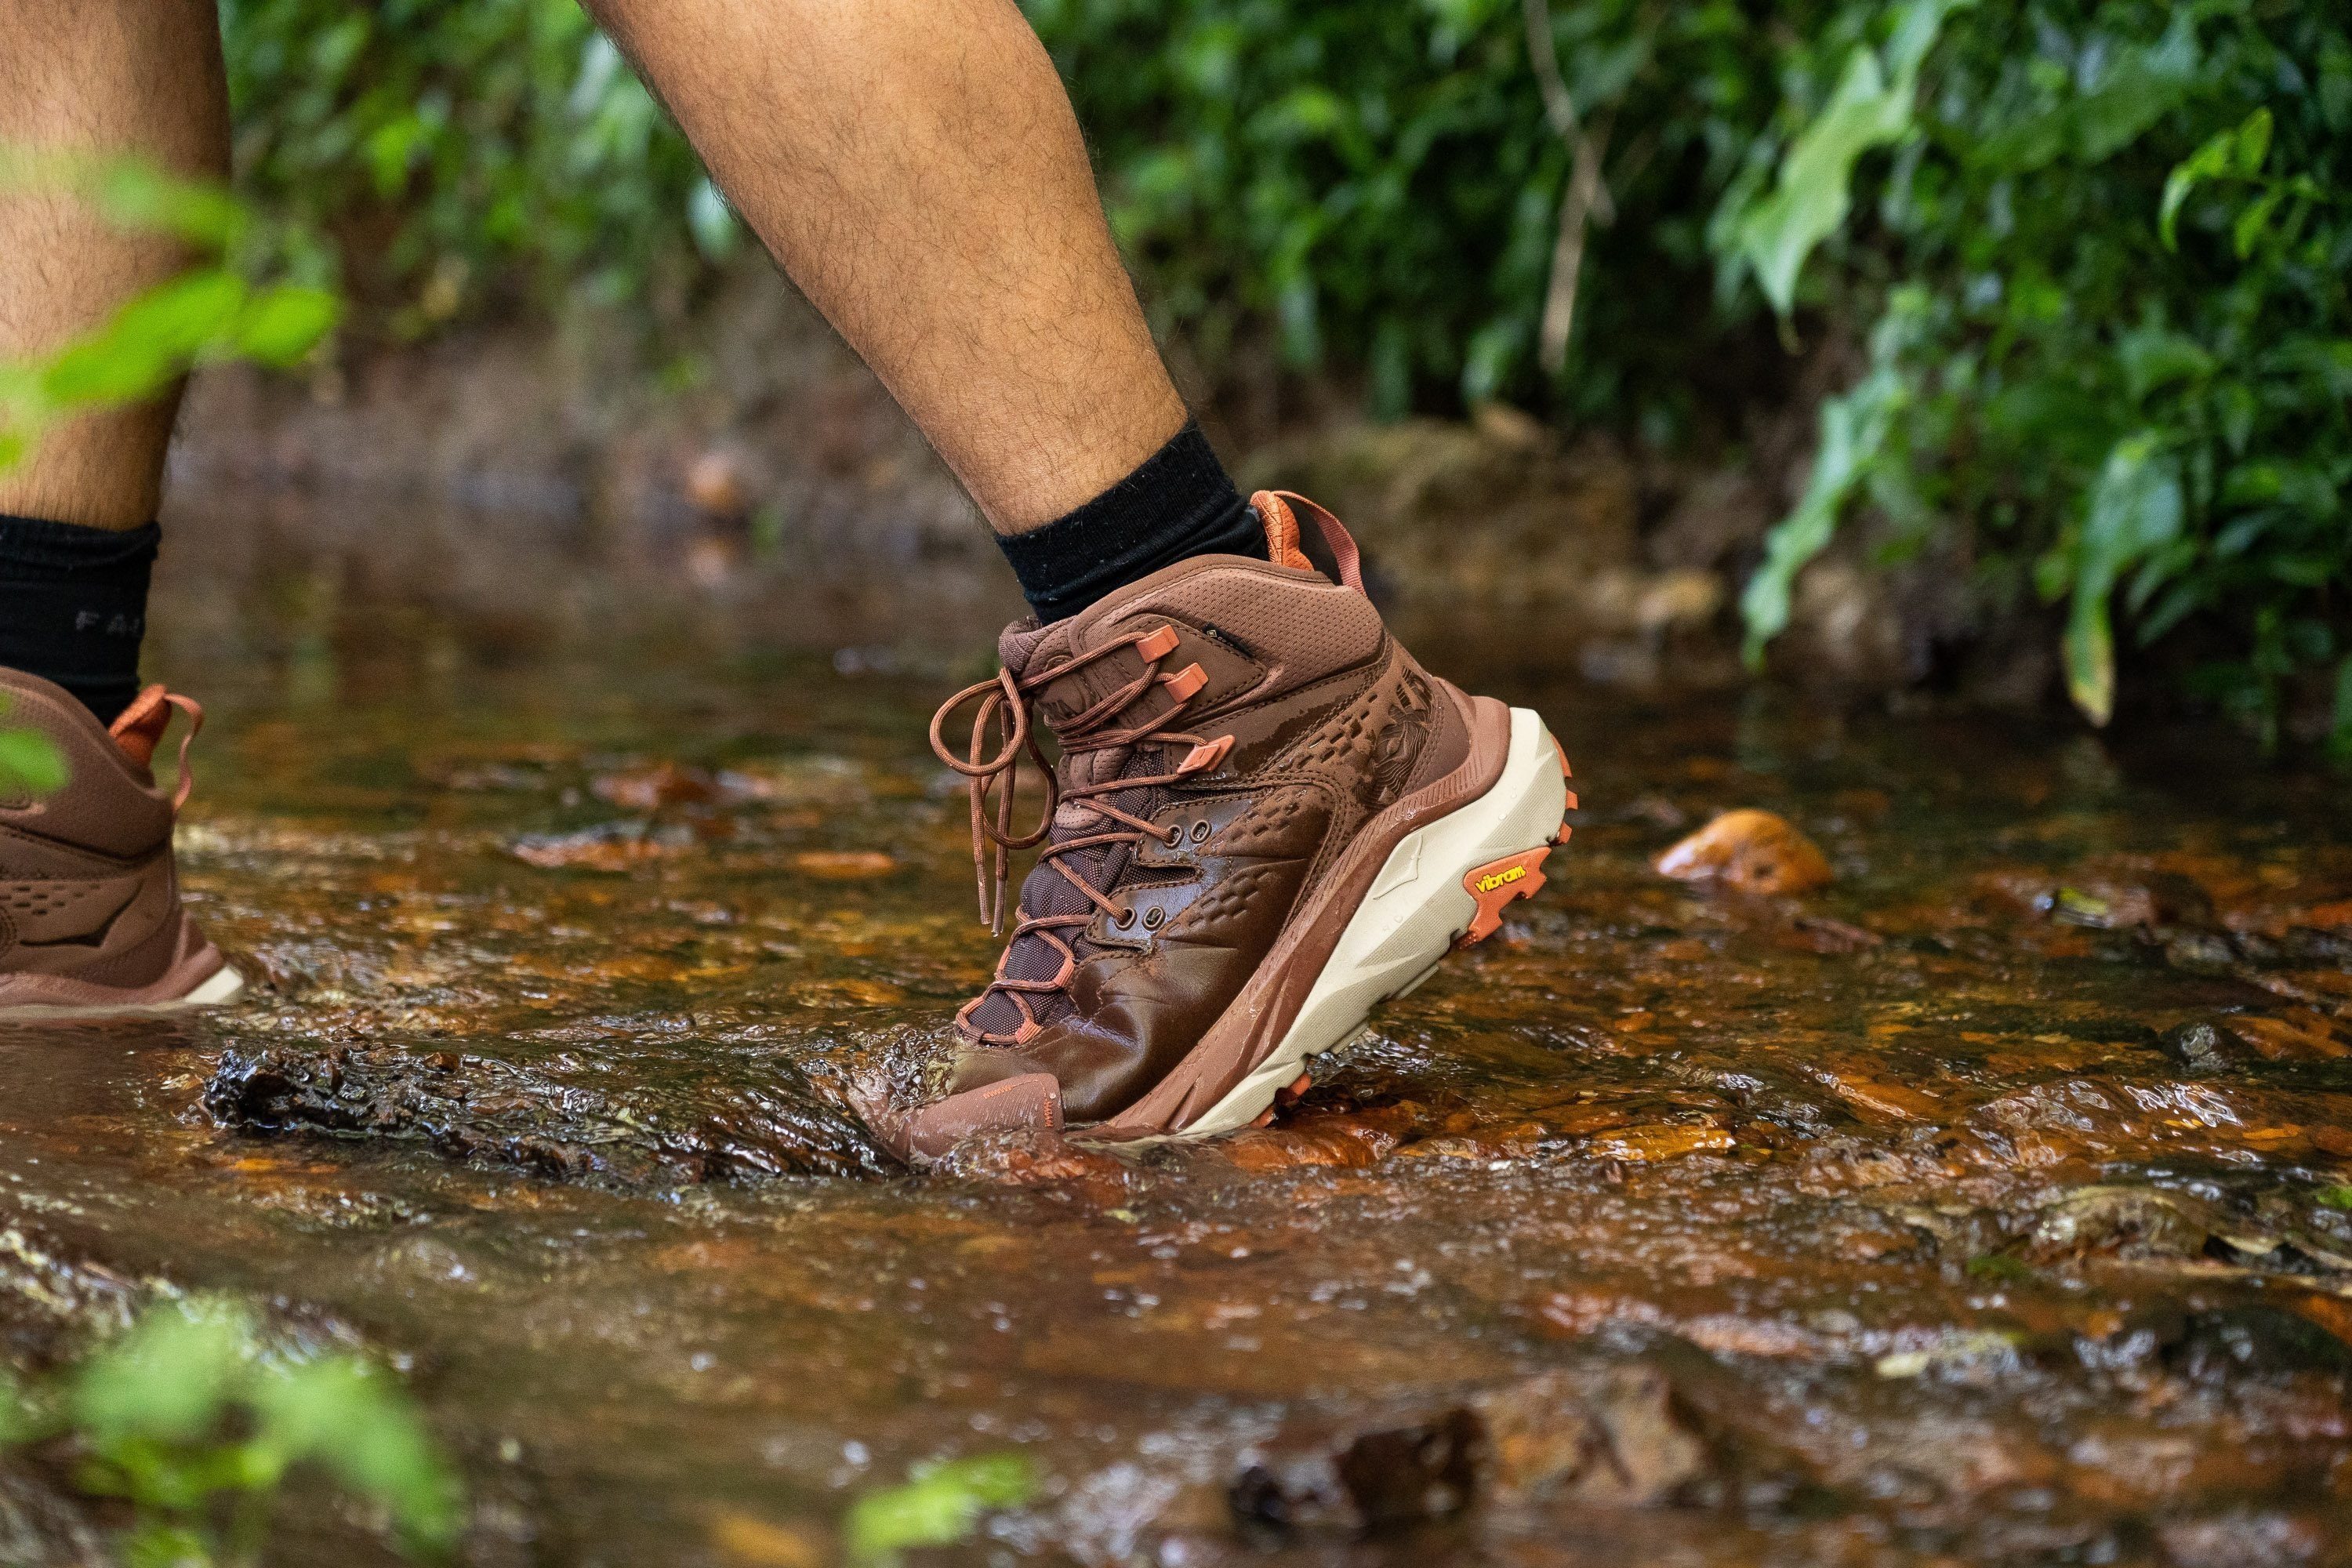
Our backpacking adventures are guaranteed to be safe with the HOKA Kaha 3 GTX’s unwavering support. With a protective construction, it’s our defence against unwanted elements in the wild. We can hike for hours on end as this backpacking boot offers the best shock absorption through its generous cushioning.
We measured the boot to be ultra-stacked at 41.9/30.4 mm, offering protection from landing impact and sharp objects. Our shock absorption test confirms the superior joint protection we enjoyed, with its 120 SA rating being 29.0% above average.
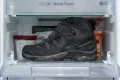
With its water-repellent and heat-preserving design, our feet stayed warm and dry as we crossed streams. Our breathability confirms its impermeability with a low 1/5 rating.
For additional support, Kaha 3 GTX keeps the midsole rigid to enhance our surefootedness. And true enough, the midsole received the maximum 5/5 torsional rigidity score in our assessment. While these elements seem tough, they enhance comfort by preventing leg fatigue from trying to maintain our balance. Further ensuring our steady footing is the grippy Vibram Megagrip outsole that excels on mixed terrains.
Unfortunately, the premium protection this boot offers comes with a high £220 price tag. Backpackers on a budget can seek support from cheaper boots.
Pros
- One of the best cushioned boots ever
- Extremely comfortable for long miles
- Highly stable and supportive
- Excellent traction on smooth surfaces
- Grips mixed and hilly terrain well
- Contains sustainable materials
- More streamlined than the Kaha 2
- Great for cold weather
Cons
- Lugs got much shallower
- Heavier than average
- Poor breathability even for a GTX boot
Best warm backpacking boots


What makes it the best?
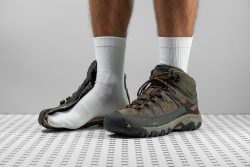
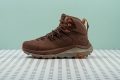
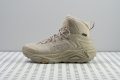
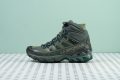
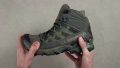
The KEEN Targhee III Waterproof Mid offers a good balance of freedom and control, as evidenced by its spacious room for natural toe splay, which we measured in the lab, and its stable, grippy base that never failed us on our hikes. However, its upper stood out with its high level of protection from debris, toe bumps, and the cold. Therefore, it’s our best warm backpacking boot.
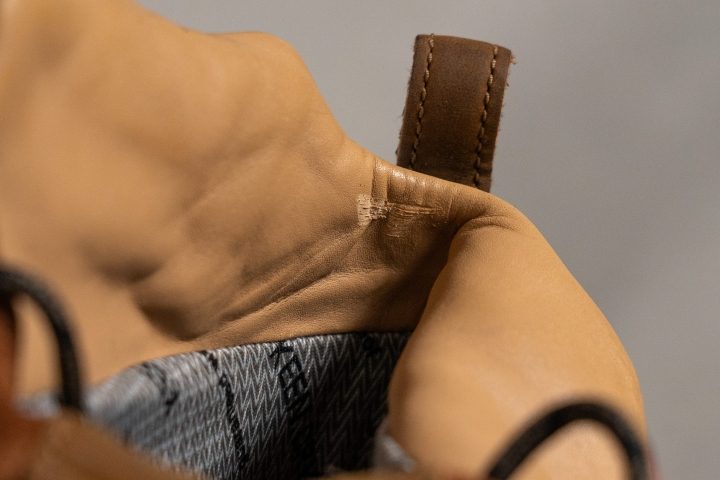
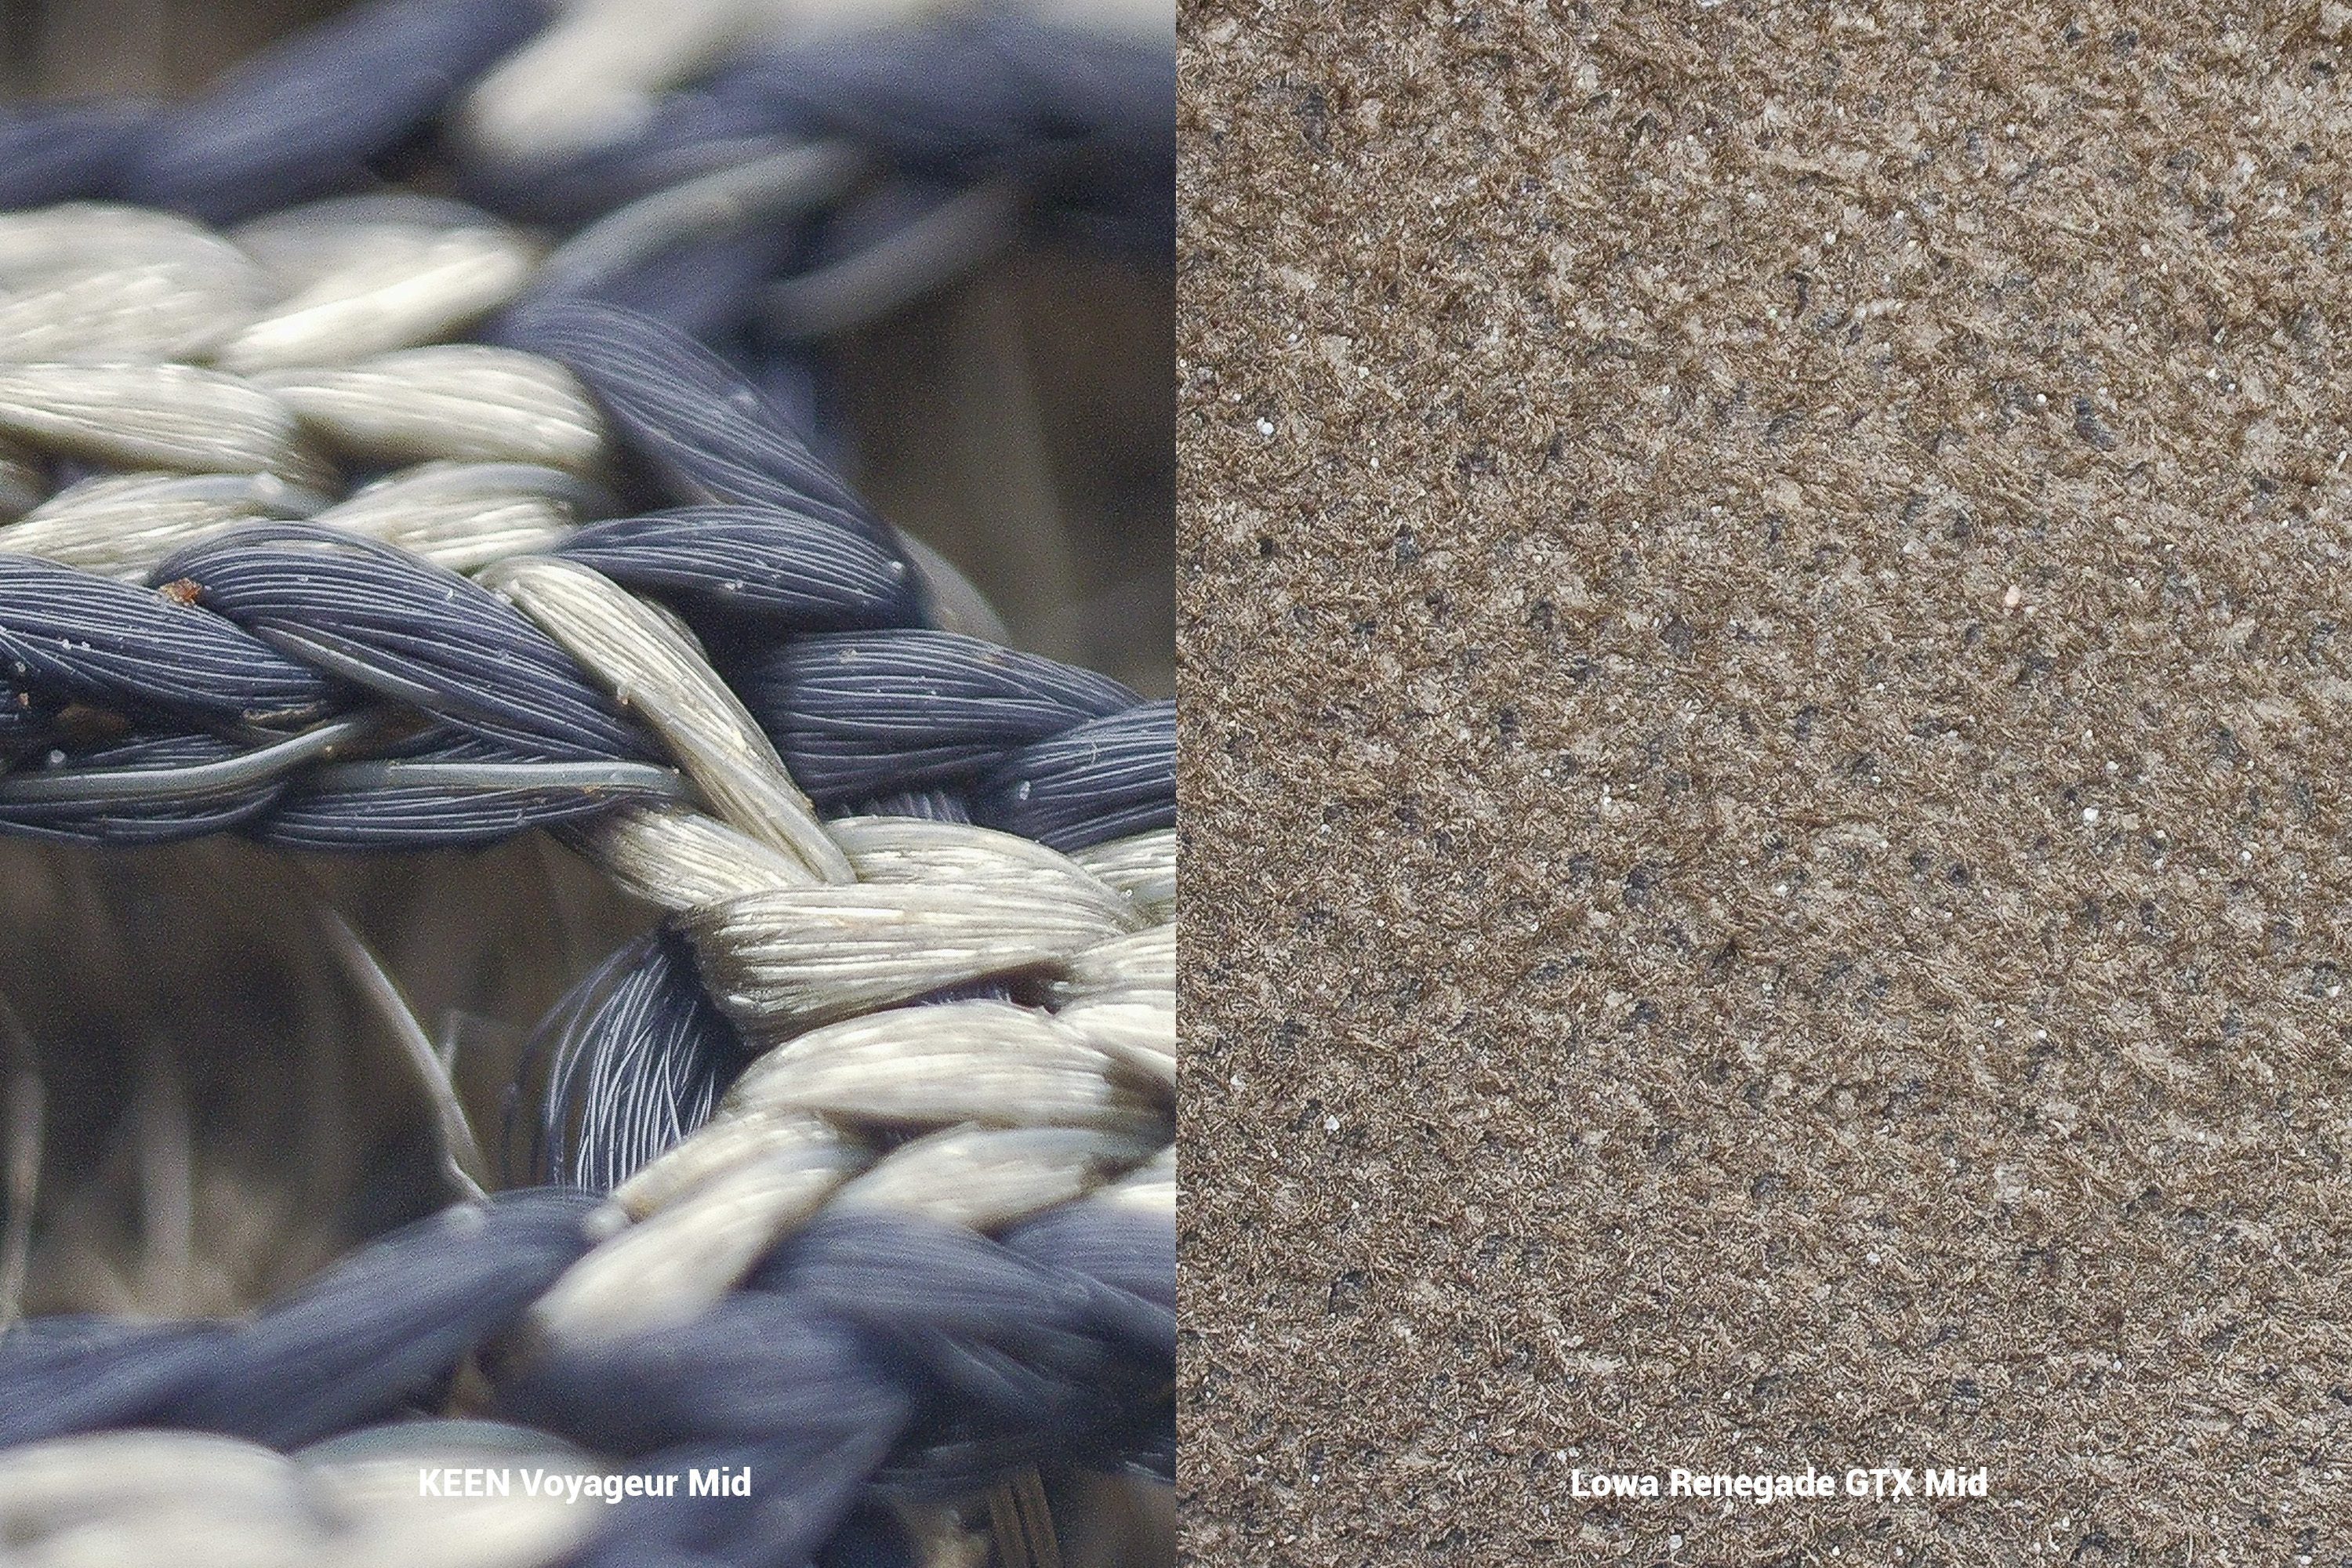
After observing under our microscope, we found compact braided fibres in the upper, along with leather overlays and a waterproof lining, which explains its impressive heat retention score that’s 10% above average. Even if the winds got harsher, our feet remained cosy. It also features a toe bumper for added toe-stub protection, which achieved a remarkable 5/5 durability score in our Dremel test.
Even under heavy loads, the midsole didn’t surrender. It includes supportive shanks and 4.2 mm multi-directional lugs, offering surefootedness to our steps.
The boot felt roomy, as all five of our toes could rest comfortably despite wearing thick socks. We measured the big toe area to be 8% broader than average, making it forgiving to those with broad or high-volume feet.
However, the outsole performed worse than average in our abrasion test, indicating the rubber can wear out faster than in most boots. If a short lifespan is an issue, we suggest going for a sturdier boot.
Pros
- Extremely stable
- Generously padded and comfortable
- Secure heel hold
- Laudable warmth
- Great grip on various terrain
- Roomy toebox
- Excellent heat retention in cold
- Excellent heat retention in cold
- Excellent grip on various terrain
- Short to zero break-in period
- Commendable toe cap
- Roomy toebox
Cons
- Lacklustre outsole durability
- Not ideal for narrow feet
- Very slow drying time
- Not ideal for narrow feet
Best backpacking hiking boots with wide toeboxes


What makes it the best?
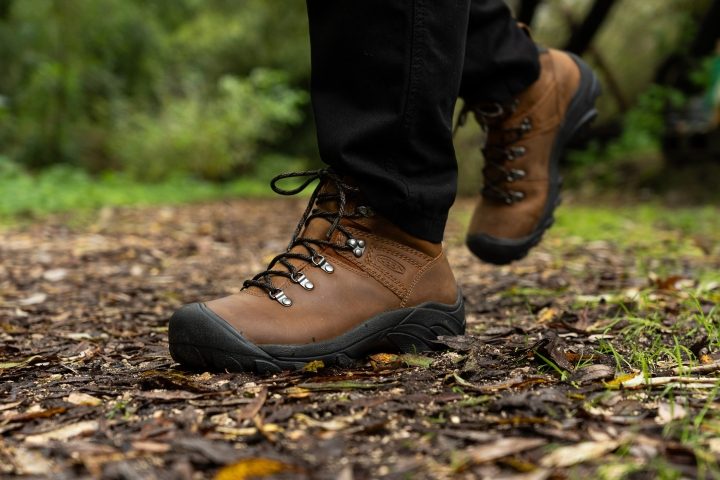
KEEN Pyrenees offered the best with wide toebox experience among all the hiking boots we backpacked with. It’s hard to beat Pyrenees’ robust and protective platform, which feels stable and homey. We found its sweet spot hiking all day in cold weather and occasionally crossing streams.
Our toes can splay naturally even with our thickest socks. Our calliper shows the toebox is a generous 108.0 mm. Pyrenees doesn’t hold back and offers more space than average in the big toe area at 83.5 mm. This enhances our surefootness and control while carrying heavy loads on uneven terrains.
Pyrenees provides all-day comfort with its generous heel cushion and velvet platform. Our durometer confirms its plush feel at 15.9 HA vs. the 26.6 HA average. An average forefoot stack leads to a massive 18.1 mm drop. A raised heel is essential for backpacking as it reduces our leg strain. Furthering stability is a midfoot shank for further support to avoid unwanted ankle movements.
The shoe’s premium nubuck leather, firm lockdown, and extremely tough outsole make it an armour from the cold, water, rocks, and other elements. Its KEEN.ALL-TERRAIN rubber is one of the toughest in our lab, with a 92.0 HC durometer reading.
With a 1/5 score on our breathability test, Pyrenees feels like an oven in temperatures above 50°F or 10°C.
Pros
- Premium nubuck leather quality
- Top-notch waterproofing
- Tonnes of impact protection
- Surprisingly soft cushioning
- Excellent stability and support
- Very wide, accommodating toebox
- Convenient lacing system
- Stays warm in cold weather
Cons
- Too bulky and heavy
- Tongue edges dig into shins
- Lacks traction for mud, ice, and snow
- Poor breathability
Best lightweight backpacking boots


What makes it the best?
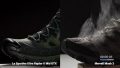
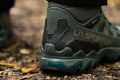
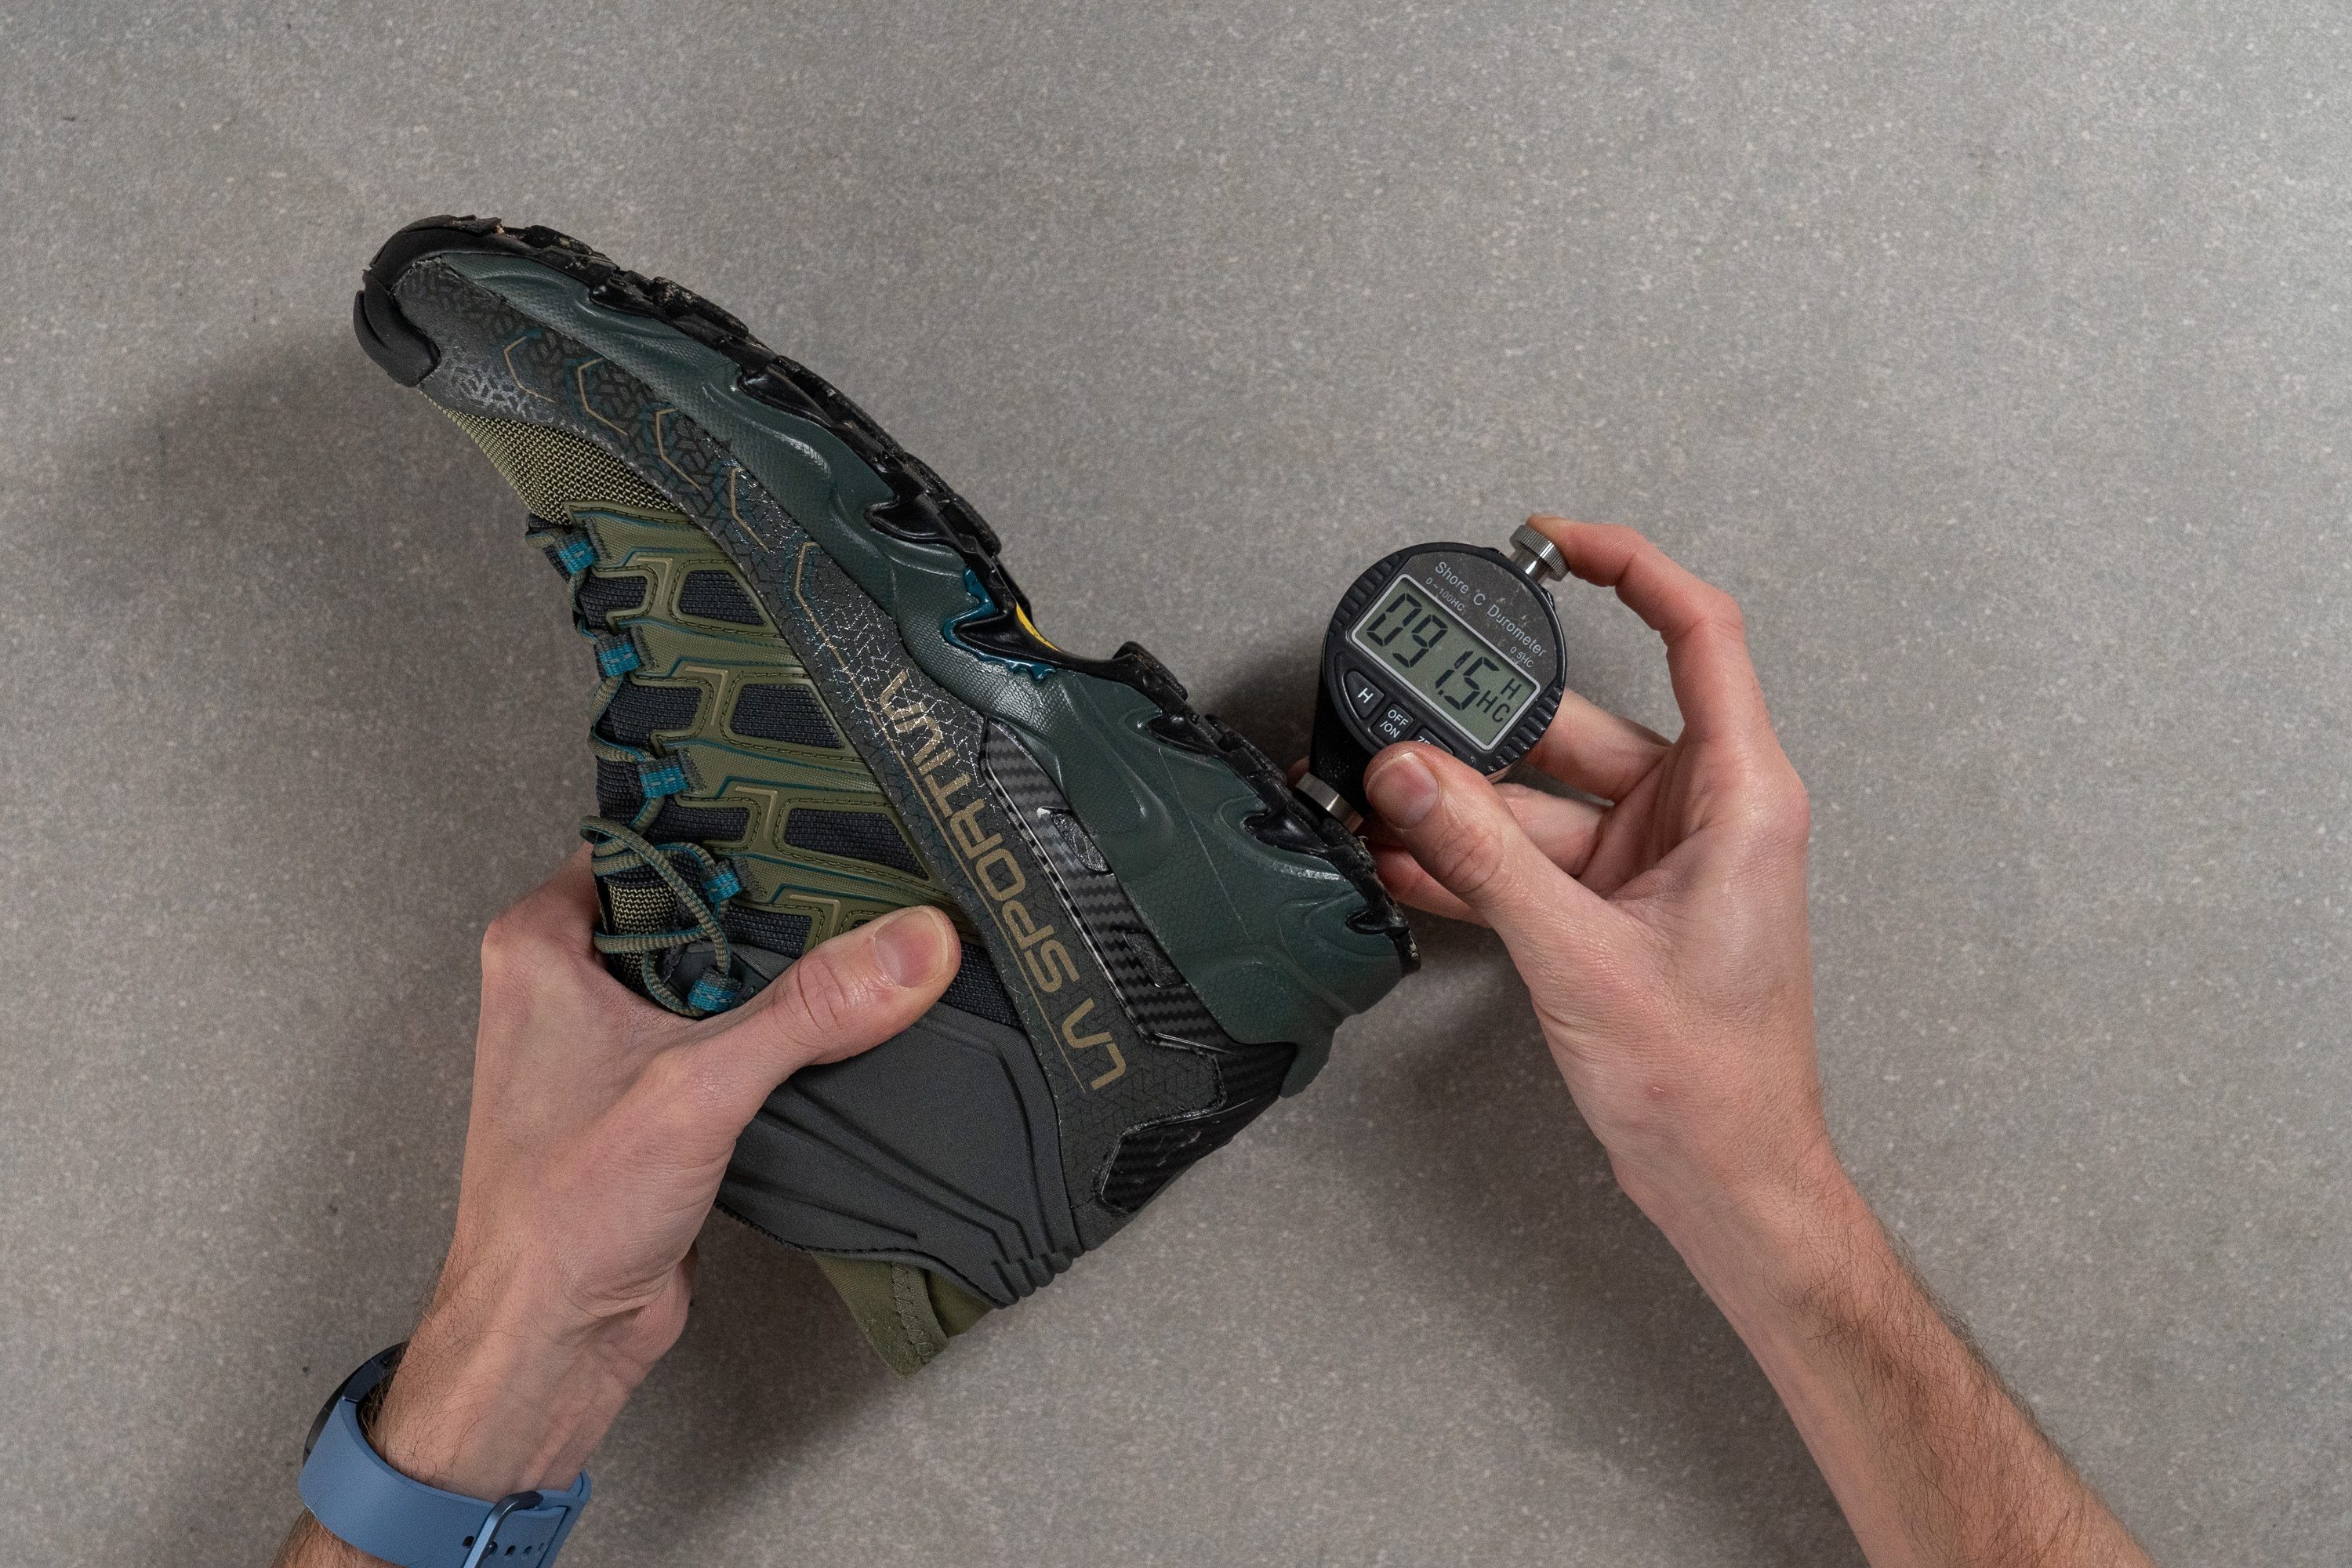
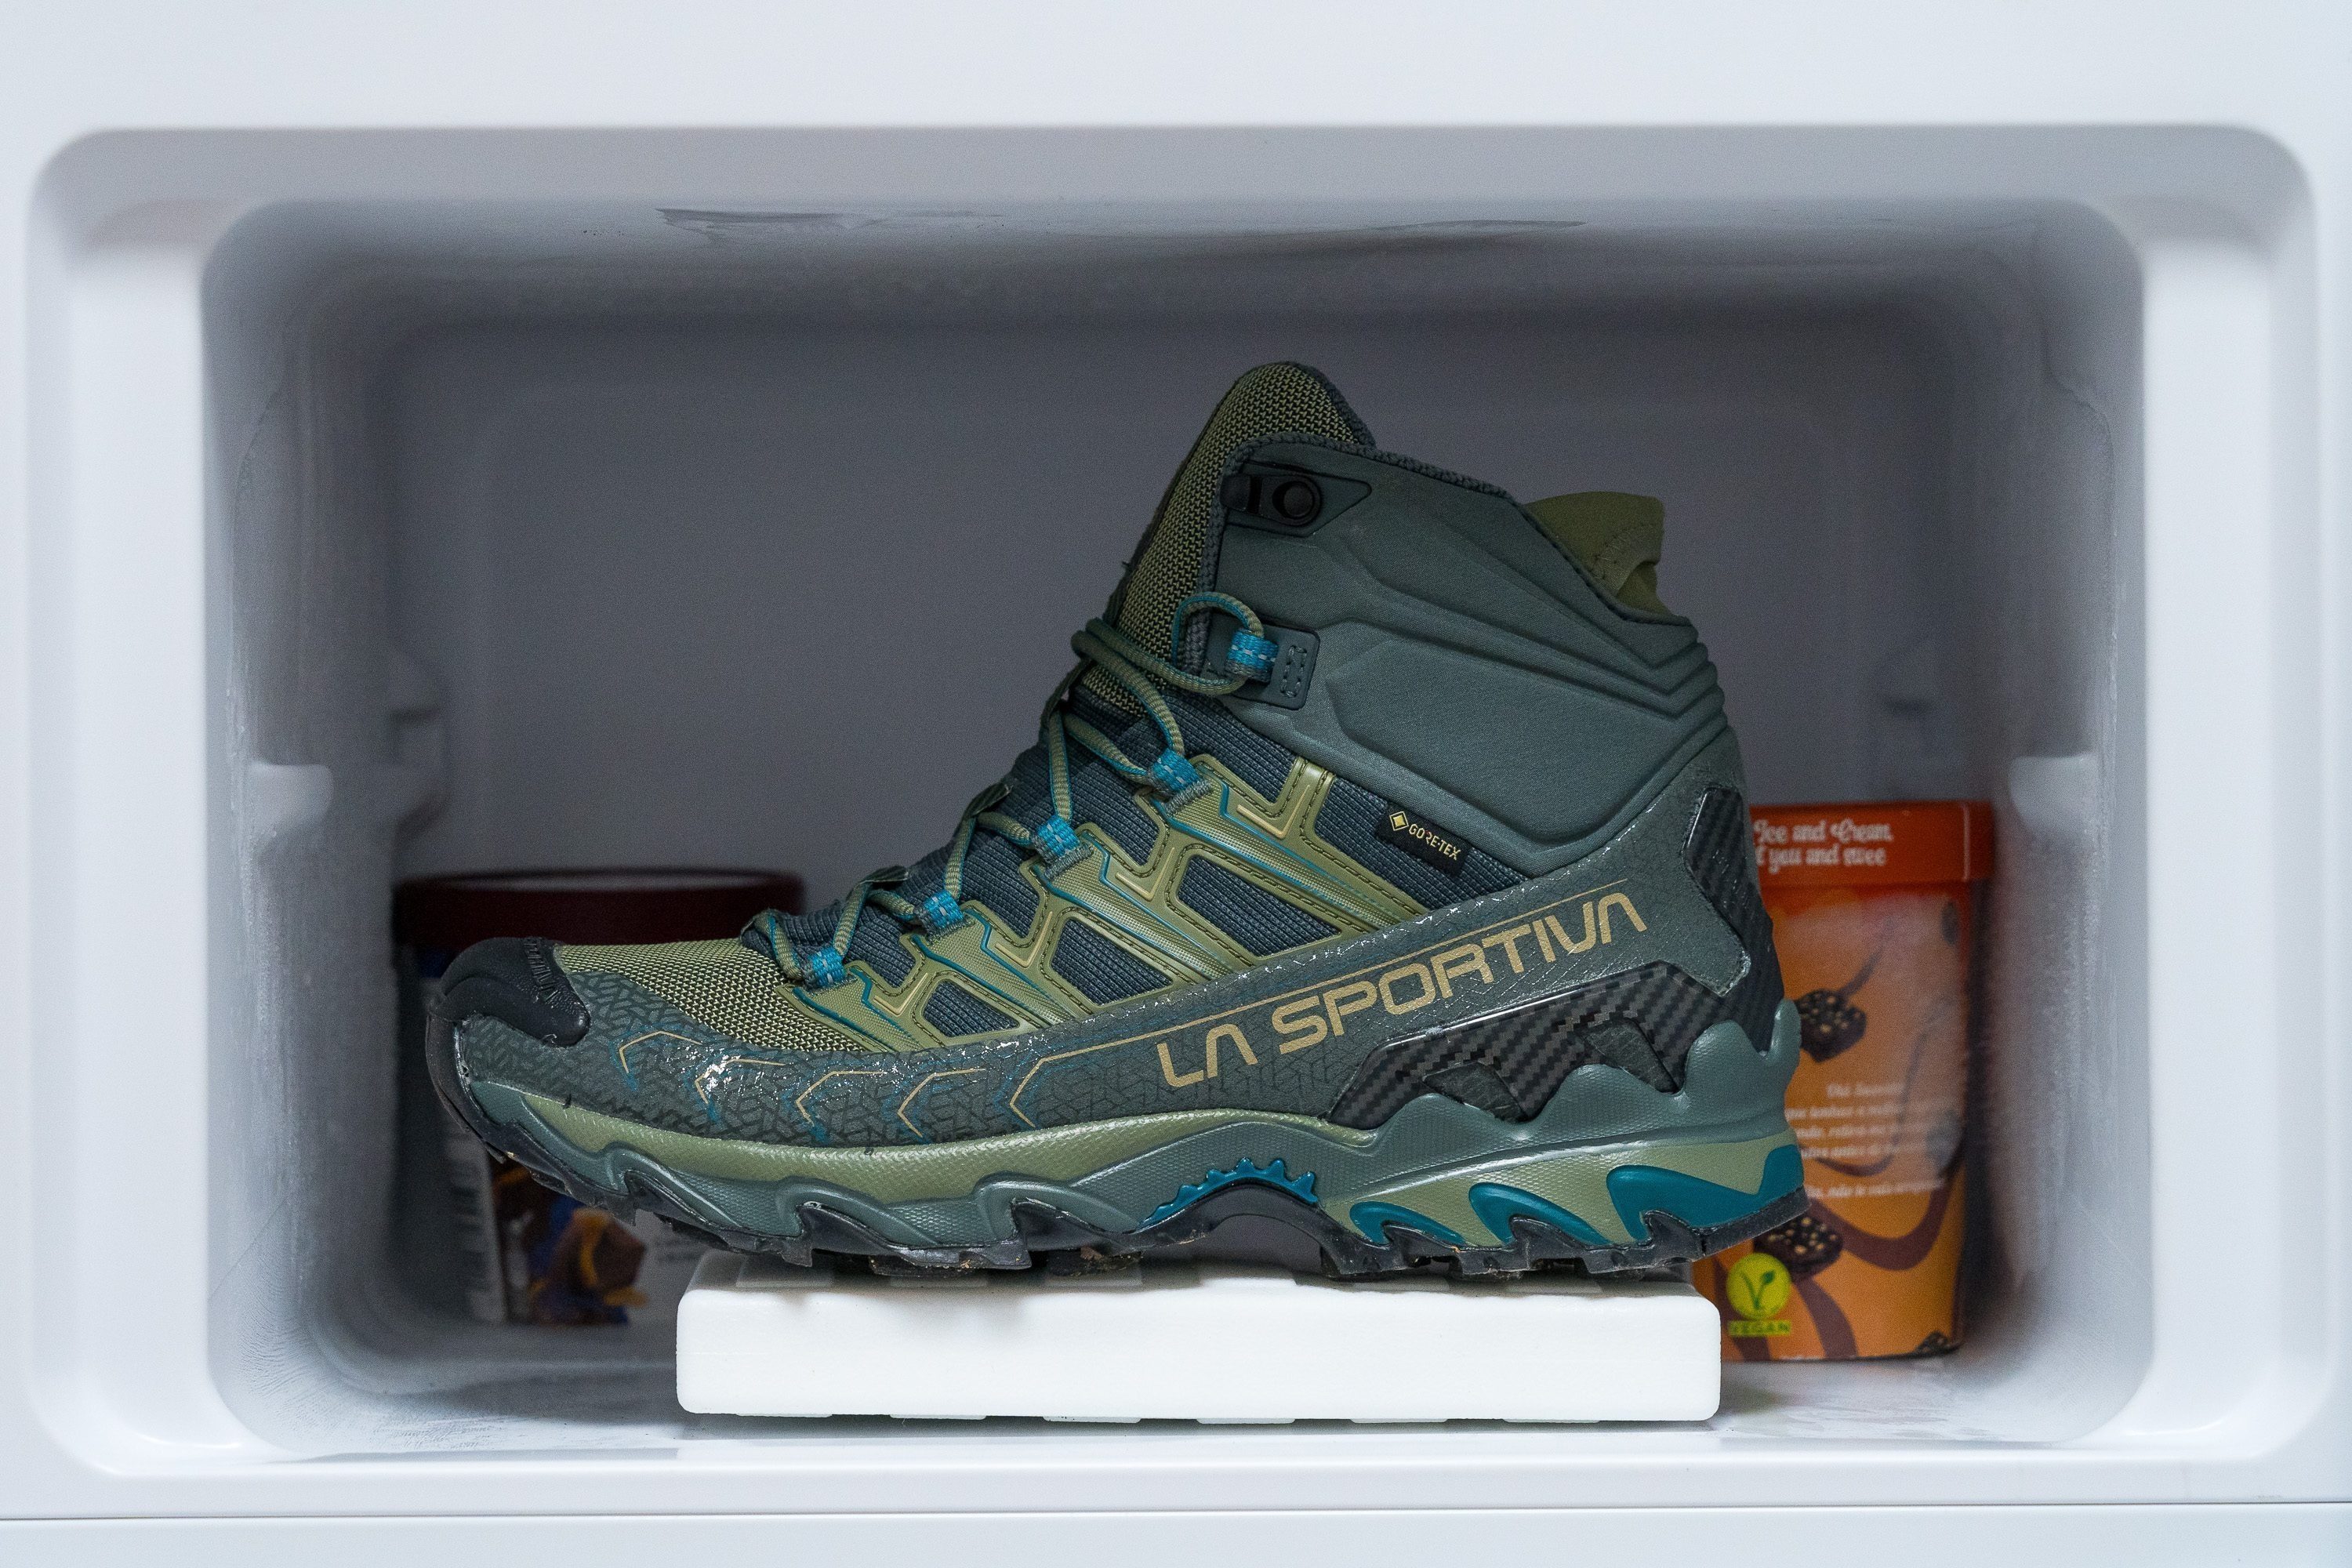
When we want a supportive, ultra-grippy backpacking boot that won’t weigh us down, we turn to the La Sportiva Ultra Raptor II Mid GTX. It is one of our favourite boots from La Sportiva, and with a slew of features to keep us safe and comfortable on our multi-day hikes, it takes top place as our best lightweight backpacking boot.
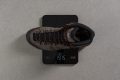
With its rugged build, the Ultra Raptor II looks like a hardcore, heavy boot, so we were nothing short of stunned to find our scales registering an incredible 14.6 oz (415g)! At 3.4 oz (96g) less than average, we feel quick and nimble when wearing these boots, and they are perfect for putting in long days without tiring our legs out.
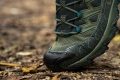
Plenty of protective overlays and a shank embedded in the midsole not only keep our feet safe from bumps and scrapes but also provide a tonne of support from twisting. In the lab, we twisted the boots torsionally, which was pretty hard to do! We awarded them a 5/5 for rigidity. Even while wearing a heavy pack, these boots don’t give in to twists, and our ankles thanked us for it.
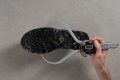
We can’t rave about the Ultra Raptor II’s grip enough! It held firm on soft, muddy ground, smooth, wet rock and loose gravel alike. We flipped them over in the lab to take a closer look. We measured the lugs at 4.3 mm, around the average of 4.2 mm for hiking boots. But what really cinches it is the tread design. A combination of narrow, toothy lugs and wider ones activate when they are most needed - think of it like the 4x4 of hiking boots! We felt confident and stable on anything the trail threw at us.
We don’t recommend this boot to beginner backpackers. According to our measurements, the Ultra Raptor II is 6.9 mm narrower at the forefoot and 8.5 mm narrower at the heel. Aside from the fit, it means a less stable landing platform, which is especially important when carrying heavy loads.
Pros
- Unbelievably lightweight
- Excellent waterproofing
- Doesn't let debris and falling rain/snow inside
- Exceptionally robust and durable
- Phenomenal grip on technical terrain
- Not so stiff and firm in low temperature
- Sufficient impact protection
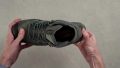
- Highly supportive collar
- Ample flexibility
Cons
- Narrow platform
- Not for wide feet
Best backpacking boots for narrow feet


What makes it the best?
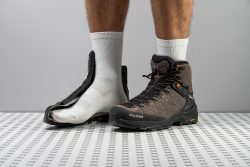
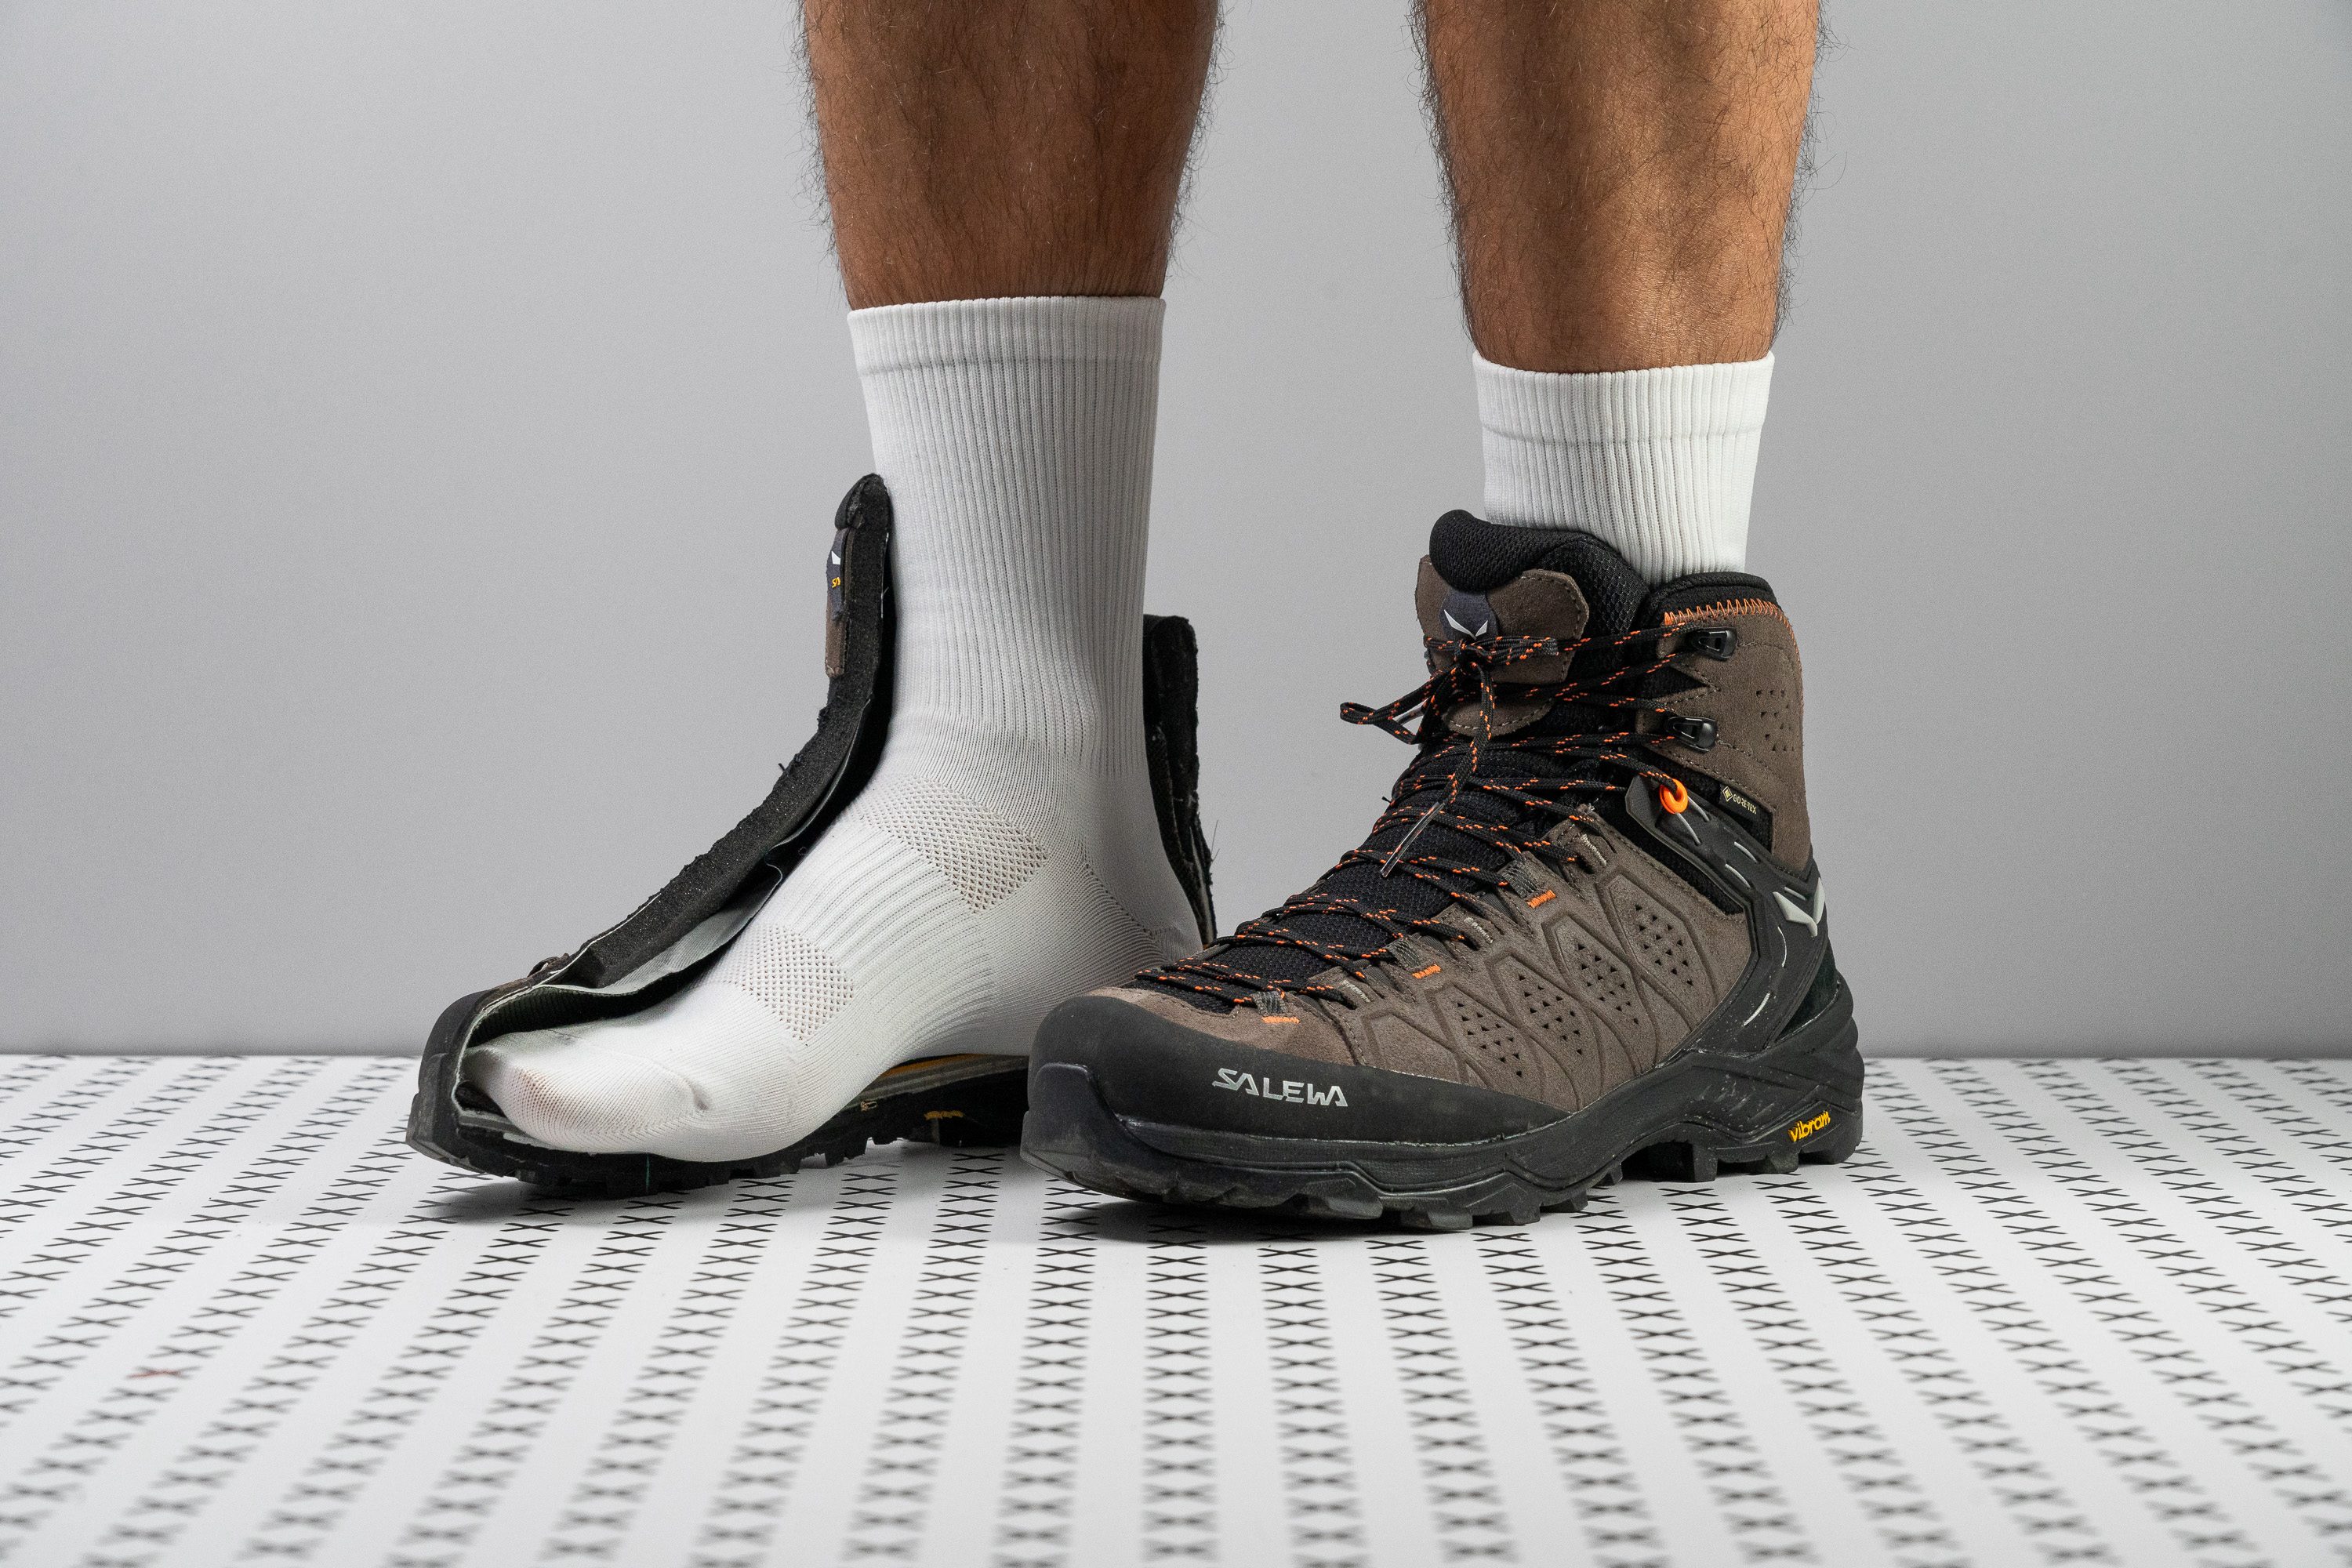
After wear tests in the mountains, we believe narrow-footed hikers who want a stable and secure sensation will perfectly match the Salewa Alp Trainer 2. Besides its adjustable fit, lab tests show it offers superior protection through its strong grip, stable build, and customizable closure. Among backpacking boots, it’s best for narrow feet.
While the actual dimensions of our gel mould are near-average, it’s the boot’s lace-to-toe closure that makes it suitable for slimmer feet, since we can personalise the fit. Its snug sensation helps boost our stability, especially when tackling steep and technical sections.
The outsole features an aggressive tread pattern, with lugs reaching 5.2 mm deep. It shows unwavering traction during testing and can bite loose or rocky terrain without a budge.
The base feels rock-solid, with its sturdy ankle support and high resistance to twisting. We never felt like losing balance, even while loaded with heavy backpacks, because of the stiff internal shank that prevents us from buckling over. In our assessment, we rated it the maximum 5/5 torsional rigidity.
Unfortunately, all its protective features made it bulky at 19.2 oz (542g). Those who value agility and flexibility should go for another pair.
Pros
- Fantastic stability on challenging trails
- Extra strong grip on technical terrain
- Secure lockdown and ankle support
- Exceptional durability
- Excellent waterproofing
- Great underfoot protection
- Flexible collar is handy on descents
- Fit can be regulated with an insole
Cons
- Drop is twice as high as stated
- Collar lining lacks durability
- Collar lining lacks durability
Backpacking boots with the best energy return


What makes it the best?
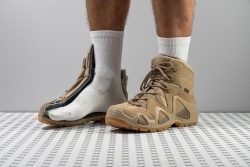
The LOWA Zephyr GTX Mid can go the distance with its all-around protection and highly sure-footed ride. Proven by lab tests and enjoyed by our feet, it offers the best energy return among backpacking boots and enhances the whole hiking experience.
The midsole delivers responsiveness that helps lessen the effort we’re required to exert, especially over long hours. Testing for energy return, the foam returned 57.4%, which is 13.7% above average.
Zephyr's exceptional stability comes from the Monowrap frame that envelopes our foot, increasing the shoe’s torsional rigidity. In our manual assessment, it had no give to twisting, so we gave it the maximum 5/5 rating.
We felt very safe against outside forces, with the highly durable outsole underfoot shielding us from sharp objects. Our Dremel only managed to damage it by 0.6 mm vs. the 0.8 mm average. Moreover, its deep 4.7 mm lugs allow us to navigate through technical terrain safely.
The non-permeable upper protects us from getting wet or cold, verified by its 1/5 breathability score in our smoke test. It combined an impermeable upper with the Gore-Tex membrane, which effectively safeguarded our feet from water.
While the stiffness of this boot brings stability, it reduces the comfort and agility others prefer. Otherwise, we suggest going for a more flexible boot.
Pros
- Stability and containment are off-the-charts
- Excellent underfoot protection
- Effective Gore-Tex waterproofing
- Hard-wearing materials
- Solid grip on both soft and rocky terrain
- Accommodating D medium fit
- Comfortable padded interiors
Cons
- Lacks grip on smooth wet surafces
- Heavier than average
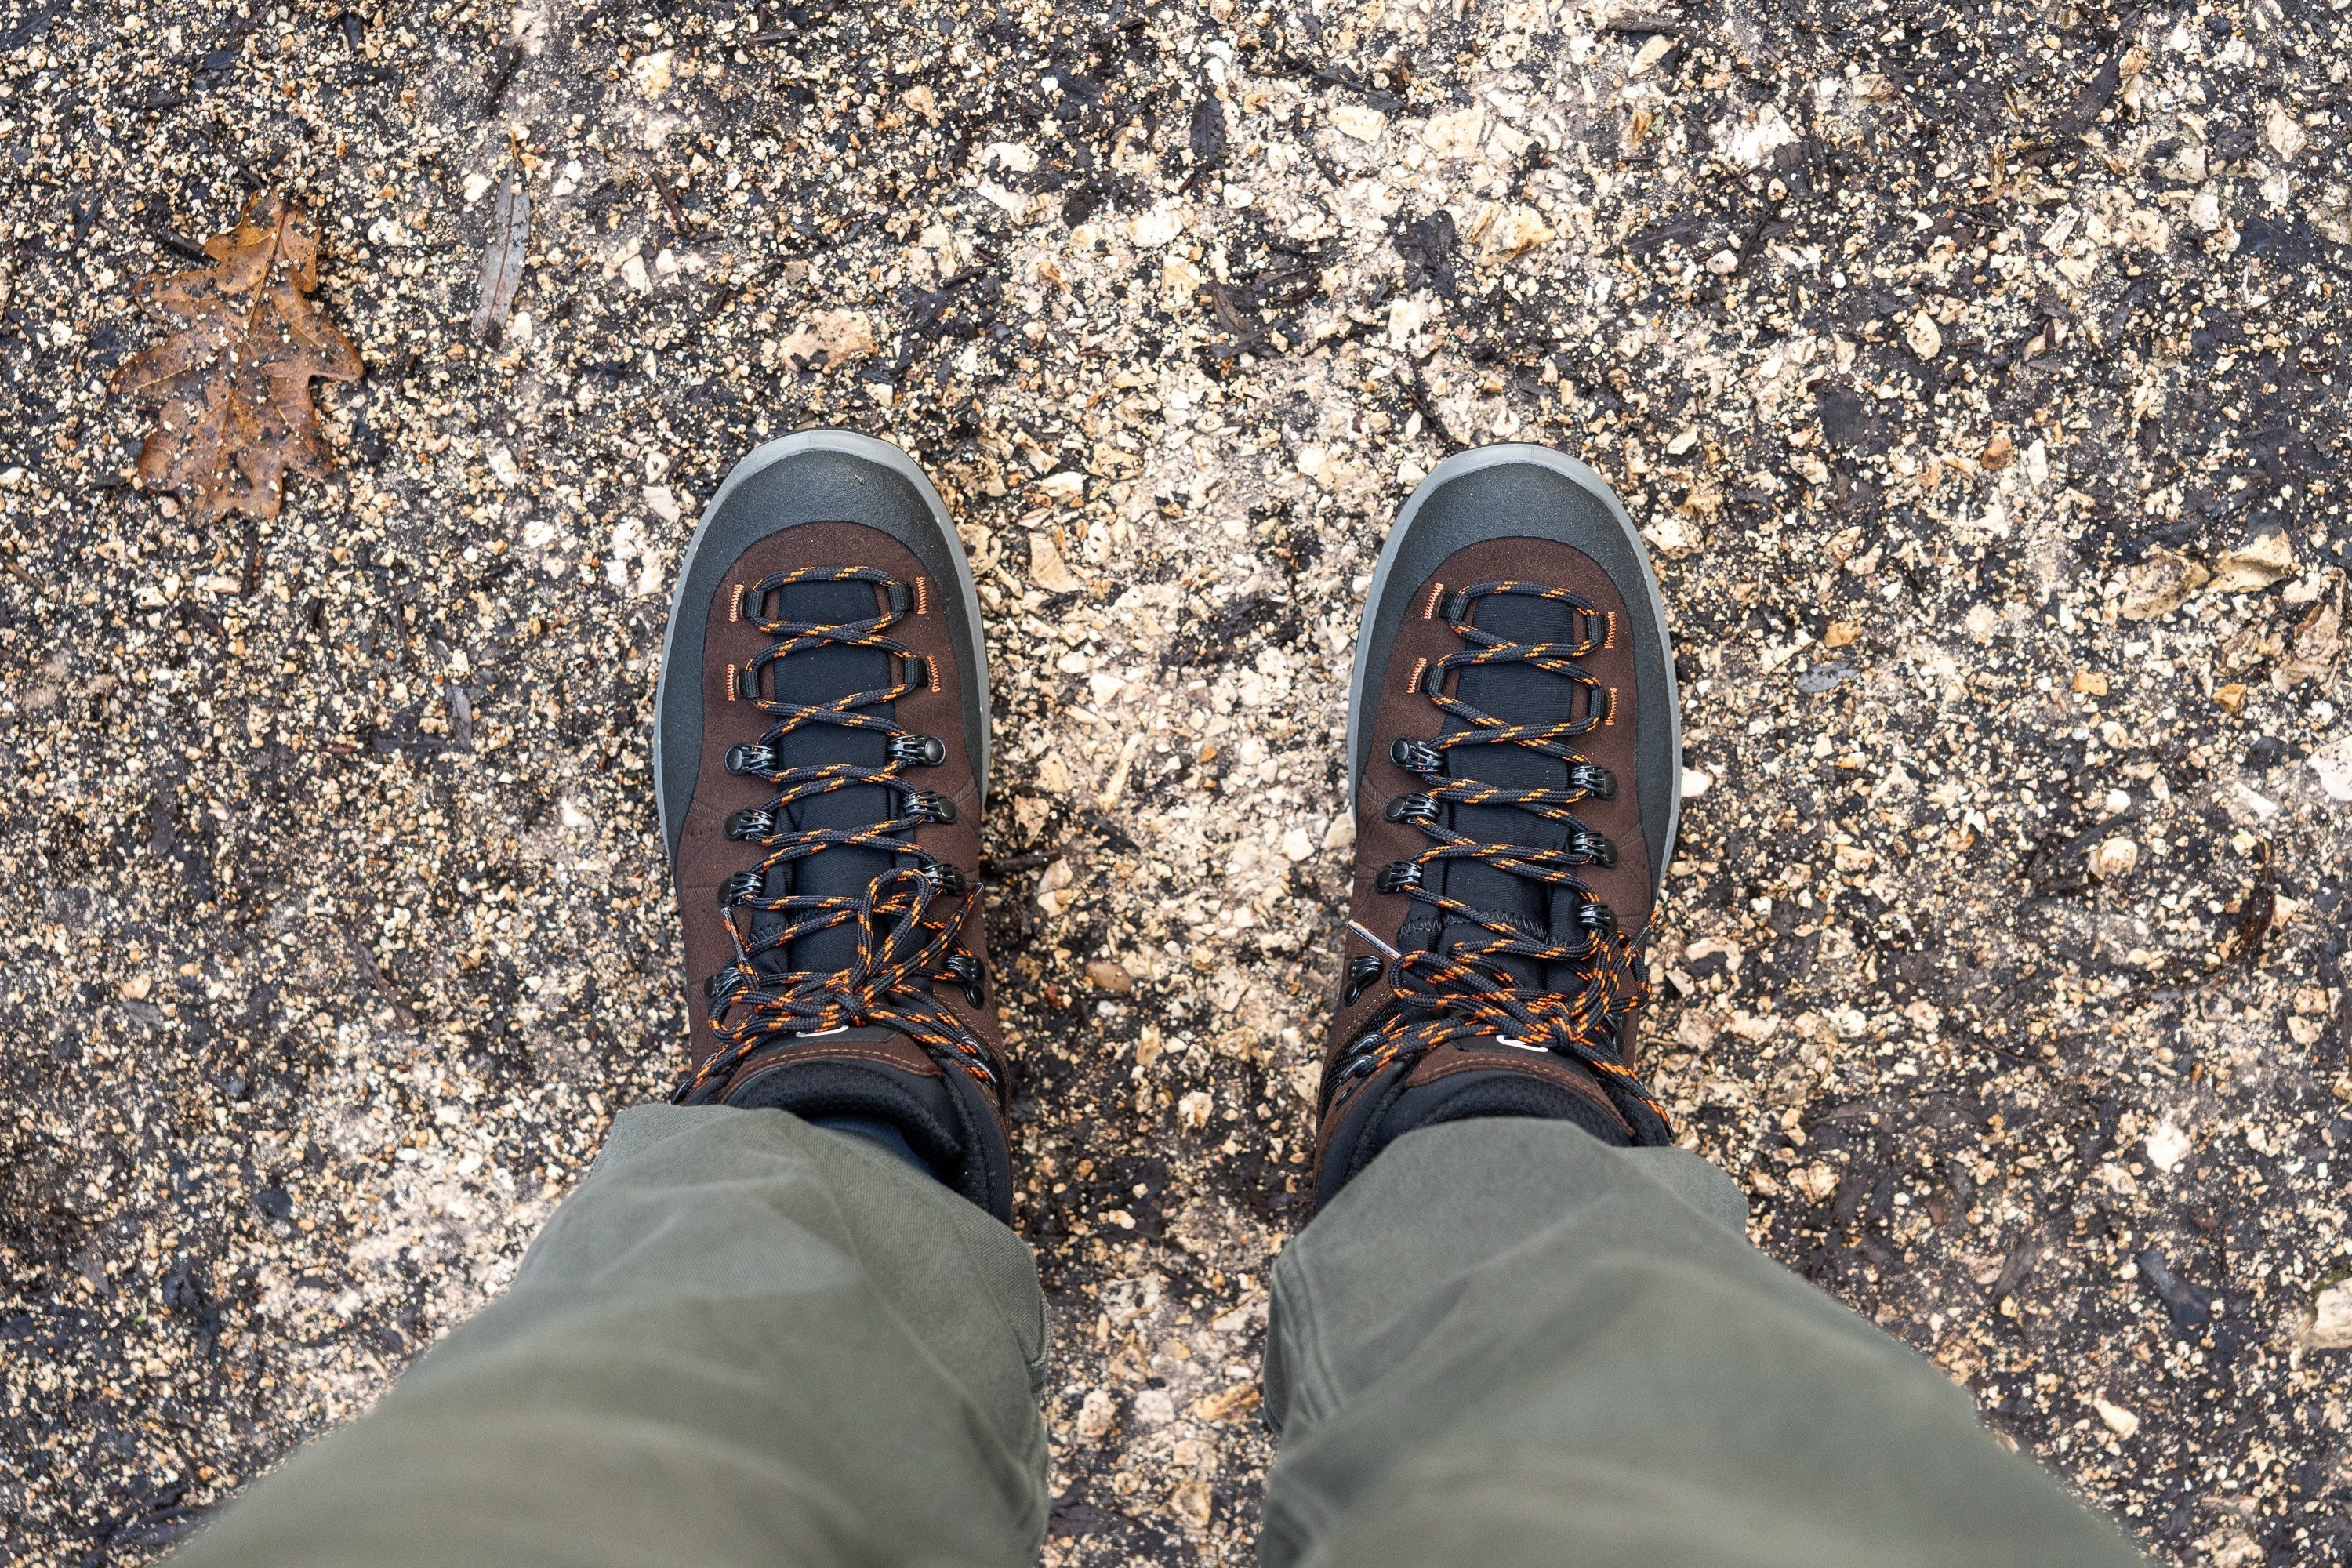
When to use backpacking boots
We recommend using backpacking boots when you actually go backpacking: hiking for dozens of miles, usually more days in a row, with a backpack that carries everything you will need on that adventure.
These boots are made to help you endure and enjoy multi-day hikes with heavy backpacks. They are usually firmer, stiffer and very stable and supportive, in the ankle area and overall.

Don’t use backpacking boots if you plan to go for shorter hikes with a lighter backpack. In that case, consider getting regular hiking boots, they will most likely be lighter and cheaper.
What makes backpacking boots good for backpacking?
Here’s why these boots are different from the rest:
- The midsoles have good shock absorption and energy return. This basically means that they are a) protective and b) responsive. The other extreme would be midsoles that hurt your feet and feel very dull.
- The base is stiff. This gives stability and support when covering uneven terrain and prevents premature fatigue because your feet don’t have to compensate for overly flexible midsoles.
- The support is 10/10. In these boots, your ankles are as secure as possible.
- The stability is 10/10. The base is usually wide (or wider than the average) and the lateral stability is superb.
- These boots are usually heavier than the ‘regular’ hiking boots because of all the support and stability they offer.
Make sure backpacking boots fit perfectly!
If this is your first time getting boots for hiking (backpacking), here are our general guidelines:
- Go shopping in the afternoon or in the evening. When backpacking, our feet swell up and a similar thing happens at the end of the day. Best to simulate the conditions as much as we can.
- Try the new backpacking boots with the socks and orthotics you usually use. Take them with you.
- Make sure there’s a thumb’s width space behind your heel when you push the foot forward. Or, look for the same width in front of your foot when the heel is glued to the back.
- There should be no hotspots. The backpacking boot should fit properly: not too wide, not too tight.
- Specialised stores have the ramp. Test the boots on it! Go up and down, and use different surfaces if they are present - rocks, artificial grass, etc. Make sure your heel is not slipping and that your feet are not sliding to the sides inside the boot.
If you’re buying the backpacking boots for a special occasion, make sure you properly break them in before that endeavour.
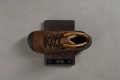
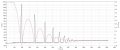
Shock absorption and energy return of backpacking boots
Protective midsoles are very important when backpacking. However, when protection is mentioned in the hiking world, we usually immediately rush to protection from sharp objects, obstacles, etc. Shock absorption, on the other hand, is about how protective the ride is in terms of how much of the impact forces it can absorb instead of sending them towards the hiker's legs.
The higher the shock attenuation, the better, because it means the midsole is dealing with the majority of the impact. The same applies to the energy return, the higher the better! If it was low, all the protection (shock absorption) in the world would mean very little if the midsole was dull or unable to bounce back after you step on it.
We test shock absorption and energy return by dropping an 8.5kg mass from a 5cm height, with a total energy input of 5J onto the heel. We mark the precise drop location at 12% of the internal length, which is where we also measure the heel stack height according to the guidelines from World Athletics.
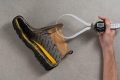
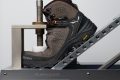
Backpacking boots have to be stiff
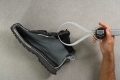
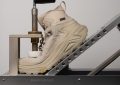
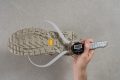
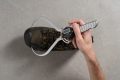
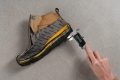
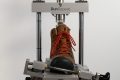
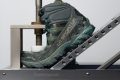
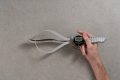
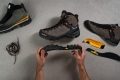
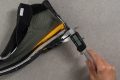
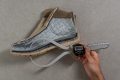
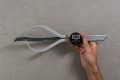
To be supportive and stable enough, these boots have a stiff base. In the lab, we test the stiffness in 3 ways:
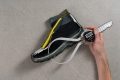
- We use a machine to bend the boot to 30 degrees after adjusting for the forefoot rocker.
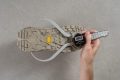
- We twist the boot in our hands to assess the torsional rigidity.
- We assess the stiffness of the heel counter.
We clamp the forefoot, adjust for the forefoot rocker, and then bend the boot to 30 degrees.

The more force is needed, the stiffer the platform.
This tells us whether the boot can easily be twisted or it will remain flat on uneven surfaces, especially on rocky terrain or terrain covered with debris.
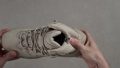
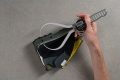
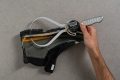
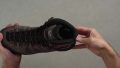
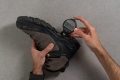
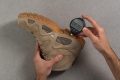
Stiffness of the heel counter is more connected to the overall stable and supportive feel but it is stiffness after all. We manually squeeze and push the heel counter to rate it on a 1-5 scale - where 1 is the most flexible.
Heel counters that are stiff allow less ankle movement, especially when the proper lockdown is achieved.
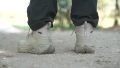
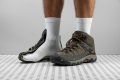
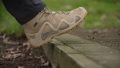
Stability is a priority in backpacking boots
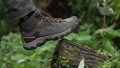
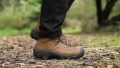
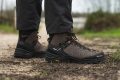
On our test hikes, we always test for lateral stability.
But, we don’t stop there. Stability also depends on the width of the base.
The wider the midsole, the more planted feel is present in backpacking boots.
Take all the protection you need!!
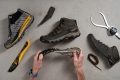
The great thing about backpacking boots is that their weight and potential chunkiness is justified with their protection. They are usually very durable and rugged.
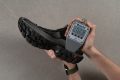
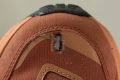
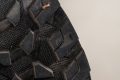
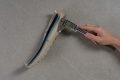
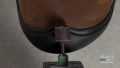
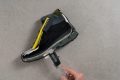
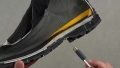
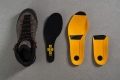
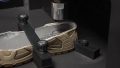
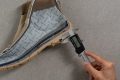
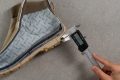
In our shoe lab, we test the durability of hiking boots in 3 places: the toebox, the outsole, and the heel counter. We test it with a Dremel, by simply trying to damage the boot.
When testing the durability of the toe box, we rate the durability on a scale of 1 to 5, where 1 is the least durable.
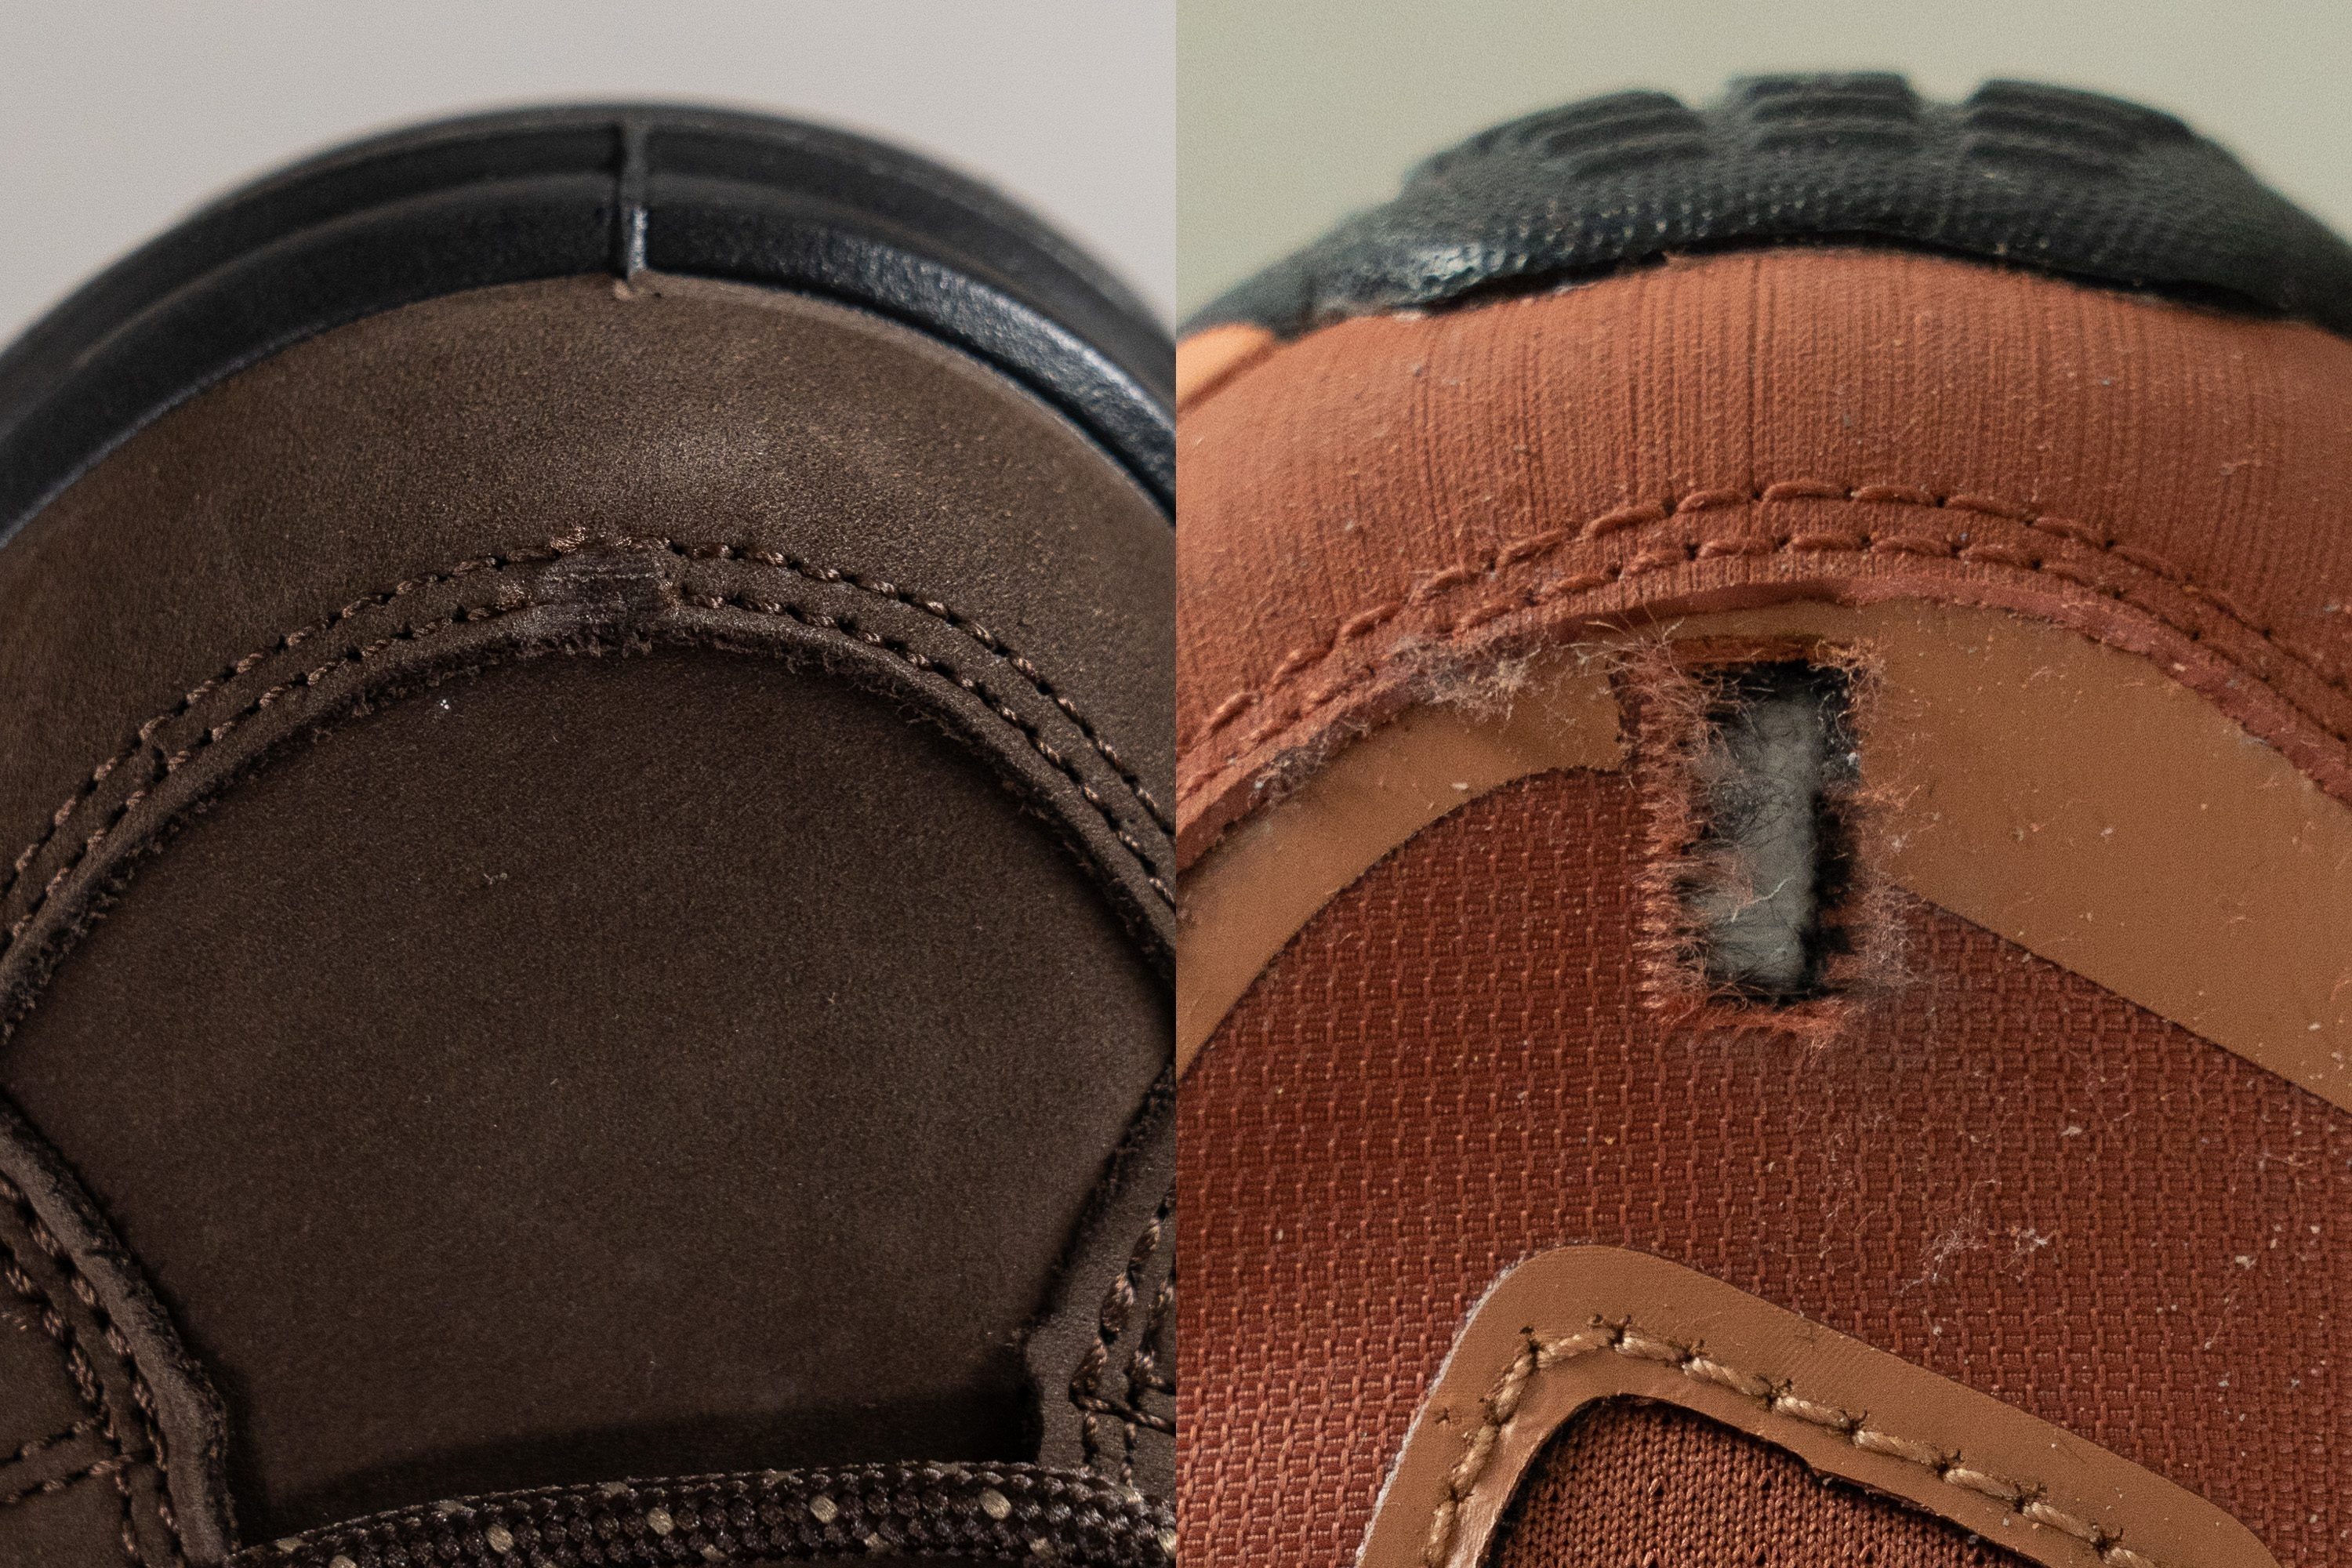
It is simple: the bigger the damage, the lower the durability score.
Same principle applies to the heel counter durability.
5 stands for the most durable one (the smallest damage made by the Dremel).
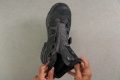
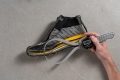
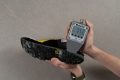
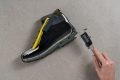
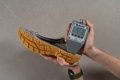
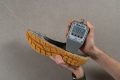
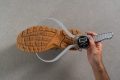
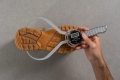
But, when testing the durability of the outsole, we measure the exact depth of the damage we’ve made.
For that, we use a tyre tread gauge.
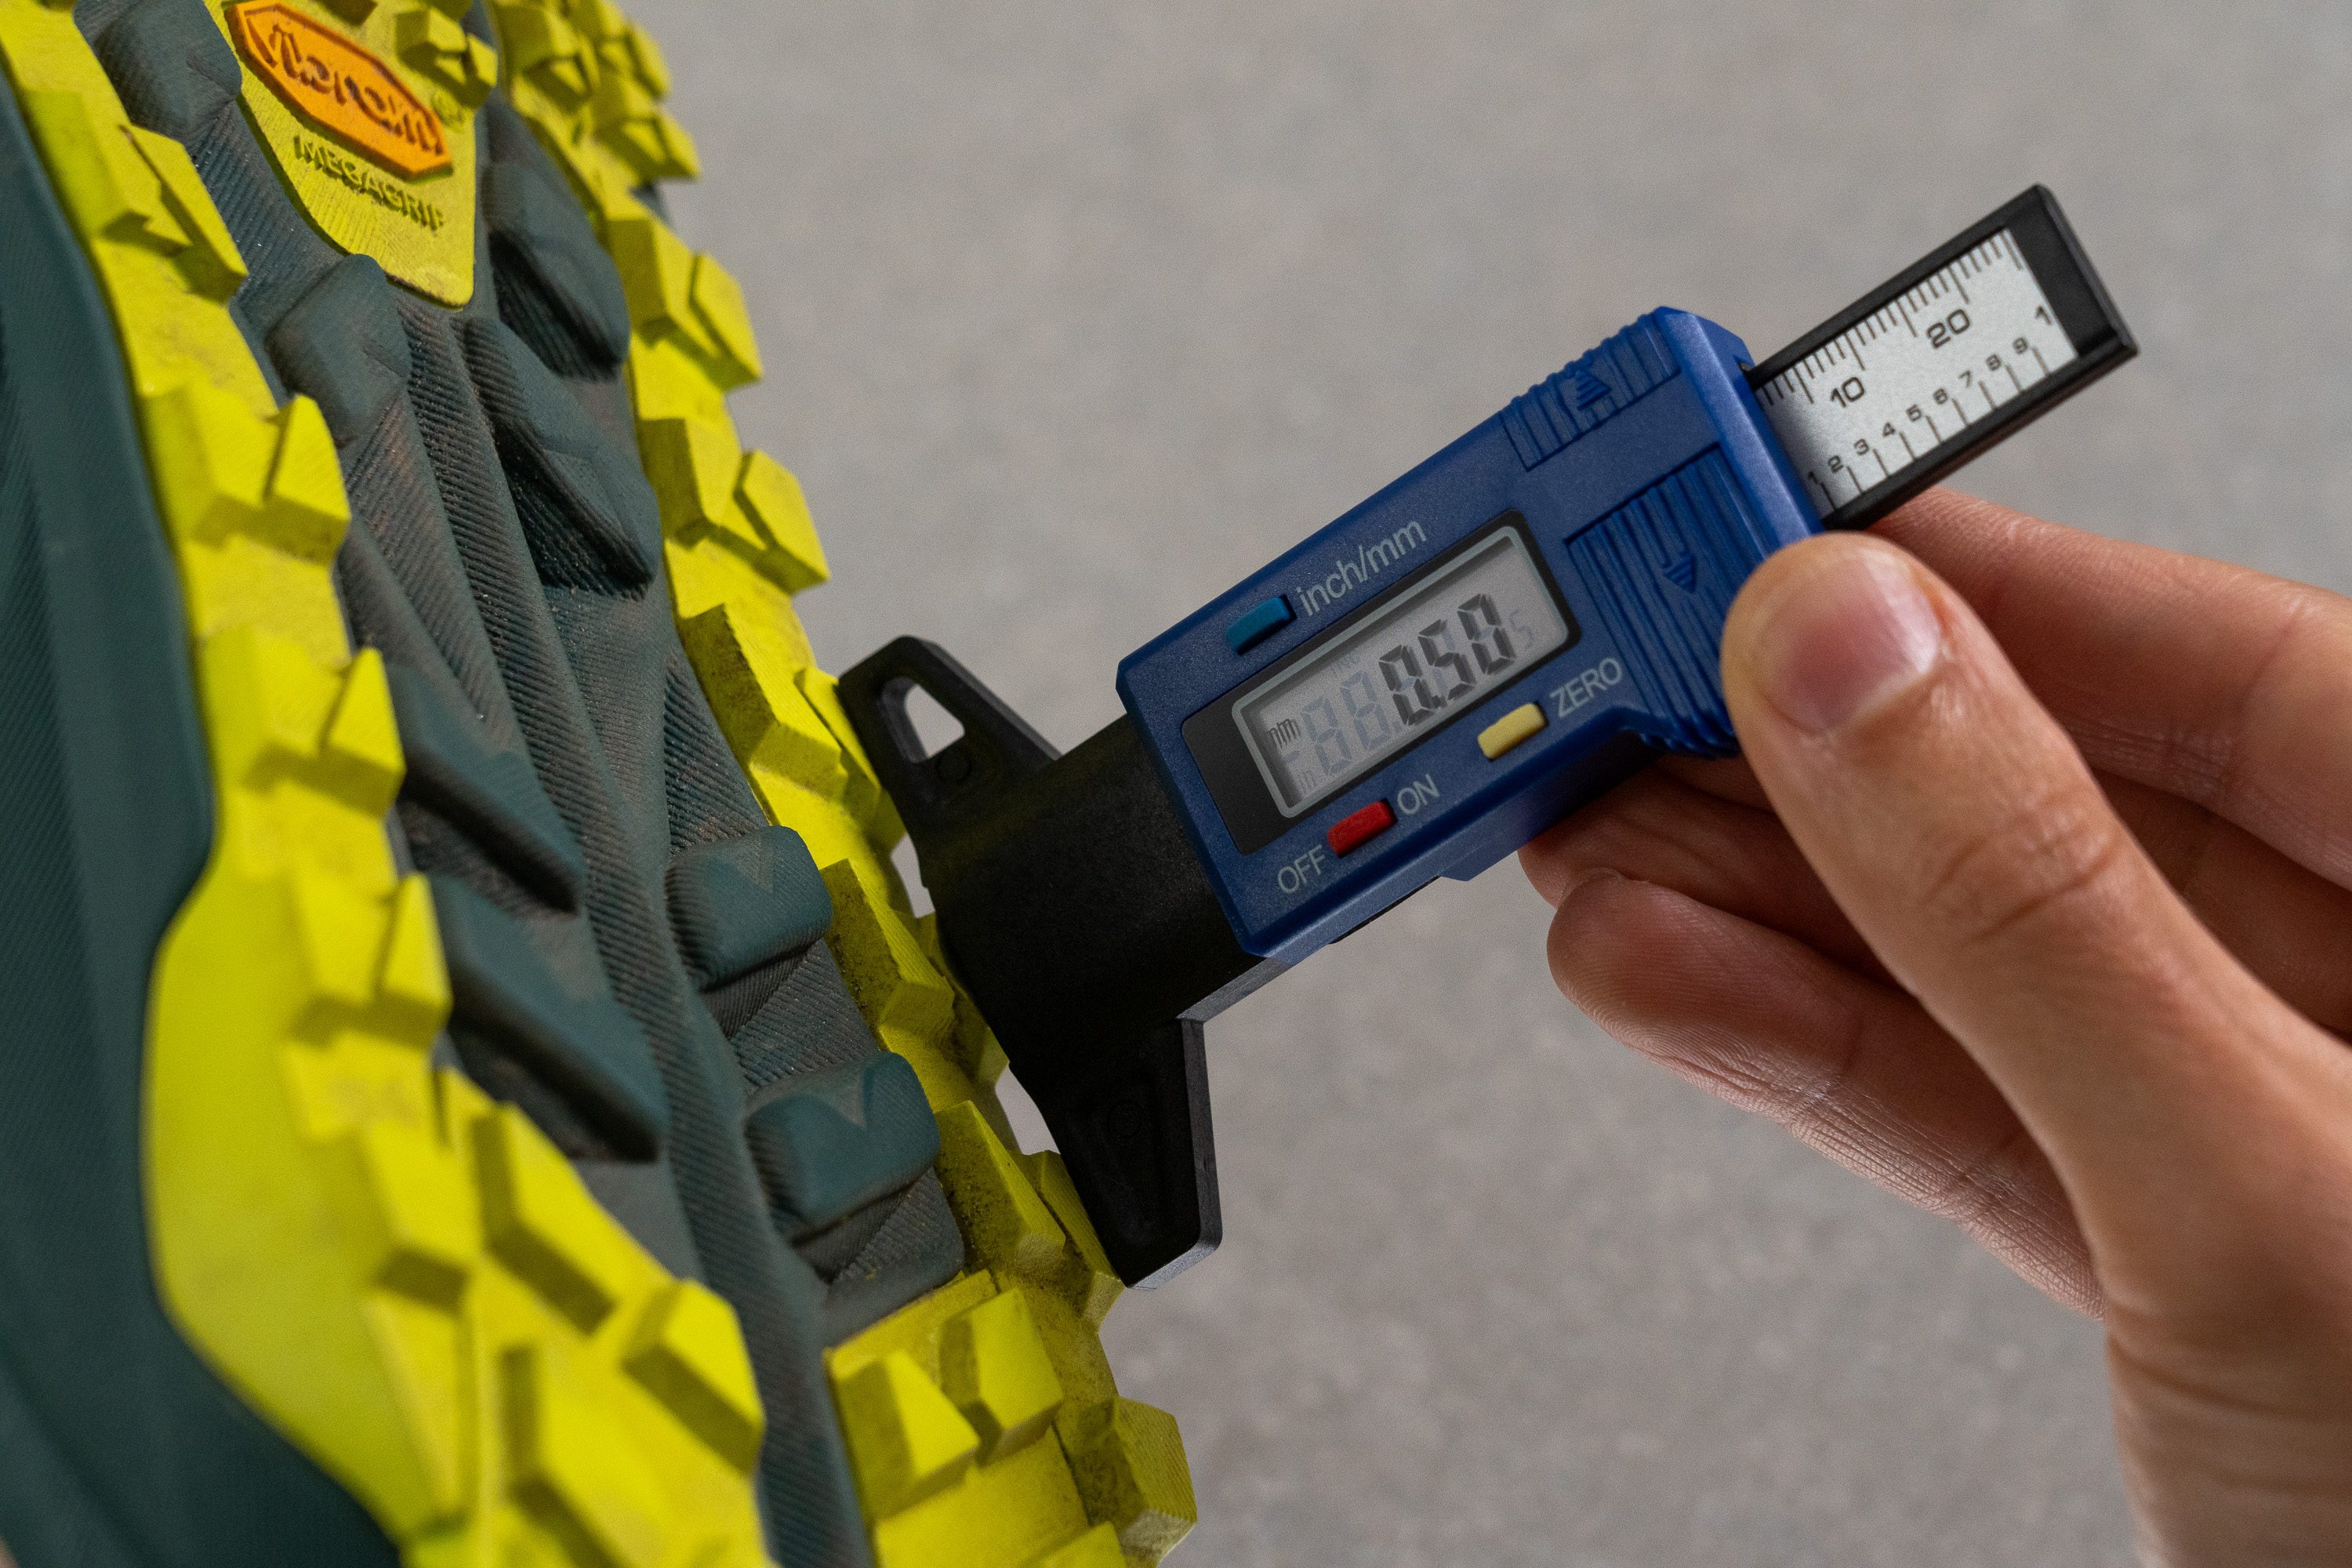
The deeper the dent, the less durable the outsole is.
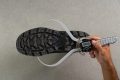
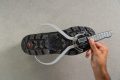
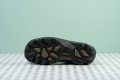
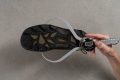
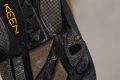
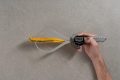
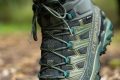
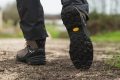
Look for grippy backpacking boots
You should know what type of terrain you plan to backpack on to make sure you’re getting the right boot - the boot that will bite into the ground and not allow you to slip.
Here’s how to know what to look for:
- Look for very deep lugs if you plan to cover soft wet terrain like slush, mud and snow. These lugs should be at least 4 mm thick.
- Look for average lugs (around 4 mm) if you plan to do a bit of everything but nothing too extreme.
- Shallower lugs (less than 4mm) are great for harder surfaces (hard-packed trails and rocks).
Keep in mind that grip is not only about the thickness of lugs but also the hardness of the rubber.
Softer rubber is usually stickier while harder rubber offers more protection and durability. We measure the hardness of the rubber in our lab as well.
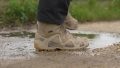
When to use waterproof backpacking boots
Get waterproof backpacking boots when you plan to hike in very wet conditions - whether it’s rain or snow.
You can recognise them easily: the name almost always suggests that they are waterproof (WP or waterproof) or they have a waterproof membrane. The most common one is Gore-Tex or GTX.
These boots suck at breathability, which is why you should not use them unless you definitely need them.
Maybe you’d also be OK with water-resistant or water-repellent backpacking boots? Worth checking:
| Water-resistant | Water-repellent | Waterproof | |
| General characteristics | a tightly woven fabric that is naturally capable of resisting water upon contact | fabric treated with durable water-repellent (DWR) or hydrophobic chemicals | -fabric treated with DWR -have waterproofing membranes like Gore-Tex and OutDry -have seam-sealed construction for extra protection |
| Water protection level | low water protection | moderate water protection | high water protection |
| Water pressure resistance | 0-5000 mm (no pressure or moisture) | 6000-10000 mm (light pressure) | 10000-20000 mm (high to very high pressure) |
| Weather conditions best used in | light rain shower and dry snow | light rain and average snow | moderate to heavy rain and average to wet snow |
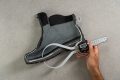
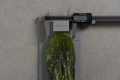
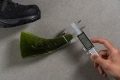
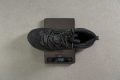
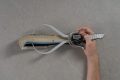
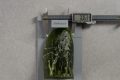
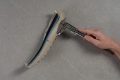
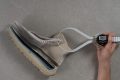
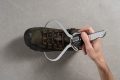
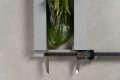
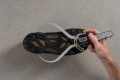
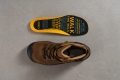
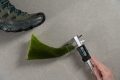
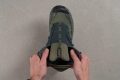
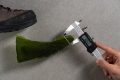
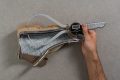
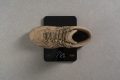
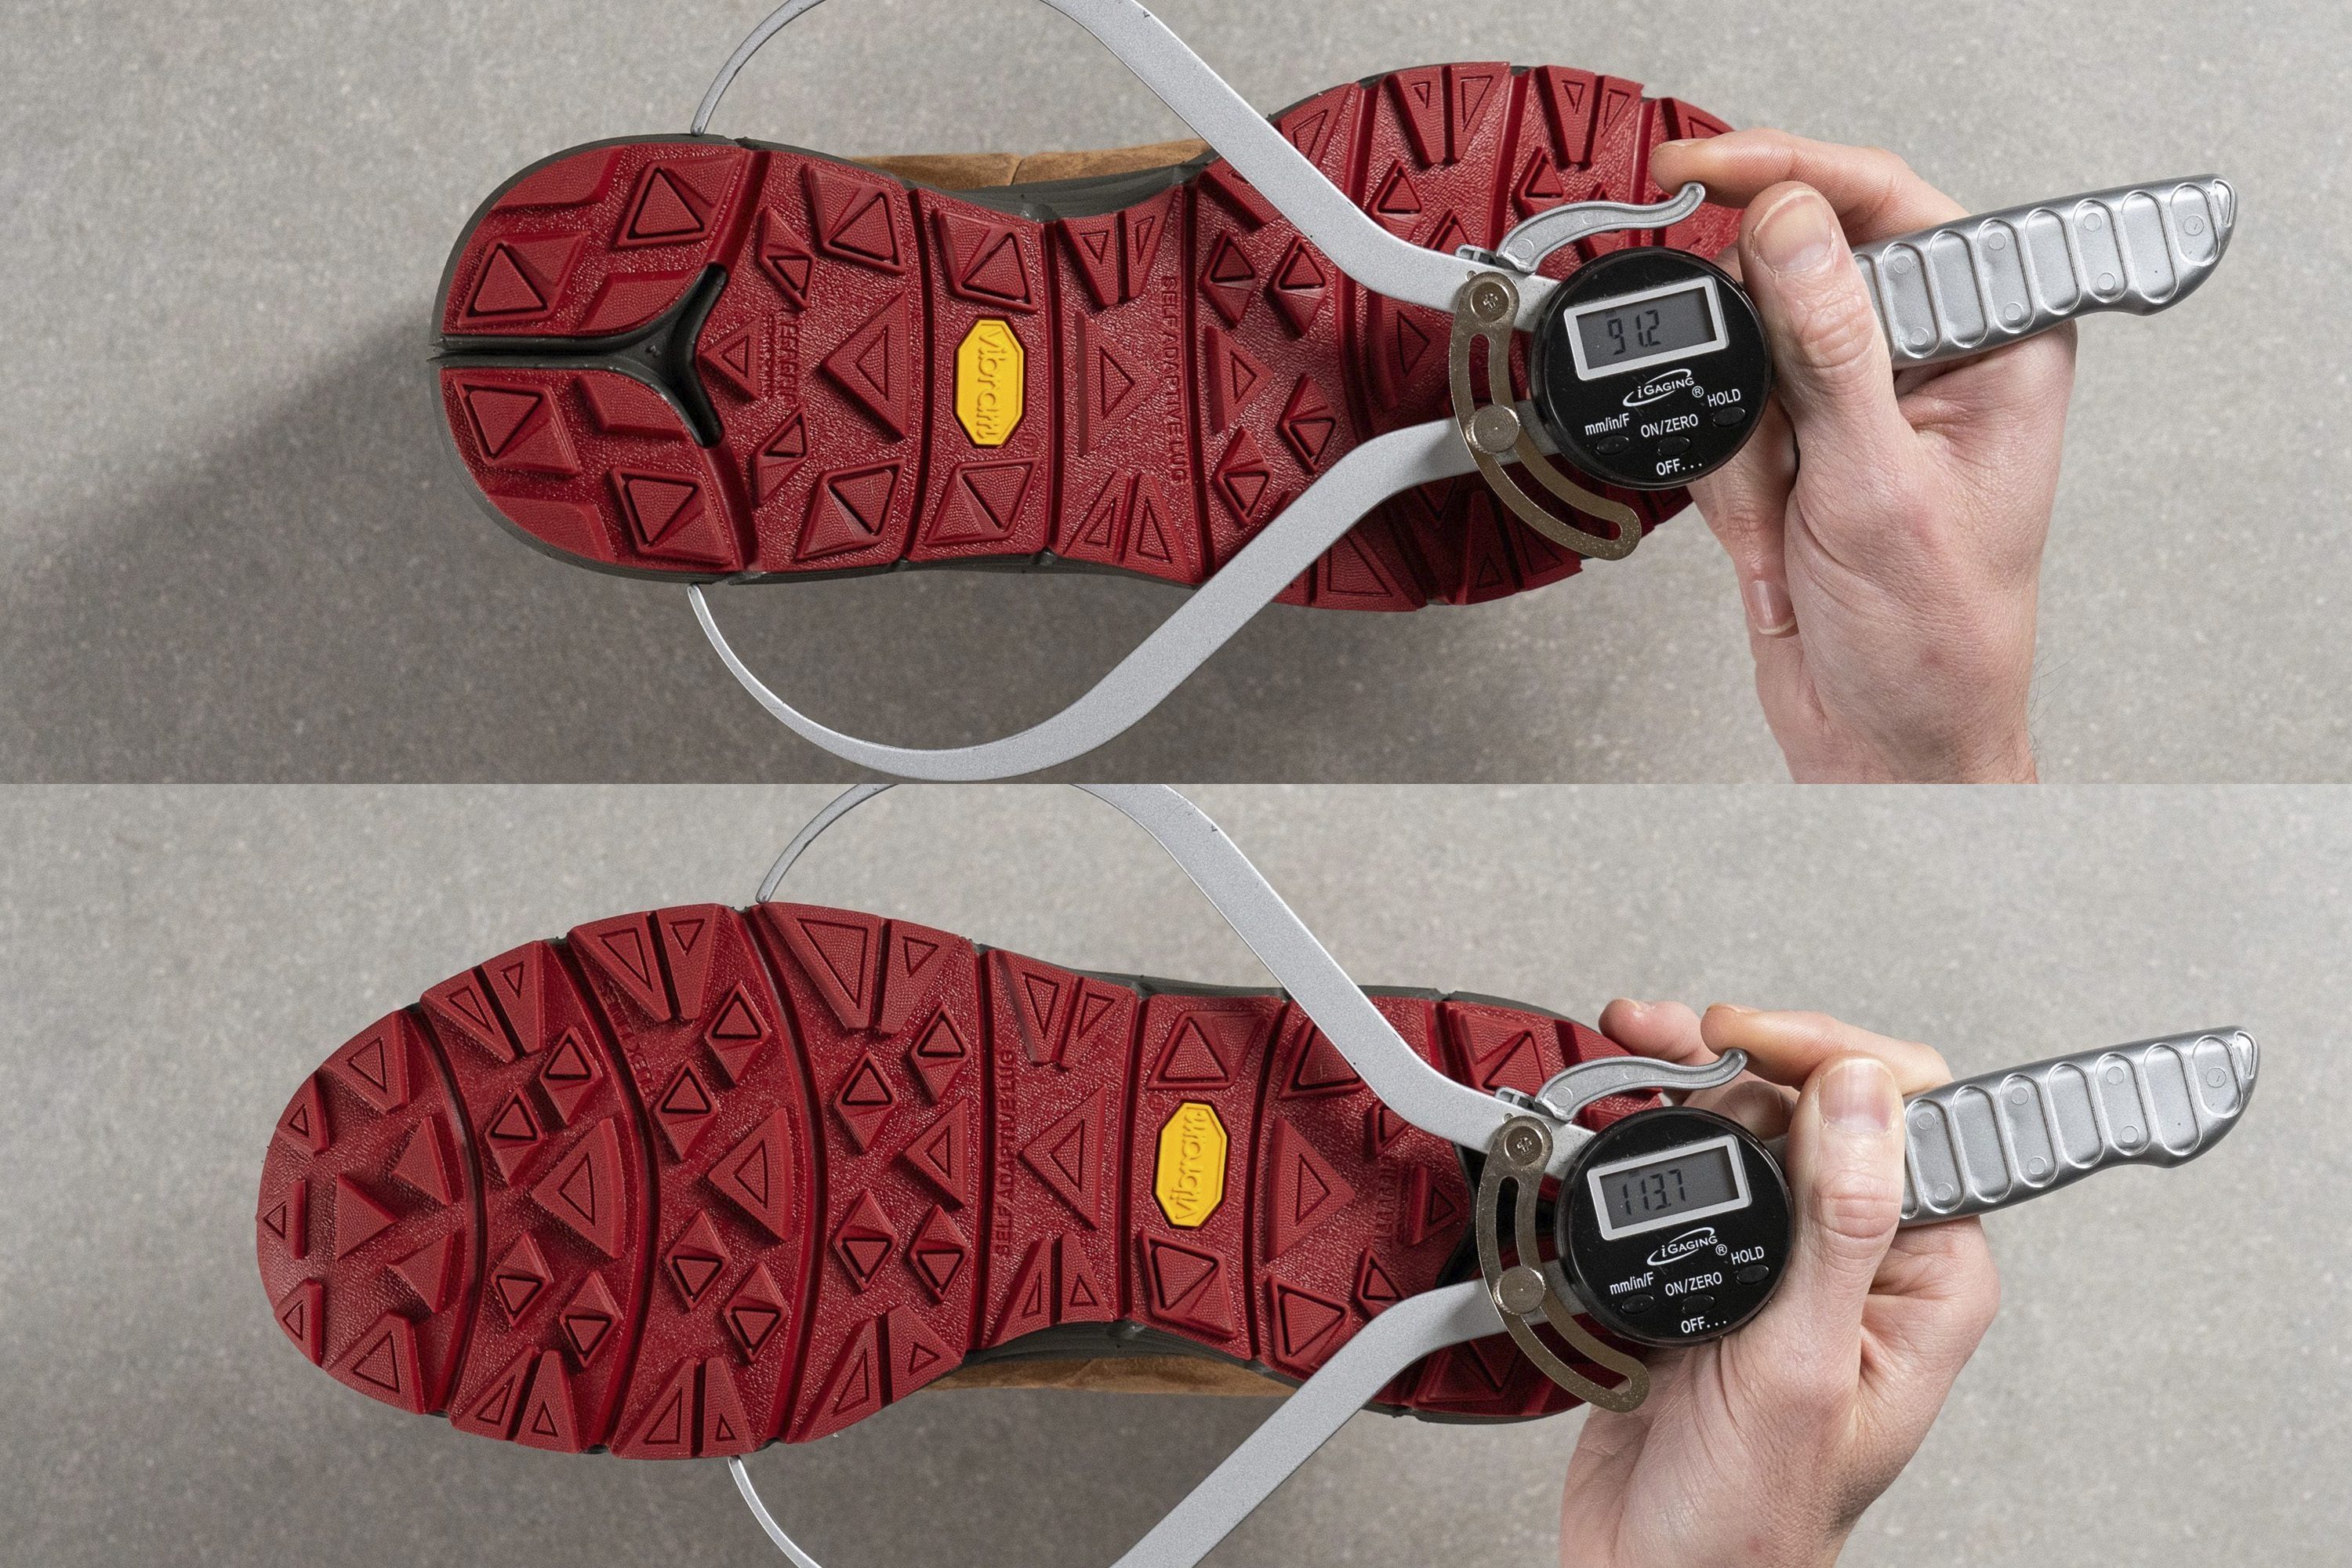
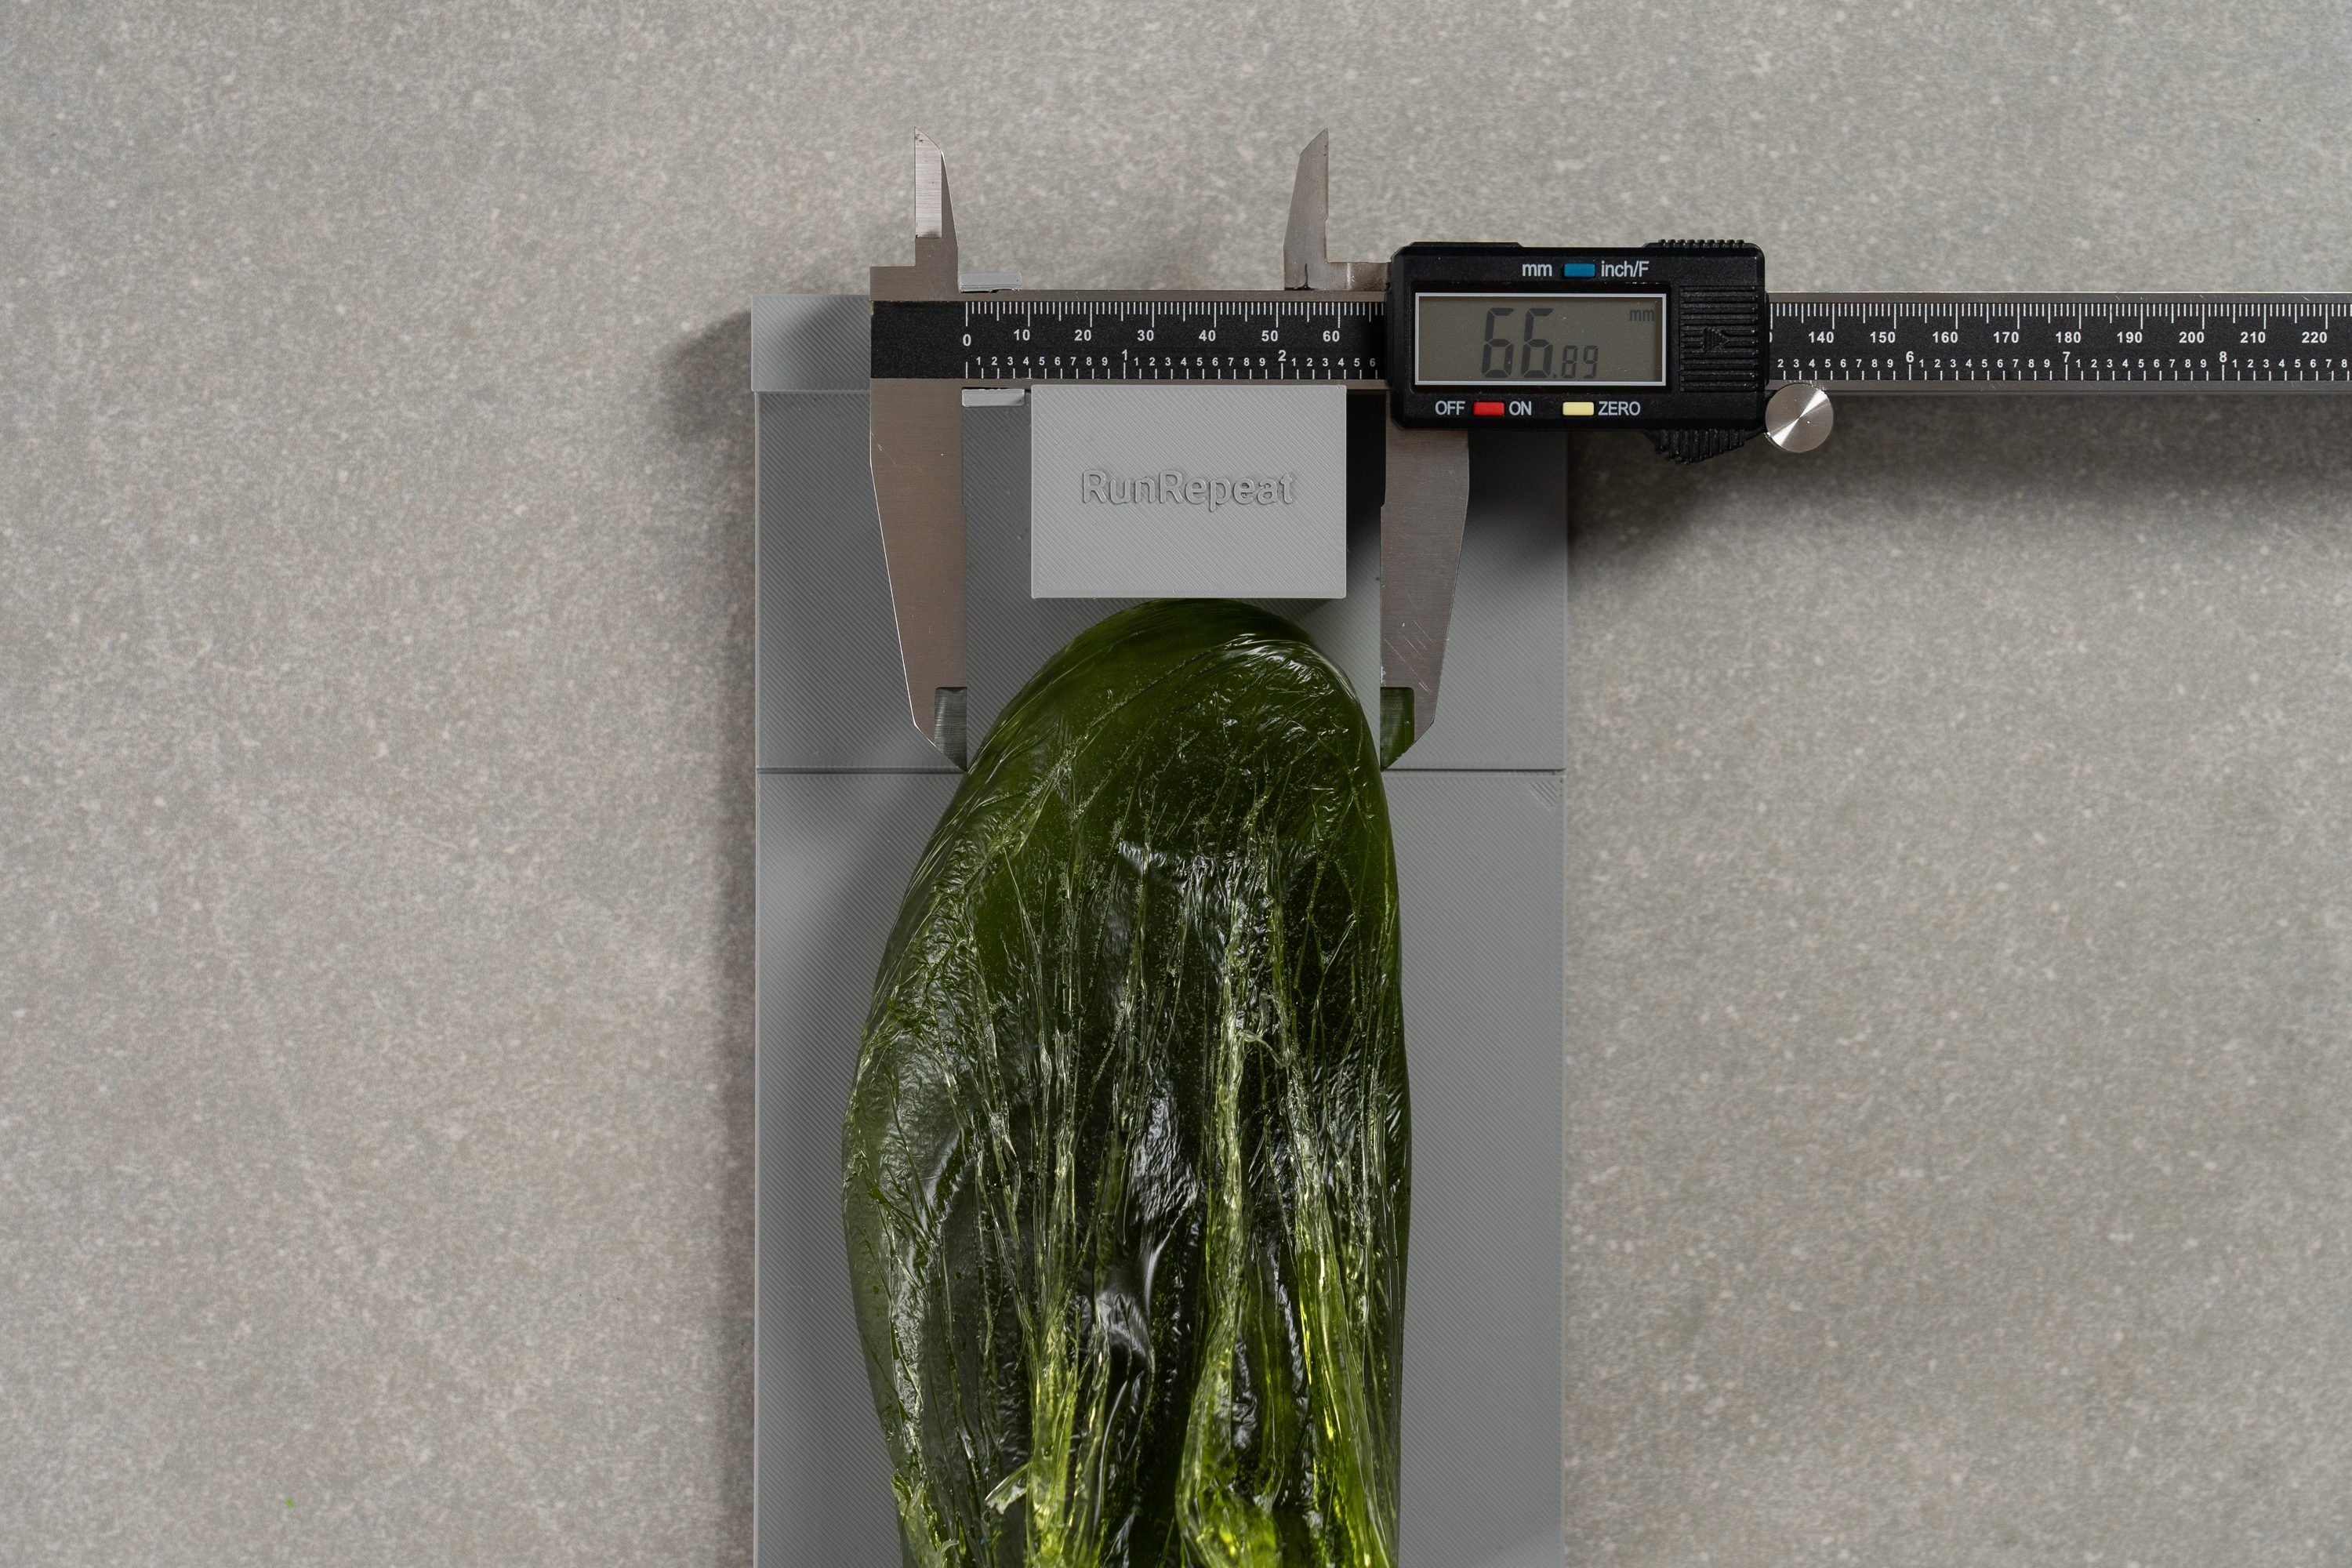
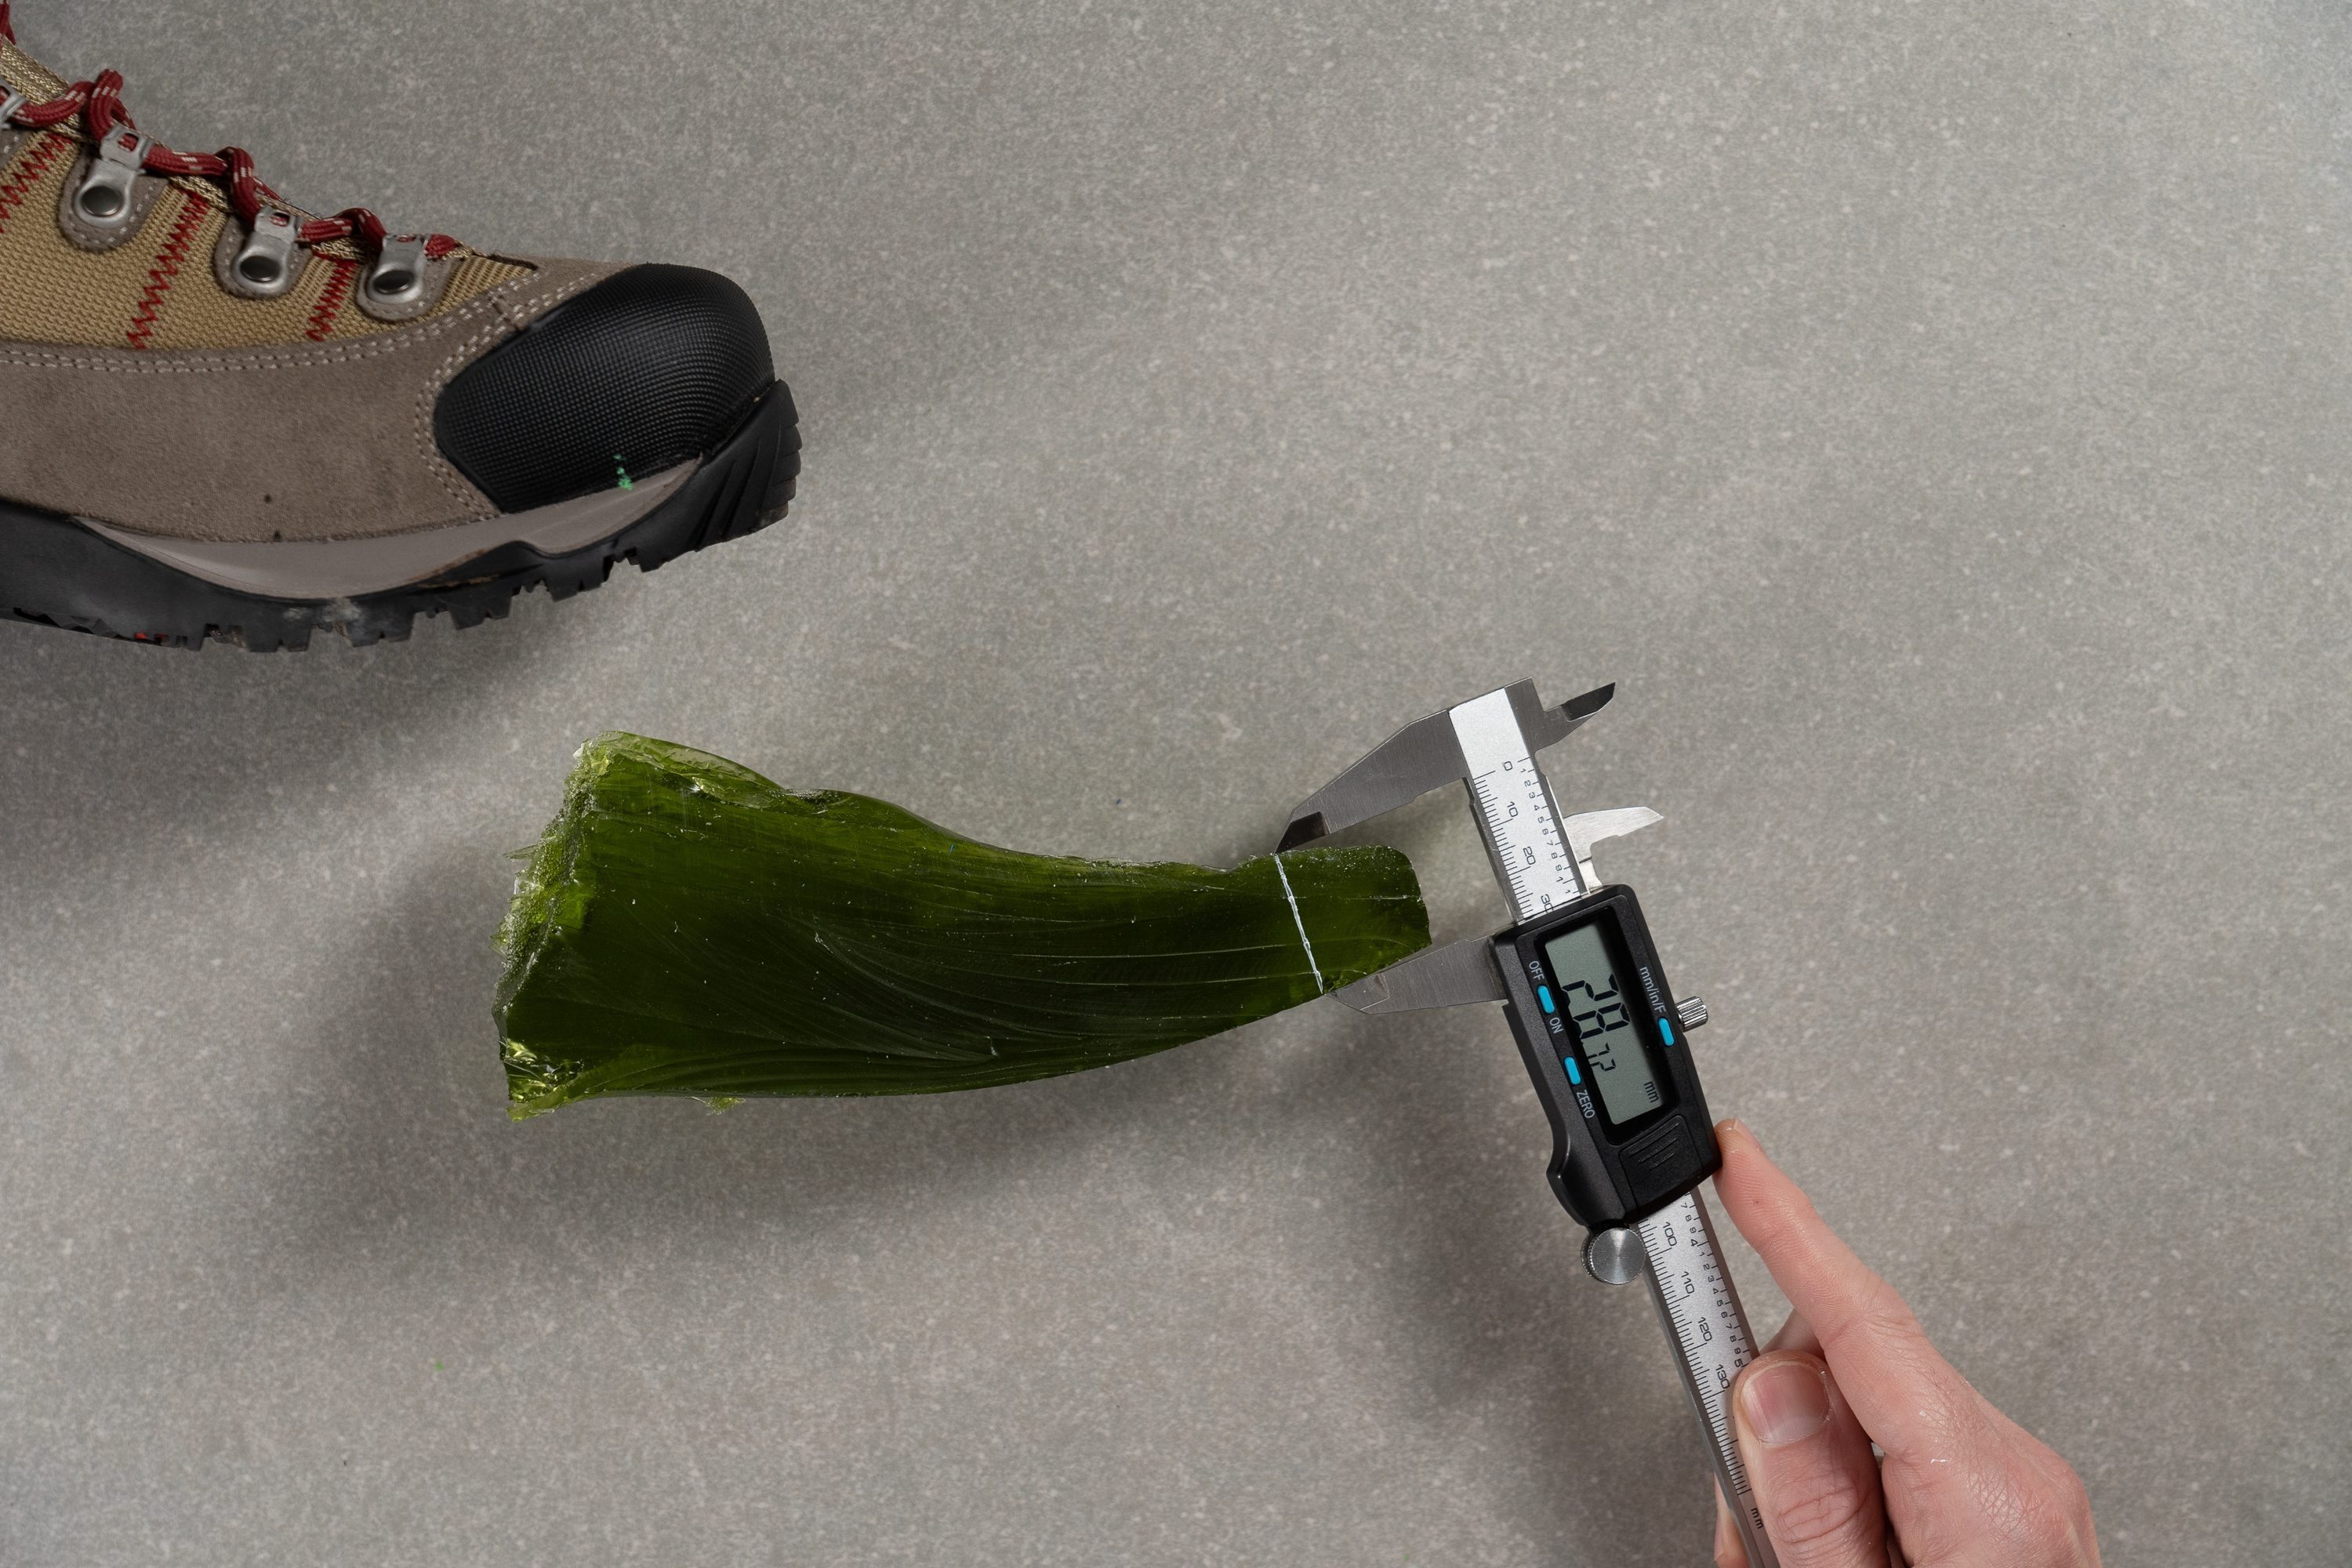
Boot width: exact measurements
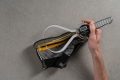
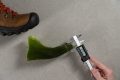
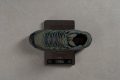
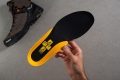
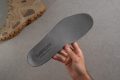
Nailing the fit can be tricky. In our lab, we measure the width of the boot in 2 places: at the big toe and where the boot is the widest. We can do this thanks to our special gel that we pour into the boot and then freeze. It perfectly fills the boot interiors and we then focus on the measurements.
interiors
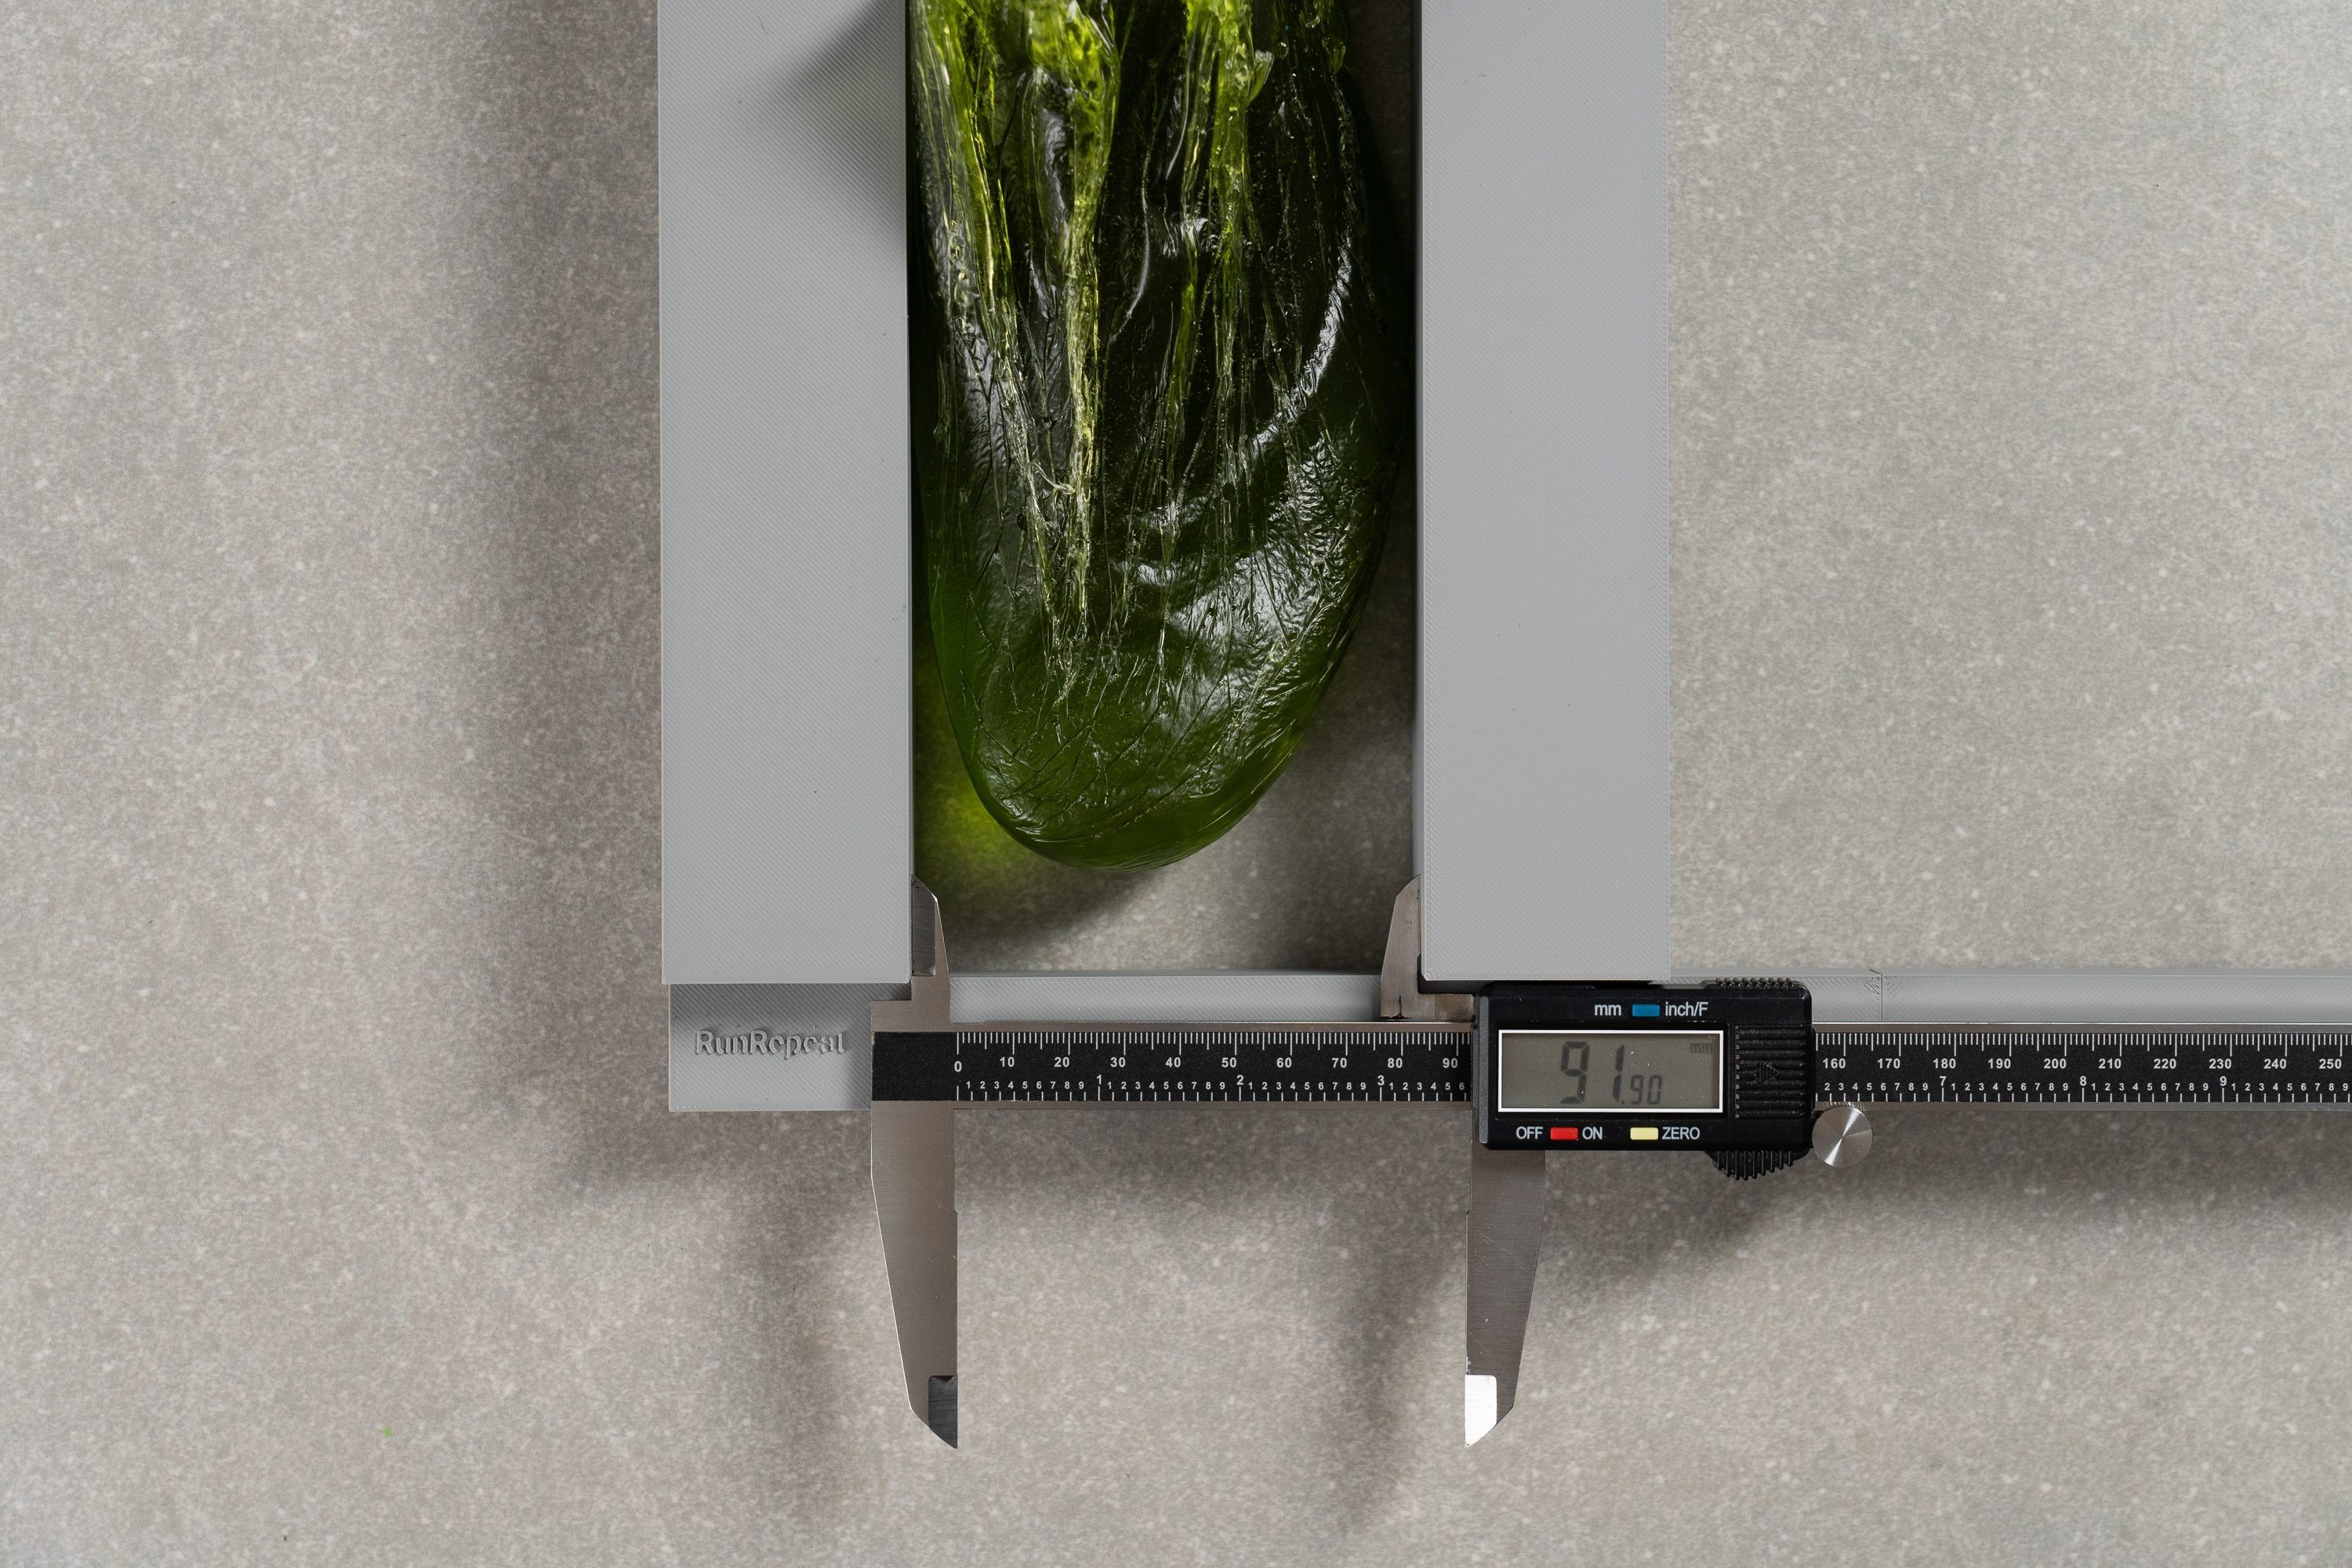
This second measurement allows us to understand how tapered (pointy) a hiking boot is! It's also extremely valuable for hikers whose toes ask for more room in that area. The smaller the difference between the 2 widths, the less tapered the toebox!
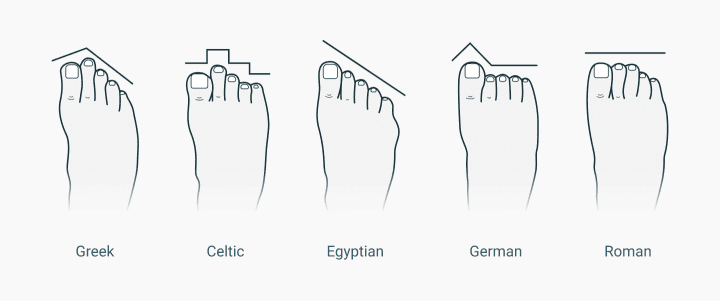
Pointy toeboxes would work for the “greek” style, while less pointy ones would work for other types of toes.
Given that our gel fills the entire toebox, we can also measure the height of the toebox in hiking boots.
Knowing the height of the toebox in hiking boots is so valuable: it lets us know whether our big toes that point up slightly will get squished from the top or if there's room for thicker socks. We recommend finding hiking boots that do not put pressure on your toes from either direction, and these measurements allow us to know in advance how high and wide a toebox is.
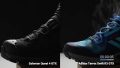
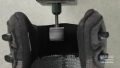
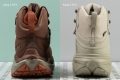
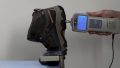
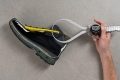
Winter backpacking: a must-know!
These boots have to be waterproof, insulated, and they should still perform well or similar to how they perform at higher temperatures. This means that they should not feel like a brick when backpacking in sub-zero temperatures.
In our lab, we test for this. We measure the flexibility and softness of the boots at room temperature. Then, we freeze the boot for 20 minutes. We then repeat the flexibility and the softness tests. This allows us to measure
- how much do backpacking boots stiffen up in cold weather
- how much they firm up in cold weather
and to conclude whether they are great for winter or not.
In this table, we sort the backpacking boots by the smallest change (in %) in stiffness and we list the change in softness as well:
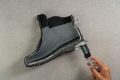
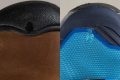
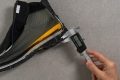
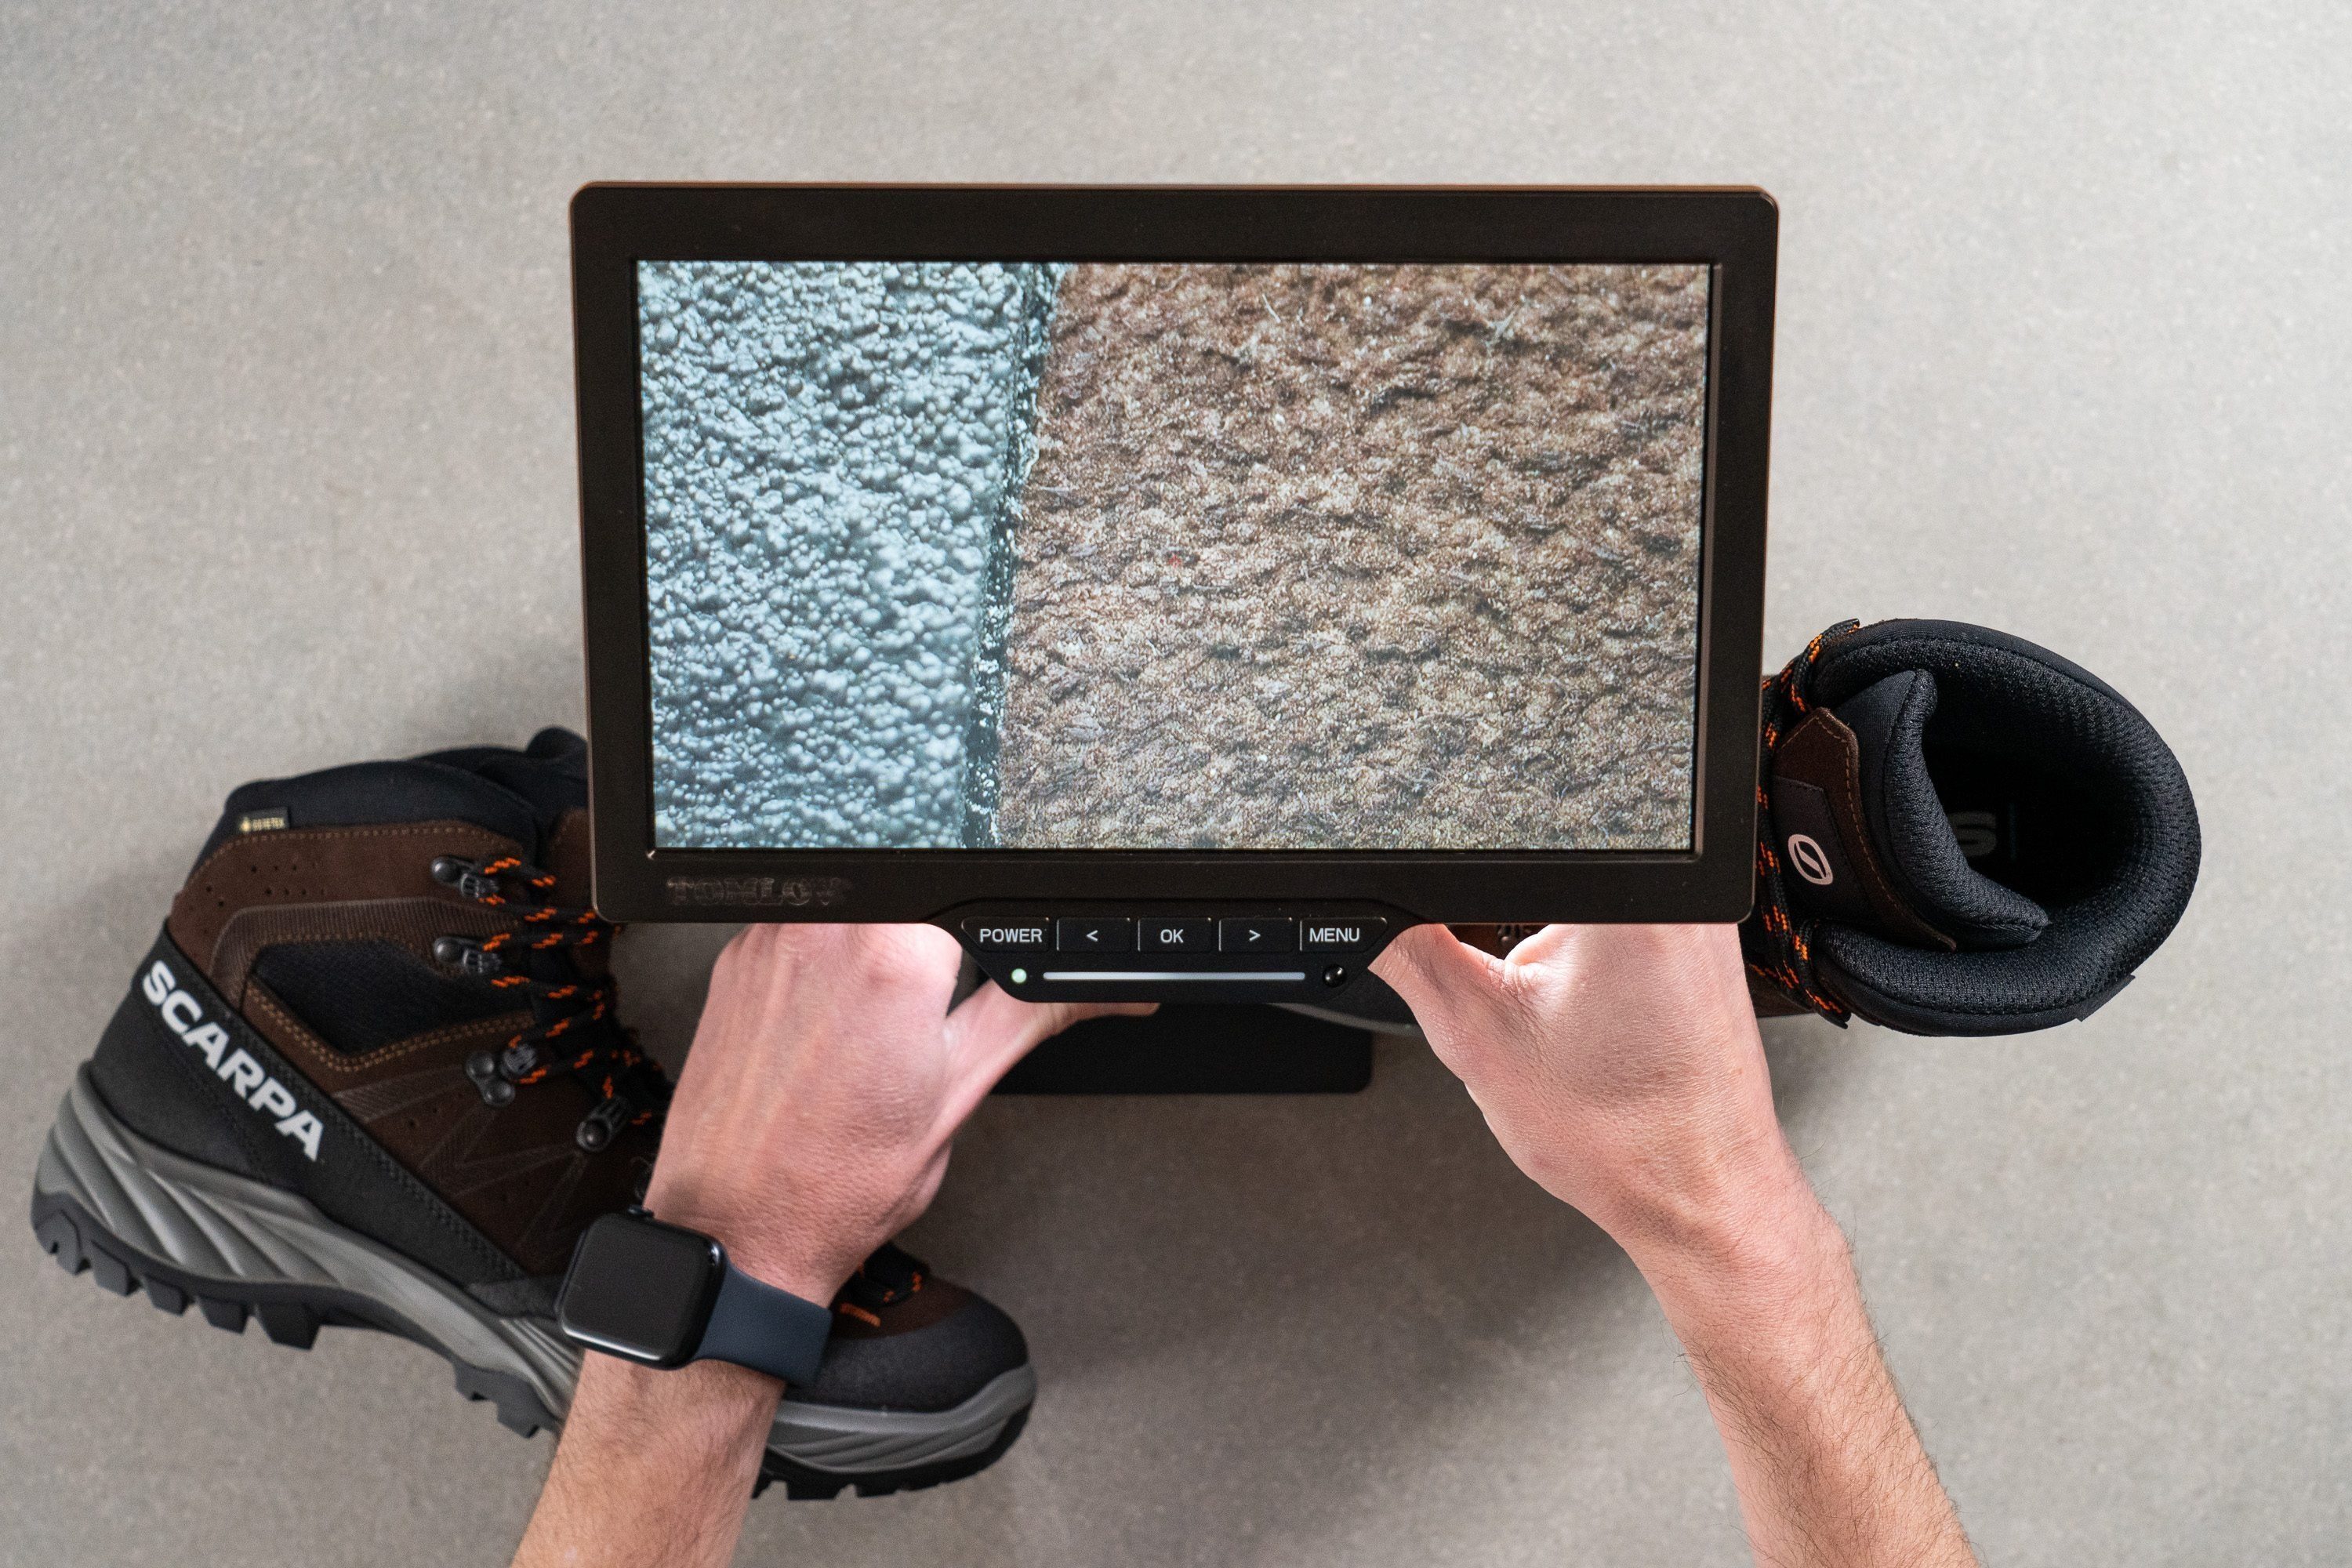
How breathable are backpacking boots?
Not that much. To be so protective and supportive, and almost always waterproof, means using thicker and stronger materials.
We see it on the smoke test that we do and it’s also noticeable under the microscope.
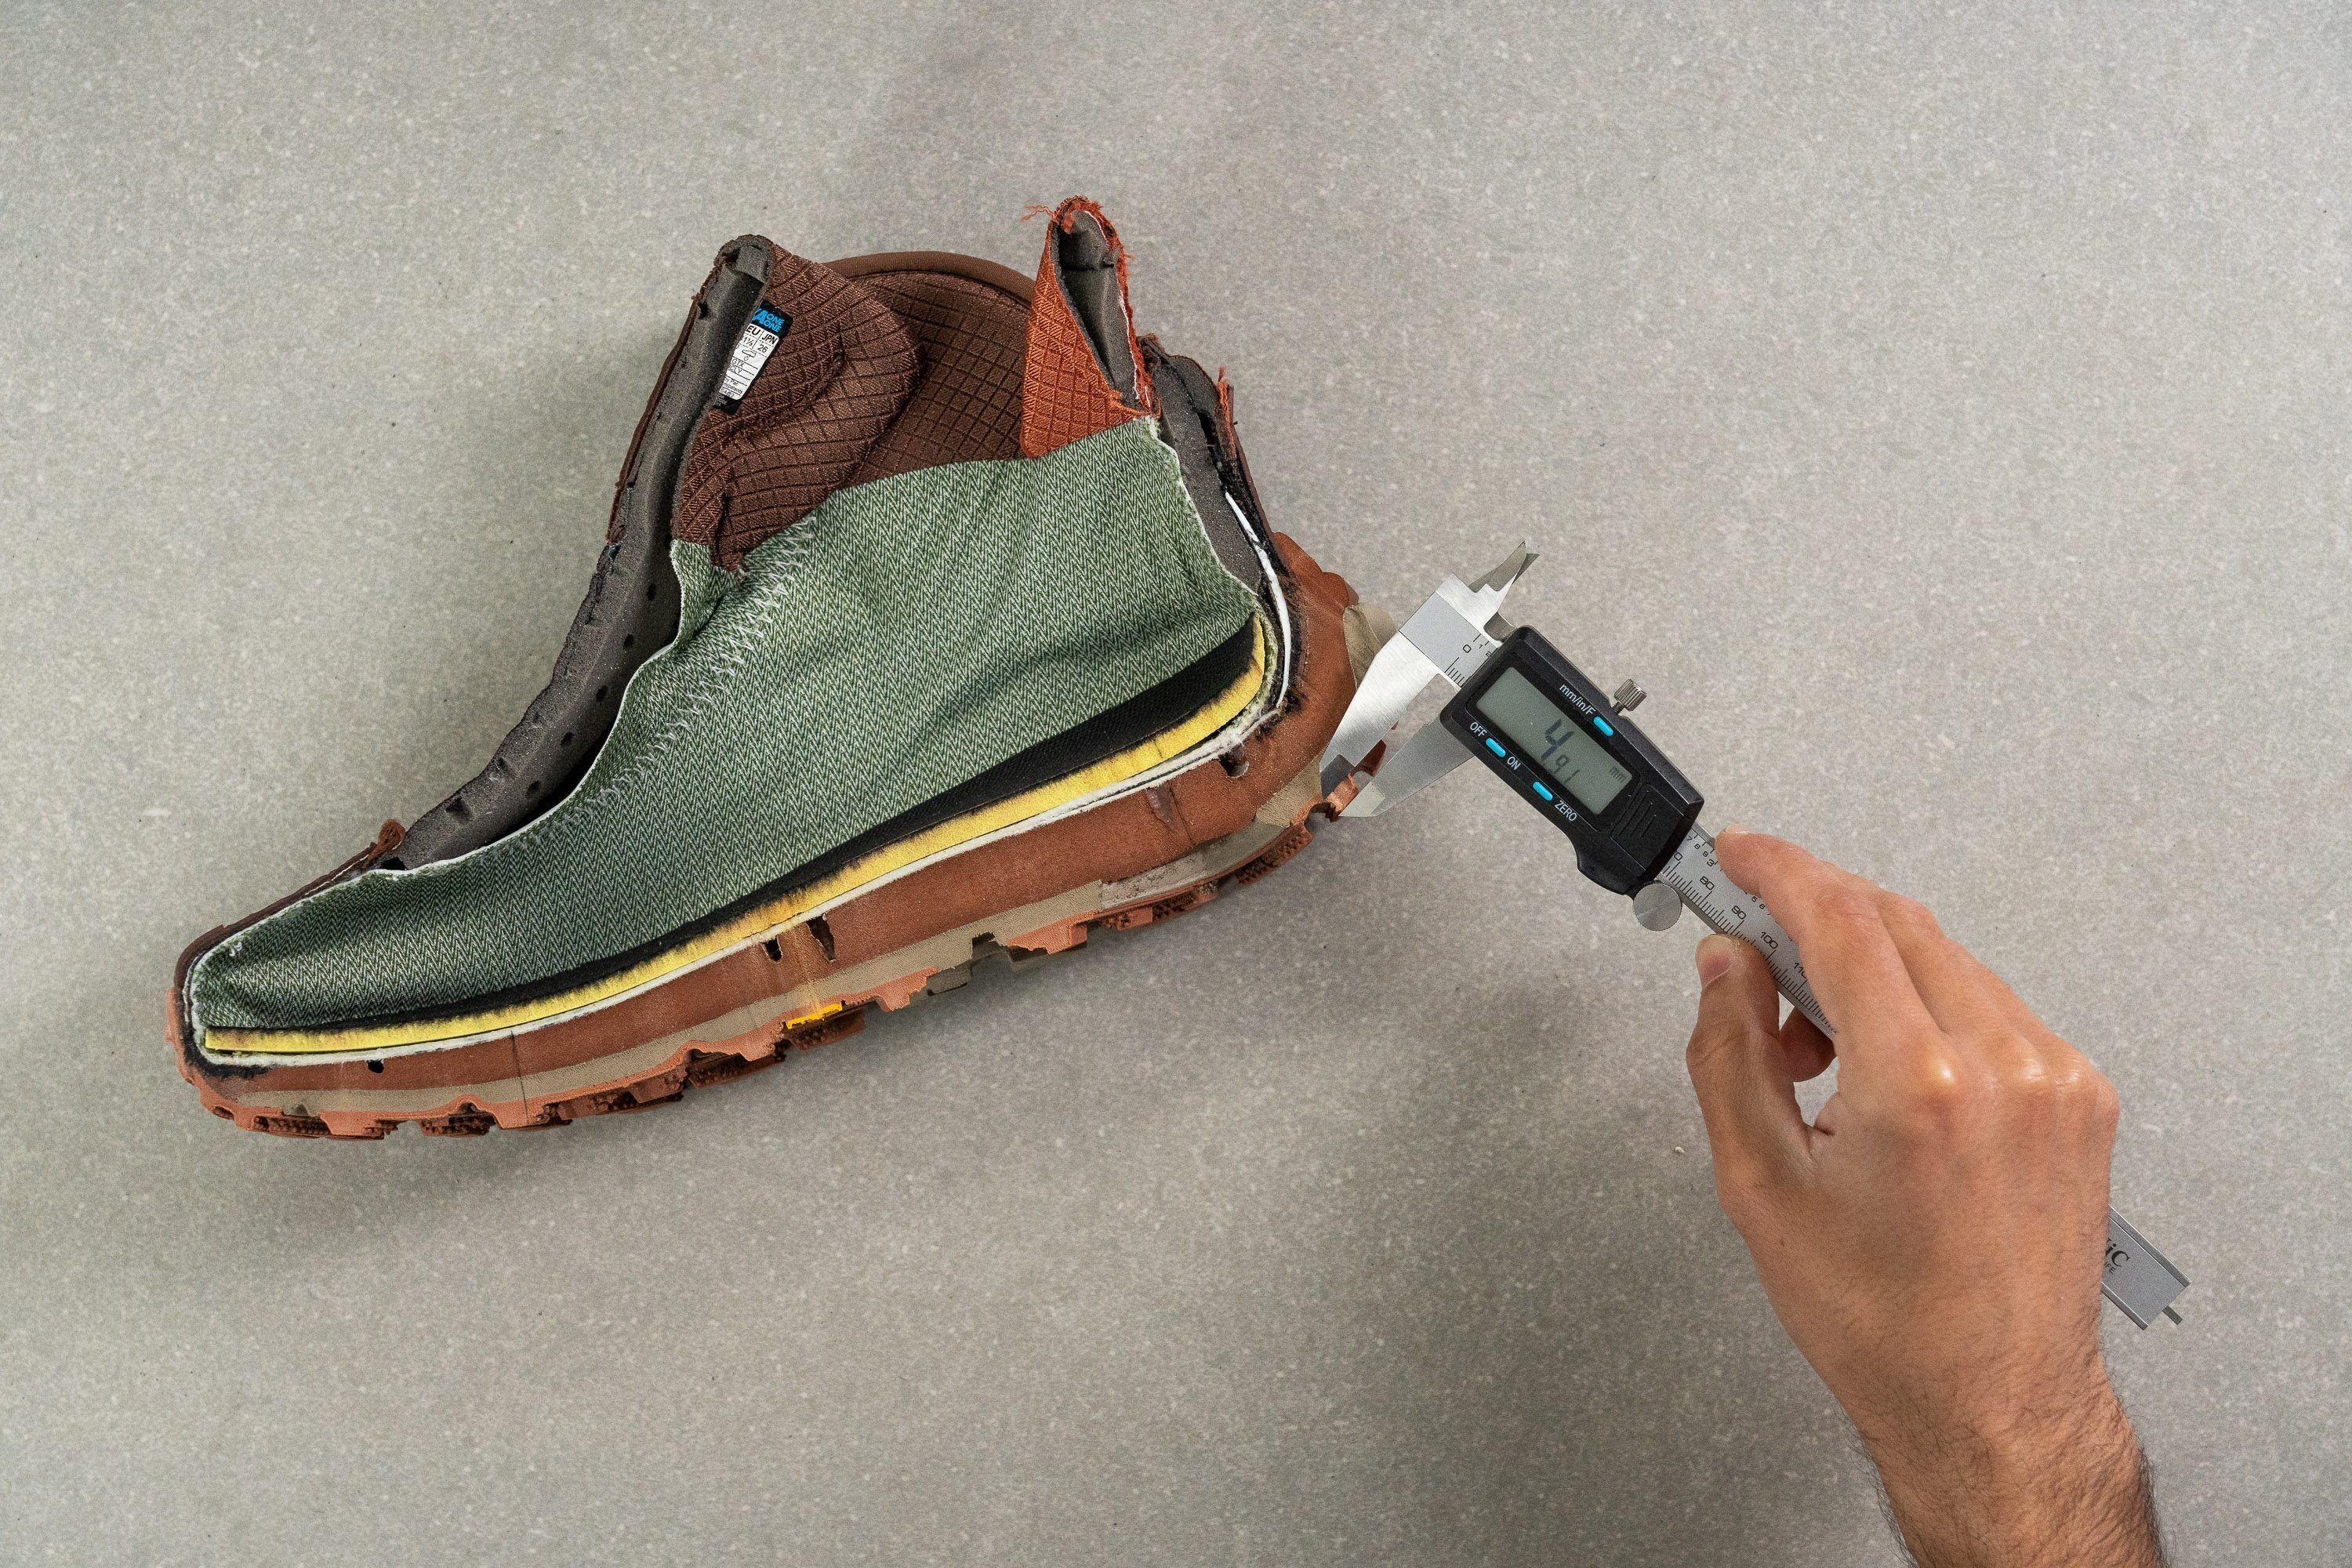
What also helps with the warmth but not with breathability is the tongue. In backpacking boots, it can be very thick.

Fortunately, we measure that as well so you can always check how padded the tongue is on the boot you're planning to get.
Extra features you might love!
These are not features beginners should be concerned about, but more advanced hikers might appreciate them. Check whether the backpacking boots you’re planning to get are:
- Crampon friendly. This can make it or break it on backpacking trips when you encounter ice or snow and need extra safety that only crampons can give you.
- Lined with an antimicrobial lining/insole. If your feet sweat a lot, this is a feature to look for.
- Resoleable. This prolongs their life, as long as the upper is not damaged!
Sometimes, we mention reflective details here a well, for backpackers who love being noticed at night when headlamps flash over their footwear. But, backpacking boots rarely come with equipped with such features. Last but not least, having a heel tab is always a great thing!
Similar buying guides