7 Best Low Drop Running Shoes in 2026

We buy shoes ourselves. We earn commissions when you buy through us, at no extra cost. Why trust us
The “drop” in road or trail running shoes refers to the difference in height between the forefoot (or toe box) and the heel section. The higher the drop in a shoe, the steeper the angle between the forefoot and the heel.
Low-drop running shoes promote a more ‘natural’ gait. Their overall construction is also a great choice for forefoot and midfoot strikers. This low drop utilises the lower leg muscles, like achilles and calves. If close to zero, it utilises the foot muscles the most. Because of this, it's important to be cautious when transitioning to low-drop shoes. We wrote all about it in this guide.
We tested many zero-drop shoes in our lab and on the test runs and picked a few top picks that really deserve all the spotlight. We showcase them here.


How we test low drop running shoes
Here at RunRepeat, we make the lives of other runners easier and more fun. We do in-depth research and tests to suggest the best low-drop running shoes that suit your training and racing needs.
Here’s our following process:
- We purchase all the low-drop running shoes on this list with our own funds. This is for the sake of transparency and freedom from bias.
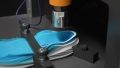
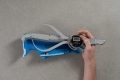
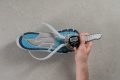
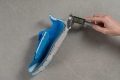
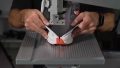
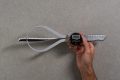
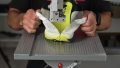
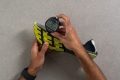
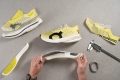
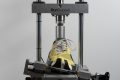
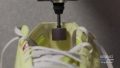
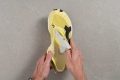
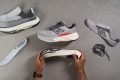
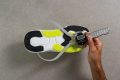
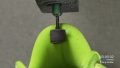
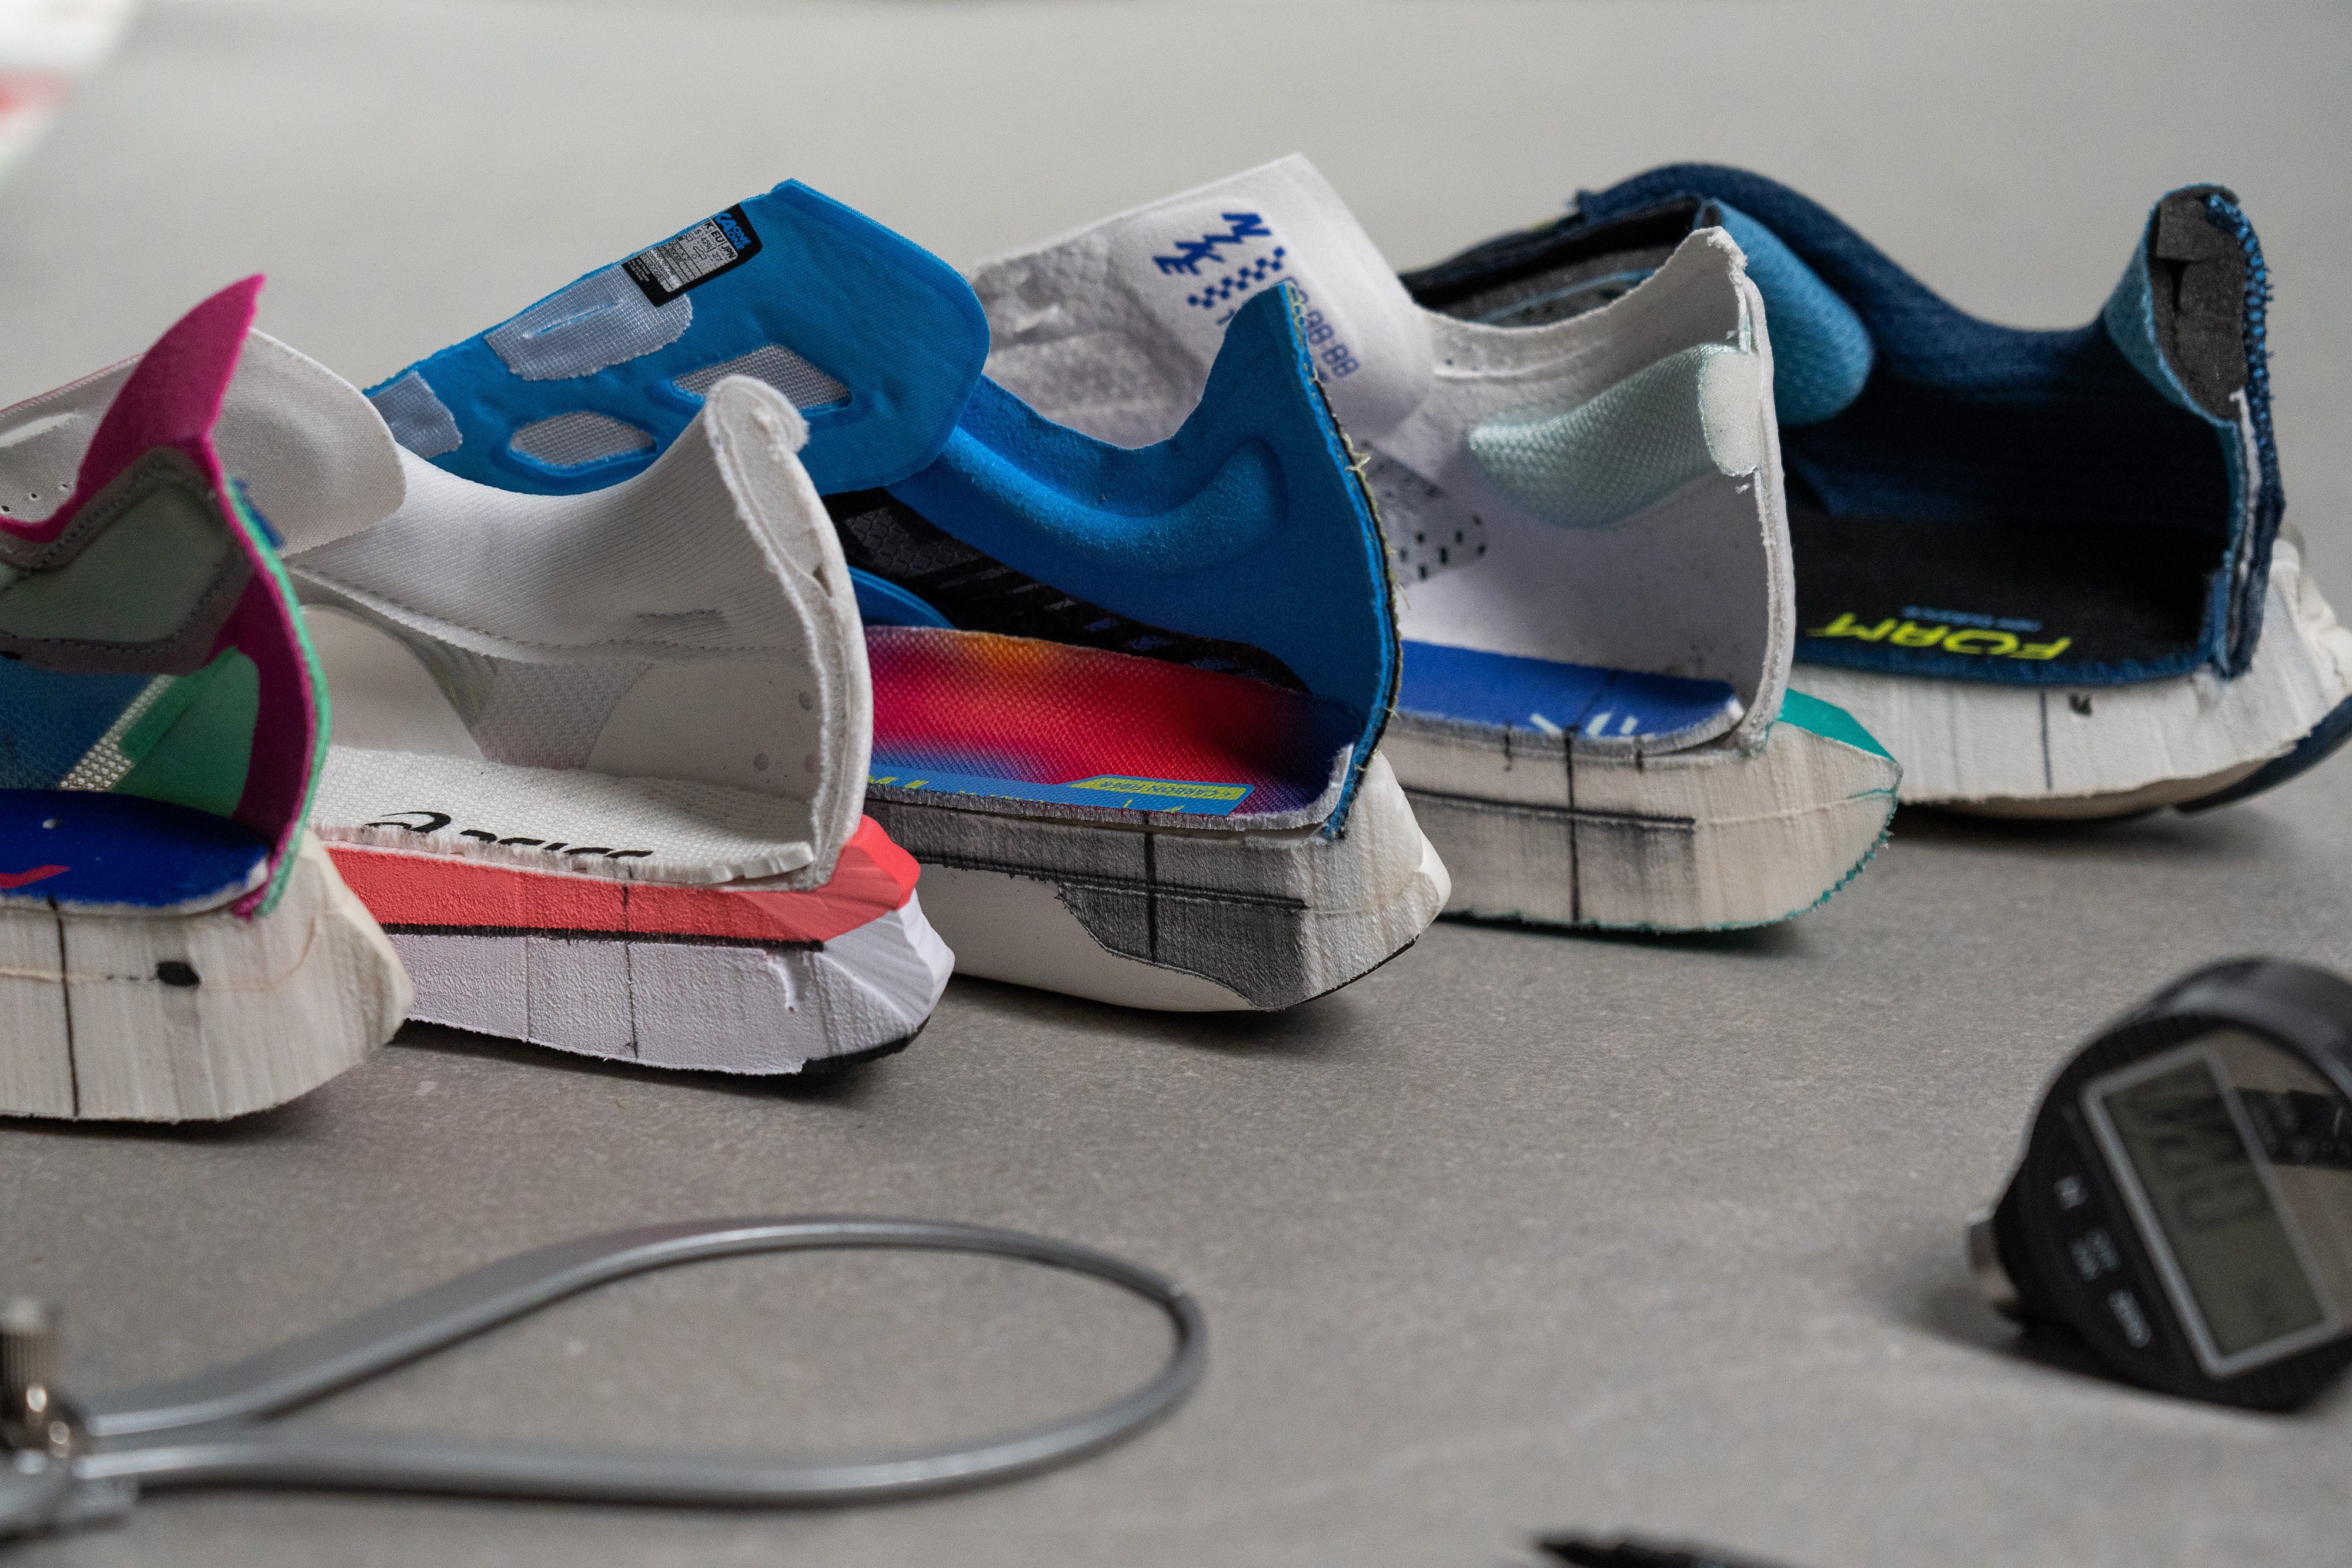
- We cut the shoes into pieces to get accurate measurements of the stack and heel drop, energy return, shock absorption, outsole thickness, flexibility, platform width, and over 30 other parameters.
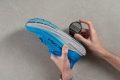
- We give our feedback after multiple runs in each model.
Best low drop running shoes overall


What makes it the best?
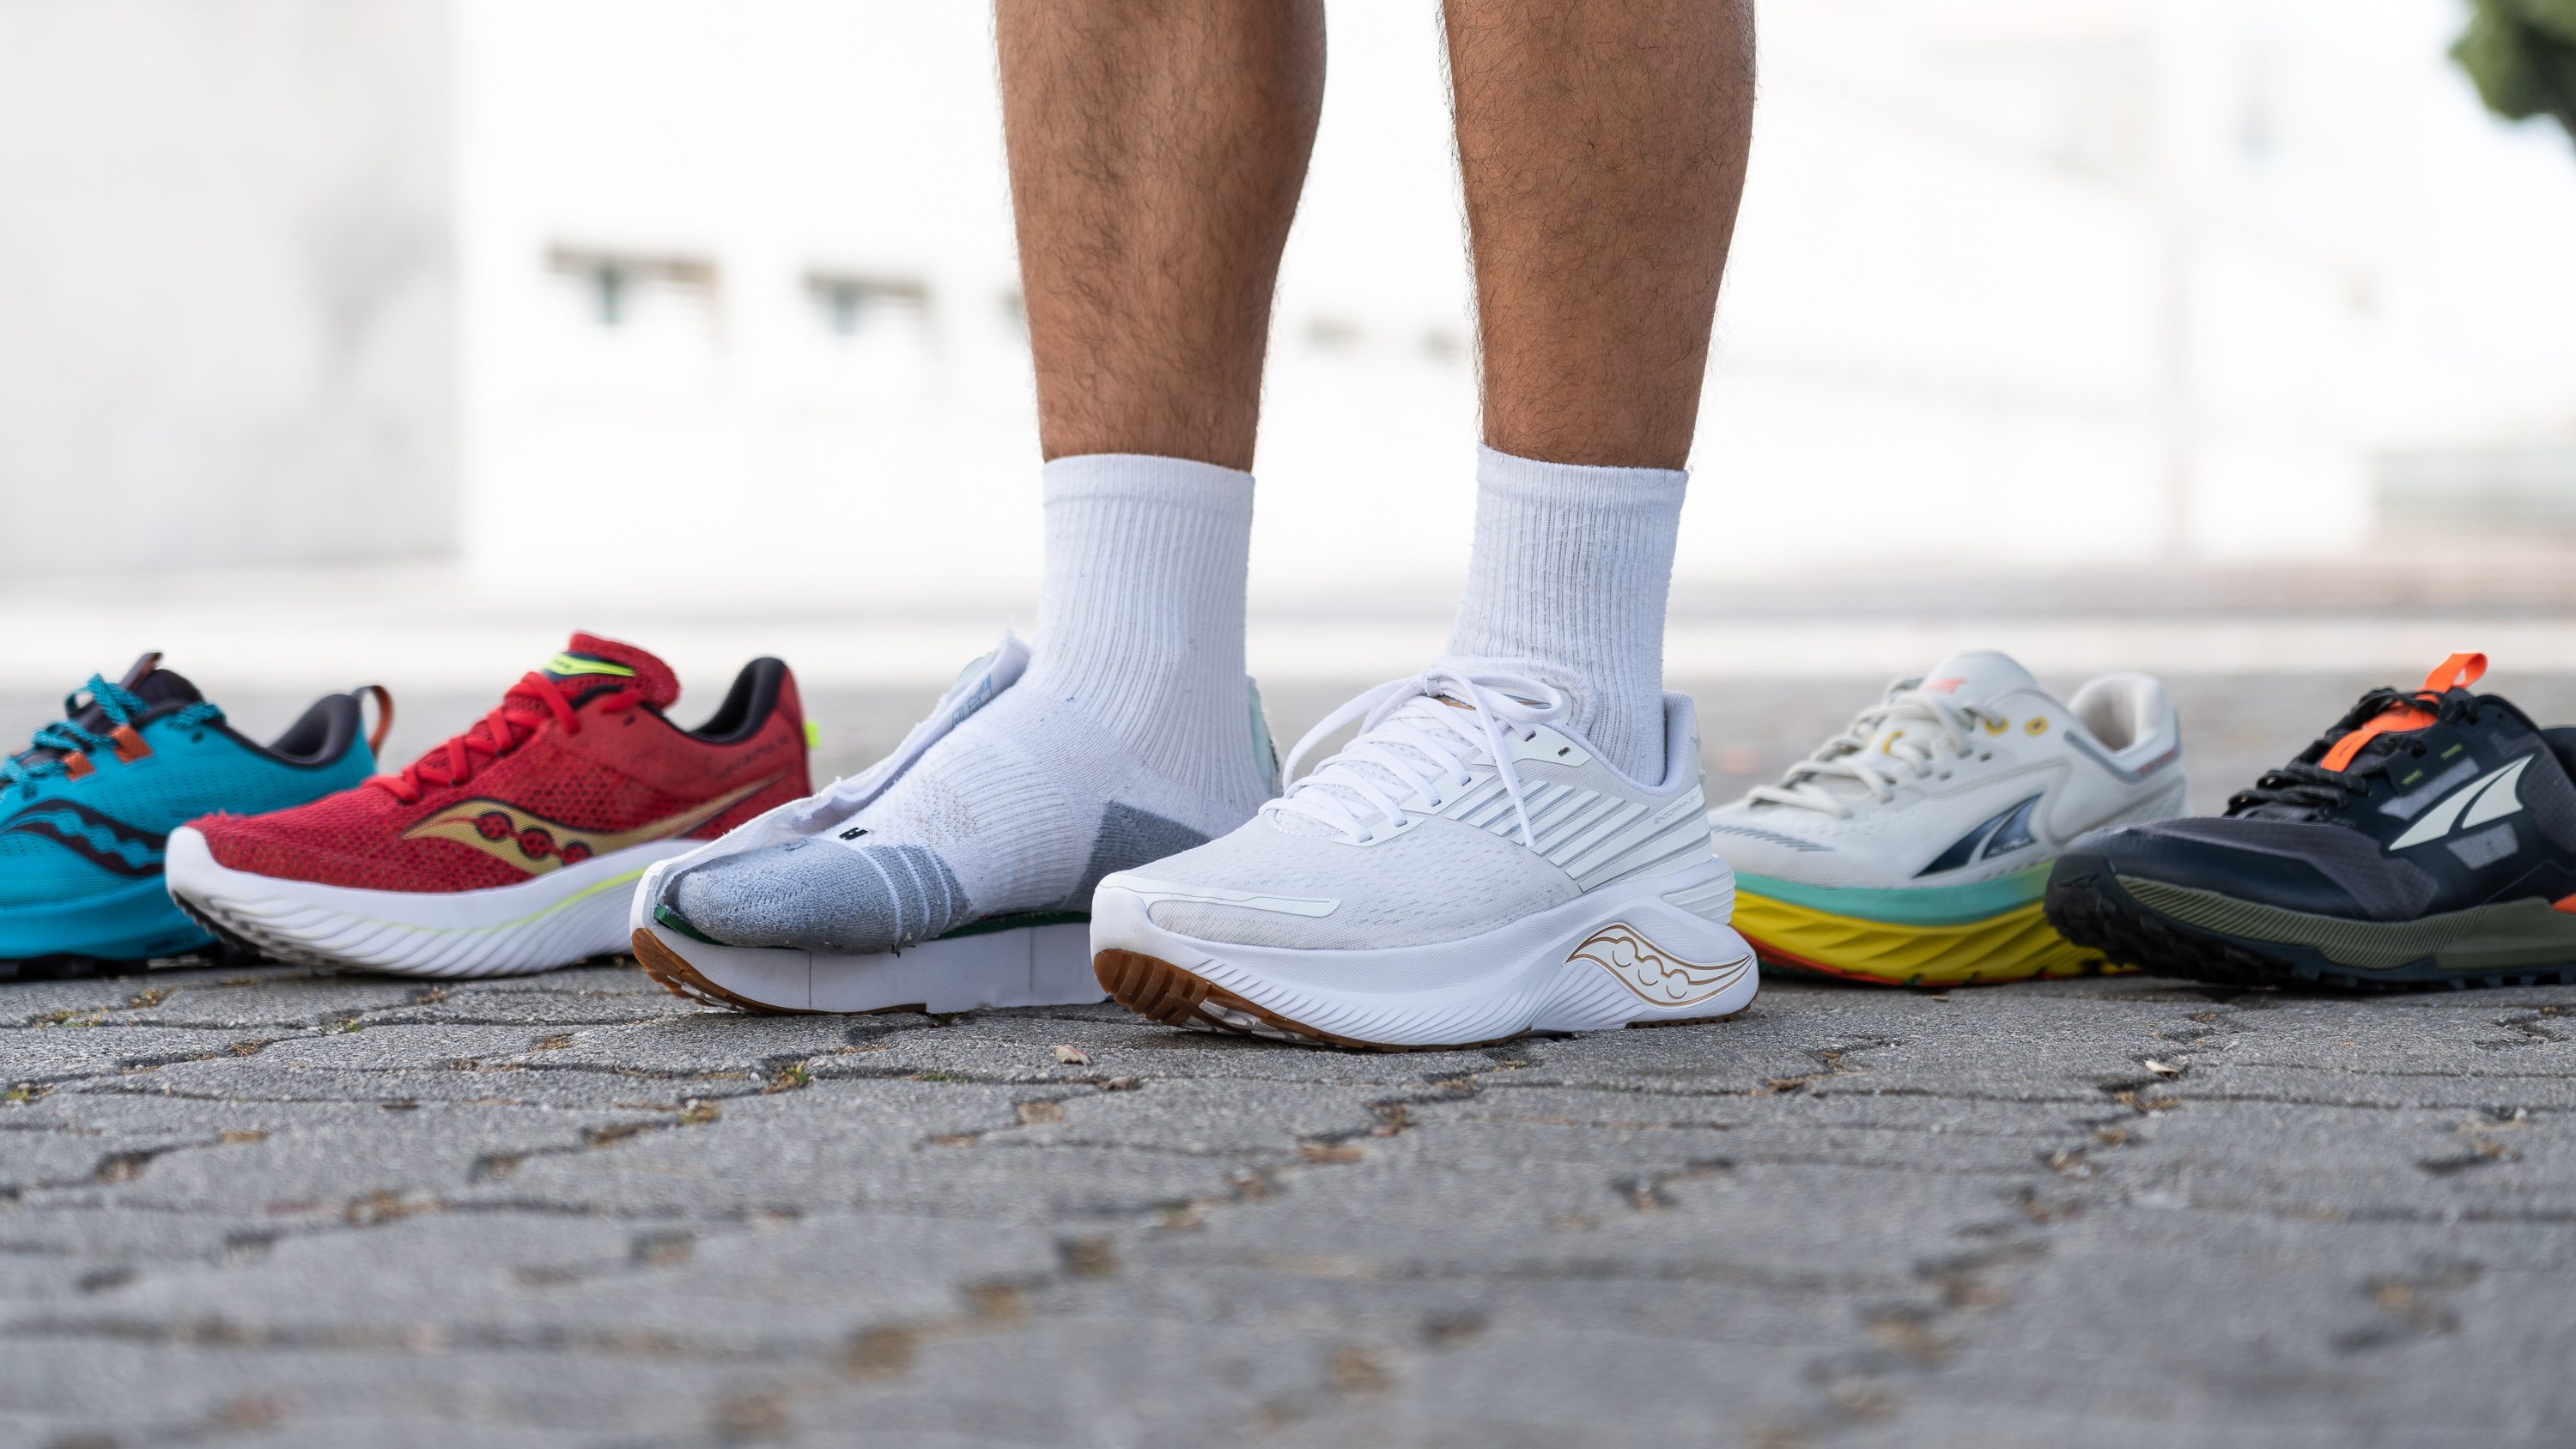
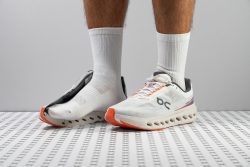
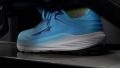
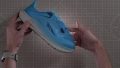
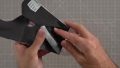
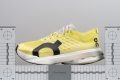
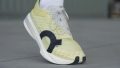
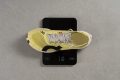
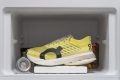
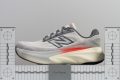
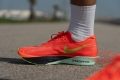
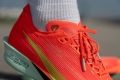
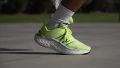
The Altra Torin 8 offers unwavering confidence and ease, making it the ultimate choice for low-drop running. Our lab results back up the sensation we felt: the zero-drop midsole offers a feedback-rich ride without compromising impact protection. Meanwhile, its grippy and durable outsole keeps us chasing more miles.
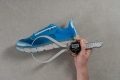
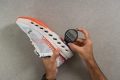
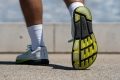
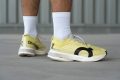
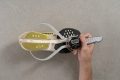
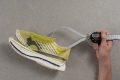
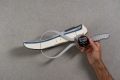
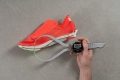
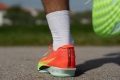
With an actual negative heel drop of -0.1 mm, it fosters a natural feel and exceptional control, ensuring solid ground contact with every step. The cushioning offers a well-balanced sensation, which our durometer confirms with a 36.6 AC reading.
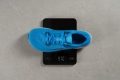
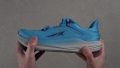
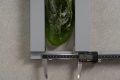
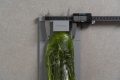
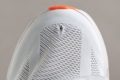
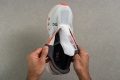
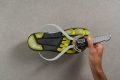
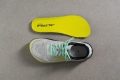
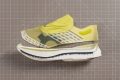
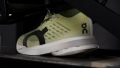
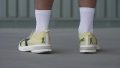
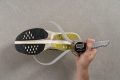
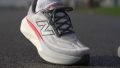
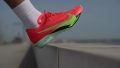
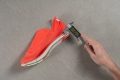
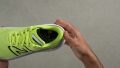
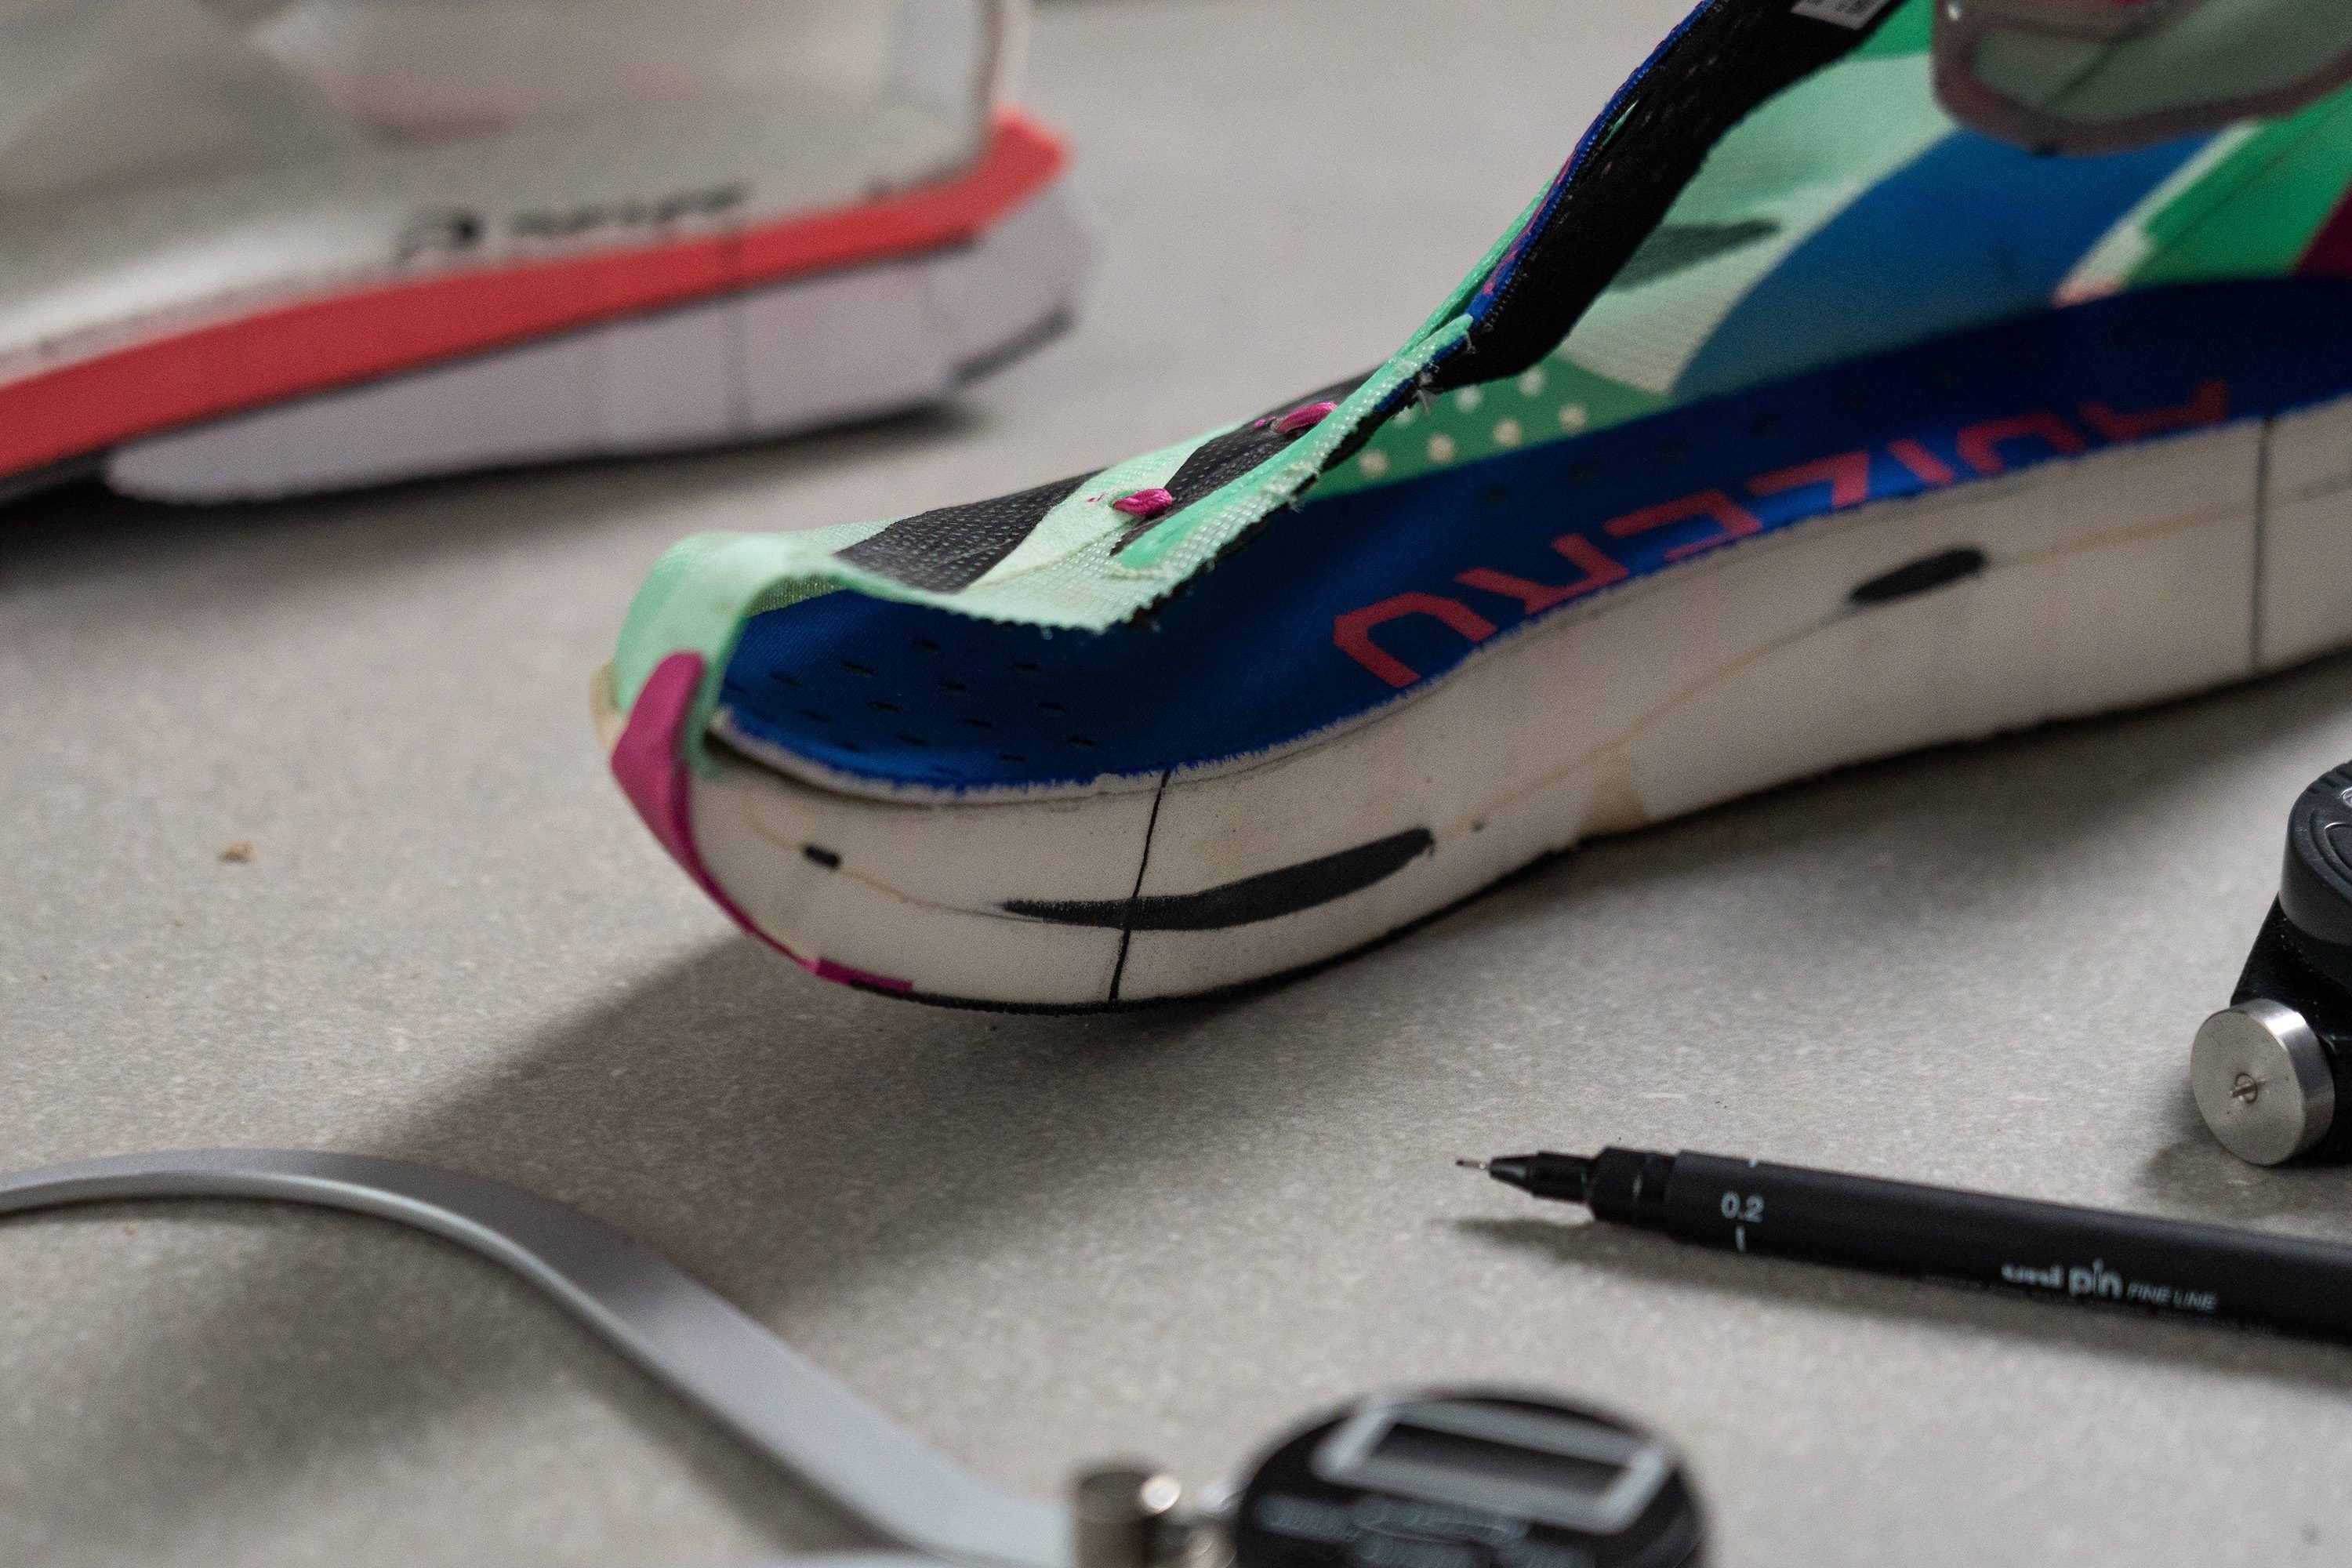
The shoe has wide dimensions in its forefoot, making it suitable for runners who strike at the front. Our calliper confirms it’s 117.7 mm vs. the 114.1 mm average, offering extra room to land securely. The toebox also features a foot-friendly design, backed up by our gel replica’s big toe measurement: 83.6 mm vs. the 73.7 mm average!
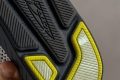
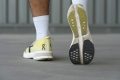
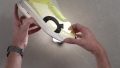
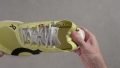
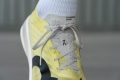
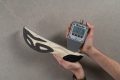
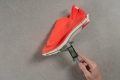
In terms of grip, we have no complaints as we had no instances of slipping. Meanwhile, the rubber bravely resisted our high-speed Dremel and only received a minimal 0.8 mm damage, cementing its durability.
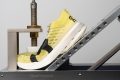
However, the midsole lacks energy return and will bore those seeking a thrilling ride. We recommend checking other options for tempo or interval runs.
Pros
- True zero-drop midsole
- Foot-shaped, wide toebox
- Excellent durability
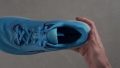
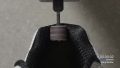
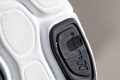
- Improved heel lockdown
- Plush step-in comfort
- Keeps the same price
- Can be used for walking
- Amazing for forefoot strikers
- Improved outsole
- Stable
Cons
- Weight gain compared to v7
- Not for rearfoot strikers
- Needs a better foam ASAP
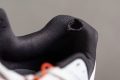
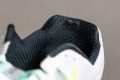
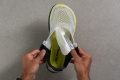
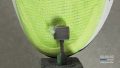
- Non-gusseted tongue
Best low-drop daily running shoes


What makes it the best?
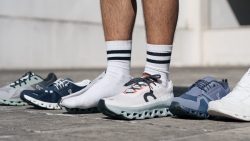
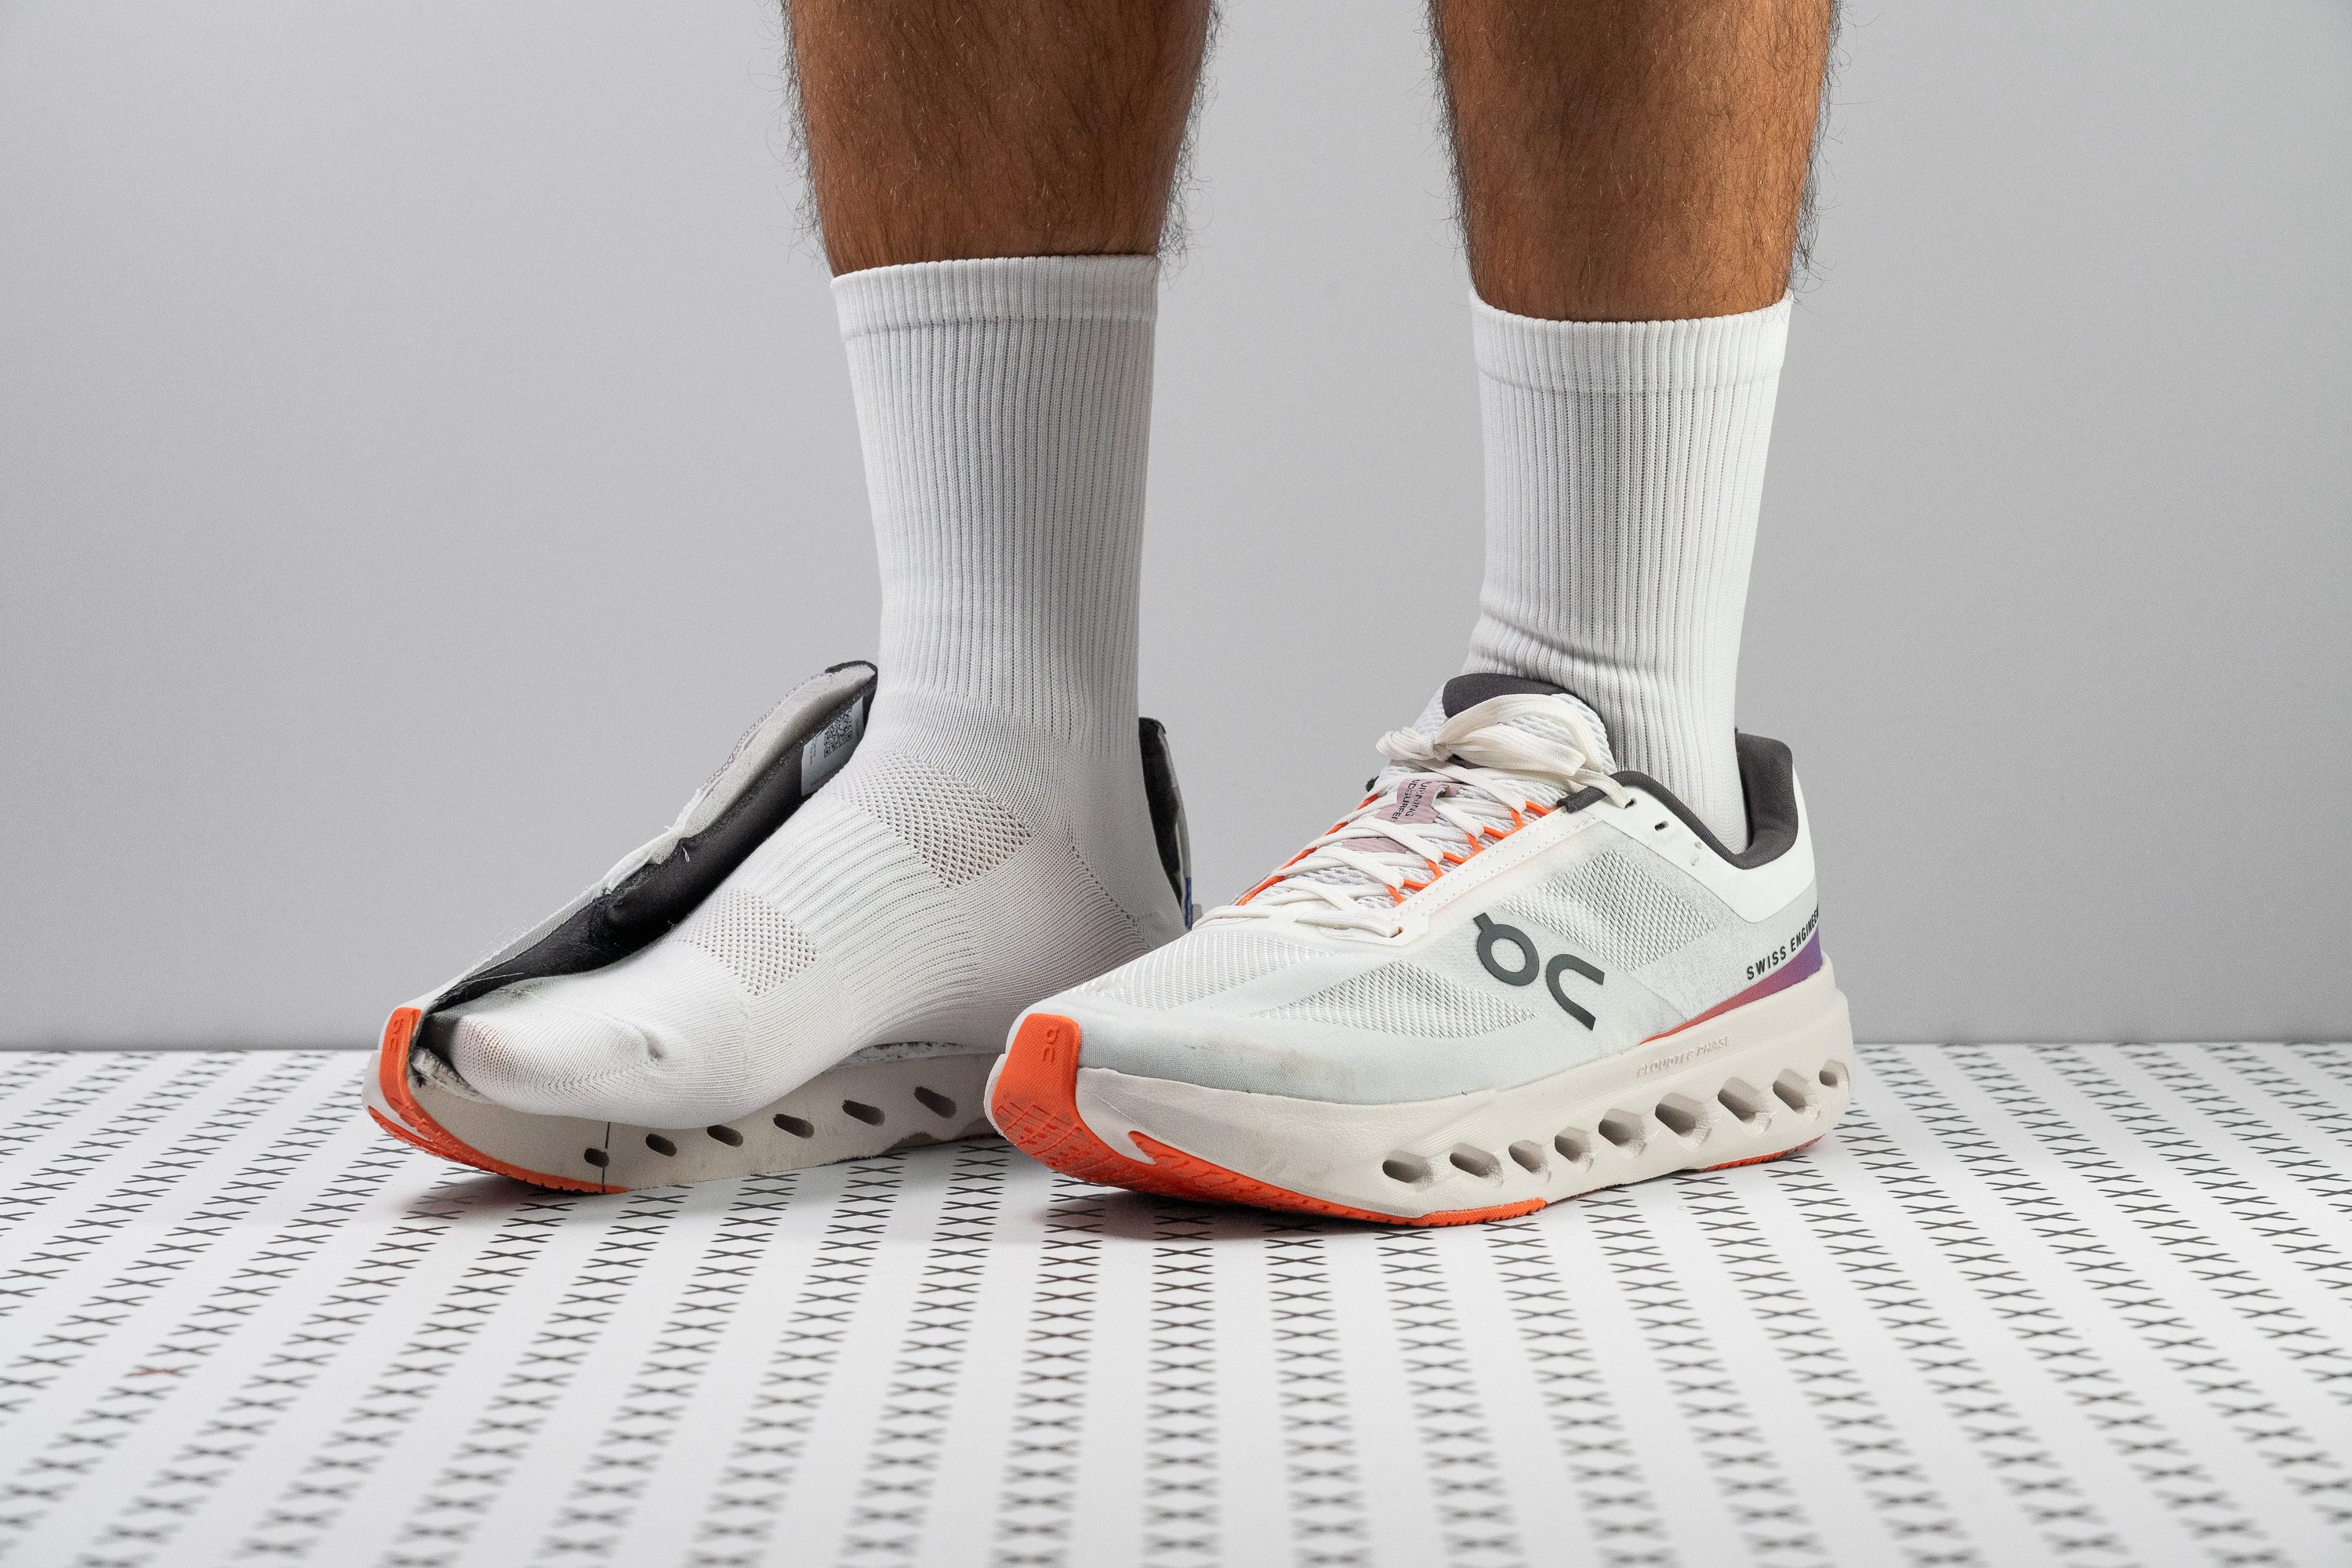
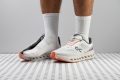
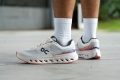
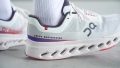
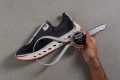
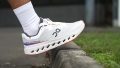
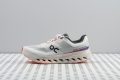
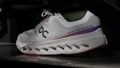
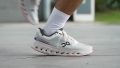
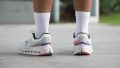
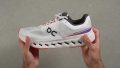
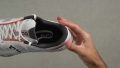
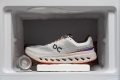
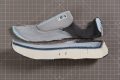
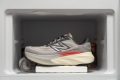
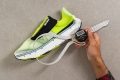
The On Cloudsurfer Next offers a fuss-free experience that allows us to keep running mindlessly. Characterised by a seamless blend of cushioning, agility, and stability, it’s our top daily trainer among low-drop running shoes we tested in the lab. With a slight 4.5 mm offset, we believe it's a great shoe to try before deep-diving into the zero-drop world.
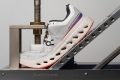
Cloudsurfer Next features a low profile that adds to our agility. Our calliper shows it’s only 33.8/29.3 mm, a refreshing number in today’s maximalist era. Despite its below-average height, it offers long-distance-ready shock absorption scores of 130 SA in the heel and 102 SA in the forefoot.
Its low 4.5 mm offset helps us stay connected to the surface, allowing us to adapt to various obstacles on the road. We measured a narrow midsole of 111.6/84.5 mm, but we never felt like losing our balance because the rigid midsole helped us stay centred.
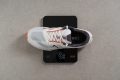
Unfortunately, the Cloudsurfer Next can’t handle wet or slippery surfaces. If strong traction is a must, we suggest finding a grippier trainer.
Pros
- Amazing build quality
- Excellent stability
- Remarkably lightweight
- Cheaper than most On models
- Reliable lockdown
- Great for forefoot strikers
- Amazing for winter!
Cons
- Heel padding may wear quickly
- Needs better breathability
- Likely too firm for most
- Not grippy enough on wet
Best low-drop shoes for tempo workouts


What makes it the best?
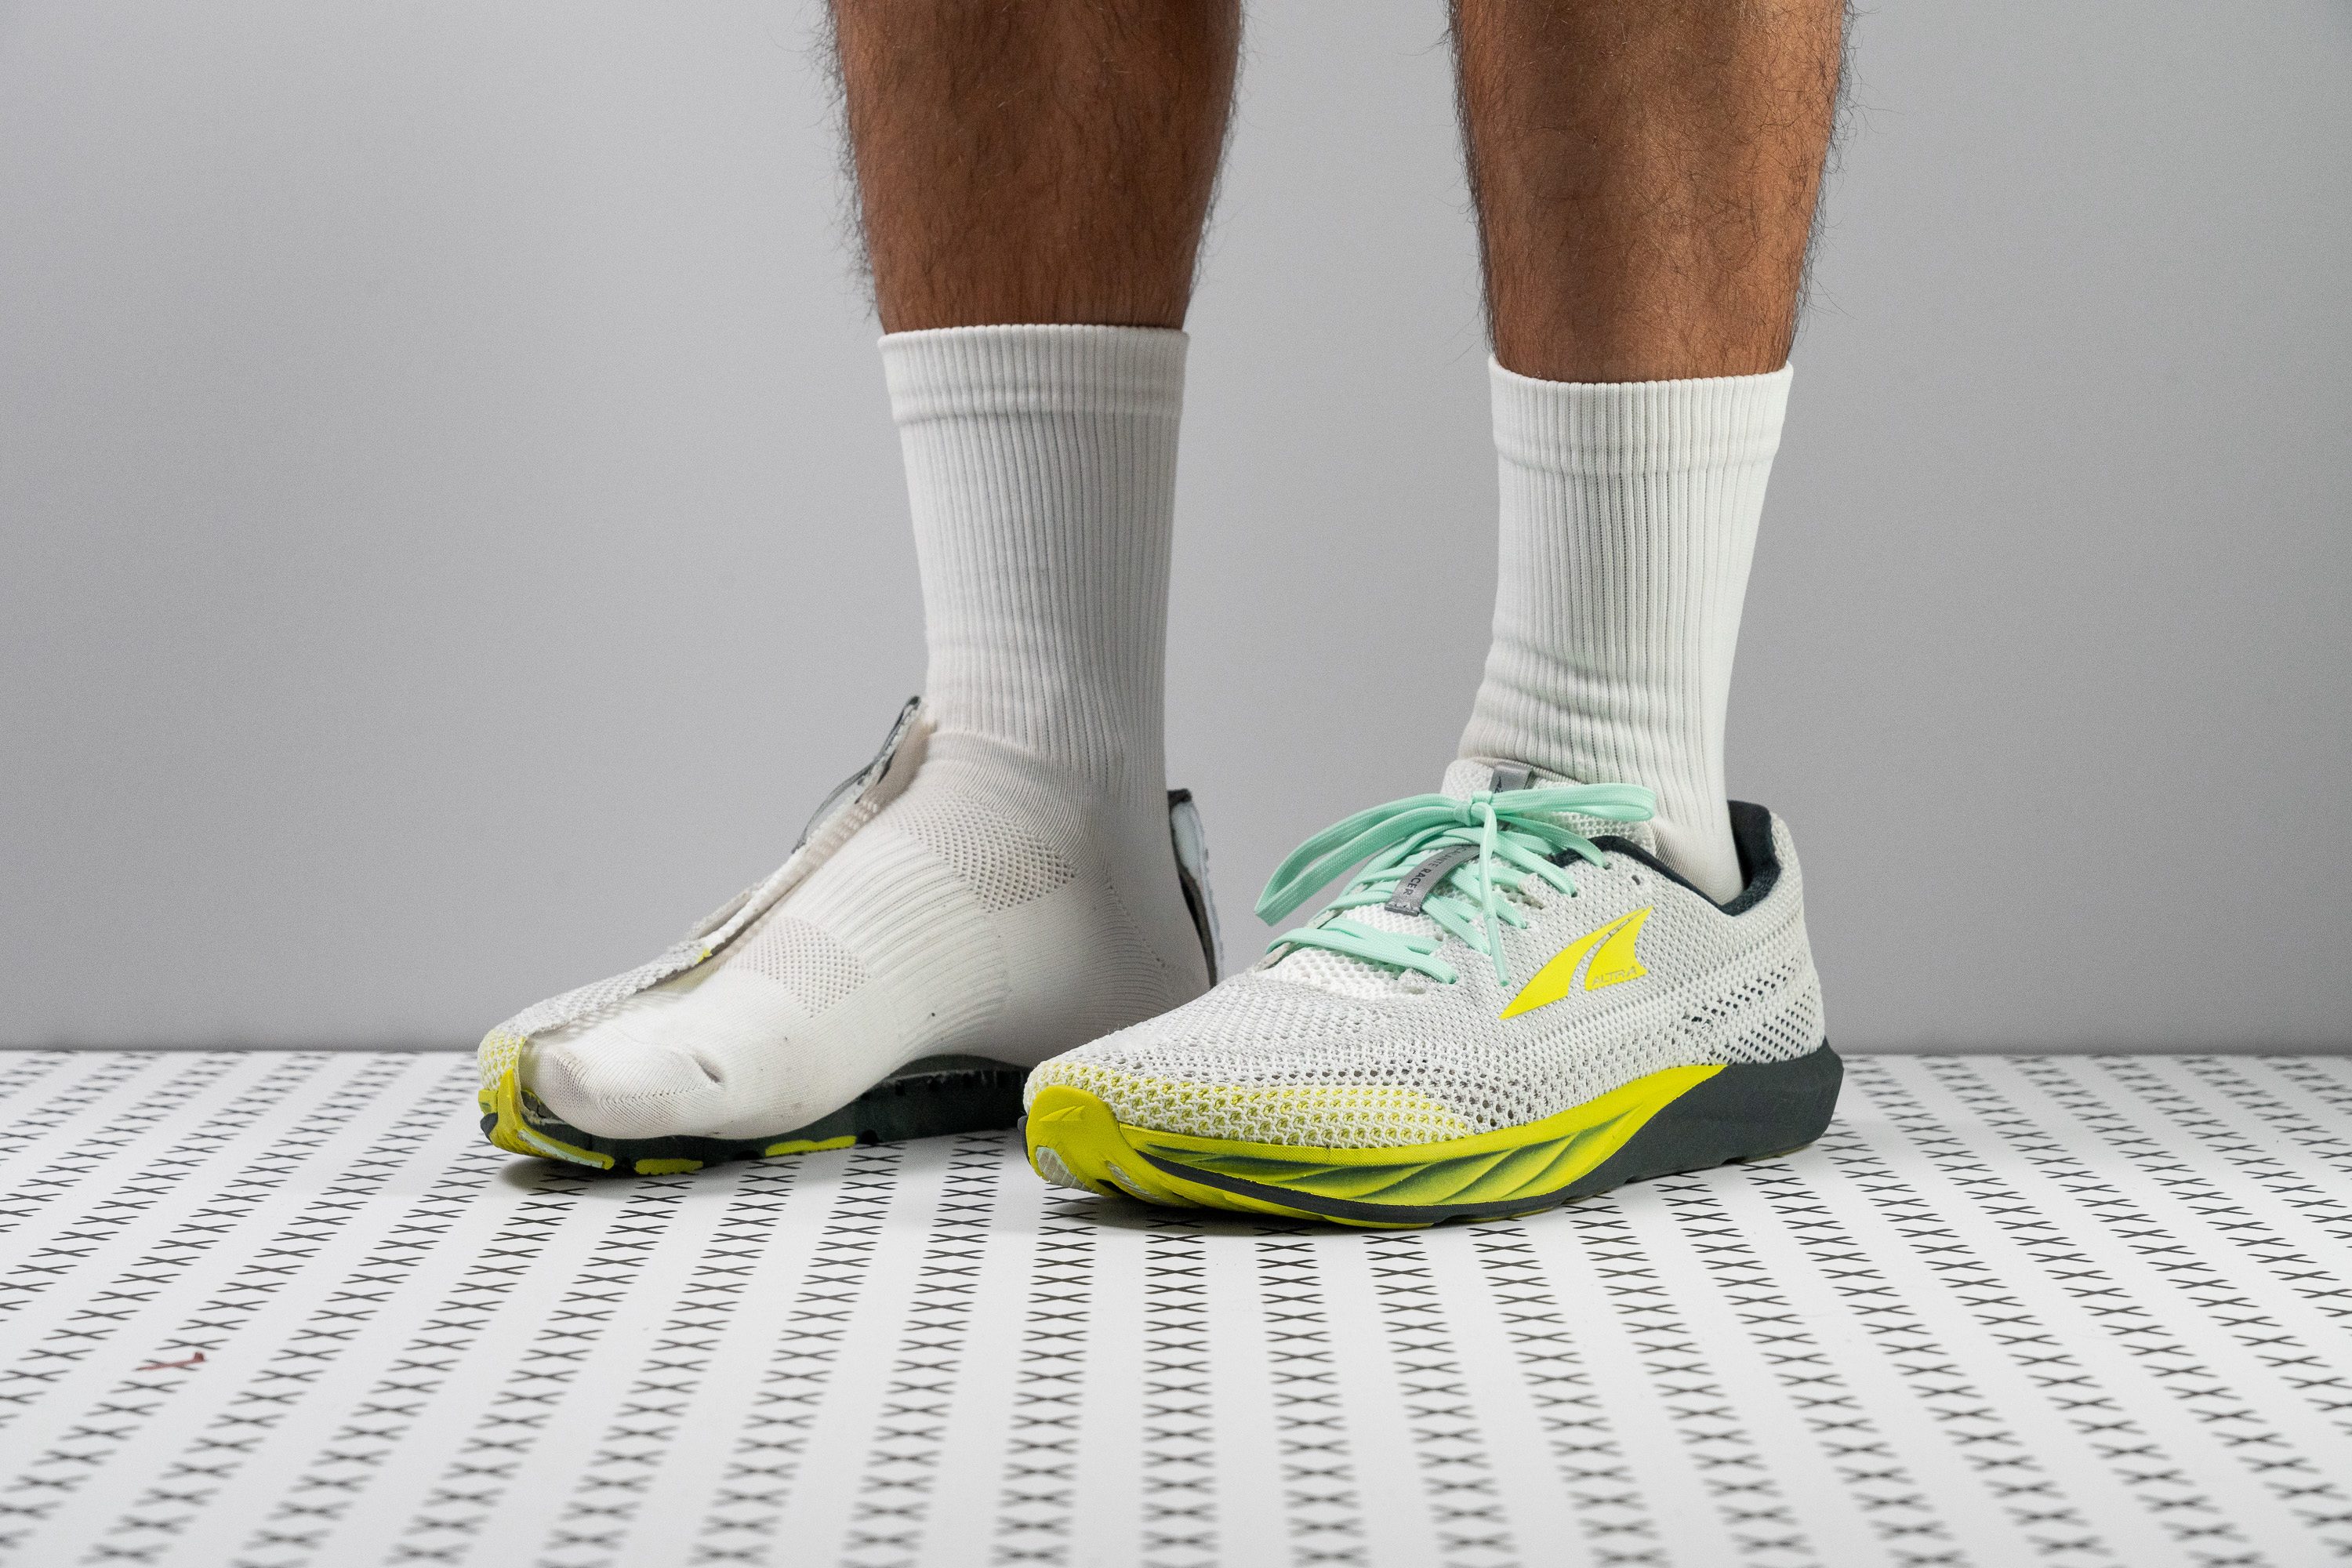
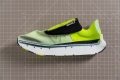
The Altra Escalante Racer 2 is our best low-drop speed trainer because of its featherlight, nimble, and perfectly natural ride. Proven by countless tests in the lab and our runs, its minimal cushion, flexible midsole, and light nature kept the experience as simple as possible.
With a heel-to-toe drop of 1.1 mm, the ride resembles that of a zero-drop shoe. This promotes foot strength and direct ground contact, generating speed through our own muscles. Though the 22.5/21.4 mm stack remains below average, the delightfully firm cushion protects us from leg strain and unstable strides.
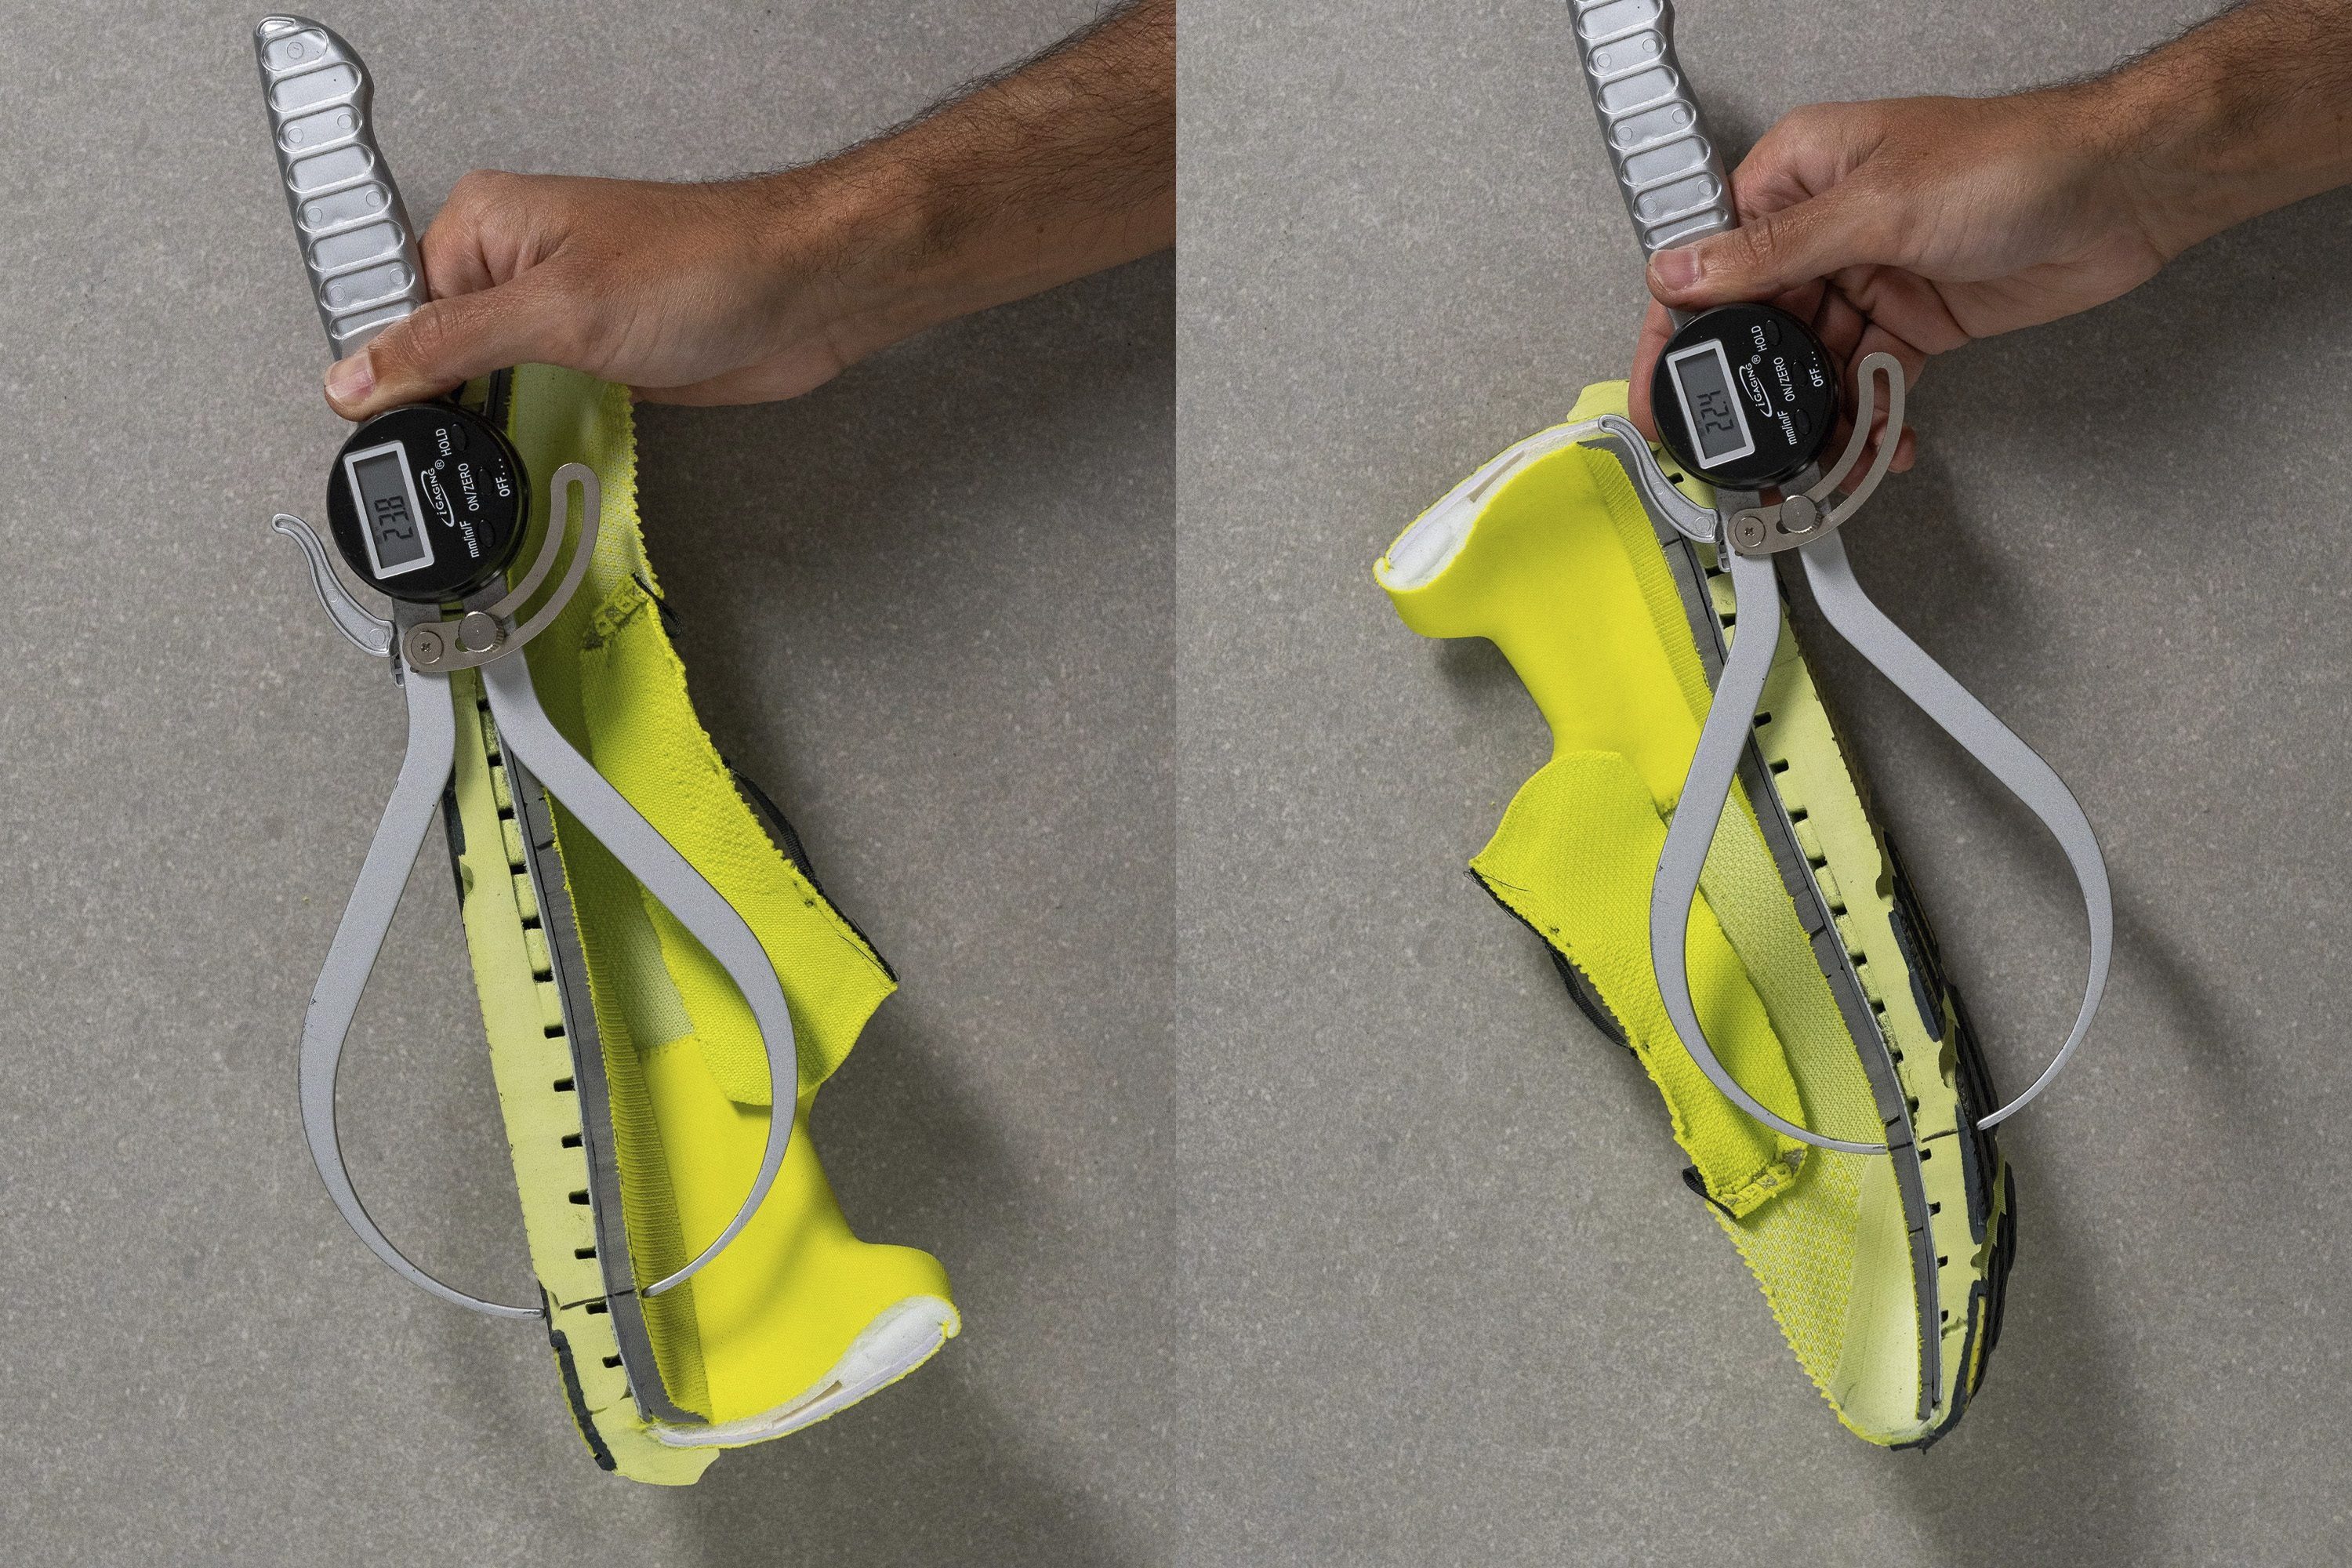
What’s incredible is how airy this shoe feels in our runs. This speed trainer is only 7.9 oz (224g), making it 8.3% lighter than the average running shoe.
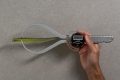
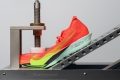
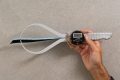
Loose from all angles—ER2 boasts of the FootPod and InnerFlex technologies in the outsole and foam to ensure the shoe moves based on our natural motions. From forward bends to twists, the midsole barely resisted. Our lab results showcase an impressive 46.6% higher flexibility than average and the lowest 1/5 score for torsional rigidity, proving that speed and flexibility can go together.
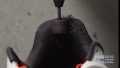
However, it fully takes minimalism to heart with its thin 1.5 mm tongue. Having 74.1% less padding than average, we advise against tying the laces too tightly.
Pros
- Enhanced toebox and outsole durability
- Incredible ventilation
- Grounded yet cushioned feel
- True zero-drop experience
- Spacious, foot-shaped toebox
- Superb stability
- Highly durable knit
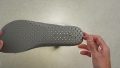
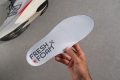
- Premium perforated insole
Cons
- Heavier than previous version
- Lacks heel padding durability
Best low-drop shoes for running a marathon


What makes it the best?
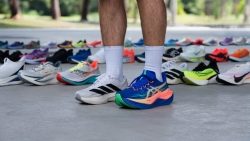
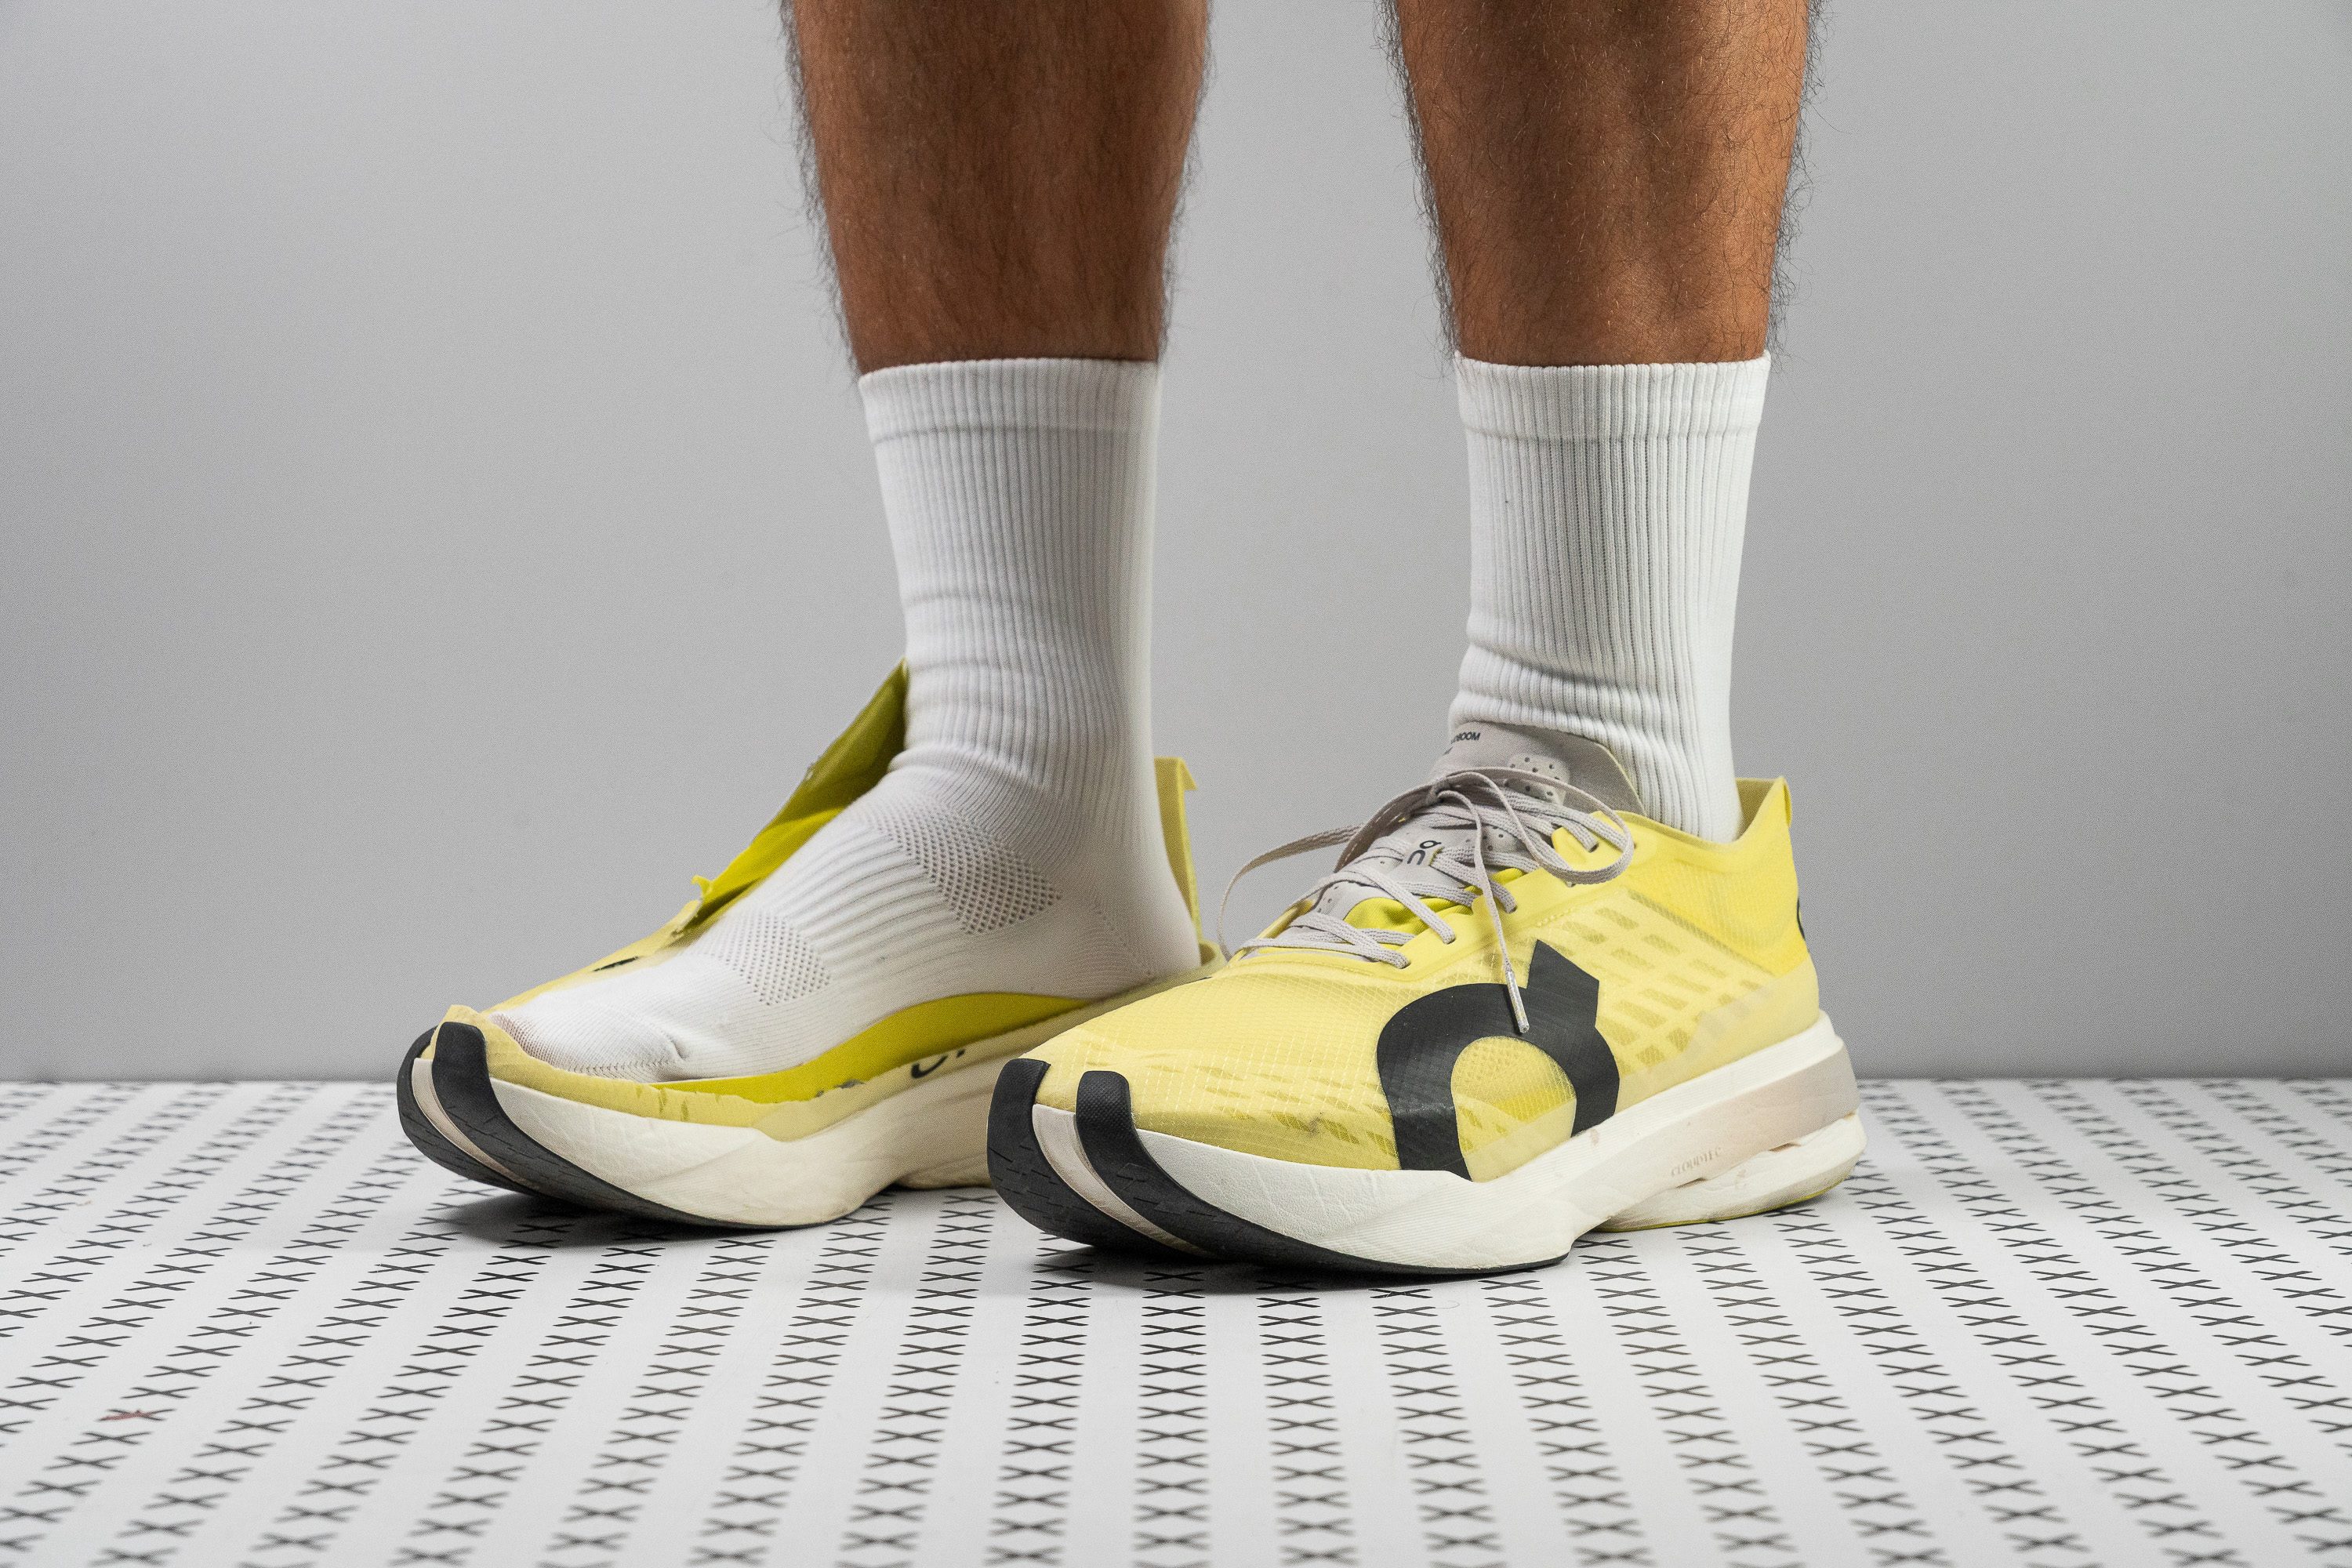
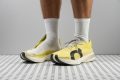
With the lab and the streets as our witnesses, the On Cloudboom Strike is our ultimate low-drop marathon running shoe. We blazed through gruelling miles without the burning feeling with its superior combination of blissful comfort and insane midsole responsiveness. This lightweight marvel delivers nothing but peak performance in our runs.
With a 38.1/34.9 mm stack height, we savoured the extra cushioning in our runs, notably in the forefoot. For context, the average in our lab is only 25.9 mm. The minimal 3.2 mm offset promotes landing on the front half of our foot, which is why we appreciated its high impact protection, proven by its solid 127 SA rating in the forefoot. It really made a difference as we inched closer to the 26-mile mark.
Despite its height, Cloudboom Strike is one of the lightest we’ve seen at only 7.1 oz (201g)! Its airiness comes from the Helion HF foam, offering a wildly electric experience. Testing for its energy return, we recorded a massive 73.4% in the forefoot.
However, its tall and plush nature makes it less stable. Marathoners seeking a relaxed yet controlled sensation should go for a more supportive shoe.
Pros
- Exceptional energy return
- Outstanding shock absorption
- Lightweight for its high stack
- Roomier fit than previous model
- Excellent traction
- Innovative Pebax insole/midsole design
- Perfect for forefoot strikers
- Premium-quality materials
- Handles anything from 5K to marathons
- Generous rubber coverage
Cons
- Potential heel slippage
- Not for heel strikers
- A bit expensive
- Limited stability
Low drop running shoes with the best shock absorption


What makes it the best?
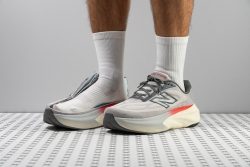
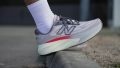
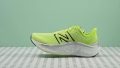
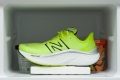
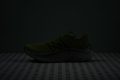
In our runs and lab analysis with low-drop running shoes, the New Balance Fresh Foam X More v6 championed shock absorption. Its maximalist and pillow-like design caters to forefoot and midfoot strikers looking for speed and support without the discomfort of tired legs.
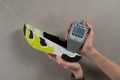
Our toe-offs feel electric, backed up by their high energy return of 58.8% in the forefoot. But what we loved the most is its exceptional impact protection, scoring a high 144 SA vs. the 107 SA average, which proves More v6’s superior shock absorption up front.
The stack height reaches a monstrous 41.8/38.5 mm, the front stack exceeding many other shoes’ heels. Measuring the heel drop, we got a low 3.3 mm reading, which promotes landing in the midfoot and forefoot areas.
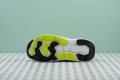
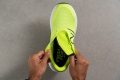
Despite its height, it keeps us safe and steady through its broad platform. Our calliper measurements reveal a very spacious 122.5/102.0 mm base that keeps us centred.
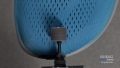
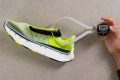
However, its ventilation score is minimal at 2/5. Those training in warmer weather should look for at least a 4/5 score in our breathability test.
Pros
- Record-breaking shock absorption
- Wide platform ensures stability
- Super-plush foam
- Improved energy return
- Cosy upper
- No price hike this year
- Ideal for forefoot strikers
- Solid durability
- Semi-gusseted tongue for secure lockdown
- Good torsional flexibility despite its size
Cons
- Narrow, low-volume interior fit
- Still a heavy shoe
- Weak airflow
- Low drop doesn't work for everyone
Low drop running shoes with the best energy return


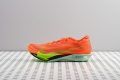

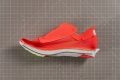


What makes it the best?
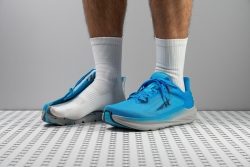
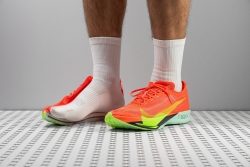
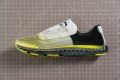
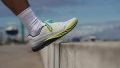
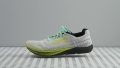
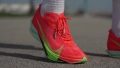
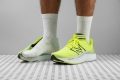
The snappiness we experienced in the Nike Streakfly 2 is out of this world. Further testing in the lab left us in awe of how it managed to pack so much power and grip in its lightweight package. Ultimately, it takes the crown for the best energy return among low-drop running shoes.
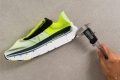
Streakfly 2 feels like a track shoe with its minimal cushion and low drop. Our calliper shows the stack is 27.0/23.3 mm, and the resulting heel drop is only 3.7 mm, explaining the magnified surface feedback we had. This low drop shoe offers high energy return, verified by lab tests with dominating scores of 76.3% in the heel and 77.9% in the forefoot.
Its low weight helps with running at full throttle, because it really feels like we don’t have shoes on. At 4.5 oz (128g), it’s even lighter than other running spikes!
To enhance control and tackle sharp curves with no fear, the outsole offers solid grip. With its 0.49 friction score in our traction test, it’s ready for dry and wet conditions.
However, its focus on aerodynamics makes its midsole extremely narrow. Expect a race-ready fit with its 102.2/70.8 mm dimensions.
Pros
- Feather-light build
- Ideal for 5K/10K races
- Wild, fun and fast
- Now features a carbon-fibre plate
- Much quicker than its predecessor
- Top-tier ZoomX foam
- Perfect for track workouts
- Not pricey all things considered
- Can stretch up to half marathon
- Grips well on dry and wet roads
Cons
- Not for heel strikers
- Only for short distances
- Narrow toebox
- Lacks stability
Best budget low drop running shoes


What makes it the best?
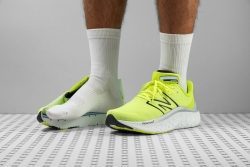
After a series of tests in our lab, we found that the New Balance Fresh Foam X Kaiha Road is our best budget low-drop running shoe. It’s a more than capable daily trainer for its £80 price. With its focus on comfort, versatility, and ease of movement, it can match or even exceed the performance of its steeper-priced counterparts (£140 average).
Easy on the wallet and the feet, the Kaiha Road offers a natural and agile sensation through its low drop and flexible midsole. In our lab test, it emerged 9.3% more adaptive than average, boosting its versatility for other activities like walking. Meanwhile, its low 3.8 mm drop promotes a more barefoot experience and builds foot strength.
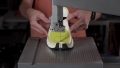
At its core is the Fresh Foam X midsole, pampering our feet with cloudlike goodness. Each landing feels gentle, followed by a springy takeoff. Our durometer confirms its softness with a low 31.1 AC reading, 14% below average.
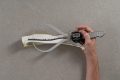
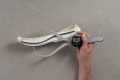
However, what this shoe sacrificed is its upper’s durability. Our Dremel punctured it almost immediately, so those who prioritise a sturdy upper should try other options.
Pros
- Marshmallowy plush cushioning
- Great for recovery days
- Extremely flexible and forgiving
- Rockered midsole for smooth transitions
- Above average breathability
- Excellent performance in cold conditions
- Provides good stability
- Ideal for long runs
- Accommodating toebox
Cons
- Lacking in upper durability
- Needs some breaking in
- Needs some breaking in
Heel-to-toe drop categories
The heel-to-toe drop is the difference in height between the forefoot and the heel and it is given in millimetres. We calculate it by deducting the forefoot stack height from the heel stack height (more about that later).
There are 4 heel drop categories:
- Zero drop (0mm),
- Low drop (1-4mm),
- Mid drop (5-8mm), and
- High drop (8+ mm).
Low-drop running shoes have a heel drop of 4mm or less, so zero-drop is included. We have covered the topic of zero-drop shoes in great detail here so we will focus on low-drop shoes now.
You MUST know this before buying low drop running shoes
The heel drop that is recommended for beginners is between 8mm and 12mm. 10mm is the non-written industry standard. The low drop, sitting between 1 and 4mm is much lower than that. And that matters because:
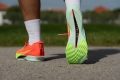
- We usually recommend low-drop running shoes only to forefoot/midfoot strikers.
- If you’re new to running or you are a runner but you used high-drop shoes until now, it is important to transition to the low drop gradually.
- Sudden changes in heel drop (large ones, of 4mm or bigger, either direction - lower or higher) are not recommended, especially if you’re training hard and just switch shoes to do your LSD or fartlek run.
- If you’re a heel striker, low-drop shoes might alter your strike. Because of this, it is advised to look for more cushioned low-drop shoes as you transition gradually. Plus, landing on more foam feels better than landing on less foam, at least for beginners who are not used to some ground feel.
- Low-drop shoes utilise your lower leg muscles more. This is important because it means they could aggravate your Achilles/calf/tibia muscle injuries.
|
If you want to learn much more about heel to toe drop, we recommend reading our Ultimate guide on heel to toe drop. |
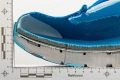
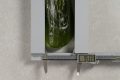
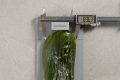
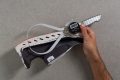
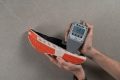
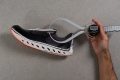
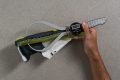
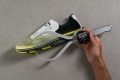
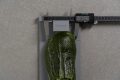
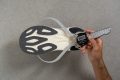
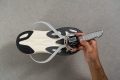
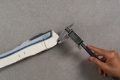
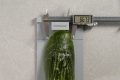
Lab data: heel drop measurements
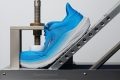
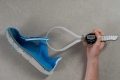
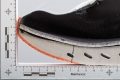
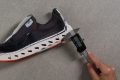
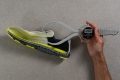
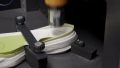
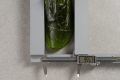
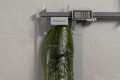
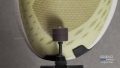
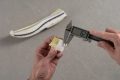
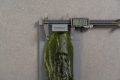
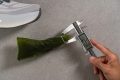
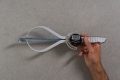
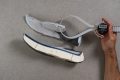
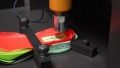
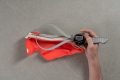
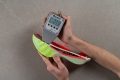
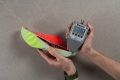
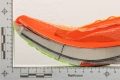
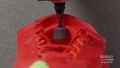
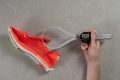
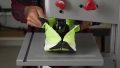
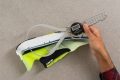
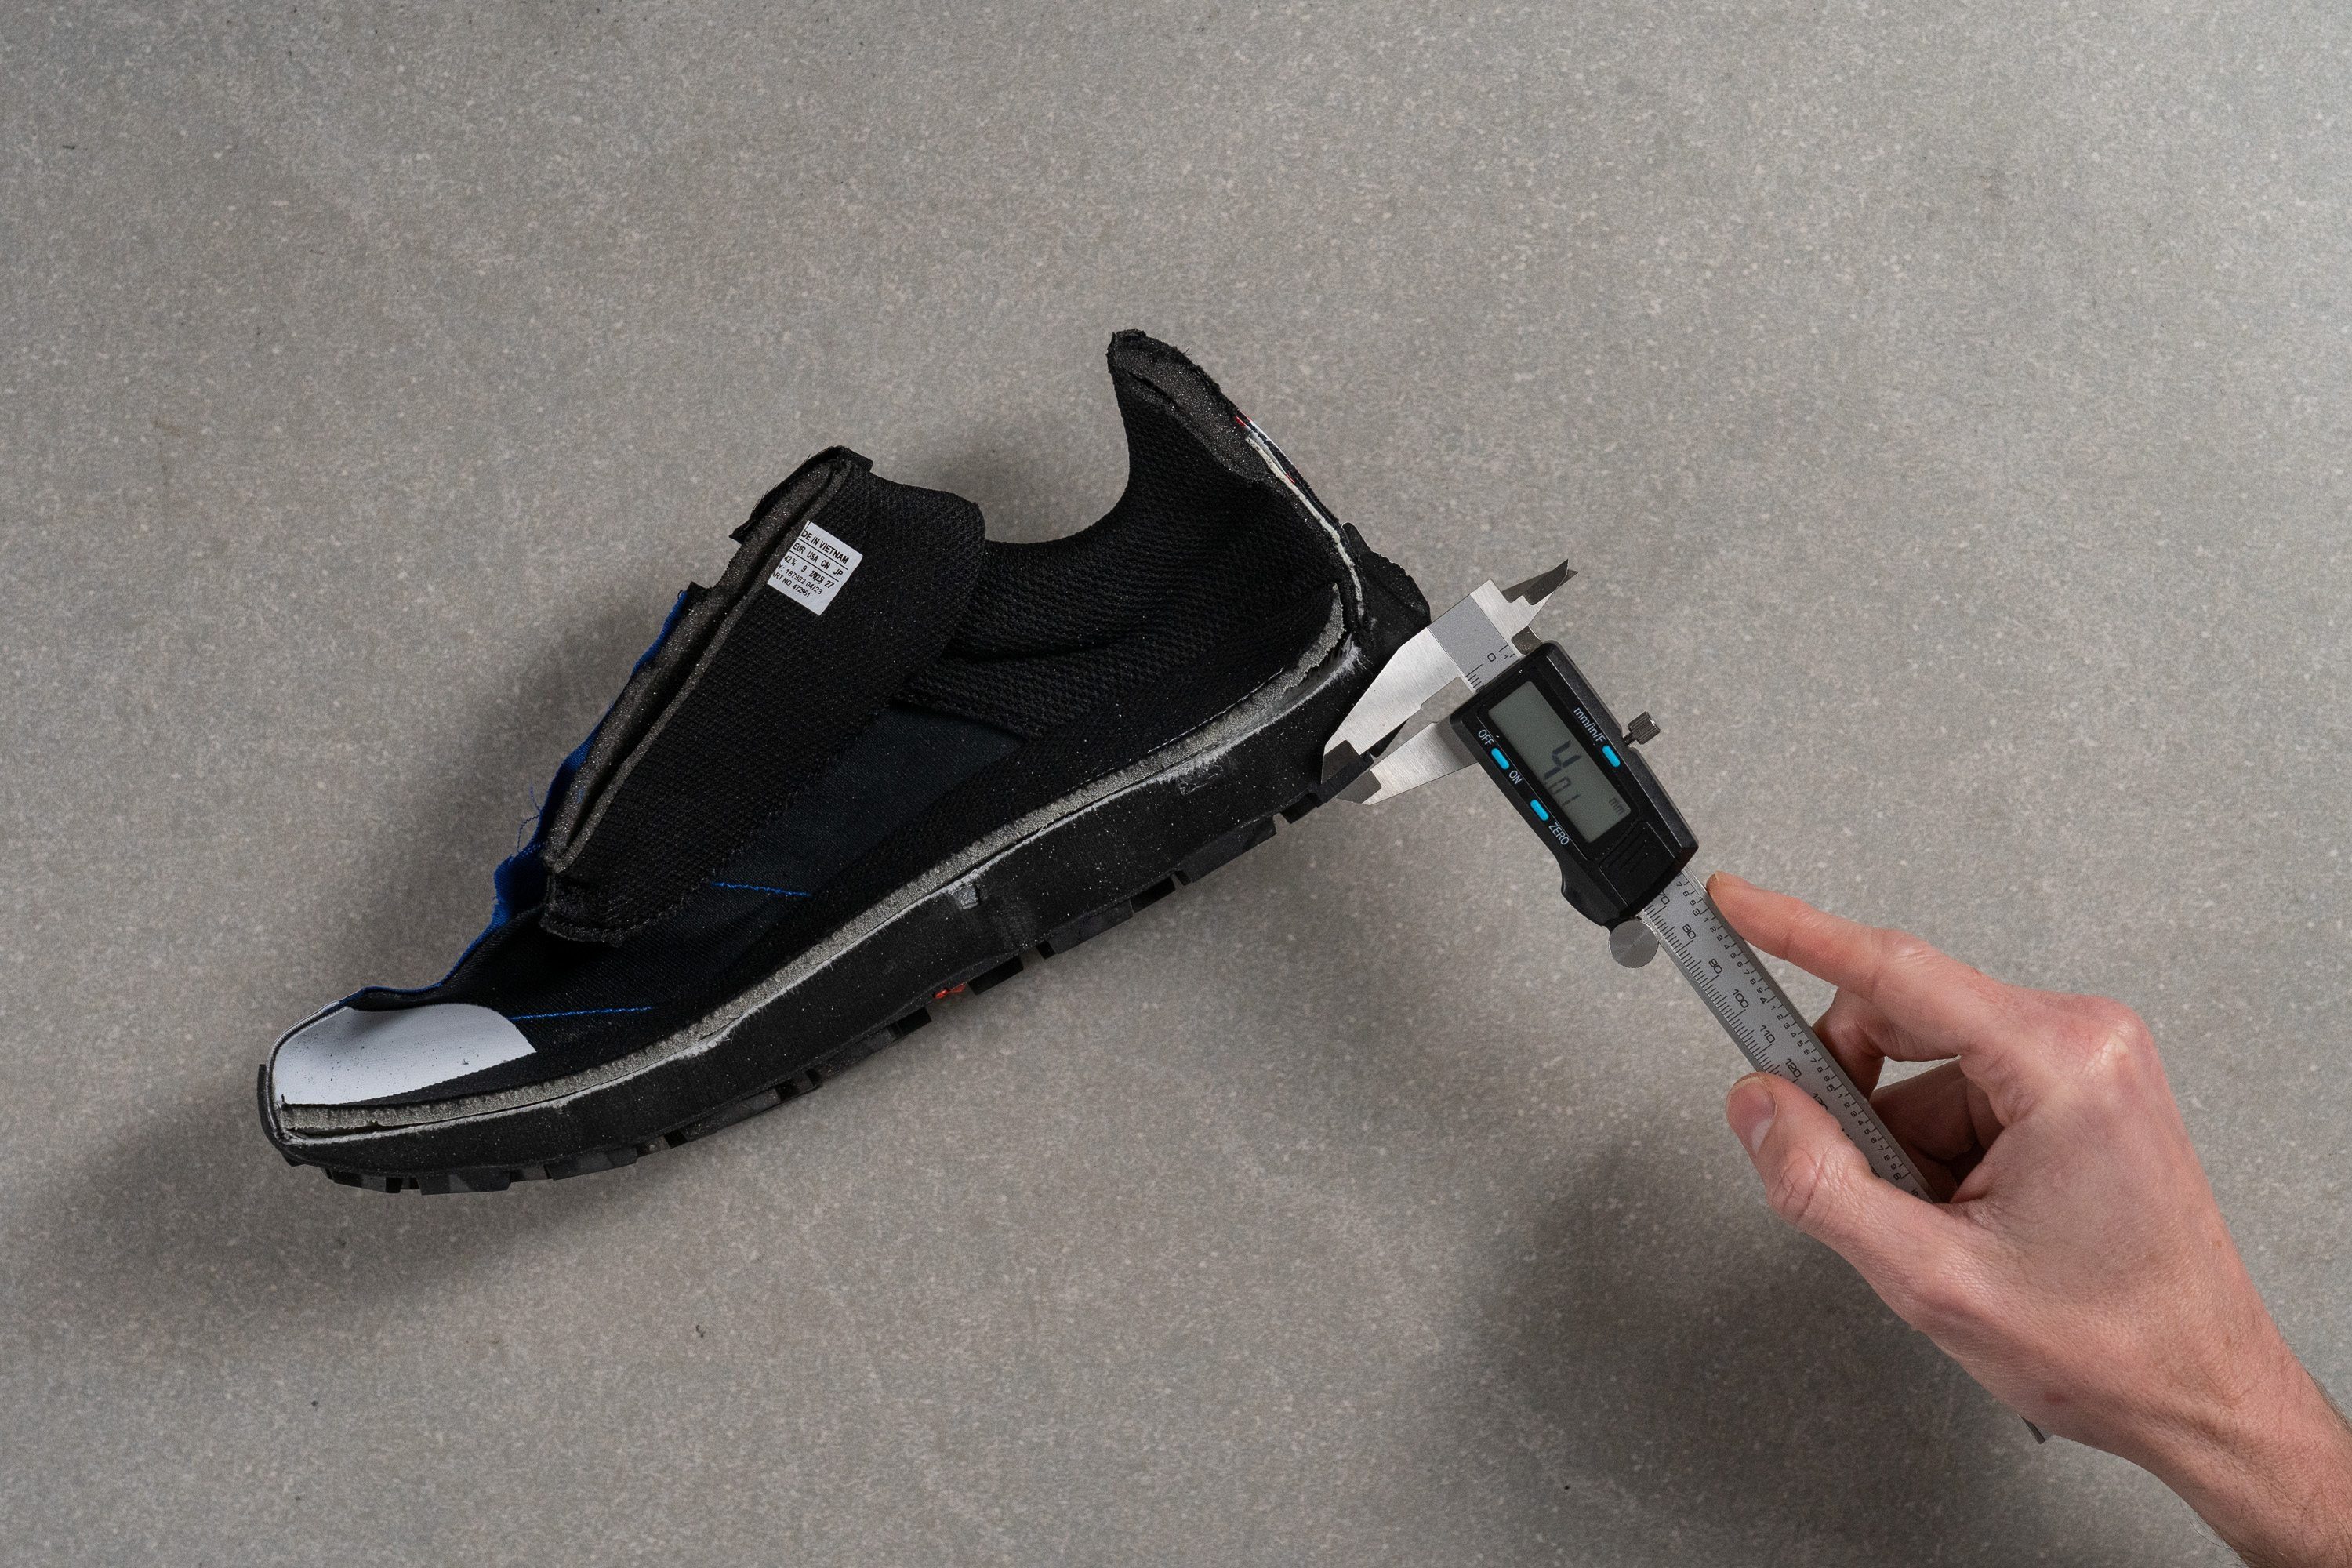
To calculate the heel drop, we have to precisely measure the stack heights. In order to do that, we cut shoes in half: this way, we can honour the guidelines from WorldAthletics.
Heel drop = (Heel stack height) - (Forefoot stack height).
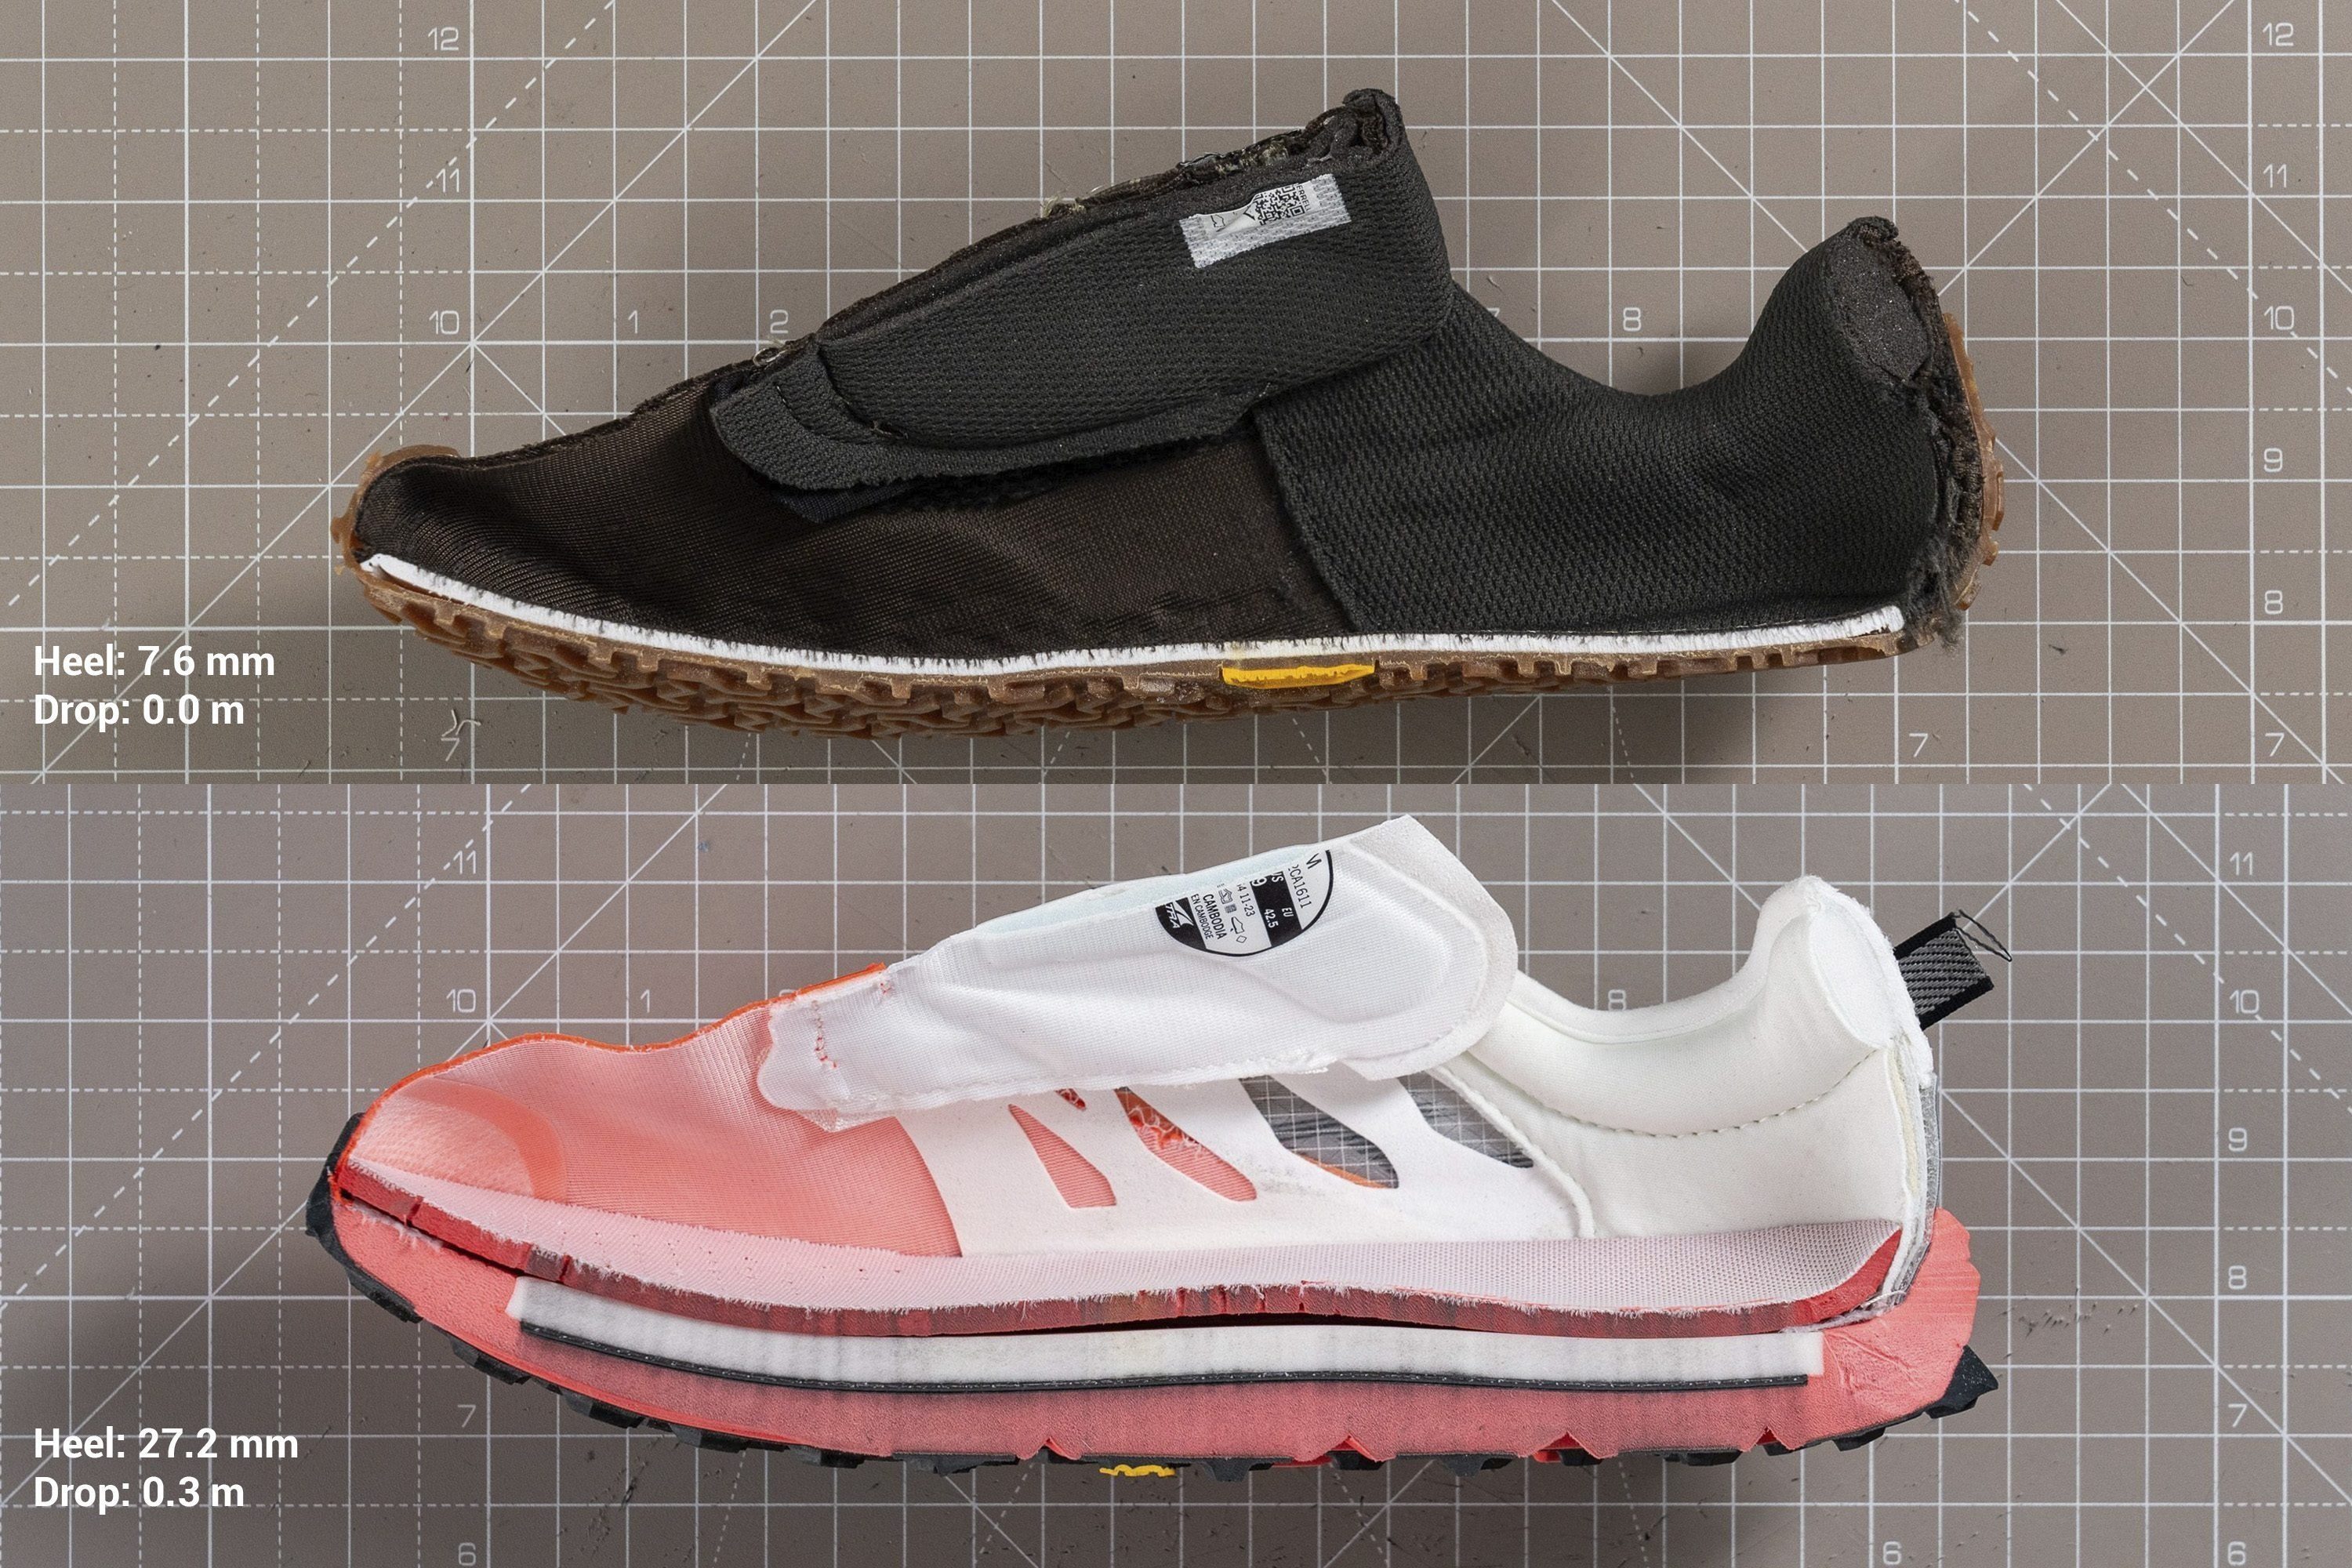
Brands advertise the wrong heel drop
To our surprise, the difference between our heel drop measurements and the numbers that brands promote is sometimes bigger than 50% or even 100%. Given how heel drop can significantly affect your running (strike, muscles, everything), knowing the correct heel drop is imperative.
In the table below, see some of the biggest differences between the lab-measured drop and promoted numbers by the brands:
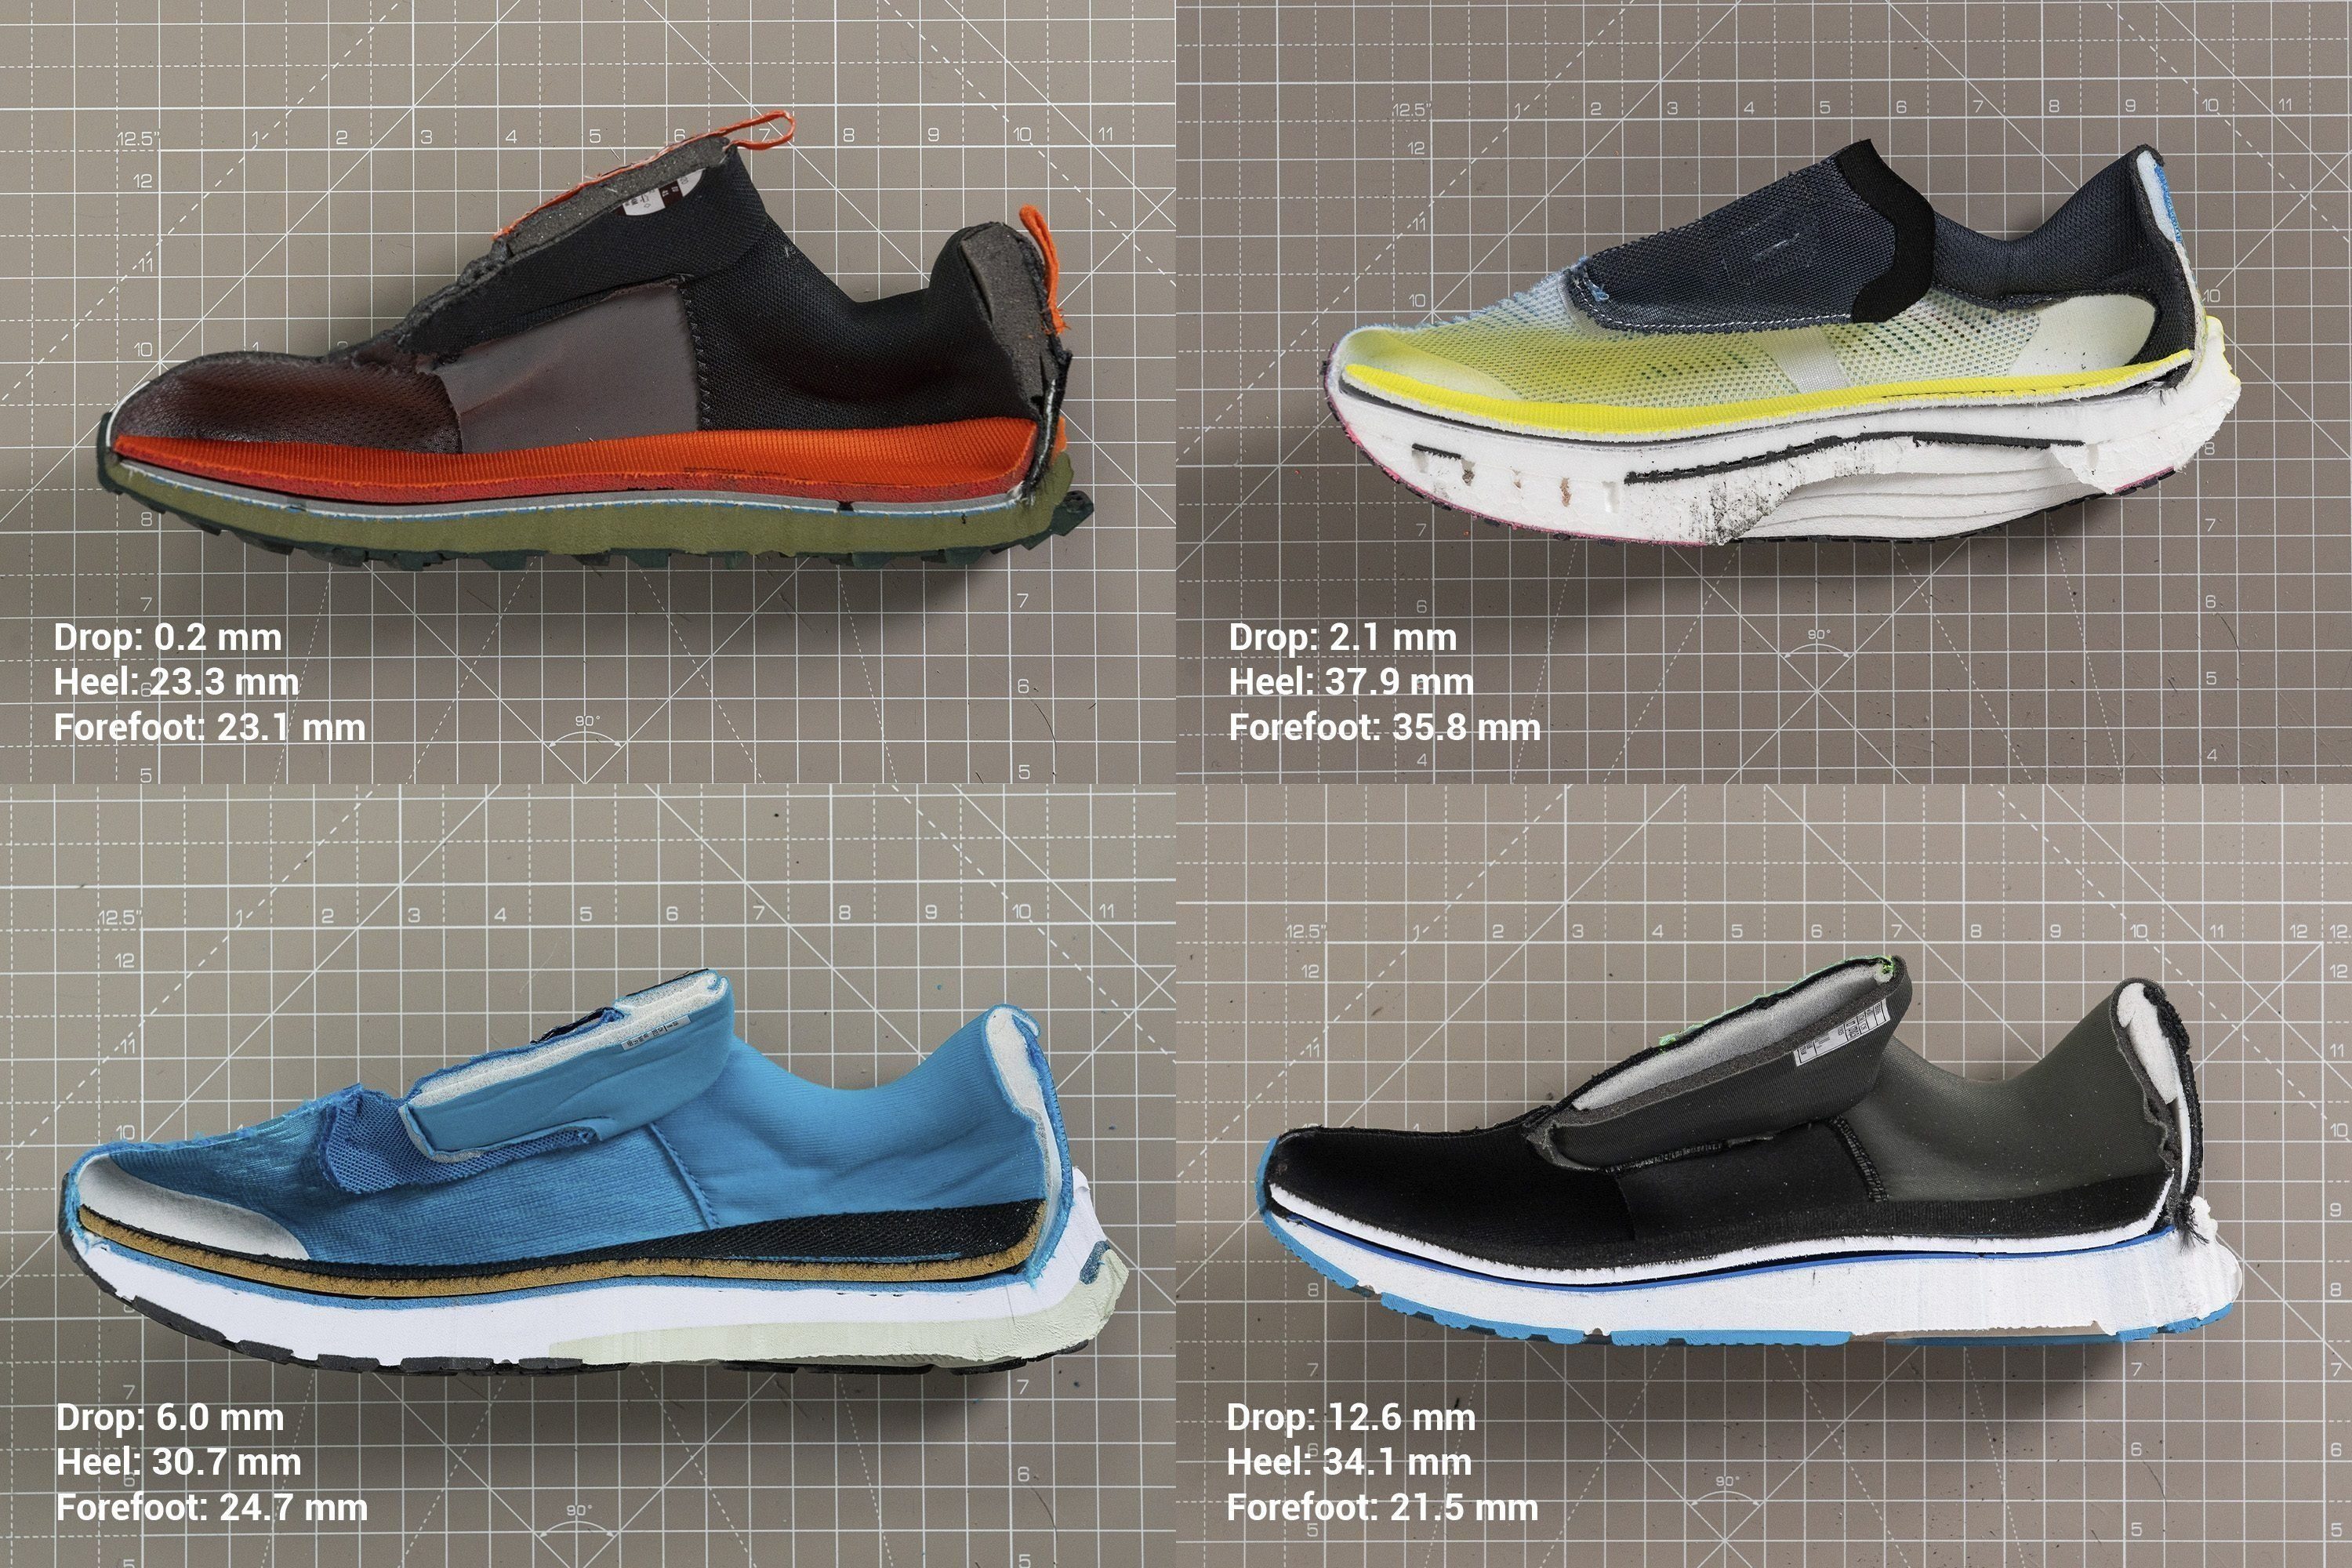
Here are examples of running shoes that are promoted as mid-drop but turned out to be low-drop:
Low-drop running shoes for trails
Trail running shoes feature lower heel drop due to the varying terrain and a higher need for stability or even ground feel.
This does not make the transition to low-drop or zero-drop shoes for trails shorter than when changing the drop on the roads.
However, when dealing with trail running shoes, we must cover the lug depth as that is the biggest indicator of the shoes’ purpose. The lugs can also significantly change the stack height.
How to transition to low-drop running shoes
Gradually. There’s no recipe that works for everyone because we all have different feet, pronation, foot strike, and personal preferences. It’s always better to do it slower than faster and to slowly incorporate low-drop shoes into your current shoe rotation.
At no point while transitioning to low-drop shoes, especially zero-drop shoes, should you feel muscle strain or pain. Keep in mind that it’s easier for forefoot/midfoot strikers to transition to low-drop shoes than heel strikers and that such a process can last for months, maybe even longer.
Similar buying guides