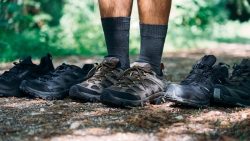
3 Best Backpacking Shoes

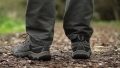
Where the trail turns for the worse, but mobility is still high on your hiking preference list, turn to backpacking shoes.
After testing and actually backpacking in 10+ trekking kicks, we have chosen our top picks in several categories. Do you need a hiker that excels on and off the trail? Maybe something quite light to give you enough agility on your way? Or perhaps a backpacking shoe that dances to the tune of your humble budget? We recommended the choicest of backpacking shoes. Check them out!


How we test hiking shoes
We gather fact-checked data and put backpacking shoes through a series of tests to come up with honest reviews. The details of our approach are as follows:
- We buy every pair of hiking shoes with our own money.
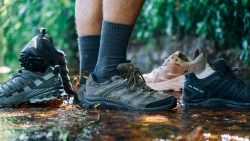
- We spend days trekking on a variety of terrain in both dry and wet conditions to test each kick.
- To make our backpacking shoe reviews more comprehensive, we gather data by measuring different parameters. In the process, we also split the shoes in half. We analyze the results and compare them to averages.
Best backpacking shoes overall


What makes it the best?
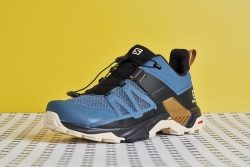
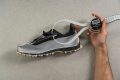
Salomon X Ultra 4 GTX blends the best elements of trail and hiking shoes into one ultimate backpacking shoe. The light and flexible shoe made us feel agile while the grip and protection we experienced were similar to hiking boots. Our lab agrees this pair has the power to go through demanding trails and is not afraid of wet conditions.
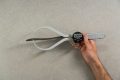
We’re amazed at how light this shoe is despite packing so much support, grip, and protection into its build. At 13.3 oz (378g), it’s even lighter than the average trail shoe! It feels incredibly comfortable from the start since its malleable midsole promotes our natural strides. Our bend test confirms its flexibility between a trail and a hiking shoe.
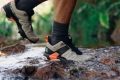
The ride feels stable primarily due to the Active Support system that’s connected to the Quicklace system to prevent foot twists and ankle rolls. Further enhancing our control over unpredictable terrain is the deep and sticky 4.5 mm lugs.
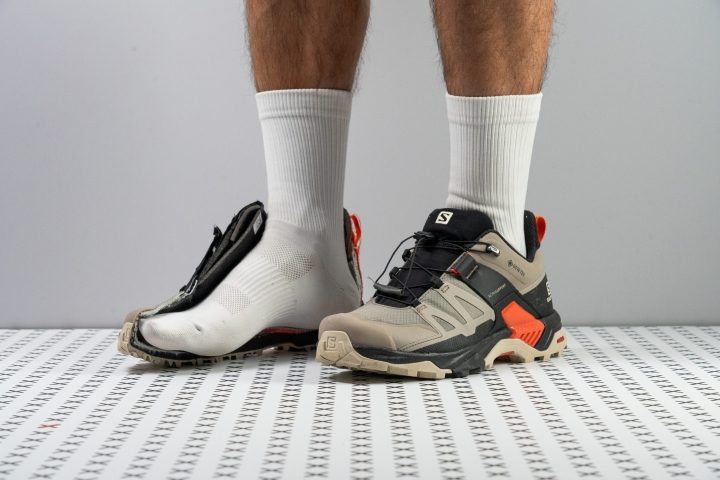
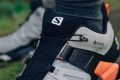
Fully protected from harsh elements, the shoe's synthetic overlays and watertight upper offer top-notch defense. Alongside the Gore-Tex membrane, its tightly packed textile and durable water-repellent coating ensure minimal breathability, earning a 1/5 rating in our lab tests. While it effectively keeps out cold air and moisture, caution is advised against submerging the shoe completely, as water may not easily escape if it enters through the shoe mouth.
Pros
- Instant comfort
- Impeccable waterproofing
- Very lightweight
- Exceptional grip
- Excellent support and lockdown
- Stable platform
- Roomy toebox
Cons
- Quicklace is not for everyone
- Too-high collar
Best backpacking shoes for summer


What makes it the best?
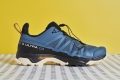
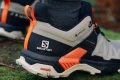
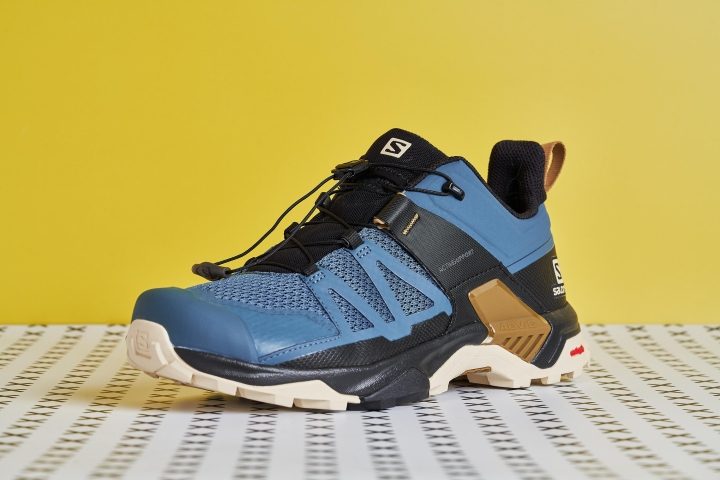
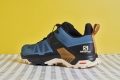
Salomon X Ultra 4 delivers a stable and cushioned ride that feels comfortable for long hours. Even with its supportive nature, it remains exceptionally light and is topped with a breezy upper that keeps us feeling fresh for all-day adventures. This crossover between a hiking shoe and boot is our top backpacking shoe for the summer.
The mesh upper feels exceptionally well-ventilated, keeping our feet dry and comfortable even under the scorching heat of the sun. Whenever our feet would get wet, it would dry up quickly as well. The absence of waterproofing also shows its breathable nature.
Packed with padding and support, it weighs light at 12.5 oz (355g). Our feet reveled in the dual-density cushioning, featuring a balanced 46.0 HA in the forefoot for comfort and a firmer 51.5 HA in the heel for stability and underfoot protection. This helps avoid uneven compression under heavy loads.
Further enhancing our surefootedness is the ADV-C Chassis that connects the lacing system to a shank in the midfoot area to avoid excessive rolls. On foot, it feels very supportive. The Contagrip outsole does wonders to keep our movements controlled. It’s lined with 41 lugs that are 5.2 mm deep for extra traction on mixed surfaces.
However, the high heel counter causes rubbing at first in the ankle and Achilles areas. Those who prefer lower heel counters can explore further.
Pros
- Lightweight
- Exceptional breathability
- Excellent grip
- Comfortable midsole
- Great ankle support
- Insanely protective
Cons
- Lacing system is not adjustable
- Some issues with rubbing at the ankle
Backpacking hiking shoes with the best comfort


What makes it the best?
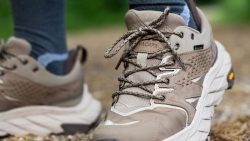
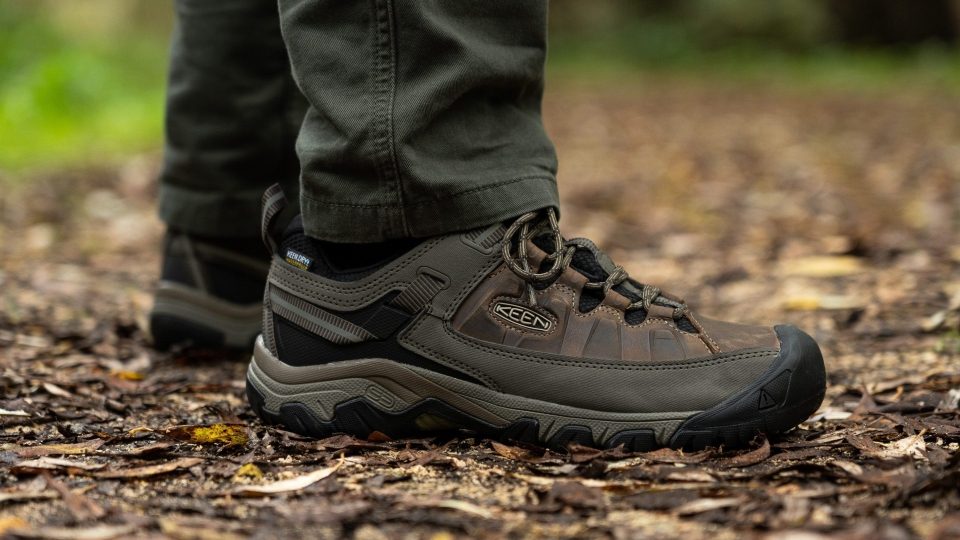
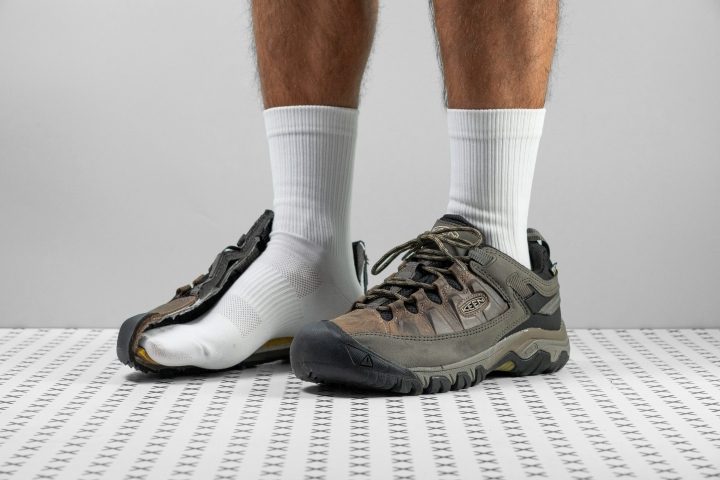
We backpacked on mixed terrains with the best shoes and found solace in KEEN's Targhee III Waterproof, offering unmatched comfort for long hikes. It offers a supportive ride with its spacious and tank-like build, balanced cushioning, and robust lugs for tackling any terrain confidently.
The 29.5/17.0 mm heel and forefoot offer a healthy mix of cushioning and ground feel. The ride feels extremely stable on any terrain, thanks to the firm cushion that supports us even if we’re schlepping backpacks. Our durometer confirms it’s 11.9% denser than average, ensuring it won’t compress unevenly.
The accommodating toe compartment gives us comfortable wiggle room, as our caliper reveals a wide 106.6 mm toe box that gently tapers to the 86.6 mm big toe area. On top, we’re shielded by the robust upper that safeguards us from water and debris. Our lab confirms its protective nature with a 2/5 breathability rating and the highest rating for toe-box durability.
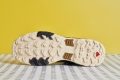
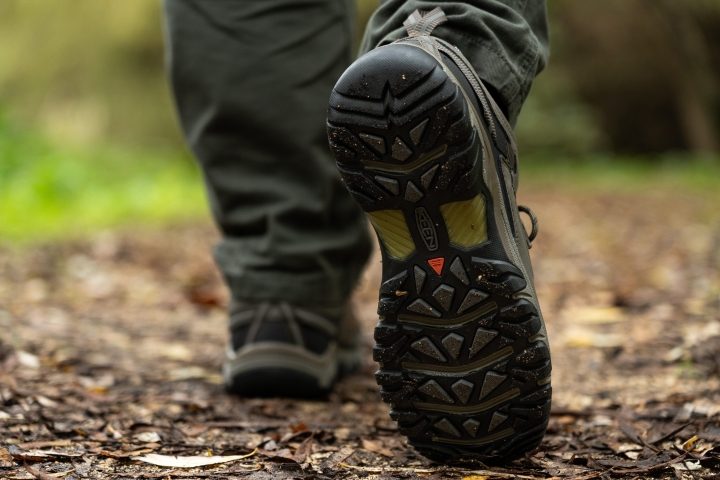
The 4.5 mm multi-directional lugs on the outsole provided reliable grip on various surfaces, from soft to hard, dry to wet. With a thick 3.3 mm rubber, the outsole offers both underfoot protection and durability for extended use.
However, its waterproofing is only effective until ankle level due to its low-cut nature. We recommend exploring boots for trails with deeper water levels.
Pros
- Grippy outsole
- Good traction in muddy conditions
- Excellent for winter hikes
- Firm but protective cushioning
- Well-constructed and durable upper
- Lots of protective overlays
- Amazing stability
- Relatively breathable
- No break-in time
Cons
- Outsole durability could be better
- Not ideal for narrow feet
When to use backpacking shoes
When you’re going backpacking over not-too-demanding terrain, usually on 1-2 day trips. When the hike becomes very serious, the terrain uneven and technical, maybe it lasts a few days, and you’re wearing a very heavy backpack, best to go for backpacking boots. A bit easier trails can be covered in backpacking shoes as long as you’re OK with not having that ankle support that only boots give.

3 features that make backpacking shoes stand out
In all hiking shoes, we recommend looking for the protection and grip you need for the hike ahead. In backpacking shoes, it is imperative to look for:
- Average or firmer midsoles. Too soft and your feet will sink in, there might be not enough response, which results in premature foot fatigue to start with (best case scenario).
- Average or stiffer platforms. This is important because shoes that are too flexible can tire you out and not offer the support you need from the footwear. Also, stiffer shoes bend less over technical terrain.
- Stability! It’s all about not twisting your ankles and feeling secure on the hike. We examine the lateral stability and measure the width of the base: wider bases are more stable than the narrow, tall ones.

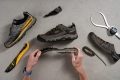
Backpacking shoe cut in half and into pieces in our lab
Thanks to our standardized lab tests and extensive wear tests, we’re able to cover all of these features in great detail and back them up with our lab data down below.
Nail the fit in backpacking shoes
If this is not your first time buying hiking shoes, feel free to skip this section.
If you’re new to hiking, we strongly recommend sticking to these guidelines:
- Go shopping later in the day, in the evening or in the afternoon. We’re aiming for swollen feet, something that naturally happens towards the end of the day, and also when hiking.
- Bring your hiking socks with you. Orthotics as well, if you’re using them.
- Put the shoes on and make sure there’s one thumb’s width of space behind your heel when you push the foot forward.
- Test the shoes on the ramp, if there is one. It’s usually covered with different materials like artificial grass, pebbles, and rocks. Go up and down.
- There should be no heel slipping.
- Your feet should not be sliding to the sides inside the shoe.
- The shoes should be comfortable: not too snug and not too wide!
Before the first hike, especially if it’s a long one, make sure to brake in these shoes properly.
Firmer midsoles: a must
For backpacking, firmer midsoles are better than softer midsoles. The firmer ones offer more support and are more protective. Softer ones can bottom out and cause pain in your feet and lower legs, especially if your backpack is very heavy.
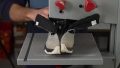
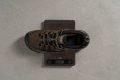
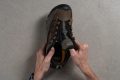
Testing the softness of the midsole on the test hike
To examine the softness, we press a durometer into the midsole of a shoe we’ve cut in half. The lower the number on it, the softer the midsole.
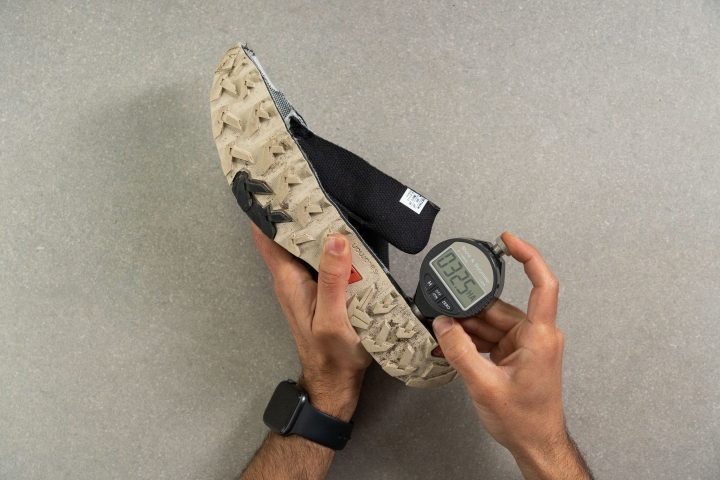
Pressing a shore A durometer into the midsole of the backpacking shoe to measure the firmness of the midsole
Why stiffer platforms are better for backpacking
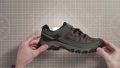
Flexible footwear is better because it allows a more natural foot movement. However, when backpacking, you’re carrying a backpack and you might be covering terrain covered with rocks, debris, or simply a lot of uphills and downhills. In this case, it is better to hike in stiffer shoes. They don’t allow that much of the movement and that actually feels supportive.
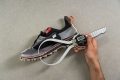
In the lab, we measure the stiffness of the shoes by pushing them to the 90-degree angle and measuring the force it took us to do that. The greater the force, the stiffer the platform.
Measuring the stiffness of the hiking shoe in RunRepeat lab using a digital force gauge
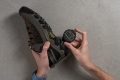
We don’t stop there. We also assess the torsional rigidity! Those that are scored 5/5 are as rigid as it gets, unlike those that score 1/5 (most flexible).
Assessing the torsional rigidity of a backpacking shoe
Stability to the MAX!
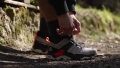
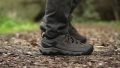
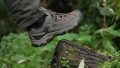
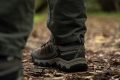
Stability matters a lot when pebbles, rocks, debris, roots, and any other obstacles come into the equation. No one wants a twisted ankle. When doing test hikes, we always check the lateral stability: how the backpacking shoe feels and performs.
Lateral stability check on the test hike
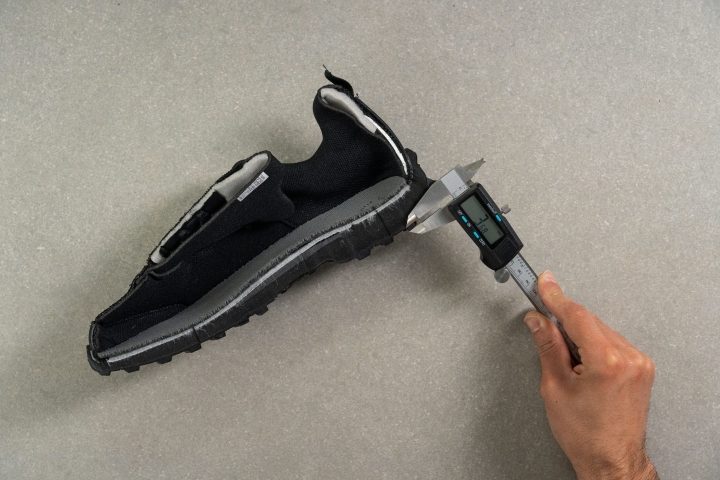
But, what we can actually measure here, is the width of the platform. When a hiking shoe has a tall and narrow platform, it’s a great recipe for disaster. Fortunately, that is not often the case. But, we’d want it wider and, therefore, more stable.
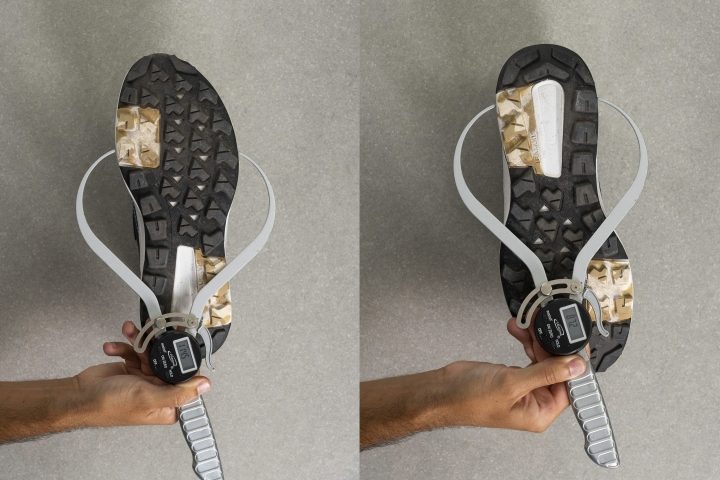
Measuring the width of the base at the forefoot (left) and heel (right) using a digital caliper
Even heel counters can be stiff!
Some hikers might not enjoy this, but if you like that extra supportive feel, look for a stiff heel counter.
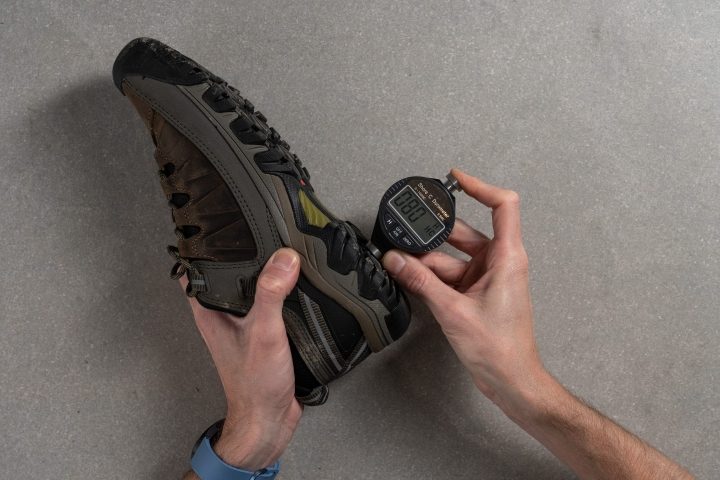
We examine it by squeezing it and pushing it while in our lab. We give it a 1-5 rating, where 5 is the stiffest.
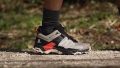
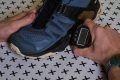
Assessing the stiffness of the heel counter in a backpacking shoe
Durability of backpacking shoes
Durability is always an important feature in footwear. In hiking, however, it’s not only about how long will the backpacking shoe last, but also:
- The durability of the toebox tells us how much protection the toebox offers for our toes. The debris we encounter on the hike or that falls accidentally on the toebox should not hurt our toes.
- The durability of the outsole tells us not just how long will the grip (the lugs) last, but how protective it is. The denser and harder outsoles are less likely to be destroyed by sharp objects on the trails.
- The durability of the heel counter, just like in any other shoe, tells us how long until that part is left with no materials to cushion the heel or at least will it wear out sooner or later.
Pressing a Dremel on the upper to test the durability of the toebox
For these durability tests, we use a Dremel. We press it against the material and note down the damage. When testing the upper, we assess the damage on a 1-5 scale, where 1 is the least durable.
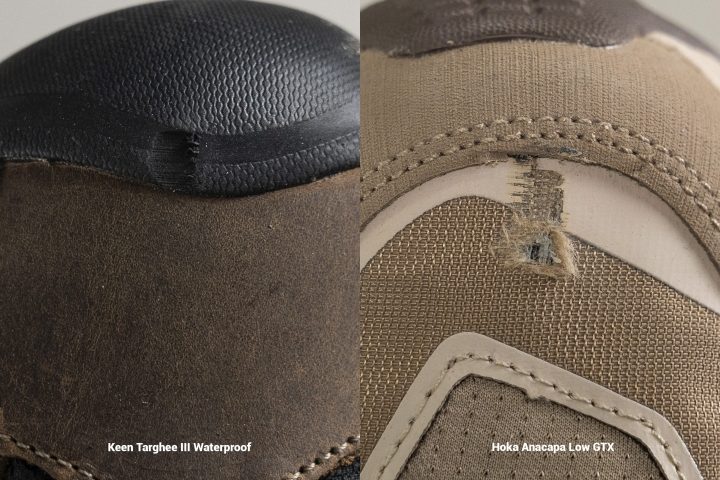
Different levels of damage mean different toebox durability ratings
When testing the heel counter, it is the same - we rate it on a 1-5 scale, and 5 is a dream come true: the most durable one.
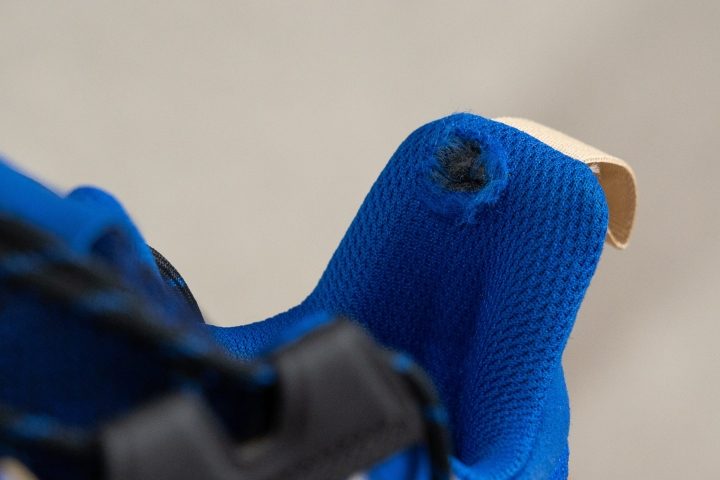
Damage on the heel counter made by the Dremel in order to test the durability of the heel counter
When testing the durability of the upper, we can actually measure the damage using a tire tread gauge.
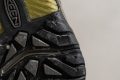
Pressing a Dremel against the hiking shoe outsole to test its durability
We measure the dent made by the Dremel and, the larger it is, the less durable the outsole rubber.
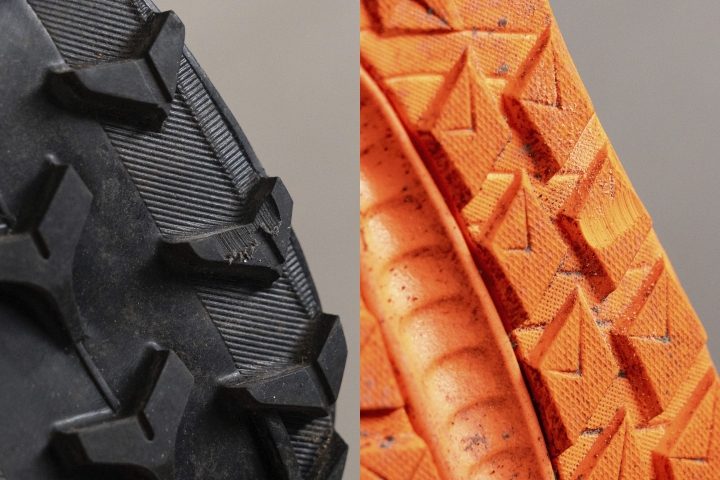
Different levels of damage on the lugs made by the Dremel while testing the durability of the outsole
Look for superb grip and don’t settle for less than that
Slipping, sliding, rolling… to prevent that, it’s best to look for the shoe that will offer a brutal grip on the terrain you’re covering.
Here’s what we suggest:
- If hiking in wet weather, meaning there’s mud, slush, snow, look for backpacking shoes with very deep lugs (4mm or deeper).
- If hiking on large, flat rocks (or very hard ground), look for shallower lugs. Such shoes will hurt your feet less, and shallower harder lugs will last longer on such terrain than the soft large lugs. We’re talking about a depth of up to 4mm.
- For anything in between or a bit of everything but nothing too extreme, look for average lugs (around 4mm).
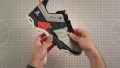
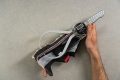
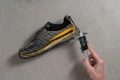
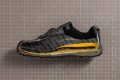
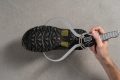
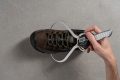
In all our reviews, you can find the exact depth of the lugs and how it compares to the averages. We use a digital caliper to measure how thick the lugs are.
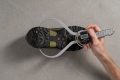
Using a digital caliper to measure the depth of the lugs on a hiking shoe
Keep in mind though, that, the grip is not only about the thickness of the lugs, but also the hardness of the rubber. The harder rubber is more protective, while softer rubber is stickier. We also measure this in our lab.
Using a shore C durometer to measure the hardness of the rubber; the larger the number, the harder the outsole
Wide toebox in backpacking shoes
Given that backpacking usually entails multi-day hikes or, at least, long mileage over 1 day, your feet will swell and that means you might need more room there. Or, you actually have wider feet that ask for a wider toebox.
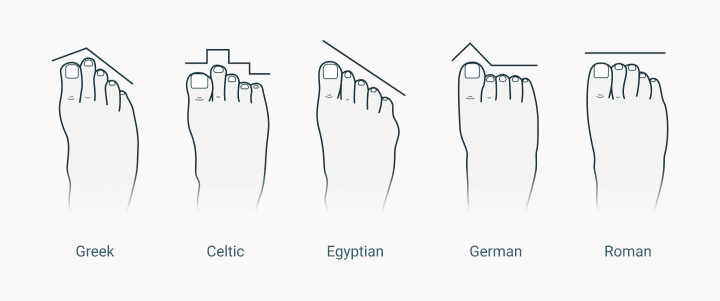
No worries because in our lab, we measure the width of the toebox, which it's the widest, and around the big toe. Both measurements are important because there are different shapes of toes out there. But, the smaller the big toe number, the more the shoe tapers. Or, it’s more pointy.
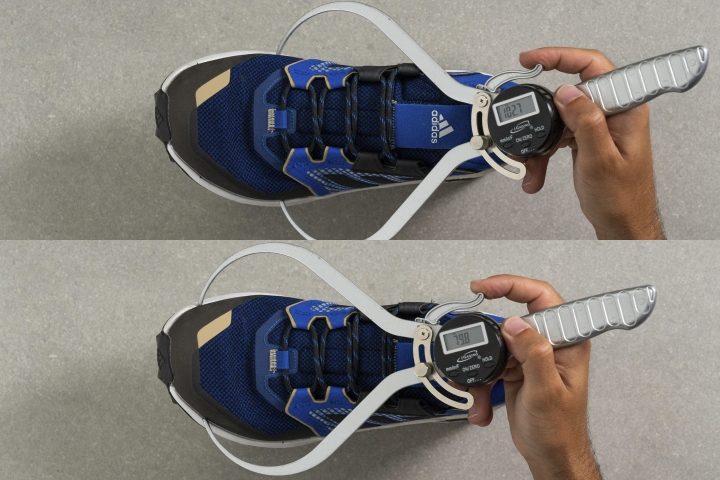
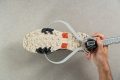
Measuring the width of the toebox where it's the widest (up) and at the big toe (down)
Breathability of backpacking shoes
If hiking in summer, you want to know about this. If hiking in winter, same, but then you also want to know about waterproofing (next chapter).
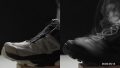
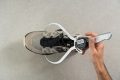
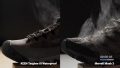
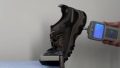
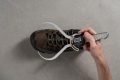
In the lab, we examine the breathability by pumping the smoke into the shoe and looking at the smoke coming out: does it come out, where it comes out, at which pace and how much of it.
Non-breathable hiking shoe (left) and a breathable one (right) on the smoke test
In breathable hiking shoes, we see it come out through the upper and the sides. In less breathable shoes (or not breathable at all), it might come out through the eyelets only. Based on these, we rate the breathability on a 1-5 scale, where 1 is the least breathable.
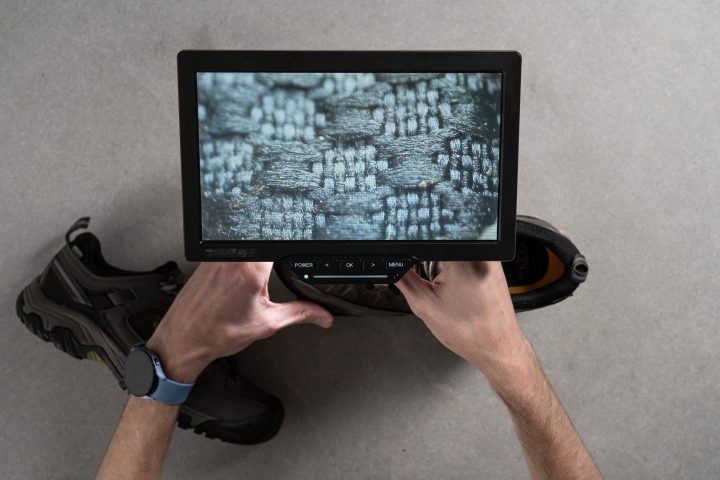
Examining the upper of a backpacking shoe under the microscope
We also examined the upper under the microscope, and we noticed how the breathable uppers have a looser structure, while the non-breathable ones have a very tight, dense structure.
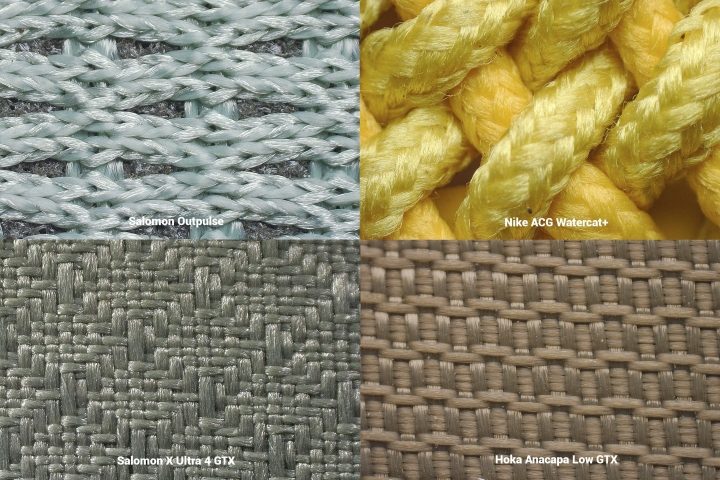
Hiking shoe uppers under the microscope: breathable and non-waterproof ones (up) vs non-breathable GTX uppers (down)
Shoes that have their breathability rated as 1 or 2 are great for cold temperatures because the heat will not escape outside. The shoes rated with 4 or 5 in breathability are great for summer because they turned out to be quite breezy.
Best backpacking shoes for winter
In winter, it's not just about the breathability. As mentioned above, backpacking shoes we find winter-friendly are those that score low on the breathability test (rating of 1 or 2) because they are not ventilated enough, which means the heat stays trapped inside.
But, what's also important is whether, at freezing temperatures, the backpacking shoe performs similarly to when it's at room temp. Meaning: does the shoe feel like a brick when it's very cold? No one wants that!
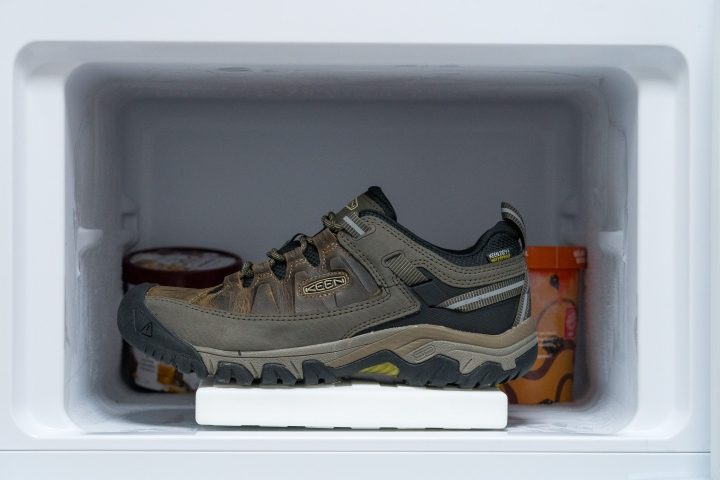
Freezing a shoe in RunRepeat lab before measuring its stiffness and softness again
Here's how we examine this. First, we put the shoe in the freezer for 20 minutes. Then we test its flexibility and softness again and compare the numbers to those measured at the room temp. Smaller differences in % mean that the shoe does not change its performance and feel much. Very big differences in % should be a sort of a red flag.
When to use waterproof backpacking shoes
Only when you know you will actually need them: you plan to hike over very wet grass or there might be some rain on the hike.
Pros of using waterproof backpacking shoes:
- Your feet will stay dry if you encounter some wet areas or wet weather
- Used with waterproof gaiters, these shoes can do wonders in terms of waterproofing! The gaiters will keep your lower legs and ankles dry as well, and they wonderfully prevent the water (slush, mud) from getting into the shoes.

Cons of using waterproof backpacking shoes:
- These shoes don’t breathe, so your feet might sweat more than usual
- It’s easy for water to get into your shoes as it might slide down your legs/trousers, or the water area might be too deep, so the water gets in through the eyelets or simply over the heel counter
- If the water gets in somehow, blisters are the best-case scenario (the water can’t get out)

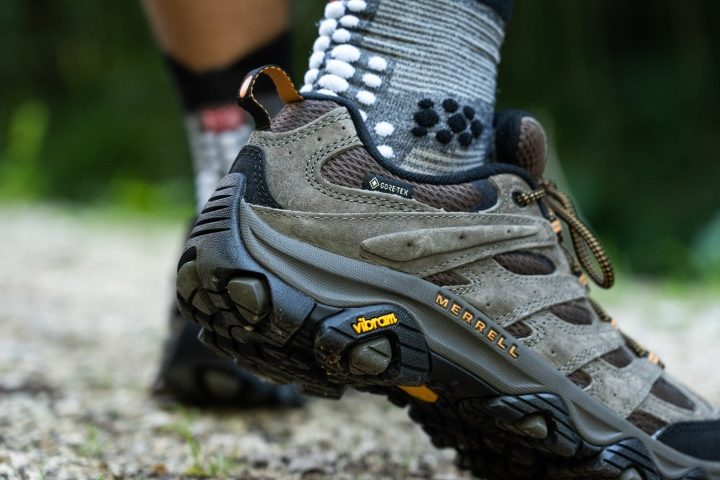
Waterproof hiking shoes are easy to recognize, either they have the popular Gore-Tex (GTX) membrane, or they are clearly marked as Waterproof.
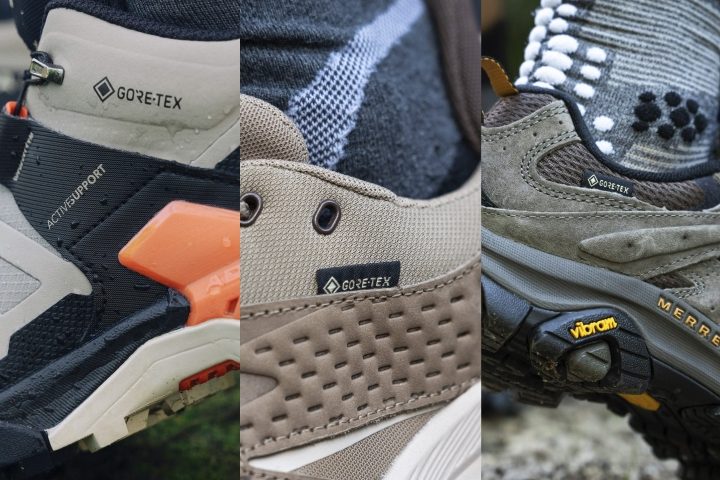
Gore-Tex hiking footwear is always clearly labeled as Gore-Tex
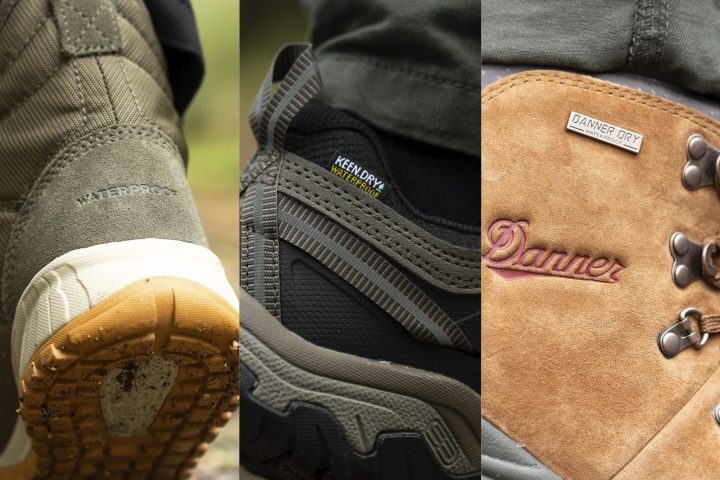
Other waterproof membranes (non-GTX) are also usually visible on the upper
You might be ok with hiking shoes that are only water-resistant or water-repellent. In that case, no need to invest in waterproof material. Here’s how to make that decision based on the weather conditions:
| Water-resistant | Water-repellent | Waterproof | |
| General characteristics | a tightly woven fabric that is naturally capable of resisting water upon contact | fabric treated with durable water-repellent (DWR) or hydrophobic chemicals | - fabric treated with DWR - have waterproofing membranes like Gore-Tex and OutDry - have seam-sealed construction for extra protection |
| Water protection level | low water protection | moderate water protection | high water protection |
| Water pressure resistance | 0-5000 mm (no pressure or moisture) | 6000-10000 mm (light pressure) | 10000-20000 mm (high to very high pressure) |
| Weather conditions best used in | light rain shower and dry snow | light rain and average snow | moderate to heavy rain and average to wet snow |
If you decide to use waterproof shoes, we advise also getting wool or bamboo socks. They have moisture-wicking features and tend to keep you warm when it’s cold and cold when it’s warm.
Similar buying guides